Butterfly paper applique: 12 printable kits

12 different butterfly applique projects: 6 full color and 6 to color in. Seven scenery pieces per kit, separate backgrounds and two-page A4 and Letter PDFs.

  • 6 color + 6 to color in
  • PDF A4 · Letter
  • Free, no sign-up
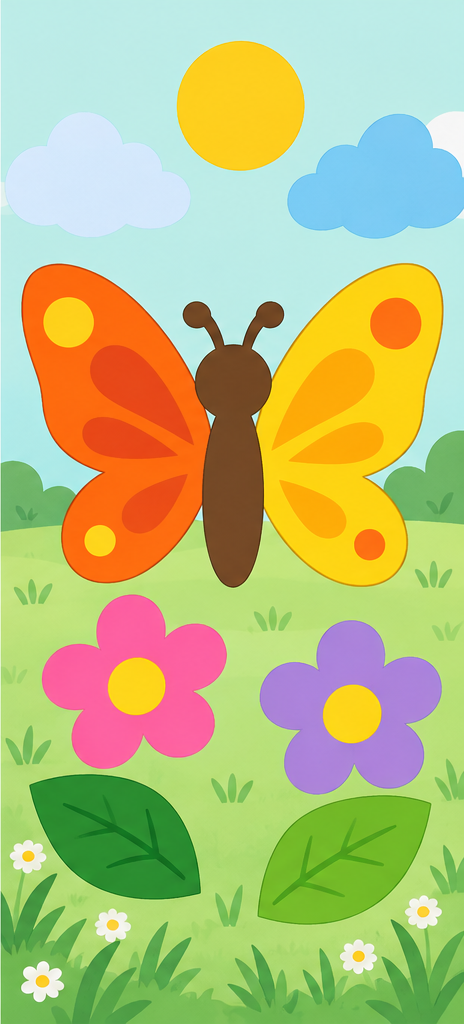
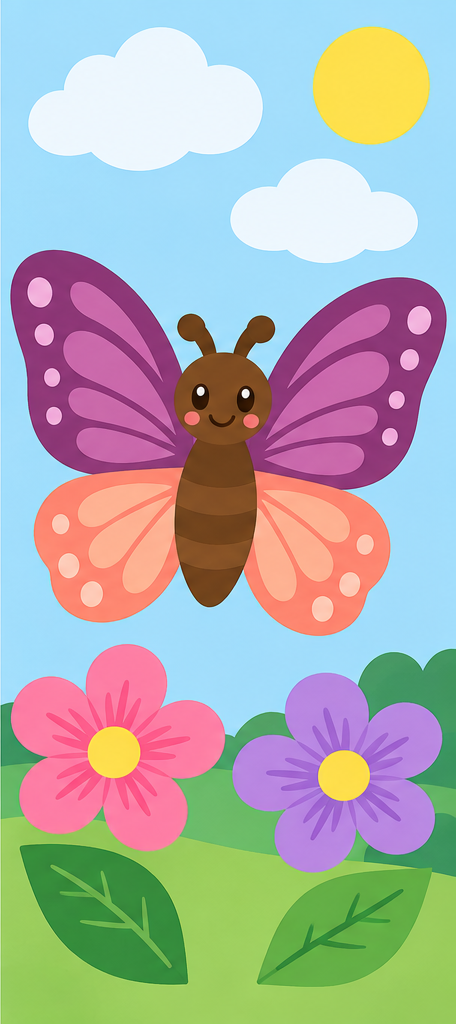
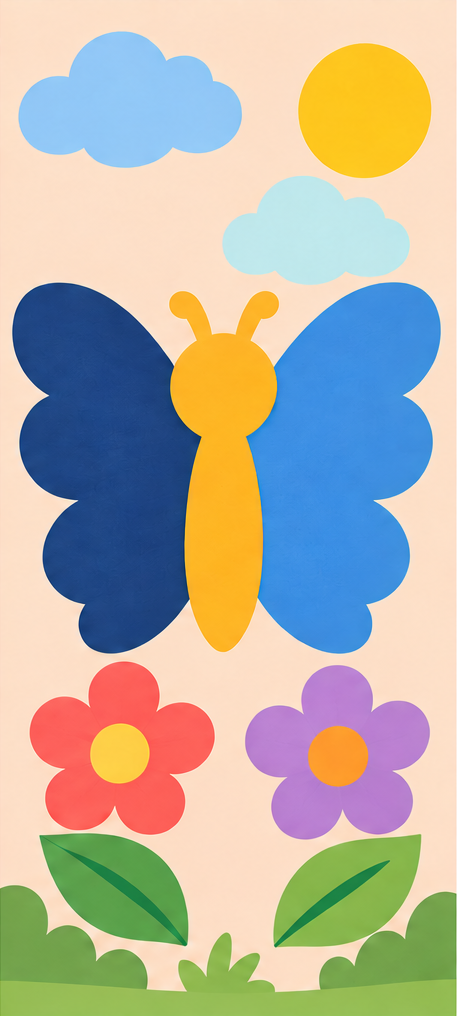
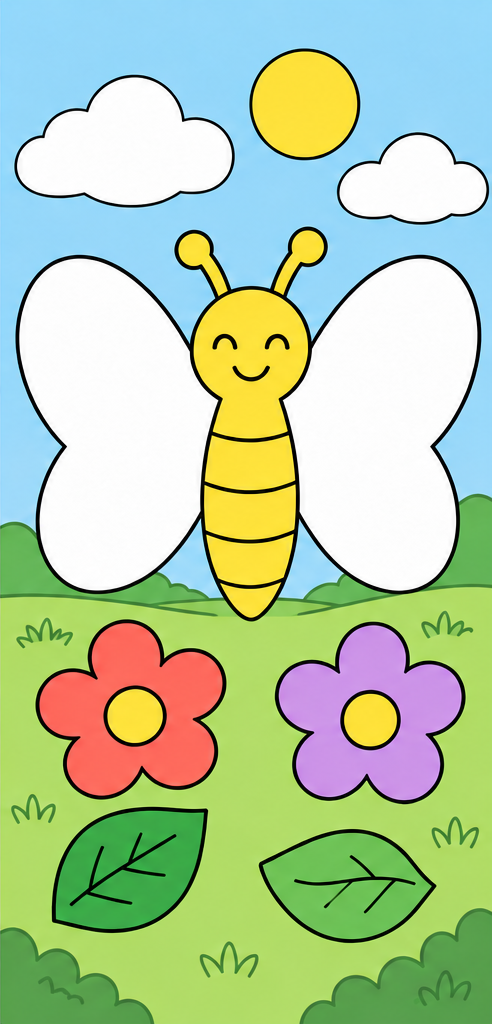
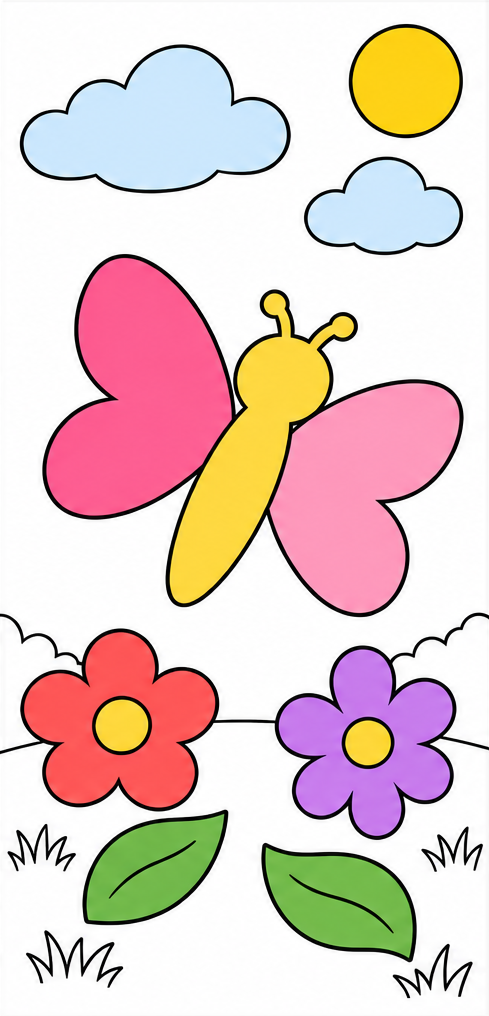
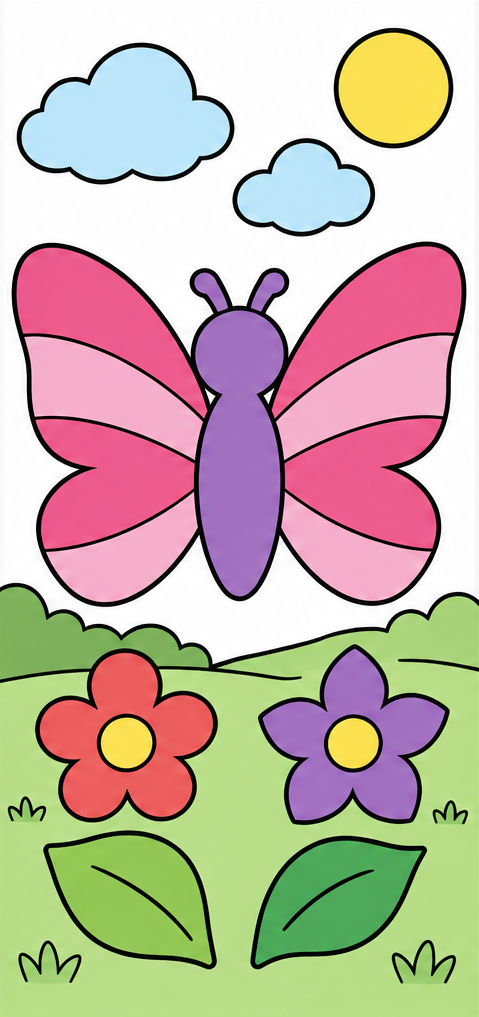
Meadow butterfly — assembly example

Use scissors with adult supervision. If cutting is difficult, an adult prepares the pieces while the child colors, arranges and glues.

12 printable kits

Meadow butterfly — assembly example
Example
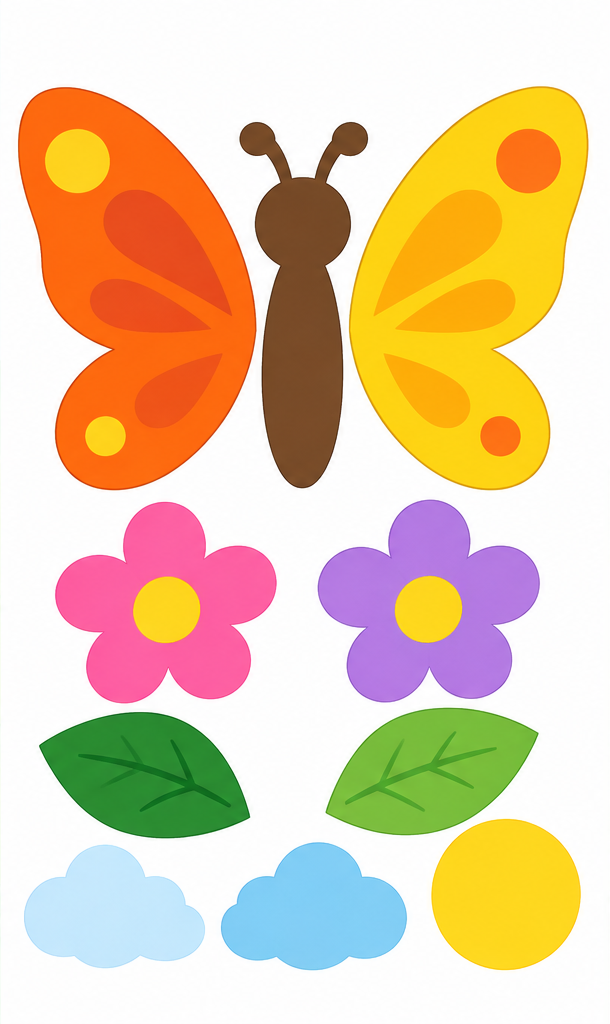
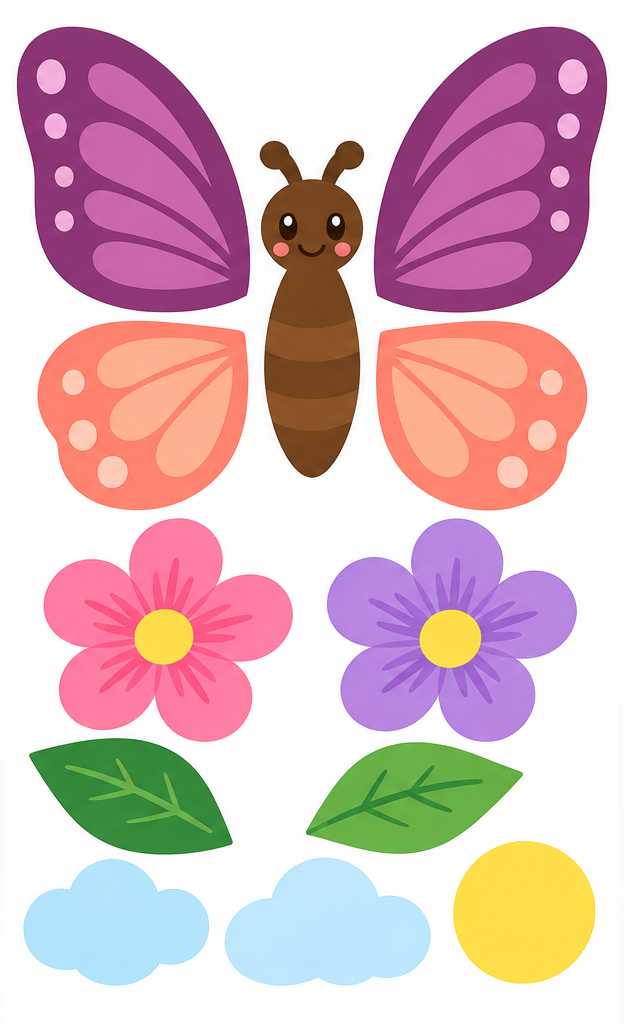
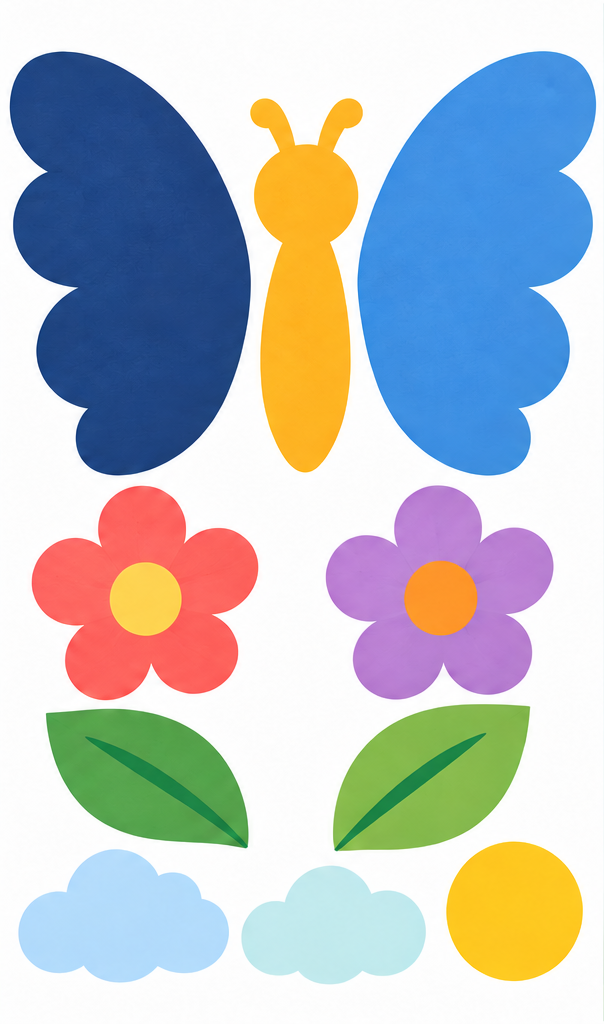
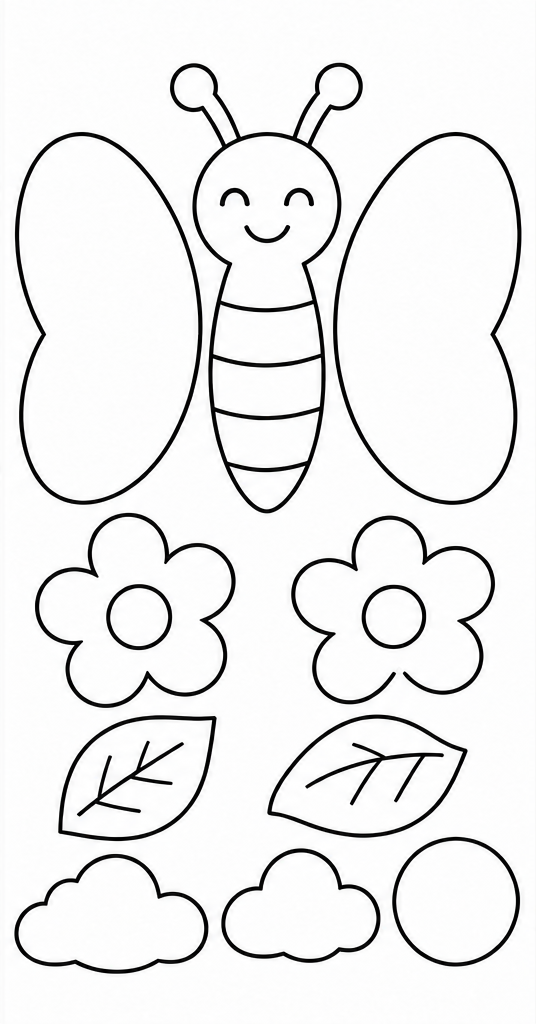
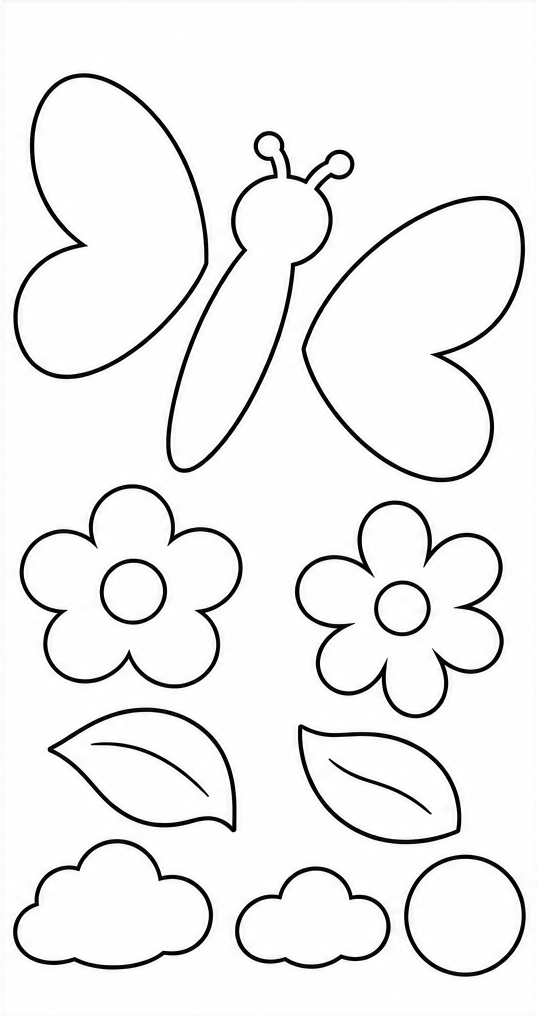
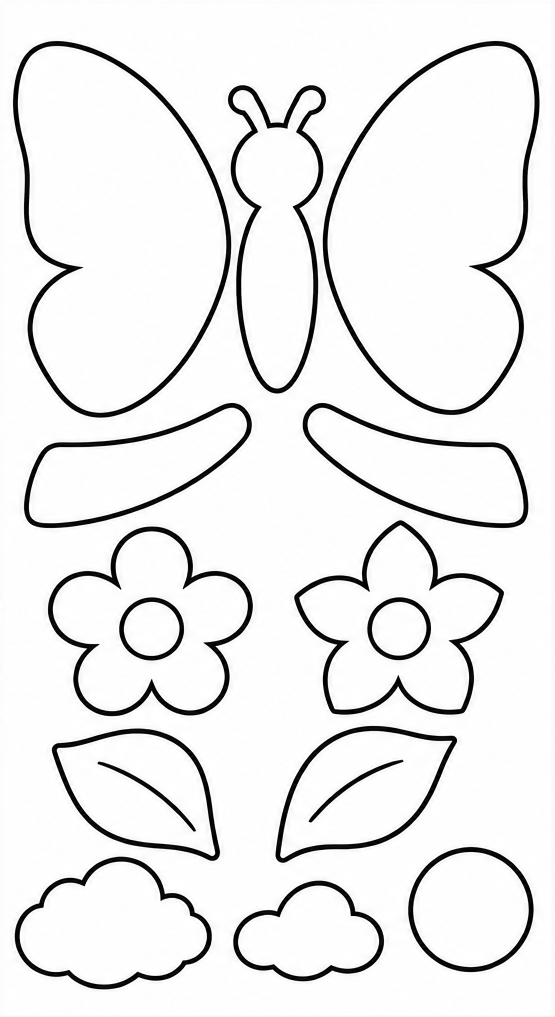
Meadow butterfly — all pieces to cut out
Pieces

Meadow butterfly

Color kit · Pieces: 10

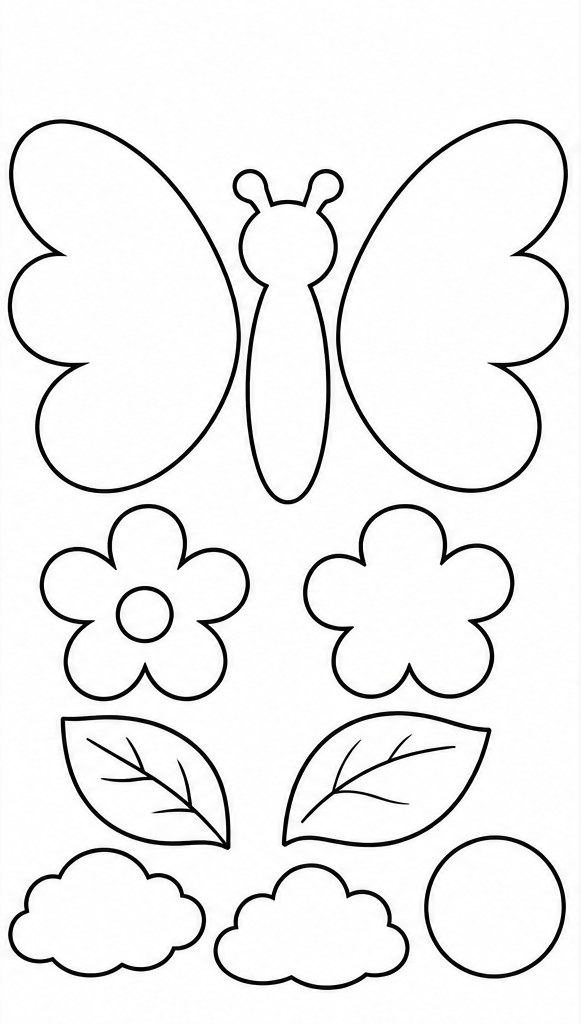
Butterfly + 7 scenery pieces: 2 flowers, 2 leaves, 2 clouds, a sun.

Arrange every piece without glue, then glue in layer order.

Background, pieces and layer order
  1. Two wings side by side, inner edges toward the center.
  2. Body over the inner wing edges.
  3. Place two flowers and two leaves in open ground space.
  4. Place two clouds and the sun in the sky; choose your own positions.

Check: all pieces have a place and the body stays visible. If a join shows, slide the wing farther under the body before gluing.

Background · PNG · Pieces · PNG · Example · PNG

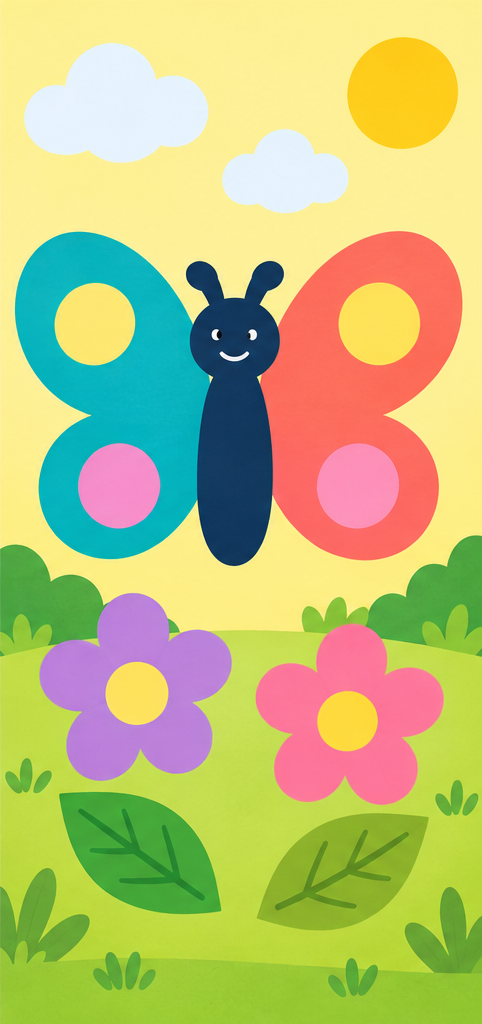
Round-wing butterfly — assembly example
Example
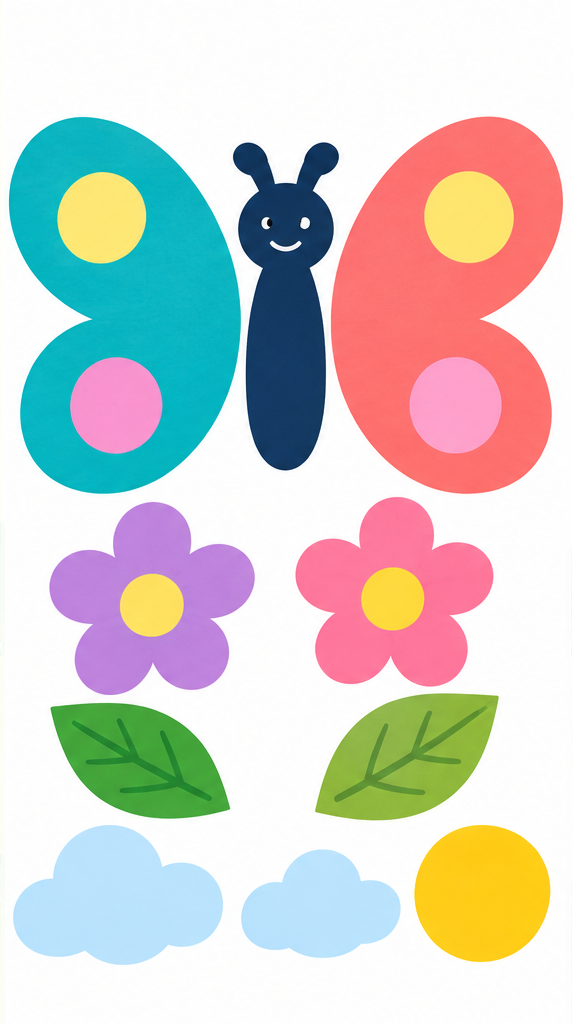
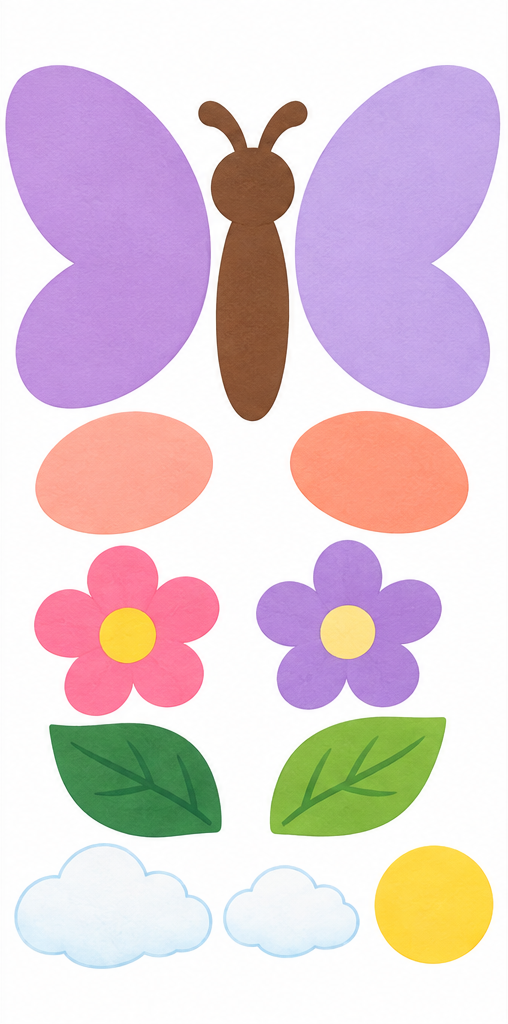
Round-wing butterfly — all pieces to cut out
Pieces

Round-wing butterfly

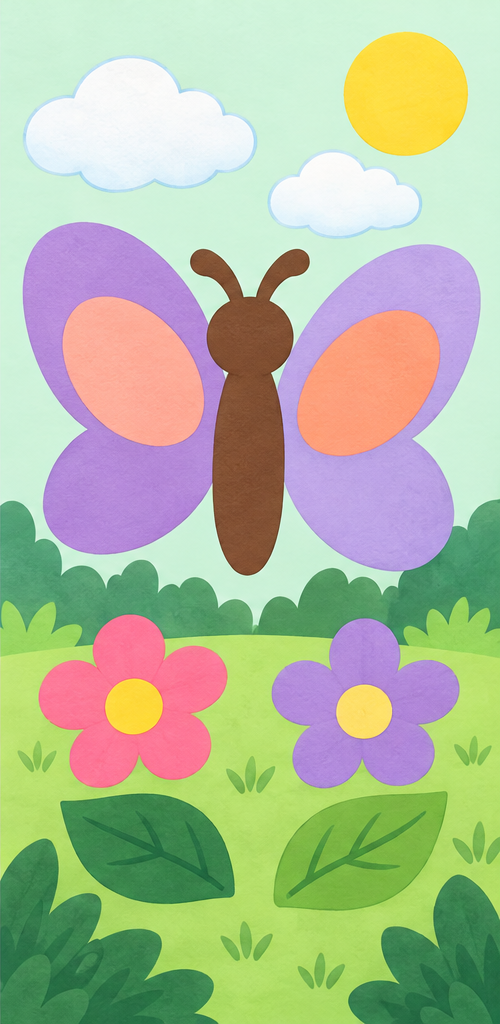
Color kit · Pieces: 10

Butterfly + 7 scenery pieces: 2 flowers, 2 leaves, 2 clouds, a sun.

Arrange every piece without glue, then glue in layer order.

Background, pieces and layer order
  1. Two wings side by side, inner edges toward the center.
  2. Body over the inner wing edges.
  3. Place two flowers and two leaves in open ground space.
  4. Place two clouds and the sun in the sky; choose your own positions.

Check: all pieces have a place and the body stays visible. If a join shows, slide the wing farther under the body before gluing.

Background · PNG · Pieces · PNG · Example · PNG

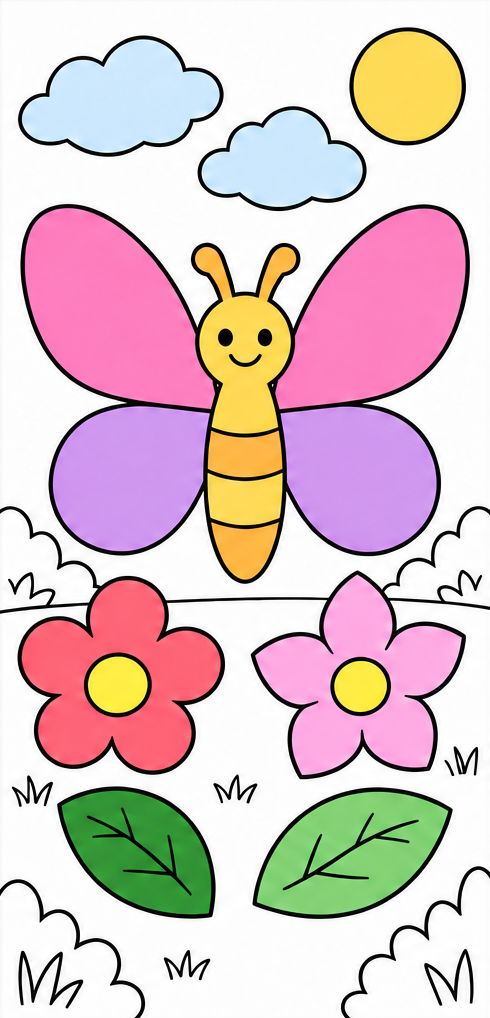
Four-wing butterfly — assembly example
Example
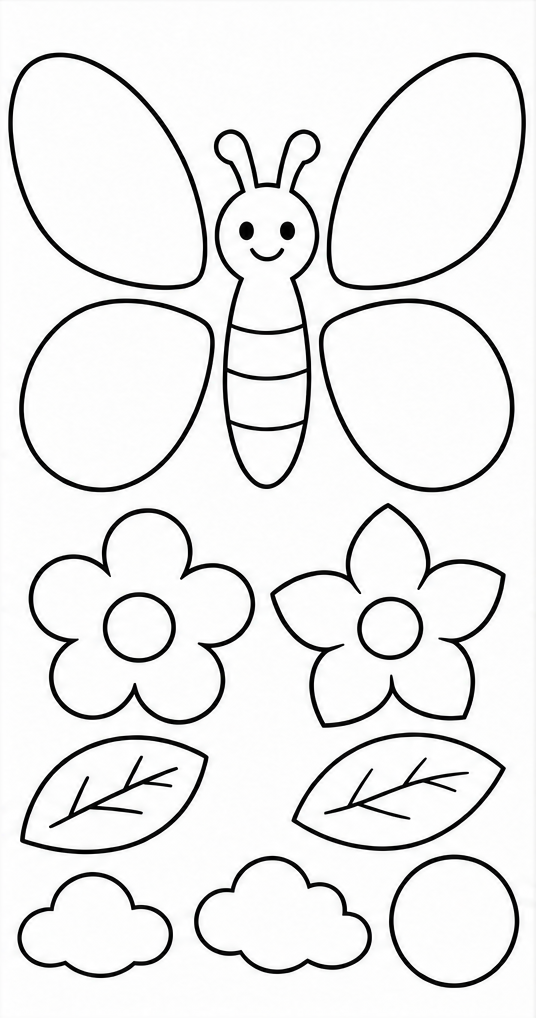
Four-wing butterfly — all pieces to cut out
Pieces

Four-wing butterfly

Color kit · Pieces: 12

Butterfly + 7 scenery pieces: 2 flowers, 2 leaves, 2 clouds, a sun.

Arrange every piece without glue, then glue in layer order.

Background, pieces and layer order
  1. Lower wings, then upper wings, toward the background center.
  2. Body over the inner edges of all four wings.
  3. Place two flowers and two leaves in open ground space.
  4. Place two clouds and the sun in the sky; choose your own positions.

Check: all pieces have a place and the body stays visible. If a join shows, slide the wing farther under the body before gluing.

Background · PNG · Pieces · PNG · Example · PNG

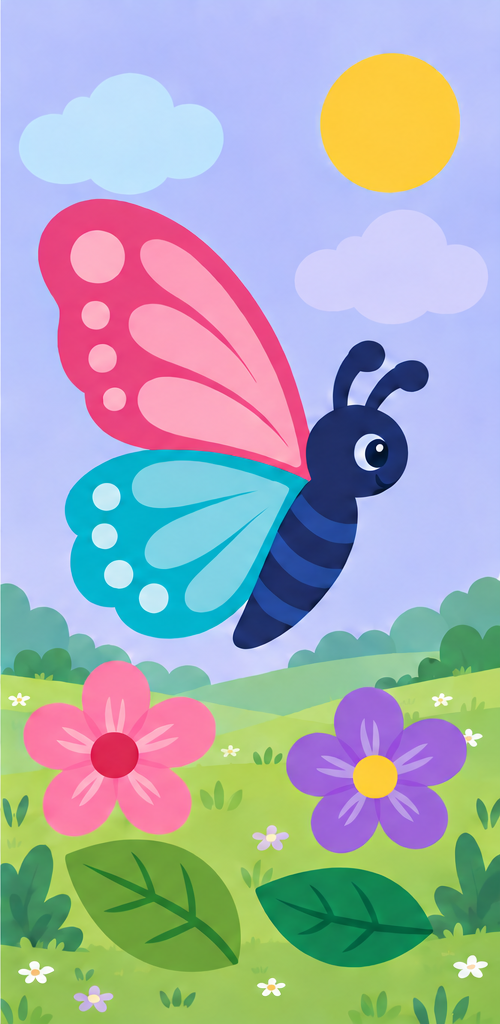
Butterfly in flight — assembly example
Example
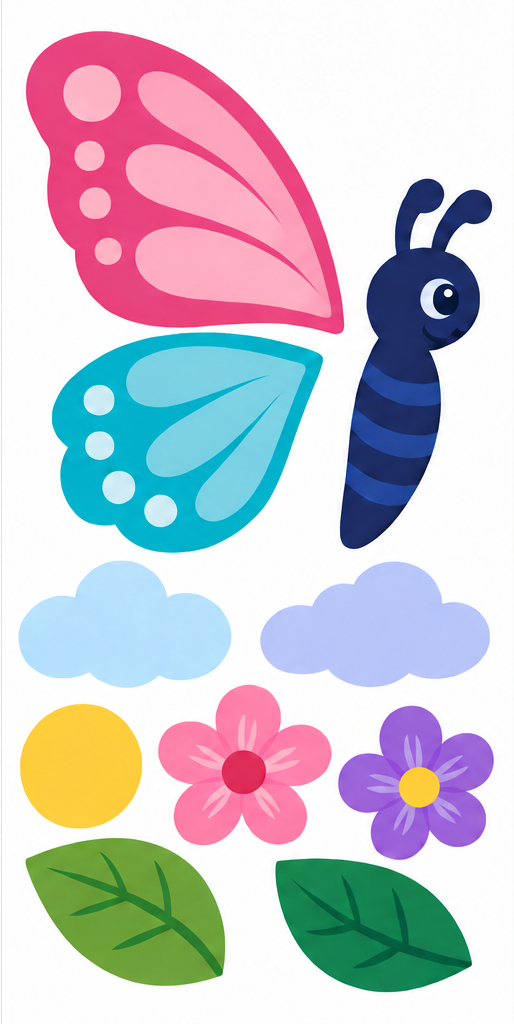
Butterfly in flight — all pieces to cut out
Pieces

Butterfly in flight

Color kit · Pieces: 10

Butterfly + 7 scenery pieces: 2 flowers, 2 leaves, 2 clouds, a sun.

Arrange every piece without glue, then glue in layer order.

Background, pieces and layer order
  1. Two wings side by side, inner edges toward the center.
  2. Body over the inner wing edges.
  3. Place two flowers and two leaves in open ground space.
  4. Place two clouds and the sun in the sky; choose your own positions.

Check: all pieces have a place and the body stays visible. If a join shows, slide the wing farther under the body before gluing.

Background · PNG · Pieces · PNG · Example · PNG

Scalloped butterfly — assembly example
Example
Scalloped butterfly — all pieces to cut out
Pieces

Scalloped butterfly

Color kit · Pieces: 10

Butterfly + 7 scenery pieces: 2 flowers, 2 leaves, 2 clouds, a sun.

Arrange every piece without glue, then glue in layer order.

Background, pieces and layer order
  1. Two wings side by side, inner edges toward the center.
  2. Body over the inner wing edges.
  3. Place two flowers and two leaves in open ground space.
  4. Place two clouds and the sun in the sky; choose your own positions.

Check: all pieces have a place and the body stays visible. If a join shows, slide the wing farther under the body before gluing.

Background · PNG · Pieces · PNG · Example · PNG

Patchwork butterfly — assembly example
Example
Patchwork butterfly — all pieces to cut out
Pieces

Patchwork butterfly

Color kit · Pieces: 12

Butterfly + 7 scenery pieces: 2 flowers, 2 leaves, 2 clouds, a sun.

Arrange every piece without glue, then glue in layer order.

Background, pieces and layer order
  1. Two wings side by side, inner edges toward the center.
  2. Body over the join; two patches on the wings.
  3. Place two flowers and two leaves in open ground space.
  4. Place two clouds and the sun in the sky; choose your own positions.

Check: all pieces have a place and the body stays visible. If a join shows, slide the wing farther under the body before gluing.

Background · PNG · Pieces · PNG · Example · PNG

Oval-wing butterfly — assembly example
Example
Oval-wing butterfly — all pieces to cut out
Pieces

Oval-wing butterfly

Color-in kit · Pieces: 10

Butterfly + 7 scenery pieces: 2 flowers, 2 leaves, 2 clouds, a sun.

Color before cutting. Arrange every piece without glue, then glue in layer order.

Background, pieces and layer order
  1. Two wings side by side, inner edges toward the center.
  2. Body over the inner wing edges.
  3. Place two flowers and two leaves in open ground space.
  4. Place two clouds and the sun in the sky; choose your own positions.

Check: all pieces have a place and the body stays visible. If a join shows, slide the wing farther under the body before gluing.

Background · PNG · Pieces · PNG · Example · PNG

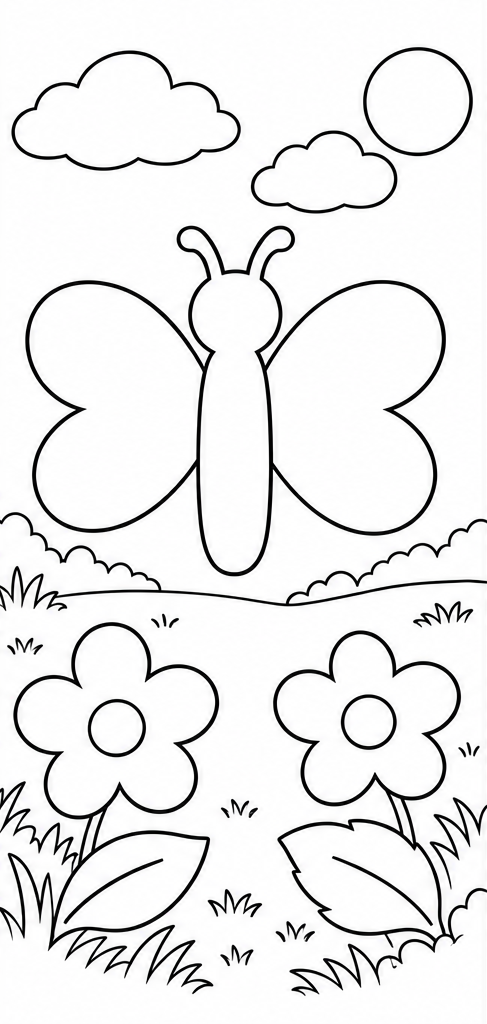
Fan-wing butterfly — assembly example
Example
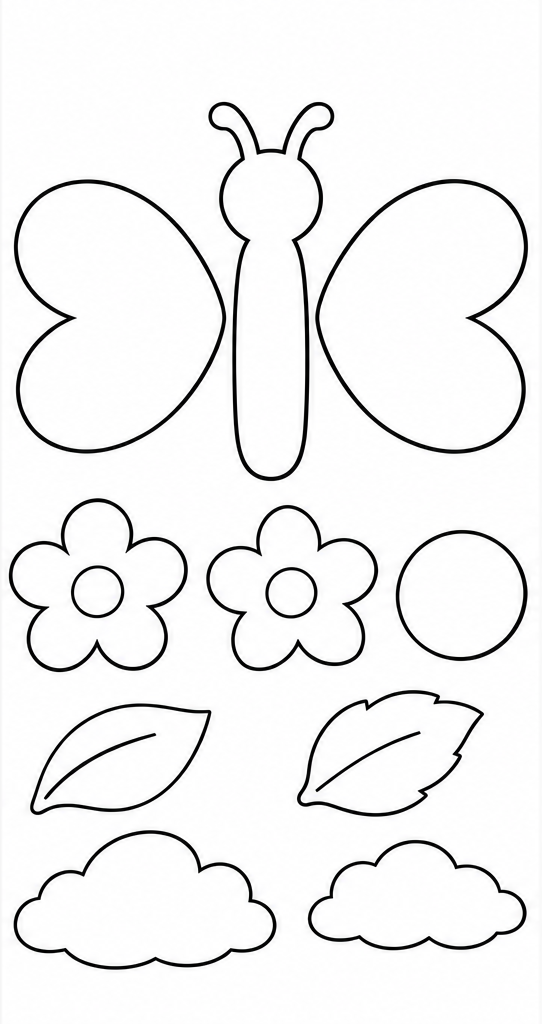
Fan-wing butterfly — all pieces to cut out
Pieces

Fan-wing butterfly

Color-in kit · Pieces: 10

Butterfly + 7 scenery pieces: 2 flowers, 2 leaves, 2 clouds, a sun.

Color before cutting. Arrange every piece without glue, then glue in layer order.

Background, pieces and layer order
  1. Two wings side by side, inner edges toward the center.
  2. Body over the inner wing edges.
  3. Place two flowers and two leaves in open ground space.
  4. Place two clouds and the sun in the sky; choose your own positions.

Check: all pieces have a place and the body stays visible. If a join shows, slide the wing farther under the body before gluing.

Background · PNG · Pieces · PNG · Example · PNG

Little butterfly flight — assembly example
Example
Little butterfly flight — all pieces to cut out
Pieces

Little butterfly flight

Color-in kit · Pieces: 10

Butterfly + 7 scenery pieces: 2 flowers, 2 leaves, 2 clouds, a sun.

Color before cutting. Arrange every piece without glue, then glue in layer order.

Background, pieces and layer order
  1. Two wings side by side, inner edges toward the center.
  2. Body over the inner wing edges.
  3. Place two flowers and two leaves in open ground space.
  4. Place two clouds and the sun in the sky; choose your own positions.

Check: all pieces have a place and the body stays visible. If a join shows, slide the wing farther under the body before gluing.

Background · PNG · Pieces · PNG · Example · PNG

Petal-wing butterfly — assembly example
Example
Petal-wing butterfly — all pieces to cut out
Pieces

Petal-wing butterfly

Color-in kit · Pieces: 12

Butterfly + 7 scenery pieces: 2 flowers, 2 leaves, 2 clouds, a sun.

Color before cutting. Arrange every piece without glue, then glue in layer order.

Background, pieces and layer order
  1. Lower wings, then upper wings, toward the background center.
  2. Body over the inner edges of all four wings.
  3. Place two flowers and two leaves in open ground space.
  4. Place two clouds and the sun in the sky; choose your own positions.

Check: all pieces have a place and the body stays visible. If a join shows, slide the wing farther under the body before gluing.

Background · PNG · Pieces · PNG · Example · PNG

Heart-wing butterfly — assembly example
Example
Heart-wing butterfly — all pieces to cut out
Pieces

Heart-wing butterfly

Color-in kit · Pieces: 10

Butterfly + 7 scenery pieces: 2 flowers, 2 leaves, 2 clouds, a sun.

Color before cutting. Arrange every piece without glue, then glue in layer order.

Background, pieces and layer order
  1. Two wings side by side, inner edges toward the center.
  2. Body over the inner wing edges.
  3. Place two flowers and two leaves in open ground space.
  4. Place two clouds and the sun in the sky; choose your own positions.

Check: all pieces have a place and the body stays visible. If a join shows, slide the wing farther under the body before gluing.

Background · PNG · Pieces · PNG · Example · PNG

Striped butterfly — assembly example
Example
Striped butterfly — all pieces to cut out
Pieces

Striped butterfly

Color-in kit · Pieces: 12

Butterfly + 7 scenery pieces: 2 flowers, 2 leaves, 2 clouds, a sun.

Color before cutting. Arrange every piece without glue, then glue in layer order.

Background, pieces and layer order
  1. Two wings side by side, inner edges toward the center.
  2. Body over the join; two patches on the wings.
  3. Place two flowers and two leaves in open ground space.
  4. Place two clouds and the sun in the sky; choose your own positions.

Check: all pieces have a place and the body stays visible. If a join shows, slide the wing farther under the body before gluing.

Background · PNG · Pieces · PNG · Example · PNG

Choose a butterfly construction

These twelve kits make flat pictures by gluing separate pieces onto a background. Six designs are already colored; six have white interiors for coloring. Each butterfly has its own construction: rounded wings, four separate wings, a sideways flight, broad patches or heart-shaped wings. Choose the shape you want to assemble rather than treating the outline sets as copies of the colored ones.

Every kit also includes seven scenery pieces: two different flowers, two leaves, two clouds and a sun. These are pieces to cut out, not decorations already printed on the background. The example suggests one arrangement. You can move the scenery to tell a different story while keeping the butterfly's layers in order.

Prepare the two sheets

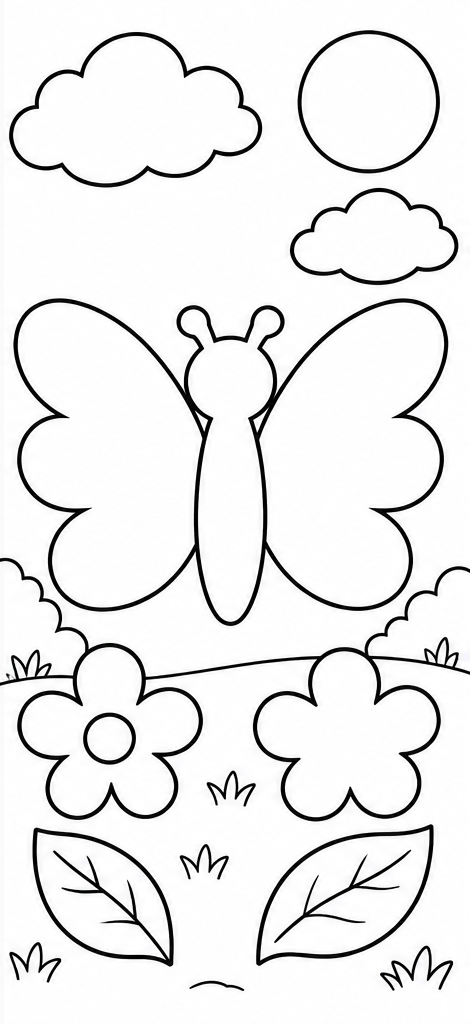
Download A4 or Letter to match your printer paper. Each PDF has exactly two pages: the background stays whole; the second page holds cutting pieces, a small reference picture and numbered instructions. Print both pages at 100 percent with the same settings so the butterfly fits its background. The reference is a miniature, not another cutting piece.

You need child scissors, a glue stick and pencils or felt pens for the outline designs. Work seated at a clear table with adult supervision. Color the pieces before cutting, when the sheet is easier to hold. An adult can prepare the shapes while the child chooses their places. Keep the seven small scenery pieces in a shallow tray.

Cut broad shapes and test the layers

Cut around each outside edge, turning the paper toward the scissors rather than twisting your wrist. The lines inside a wing are printed details; do not split the wing along them. The face stays inside the body. Leave a small white margin if a curved edge is difficult, and ask an adult to help with tight turns.

Arrange everything without glue first. Put the wings behind the body and overlap their inner edges slightly. For four-wing designs, place the lower wings first and tuck the upper wings above them. For patch designs, place each large patch on its corresponding wing. Check that all main pieces have a place and the face stays visible. If a join shows, slide that wing farther beneath the body before gluing.

Keep a broad white margin around antennae: cut them with the head as one rounded piece, without narrow bridges. A colored reference on an outline kit is a suggestion; choose your own colors. Some bodies are deliberately plain. You can draw a face before cutting if you want one, keeping the face inside the body.

Make room for your own meadow

Treat the butterfly as the main object. Try one flower on each side and a leaf near each flower; then choose where the two clouds and sun belong. Leave open space between objects. This makes each shape easier to see and leaves room for a different arrangement. Count seven scenery pieces before you apply glue.

Glue the background layers first, using a thin coat on the reverse of each piece. Press gently on a clean sheet of scrap paper. If a corner lifts, add a little glue under that corner rather than coating the whole picture again. Check the example for layer order, but use your own decisions for the scenery.

For an independent second picture, change three positions without copying the miniature: move the butterfly toward one side, group the flowers below it, and leave an open area of sky. Explain which object should attract attention first. Keep every printed piece and compare how the two arrangements tell different stories.

Applique questions

How many pages are in each PDF?

Exactly two: a whole background and a cutting sheet with a small example. There are 12 distinct kits: 6 color and 6 outline.

Do we cut the patterns inside the wings?

No. Cut the outside contour. Only the separate large patches in two projects are cut and glued over the wings.

Can I move the flowers?

Yes. Arrange all seven scenery pieces yourself. Keep the butterfly layer order and leave open space between objects.

How do I print A4 and Letter?

Choose your printer paper size and print both pages at 100%. Keep the same scale for the background and pieces.