 kiduverse


Cutting practice: 24 free printables
24 free practice sheets: straight paths, corners, curves, shapes and first cut-and-paste crafts. A4 and US Letter PDFs, no sign-up.
Free printable cutting practice sheets and illustrated paper craft projects. A4 and Letter PDFs, no sign-up.
Scissors with a grown-up. Use child scissors with rounded tips and cut while seated at a table. If a child is not ready yet, an adult cuts while the child colors and assembles.
Choose A4 or US Letter. Print at 100%, with scaling off. Ordinary printer paper works.
Color black-and-white sheets first. Cut outer borders; follow dashed lines on the practice paths.
Arrange pieces before gluing. Try a new arrangement or tell a story about your creation.
Choose a theme, from first cuts to illustrated paper assembly projects.
24 free practice sheets: straight paths, corners, curves, shapes and first cut-and-paste crafts. A4 and US Letter PDFs, no sign-up.
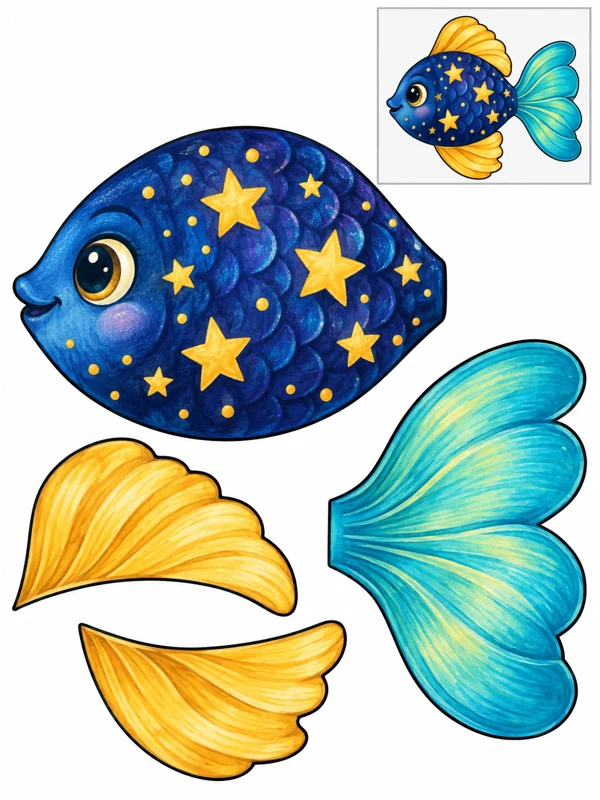
Make paper fish with 24 original illustrated templates: 12 black-and-white and 12 colorful projects. Free A4 and Letter PDFs, assembly examples and practical instructions.
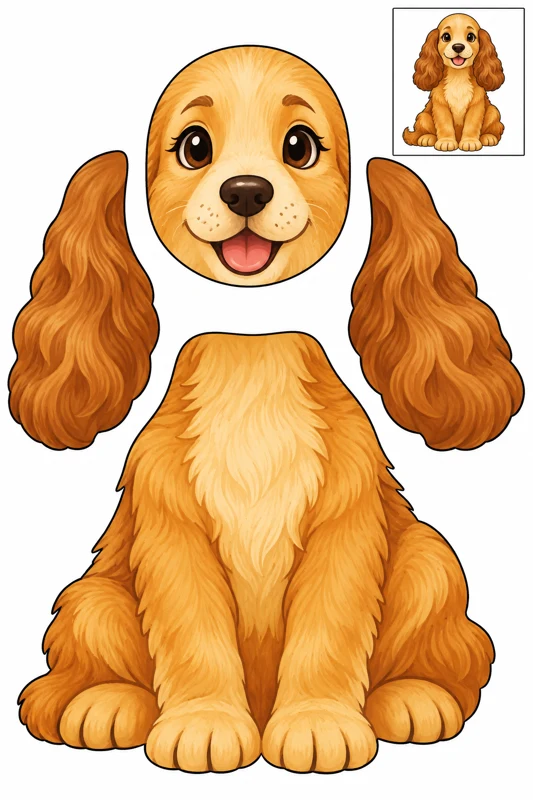
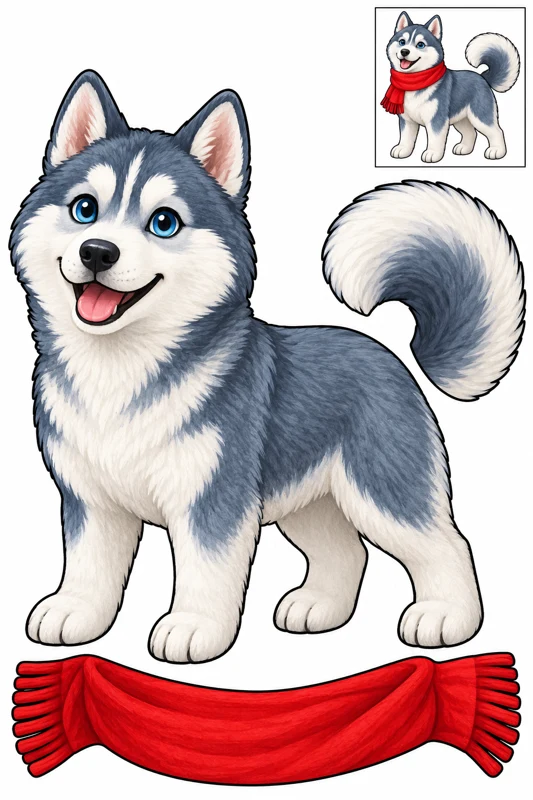
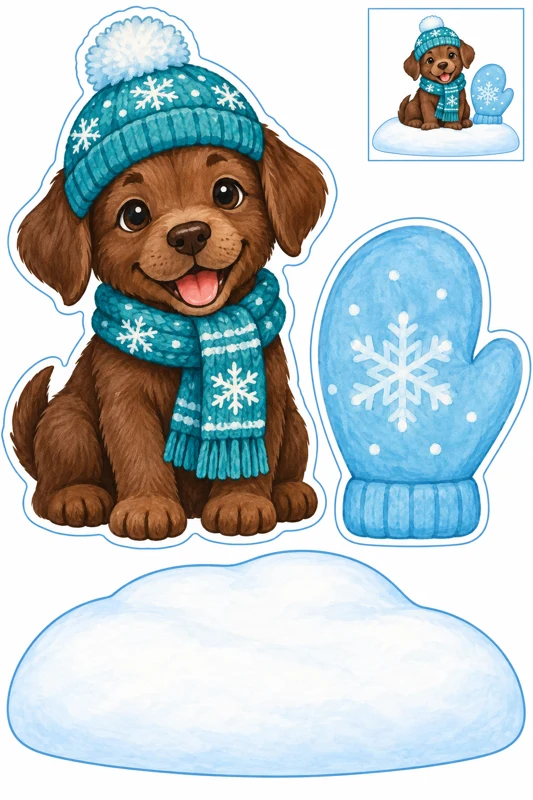
24 original puppy paper projects: 12 black-and-white and 12 full-color designs, plus whole-dog collage sheets. Free A4 and Letter PDFs with assembly examples.
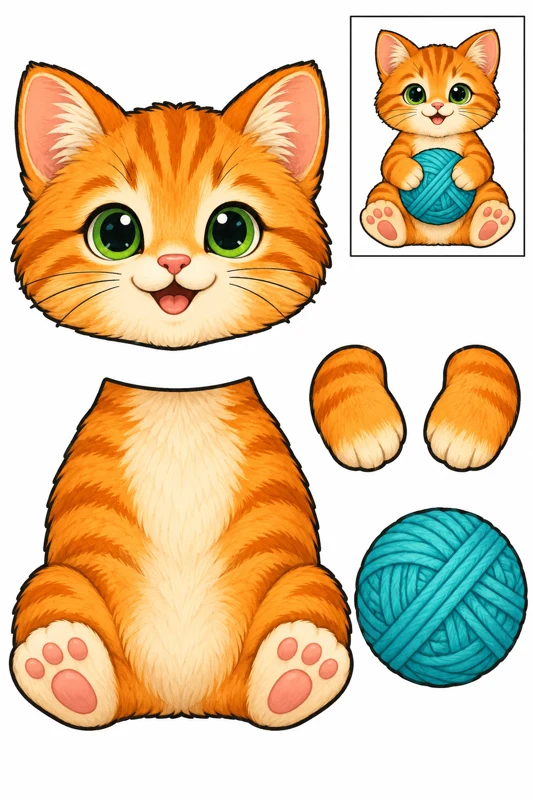
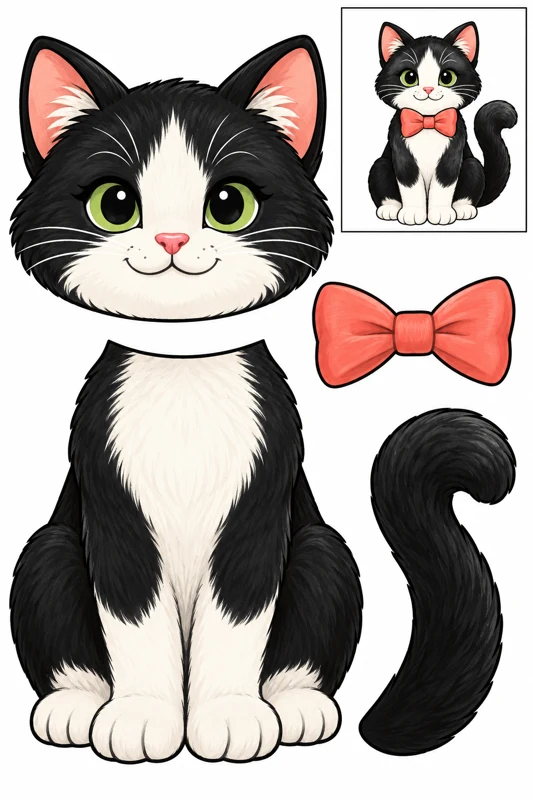
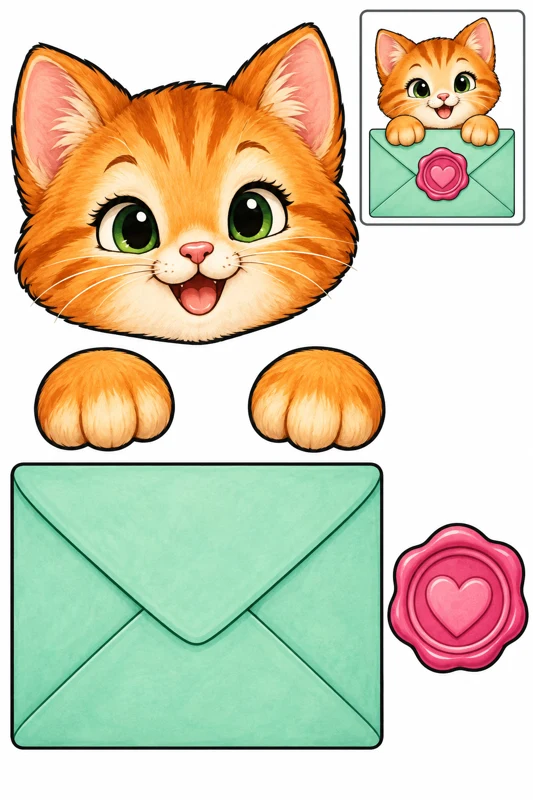
24 different cat crafts: 12 black-and-white and 12 colorful projects, plus three whole-kitten sheets. Free EN/RU A4 and Letter PDFs with assembly examples.
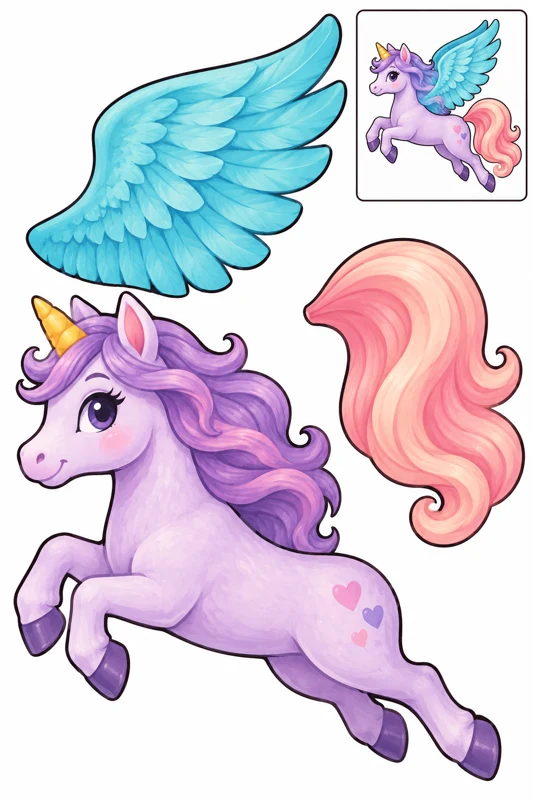
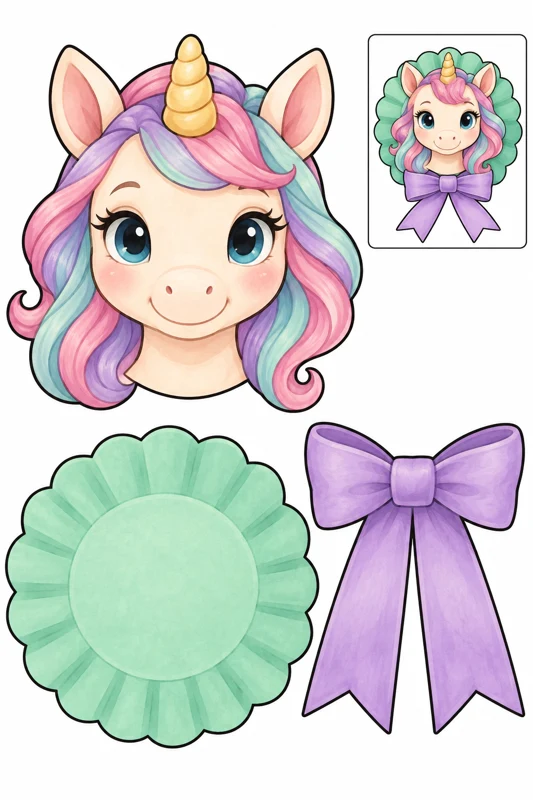
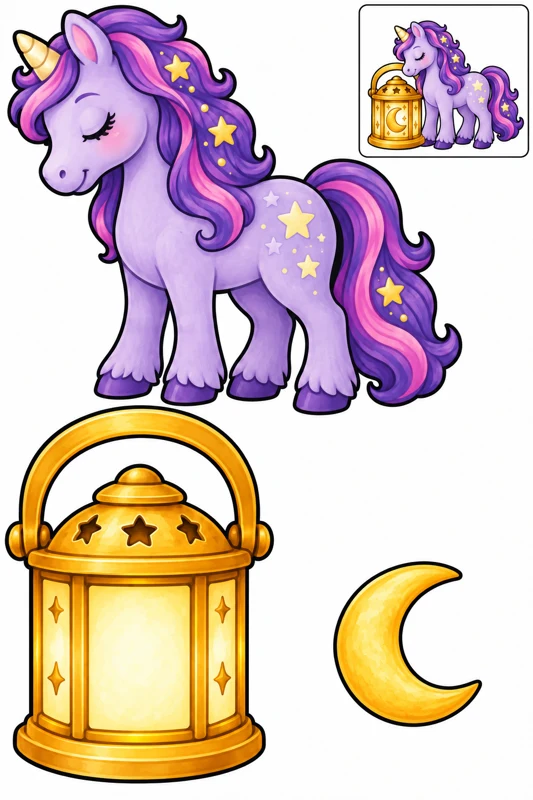
12 black-and-white and 12 full-color unicorn projects, plus whole-character sheets. Free one-page A4 and US Letter PDFs with assembly instructions.
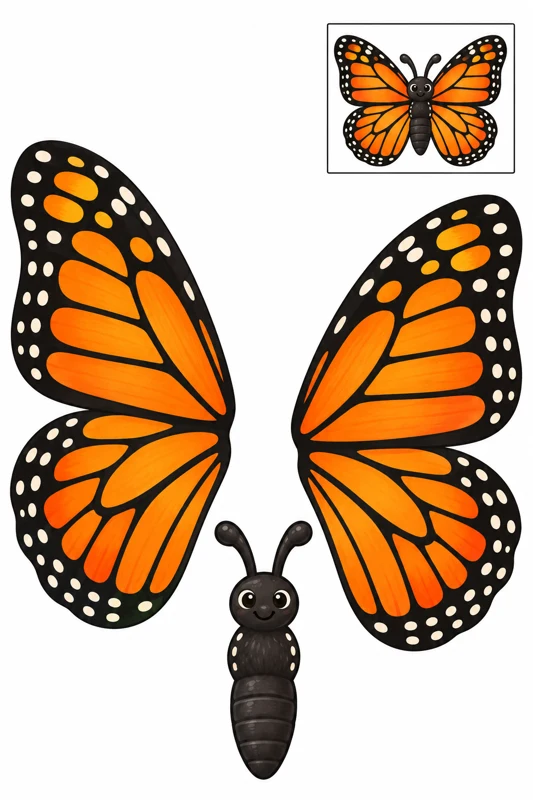
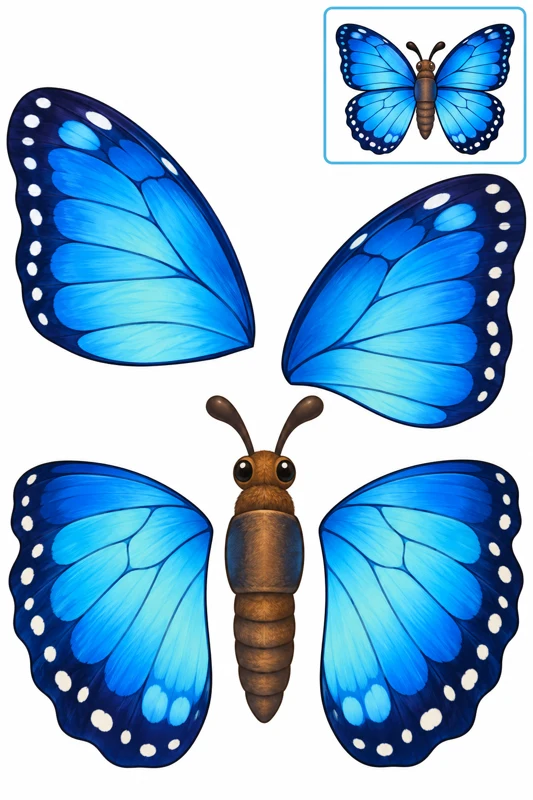
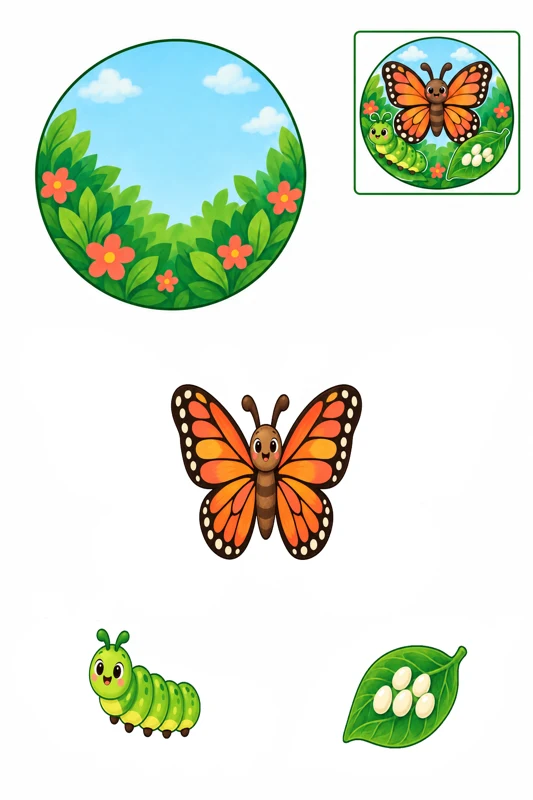
12 black-and-white and 12 full-color butterfly projects, plus whole-character sheets. Free one-page A4 and US Letter PDFs with assembly instructions.
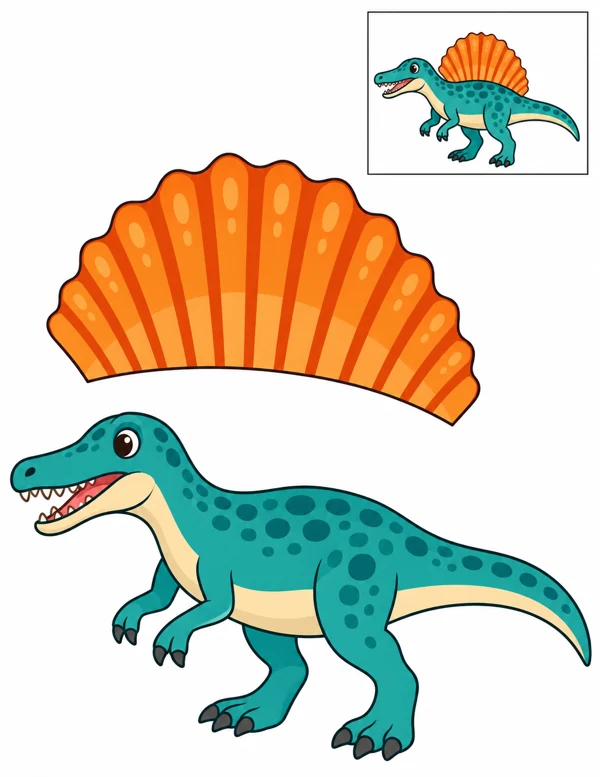
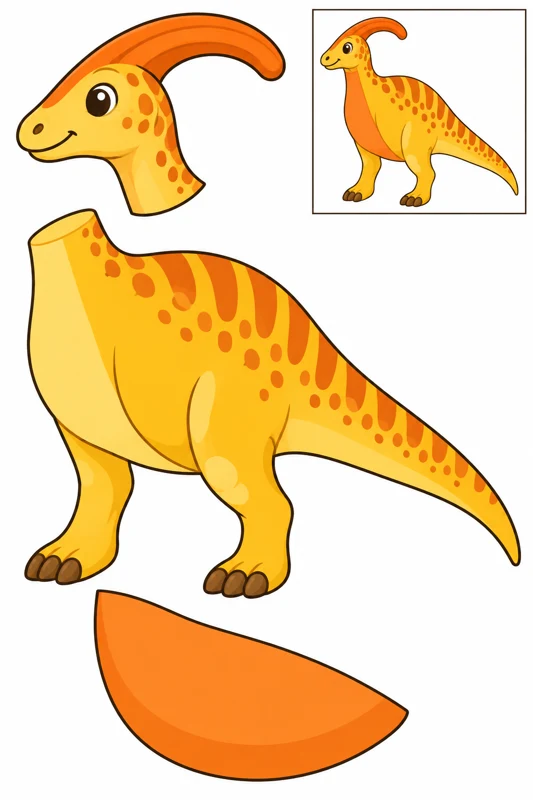
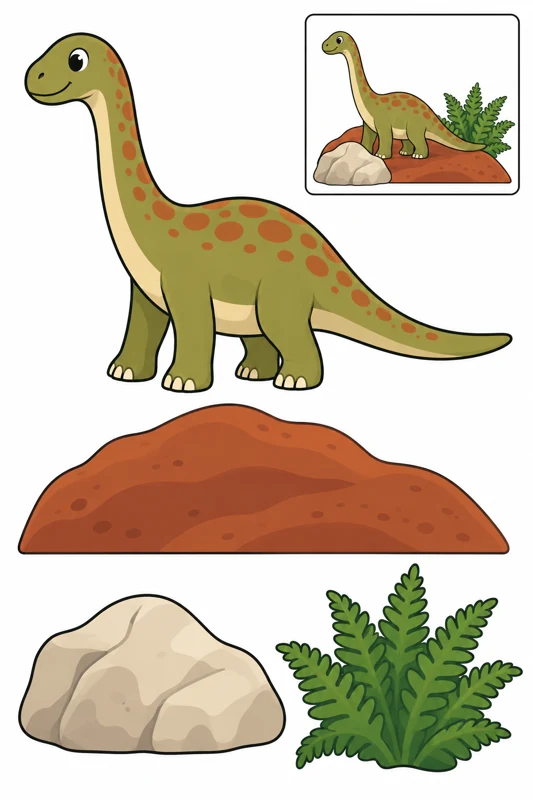
12 black-and-white and 12 full-color dinosaur projects, plus whole-character sheets. Free one-page A4 and US Letter PDFs with assembly instructions.
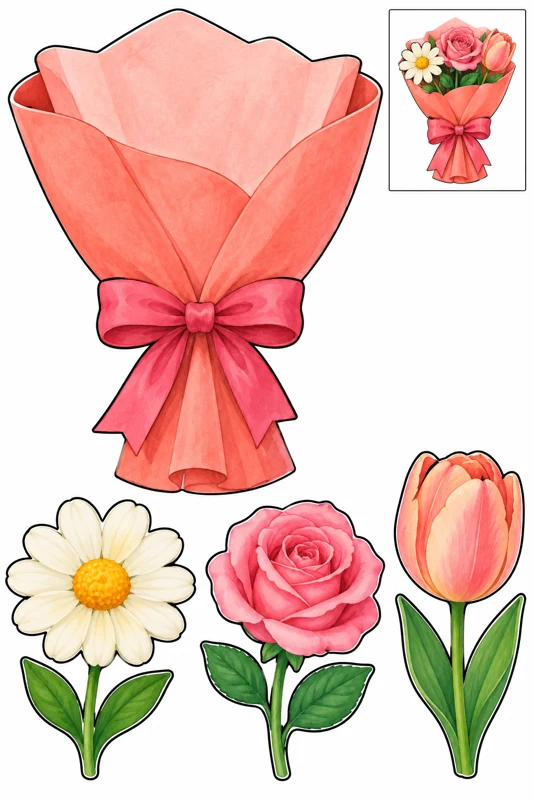
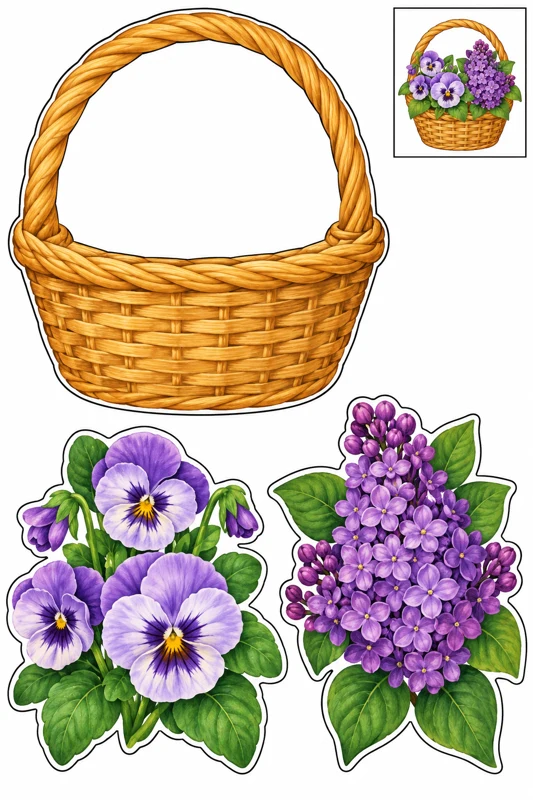
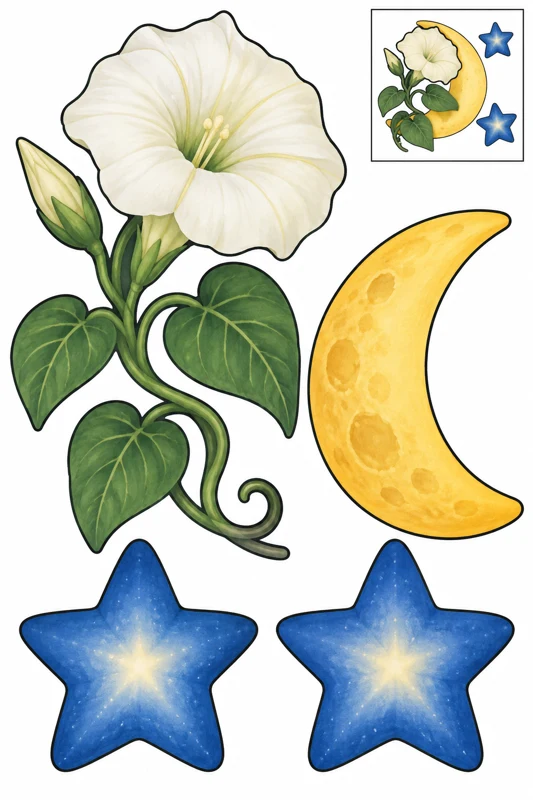
12 black-and-white and 12 full-color flower projects, plus whole-flower sheets. Free one-page A4 PDFs with assembly instructions.
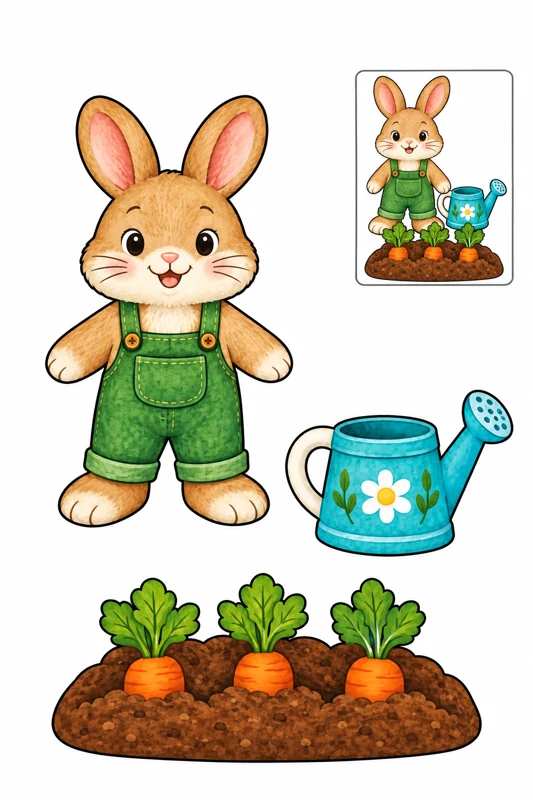
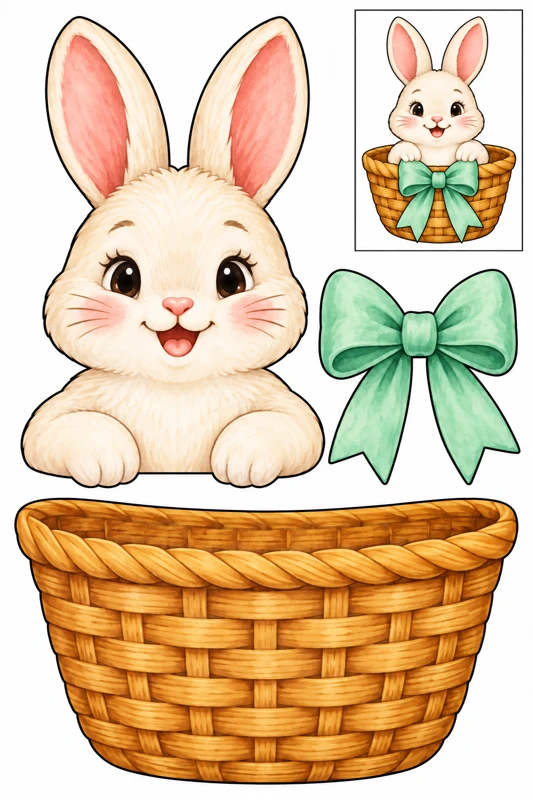
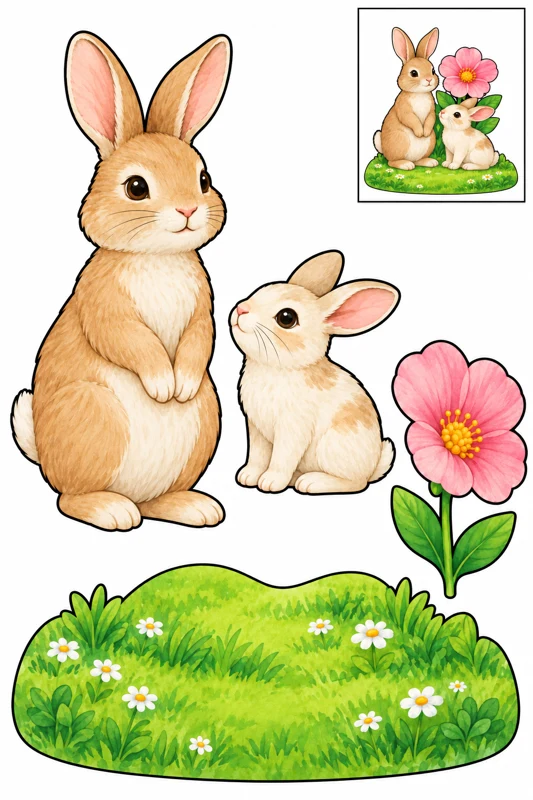
12 black-and-white and 12 full-color bunny projects, plus whole-bunny sheets. Free one-page A4 PDFs with assembly instructions.
216 printables
Black and white — color before cutting.
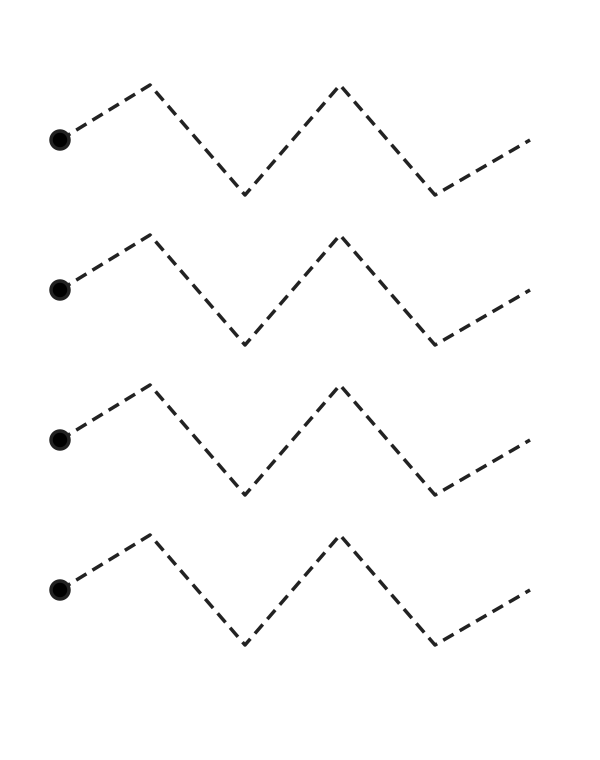
An adult can separate the page into strips. Start at a dot and follow the dashed path with short cuts. Stop before a turn, rotate the paper and continue.
Check: Can you guide the scissors comfortably? If it is difficult, an adult can shorten a strip, cut a tricky curve or offer straight paths. Pieces should be fully separated and arranged as intended before gluing.
Black and white — color before cutting.
An adult can separate the page into strips. Start at a dot and follow the dashed path with short cuts. Stop before a turn, rotate the paper and continue.
Check: Can you guide the scissors comfortably? If it is difficult, an adult can shorten a strip, cut a tricky curve or offer straight paths. Pieces should be fully separated and arranged as intended before gluing.
Black and white — color before cutting.
An adult can separate the page into strips. Start at a dot and follow the dashed path with short cuts. Stop before a turn, rotate the paper and continue.
Check: Can you guide the scissors comfortably? If it is difficult, an adult can shorten a strip, cut a tricky curve or offer straight paths. Pieces should be fully separated and arranged as intended before gluing.
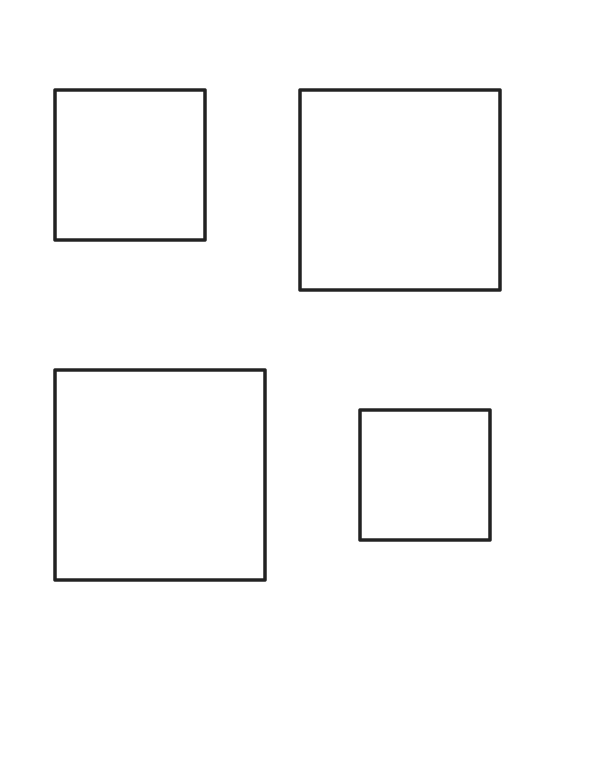
Black and white — color before cutting.
Cut the shapes and arrange them on another sheet. Make a city with squares, a forest with triangles or a collage with circles. Invent another picture using the same pieces.
Check: Can you guide the scissors comfortably? If it is difficult, an adult can shorten a strip, cut a tricky curve or offer straight paths. Pieces should be fully separated and arranged as intended before gluing.
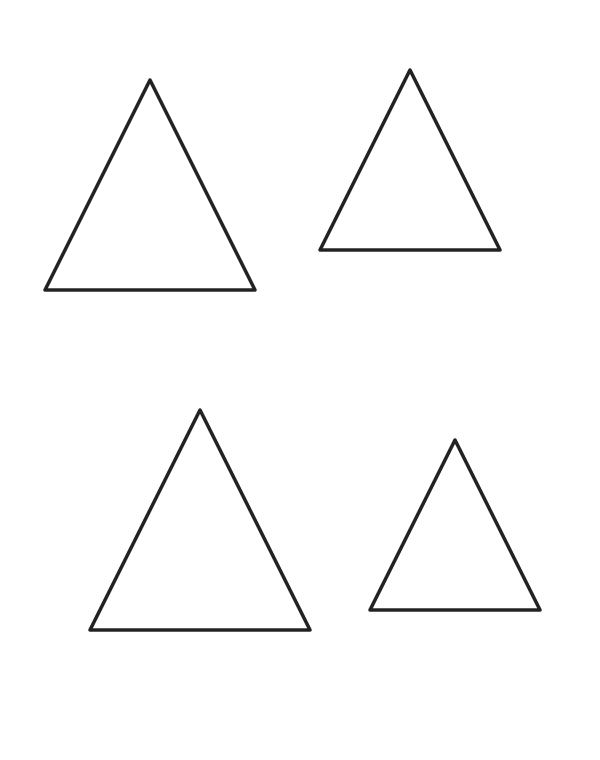
Black and white — color before cutting.
Cut the shapes and arrange them on another sheet. Make a city with squares, a forest with triangles or a collage with circles. Invent another picture using the same pieces.
Check: Can you guide the scissors comfortably? If it is difficult, an adult can shorten a strip, cut a tricky curve or offer straight paths. Pieces should be fully separated and arranged as intended before gluing.
Black and white — color before cutting.
Cut the shapes and arrange them on another sheet. Make a city with squares, a forest with triangles or a collage with circles. Invent another picture using the same pieces.
Check: Can you guide the scissors comfortably? If it is difficult, an adult can shorten a strip, cut a tricky curve or offer straight paths. Pieces should be fully separated and arranged as intended before gluing.
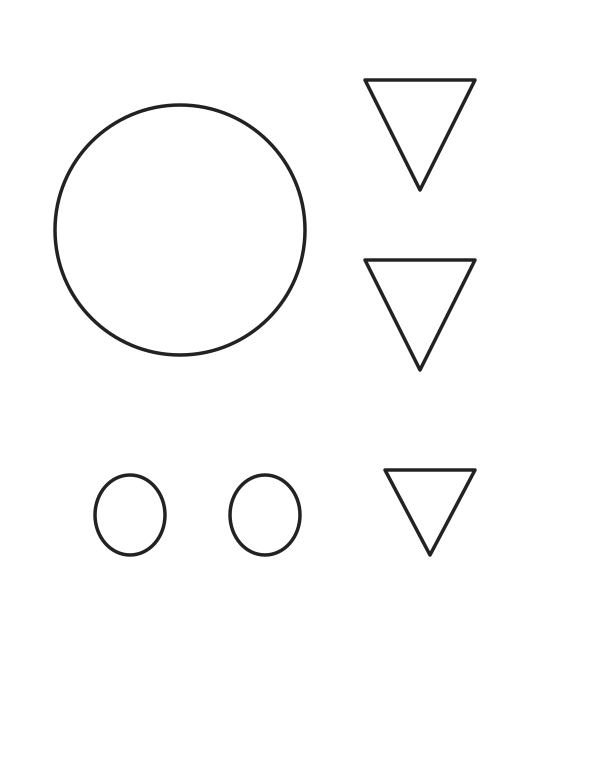
Black and white — color before cutting.
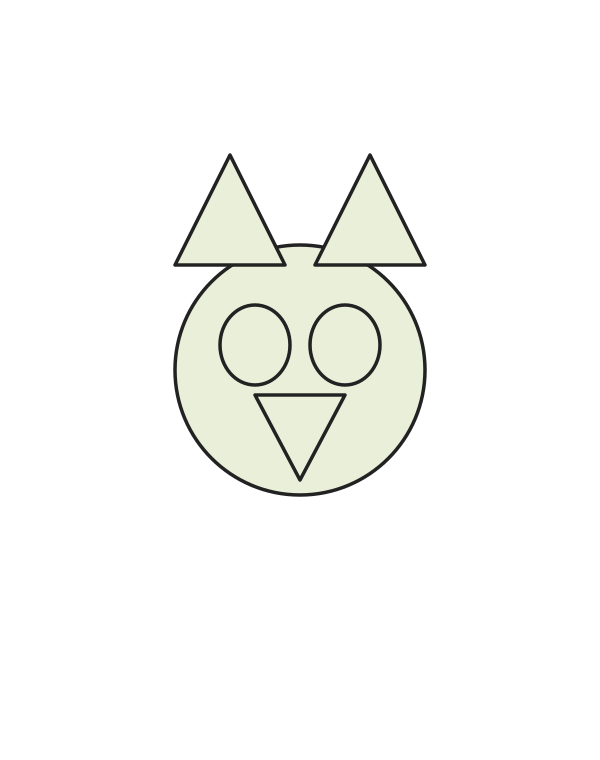
This is an assembly example, not a cutting template. You can arrange the pieces differently.
The large circle is the head. Add two ears (large eyes for the owl), then the small eyes and triangle nose or beak. Glue onto a separate sheet.
Check: Can you guide the scissors comfortably? If it is difficult, an adult can shorten a strip, cut a tricky curve or offer straight paths. Pieces should be fully separated and arranged as intended before gluing.
Black and white — color before cutting.
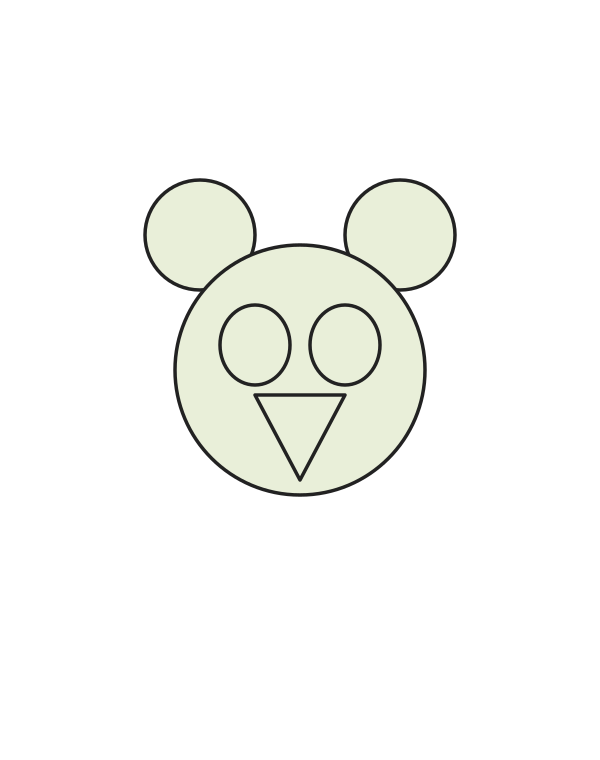
This is an assembly example, not a cutting template. You can arrange the pieces differently.
The large circle is the head. Add two ears (large eyes for the owl), then the small eyes and triangle nose or beak. Glue onto a separate sheet.
Check: Can you guide the scissors comfortably? If it is difficult, an adult can shorten a strip, cut a tricky curve or offer straight paths. Pieces should be fully separated and arranged as intended before gluing.
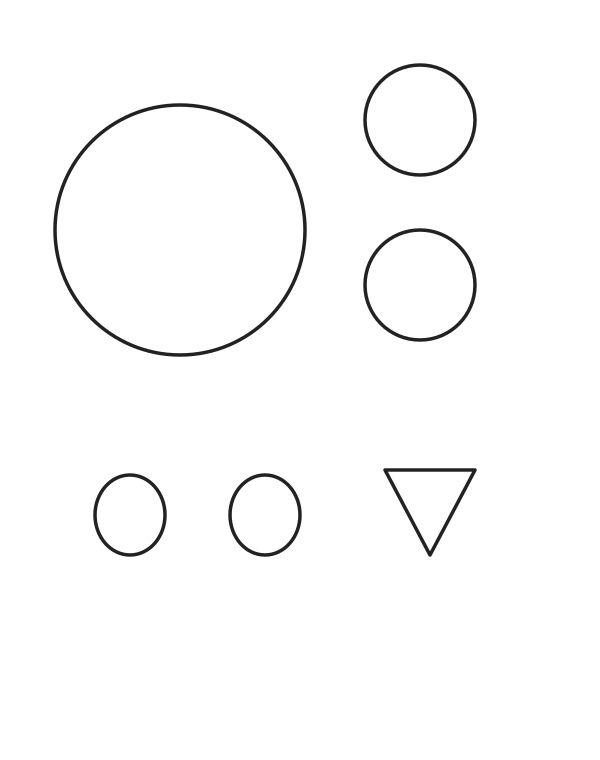
Black and white — color before cutting.
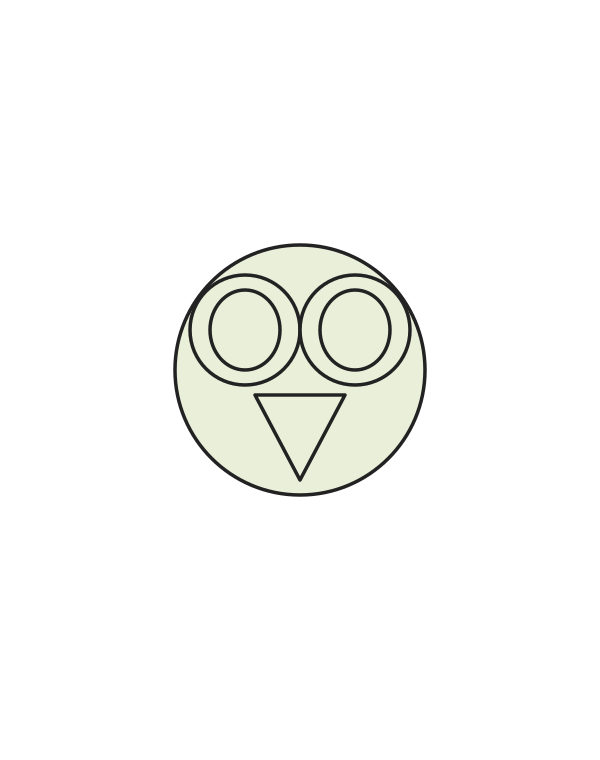
This is an assembly example, not a cutting template. You can arrange the pieces differently.
The large circle is the head. Add two ears (large eyes for the owl), then the small eyes and triangle nose or beak. Glue onto a separate sheet.
Check: Can you guide the scissors comfortably? If it is difficult, an adult can shorten a strip, cut a tricky curve or offer straight paths. Pieces should be fully separated and arranged as intended before gluing.
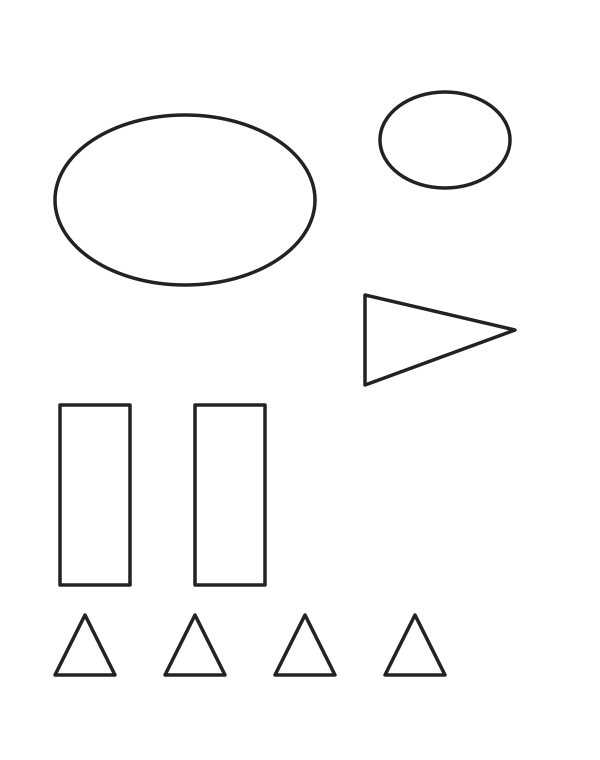
Black and white — color before cutting.
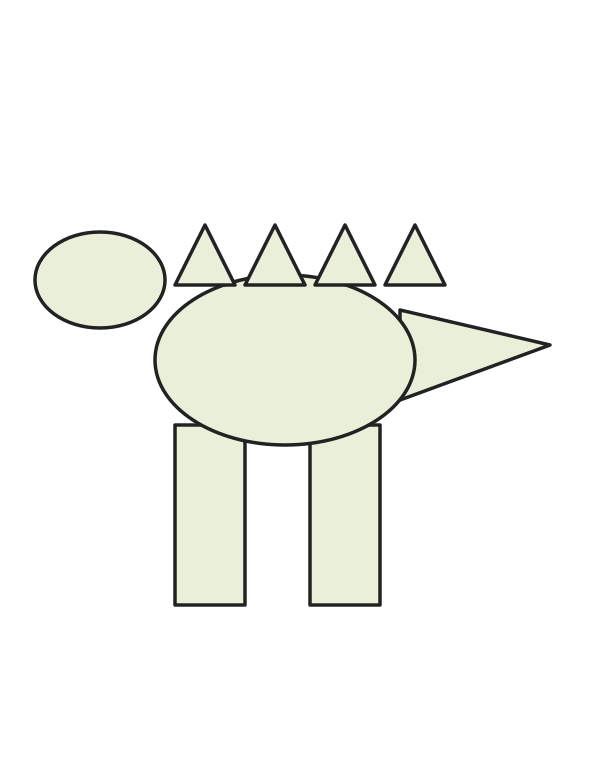
This is an assembly example, not a cutting template. You can arrange the pieces differently.
The big oval is the body and the small oval is the head. Rectangles make legs; the triangle is a tail. Add the long neck or the back plates on the matching project. Try the pieces in place first.
Check: Can you guide the scissors comfortably? If it is difficult, an adult can shorten a strip, cut a tricky curve or offer straight paths. Pieces should be fully separated and arranged as intended before gluing.
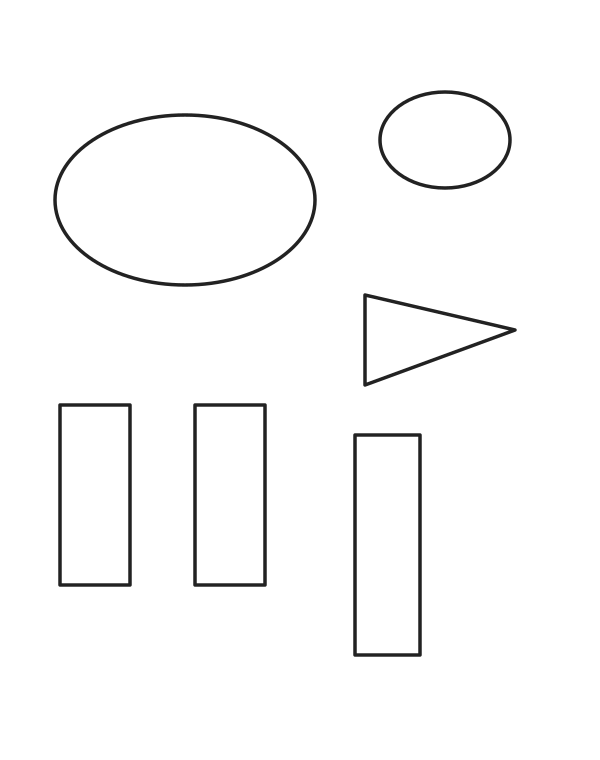
Black and white — color before cutting.
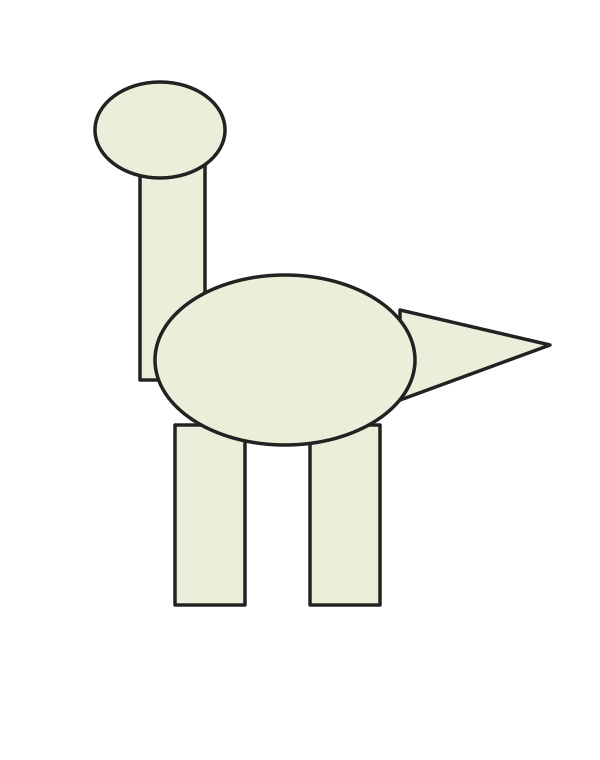
This is an assembly example, not a cutting template. You can arrange the pieces differently.
The big oval is the body and the small oval is the head. Rectangles make legs; the triangle is a tail. Add the long neck or the back plates on the matching project. Try the pieces in place first.
Check: Can you guide the scissors comfortably? If it is difficult, an adult can shorten a strip, cut a tricky curve or offer straight paths. Pieces should be fully separated and arranged as intended before gluing.
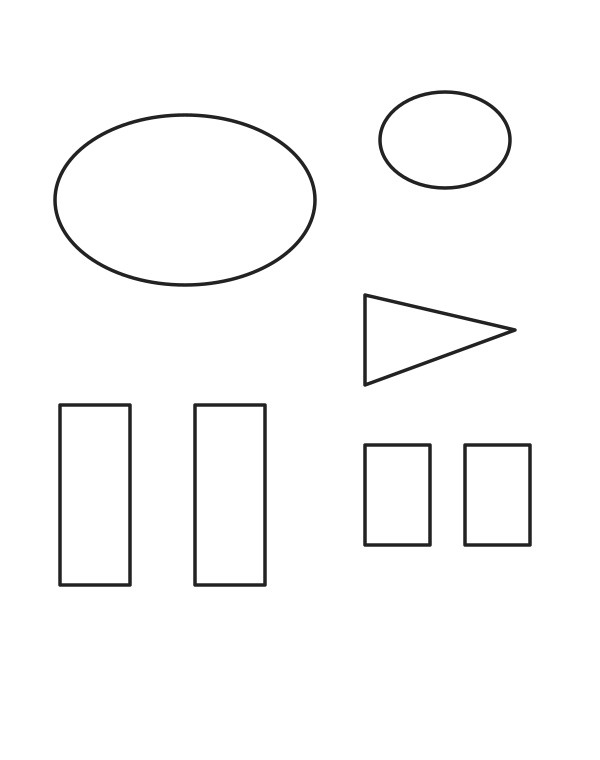
Black and white — color before cutting.
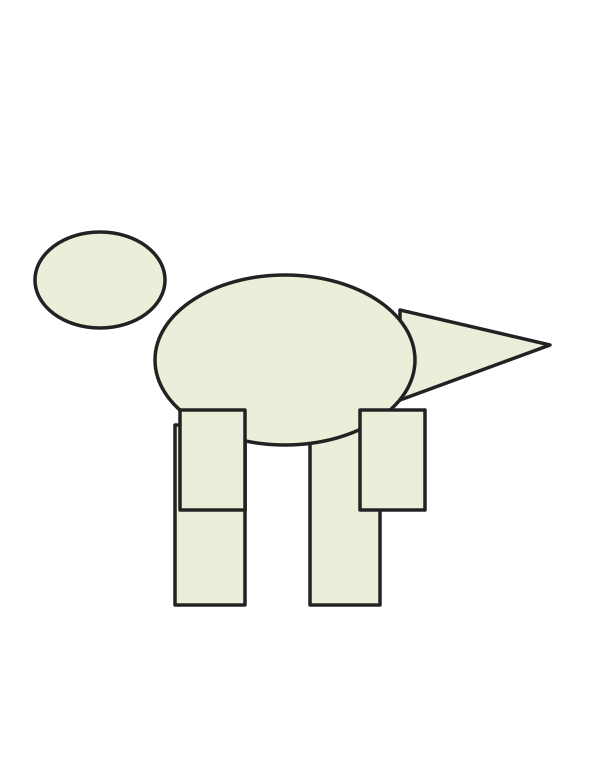
This is an assembly example, not a cutting template. You can arrange the pieces differently.
The big oval is the body and the small oval is the head. Rectangles make legs; the triangle is a tail. Add the long neck or the back plates on the matching project. Try the pieces in place first.
Check: Can you guide the scissors comfortably? If it is difficult, an adult can shorten a strip, cut a tricky curve or offer straight paths. Pieces should be fully separated and arranged as intended before gluing.
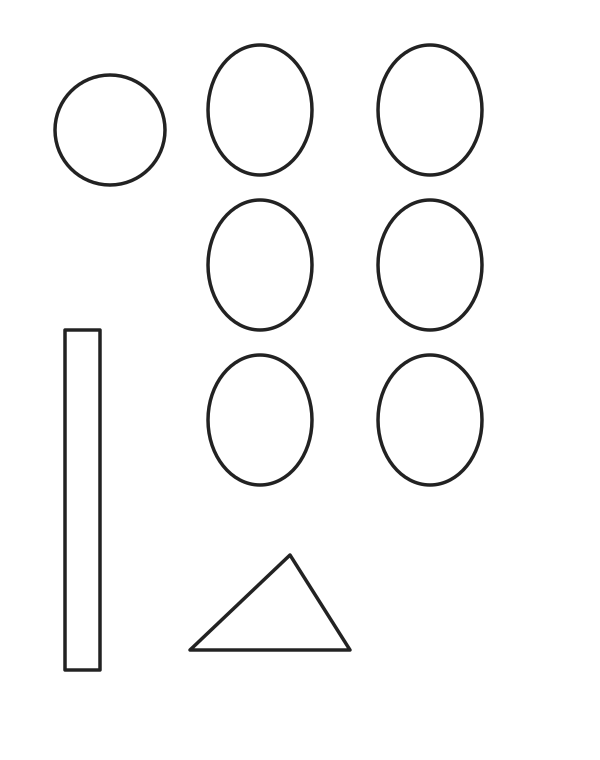
Black and white — color before cutting.
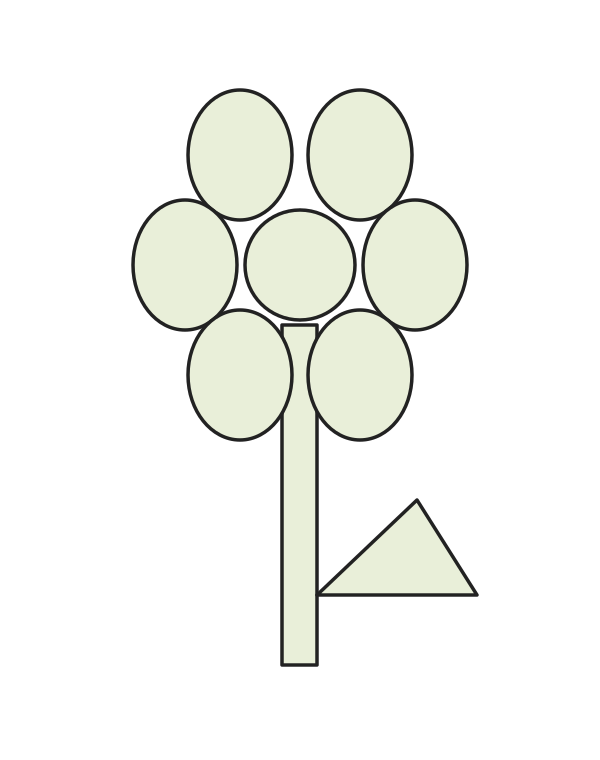
This is an assembly example, not a cutting template. You can arrange the pieces differently.
Place the circle in the flower center and petals around it. For the tulip, use the large pointed piece. The long strip is the stem and the triangular piece is a leaf. Glue onto another sheet.
Check: Can you guide the scissors comfortably? If it is difficult, an adult can shorten a strip, cut a tricky curve or offer straight paths. Pieces should be fully separated and arranged as intended before gluing.
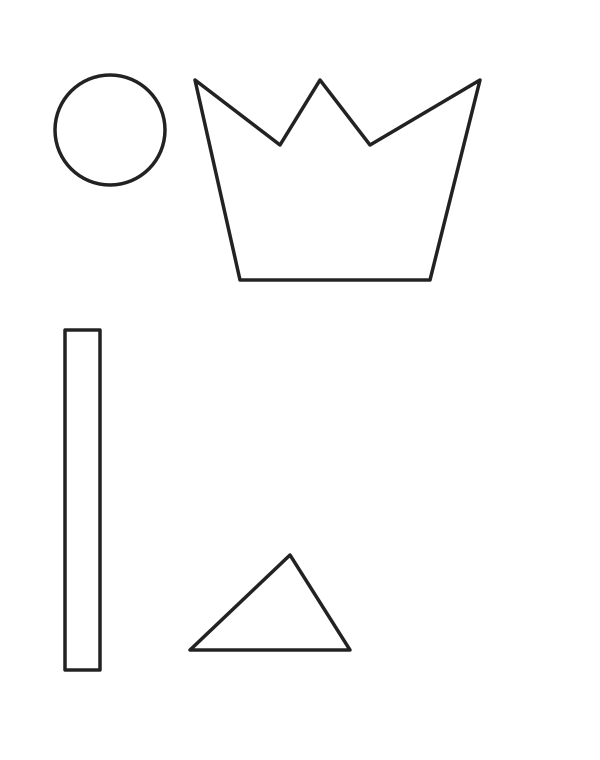
Black and white — color before cutting.
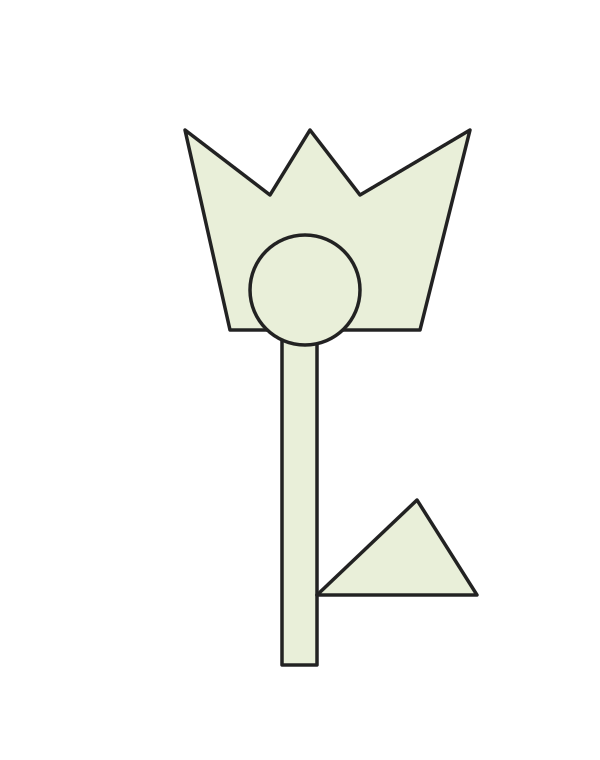
This is an assembly example, not a cutting template. You can arrange the pieces differently.
Place the circle in the flower center and petals around it. For the tulip, use the large pointed piece. The long strip is the stem and the triangular piece is a leaf. Glue onto another sheet.
Check: Can you guide the scissors comfortably? If it is difficult, an adult can shorten a strip, cut a tricky curve or offer straight paths. Pieces should be fully separated and arranged as intended before gluing.
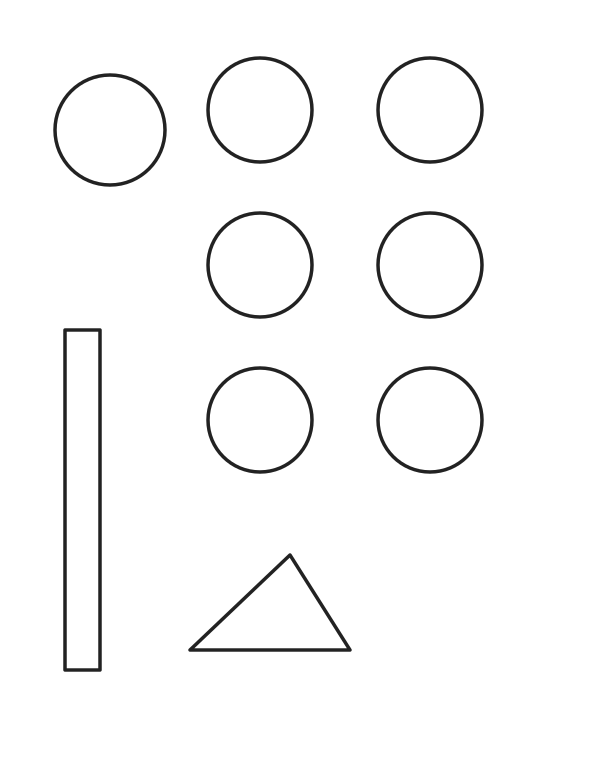
Black and white — color before cutting.
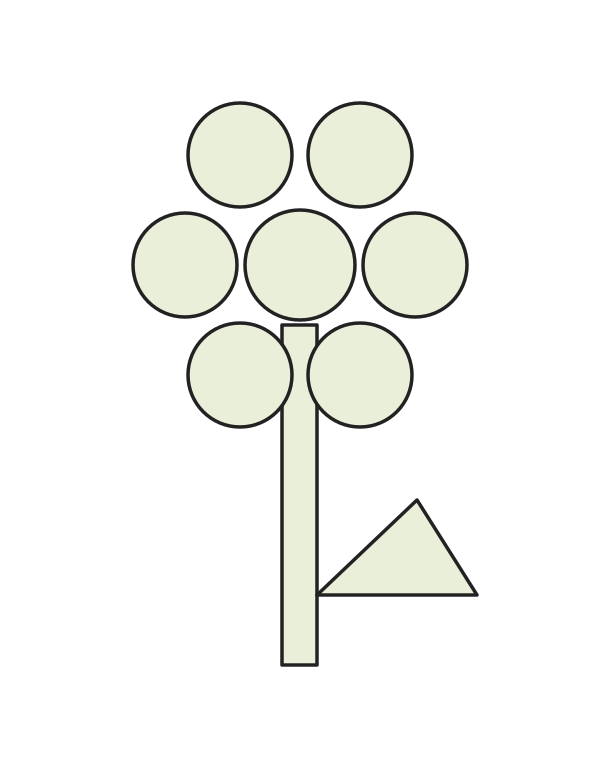
This is an assembly example, not a cutting template. You can arrange the pieces differently.
Place the circle in the flower center and petals around it. For the tulip, use the large pointed piece. The long strip is the stem and the triangular piece is a leaf. Glue onto another sheet.
Check: Can you guide the scissors comfortably? If it is difficult, an adult can shorten a strip, cut a tricky curve or offer straight paths. Pieces should be fully separated and arranged as intended before gluing.
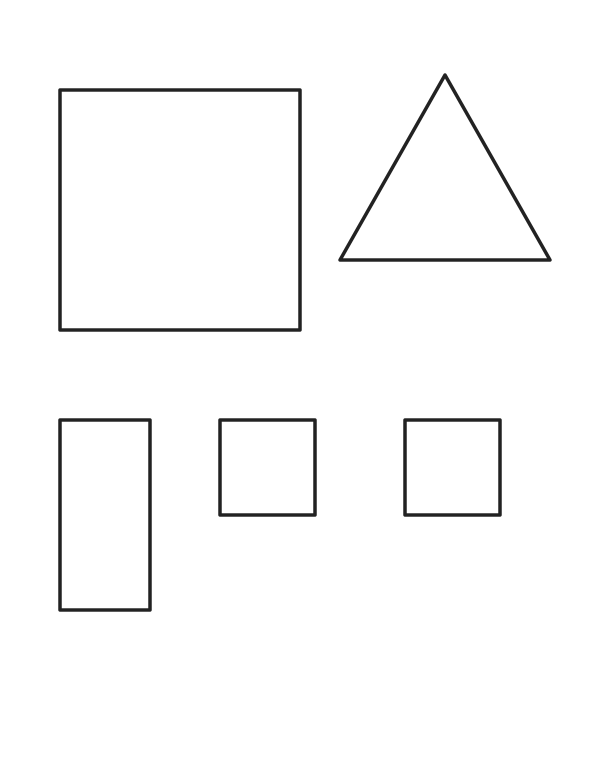
Black and white — color before cutting.
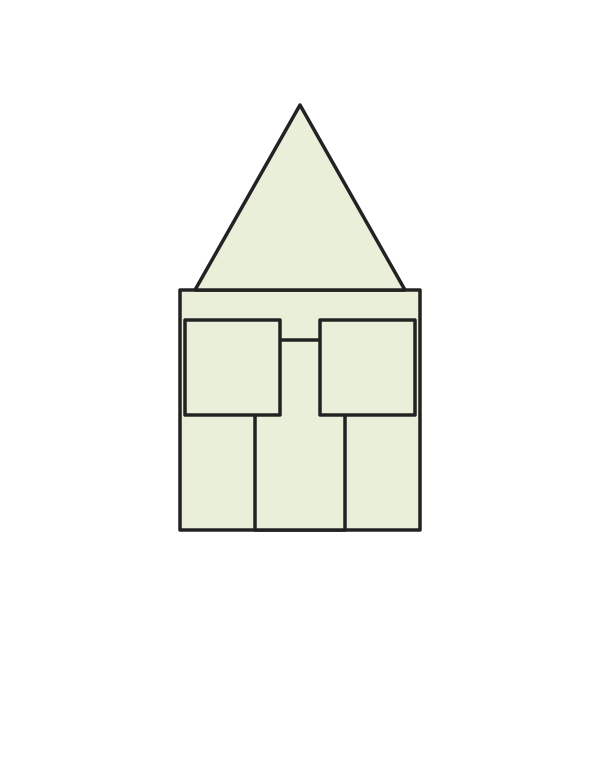
This is an assembly example, not a cutting template. You can arrange the pieces differently.
Use the large square as the house and the triangle as the roof. Add the rectangular door and two square windows.
Check: Can you guide the scissors comfortably? If it is difficult, an adult can shorten a strip, cut a tricky curve or offer straight paths. Pieces should be fully separated and arranged as intended before gluing.
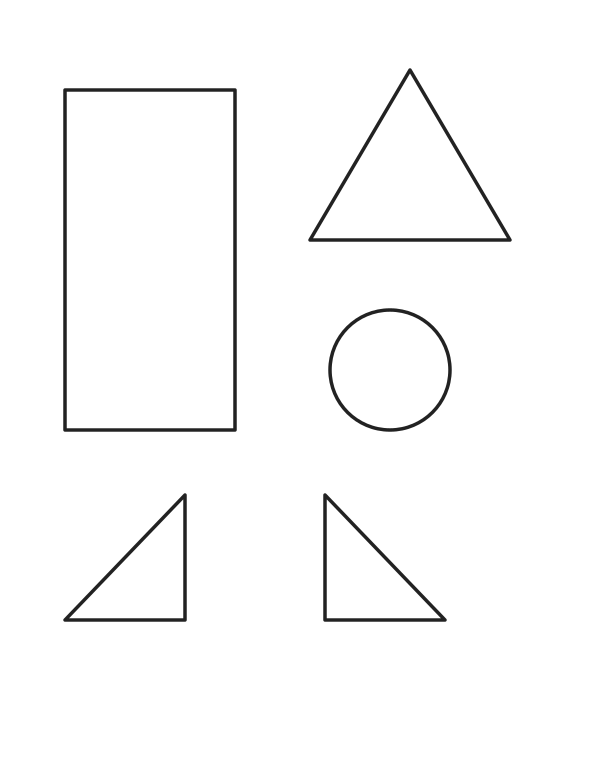
Black and white — color before cutting.
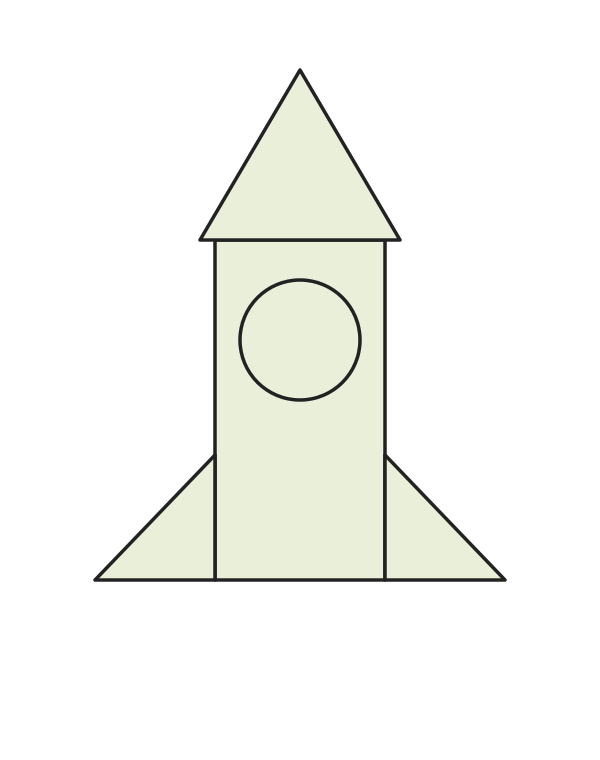
This is an assembly example, not a cutting template. You can arrange the pieces differently.
The rectangle is the rocket body and the large triangle is the nose. Add the round window and two triangle fins at the bottom.
Check: Can you guide the scissors comfortably? If it is difficult, an adult can shorten a strip, cut a tricky curve or offer straight paths. Pieces should be fully separated and arranged as intended before gluing.
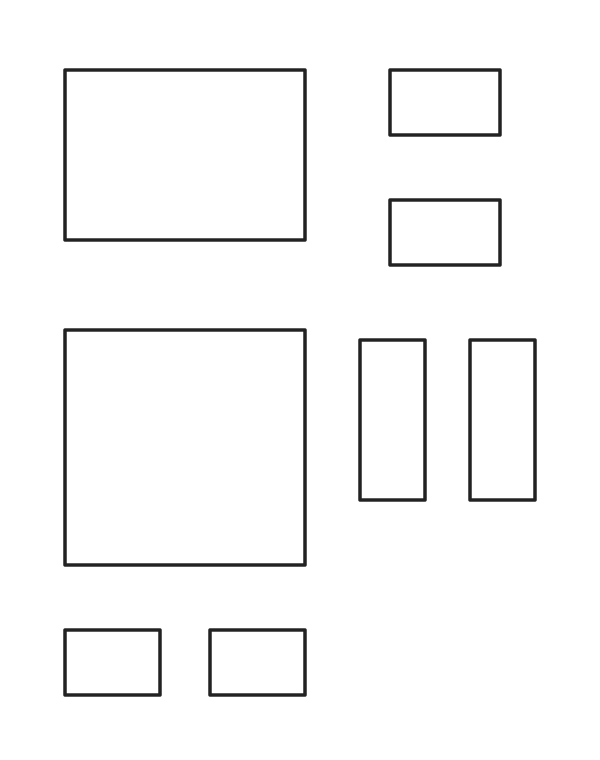
Black and white — color before cutting.
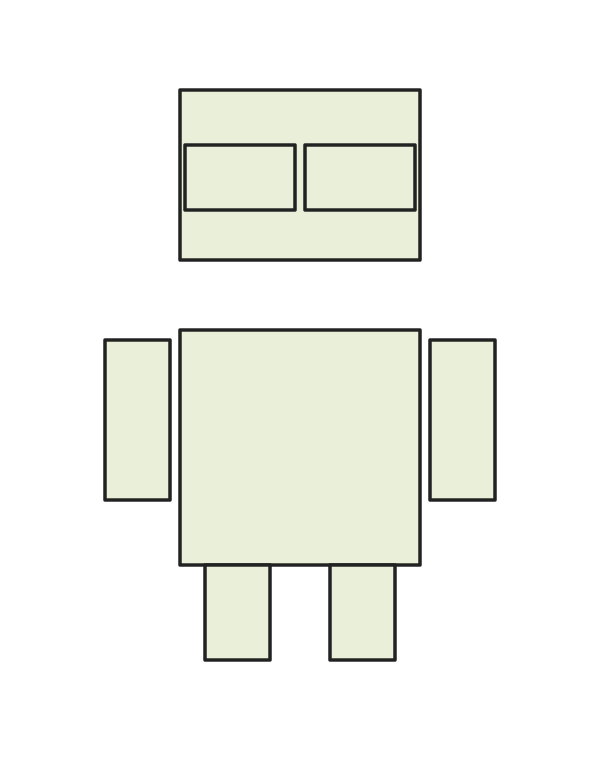
This is an assembly example, not a cutting template. You can arrange the pieces differently.
Place the head above the body. Long rectangles are arms; short rectangles are eyes and feet. Join the pieces on a separate sheet.
Check: Can you guide the scissors comfortably? If it is difficult, an adult can shorten a strip, cut a tricky curve or offer straight paths. Pieces should be fully separated and arranged as intended before gluing.
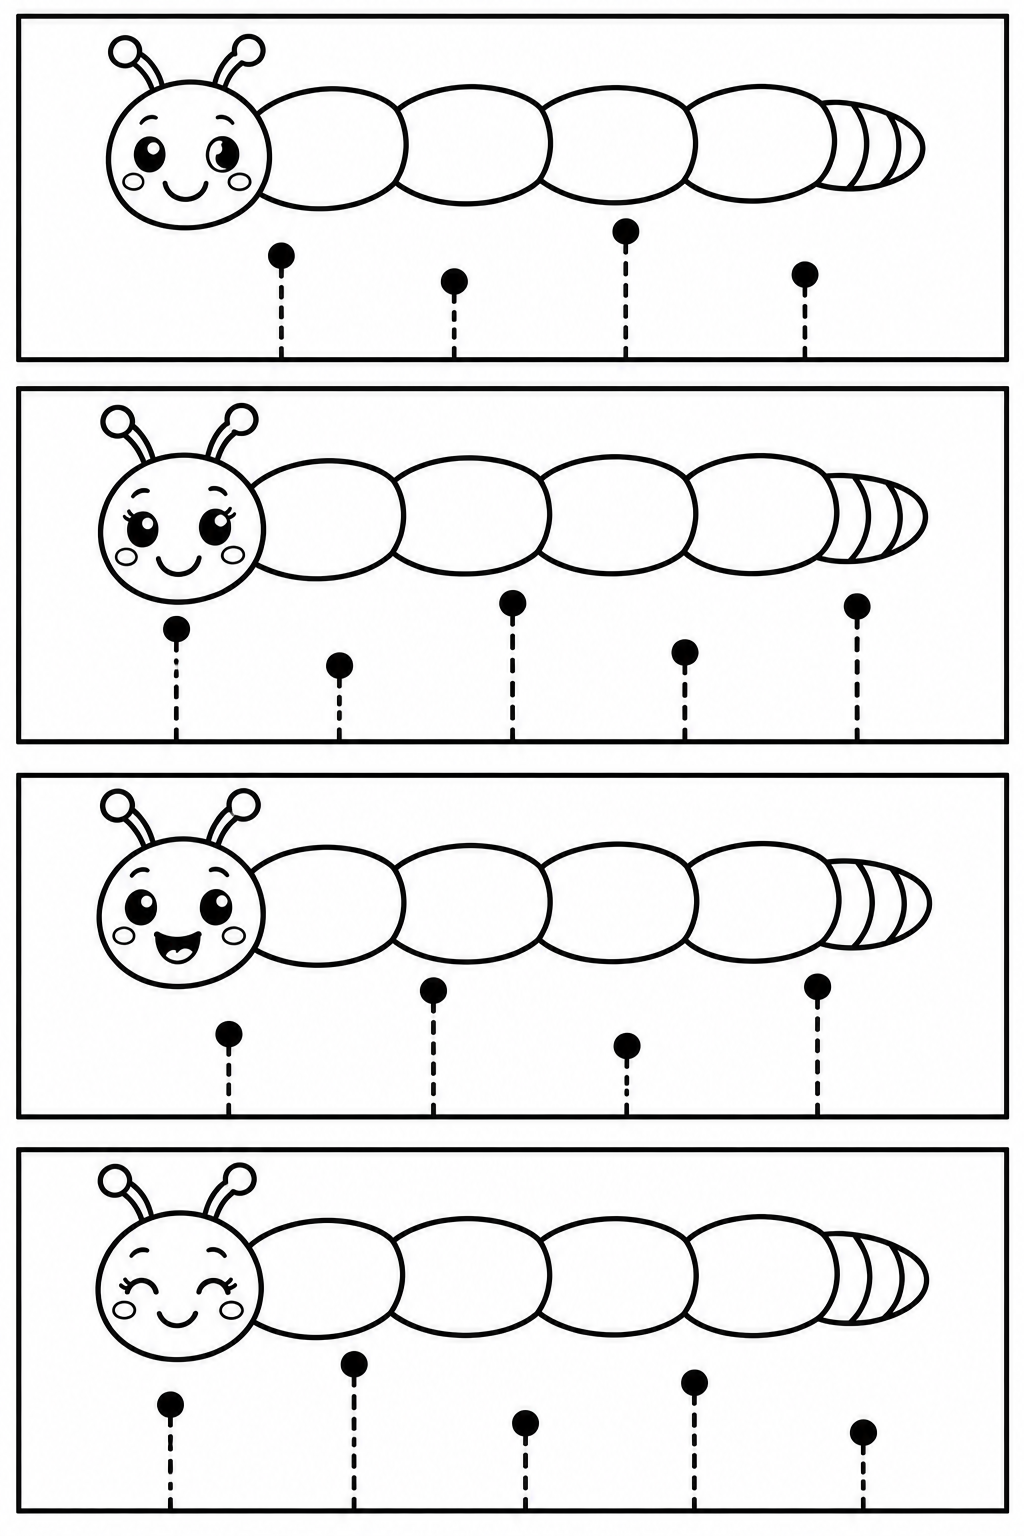
Black and white — color before cutting.
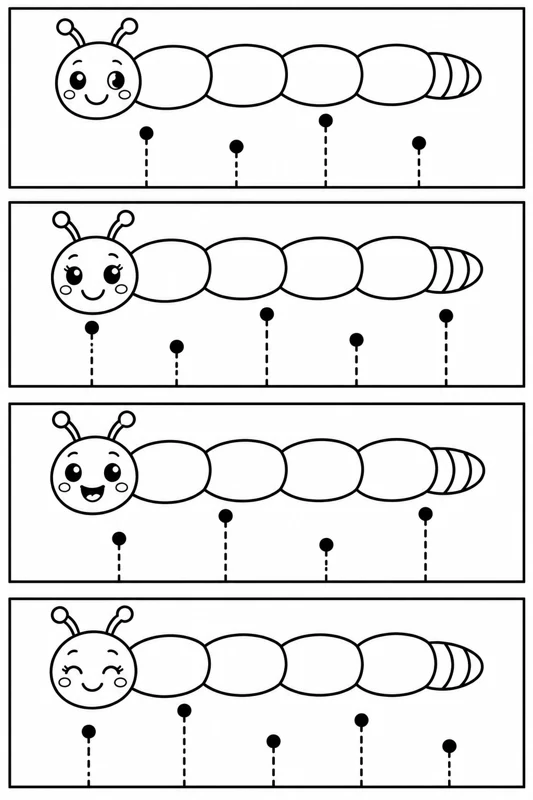
An adult separates the caterpillar strips. Start each short snip at its lower edge and stop at the black dot. The top stays connected; do not cut around the face.
Check: Can you guide the scissors comfortably? If it is difficult, an adult can shorten a strip, cut a tricky curve or offer straight paths. Pieces should be fully separated and arranged as intended before gluing.
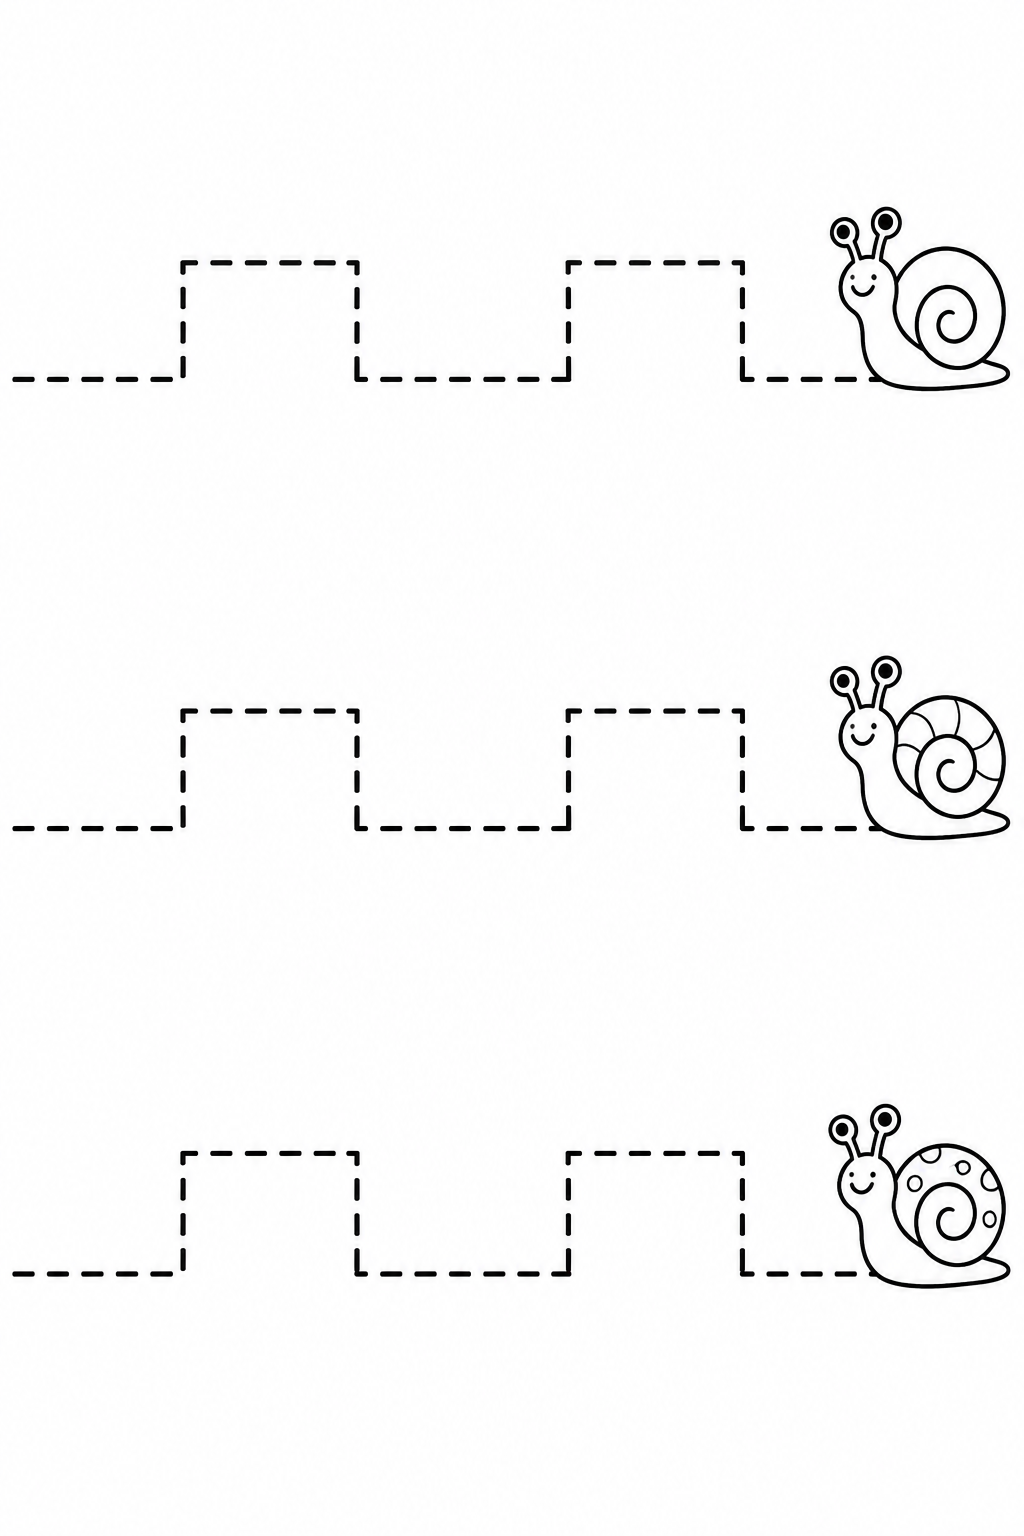
Black and white — color before cutting.
Separate the wide strips first. Start at the left edge, follow the dashed staircase, stop at each corner and rotate the paper before continuing.
Check: Can you guide the scissors comfortably? If it is difficult, an adult can shorten a strip, cut a tricky curve or offer straight paths. Pieces should be fully separated and arranged as intended before gluing.
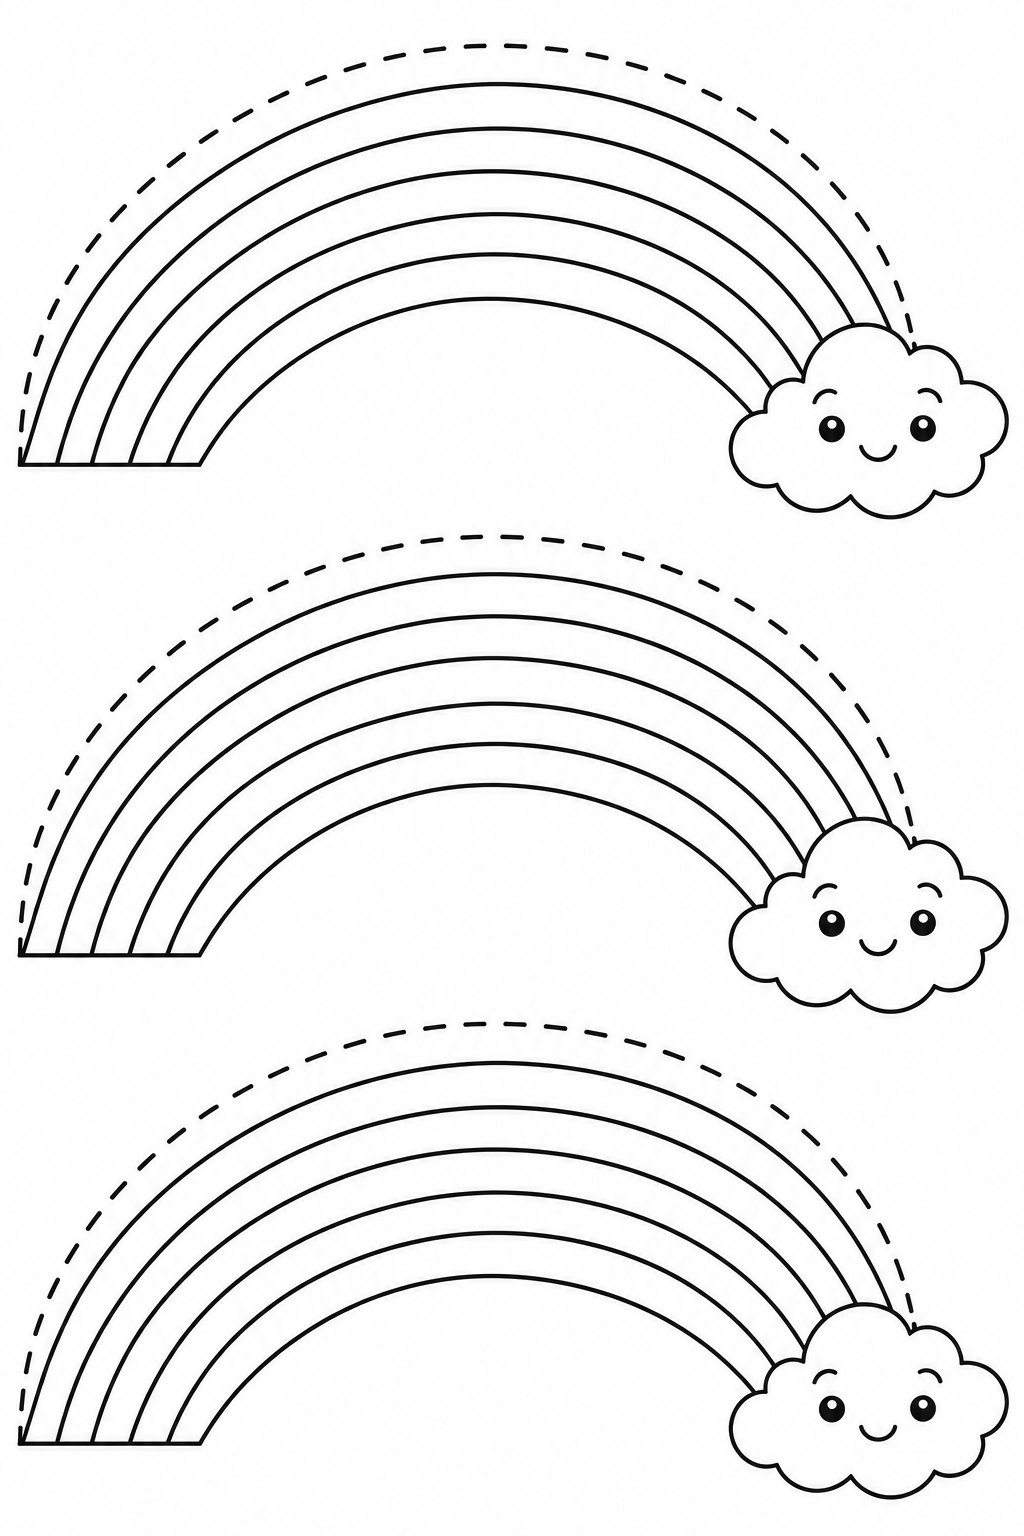
Black and white — color before cutting.
An adult gives you one arch at a time. Cut the dashed outer curve with short movements while turning the paper. Leave the internal coloring lines intact.
Check: Can you guide the scissors comfortably? If it is difficult, an adult can shorten a strip, cut a tricky curve or offer straight paths. Pieces should be fully separated and arranged as intended before gluing.
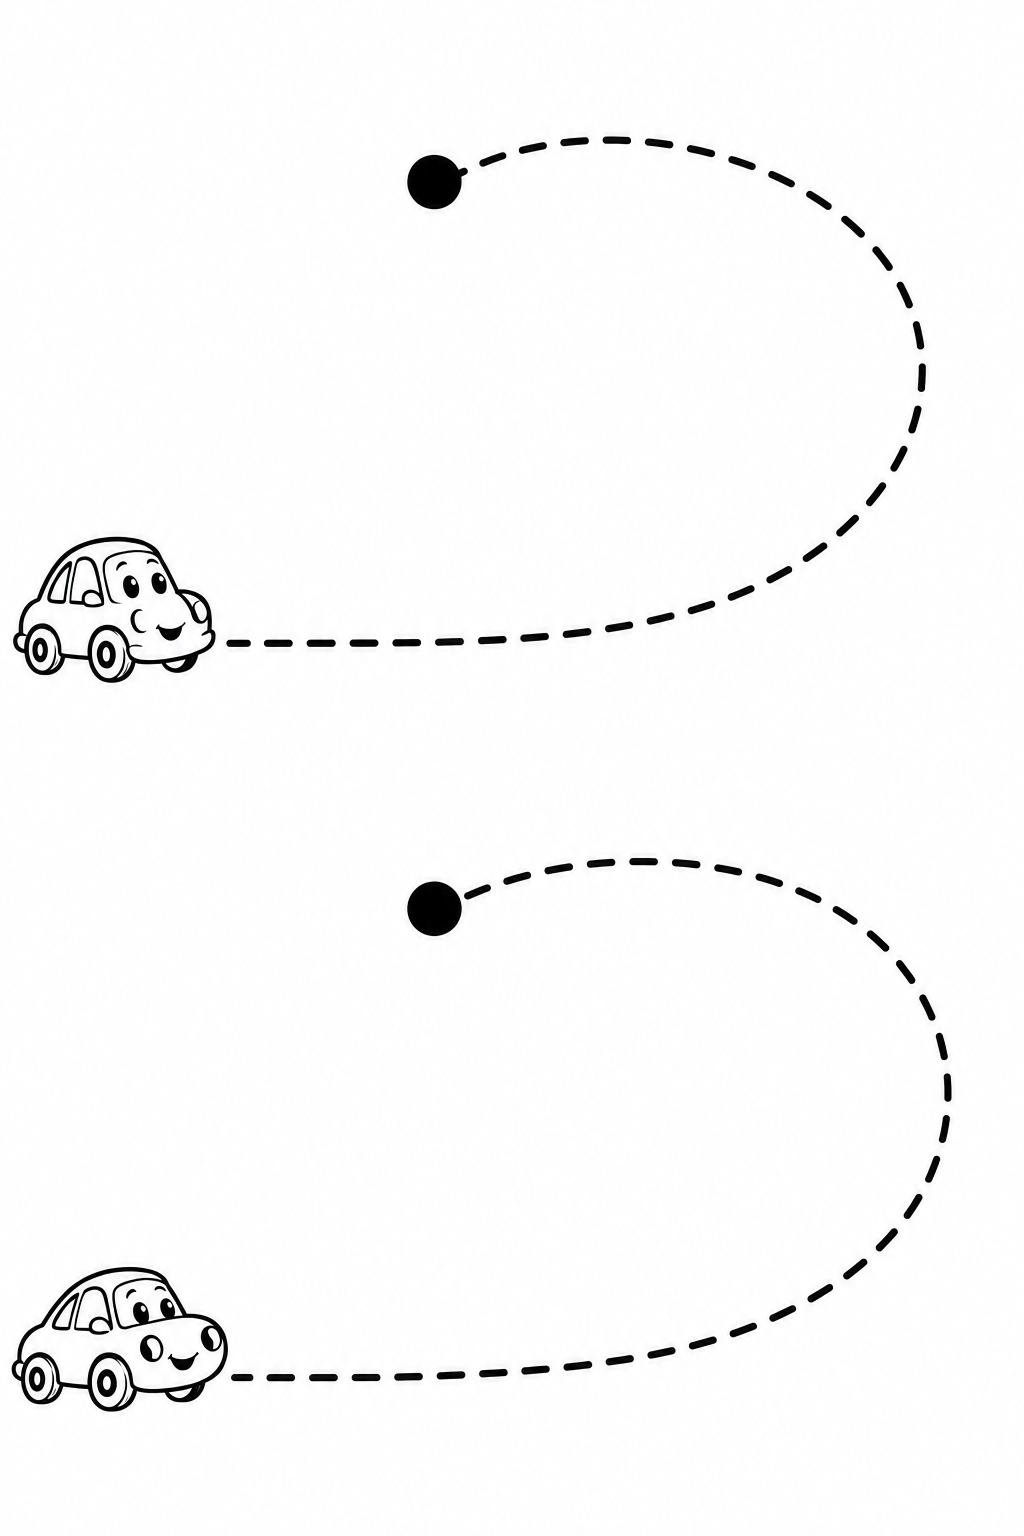
Black and white — color before cutting.
Start at the open edge of one road strip. Follow the broad dashed U-turn and stop at its end dot. Turn the supporting hand rather than twisting the scissors.
Check: Can you guide the scissors comfortably? If it is difficult, an adult can shorten a strip, cut a tricky curve or offer straight paths. Pieces should be fully separated and arranged as intended before gluing.
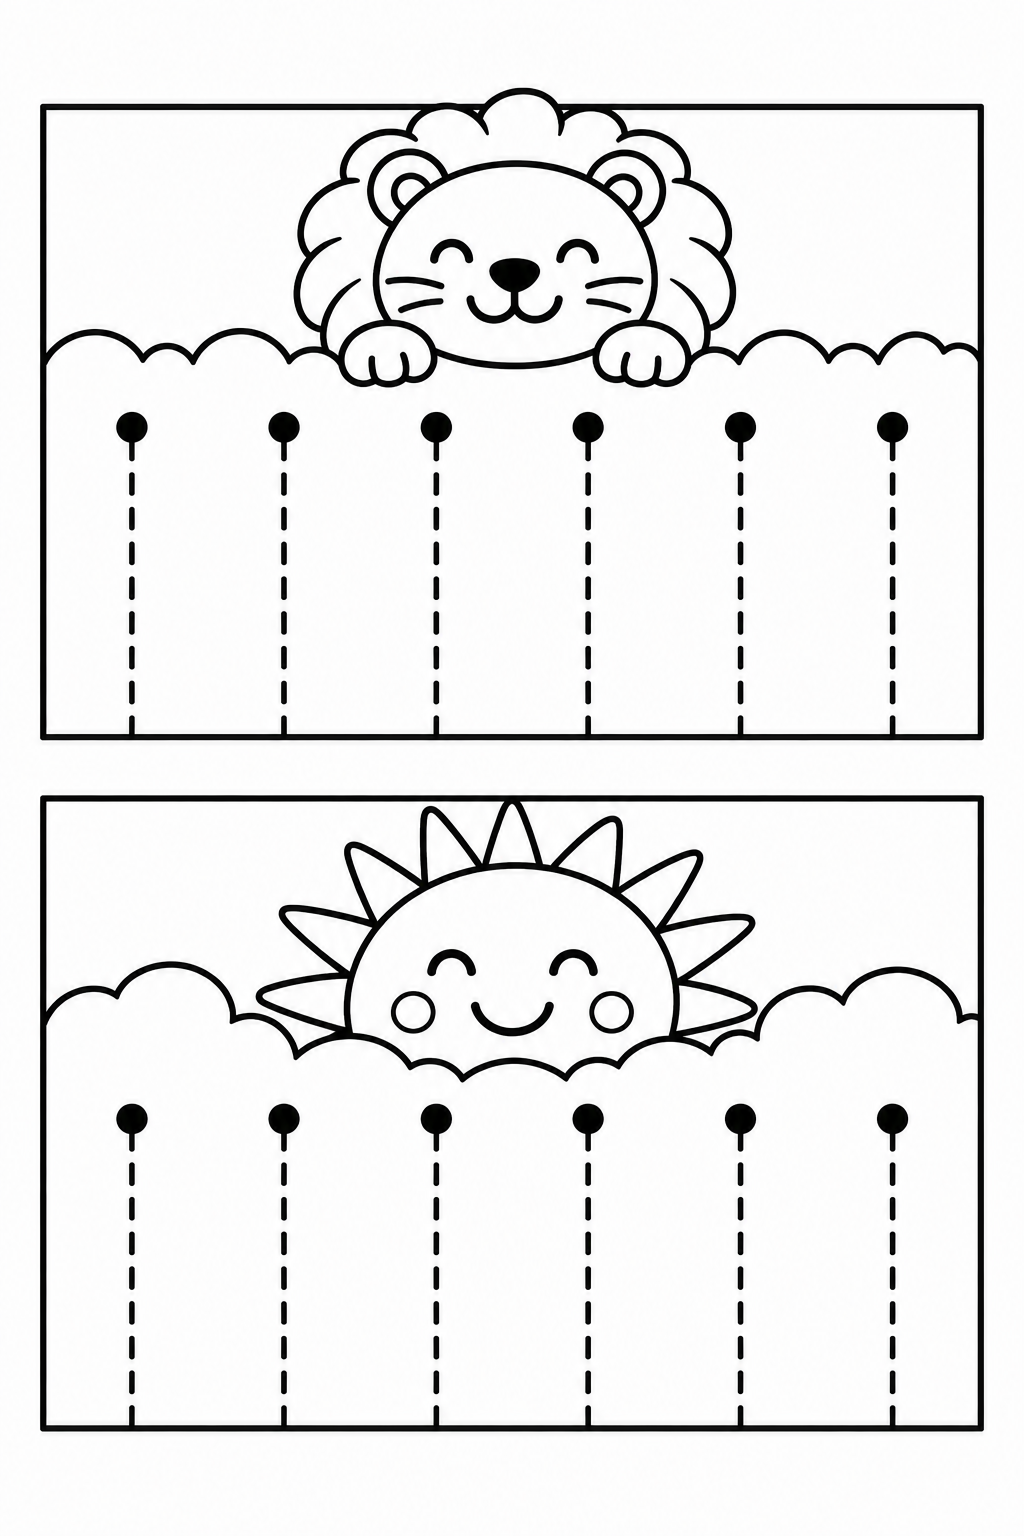
Black and white — color before cutting.
Cut the dashed paths upward from the bottom edge and stop at every dot. Keep the top band connected to make a fringe. Do not cut the face.
Check: Can you guide the scissors comfortably? If it is difficult, an adult can shorten a strip, cut a tricky curve or offer straight paths. Pieces should be fully separated and arranged as intended before gluing.
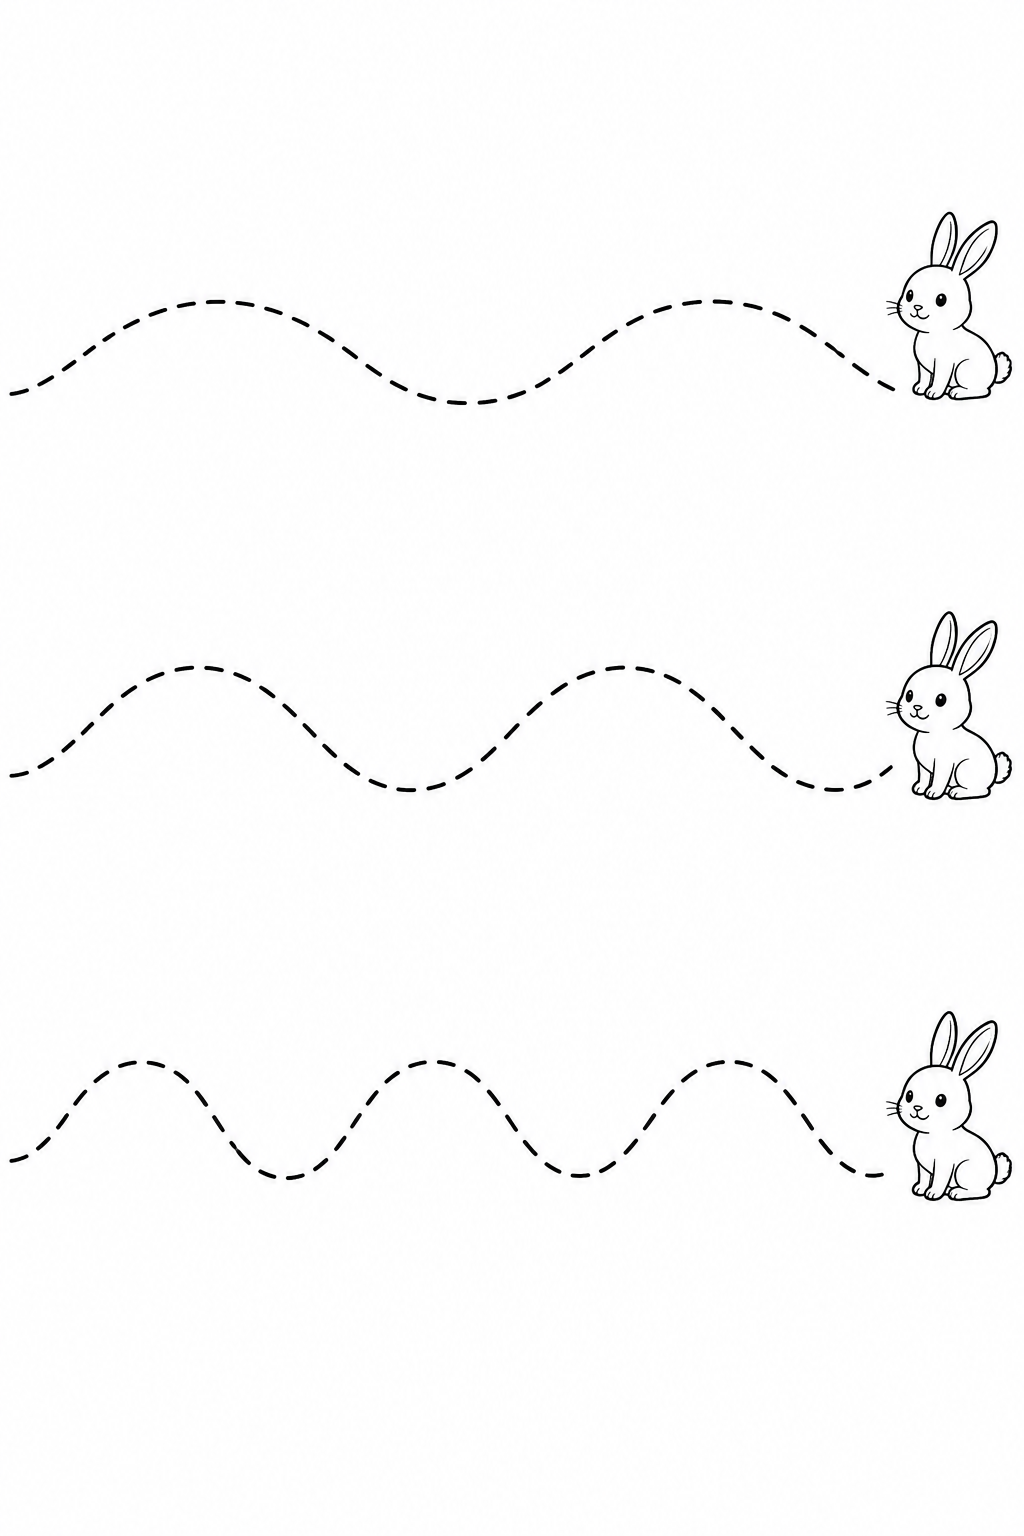
Black and white — color before cutting.
Begin with the strip that has one hill. Cut from left to right along the dashed route, rotating the paper at each wide curve. Then try two or three hills.
Check: Can you guide the scissors comfortably? If it is difficult, an adult can shorten a strip, cut a tricky curve or offer straight paths. Pieces should be fully separated and arranged as intended before gluing.
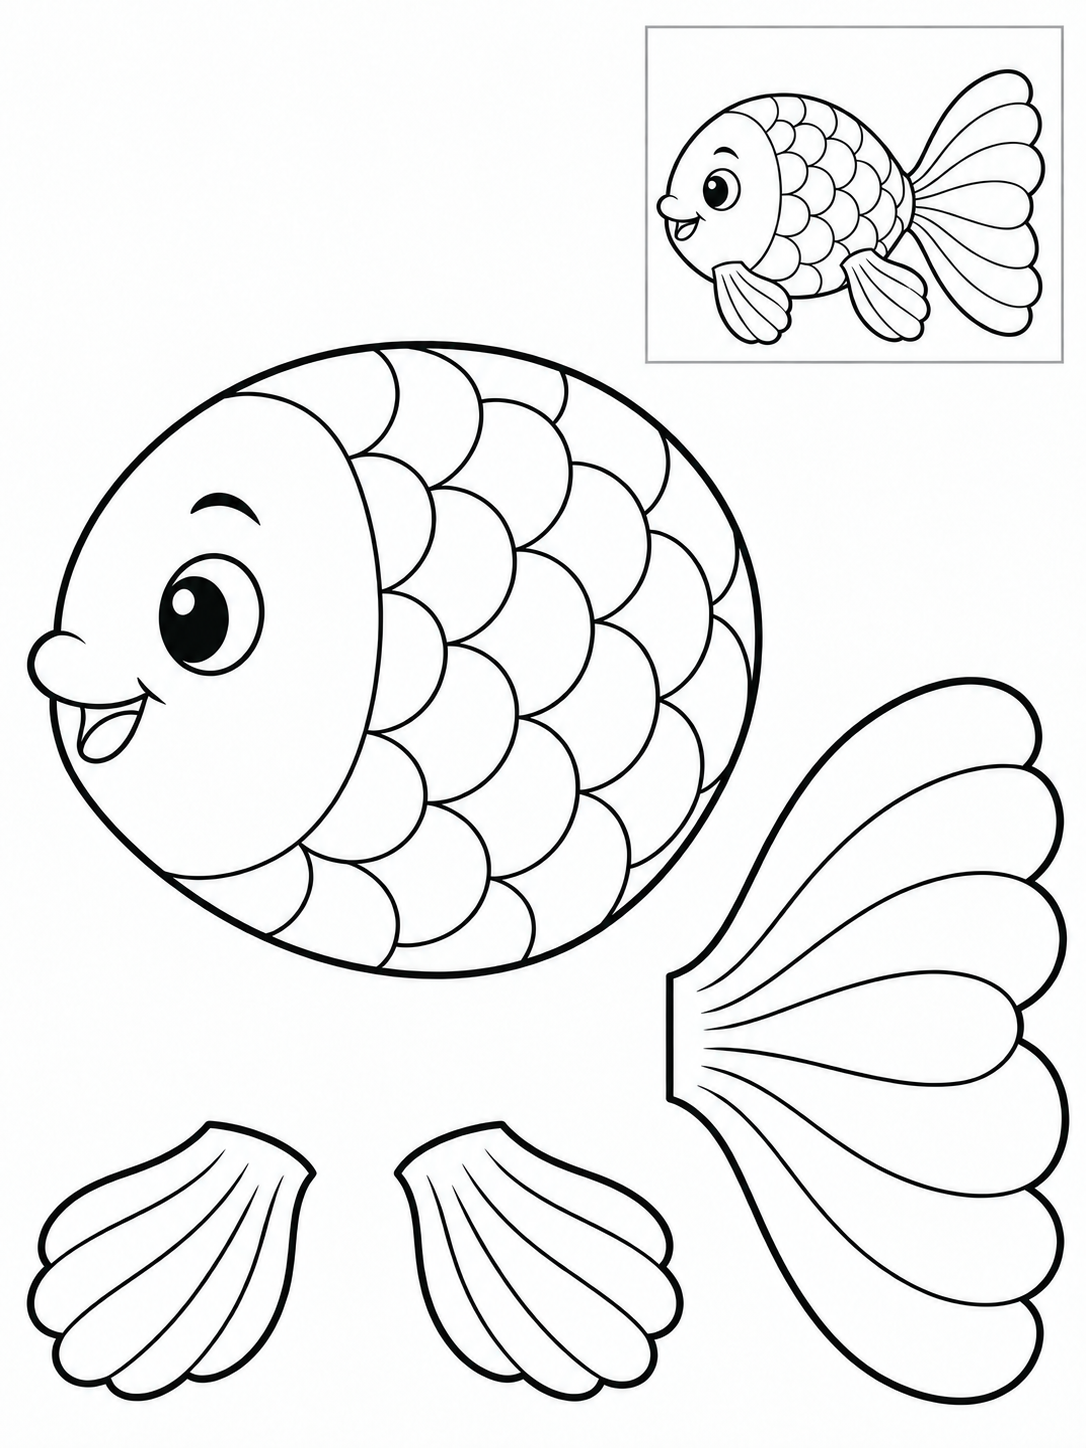
Black and white — color before cutting.
Assembly example: The small boxed example shows the finished craft. Do not cut it out.
Cut the large body and the separate tail and fins around their outside edges. Keep the face and internal patterns intact. The small fish in the top-right box is a reference, not a piece. Match the fin positions to that example, tuck their bases and the tail under the body, then glue the overlaps.
Check: Can you guide the scissors comfortably? If it is difficult, an adult can shorten a strip, cut a tricky curve or offer straight paths. Pieces should be fully separated and arranged as intended before gluing.
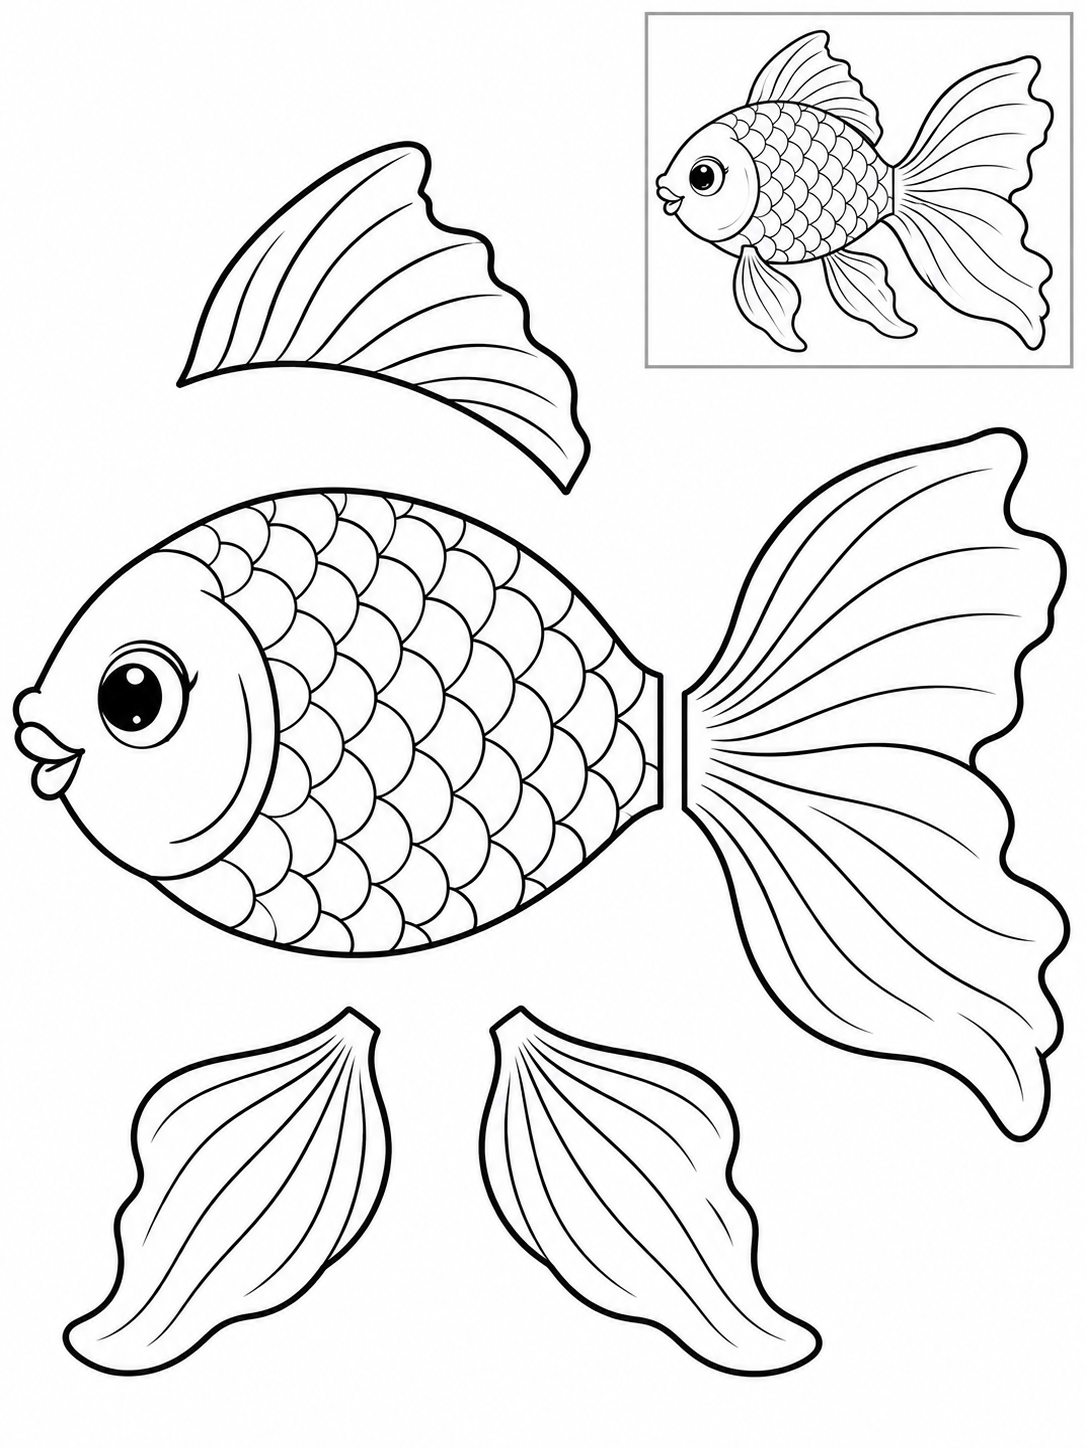
Black and white — color before cutting.
Assembly example: The small boxed example shows the finished craft. Do not cut it out.
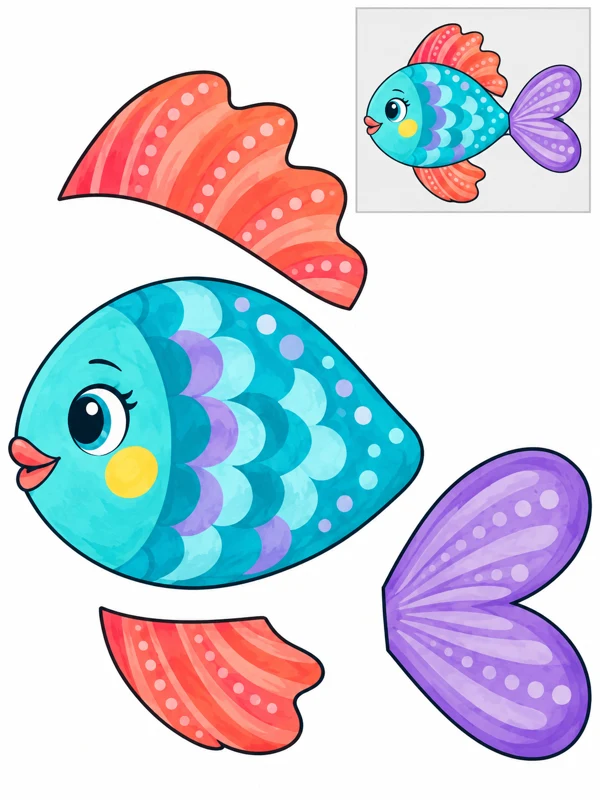
Cut the large body and the separate tail and fins around their outside edges. Keep the face and internal patterns intact. The small fish in the top-right box is a reference, not a piece. Match the fin positions to that example, tuck their bases and the tail under the body, then glue the overlaps. Cut the broad scallops as one continuous edge; the thin lines inside the fan are decoration. Rotate the paper through each lobe.
Check: Can you guide the scissors comfortably? If it is difficult, an adult can shorten a strip, cut a tricky curve or offer straight paths. Pieces should be fully separated and arranged as intended before gluing.
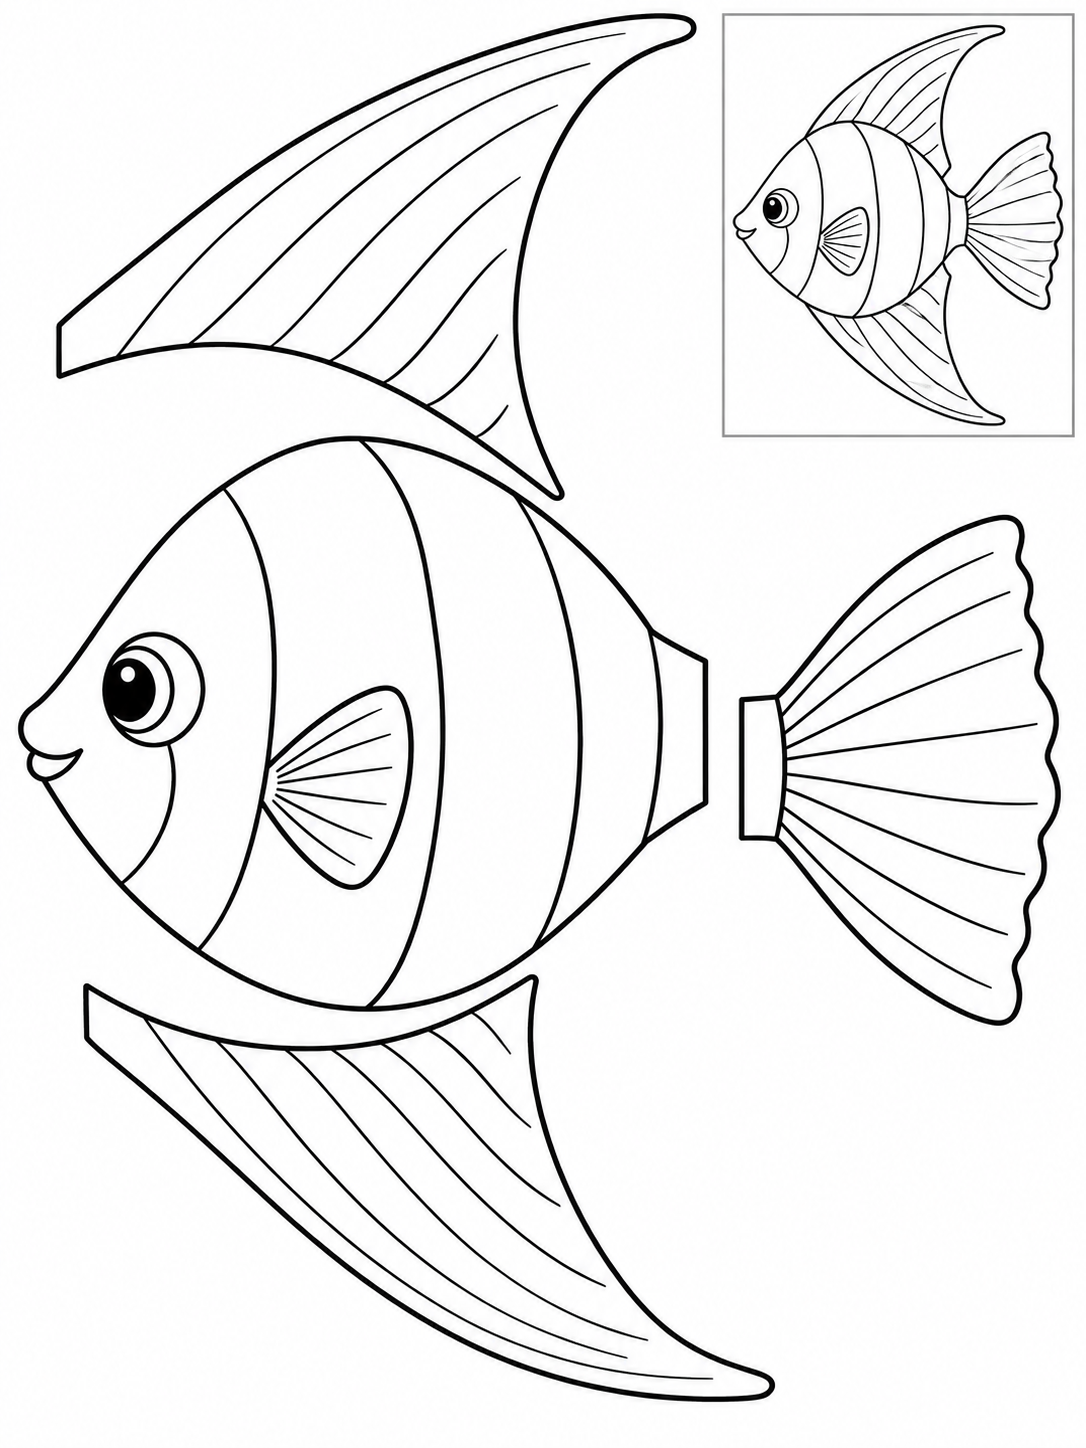
Black and white — color before cutting.
Assembly example: The small boxed example shows the finished craft. Do not cut it out.
Cut the large body and the separate tail and fins around their outside edges. Keep the face and internal patterns intact. The small fish in the top-right box is a reference, not a piece. Match the fin positions to that example, tuck their bases and the tail under the body, then glue the overlaps. The long fin goes above the body and the matching lower fin goes below it. Stop before each pointed turn and rotate the paper.
Check: Can you guide the scissors comfortably? If it is difficult, an adult can shorten a strip, cut a tricky curve or offer straight paths. Pieces should be fully separated and arranged as intended before gluing.
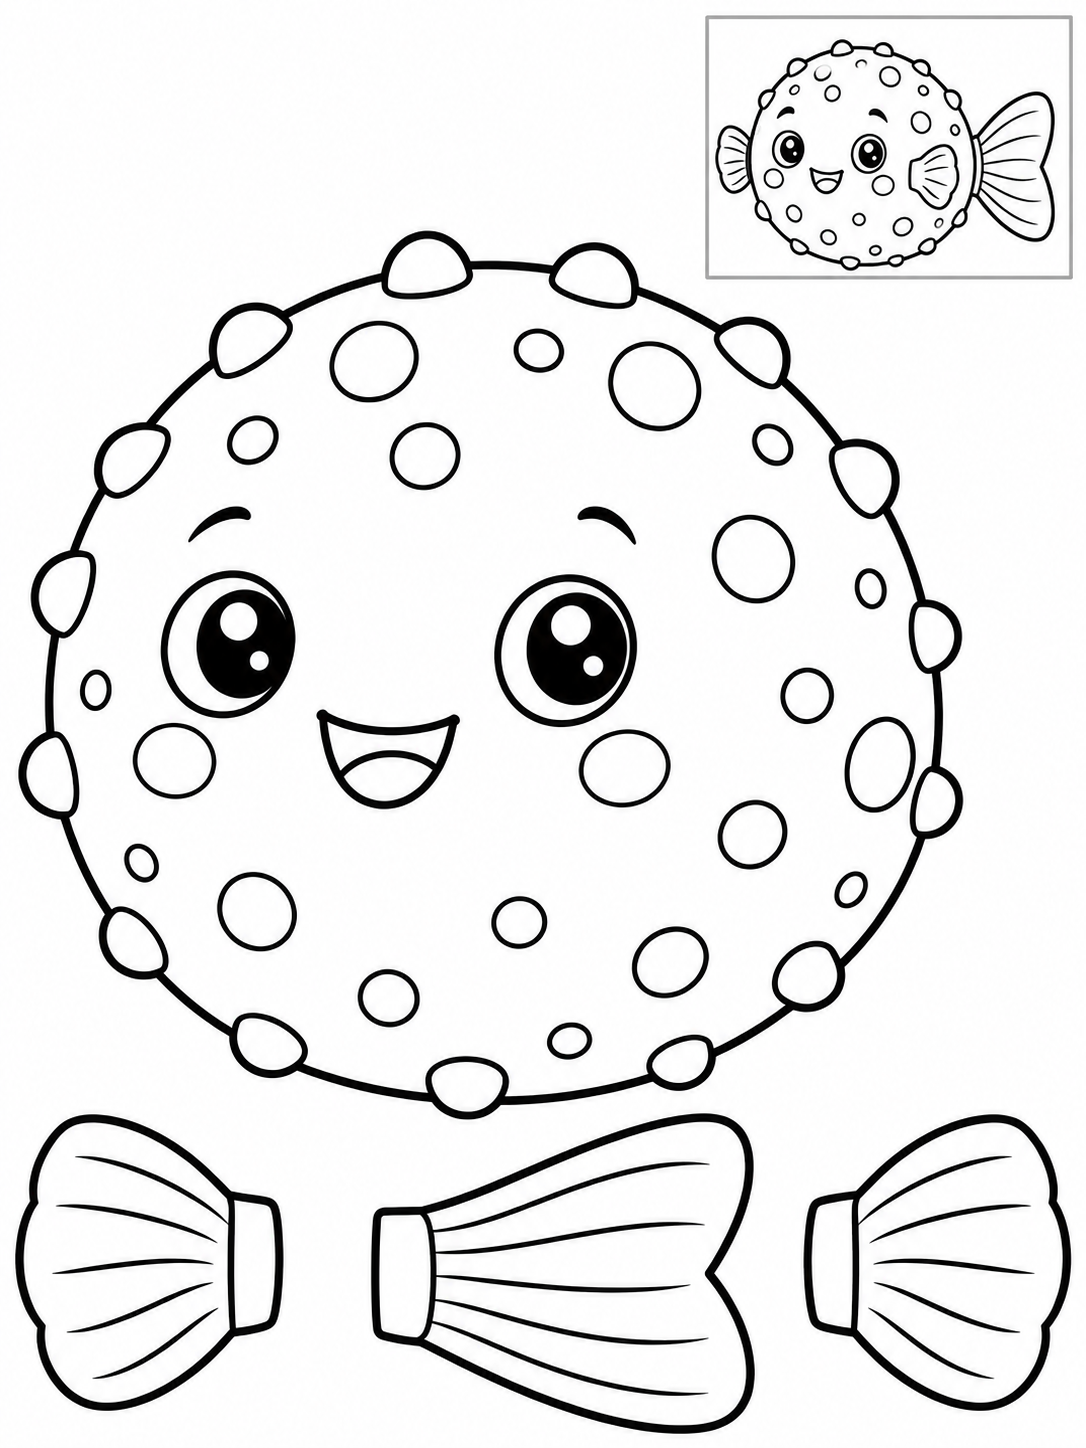
Black and white — color before cutting.
Assembly example: The small boxed example shows the finished craft. Do not cut it out.
Cut the large body and the separate tail and fins around their outside edges. Keep the face and internal patterns intact. The small fish in the top-right box is a reference, not a piece. Match the fin positions to that example, tuck their bases and the tail under the body, then glue the overlaps.
Check: Can you guide the scissors comfortably? If it is difficult, an adult can shorten a strip, cut a tricky curve or offer straight paths. Pieces should be fully separated and arranged as intended before gluing.
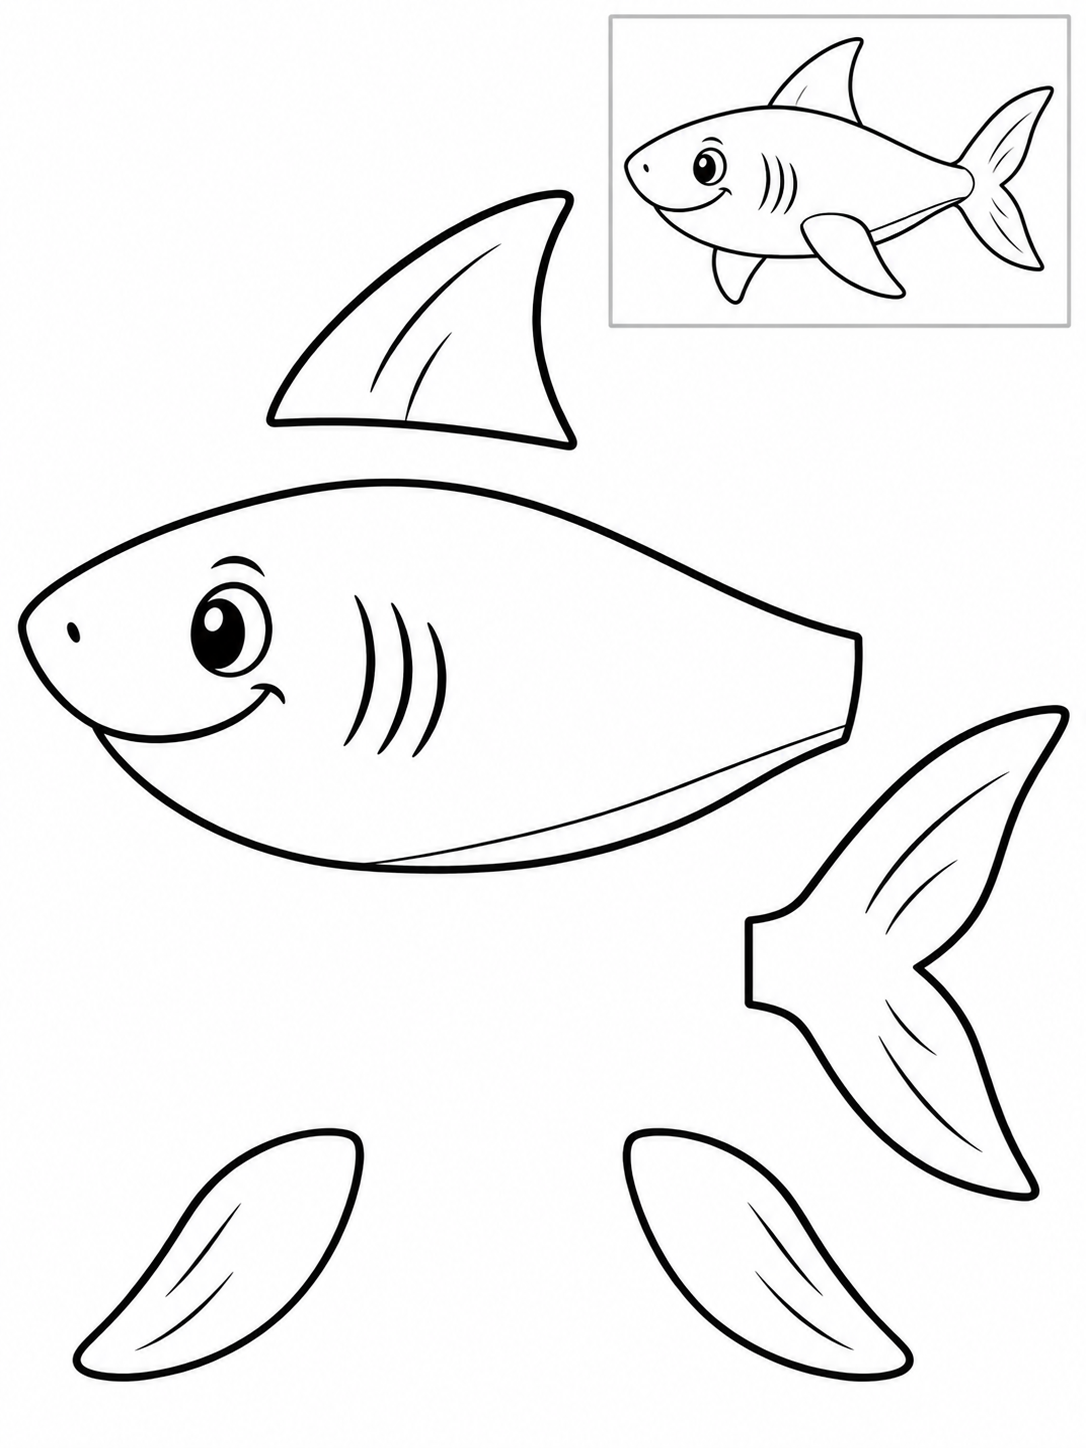
Black and white — color before cutting.
Assembly example: The small boxed example shows the finished craft. Do not cut it out.
Cut the large body and the separate tail and fins around their outside edges. Keep the face and internal patterns intact. The small fish in the top-right box is a reference, not a piece. Match the fin positions to that example, tuck their bases and the tail under the body, then glue the overlaps. The long fin goes above the body and the matching lower fin goes below it. Stop before each pointed turn and rotate the paper.
Check: Can you guide the scissors comfortably? If it is difficult, an adult can shorten a strip, cut a tricky curve or offer straight paths. Pieces should be fully separated and arranged as intended before gluing.
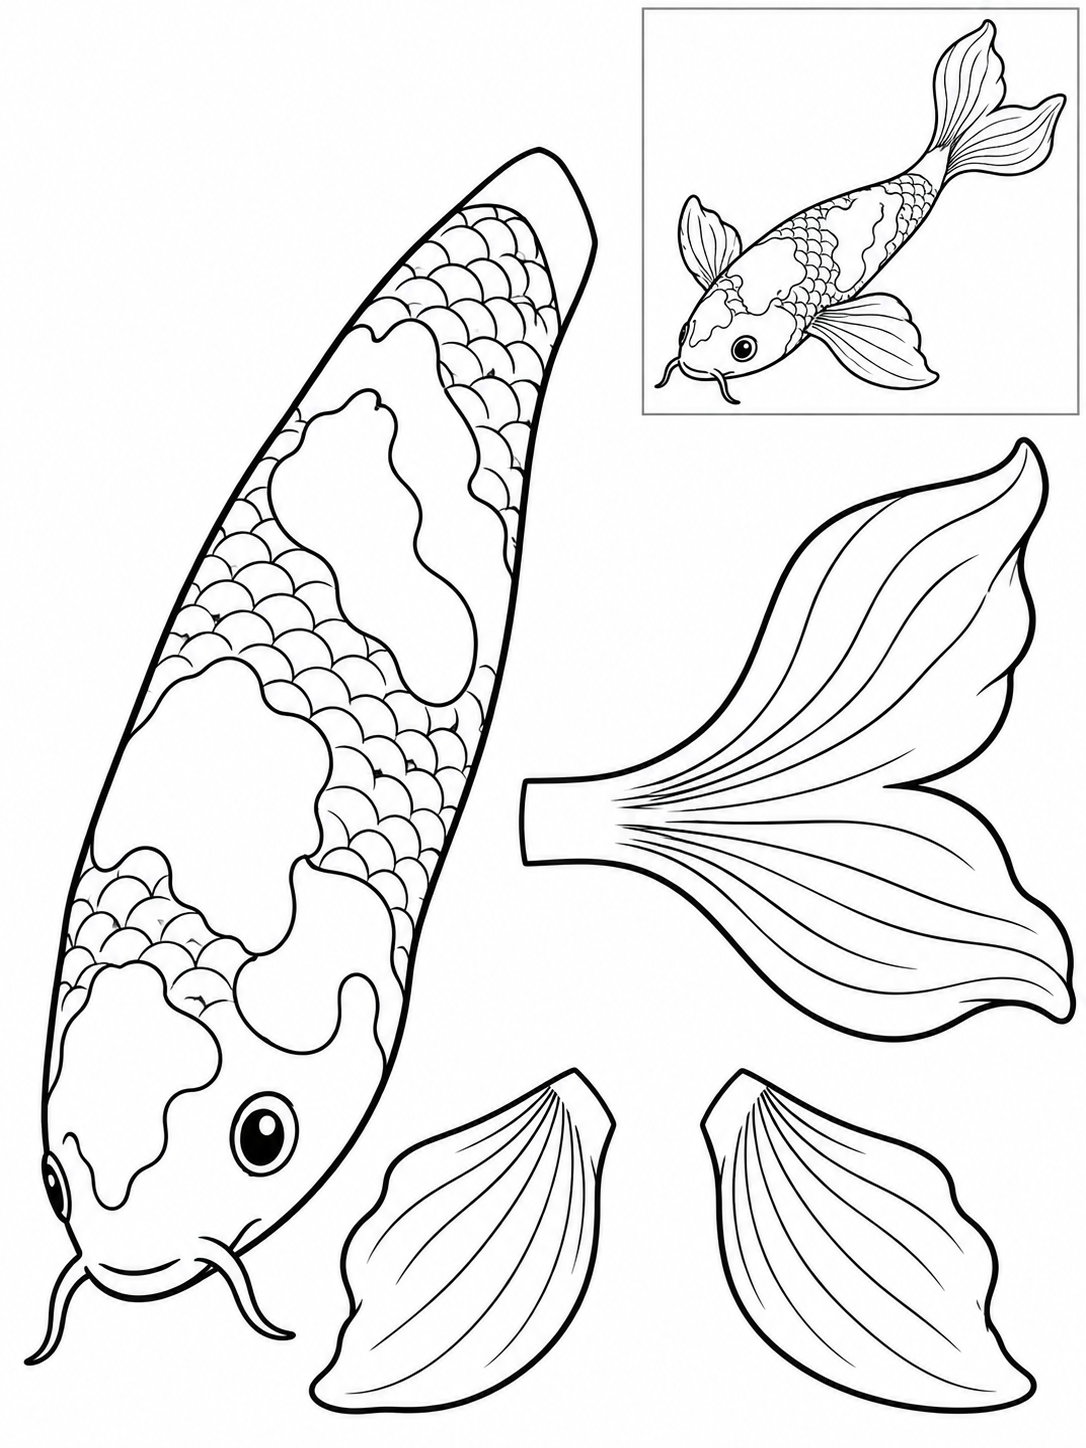
Black and white — color before cutting.
Assembly example: The small boxed example shows the finished craft. Do not cut it out.
Cut the large body and the separate tail and fins around their outside edges. Keep the face and internal patterns intact. The small fish in the top-right box is a reference, not a piece. Match the fin positions to that example, tuck their bases and the tail under the body, then glue the overlaps. Cut the broad scallops as one continuous edge; the thin lines inside the fan are decoration. Rotate the paper through each lobe.
Check: Can you guide the scissors comfortably? If it is difficult, an adult can shorten a strip, cut a tricky curve or offer straight paths. Pieces should be fully separated and arranged as intended before gluing.
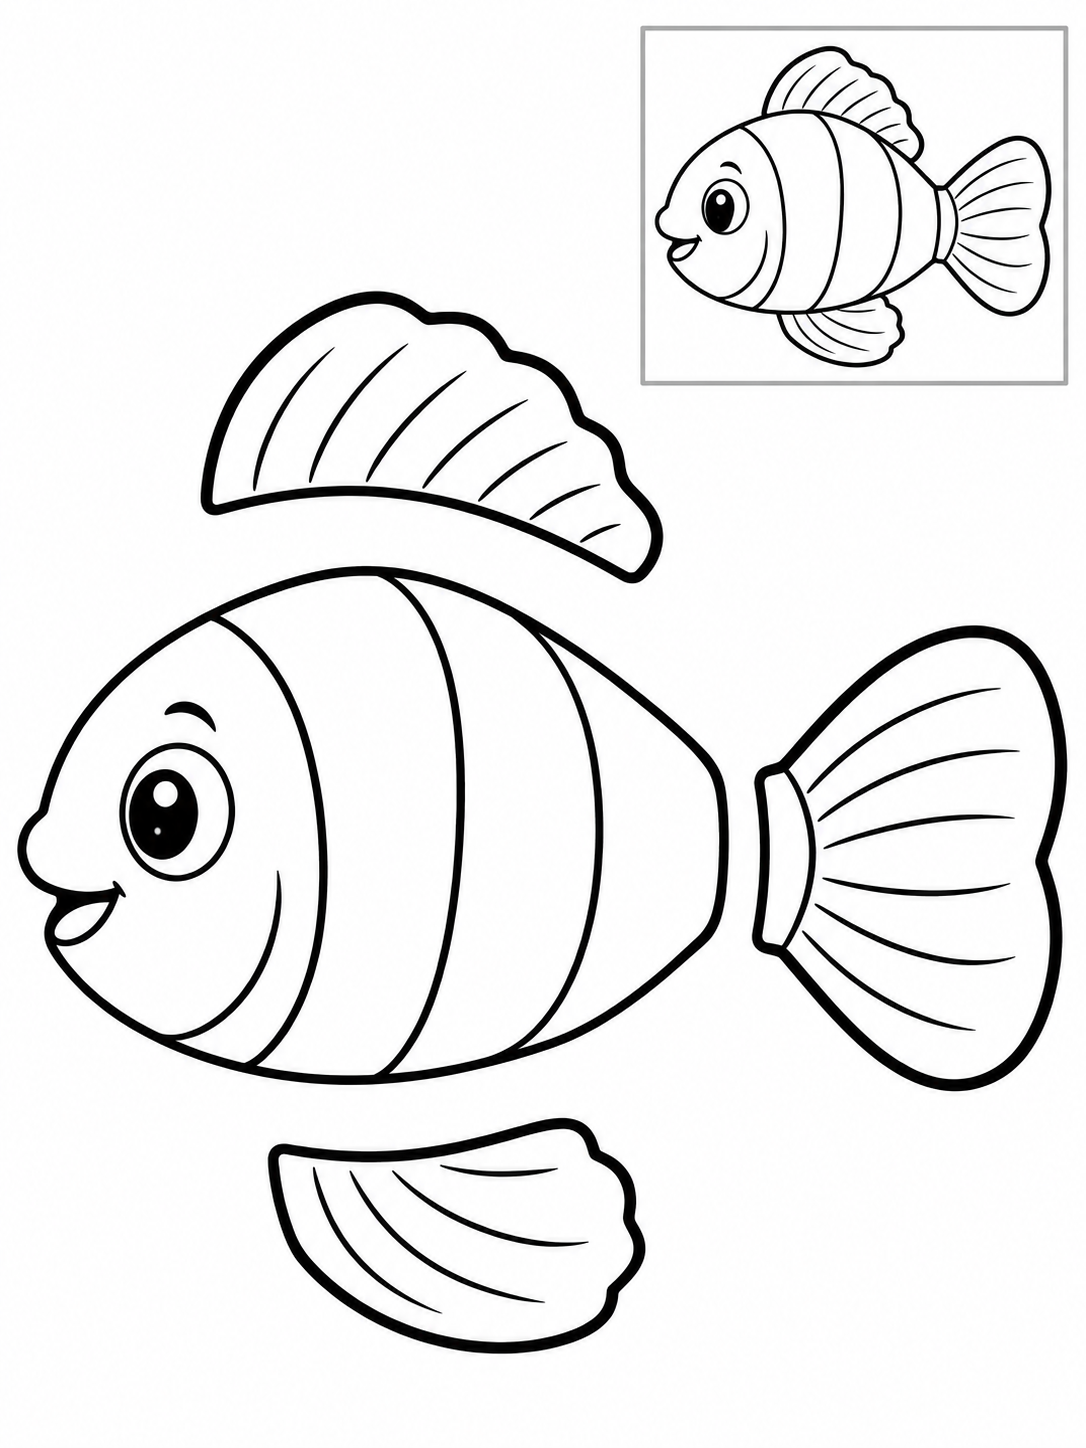
Black and white — color before cutting.
Assembly example: The small boxed example shows the finished craft. Do not cut it out.
Cut the large body and the separate tail and fins around their outside edges. Keep the face and internal patterns intact. The small fish in the top-right box is a reference, not a piece. Match the fin positions to that example, tuck their bases and the tail under the body, then glue the overlaps.
Check: Can you guide the scissors comfortably? If it is difficult, an adult can shorten a strip, cut a tricky curve or offer straight paths. Pieces should be fully separated and arranged as intended before gluing.
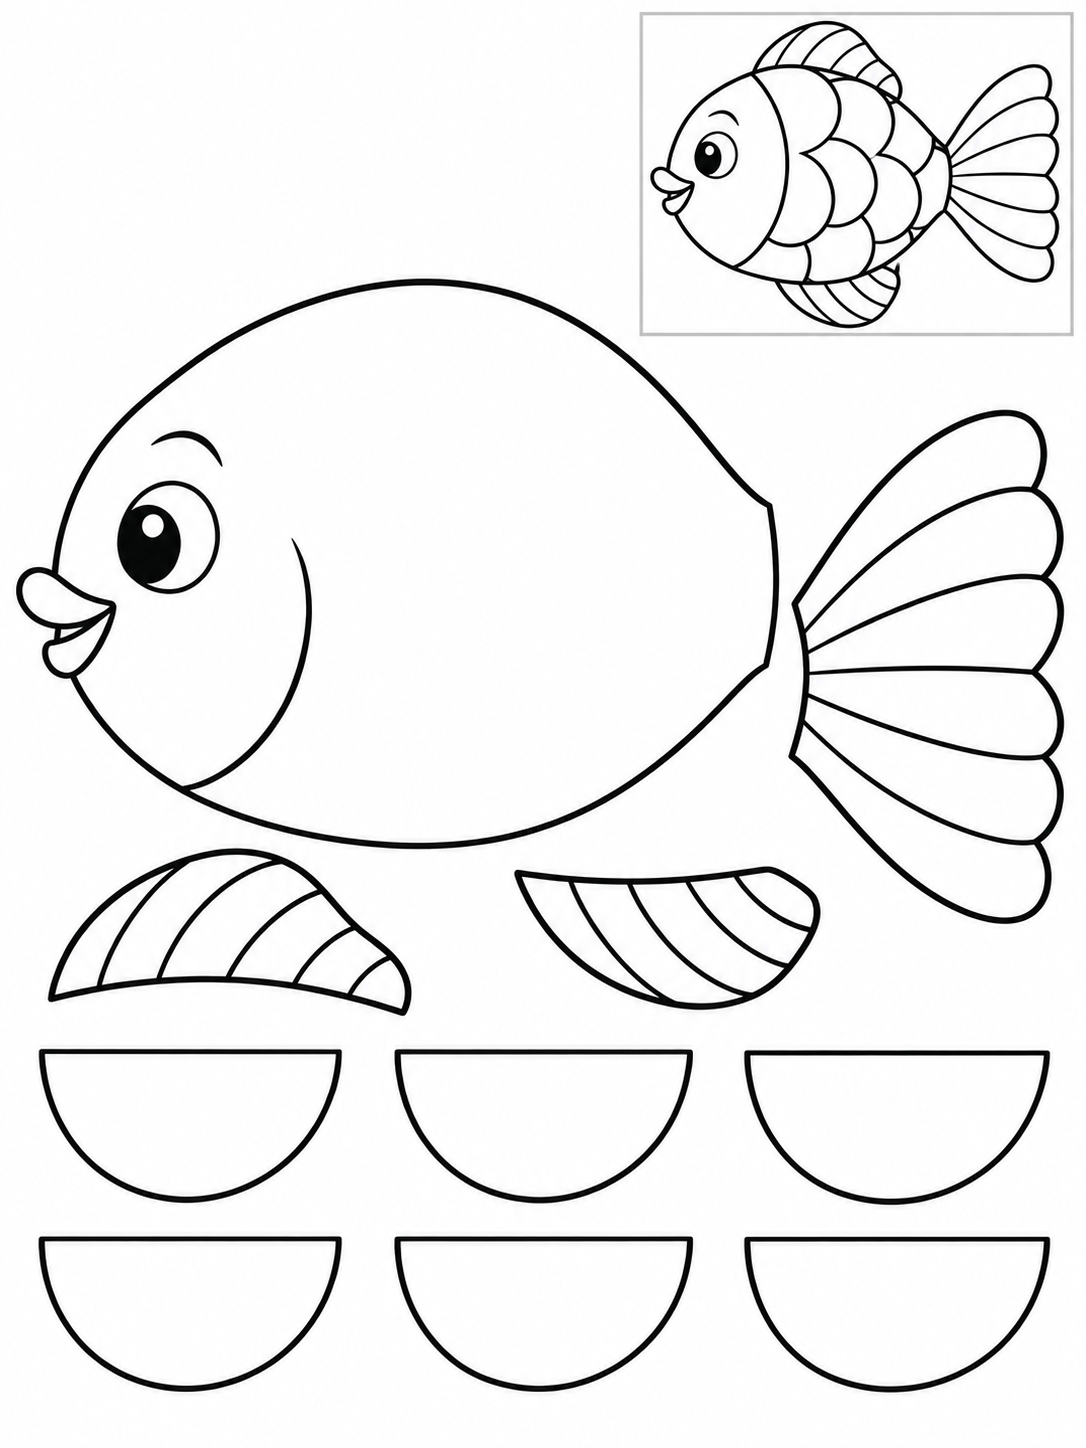
Black and white — color before cutting.
Assembly example: The small boxed example shows the finished craft. Do not cut it out.
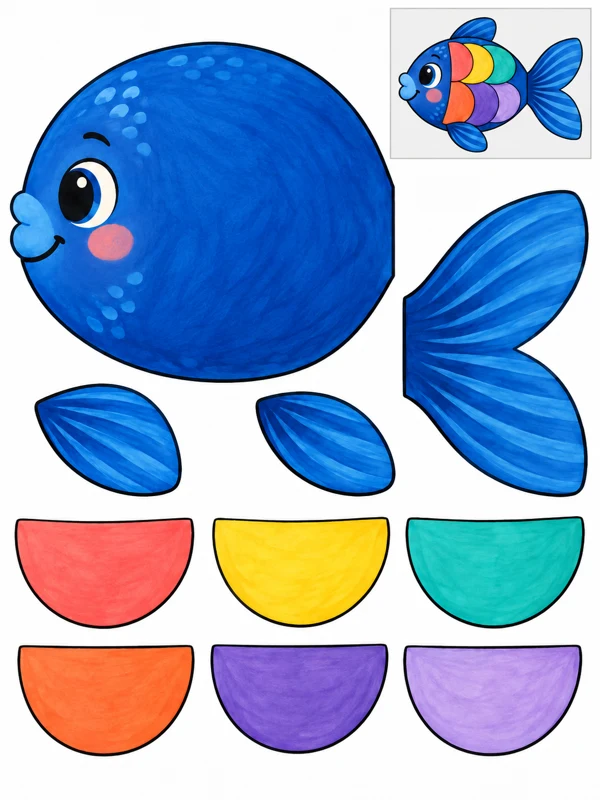
Cut the large body and the separate tail and fins around their outside edges. Keep the face and internal patterns intact. The small fish in the top-right box is a reference, not a piece. Match the fin positions to that example, tuck their bases and the tail under the body, then glue the overlaps. The six separate semicircles are scales. Layer them from the tail toward the head, overlapping only a little and keeping the eye visible.
Check: Can you guide the scissors comfortably? If it is difficult, an adult can shorten a strip, cut a tricky curve or offer straight paths. Pieces should be fully separated and arranged as intended before gluing.
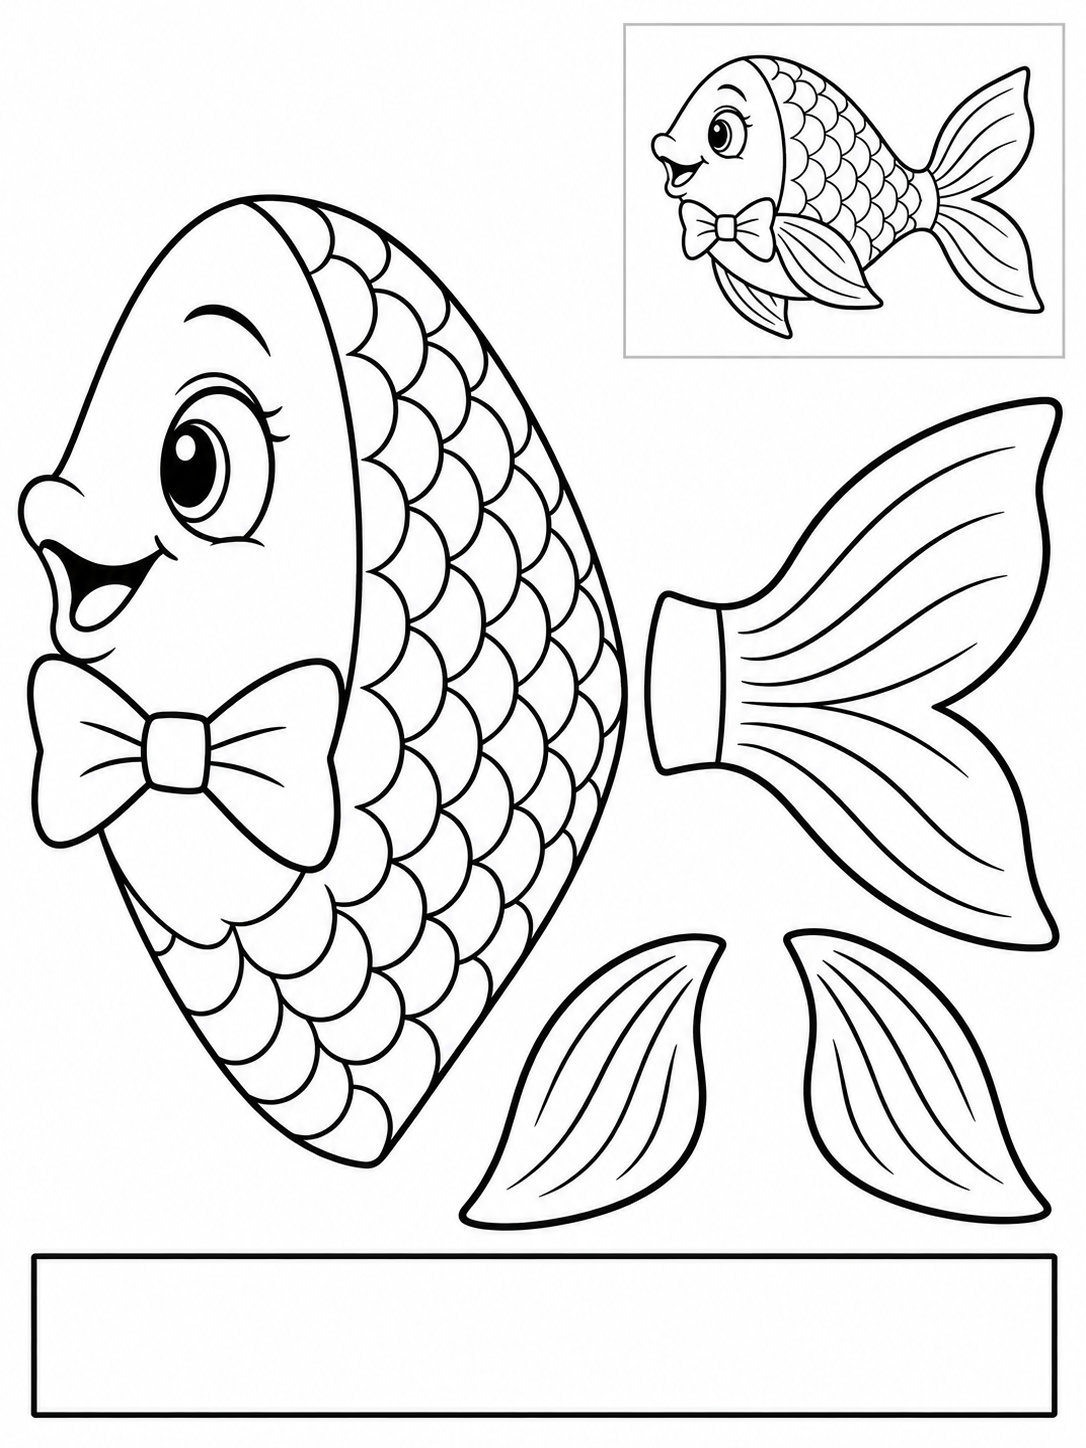
Black and white — color before cutting.
Assembly example: The small boxed example shows the finished craft. Do not cut it out.
Cut the large body and the separate tail and fins around their outside edges. Keep the face and internal patterns intact. The small fish in the top-right box is a reference, not a piece. Match the fin positions to that example, tuck their bases and the tail under the body, then glue the overlaps. An adult fits the broad band loosely around a finger, trims the excess and tapes its ends. Glue the fish outside the band. Remove and enlarge a tight band. Keep printed face decorations uncut.
Check: Can you guide the scissors comfortably? If it is difficult, an adult can shorten a strip, cut a tricky curve or offer straight paths. Pieces should be fully separated and arranged as intended before gluing.
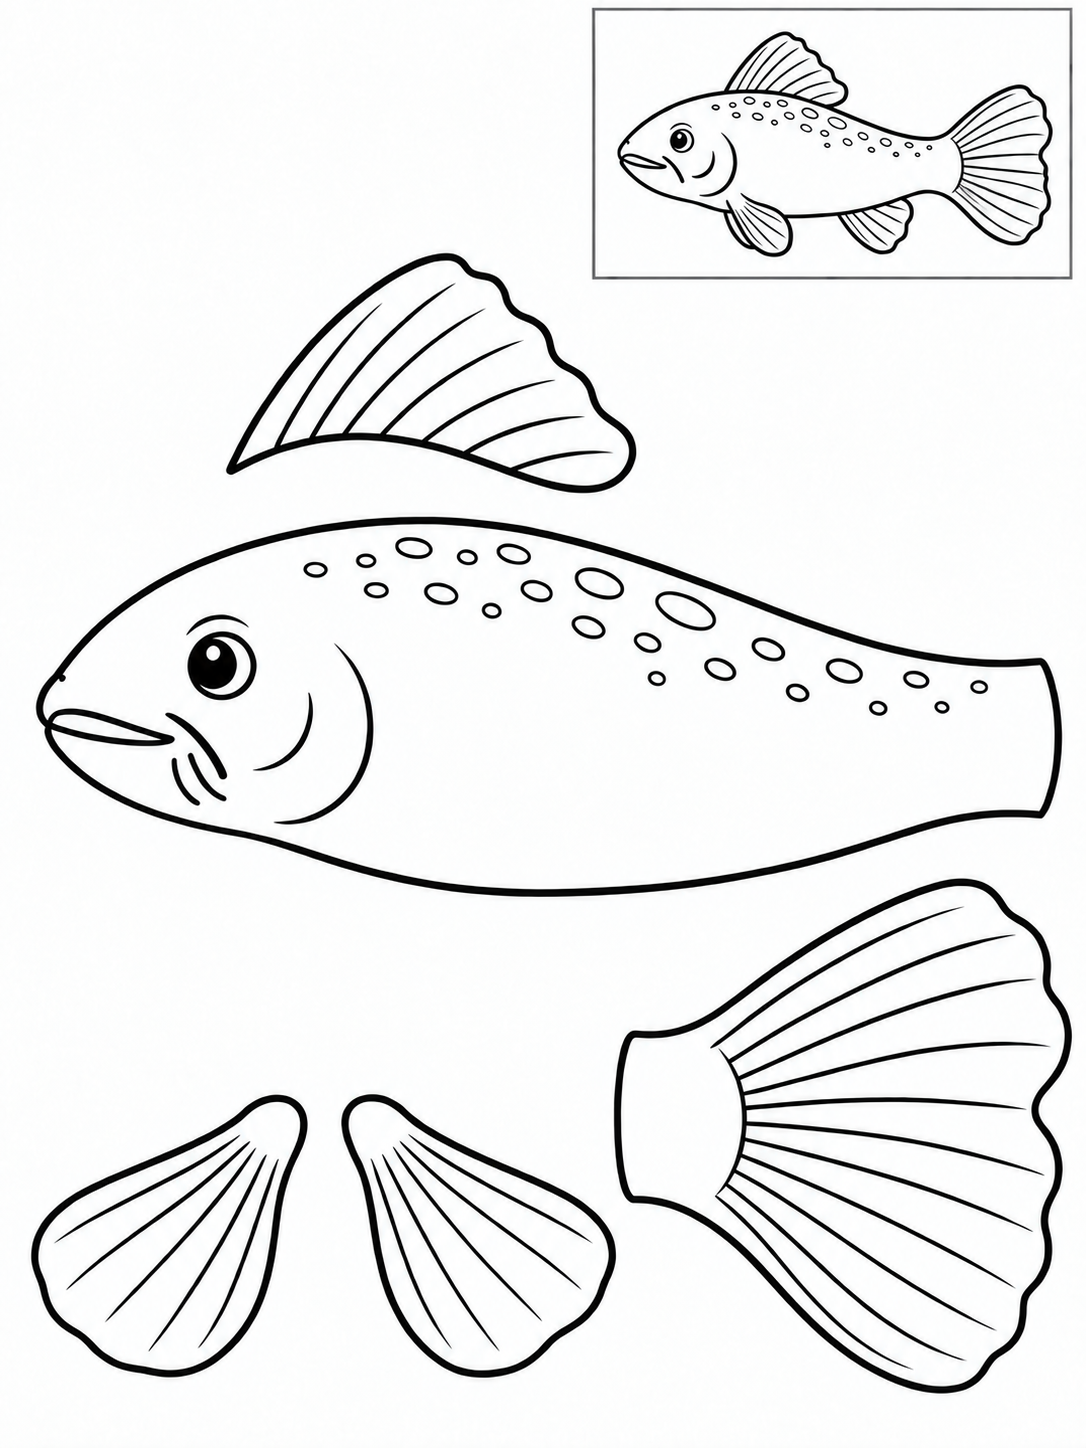
Black and white — color before cutting.
Assembly example: The small boxed example shows the finished craft. Do not cut it out.
Cut the large body and the separate tail and fins around their outside edges. Keep the face and internal patterns intact. The small fish in the top-right box is a reference, not a piece. Match the fin positions to that example, tuck their bases and the tail under the body, then glue the overlaps.
Check: Can you guide the scissors comfortably? If it is difficult, an adult can shorten a strip, cut a tricky curve or offer straight paths. Pieces should be fully separated and arranged as intended before gluing.
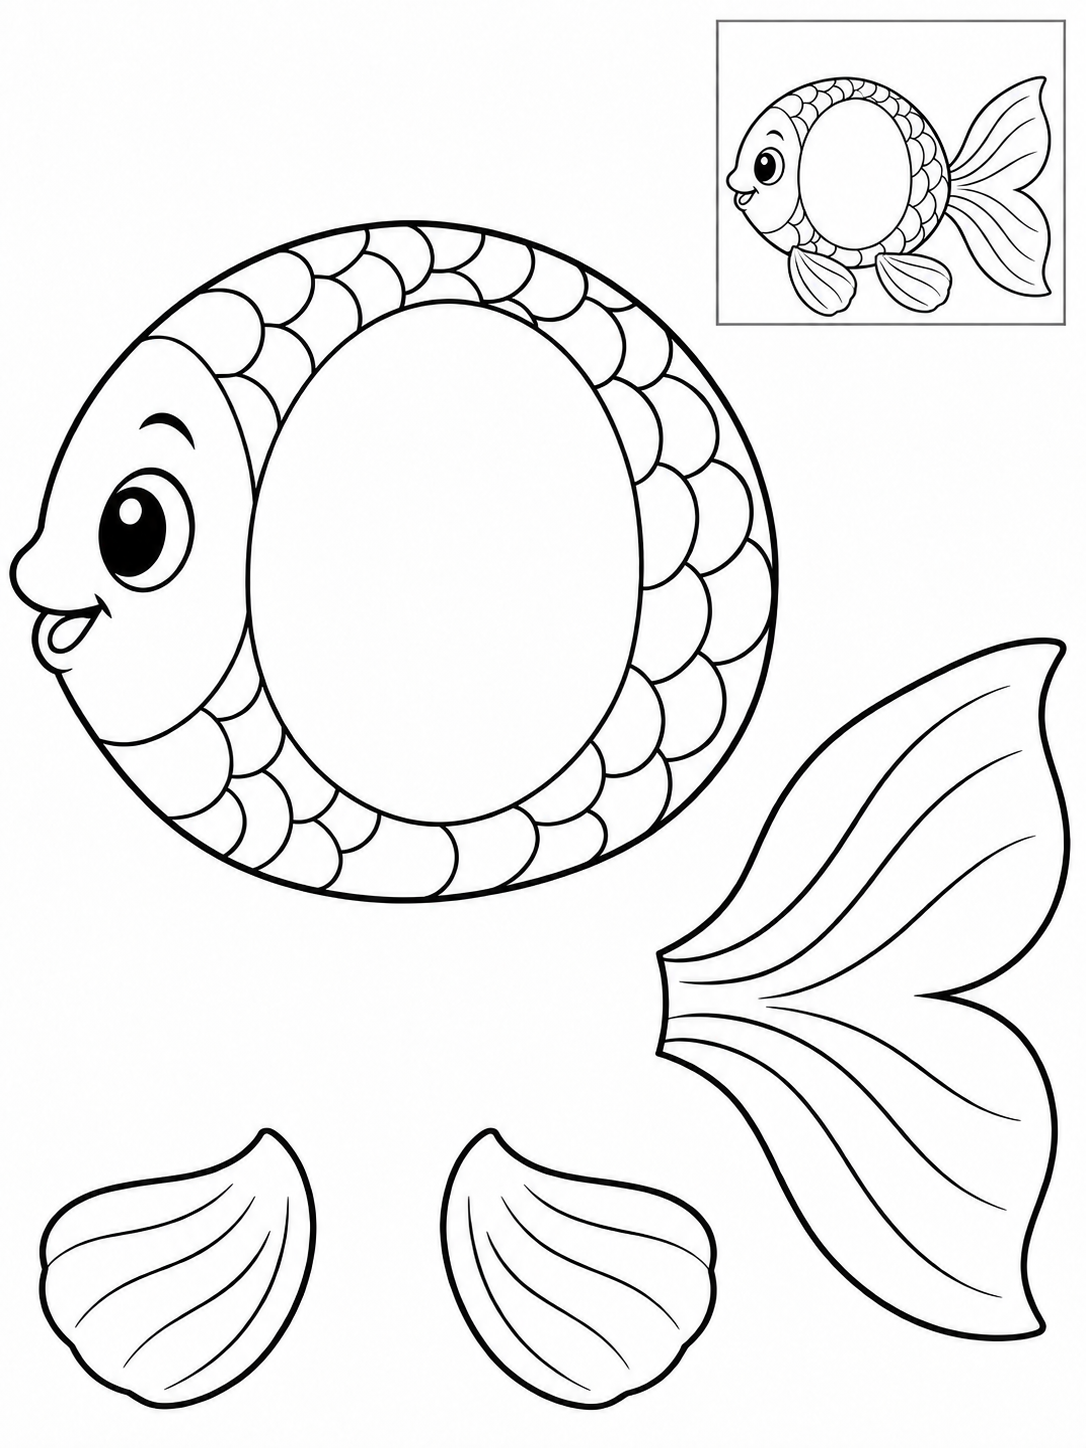
Black and white — color before cutting.
Assembly example: The small boxed example shows the finished craft. Do not cut it out.
Cut the large body and the separate tail and fins around their outside edges. Keep the face and internal patterns intact. The small fish in the top-right box is a reference, not a piece. Match the fin positions to that example, tuck their bases and the tail under the body, then glue the overlaps. The blank oval is a space for your own little picture, not a hole to cut. Draw a tiny sea character inside it.
Check: Can you guide the scissors comfortably? If it is difficult, an adult can shorten a strip, cut a tricky curve or offer straight paths. Pieces should be fully separated and arranged as intended before gluing.
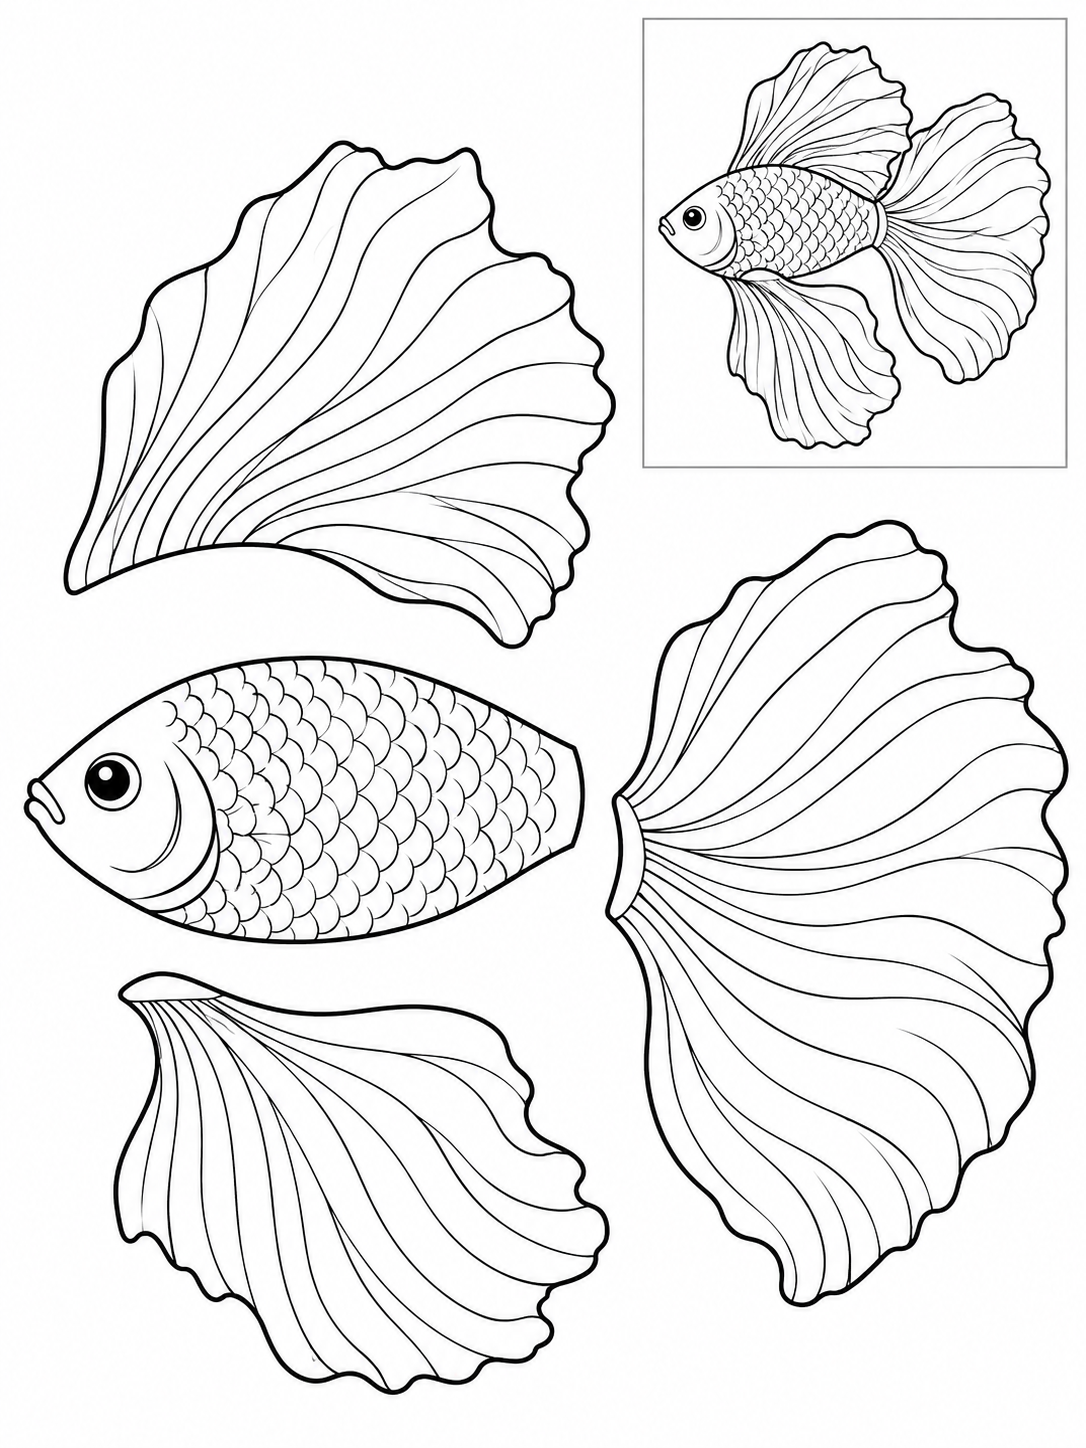
Black and white — color before cutting.
Assembly example: The small boxed example shows the finished craft. Do not cut it out.
Cut the large body and the separate tail and fins around their outside edges. Keep the face and internal patterns intact. The small fish in the top-right box is a reference, not a piece. Match the fin positions to that example, tuck their bases and the tail under the body, then glue the overlaps. Cut the broad scallops as one continuous edge; the thin lines inside the fan are decoration. Rotate the paper through each lobe.
Check: Can you guide the scissors comfortably? If it is difficult, an adult can shorten a strip, cut a tricky curve or offer straight paths. Pieces should be fully separated and arranged as intended before gluing.
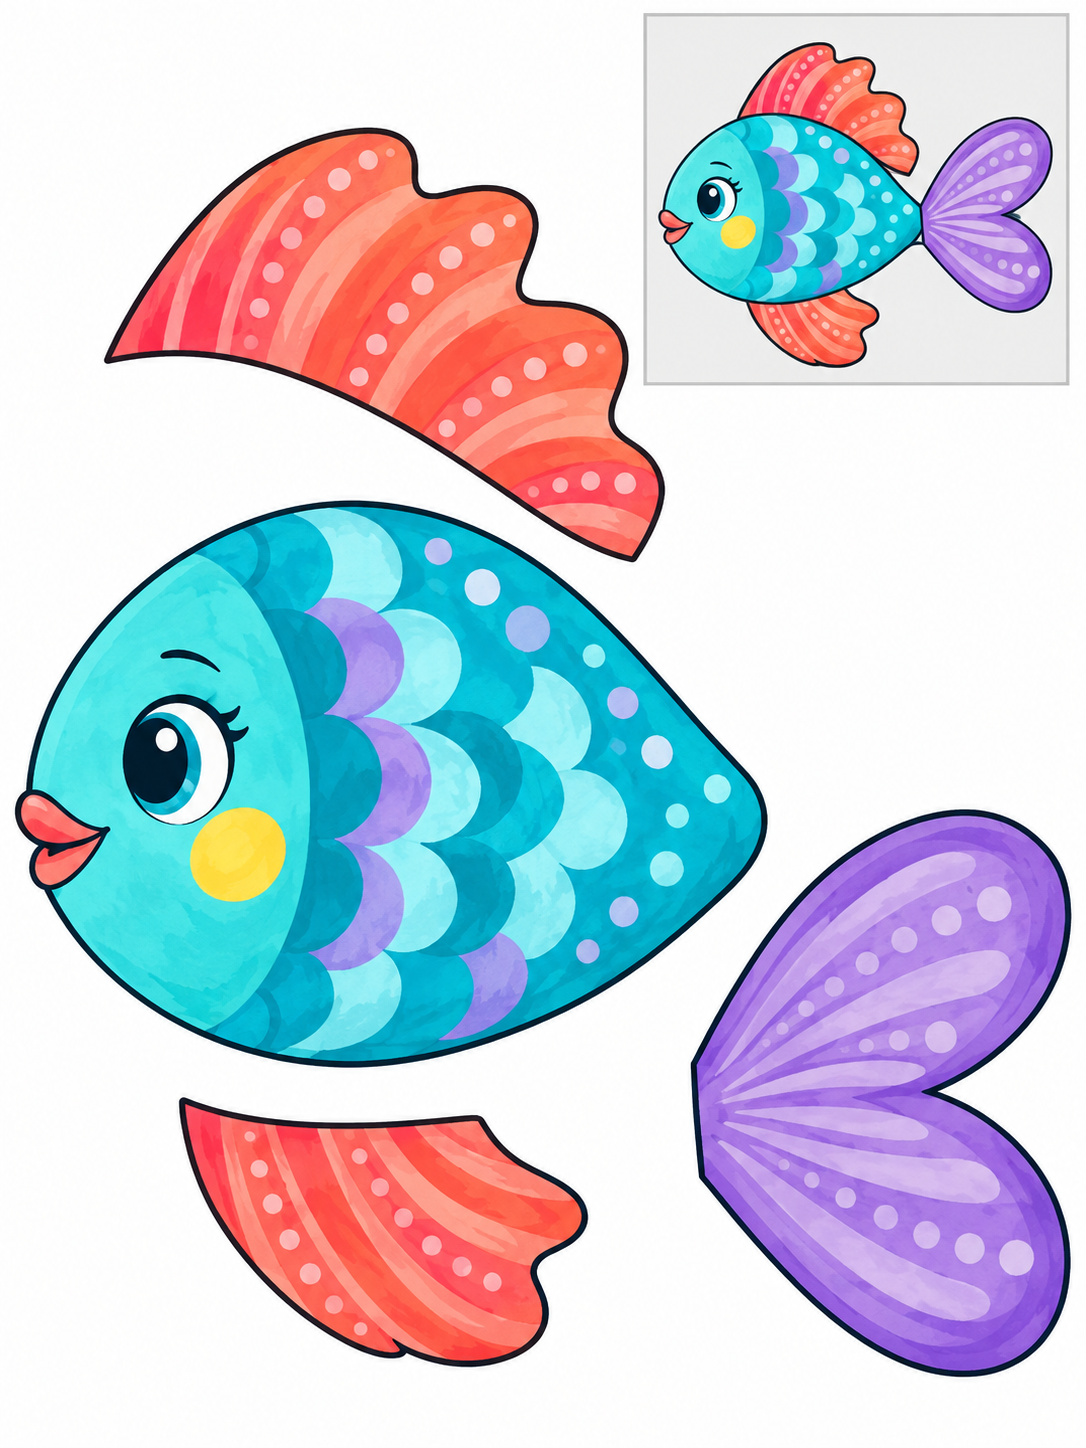
Full color — ready to cut.
Assembly example: The small boxed example shows the finished craft. Do not cut it out.
Cut the large body and the separate tail and fins around their outside edges. Keep the face and internal patterns intact. The small fish in the top-right box is a reference, not a piece. Match the fin positions to that example, tuck their bases and the tail under the body, then glue the overlaps.
Check: Can you guide the scissors comfortably? If it is difficult, an adult can shorten a strip, cut a tricky curve or offer straight paths. Pieces should be fully separated and arranged as intended before gluing.
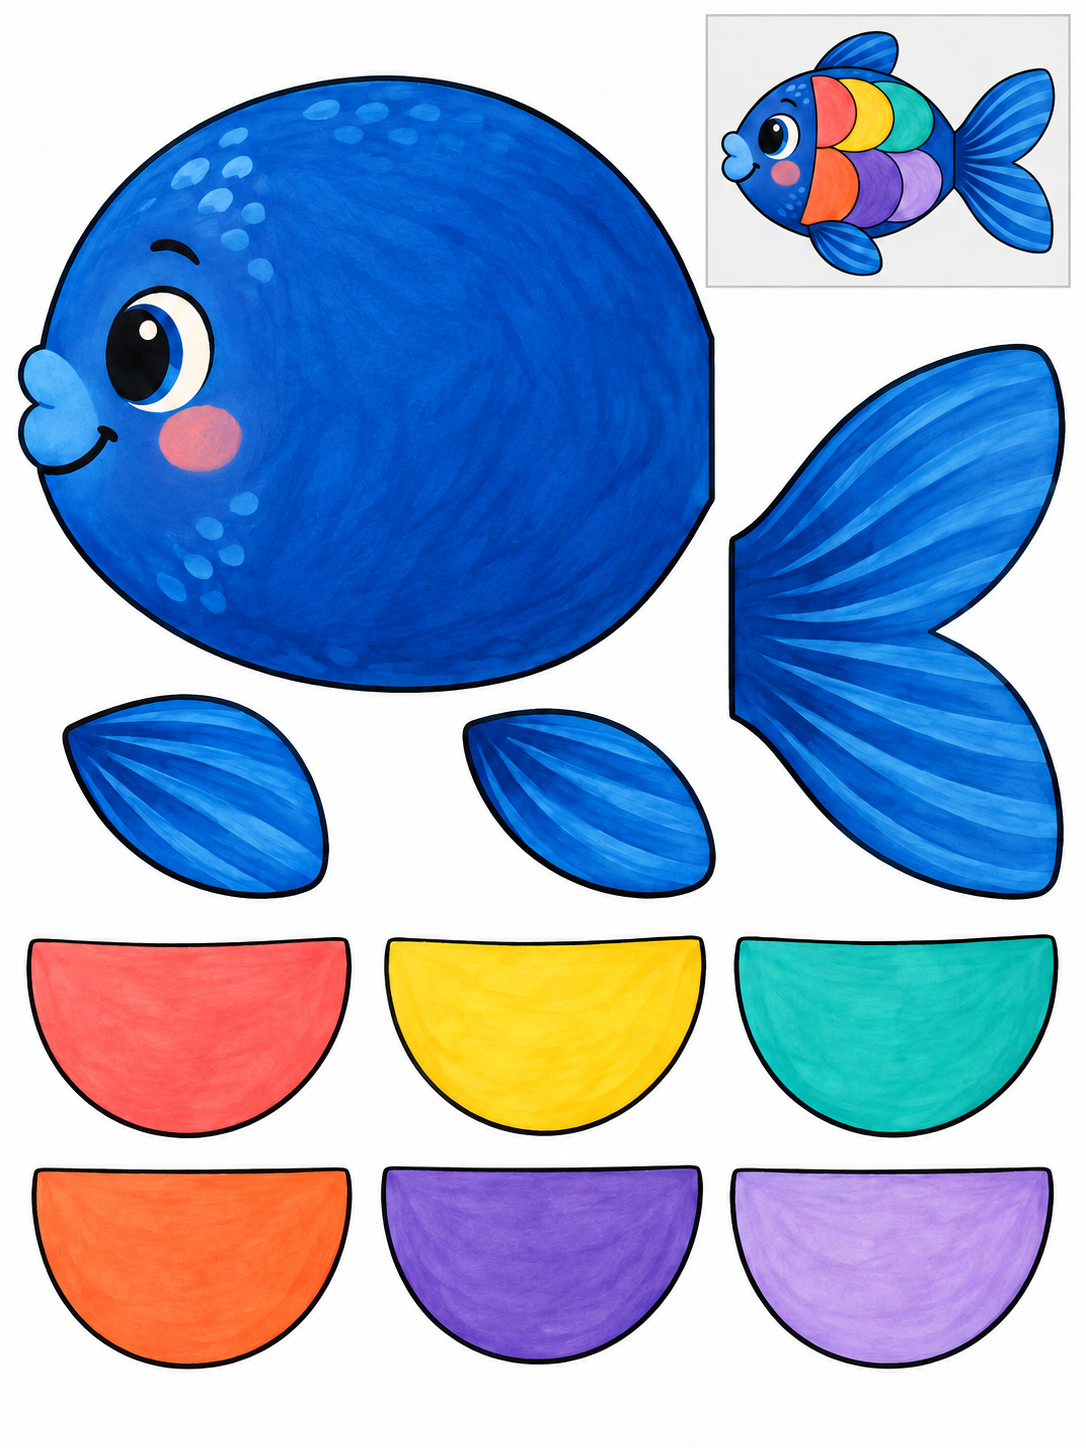
Full color — ready to cut.
Assembly example: The small boxed example shows the finished craft. Do not cut it out.
Cut the large body and the separate tail and fins around their outside edges. Keep the face and internal patterns intact. The small fish in the top-right box is a reference, not a piece. Match the fin positions to that example, tuck their bases and the tail under the body, then glue the overlaps. The six separate semicircles are scales. Layer them from the tail toward the head, overlapping only a little and keeping the eye visible.
Check: Can you guide the scissors comfortably? If it is difficult, an adult can shorten a strip, cut a tricky curve or offer straight paths. Pieces should be fully separated and arranged as intended before gluing.
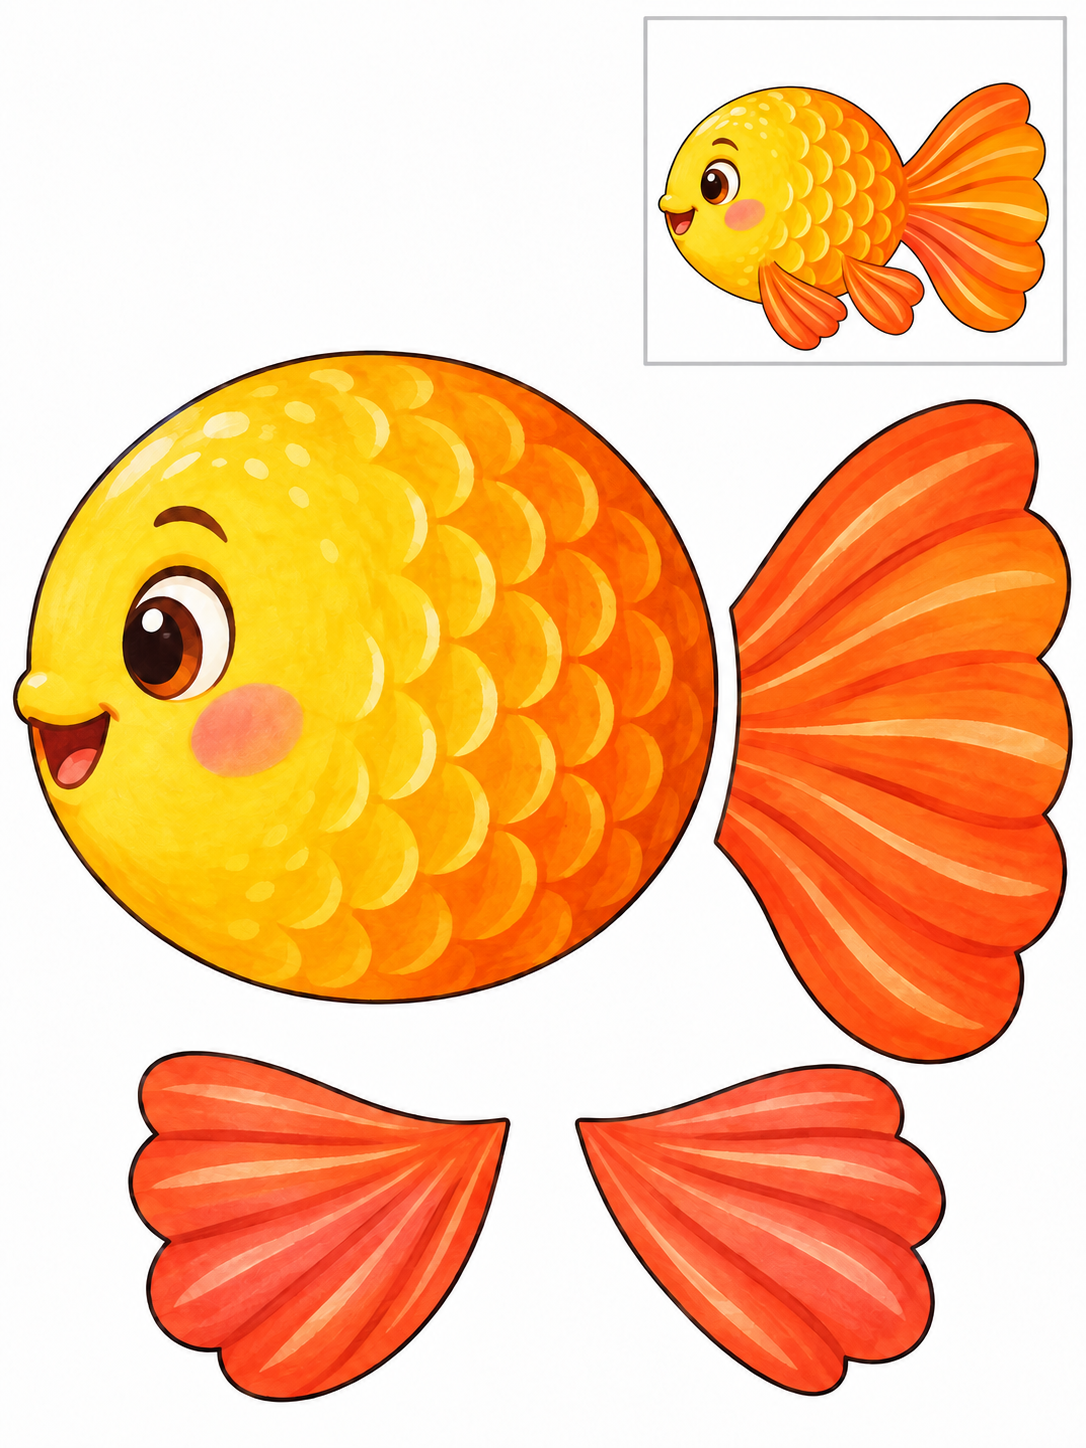
Full color — ready to cut.
Assembly example: The small boxed example shows the finished craft. Do not cut it out.
Cut the large body and the separate tail and fins around their outside edges. Keep the face and internal patterns intact. The small fish in the top-right box is a reference, not a piece. Match the fin positions to that example, tuck their bases and the tail under the body, then glue the overlaps.
Check: Can you guide the scissors comfortably? If it is difficult, an adult can shorten a strip, cut a tricky curve or offer straight paths. Pieces should be fully separated and arranged as intended before gluing.
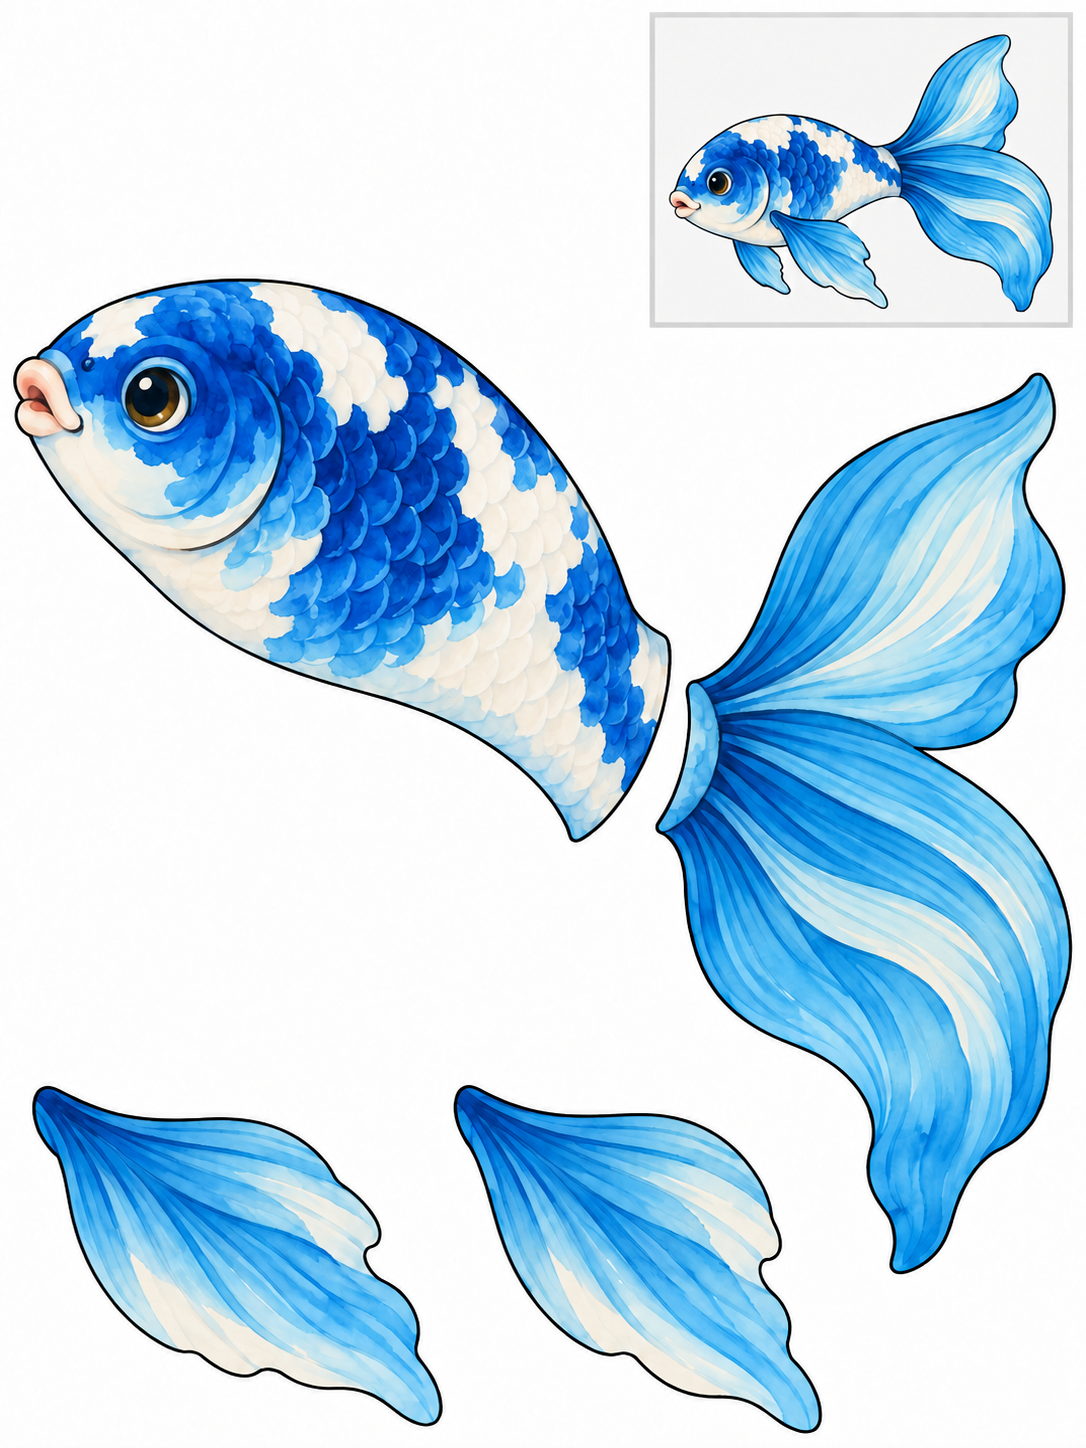
Full color — ready to cut.
Assembly example: The small boxed example shows the finished craft. Do not cut it out.
Cut the large body and the separate tail and fins around their outside edges. Keep the face and internal patterns intact. The small fish in the top-right box is a reference, not a piece. Match the fin positions to that example, tuck their bases and the tail under the body, then glue the overlaps. Cut the broad scallops as one continuous edge; the thin lines inside the fan are decoration. Rotate the paper through each lobe.
Check: Can you guide the scissors comfortably? If it is difficult, an adult can shorten a strip, cut a tricky curve or offer straight paths. Pieces should be fully separated and arranged as intended before gluing.
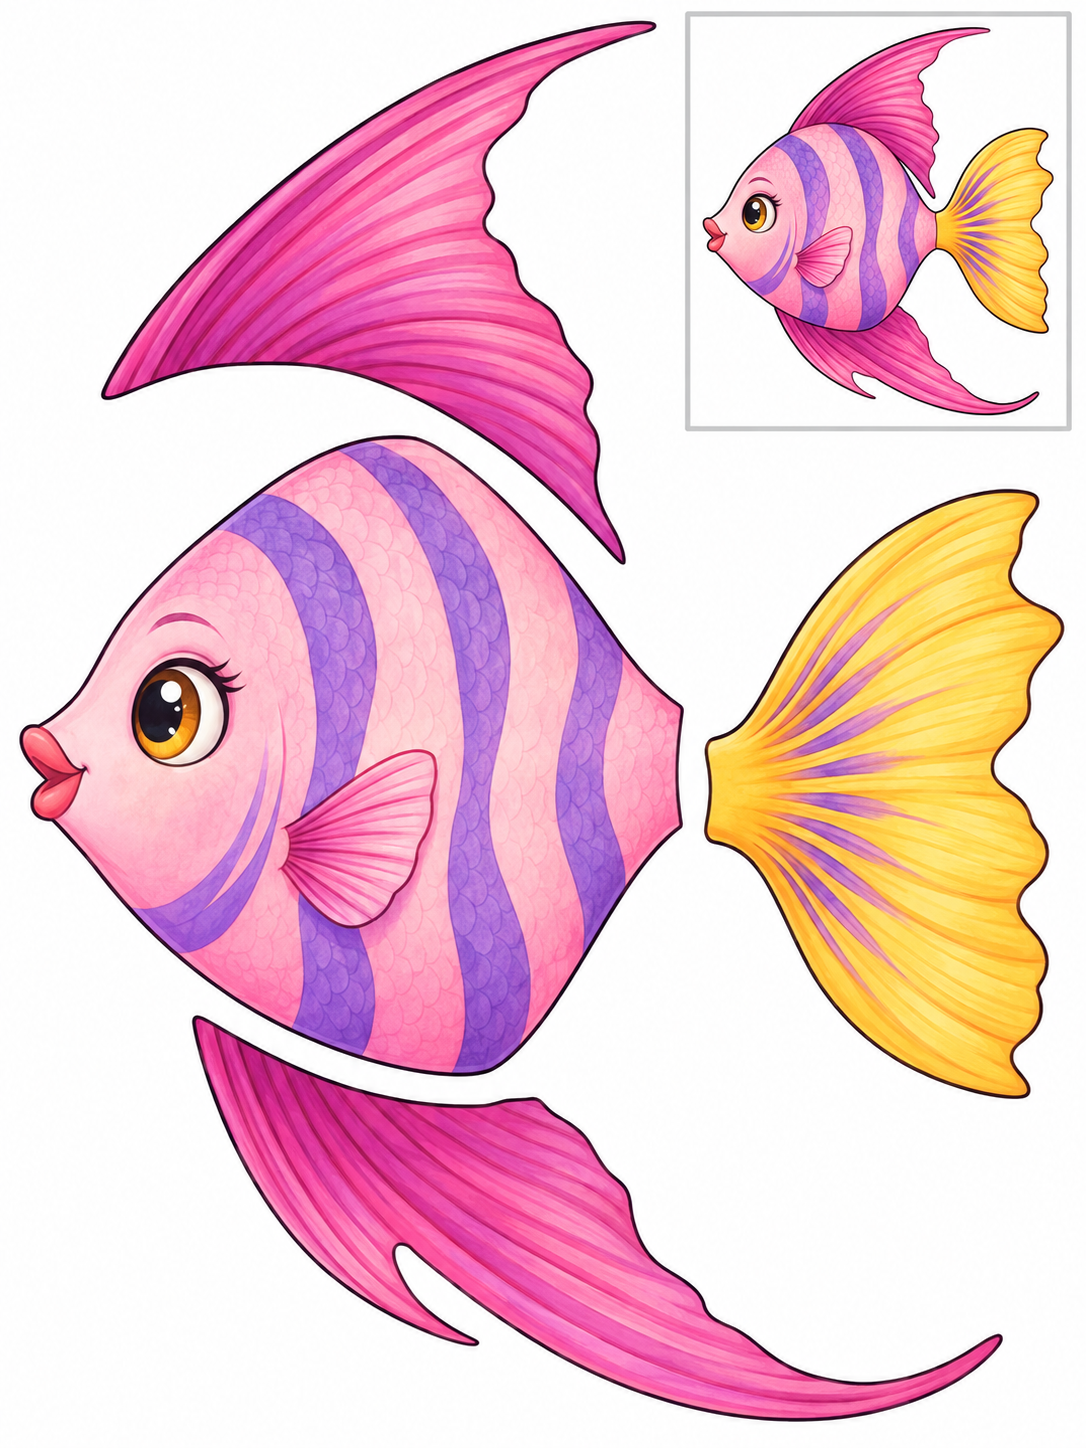
Full color — ready to cut.
Assembly example: The small boxed example shows the finished craft. Do not cut it out.
Cut the large body and the separate tail and fins around their outside edges. Keep the face and internal patterns intact. The small fish in the top-right box is a reference, not a piece. Match the fin positions to that example, tuck their bases and the tail under the body, then glue the overlaps. The long fin goes above the body and the matching lower fin goes below it. Stop before each pointed turn and rotate the paper.
Check: Can you guide the scissors comfortably? If it is difficult, an adult can shorten a strip, cut a tricky curve or offer straight paths. Pieces should be fully separated and arranged as intended before gluing.
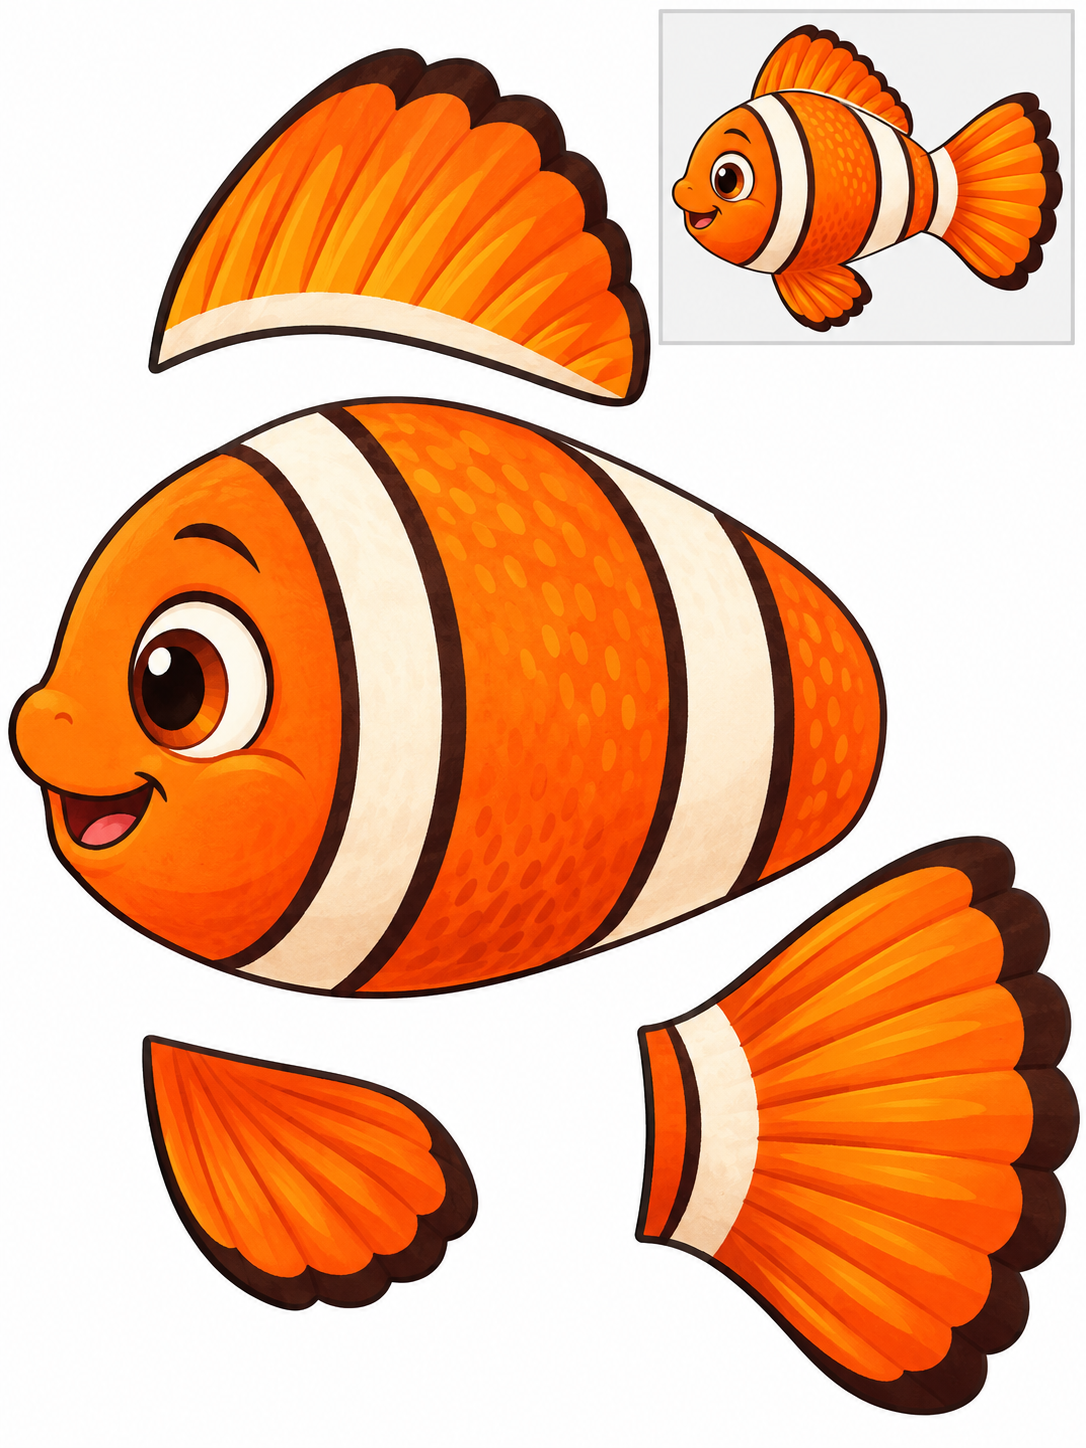
Full color — ready to cut.
Assembly example: The small boxed example shows the finished craft. Do not cut it out.
Cut the large body and the separate tail and fins around their outside edges. Keep the face and internal patterns intact. The small fish in the top-right box is a reference, not a piece. Match the fin positions to that example, tuck their bases and the tail under the body, then glue the overlaps.
Check: Can you guide the scissors comfortably? If it is difficult, an adult can shorten a strip, cut a tricky curve or offer straight paths. Pieces should be fully separated and arranged as intended before gluing.
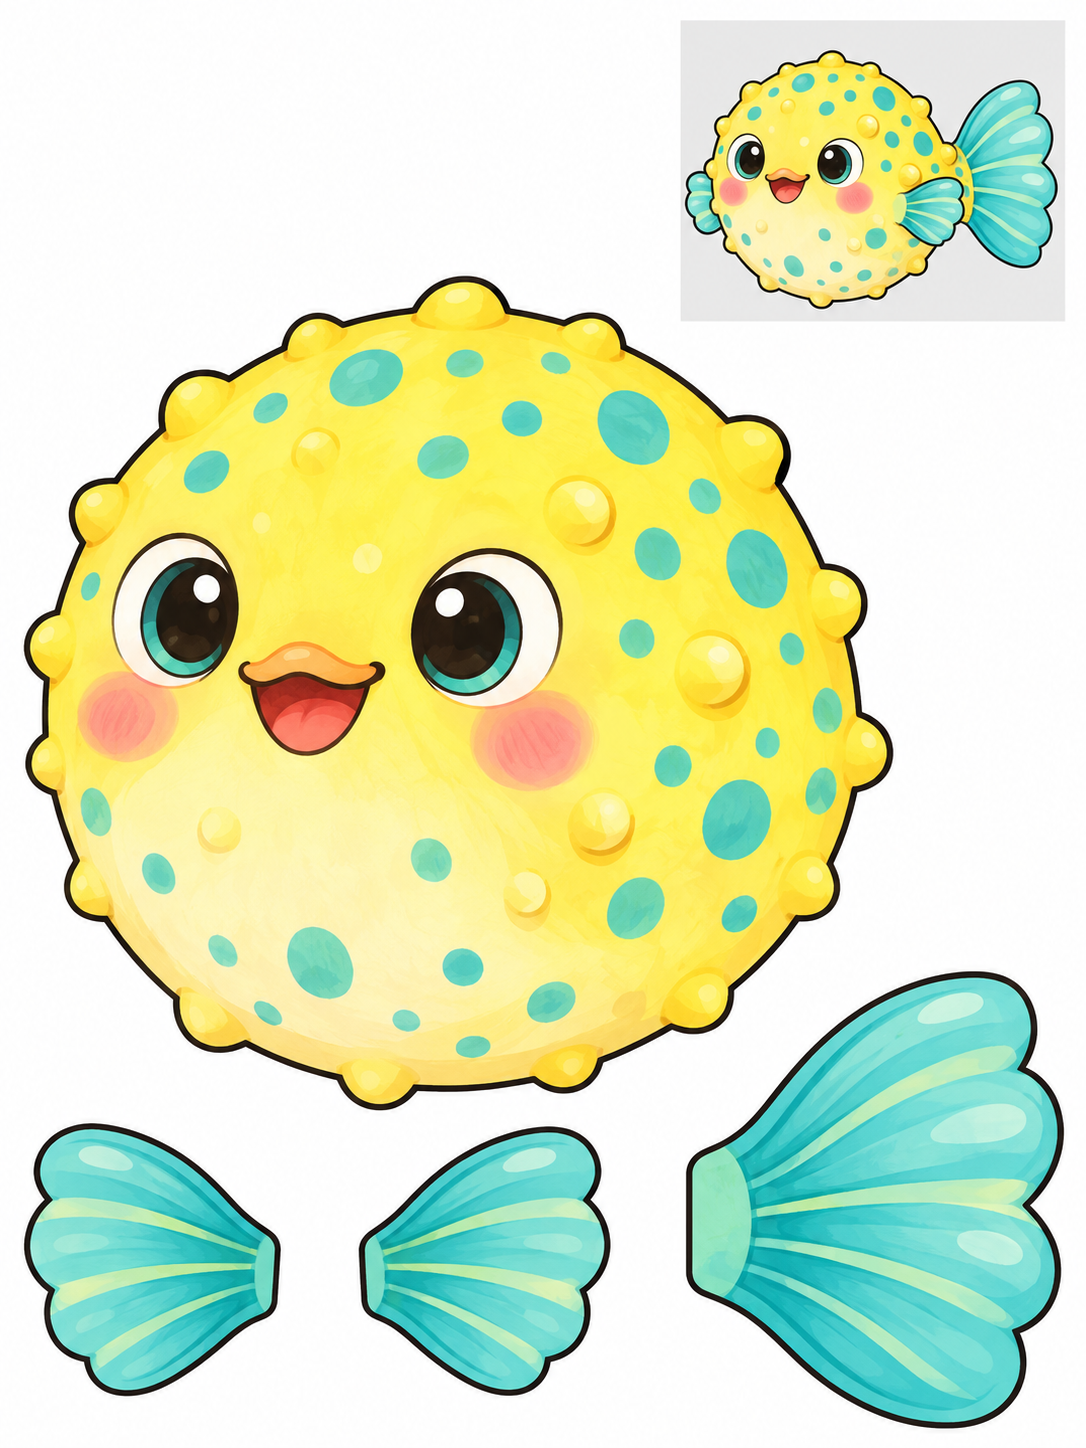
Full color — ready to cut.
Assembly example: The small boxed example shows the finished craft. Do not cut it out.
Cut the large body and the separate tail and fins around their outside edges. Keep the face and internal patterns intact. The small fish in the top-right box is a reference, not a piece. Match the fin positions to that example, tuck their bases and the tail under the body, then glue the overlaps.
Check: Can you guide the scissors comfortably? If it is difficult, an adult can shorten a strip, cut a tricky curve or offer straight paths. Pieces should be fully separated and arranged as intended before gluing.
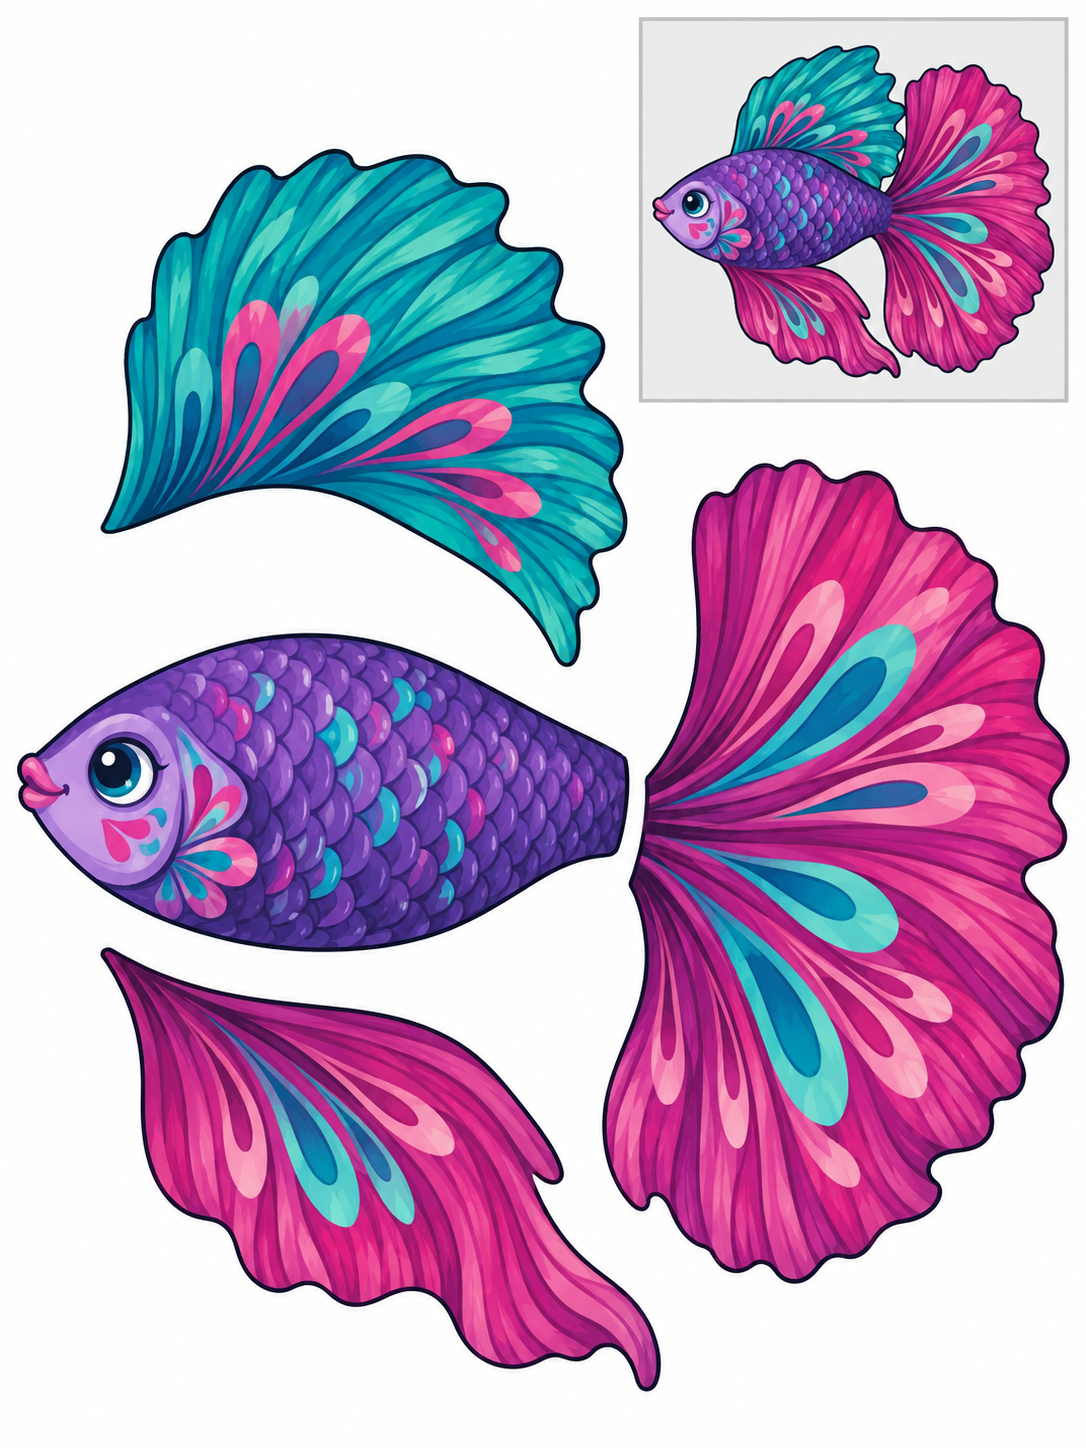
Full color — ready to cut.
Assembly example: The small boxed example shows the finished craft. Do not cut it out.
Cut the large body and the separate tail and fins around their outside edges. Keep the face and internal patterns intact. The small fish in the top-right box is a reference, not a piece. Match the fin positions to that example, tuck their bases and the tail under the body, then glue the overlaps. Cut the broad scallops as one continuous edge; the thin lines inside the fan are decoration. Rotate the paper through each lobe.
Check: Can you guide the scissors comfortably? If it is difficult, an adult can shorten a strip, cut a tricky curve or offer straight paths. Pieces should be fully separated and arranged as intended before gluing.
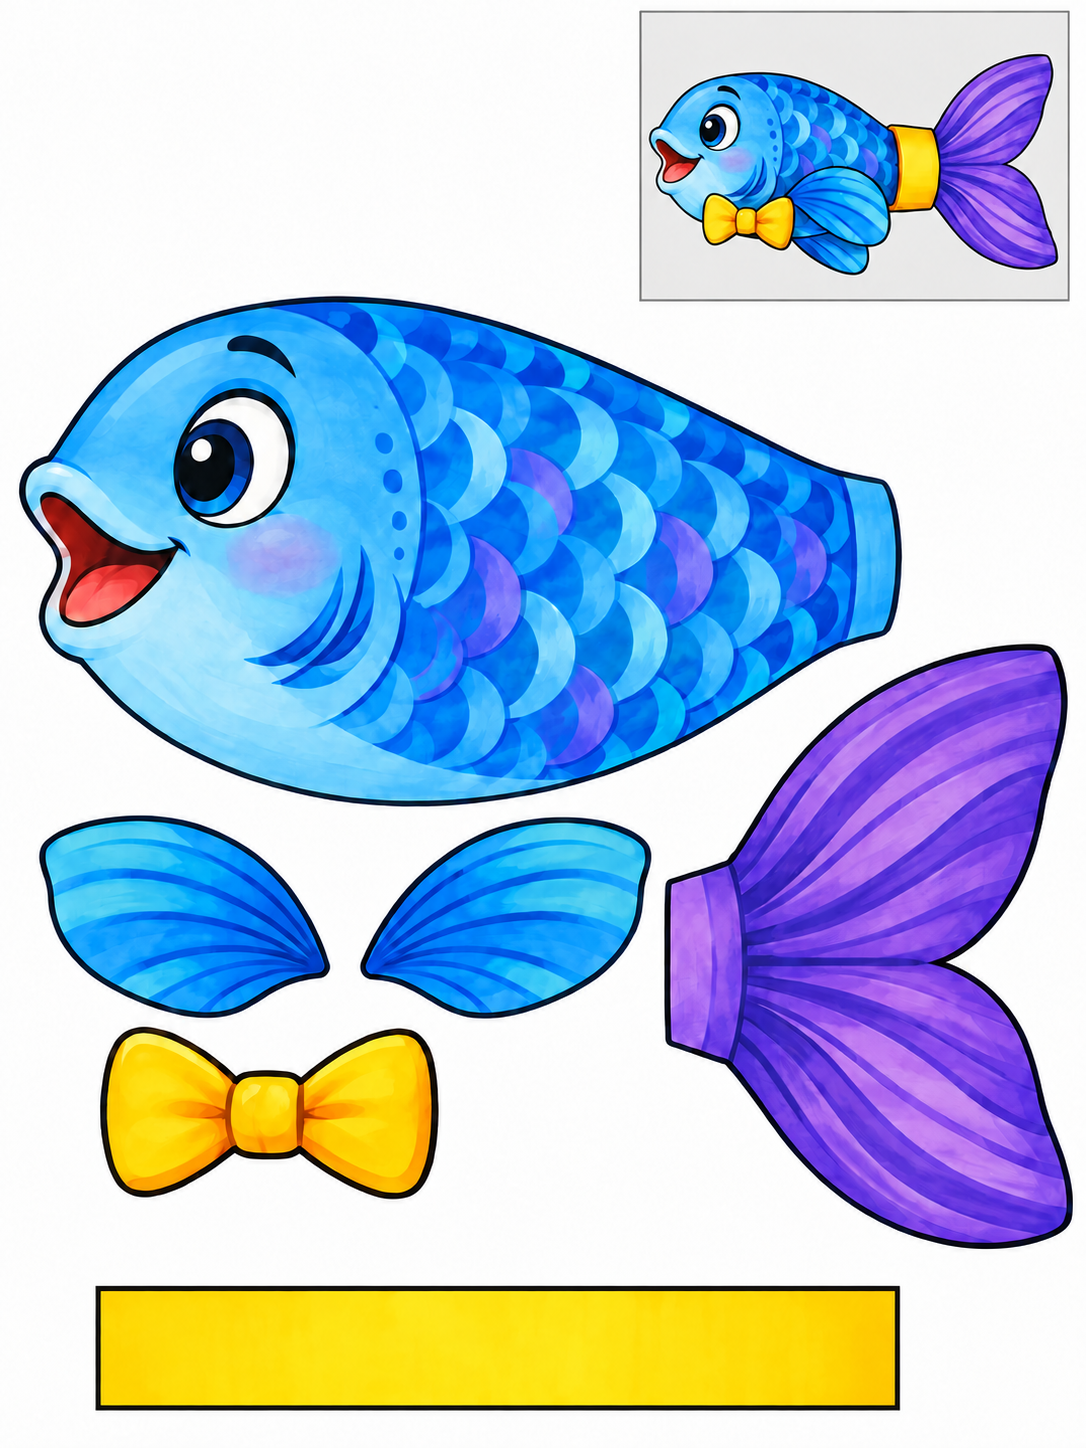
Full color — ready to cut.
Assembly example: The small boxed example shows the finished craft. Do not cut it out.
Cut the large body and the separate tail and fins around their outside edges. Keep the face and internal patterns intact. The small fish in the top-right box is a reference, not a piece. Match the fin positions to that example, tuck their bases and the tail under the body, then glue the overlaps. An adult fits the broad band loosely around a finger, trims the excess and tapes its ends. Glue the fish outside the band. Remove and enlarge a tight band. Keep printed face decorations uncut.
Check: Can you guide the scissors comfortably? If it is difficult, an adult can shorten a strip, cut a tricky curve or offer straight paths. Pieces should be fully separated and arranged as intended before gluing.
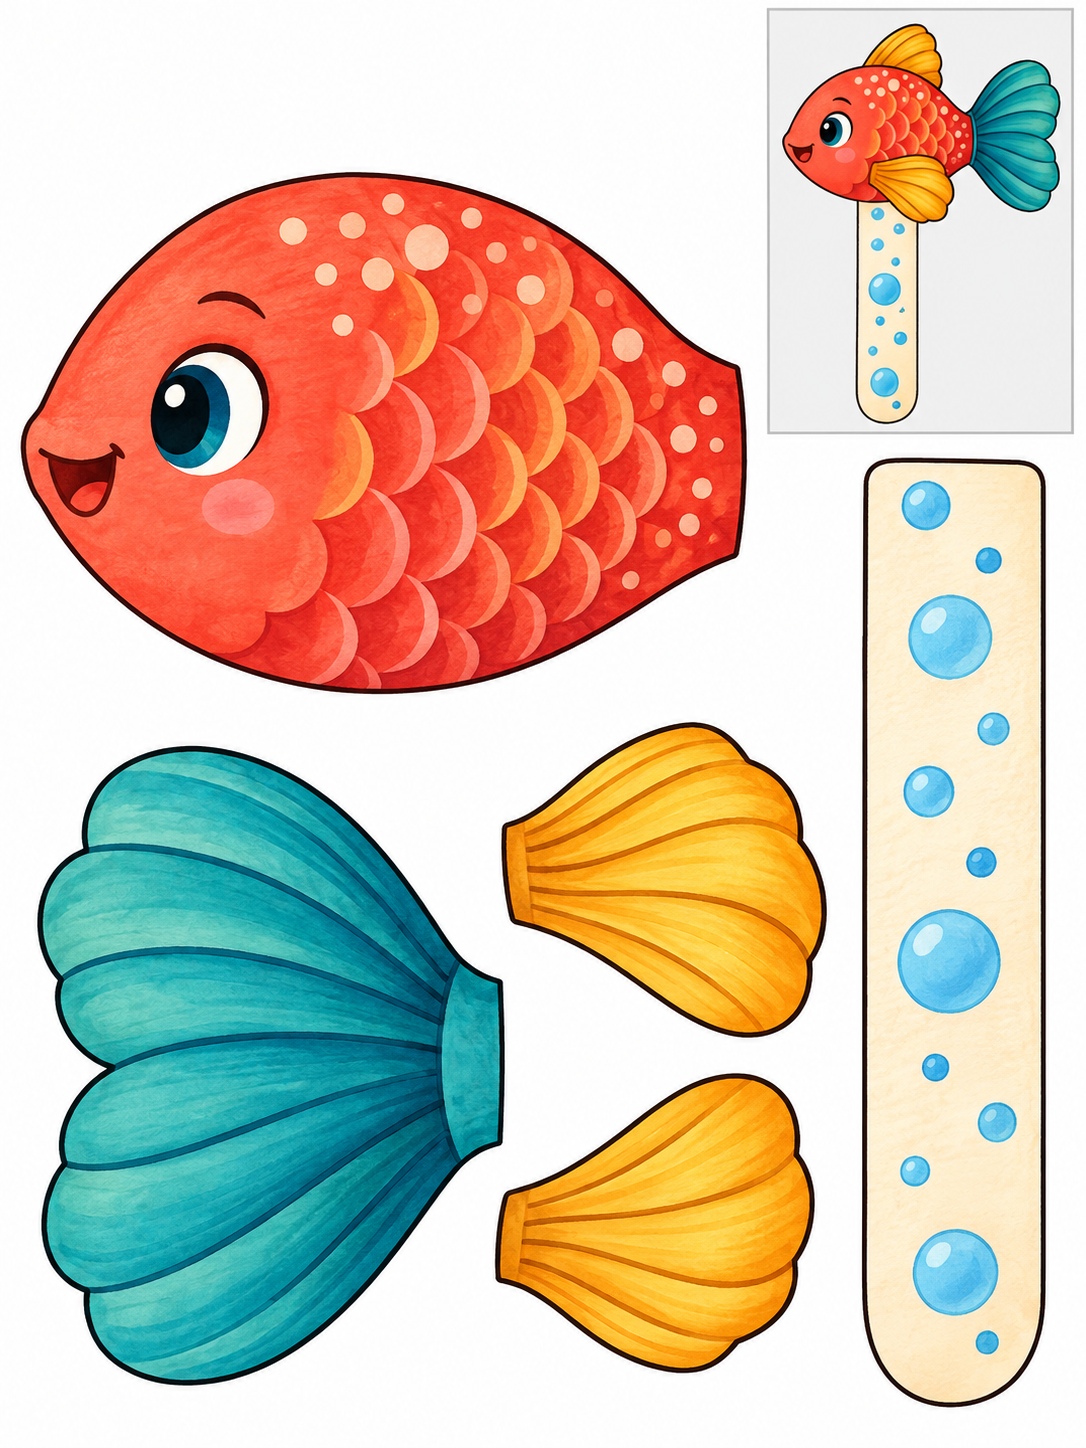
Full color — ready to cut.
Assembly example: The small boxed example shows the finished craft. Do not cut it out.
Cut the large body and the separate tail and fins around their outside edges. Keep the face and internal patterns intact. The small fish in the top-right box is a reference, not a piece. Match the fin positions to that example, tuck their bases and the tail under the body, then glue the overlaps. Glue the top of the long strip behind the body so it extends below the fish. Let it dry before putting it between book pages.
Check: Can you guide the scissors comfortably? If it is difficult, an adult can shorten a strip, cut a tricky curve or offer straight paths. Pieces should be fully separated and arranged as intended before gluing.
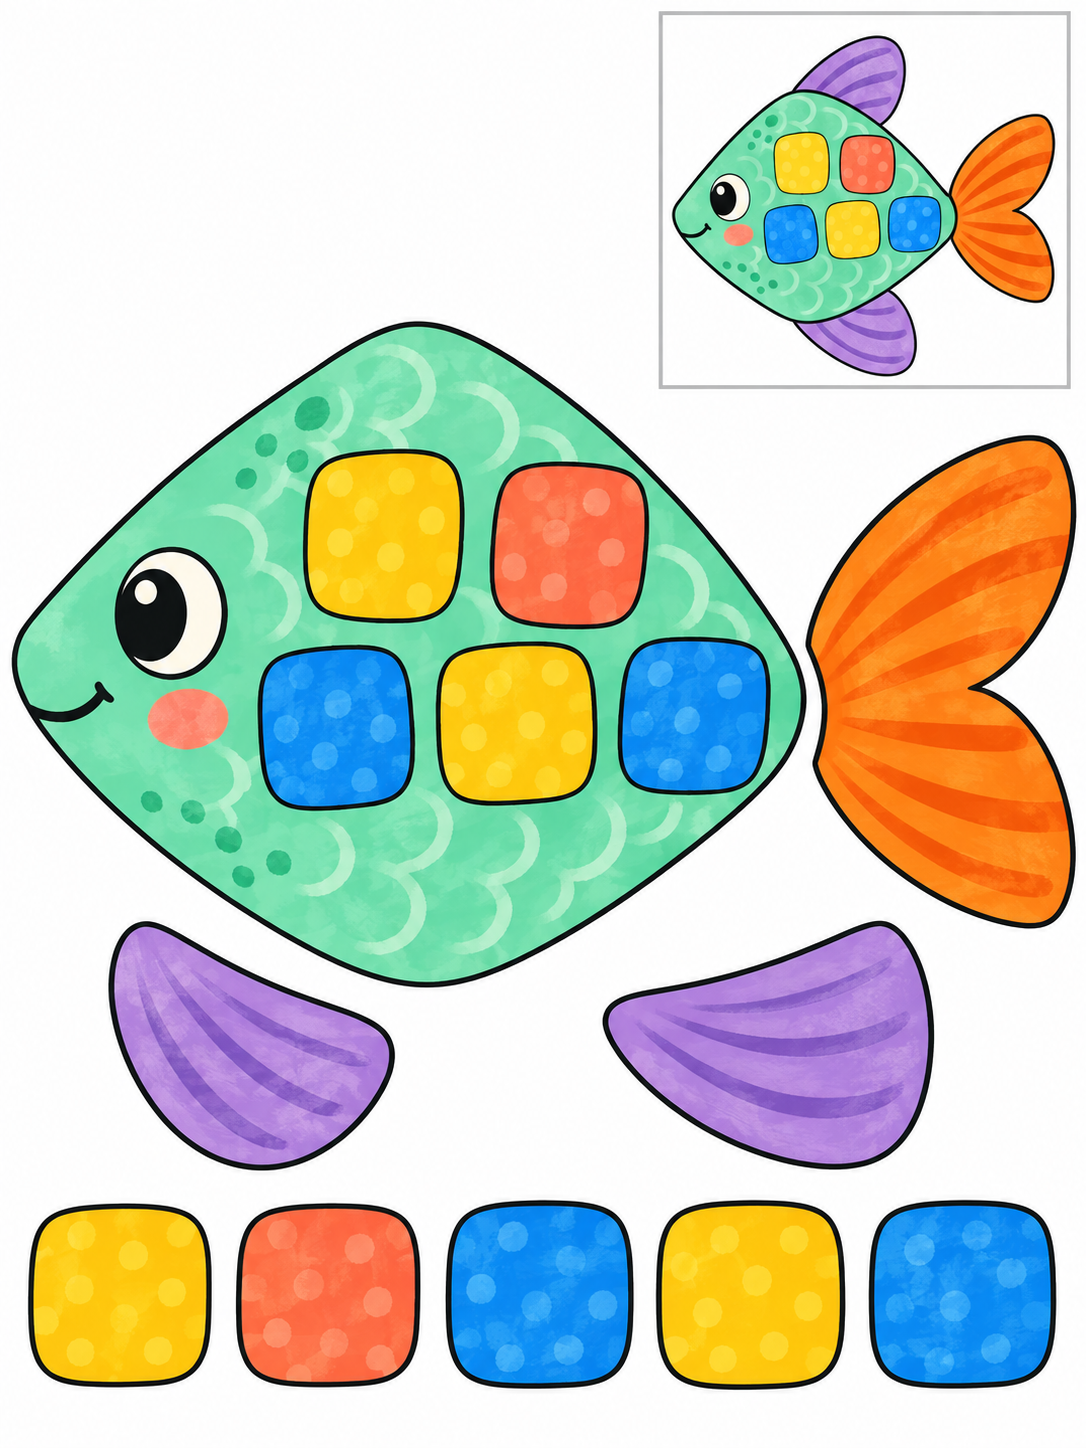
Full color — ready to cut.
Assembly example: The small boxed example shows the finished craft. Do not cut it out.
Cut the large body and the separate tail and fins around their outside edges. Keep the face and internal patterns intact. The small fish in the top-right box is a reference, not a piece. Match the fin positions to that example, tuck their bases and the tail under the body, then glue the overlaps. Arrange the five rounded square tiles on the body with small gaps, leaving the face clear. Try the arrangement before gluing.
Check: Can you guide the scissors comfortably? If it is difficult, an adult can shorten a strip, cut a tricky curve or offer straight paths. Pieces should be fully separated and arranged as intended before gluing.
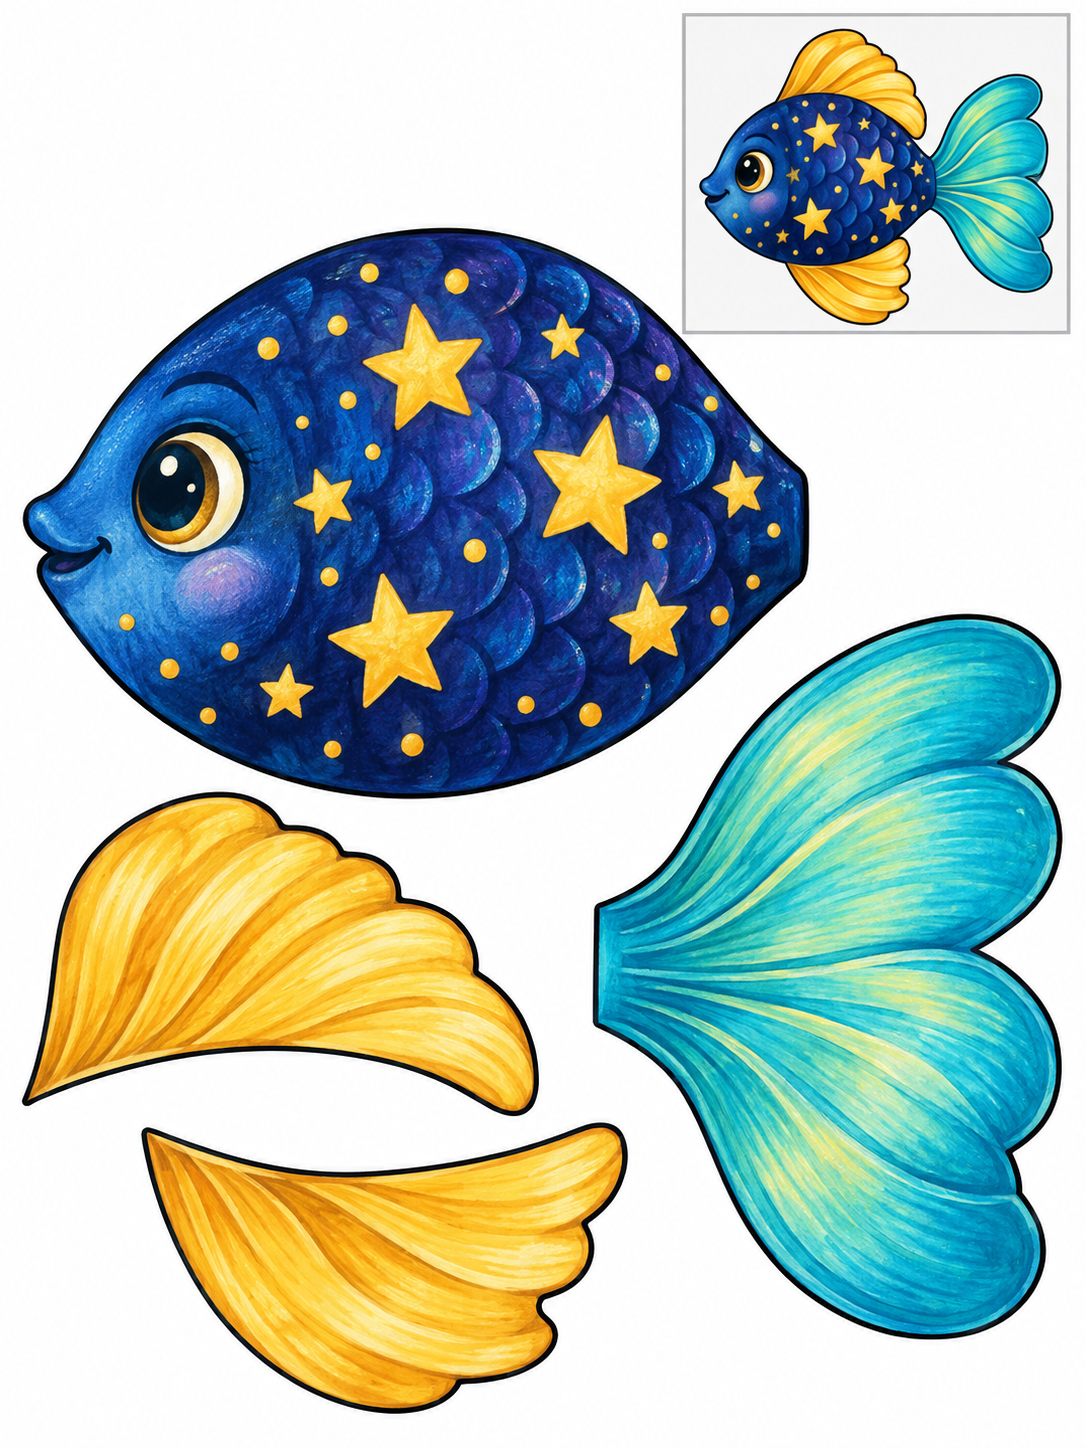
Full color — ready to cut.
Assembly example: The small boxed example shows the finished craft. Do not cut it out.
Cut the large body and the separate tail and fins around their outside edges. Keep the face and internal patterns intact. The small fish in the top-right box is a reference, not a piece. Match the fin positions to that example, tuck their bases and the tail under the body, then glue the overlaps.
Check: Can you guide the scissors comfortably? If it is difficult, an adult can shorten a strip, cut a tricky curve or offer straight paths. Pieces should be fully separated and arranged as intended before gluing.
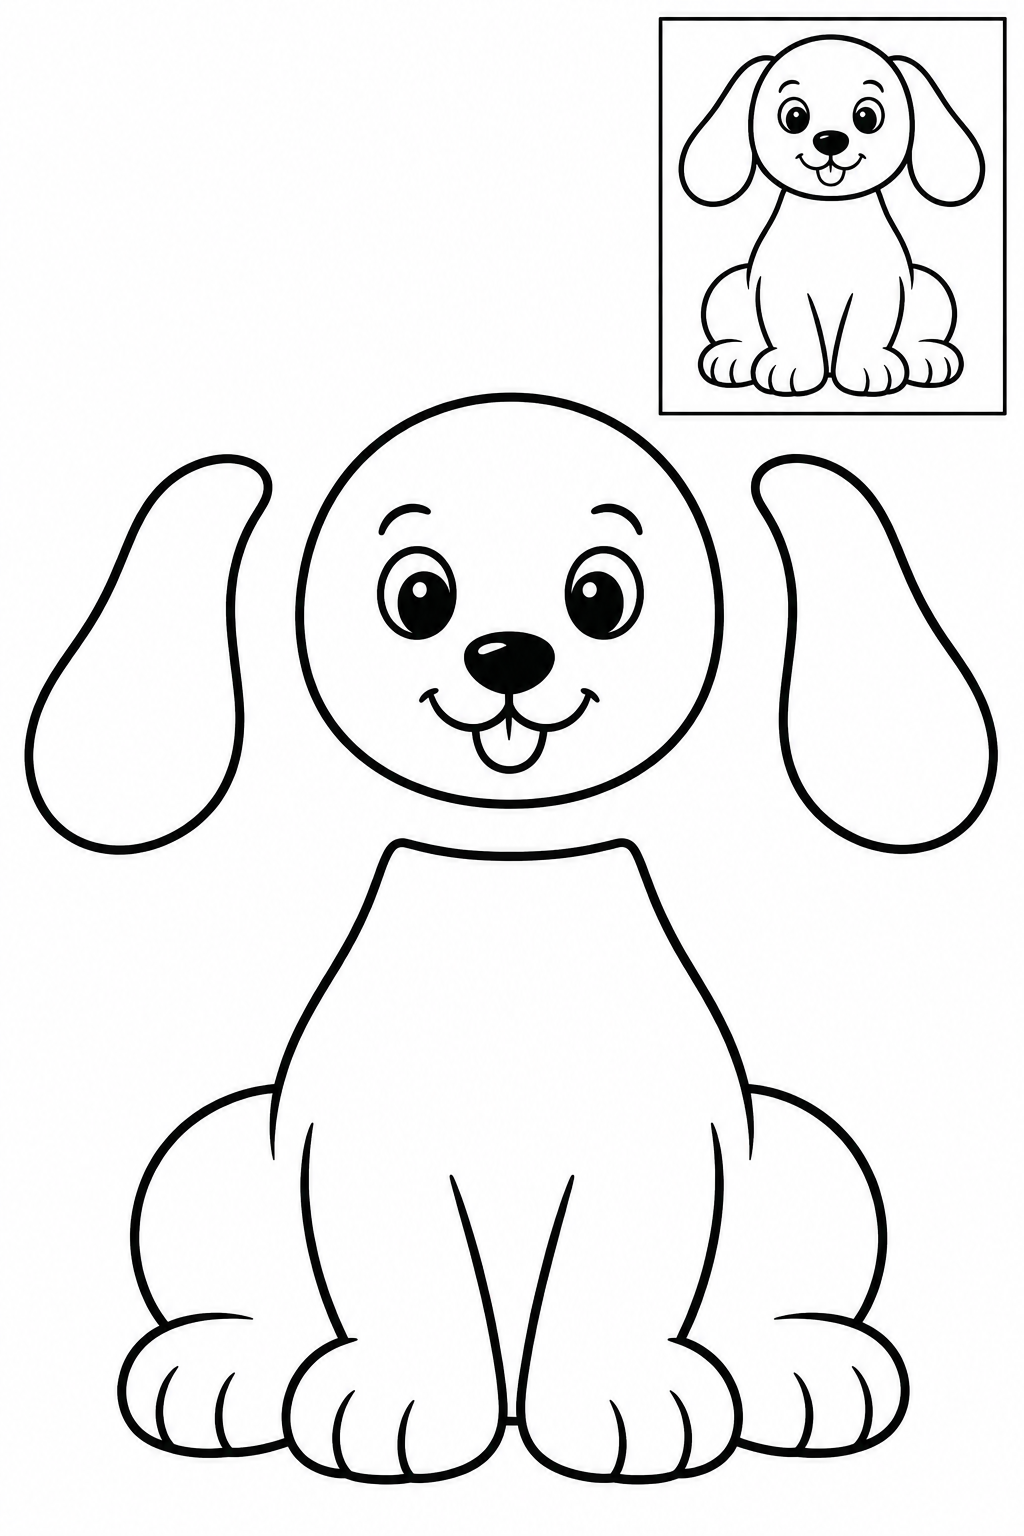
Black and white — color before cutting.
Assembly example: The small boxed example shows the finished craft. Do not cut it out.
Tuck both ears behind the round head. Overlap the head onto the narrow top of the seated body, keeping all paws visible. Cut only the separate outside silhouettes; leave printed details intact. Try the arrangement against the boxed example before gluing. If a join slips, increase the overlap and press it flat; repair a nicked edge with tape on the back.
Check: Can you guide the scissors comfortably? If it is difficult, an adult can shorten a strip, cut a tricky curve or offer straight paths. Pieces should be fully separated and arranged as intended before gluing.
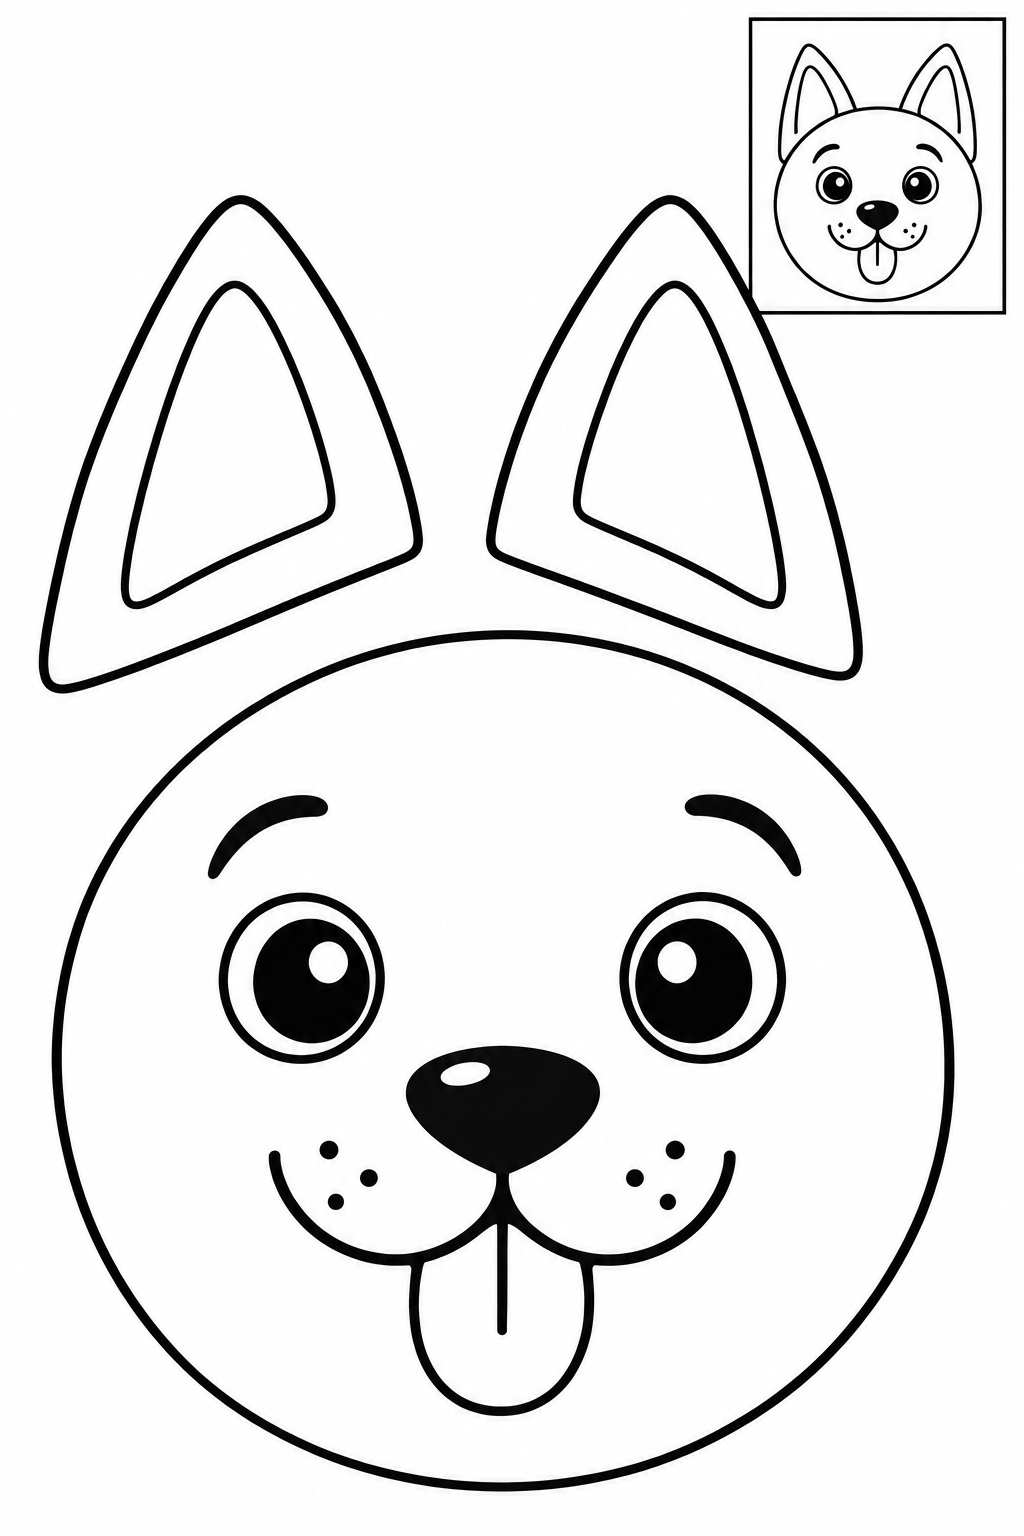
Black and white — color before cutting.
Assembly example: The small boxed example shows the finished craft. Do not cut it out.
Place the two triangular ears behind the top of the face disk. Keep the inner ear lines intact and align the ear bases before gluing. Cut only the separate outside silhouettes; leave printed details intact. Try the arrangement against the boxed example before gluing. If a join slips, increase the overlap and press it flat; repair a nicked edge with tape on the back.
Check: Can you guide the scissors comfortably? If it is difficult, an adult can shorten a strip, cut a tricky curve or offer straight paths. Pieces should be fully separated and arranged as intended before gluing.
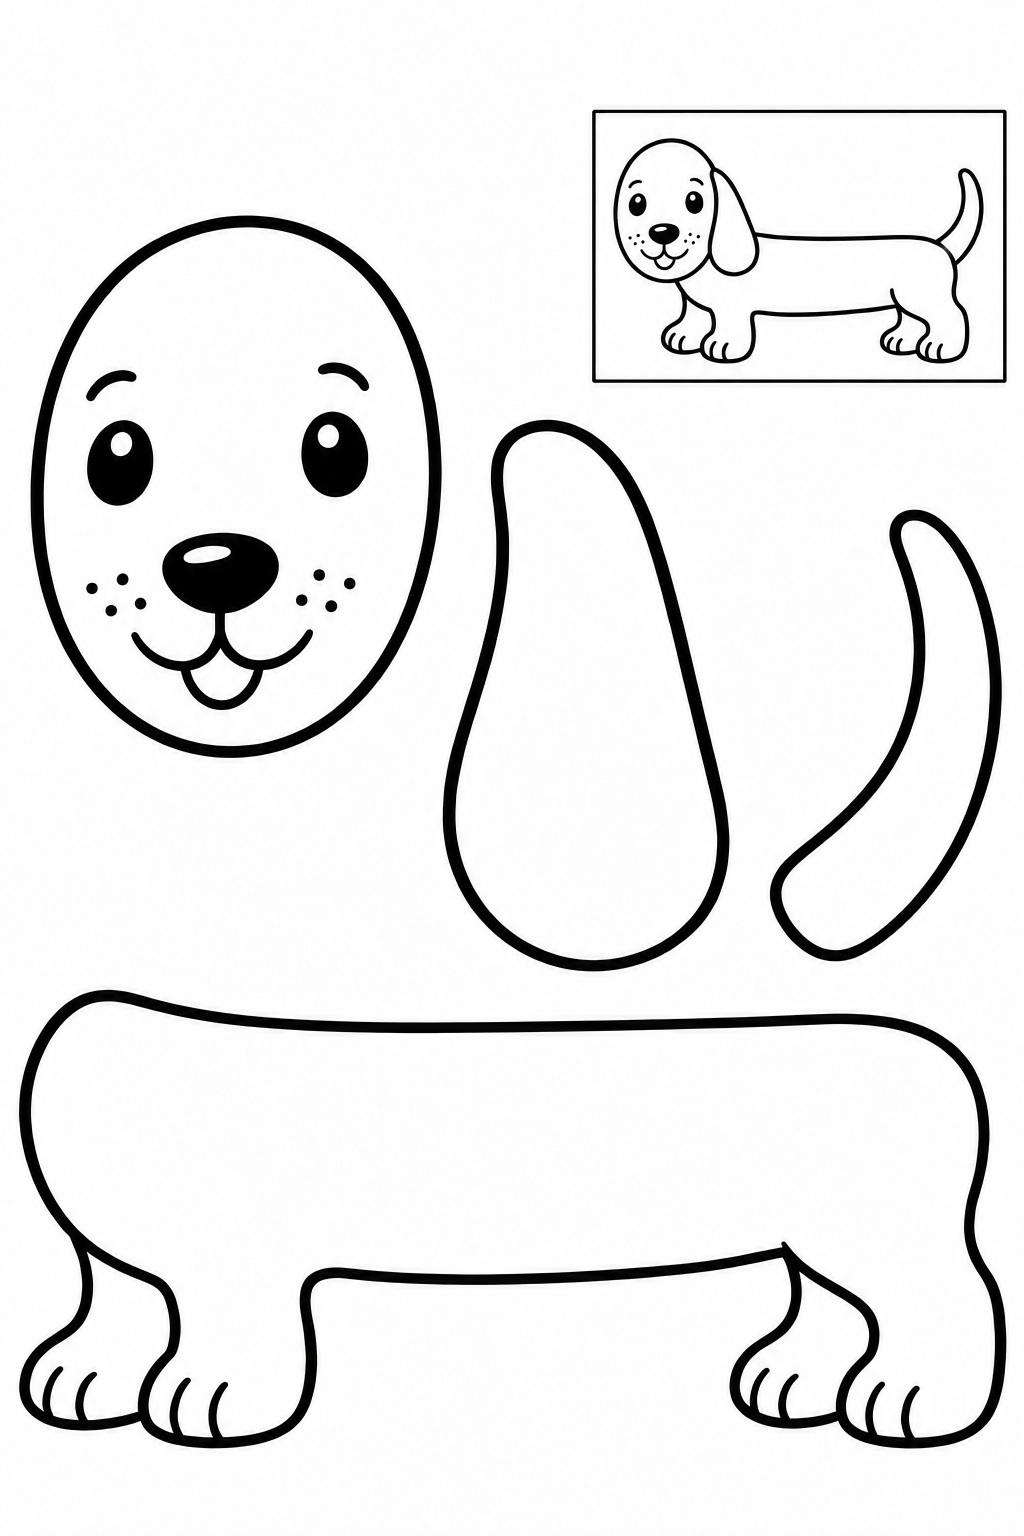
Black and white — color before cutting.
Assembly example: The small boxed example shows the finished craft. Do not cut it out.
Attach the oval head over the left end of the long body. Overlap the floppy ear onto the side of the head and tuck the tail base behind the right end of the body. All four legs stay attached to the body. Cut only the separate outside silhouettes; leave printed details intact. Try the arrangement against the boxed example before gluing. If a join slips, increase the overlap and press it flat; repair a nicked edge with tape on the back.
Check: Can you guide the scissors comfortably? If it is difficult, an adult can shorten a strip, cut a tricky curve or offer straight paths. Pieces should be fully separated and arranged as intended before gluing.
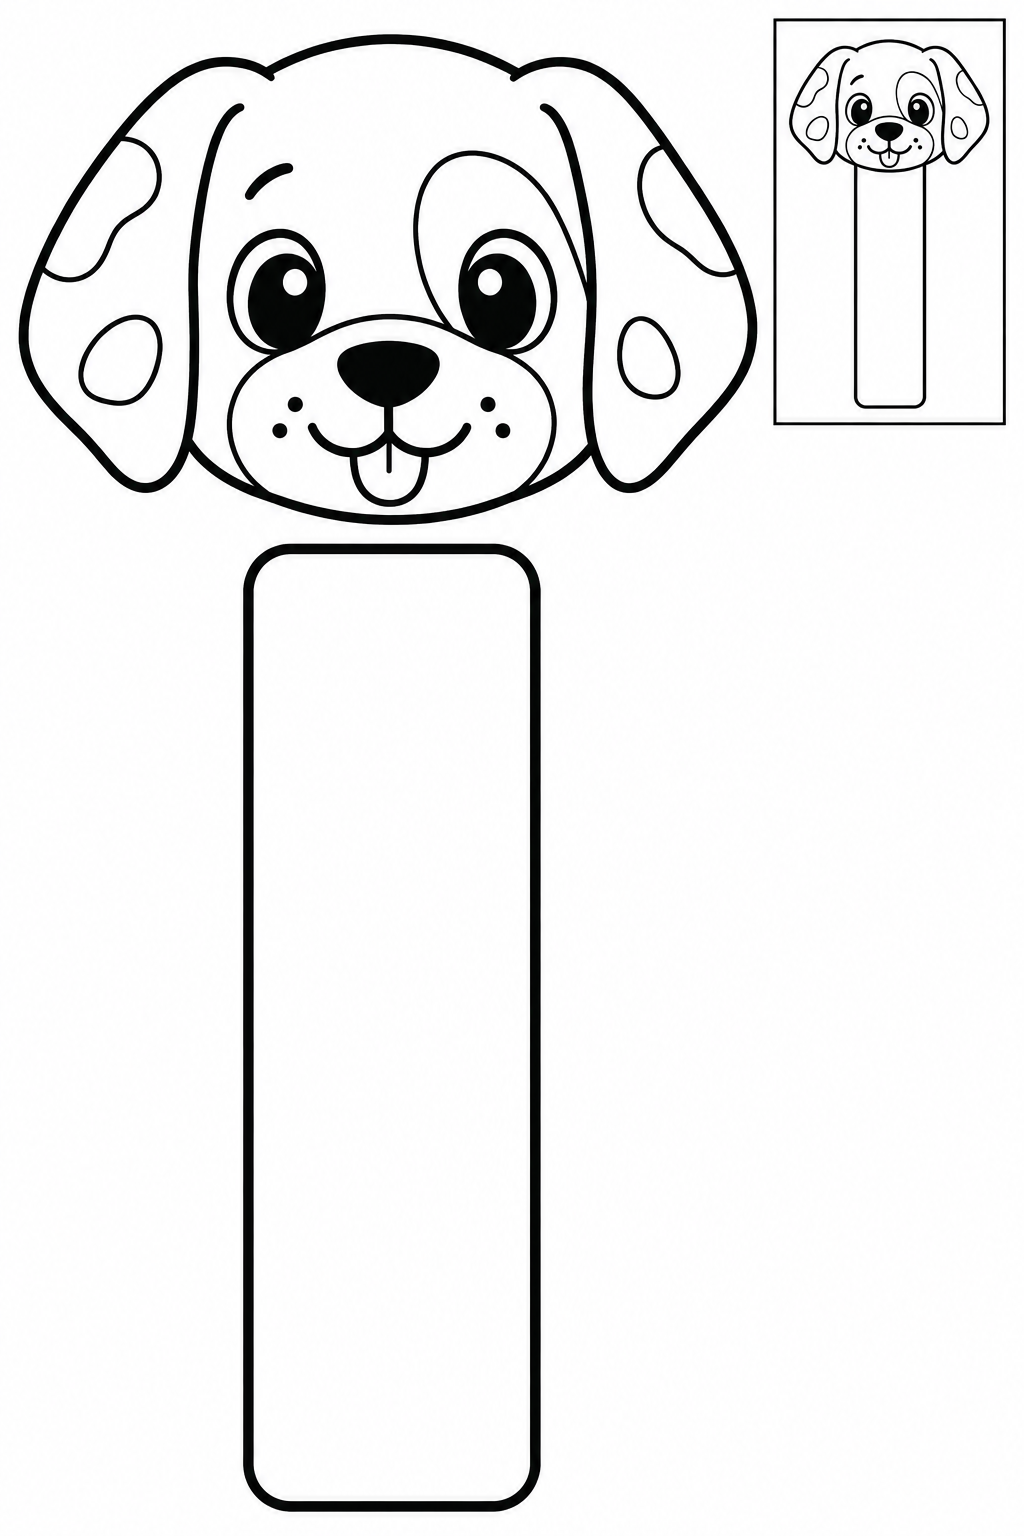
Black and white — color before cutting.
Assembly example: The small boxed example shows the finished craft. Do not cut it out.
Glue the upper end of the long strip behind the puppy face, leaving the strip below it. Let the glue dry completely before using it in a book. Cut only the separate outside silhouettes; leave printed details intact. Try the arrangement against the boxed example before gluing. If a join slips, increase the overlap and press it flat; repair a nicked edge with tape on the back.
Check: Can you guide the scissors comfortably? If it is difficult, an adult can shorten a strip, cut a tricky curve or offer straight paths. Pieces should be fully separated and arranged as intended before gluing.
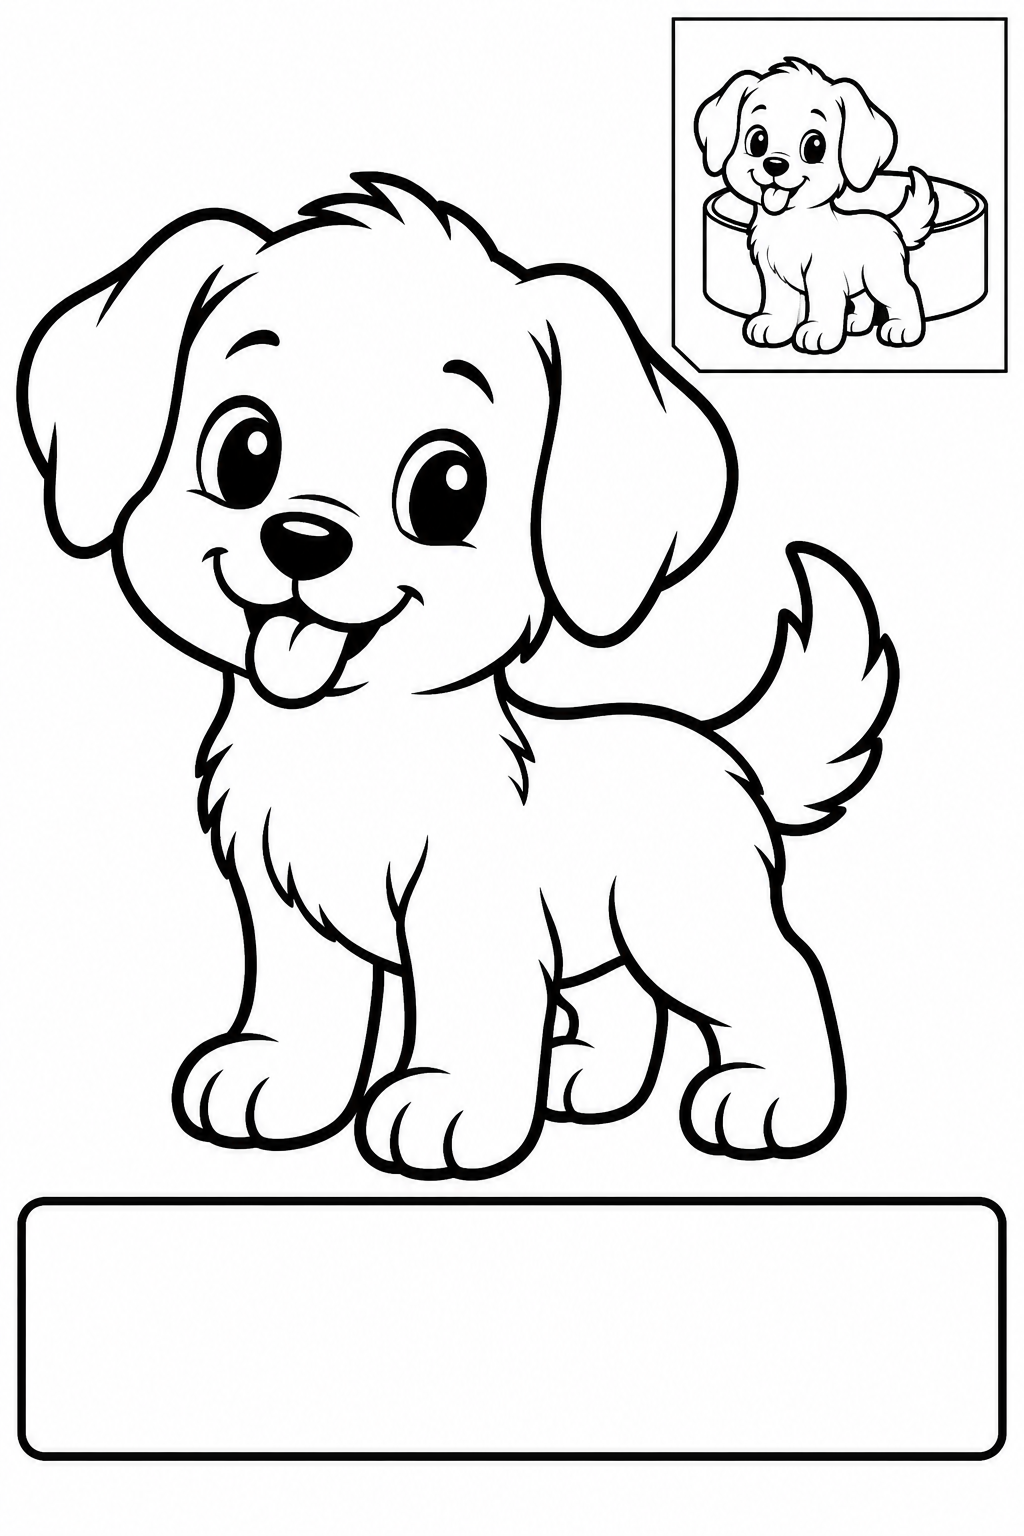
Black and white — color before cutting.
Assembly example: The small boxed example shows the finished craft. Do not cut it out.
An adult wraps the flat band loosely around a finger and tapes the ends. Attach the whole puppy outside the ring. Remove and enlarge a tight ring; the puppy's legs and tail stay attached. Cut only the separate outside silhouettes; leave printed details intact. Try the arrangement against the boxed example before gluing. If a join slips, increase the overlap and press it flat; repair a nicked edge with tape on the back.
Check: Can you guide the scissors comfortably? If it is difficult, an adult can shorten a strip, cut a tricky curve or offer straight paths. Pieces should be fully separated and arranged as intended before gluing.
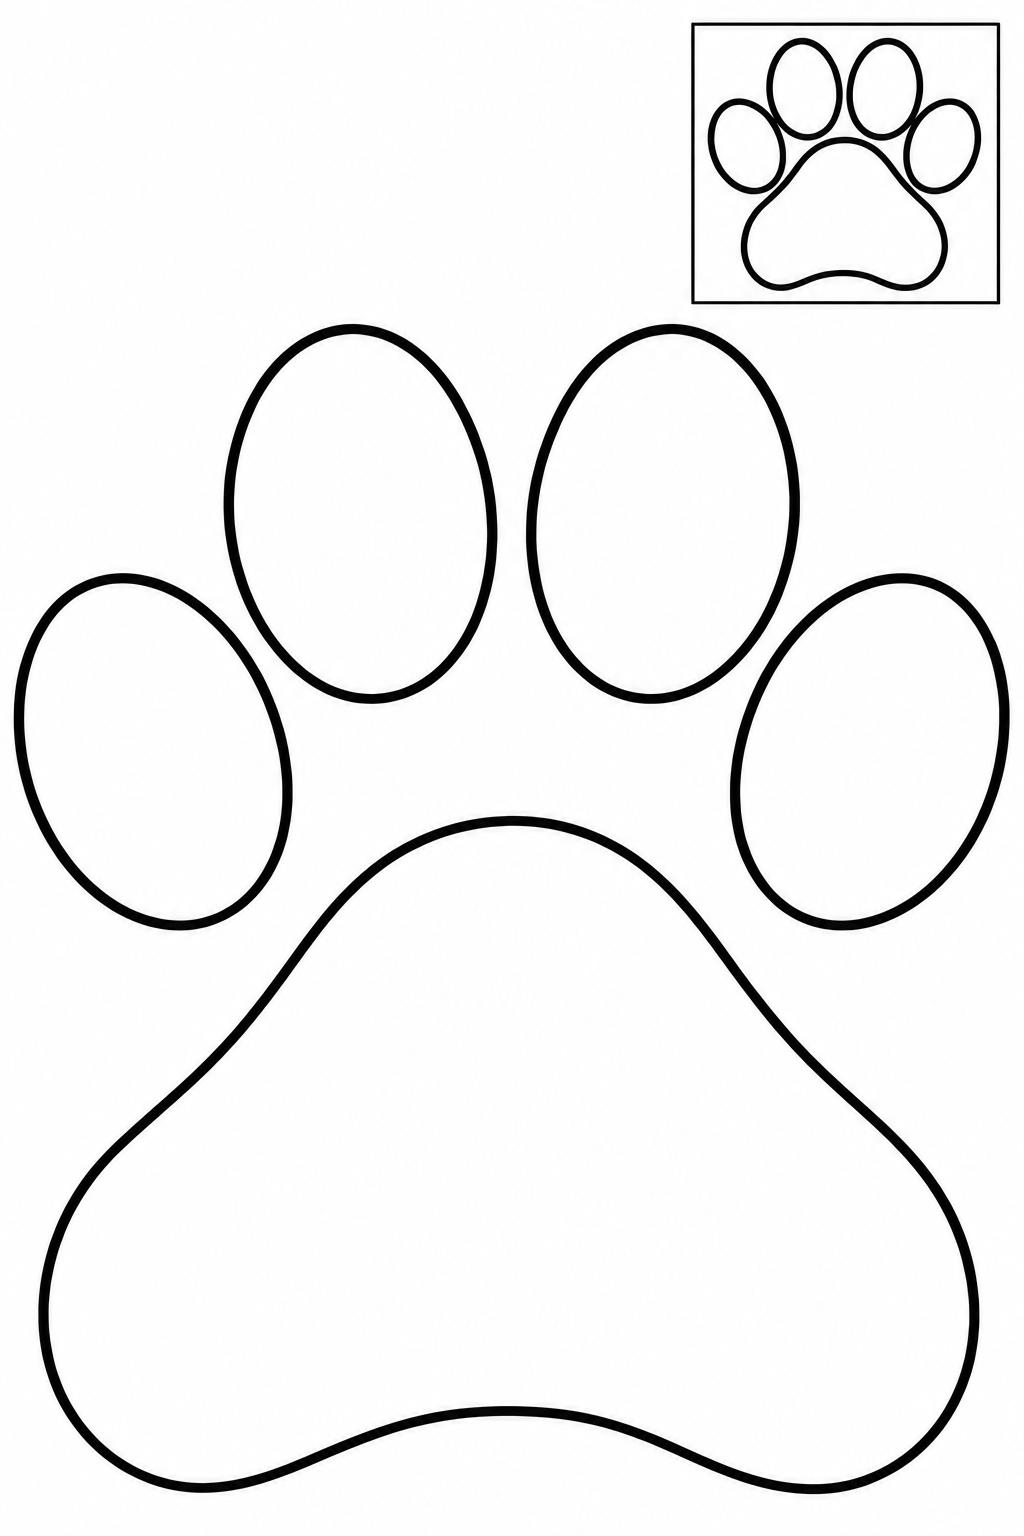
Black and white — color before cutting.
Assembly example: The small boxed example shows the finished craft. Do not cut it out.
Arrange the large central pad on your own backing paper, then place the four oval toe pads above it in an arch. Leave small gaps between pads. Glue all five pieces directly to the backing sheet; there is no separate paw base to cut. Cut only the separate outside silhouettes; leave printed details intact. Try the arrangement against the boxed example before gluing. If a join slips, increase the overlap and press it flat; repair a nicked edge with tape on the back.
Check: Can you guide the scissors comfortably? If it is difficult, an adult can shorten a strip, cut a tricky curve or offer straight paths. Pieces should be fully separated and arranged as intended before gluing.
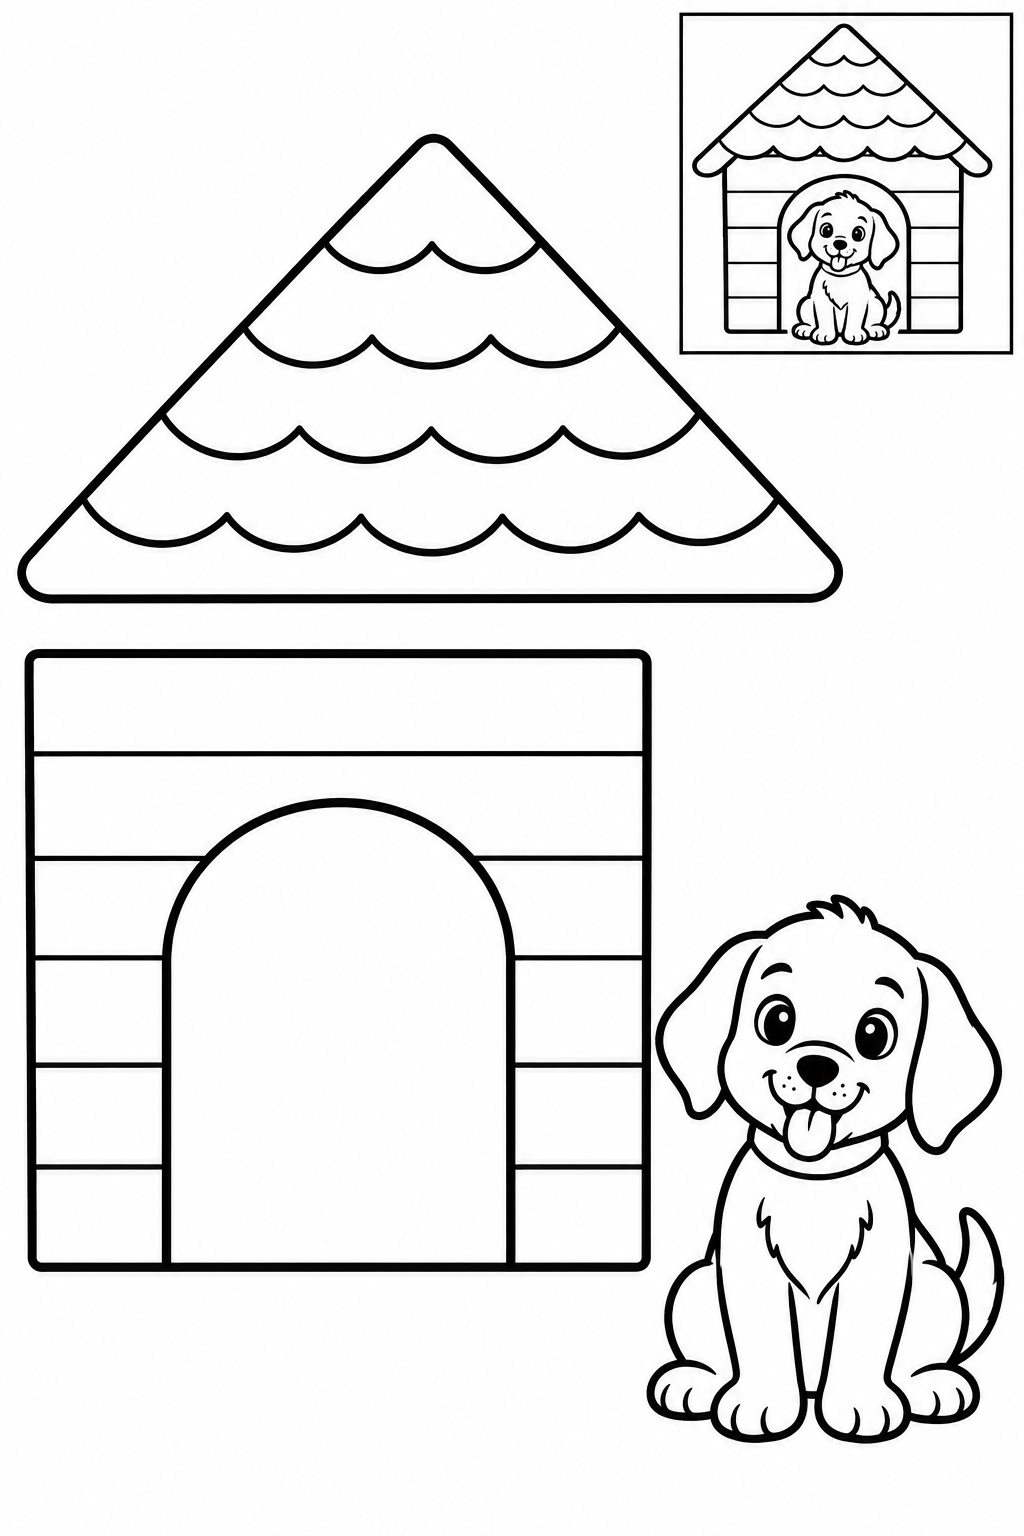
Black and white — color before cutting.
Assembly example: The small boxed example shows the finished craft. Do not cut it out.
Overlap the triangular roof onto the top of the kennel wall. Place the whole puppy in front of the printed doorway. The doorway is decoration, not a hole to cut. Cut only the separate outside silhouettes; leave printed details intact. Try the arrangement against the boxed example before gluing. If a join slips, increase the overlap and press it flat; repair a nicked edge with tape on the back.
Check: Can you guide the scissors comfortably? If it is difficult, an adult can shorten a strip, cut a tricky curve or offer straight paths. Pieces should be fully separated and arranged as intended before gluing.
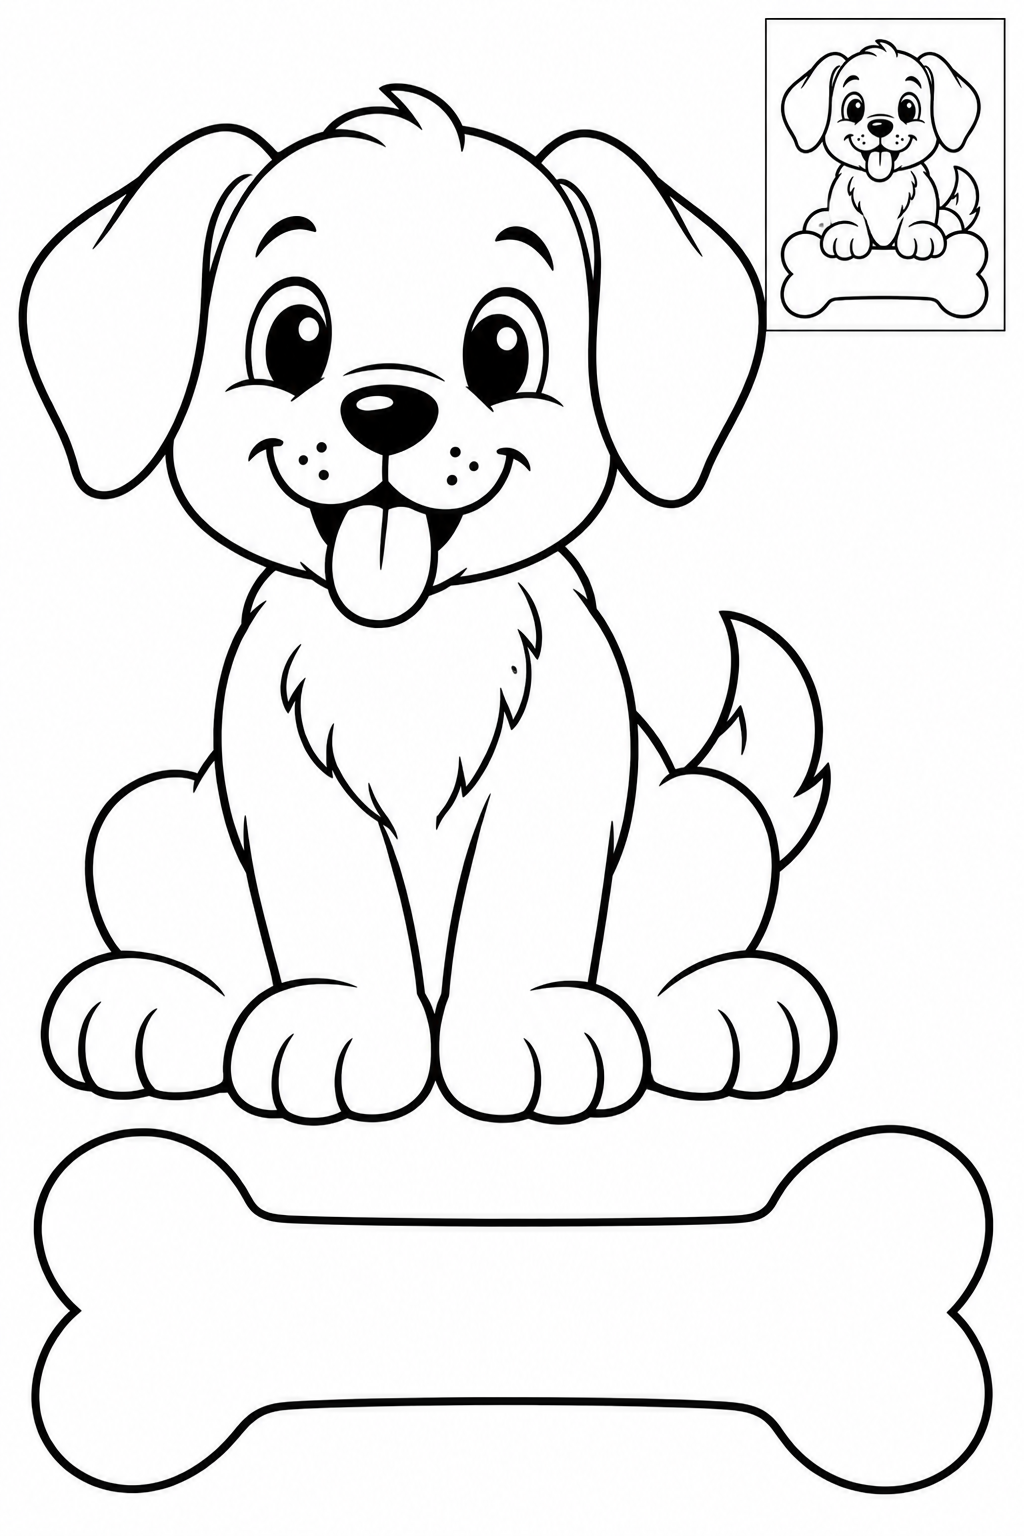
Black and white — color before cutting.
Assembly example: The small boxed example shows the finished craft. Do not cut it out.
Cut the puppy as one whole figure. Place the broad bone across the bottom of the front paws and glue its center over them. Keep the face, fur and paw lines inside the puppy intact. Cut only the separate outside silhouettes; leave printed details intact. Try the arrangement against the boxed example before gluing. If a join slips, increase the overlap and press it flat; repair a nicked edge with tape on the back.
Check: Can you guide the scissors comfortably? If it is difficult, an adult can shorten a strip, cut a tricky curve or offer straight paths. Pieces should be fully separated and arranged as intended before gluing.
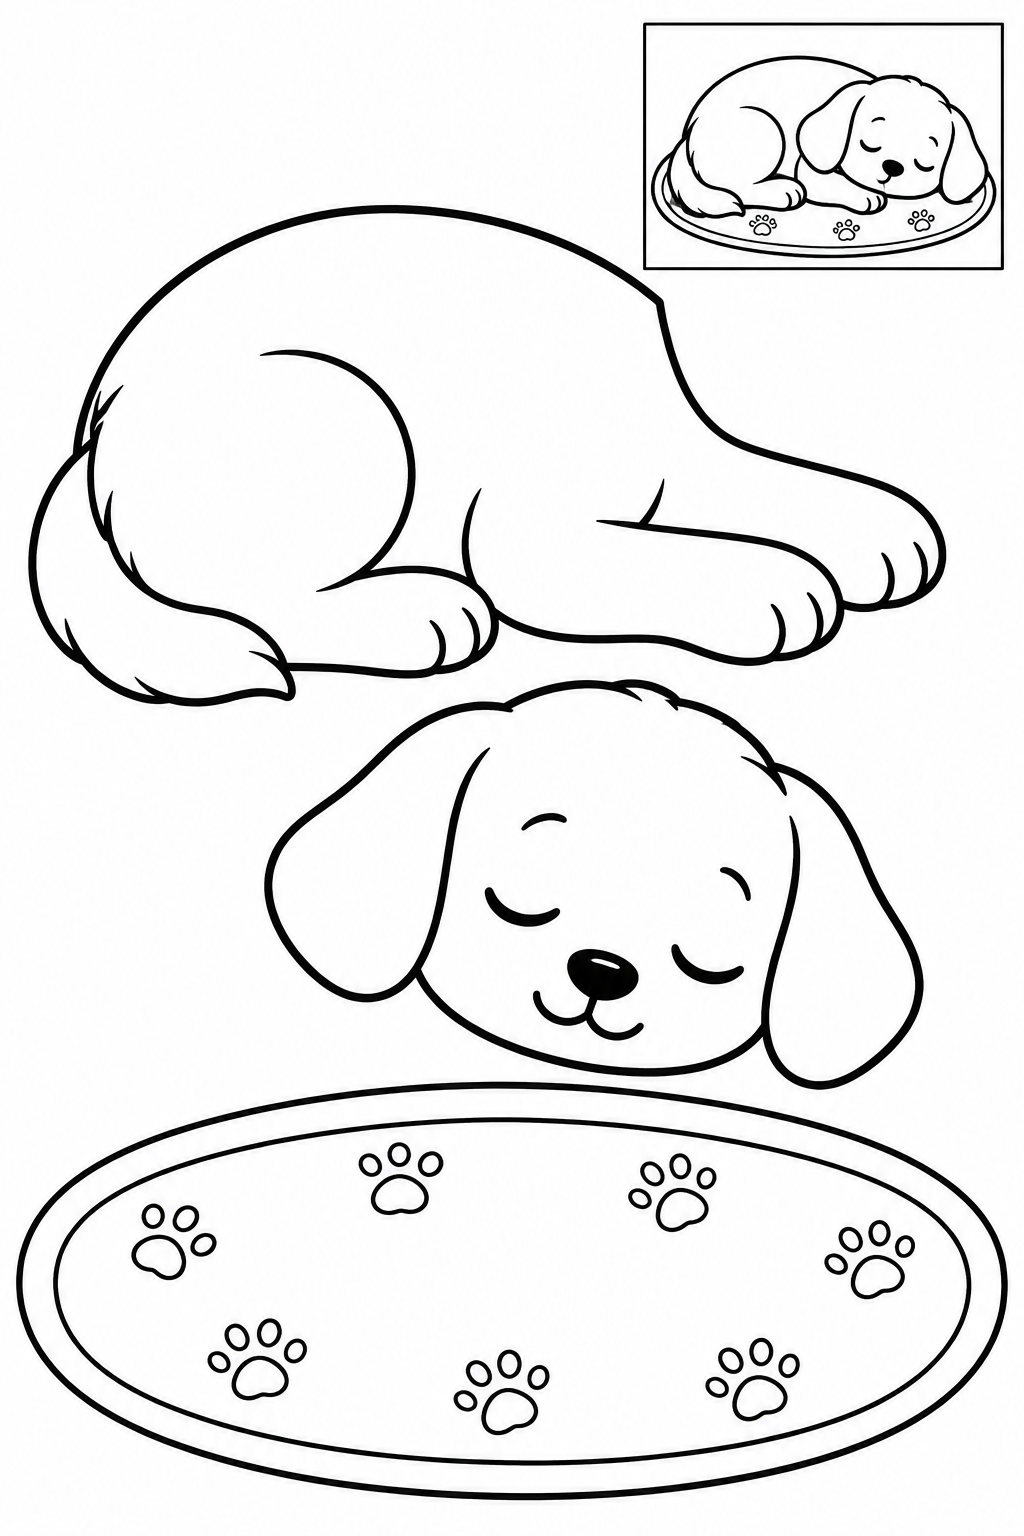
Black and white — color before cutting.
Assembly example: The small boxed example shows the finished craft. Do not cut it out.
Place the curled body on the oval blanket. Overlap the sleeping head onto the front paws, keeping its ears attached. Glue the body onto the blanket before the head. Cut only the separate outside silhouettes; leave printed details intact. Try the arrangement against the boxed example before gluing. If a join slips, increase the overlap and press it flat; repair a nicked edge with tape on the back.
Check: Can you guide the scissors comfortably? If it is difficult, an adult can shorten a strip, cut a tricky curve or offer straight paths. Pieces should be fully separated and arranged as intended before gluing.
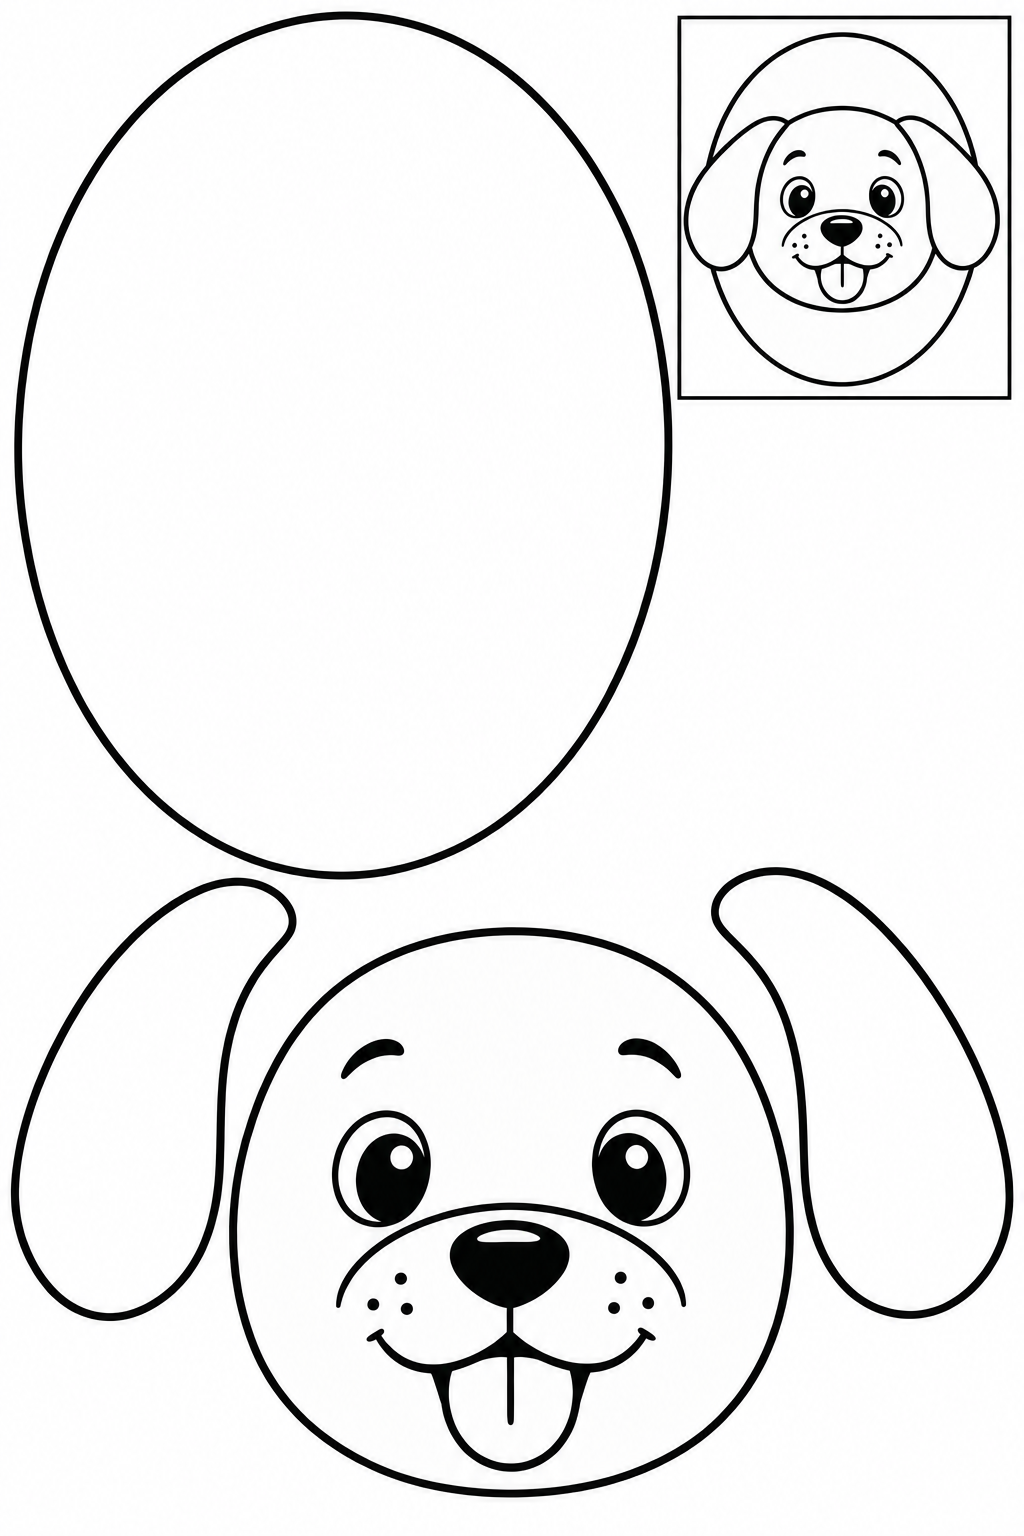
Black and white — color before cutting.
Assembly example: The small boxed example shows the finished craft. Do not cut it out.
The large oval is a solid backing, not a frame hole. Arrange the two ears behind the face and glue the assembled head onto the oval. Add your own border with pencils. Cut only the separate outside silhouettes; leave printed details intact. Try the arrangement against the boxed example before gluing. If a join slips, increase the overlap and press it flat; repair a nicked edge with tape on the back.
Check: Can you guide the scissors comfortably? If it is difficult, an adult can shorten a strip, cut a tricky curve or offer straight paths. Pieces should be fully separated and arranged as intended before gluing.
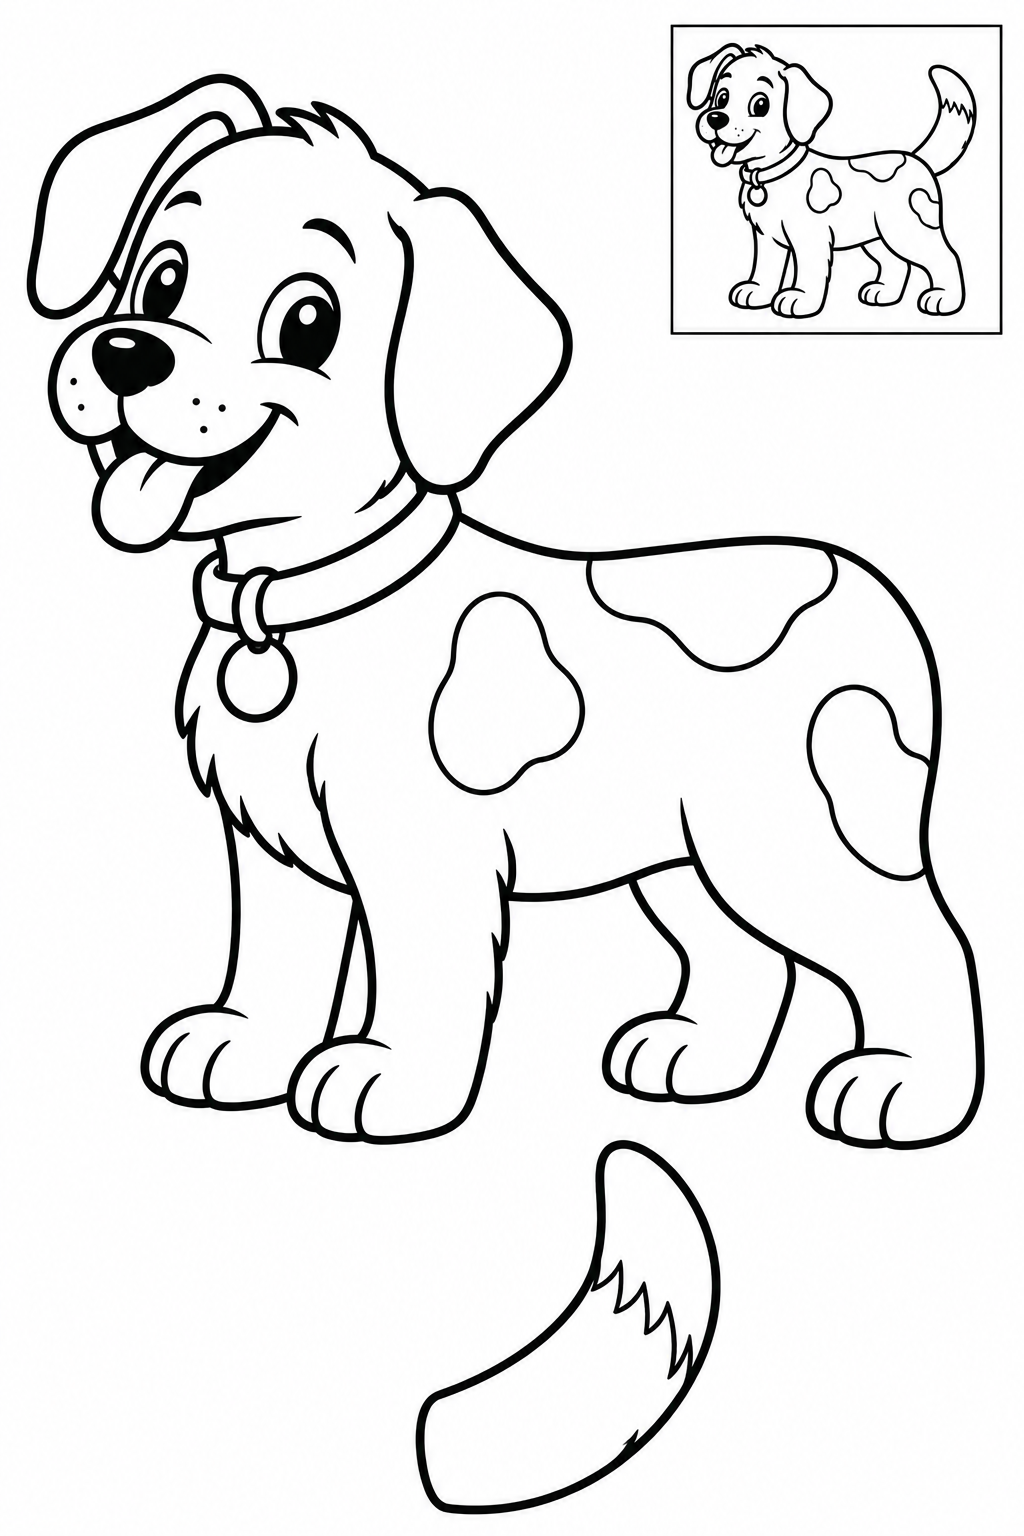
Black and white — color before cutting.
Assembly example: The small boxed example shows the finished craft. Do not cut it out.
Cut the standing puppy as one piece, leaving its face and coat patterns inside. Tuck the thick tail base behind the rump and point the tail upward. Check the overlap before gluing. Cut only the separate outside silhouettes; leave printed details intact. Try the arrangement against the boxed example before gluing. If a join slips, increase the overlap and press it flat; repair a nicked edge with tape on the back.
Check: Can you guide the scissors comfortably? If it is difficult, an adult can shorten a strip, cut a tricky curve or offer straight paths. Pieces should be fully separated and arranged as intended before gluing.
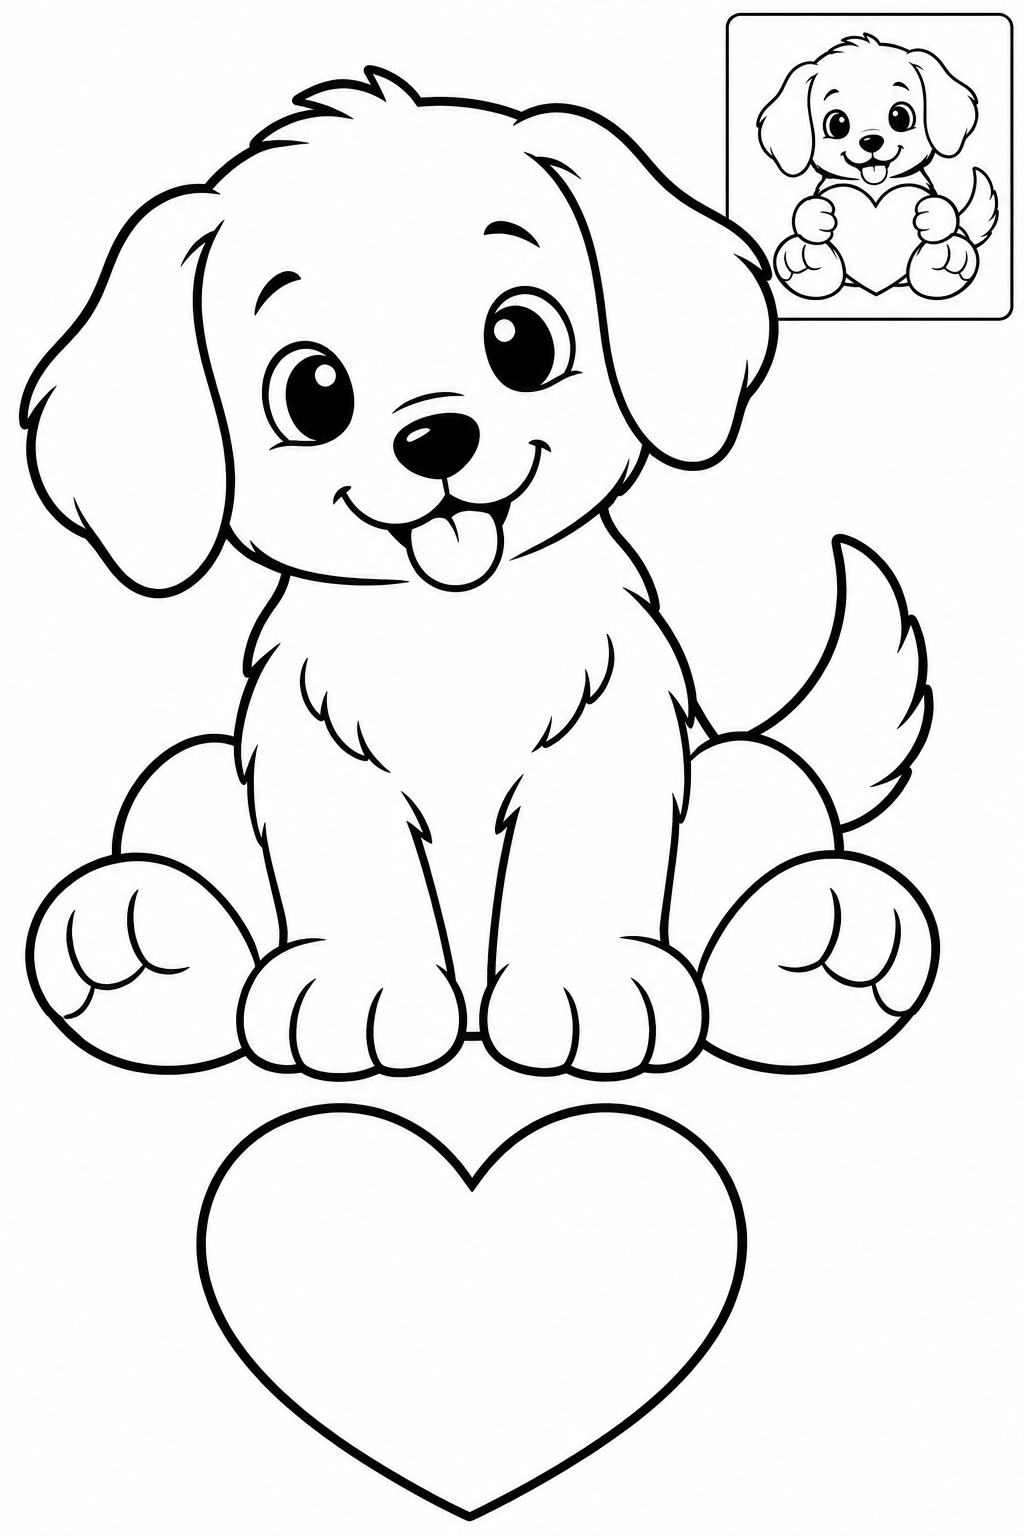
Black and white — color before cutting.
Assembly example: The small boxed example shows the finished craft. Do not cut it out.
Place the large heart in front of the seated puppy between its front paws. Try its height before gluing so the smile stays visible. The paws are printed inside the whole puppy and do not detach. Cut only the separate outside silhouettes; leave printed details intact. Try the arrangement against the boxed example before gluing. If a join slips, increase the overlap and press it flat; repair a nicked edge with tape on the back.
Check: Can you guide the scissors comfortably? If it is difficult, an adult can shorten a strip, cut a tricky curve or offer straight paths. Pieces should be fully separated and arranged as intended before gluing.
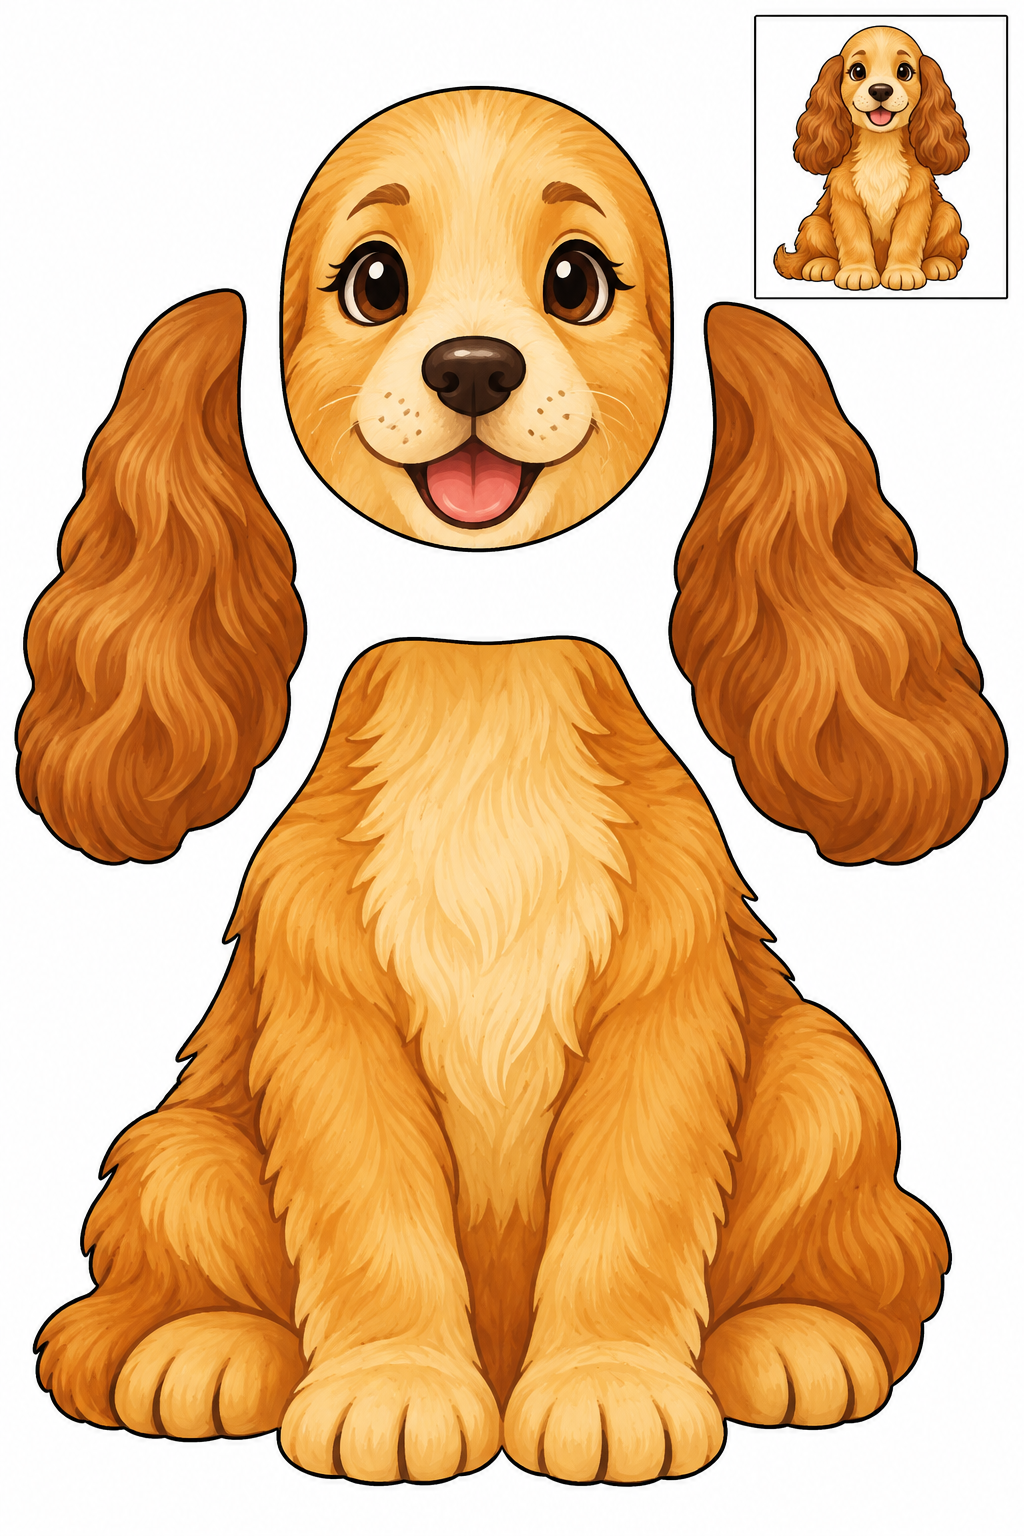
Full color — ready to cut.
Assembly example: The small boxed example shows the finished craft. Do not cut it out.
Tuck the two golden-brown ears behind the cream face, then overlap the face onto the seated body. Cut the broad outer lobes of the ears; fine fur marks remain printed inside. Cut only the separate outside silhouettes; leave printed details intact. Try the arrangement against the boxed example before gluing. If a join slips, increase the overlap and press it flat; repair a nicked edge with tape on the back.
Check: Can you guide the scissors comfortably? If it is difficult, an adult can shorten a strip, cut a tricky curve or offer straight paths. Pieces should be fully separated and arranged as intended before gluing.
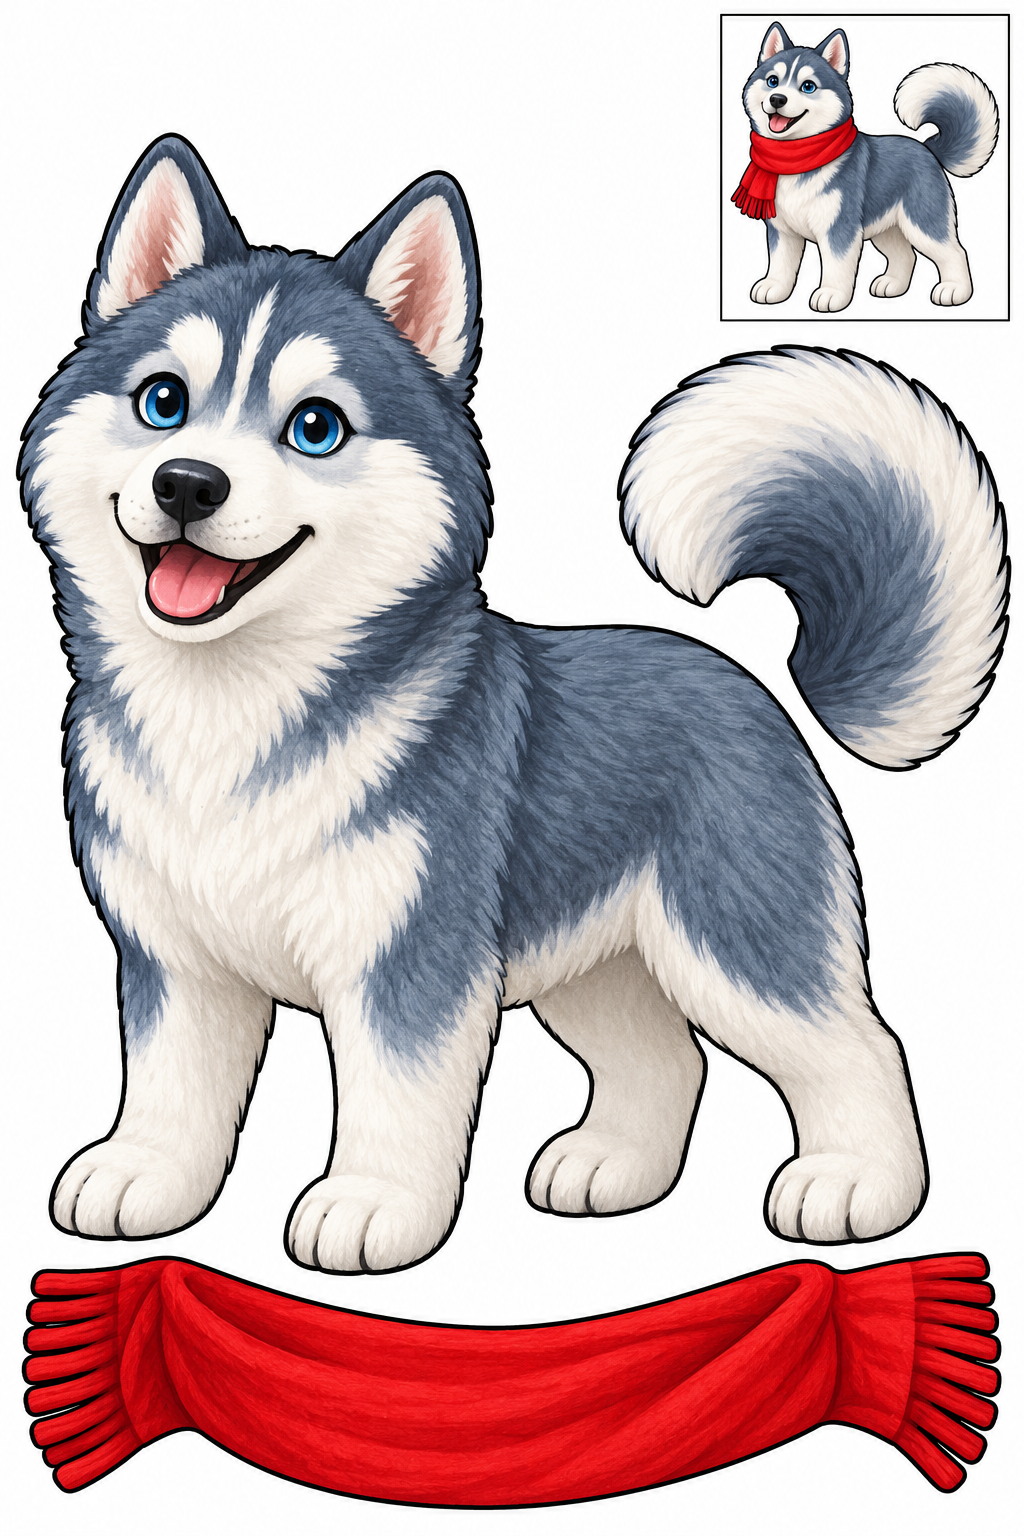
Full color — ready to cut.
Assembly example: The small boxed example shows the finished craft. Do not cut it out.
Tuck the curled tail behind the rump of the whole husky. Place the red scarf across its neck with the ends visible. Keep the printed ears, face and legs attached; an adult can help with the scarf's short fringe. Cut only the separate outside silhouettes; leave printed details intact. Try the arrangement against the boxed example before gluing. If a join slips, increase the overlap and press it flat; repair a nicked edge with tape on the back.
Check: Can you guide the scissors comfortably? If it is difficult, an adult can shorten a strip, cut a tricky curve or offer straight paths. Pieces should be fully separated and arranged as intended before gluing.
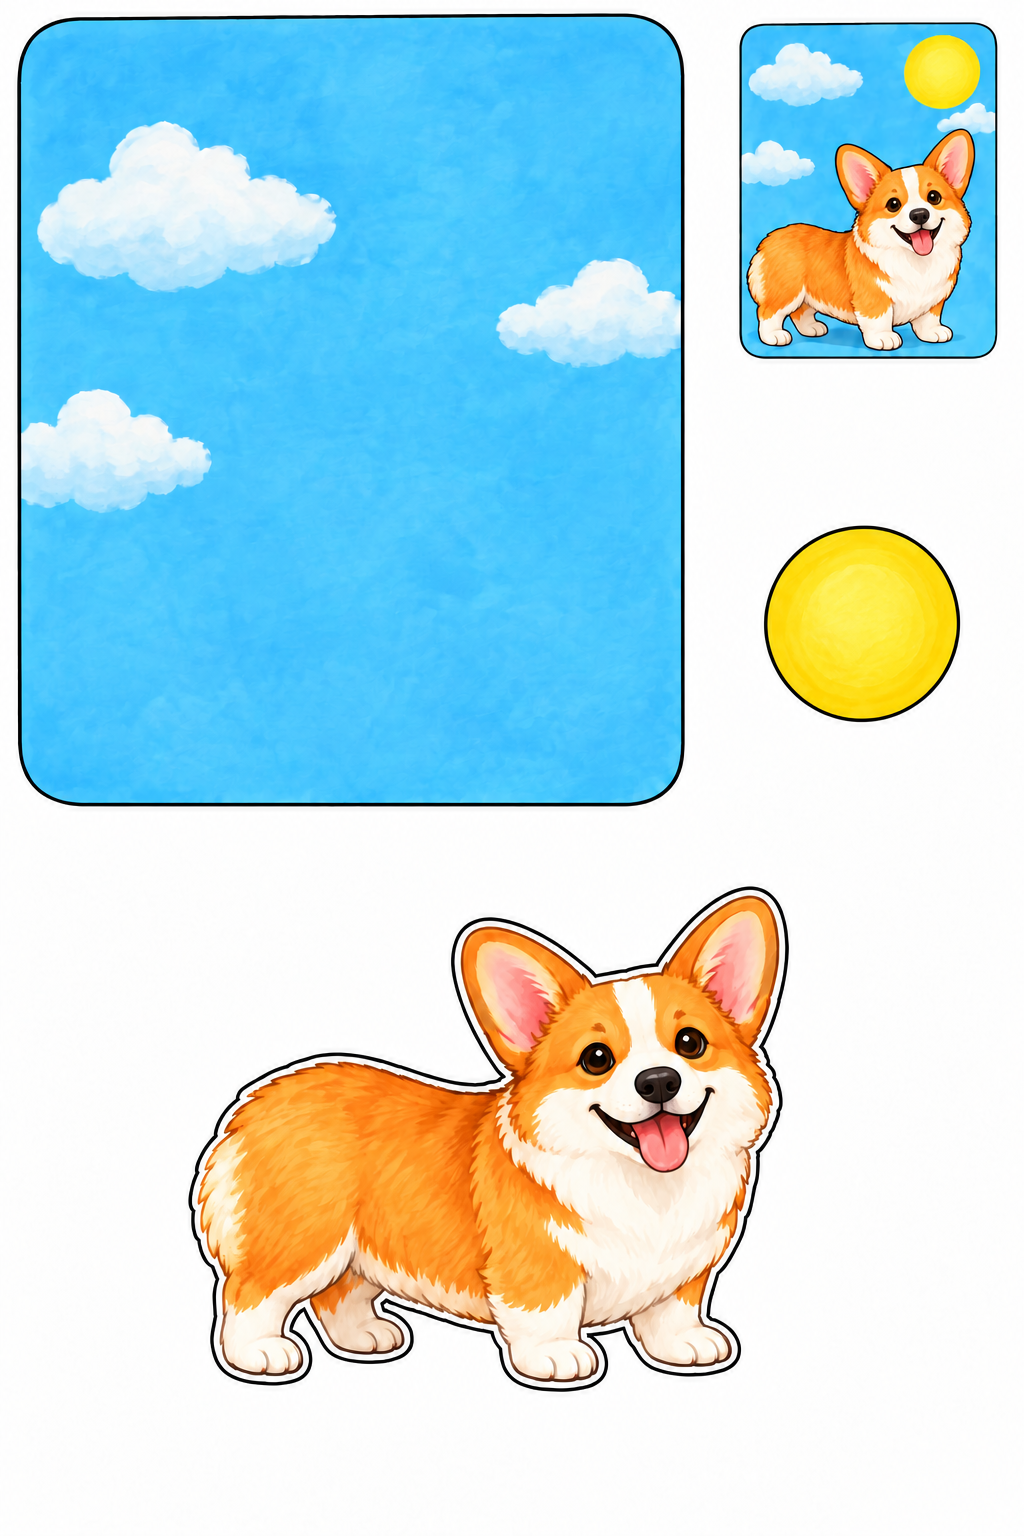
Full color — ready to cut.
Assembly example: The small boxed example shows the finished craft. Do not cut it out.
Use the blue rectangle as a solid postcard backing. Place the whole corgi near its lower edge and the yellow sun above it. Keep the puppy's feet on the card and glue each piece separately. Cut only the separate outside silhouettes; leave printed details intact. Try the arrangement against the boxed example before gluing. If a join slips, increase the overlap and press it flat; repair a nicked edge with tape on the back.
Check: Can you guide the scissors comfortably? If it is difficult, an adult can shorten a strip, cut a tricky curve or offer straight paths. Pieces should be fully separated and arranged as intended before gluing.
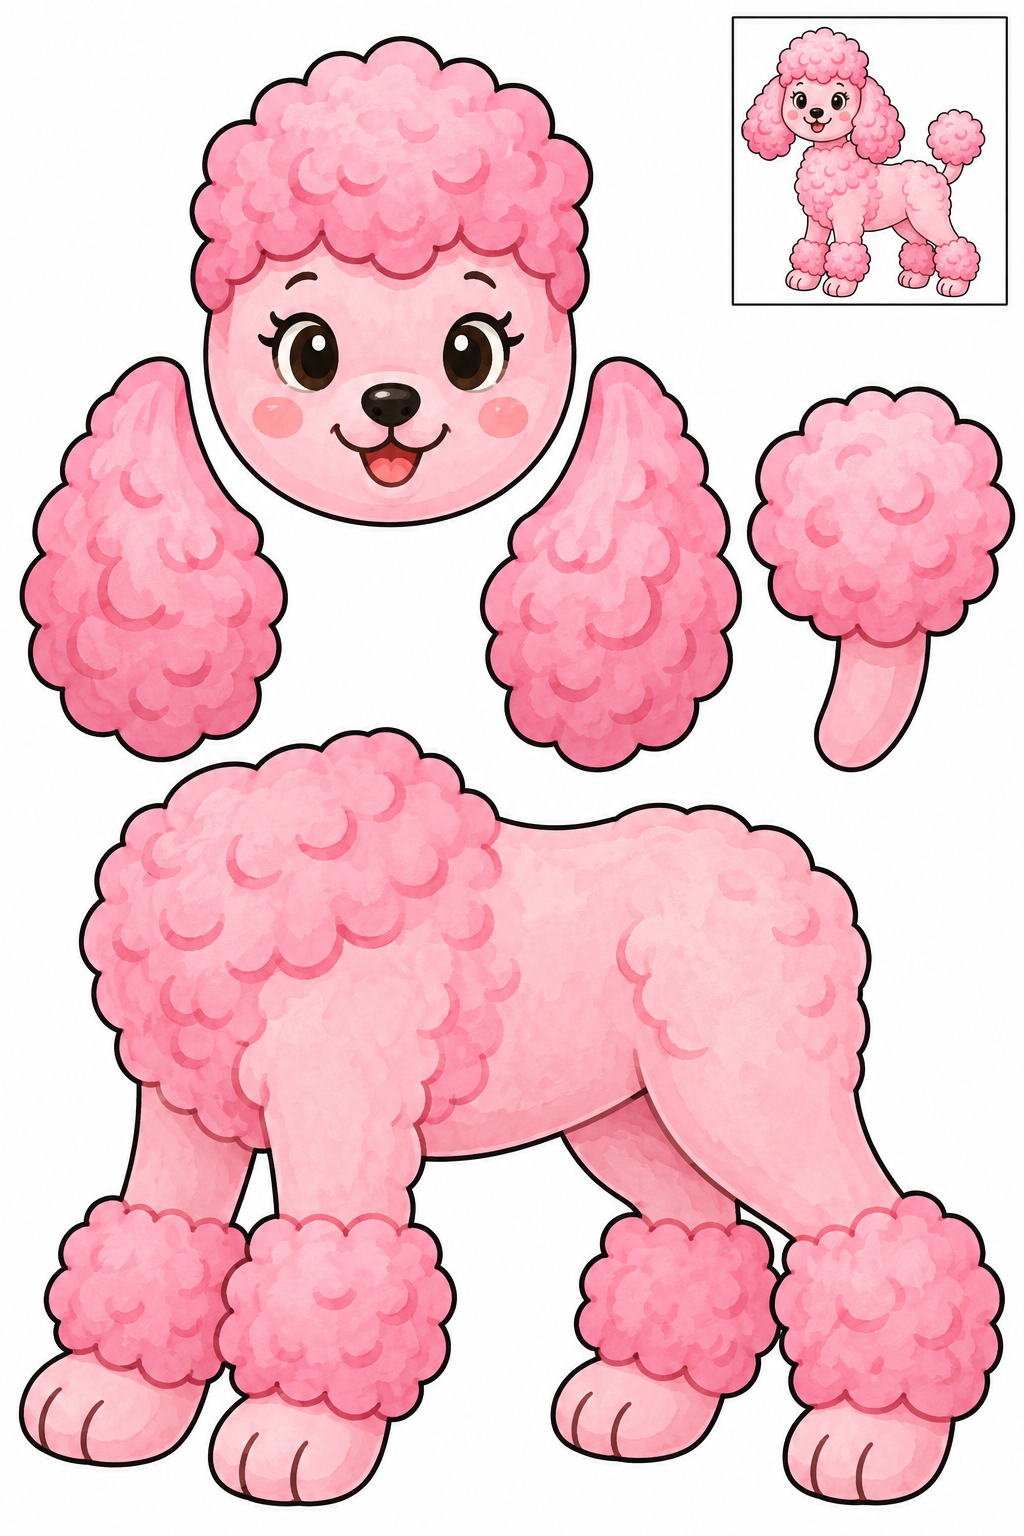
Full color — ready to cut.
Assembly example: The small boxed example shows the finished craft. Do not cut it out.
Arrange the scalloped ears behind the round head. Overlap the head onto the body's top and tuck the puff tail behind its side. Turn the paper around the broad rounded lobes rather than cutting printed fur marks. Cut only the separate outside silhouettes; leave printed details intact. Try the arrangement against the boxed example before gluing. If a join slips, increase the overlap and press it flat; repair a nicked edge with tape on the back.
Check: Can you guide the scissors comfortably? If it is difficult, an adult can shorten a strip, cut a tricky curve or offer straight paths. Pieces should be fully separated and arranged as intended before gluing.
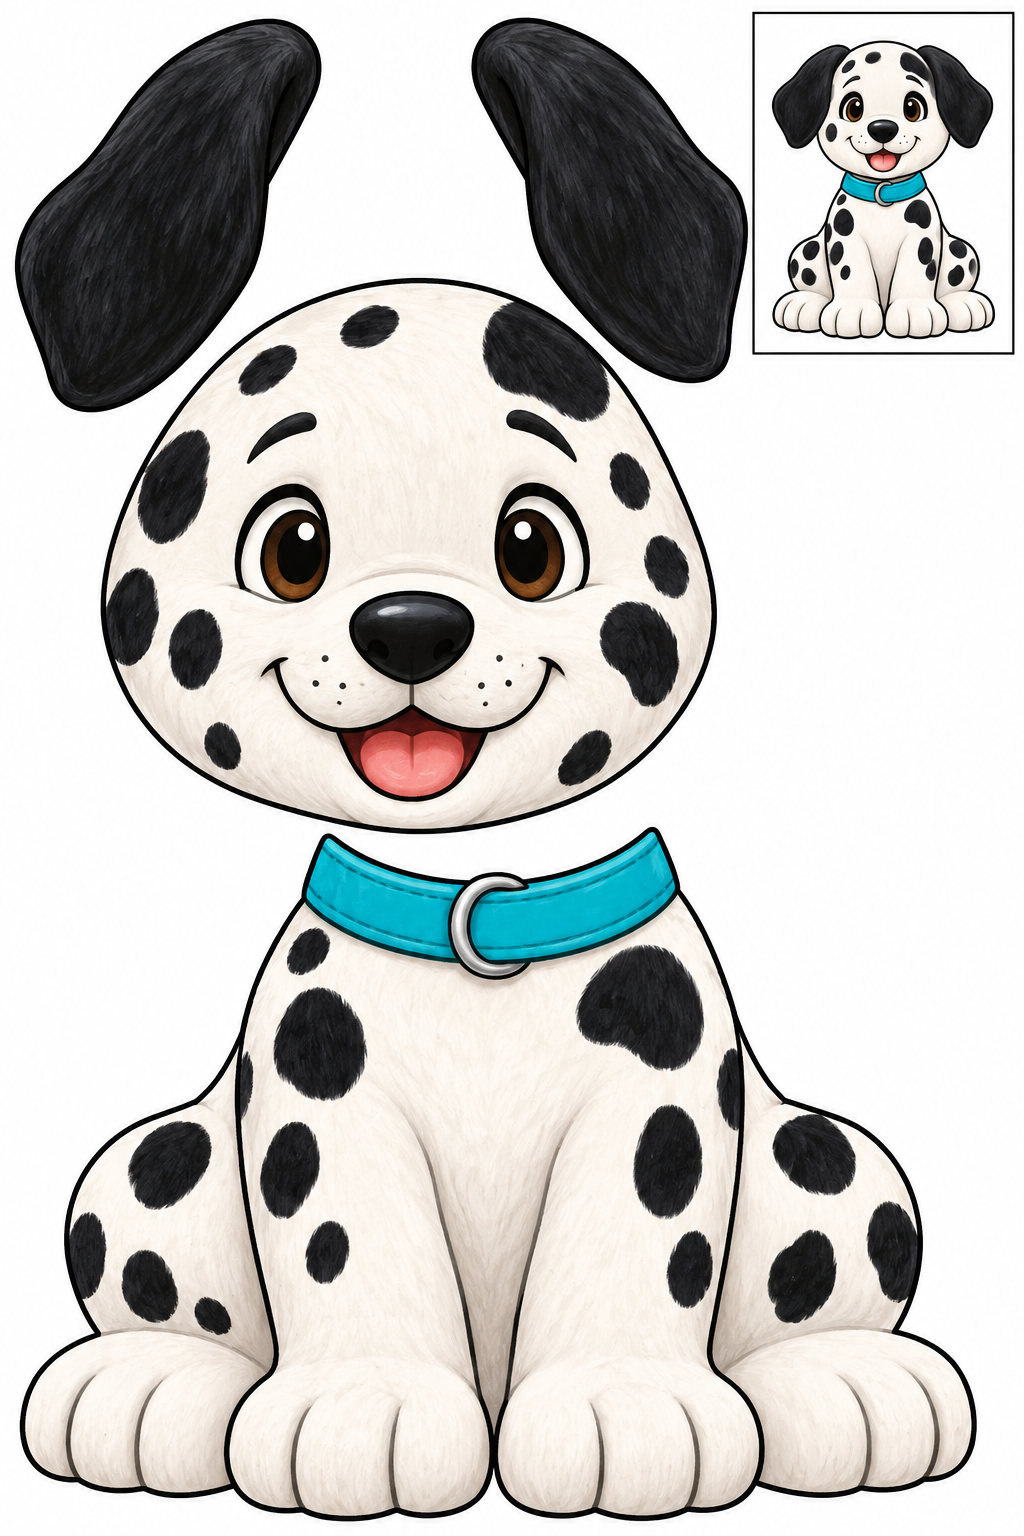
Full color — ready to cut.
Assembly example: The small boxed example shows the finished craft. Do not cut it out.
Tuck the two black ears behind the spotted head. Place the head above the printed collar on the seated body. All spots stay inside the pieces; match the ear height before gluing. Cut only the separate outside silhouettes; leave printed details intact. Try the arrangement against the boxed example before gluing. If a join slips, increase the overlap and press it flat; repair a nicked edge with tape on the back.
Check: Can you guide the scissors comfortably? If it is difficult, an adult can shorten a strip, cut a tricky curve or offer straight paths. Pieces should be fully separated and arranged as intended before gluing.
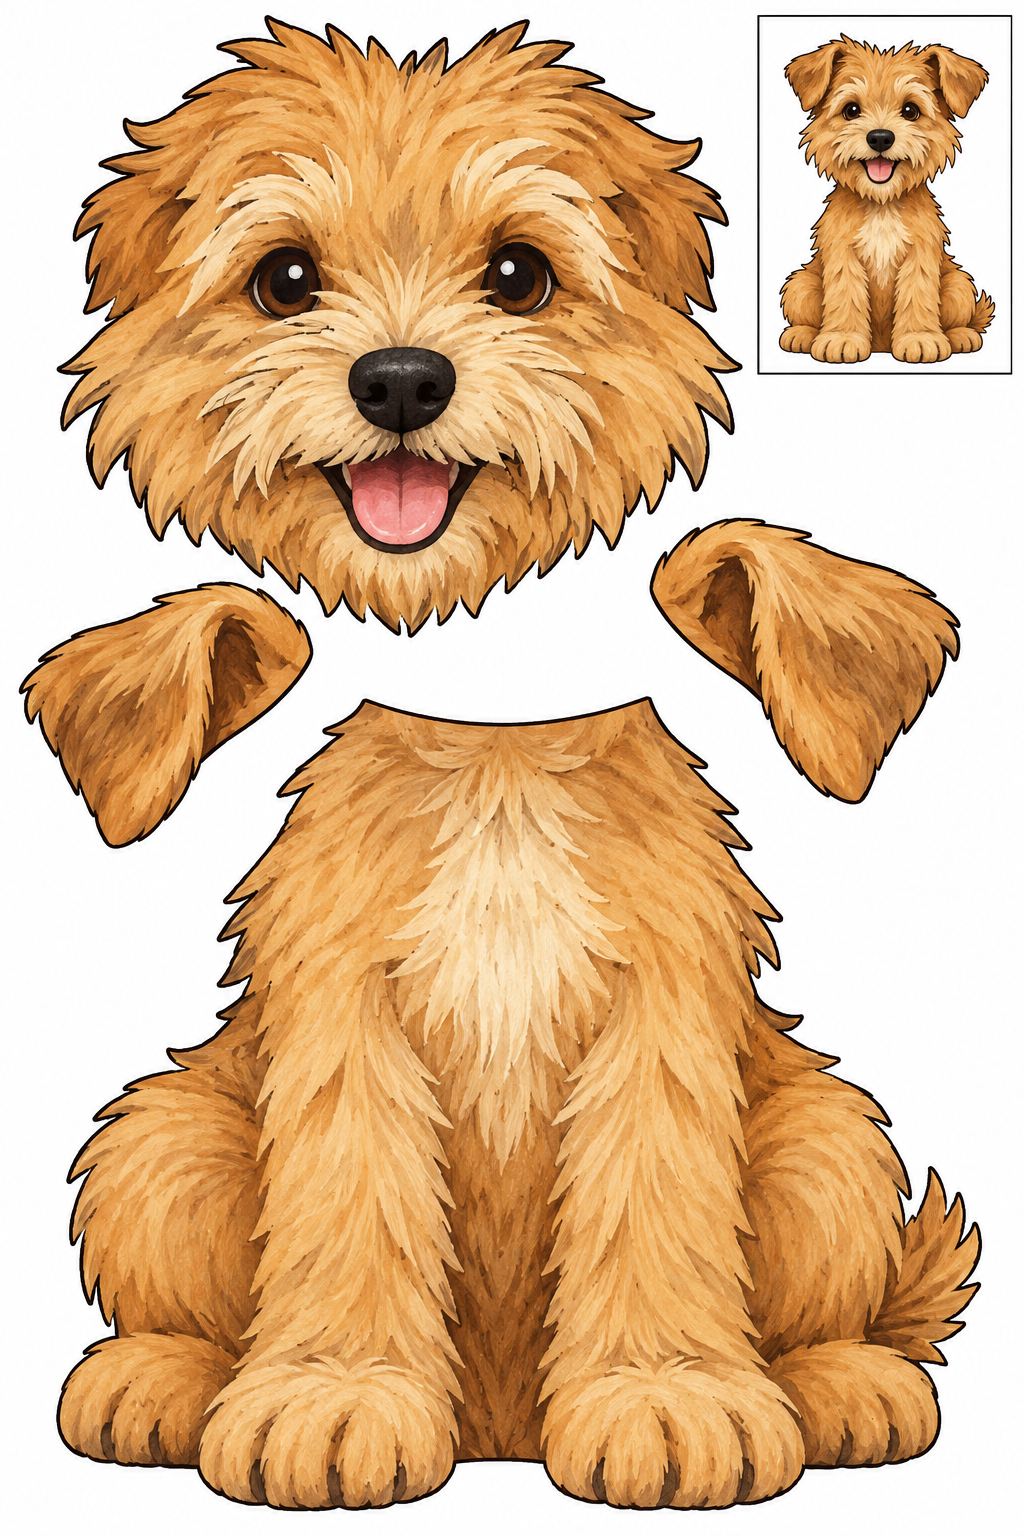
Full color — ready to cut.
Assembly example: The small boxed example shows the finished craft. Do not cut it out.
Place the folded ears behind the upper corners of the shaggy face. Overlap the face onto the top of the seated body. Follow the broad outside tufts and leave interior fur strokes intact. Cut only the separate outside silhouettes; leave printed details intact. Try the arrangement against the boxed example before gluing. If a join slips, increase the overlap and press it flat; repair a nicked edge with tape on the back.
Check: Can you guide the scissors comfortably? If it is difficult, an adult can shorten a strip, cut a tricky curve or offer straight paths. Pieces should be fully separated and arranged as intended before gluing.
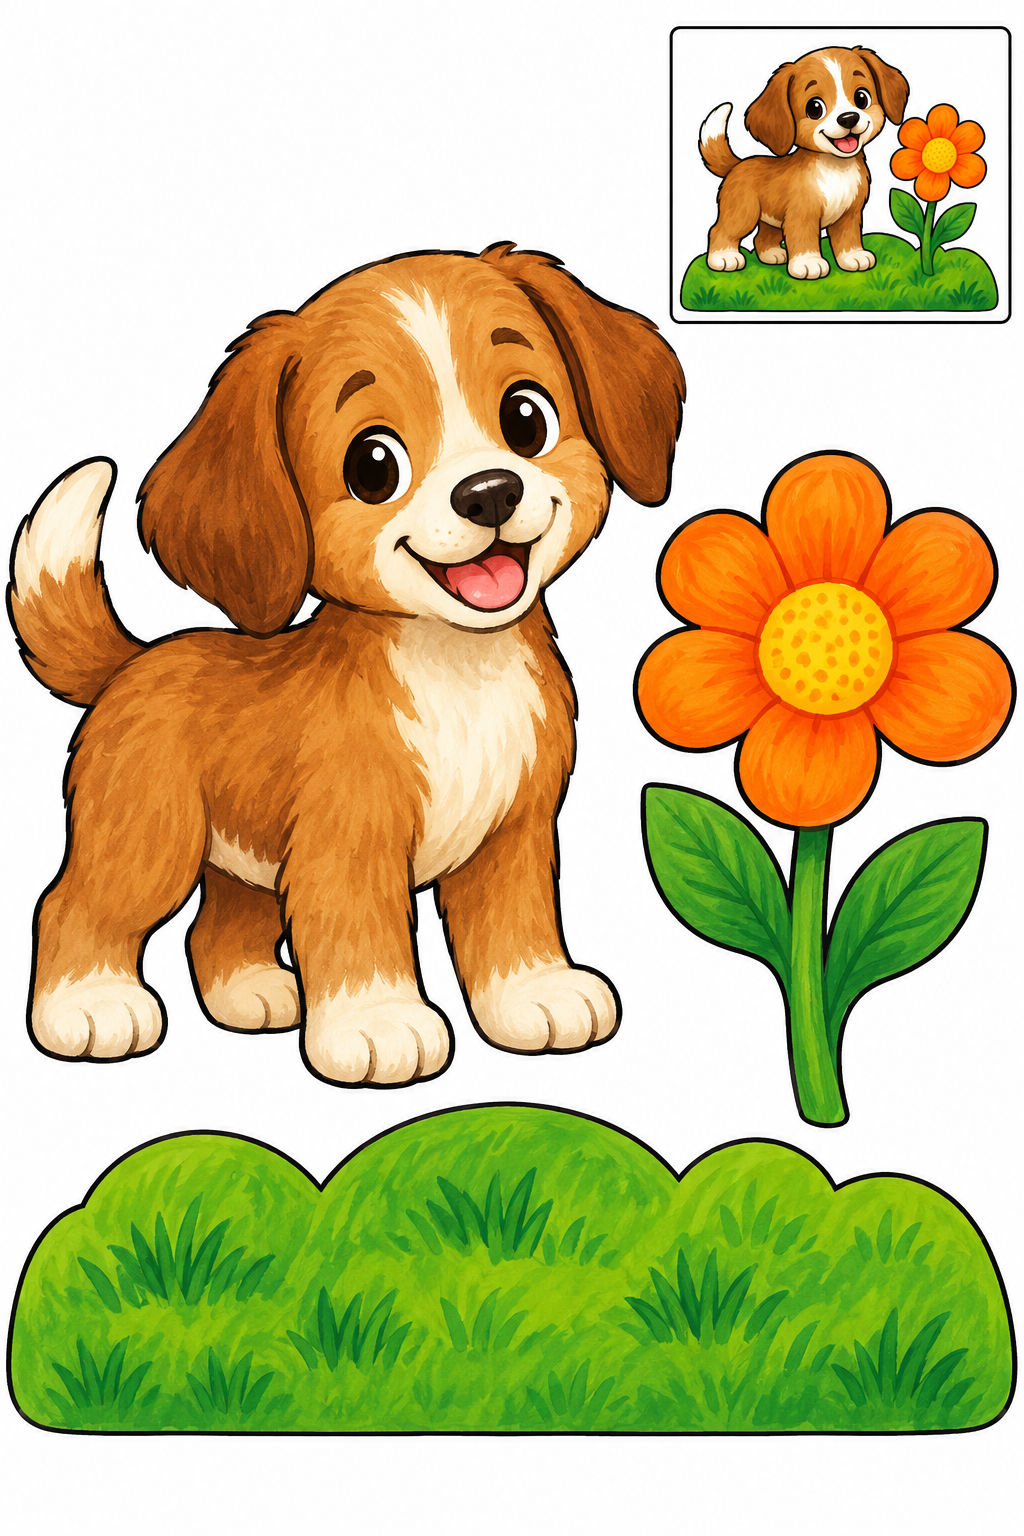
Full color — ready to cut.
Assembly example: The small boxed example shows the finished craft. Do not cut it out.
Glue the grass base onto your backing paper first. Place the puppy's paws over its upper edge and stand the flower beside the puppy. Keep the flower and its stem together as one piece. Cut only the separate outside silhouettes; leave printed details intact. Try the arrangement against the boxed example before gluing. If a join slips, increase the overlap and press it flat; repair a nicked edge with tape on the back.
Check: Can you guide the scissors comfortably? If it is difficult, an adult can shorten a strip, cut a tricky curve or offer straight paths. Pieces should be fully separated and arranged as intended before gluing.

Full color — ready to cut.
Assembly example: The small boxed example shows the finished craft. Do not cut it out.
Place the violet hat over the puppy's forehead and the mint bowtie across its neck. Keep the hat's pompom attached. Check that the eyes stay visible, then glue the accessories onto the whole puppy. Cut only the separate outside silhouettes; leave printed details intact. Try the arrangement against the boxed example before gluing. If a join slips, increase the overlap and press it flat; repair a nicked edge with tape on the back.
Check: Can you guide the scissors comfortably? If it is difficult, an adult can shorten a strip, cut a tricky curve or offer straight paths. Pieces should be fully separated and arranged as intended before gluing.

Full color — ready to cut.
Assembly example: The small boxed example shows the finished craft. Do not cut it out.
Overlap the thick handle behind the blue umbrella canopy. Arrange the umbrella beside the whole raincoat puppy, with the handle near its paw. Glue the scene to backing paper so the umbrella is supported. Cut only the separate outside silhouettes; leave printed details intact. Try the arrangement against the boxed example before gluing. If a join slips, increase the overlap and press it flat; repair a nicked edge with tape on the back.
Check: Can you guide the scissors comfortably? If it is difficult, an adult can shorten a strip, cut a tricky curve or offer straight paths. Pieces should be fully separated and arranged as intended before gluing.
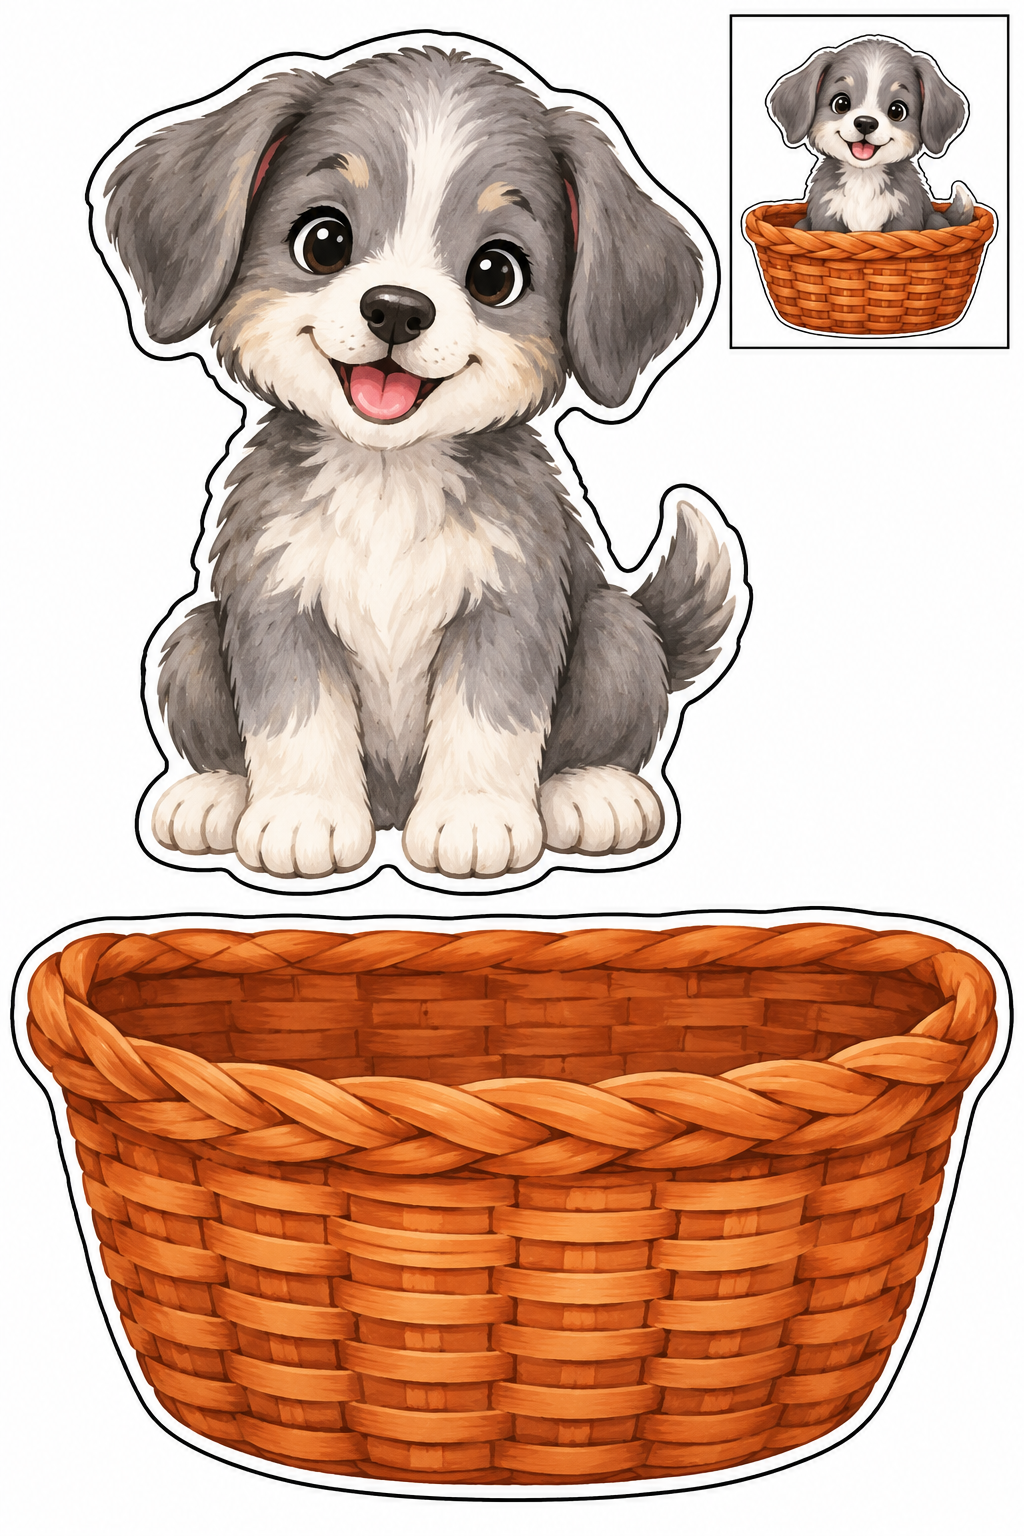
Full color — ready to cut.
Assembly example: The small boxed example shows the finished craft. Do not cut it out.
Place the whole puppy behind the basket front so its head appears above the rim. Glue the overlapping lower body and basket onto backing paper. The woven lines are decoration, not cutting lines. Cut only the separate outside silhouettes; leave printed details intact. Try the arrangement against the boxed example before gluing. If a join slips, increase the overlap and press it flat; repair a nicked edge with tape on the back.
Check: Can you guide the scissors comfortably? If it is difficult, an adult can shorten a strip, cut a tricky curve or offer straight paths. Pieces should be fully separated and arranged as intended before gluing.

Full color — ready to cut.
Assembly example: The small boxed example shows the finished craft. Do not cut it out.
Lay the blue ribbon across the puppy's chest and place the gold star over its center. Check that the face and front paws remain visible, then glue the ribbon before the star. Cut only the separate outside silhouettes; leave printed details intact. Try the arrangement against the boxed example before gluing. If a join slips, increase the overlap and press it flat; repair a nicked edge with tape on the back.
Check: Can you guide the scissors comfortably? If it is difficult, an adult can shorten a strip, cut a tricky curve or offer straight paths. Pieces should be fully separated and arranged as intended before gluing.
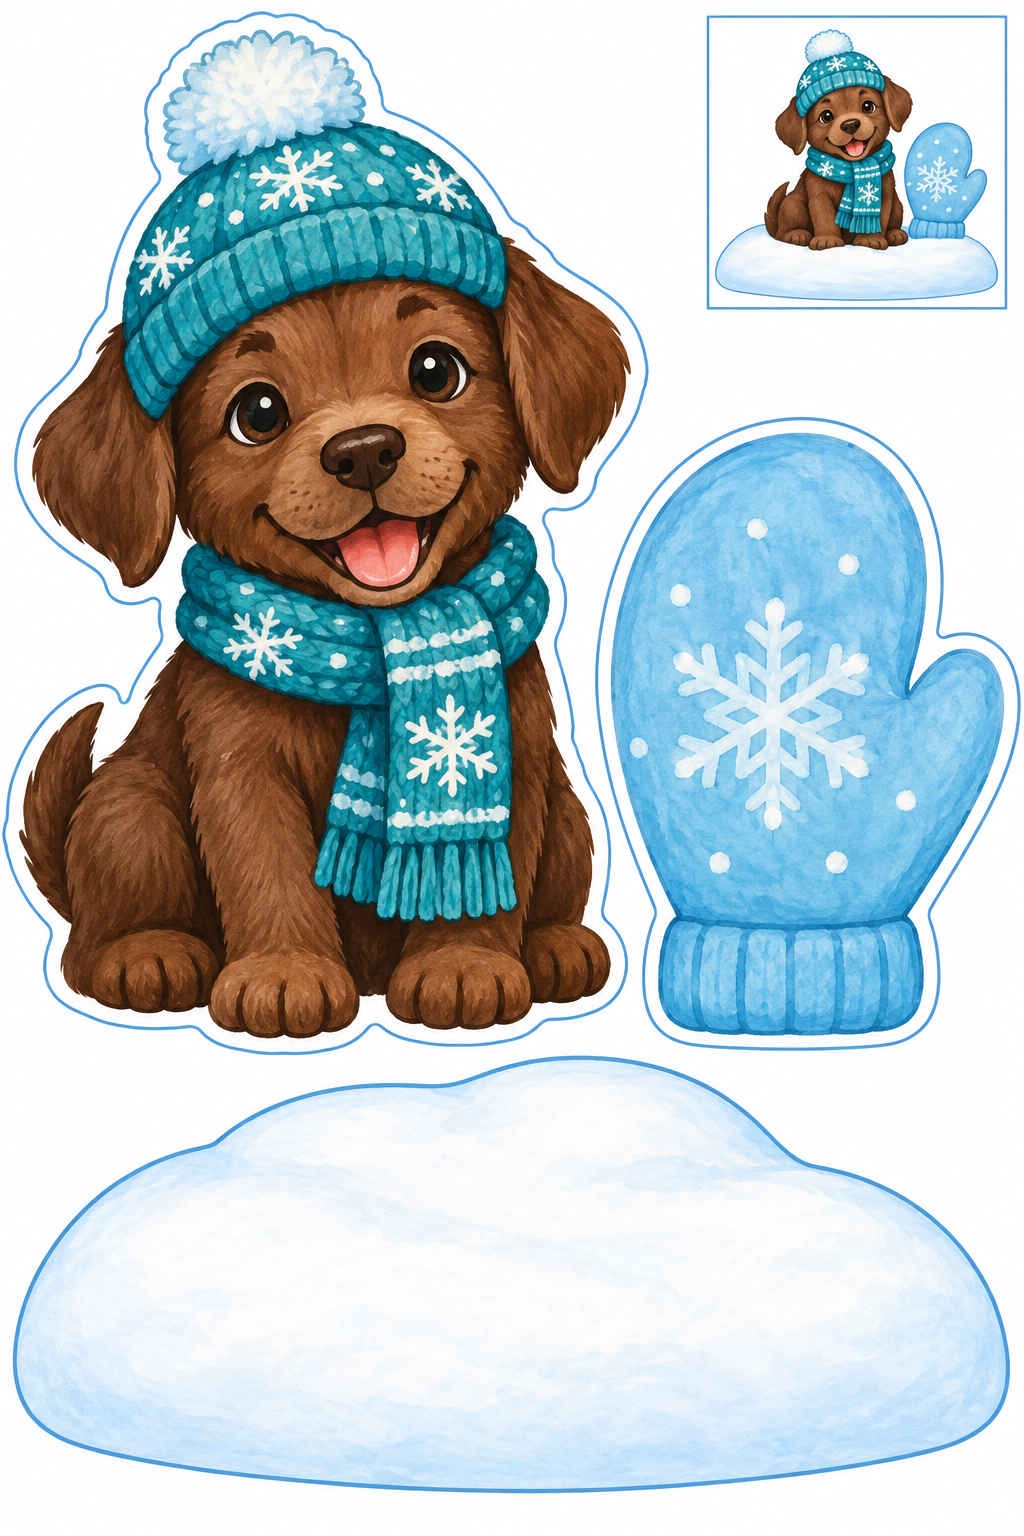
Full color — ready to cut.
Assembly example: The small boxed example shows the finished craft. Do not cut it out.
Place the whole winter puppy onto the broad snowbank and position the blue mitten beside it. The hat and scarf are printed inside the puppy, not separate pieces. Glue the snowbank first, then the puppy and mitten. Cut only the separate outside silhouettes; leave printed details intact. Try the arrangement against the boxed example before gluing. If a join slips, increase the overlap and press it flat; repair a nicked edge with tape on the back.
Check: Can you guide the scissors comfortably? If it is difficult, an adult can shorten a strip, cut a tricky curve or offer straight paths. Pieces should be fully separated and arranged as intended before gluing.
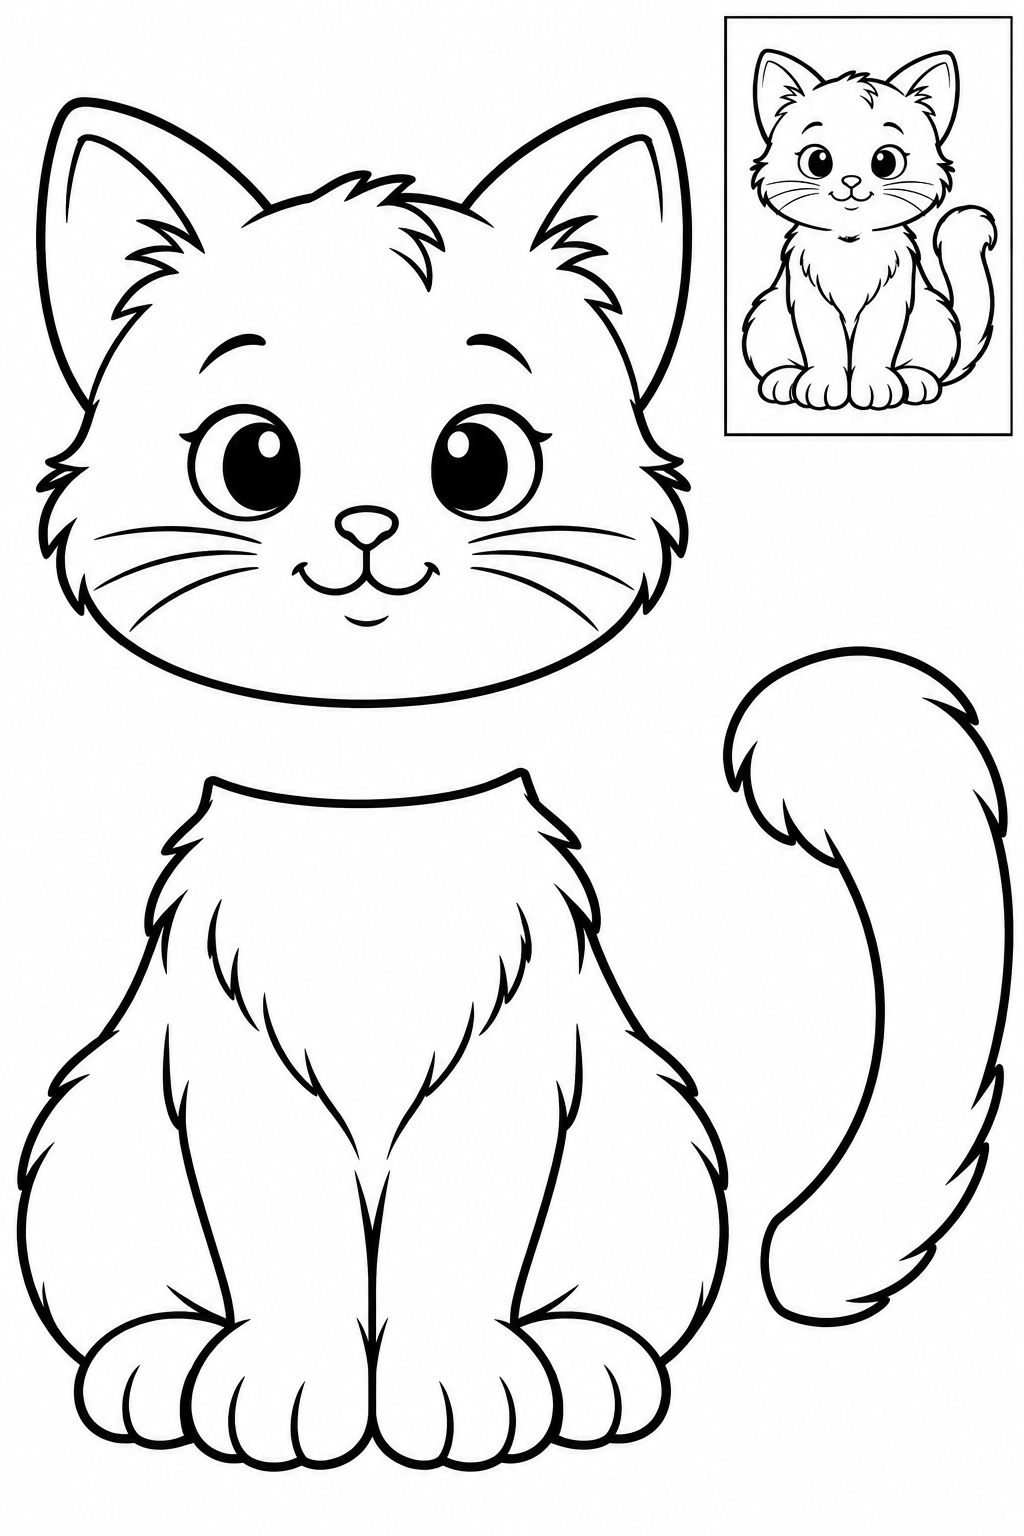
Black and white — color before cutting.
Assembly example: The small boxed example shows the finished craft. Do not cut it out.
Place head over body top; tuck tail behind body right side. Keep internal details intact. Compare with the small boxed example before gluing. If a joint is loose, increase the overlap or reinforce it with tape behind the craft.
Check: Can you guide the scissors comfortably? If it is difficult, an adult can shorten a strip, cut a tricky curve or offer straight paths. Pieces should be fully separated and arranged as intended before gluing.
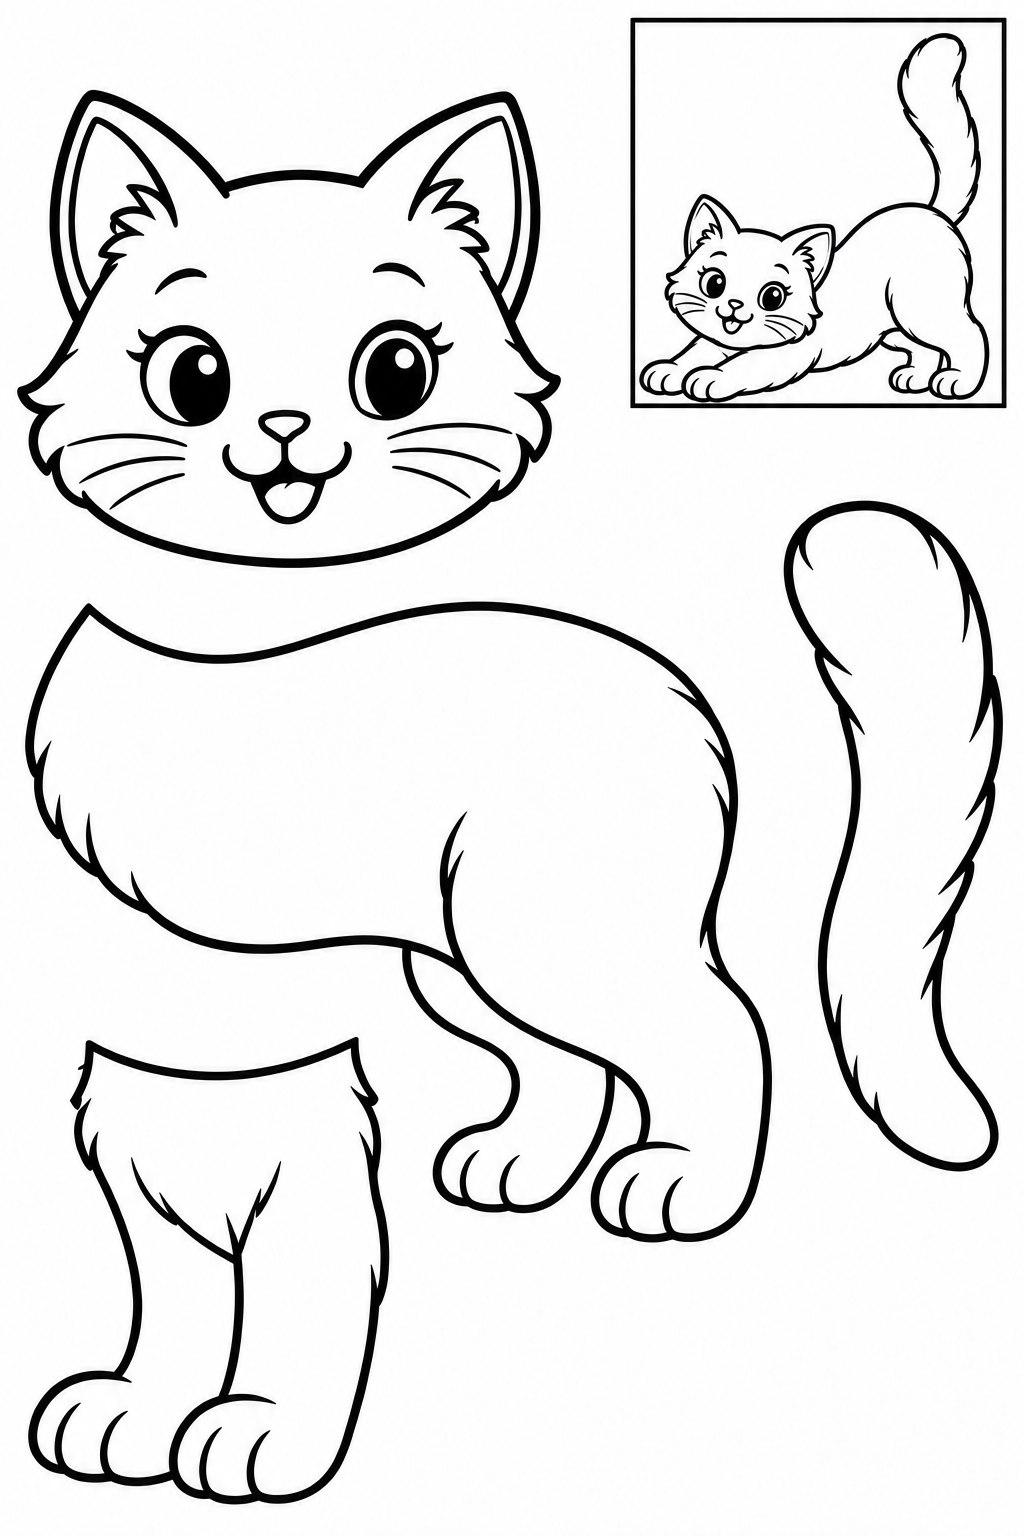
Black and white — color before cutting.
Assembly example: The small boxed example shows the finished craft. Do not cut it out.
Rotate the front-leg pair forward to make the stretch. Attach front paws beneath chest, head at its front and tail behind the raised rump. Keep internal details intact. Compare with the small boxed example before gluing. If a joint is loose, increase the overlap or reinforce it with tape behind the craft.
Check: Can you guide the scissors comfortably? If it is difficult, an adult can shorten a strip, cut a tricky curve or offer straight paths. Pieces should be fully separated and arranged as intended before gluing.
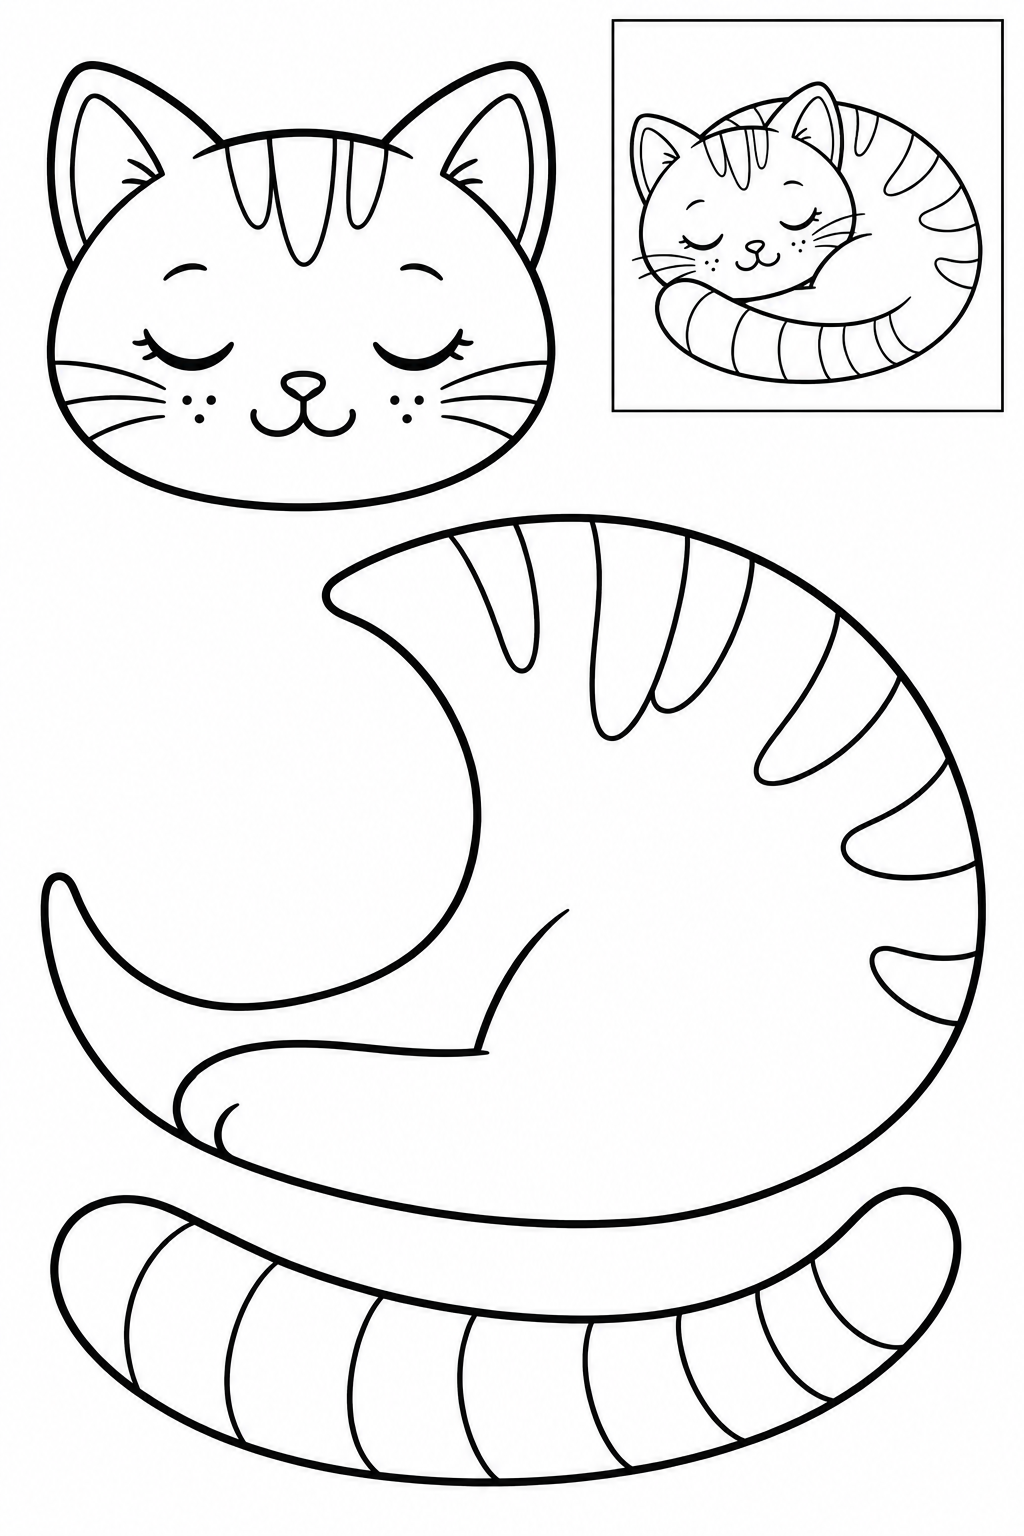
Black and white — color before cutting.
Assembly example: The small boxed example shows the finished craft. Do not cut it out.
Nest head in body hollow; overlap tail along lower body edge. Keep internal details intact. Compare with the small boxed example before gluing. If a joint is loose, increase the overlap or reinforce it with tape behind the craft.
Check: Can you guide the scissors comfortably? If it is difficult, an adult can shorten a strip, cut a tricky curve or offer straight paths. Pieces should be fully separated and arranged as intended before gluing.
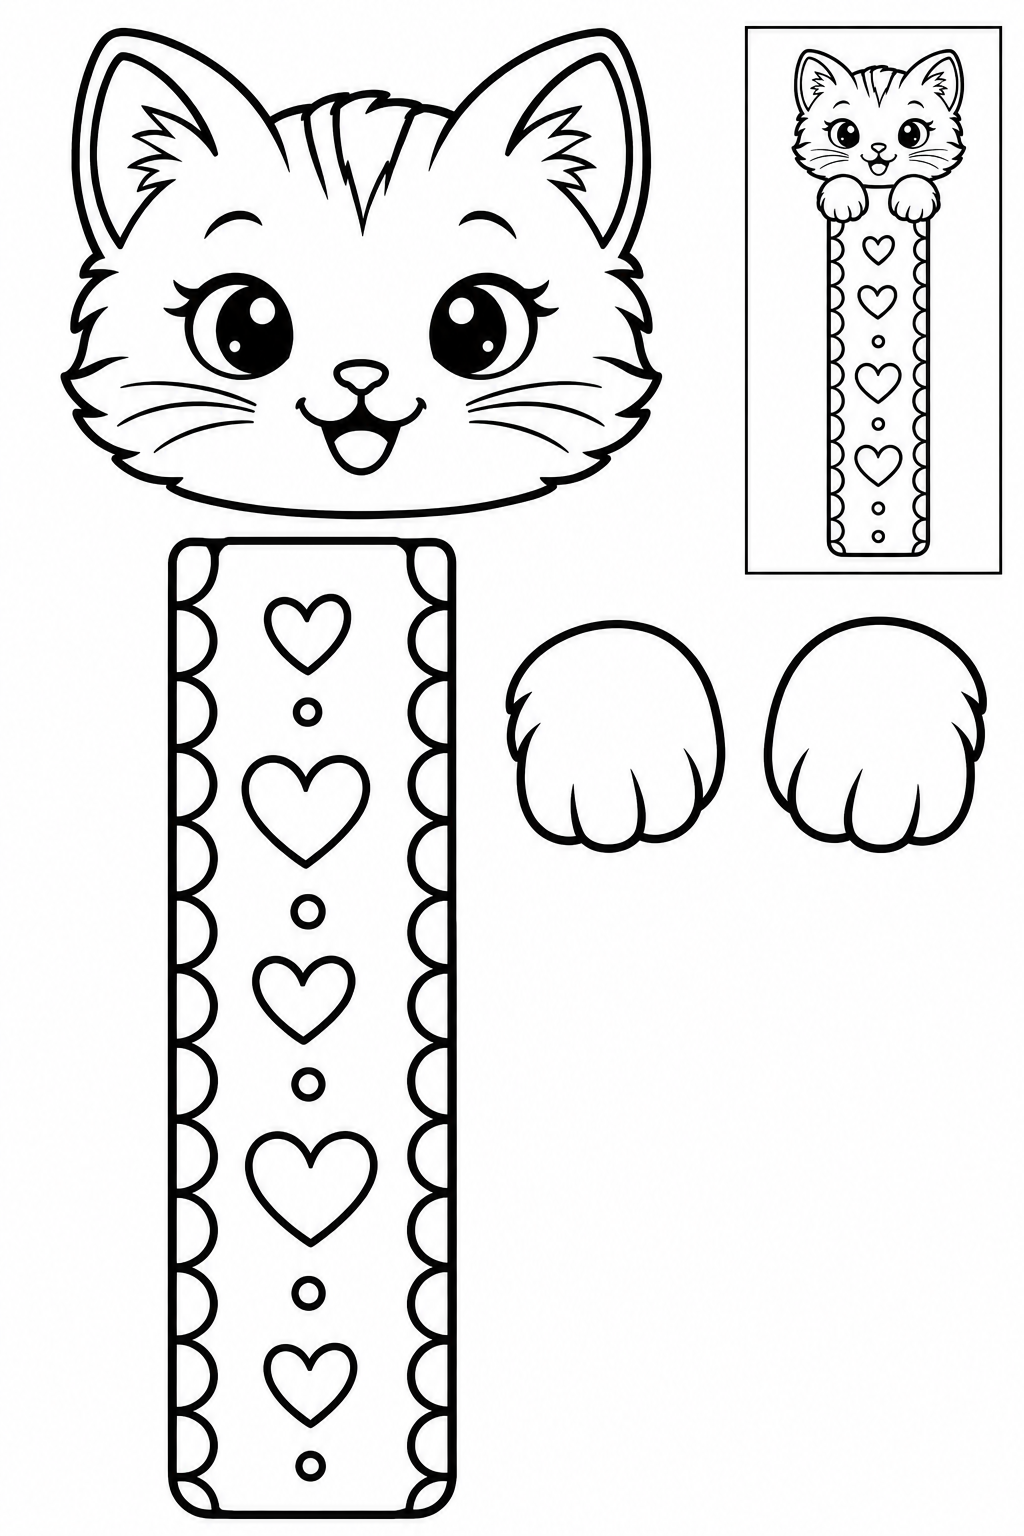
Black and white — color before cutting.
Assembly example: The small boxed example shows the finished craft. Do not cut it out.
Glue strip top behind head and paws onto the upper strip. Let dry before putting in a book. Keep internal details intact. Compare with the small boxed example before gluing. If a joint is loose, increase the overlap or reinforce it with tape behind the craft.
Check: Can you guide the scissors comfortably? If it is difficult, an adult can shorten a strip, cut a tricky curve or offer straight paths. Pieces should be fully separated and arranged as intended before gluing.
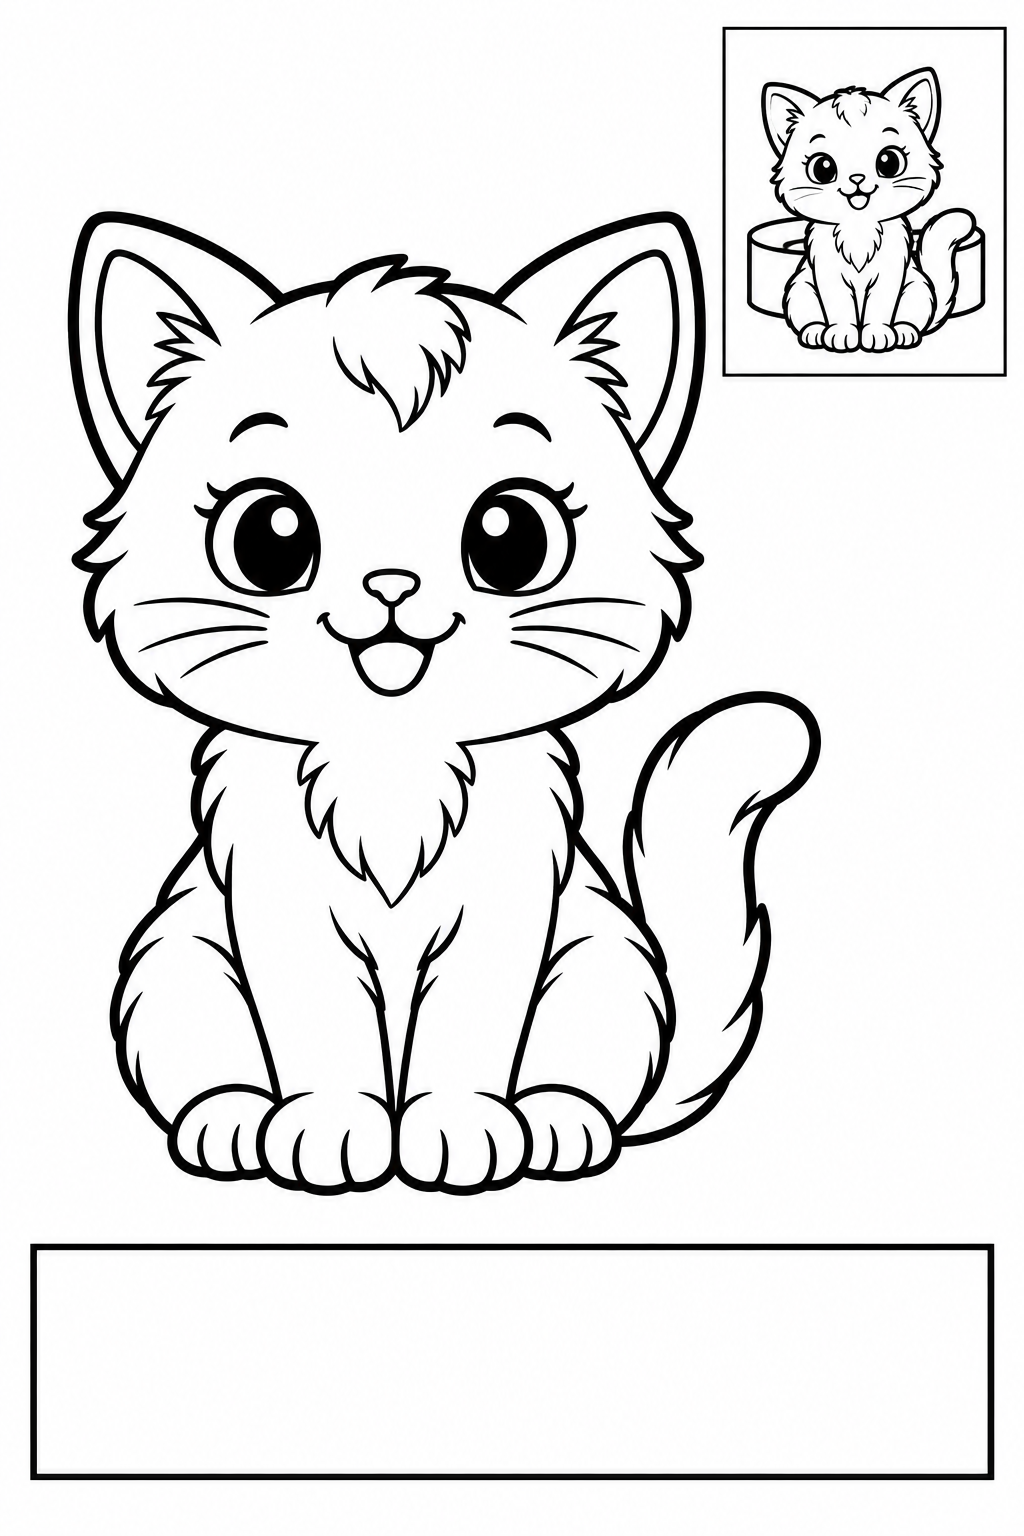
Black and white — color before cutting.
Assembly example: The small boxed example shows the finished craft. Do not cut it out.
Adult loosely fits band around finger and tapes ends; glue cat outside band. Enlarge if tight. Keep internal details intact. Compare with the small boxed example before gluing. If a joint is loose, increase the overlap or reinforce it with tape behind the craft.
Check: Can you guide the scissors comfortably? If it is difficult, an adult can shorten a strip, cut a tricky curve or offer straight paths. Pieces should be fully separated and arranged as intended before gluing.
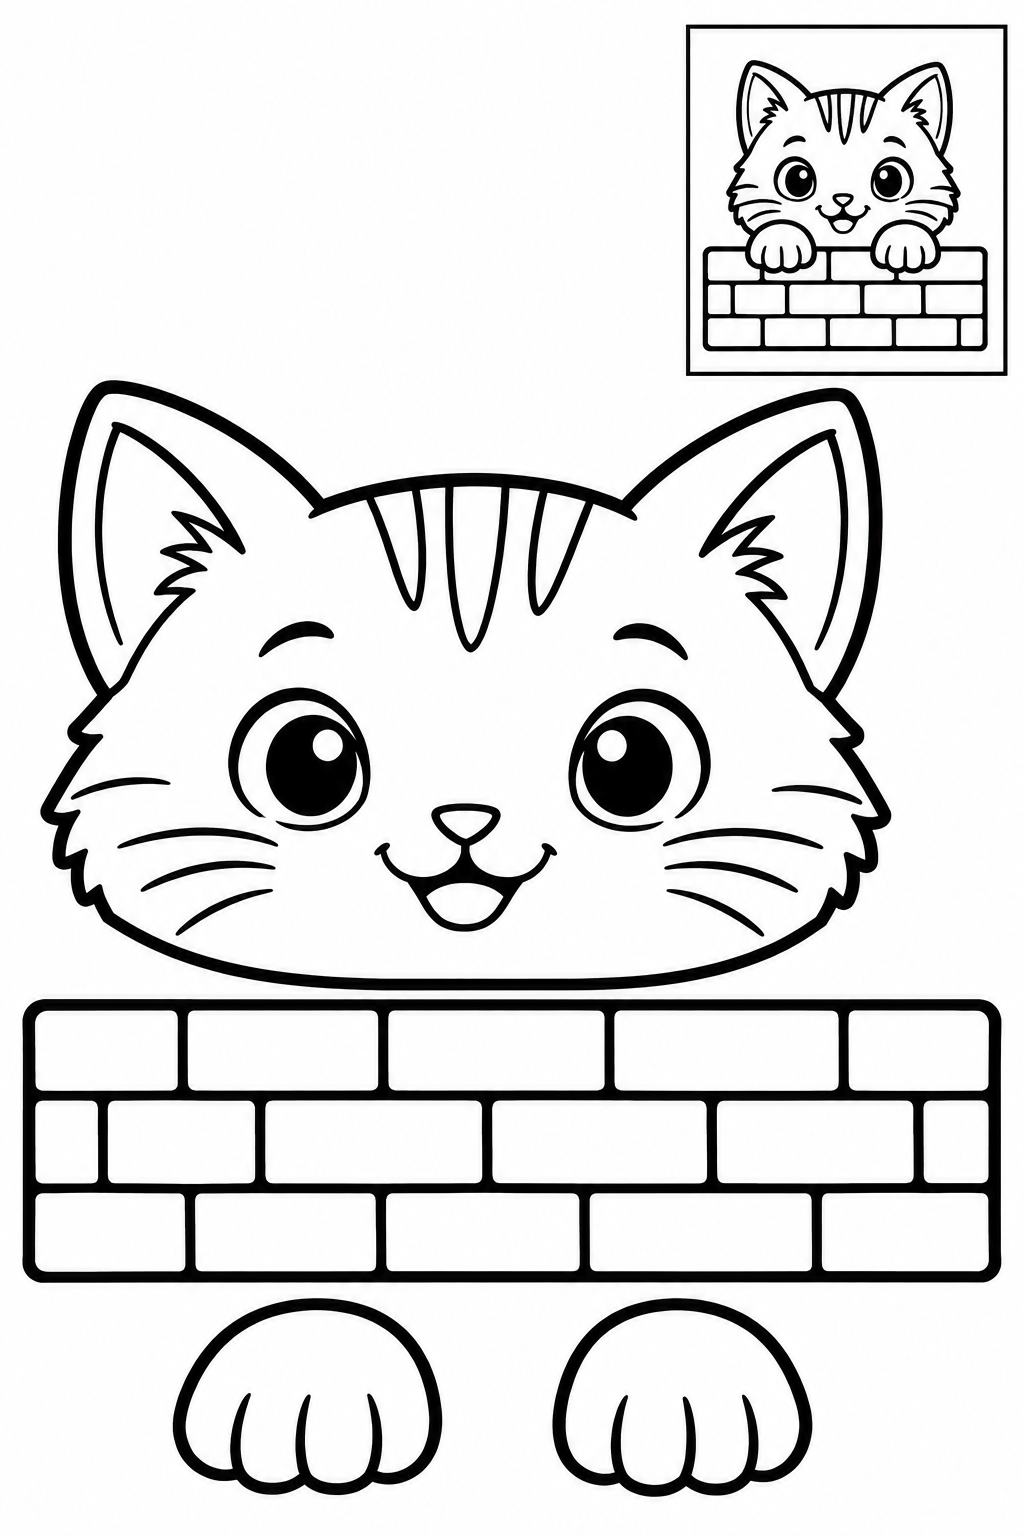
Black and white — color before cutting.
Assembly example: The small boxed example shows the finished craft. Do not cut it out.
Glue head behind wall top; paws overlap the wall front as if peeking over. Keep internal details intact. Compare with the small boxed example before gluing. If a joint is loose, increase the overlap or reinforce it with tape behind the craft.
Check: Can you guide the scissors comfortably? If it is difficult, an adult can shorten a strip, cut a tricky curve or offer straight paths. Pieces should be fully separated and arranged as intended before gluing.
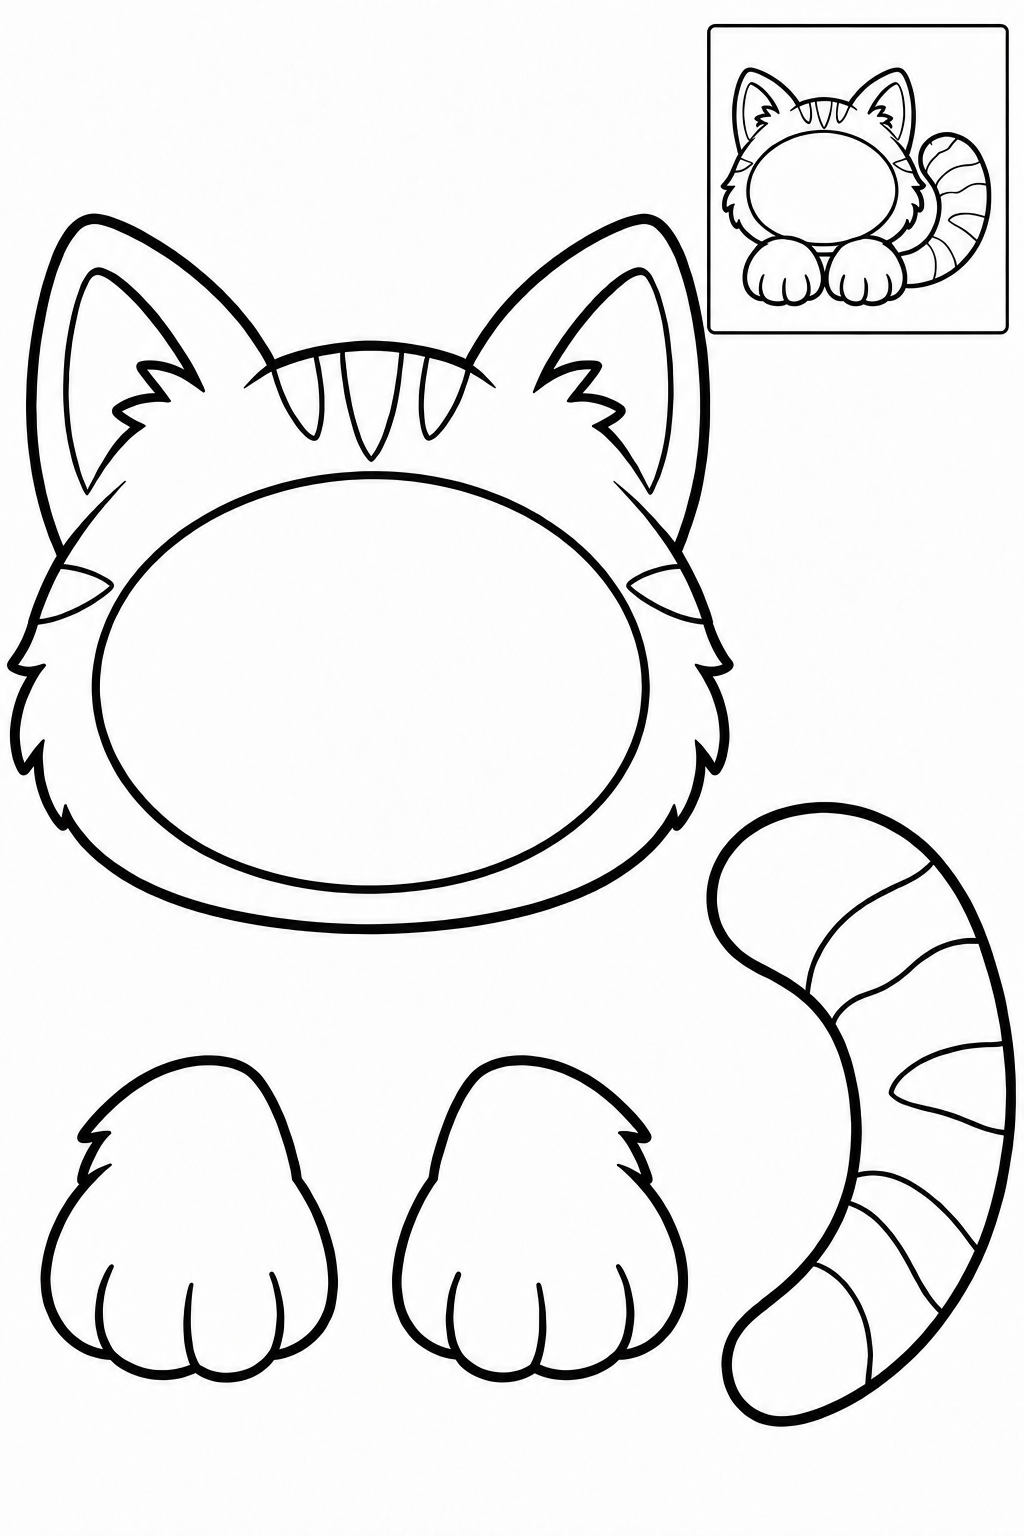
Black and white — color before cutting.
Assembly example: The small boxed example shows the finished craft. Do not cut it out.
Draw a face inside oval, without cutting a hole. Put paws below head and tail on its side. Keep internal details intact. Compare with the small boxed example before gluing. If a joint is loose, increase the overlap or reinforce it with tape behind the craft.
Check: Can you guide the scissors comfortably? If it is difficult, an adult can shorten a strip, cut a tricky curve or offer straight paths. Pieces should be fully separated and arranged as intended before gluing.
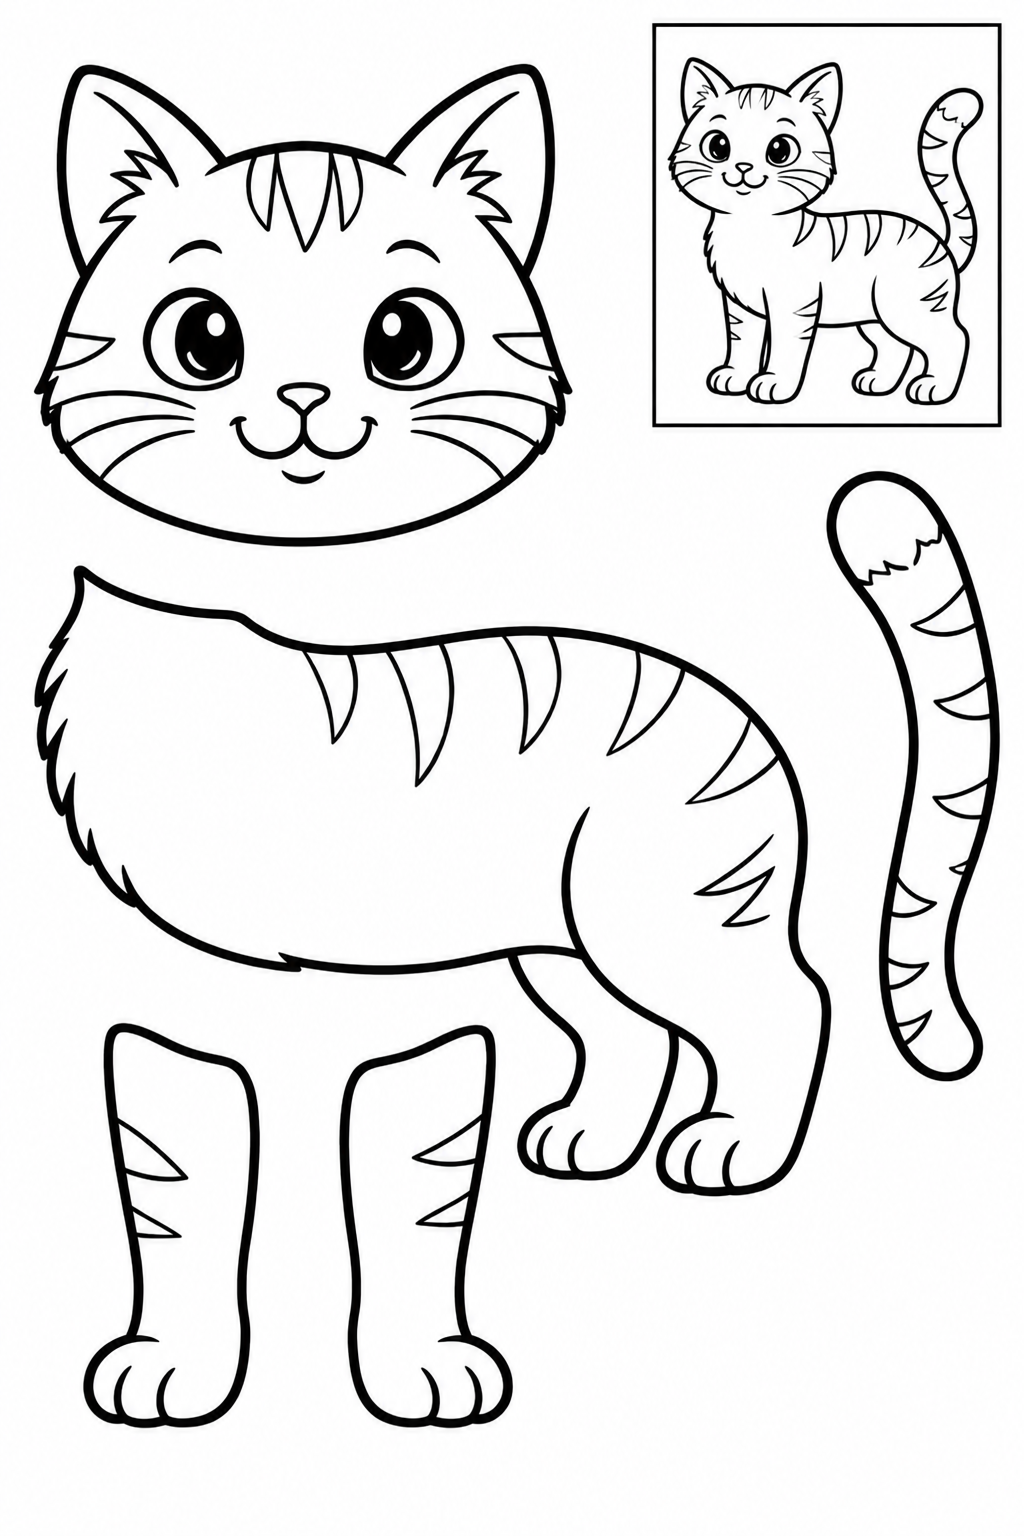
Black and white — color before cutting.
Assembly example: The small boxed example shows the finished craft. Do not cut it out.
Place legs beneath torso front, head above chest, tail behind rump; keep feet level. Keep internal details intact. Compare with the small boxed example before gluing. If a joint is loose, increase the overlap or reinforce it with tape behind the craft.
Check: Can you guide the scissors comfortably? If it is difficult, an adult can shorten a strip, cut a tricky curve or offer straight paths. Pieces should be fully separated and arranged as intended before gluing.
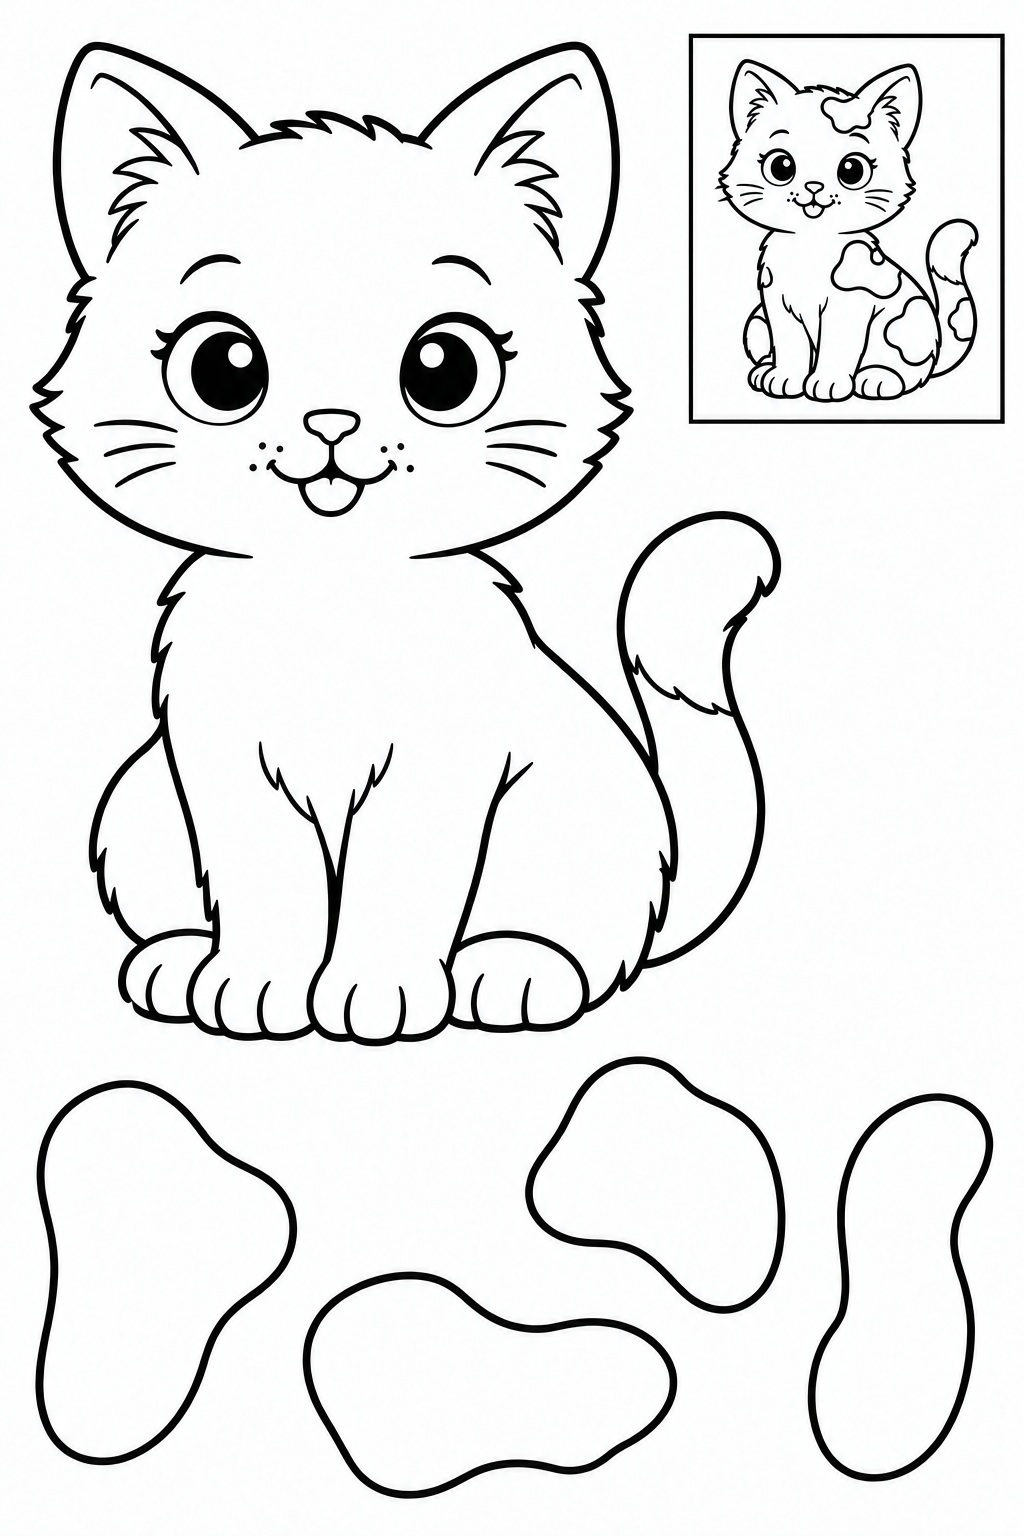
Black and white — color before cutting.
Assembly example: The small boxed example shows the finished craft. Do not cut it out.
Try four patches on belly and sides; keep face clear, then glue. Keep internal details intact. Compare with the small boxed example before gluing. If a joint is loose, increase the overlap or reinforce it with tape behind the craft.
Check: Can you guide the scissors comfortably? If it is difficult, an adult can shorten a strip, cut a tricky curve or offer straight paths. Pieces should be fully separated and arranged as intended before gluing.
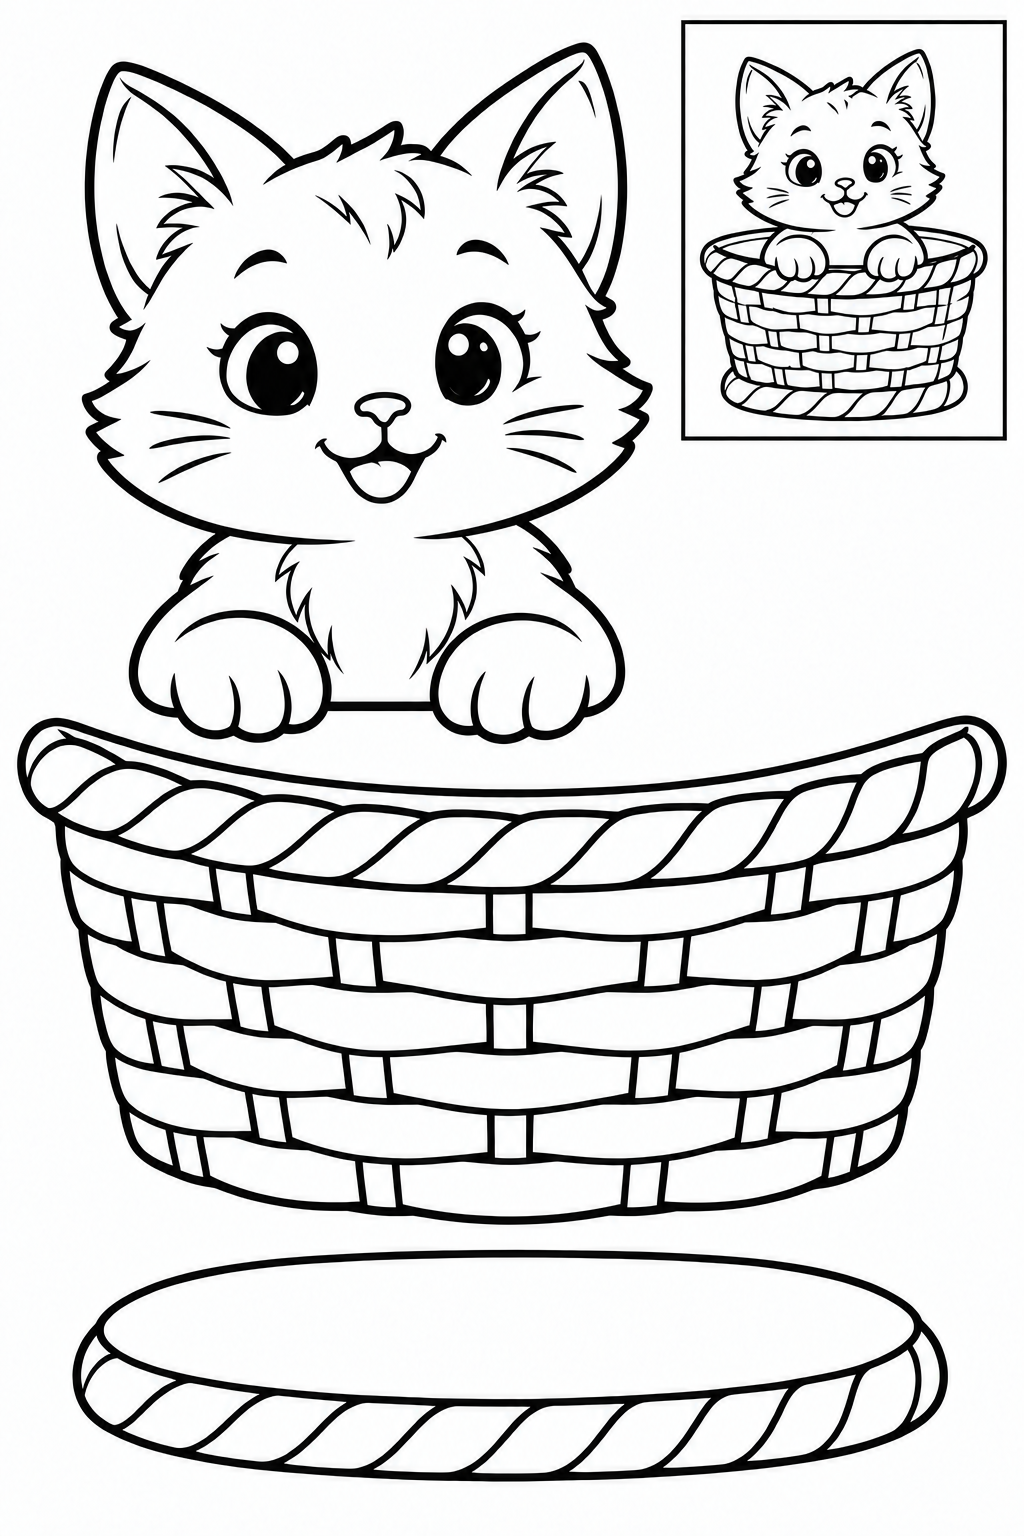
Black and white — color before cutting.
Assembly example: The small boxed example shows the finished craft. Do not cut it out.
Glue kitten behind basket rim; basket base overlaps lower edge. No handle. Keep internal details intact. Compare with the small boxed example before gluing. If a joint is loose, increase the overlap or reinforce it with tape behind the craft.
Check: Can you guide the scissors comfortably? If it is difficult, an adult can shorten a strip, cut a tricky curve or offer straight paths. Pieces should be fully separated and arranged as intended before gluing.
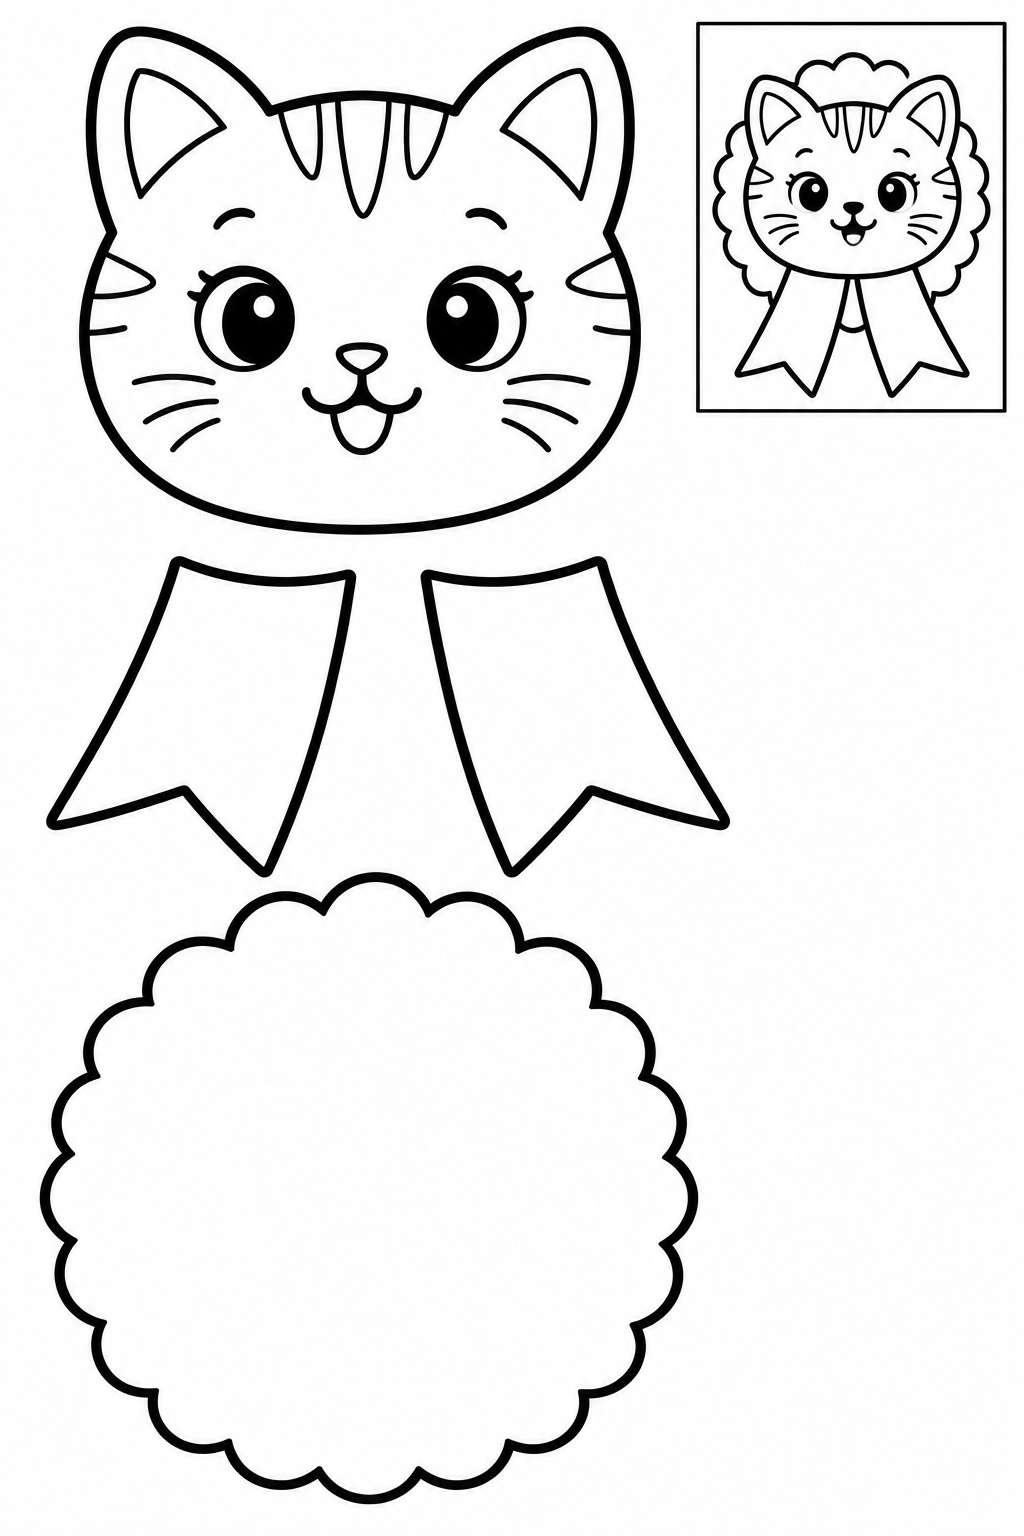
Black and white — color before cutting.
Assembly example: The small boxed example shows the finished craft. Do not cut it out.
Place ribbon tops on disk lower half and glue face over their bases. Keep internal details intact. Compare with the small boxed example before gluing. If a joint is loose, increase the overlap or reinforce it with tape behind the craft.
Check: Can you guide the scissors comfortably? If it is difficult, an adult can shorten a strip, cut a tricky curve or offer straight paths. Pieces should be fully separated and arranged as intended before gluing.
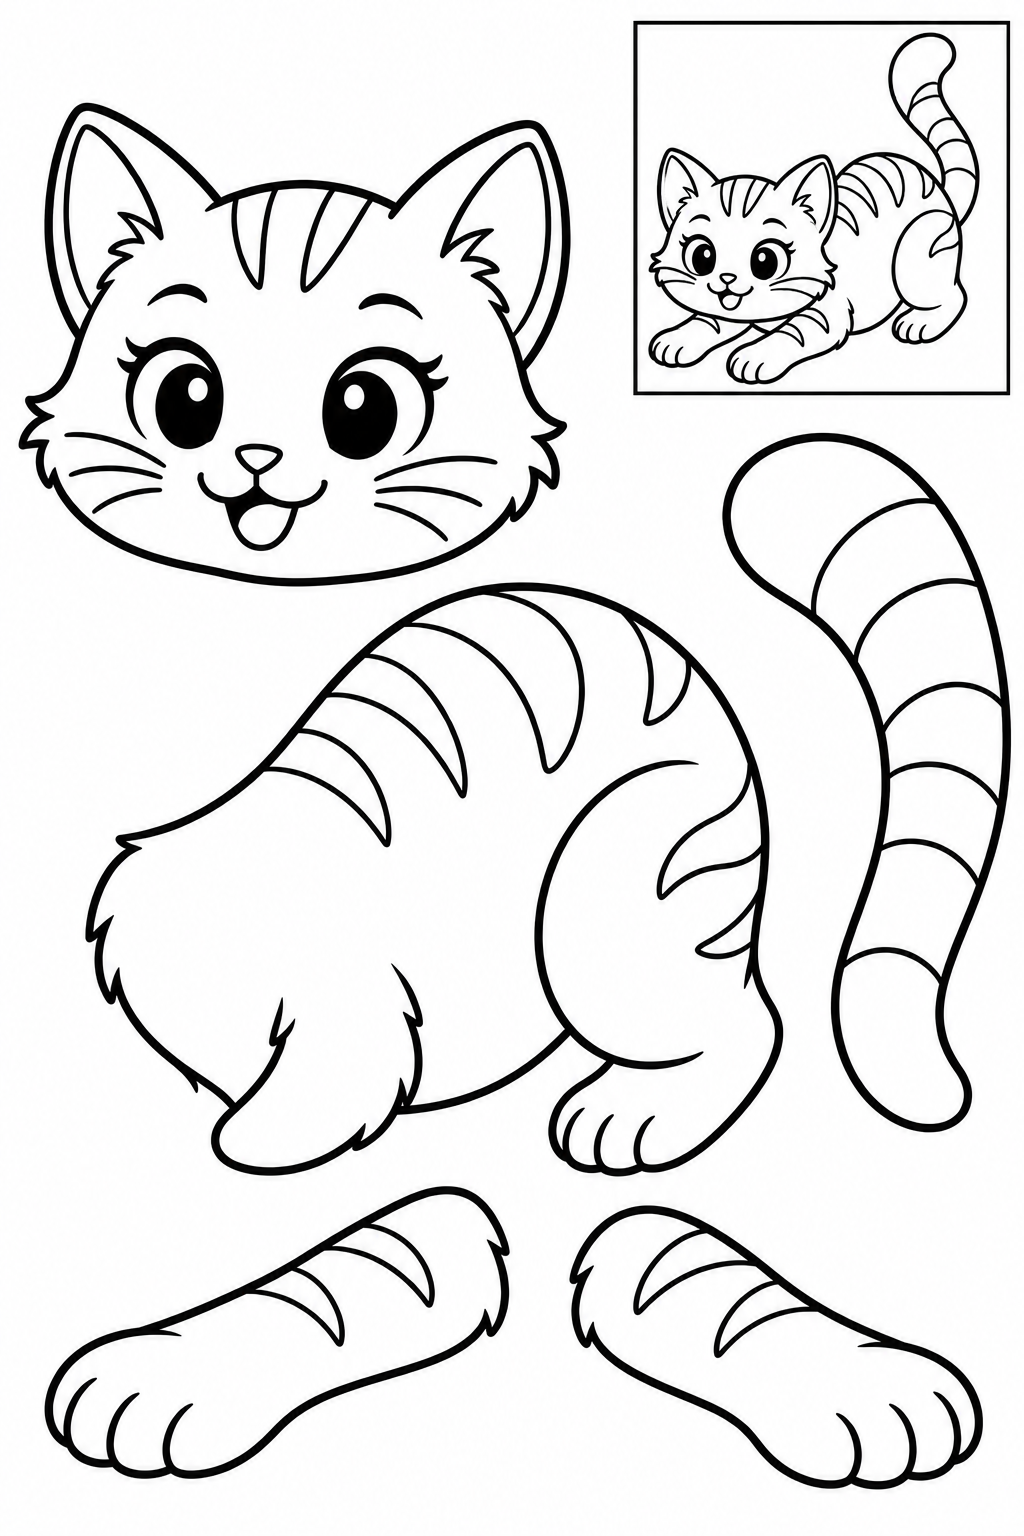
Black and white — color before cutting.
Assembly example: The small boxed example shows the finished craft. Do not cut it out.
Angle head toward paws, attach paws behind chest and tail behind rump; test overlaps before gluing. Keep internal details intact. Compare with the small boxed example before gluing. If a joint is loose, increase the overlap or reinforce it with tape behind the craft.
Check: Can you guide the scissors comfortably? If it is difficult, an adult can shorten a strip, cut a tricky curve or offer straight paths. Pieces should be fully separated and arranged as intended before gluing.
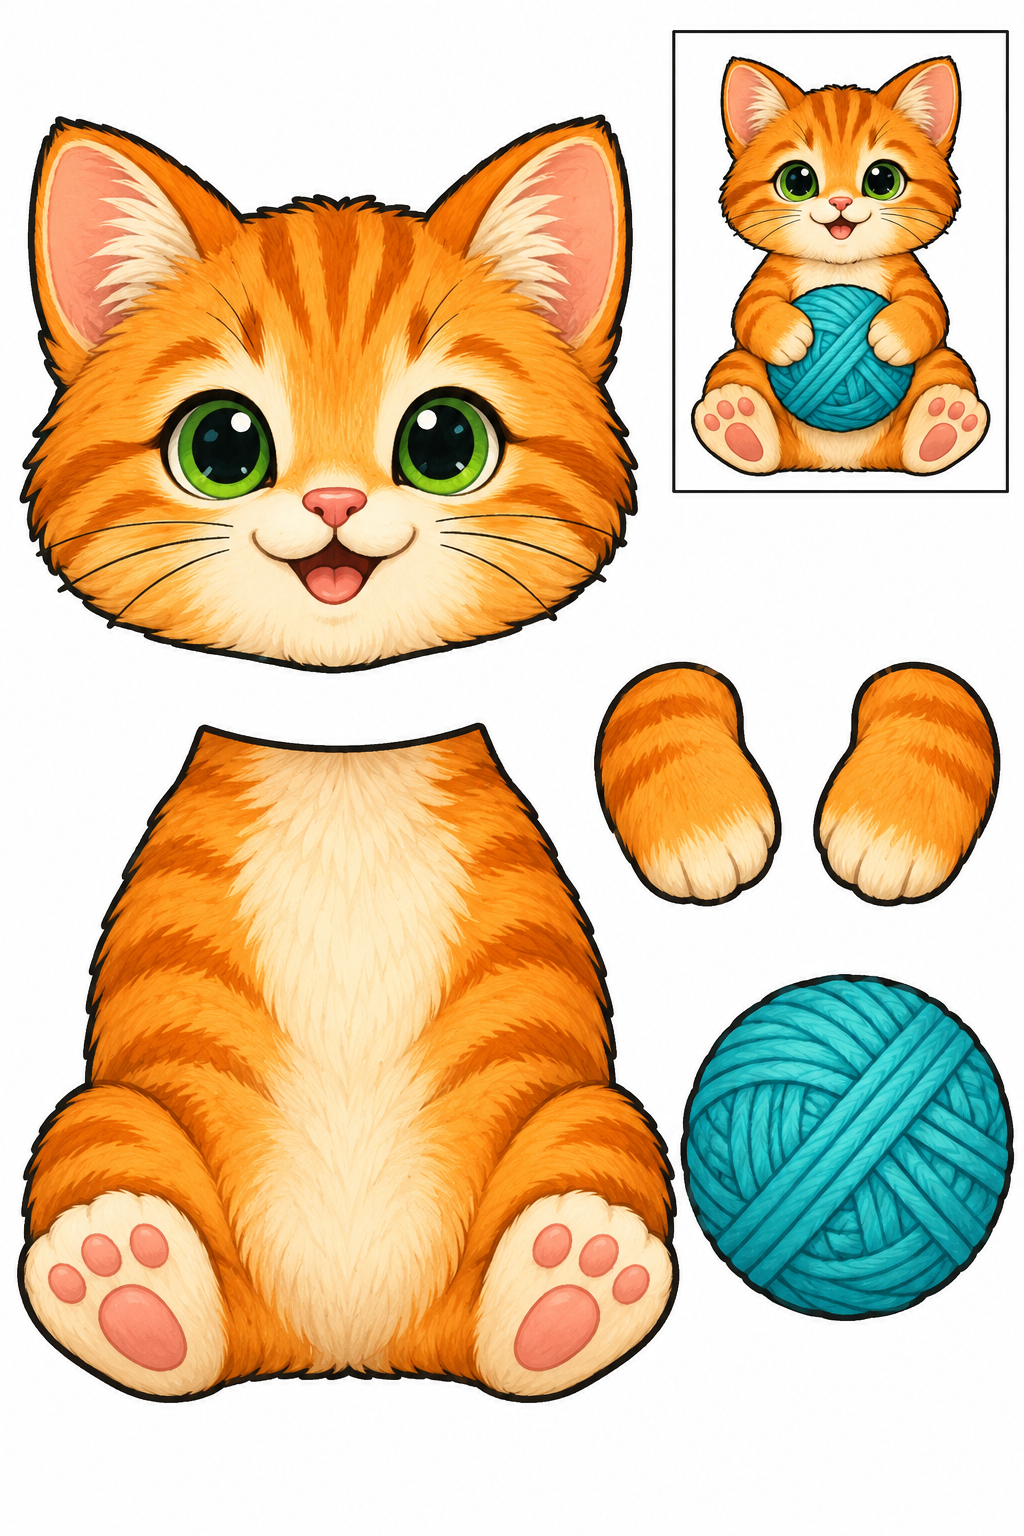
Full color — ready to cut.
Assembly example: The small boxed example shows the finished craft. Do not cut it out.
Glue head over body, set yarn ball on belly and overlap front paws at its sides. Keep internal details intact. Compare with the small boxed example before gluing. If a joint is loose, increase the overlap or reinforce it with tape behind the craft.
Check: Can you guide the scissors comfortably? If it is difficult, an adult can shorten a strip, cut a tricky curve or offer straight paths. Pieces should be fully separated and arranged as intended before gluing.
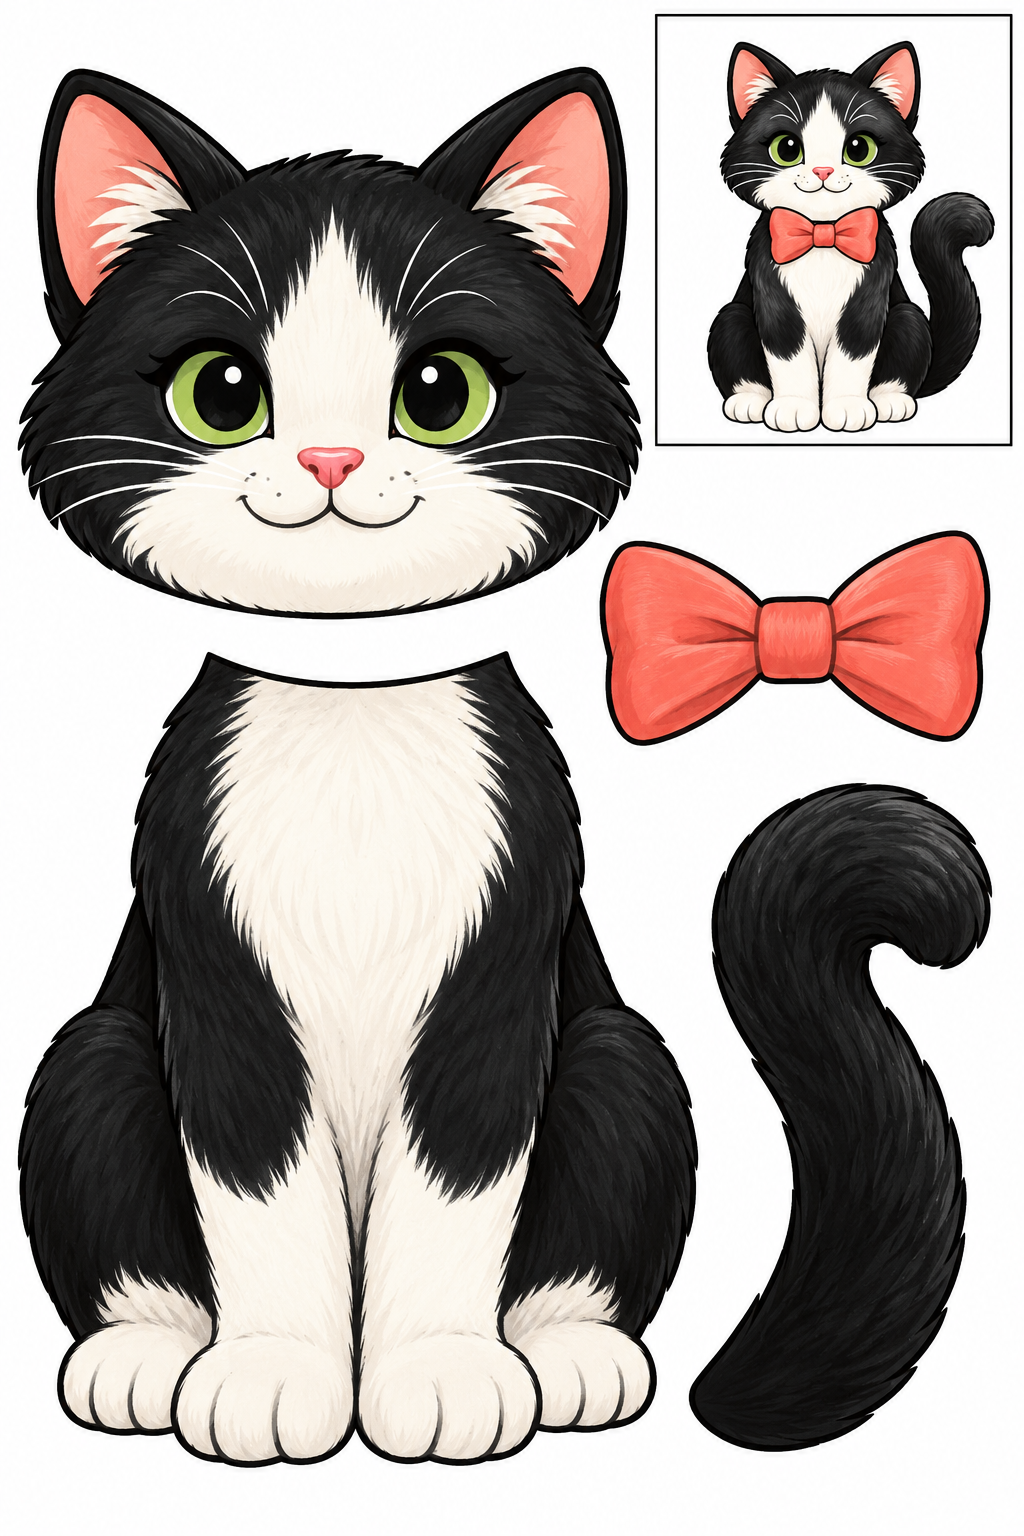
Full color — ready to cut.
Assembly example: The small boxed example shows the finished craft. Do not cut it out.
Head overlaps body; glue bow below chin and tuck tail behind side. Keep internal details intact. Compare with the small boxed example before gluing. If a joint is loose, increase the overlap or reinforce it with tape behind the craft.
Check: Can you guide the scissors comfortably? If it is difficult, an adult can shorten a strip, cut a tricky curve or offer straight paths. Pieces should be fully separated and arranged as intended before gluing.
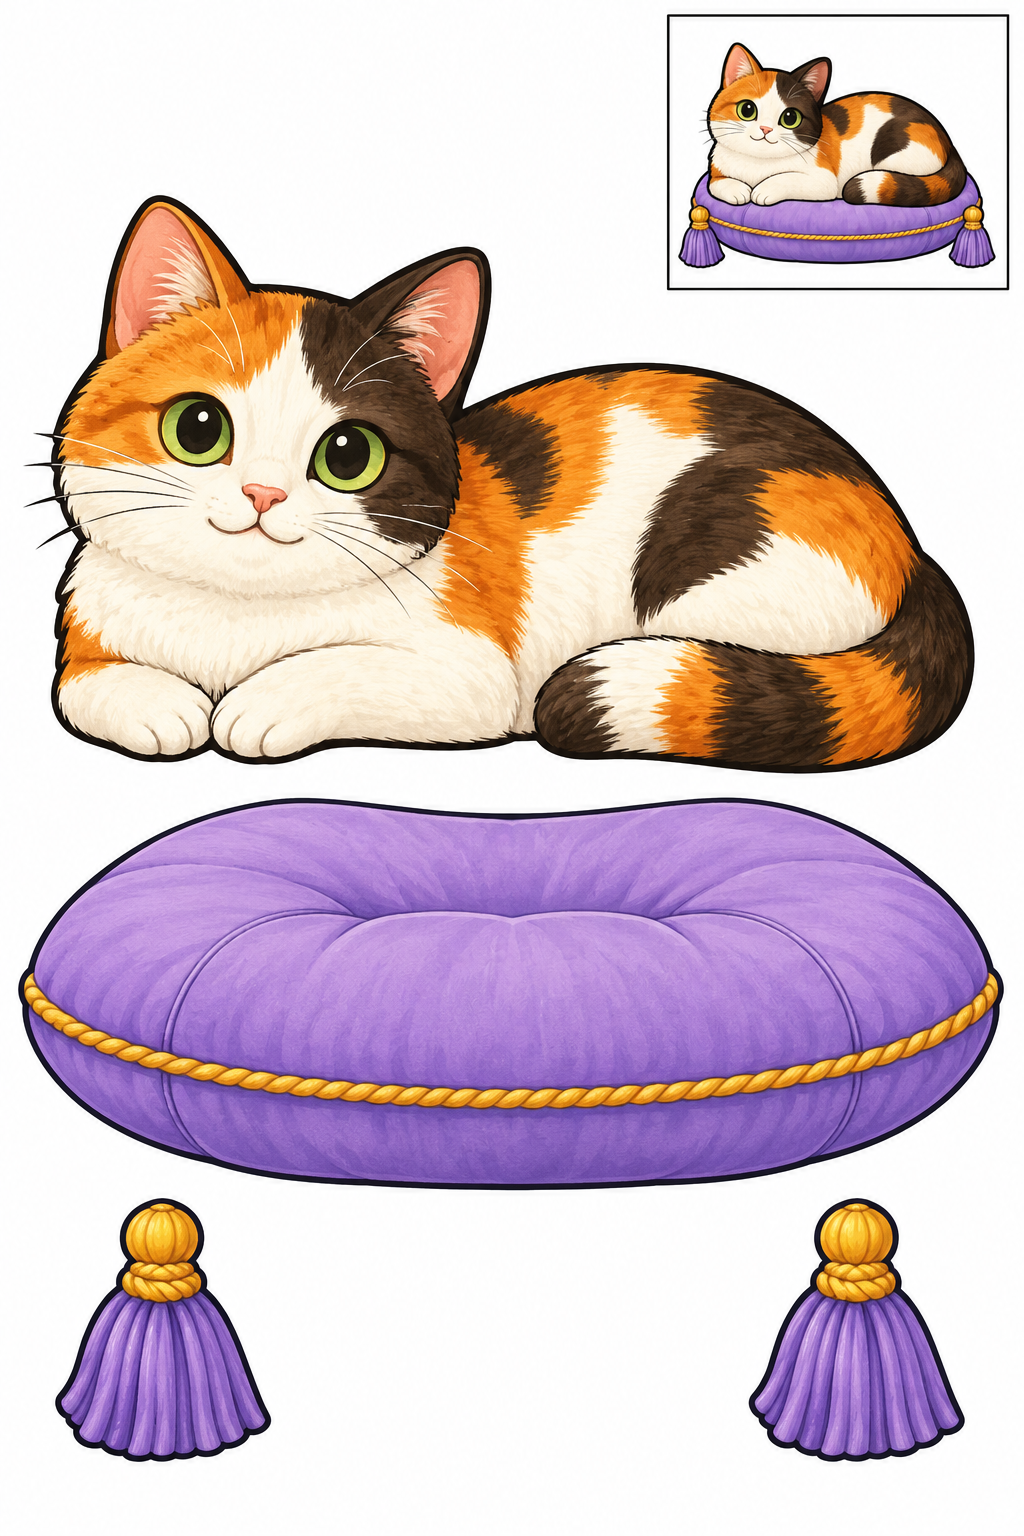
Full color — ready to cut.
Assembly example: The small boxed example shows the finished craft. Do not cut it out.
Place tassels behind cushion corners; glue reclining cat on upper cushion. Keep internal details intact. Compare with the small boxed example before gluing. If a joint is loose, increase the overlap or reinforce it with tape behind the craft.
Check: Can you guide the scissors comfortably? If it is difficult, an adult can shorten a strip, cut a tricky curve or offer straight paths. Pieces should be fully separated and arranged as intended before gluing.

Full color — ready to cut.
Assembly example: The small boxed example shows the finished craft. Do not cut it out.
Place heart over chest; paws overlap heart sides; head overlaps torso top. Keep internal details intact. Compare with the small boxed example before gluing. If a joint is loose, increase the overlap or reinforce it with tape behind the craft.
Check: Can you guide the scissors comfortably? If it is difficult, an adult can shorten a strip, cut a tricky curve or offer straight paths. Pieces should be fully separated and arranged as intended before gluing.
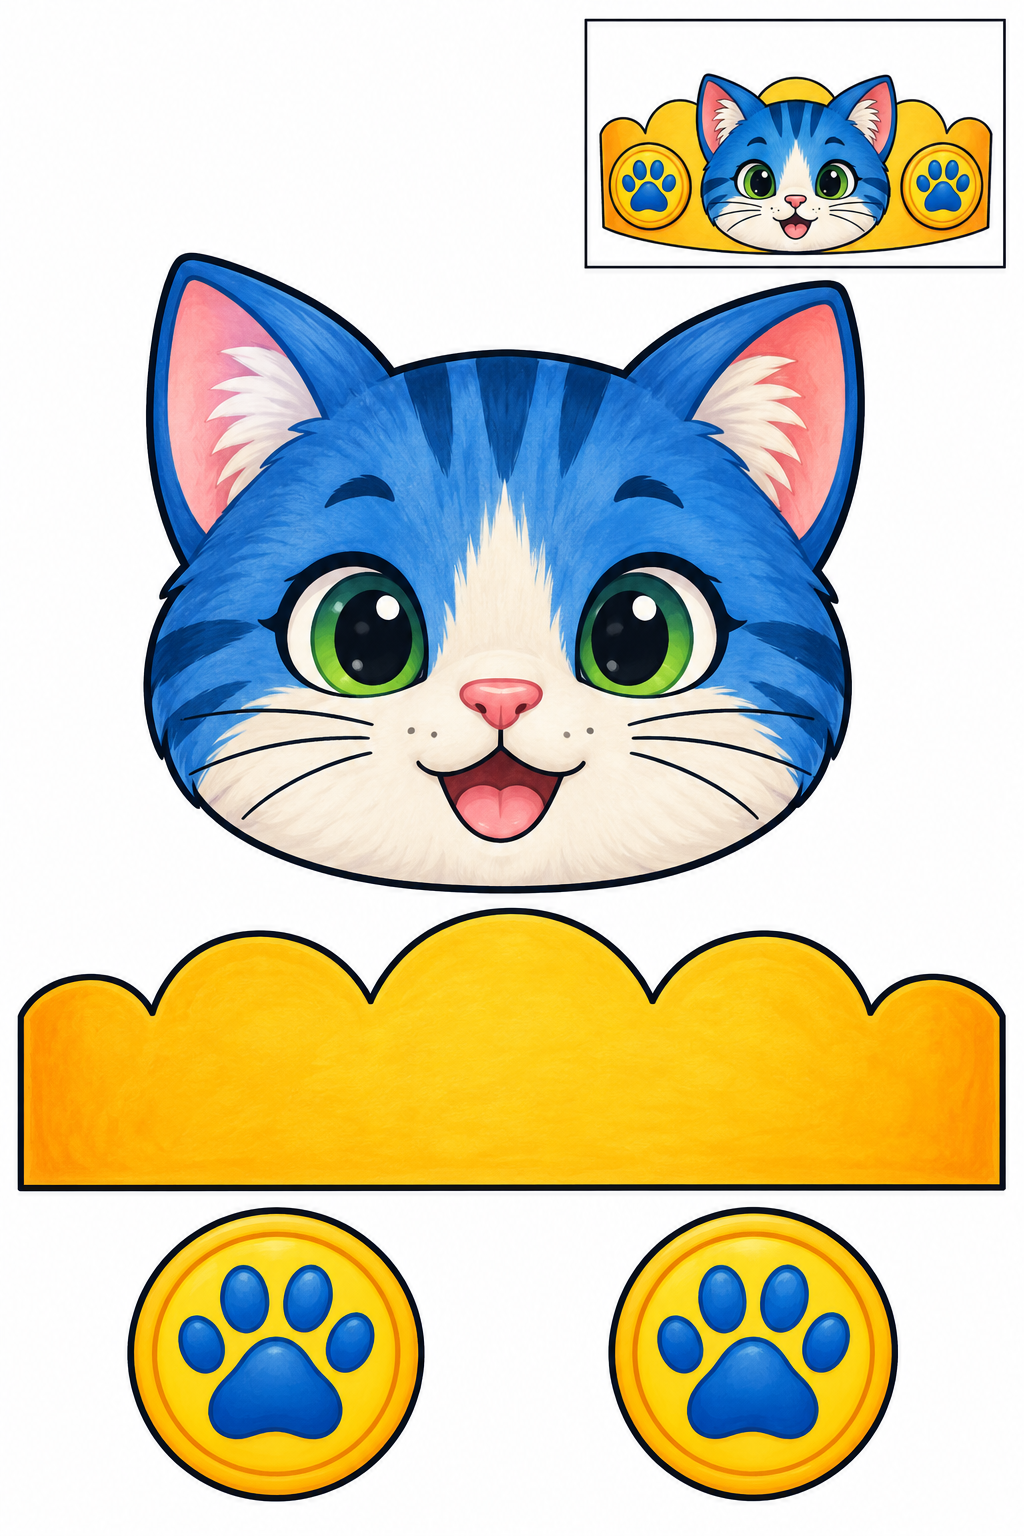
Full color — ready to cut.
Assembly example: The small boxed example shows the finished craft. Do not cut it out.
Glue face onto panel middle, badges either side; use as flat crown picture. Wearable band not included. Keep internal details intact. Compare with the small boxed example before gluing. If a joint is loose, increase the overlap or reinforce it with tape behind the craft.
Check: Can you guide the scissors comfortably? If it is difficult, an adult can shorten a strip, cut a tricky curve or offer straight paths. Pieces should be fully separated and arranged as intended before gluing.
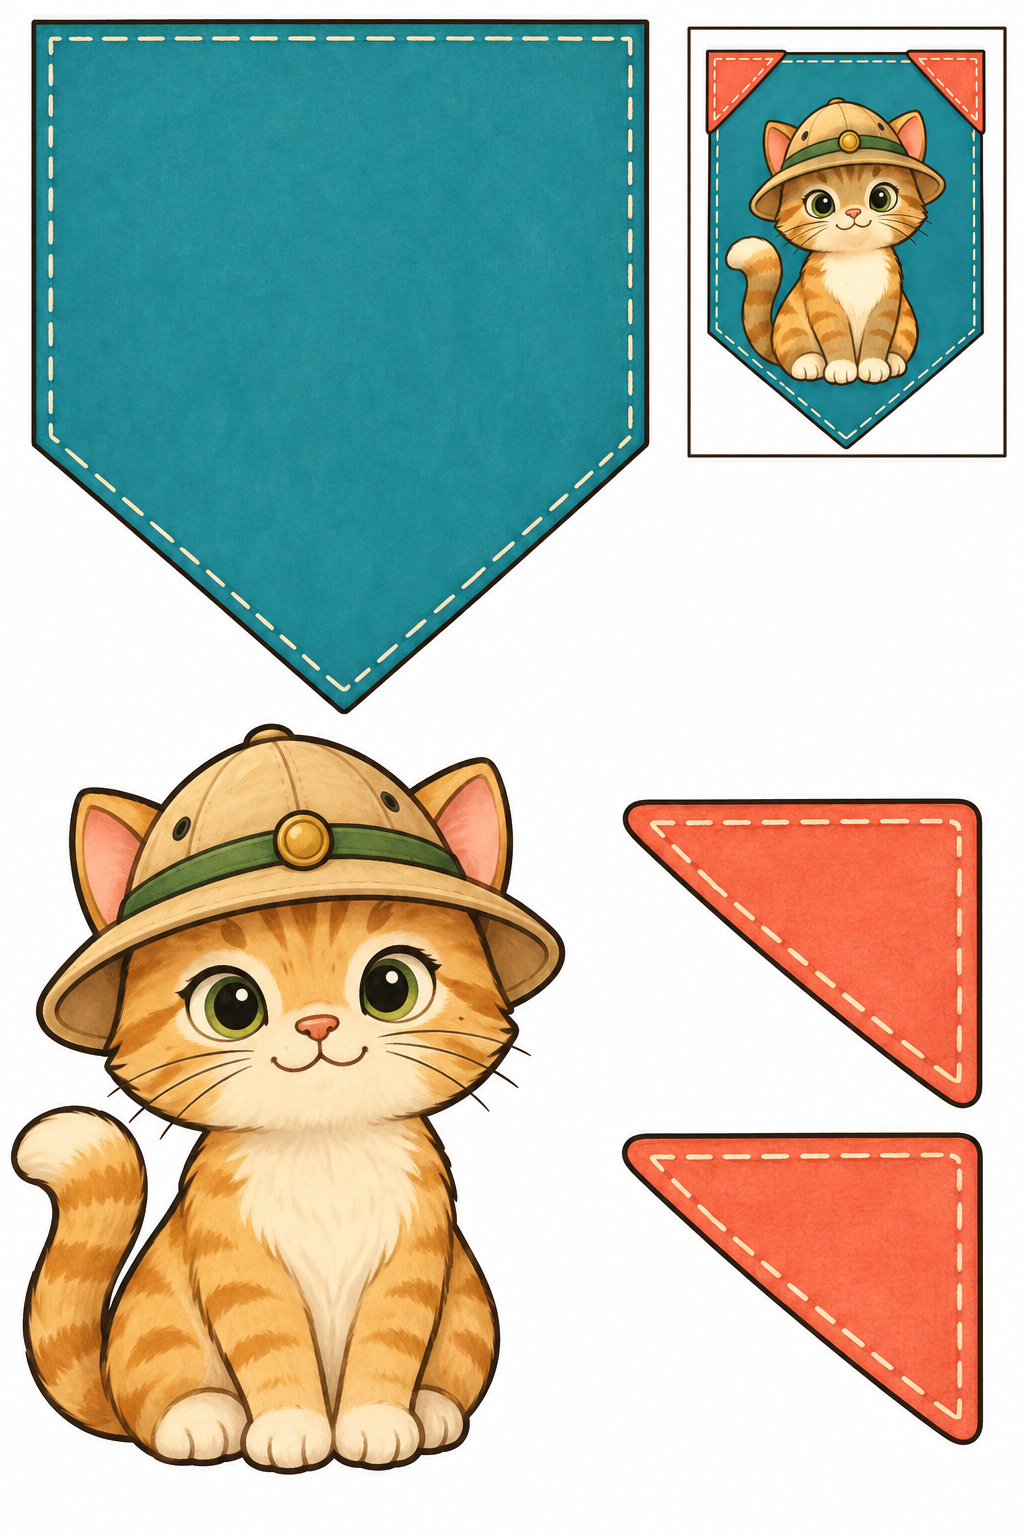
Full color — ready to cut.
Assembly example: The small boxed example shows the finished craft. Do not cut it out.
Glue cat in panel center and patches on top corners; keep bottom point clear. Keep internal details intact. Compare with the small boxed example before gluing. If a joint is loose, increase the overlap or reinforce it with tape behind the craft. The dashed stitches are decoration: cut the solid outside border.
Check: Can you guide the scissors comfortably? If it is difficult, an adult can shorten a strip, cut a tricky curve or offer straight paths. Pieces should be fully separated and arranged as intended before gluing.

Full color — ready to cut.
Assembly example: The small boxed example shows the finished craft. Do not cut it out.
Glue cat behind frosting; frosting overlaps wrapper top, with paws visible above. Keep internal details intact. Compare with the small boxed example before gluing. If a joint is loose, increase the overlap or reinforce it with tape behind the craft.
Check: Can you guide the scissors comfortably? If it is difficult, an adult can shorten a strip, cut a tricky curve or offer straight paths. Pieces should be fully separated and arranged as intended before gluing.
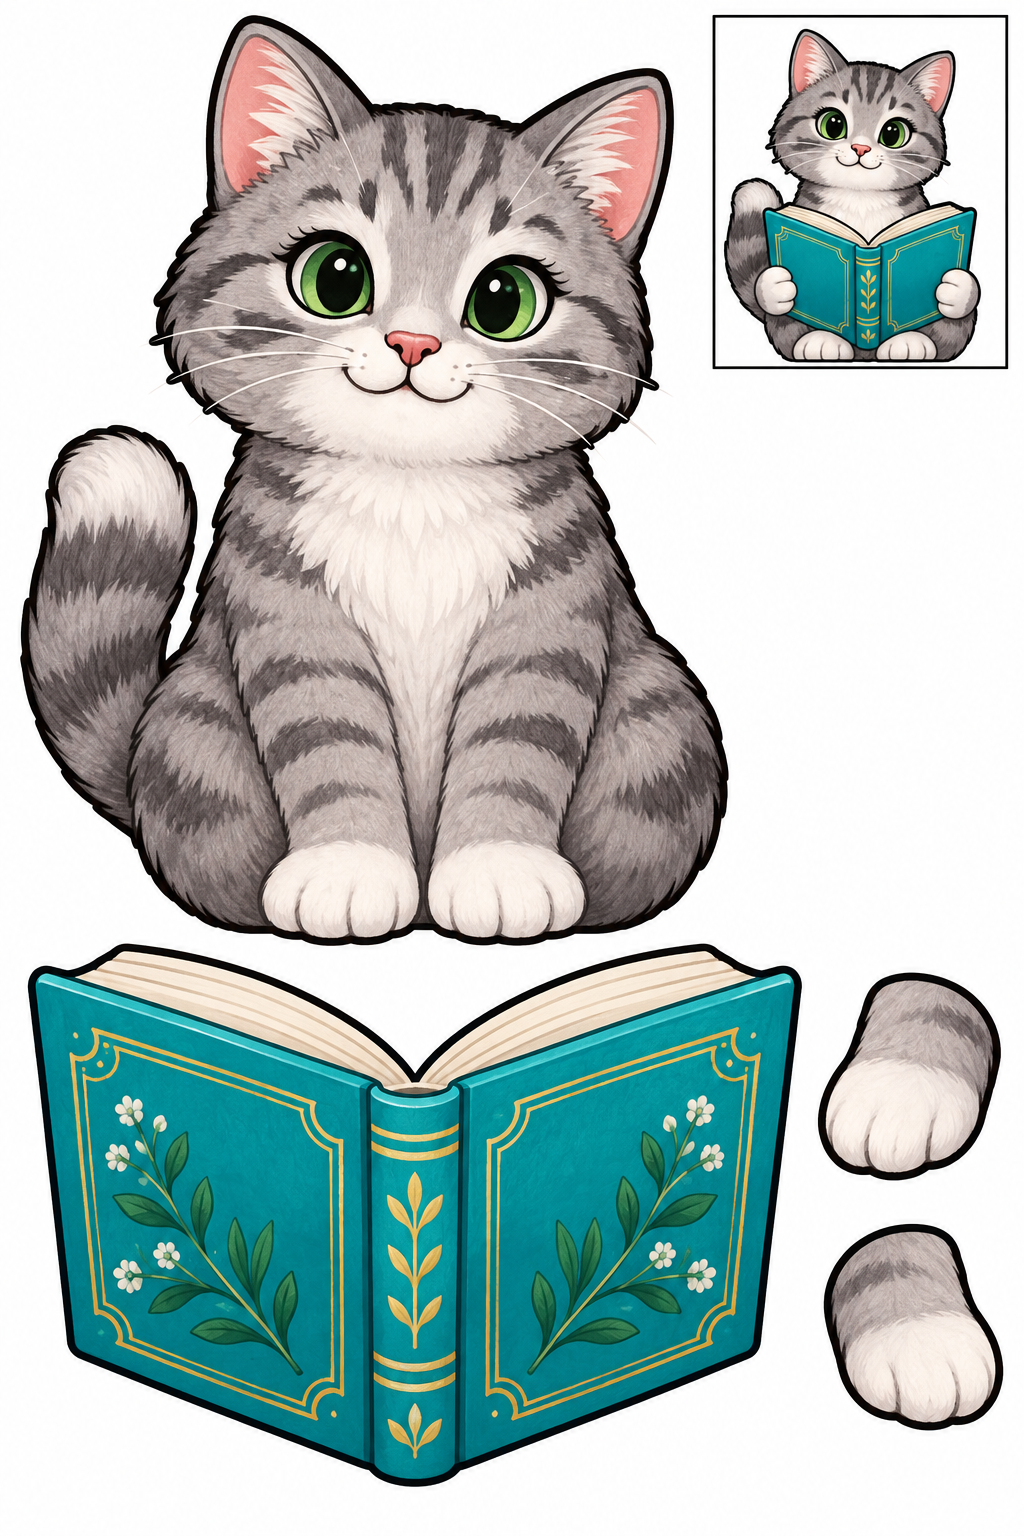
Full color — ready to cut.
Assembly example: The small boxed example shows the finished craft. Do not cut it out.
Place open book over lap; paws overlap book lower corners. Keep internal details intact. Compare with the small boxed example before gluing. If a joint is loose, increase the overlap or reinforce it with tape behind the craft.
Check: Can you guide the scissors comfortably? If it is difficult, an adult can shorten a strip, cut a tricky curve or offer straight paths. Pieces should be fully separated and arranged as intended before gluing.

Full color — ready to cut.
Assembly example: The small boxed example shows the finished craft. Do not cut it out.
Tuck leaves behind flower at bottom sides; glue head at flower center. Keep internal details intact. Compare with the small boxed example before gluing. If a joint is loose, increase the overlap or reinforce it with tape behind the craft.
Check: Can you guide the scissors comfortably? If it is difficult, an adult can shorten a strip, cut a tricky curve or offer straight paths. Pieces should be fully separated and arranged as intended before gluing.

Full color — ready to cut.
Assembly example: The small boxed example shows the finished craft. Do not cut it out.
Place kitten in badge center and stars on either side; keep face visible. Keep internal details intact. Compare with the small boxed example before gluing. If a joint is loose, increase the overlap or reinforce it with tape behind the craft.
Check: Can you guide the scissors comfortably? If it is difficult, an adult can shorten a strip, cut a tricky curve or offer straight paths. Pieces should be fully separated and arranged as intended before gluing.
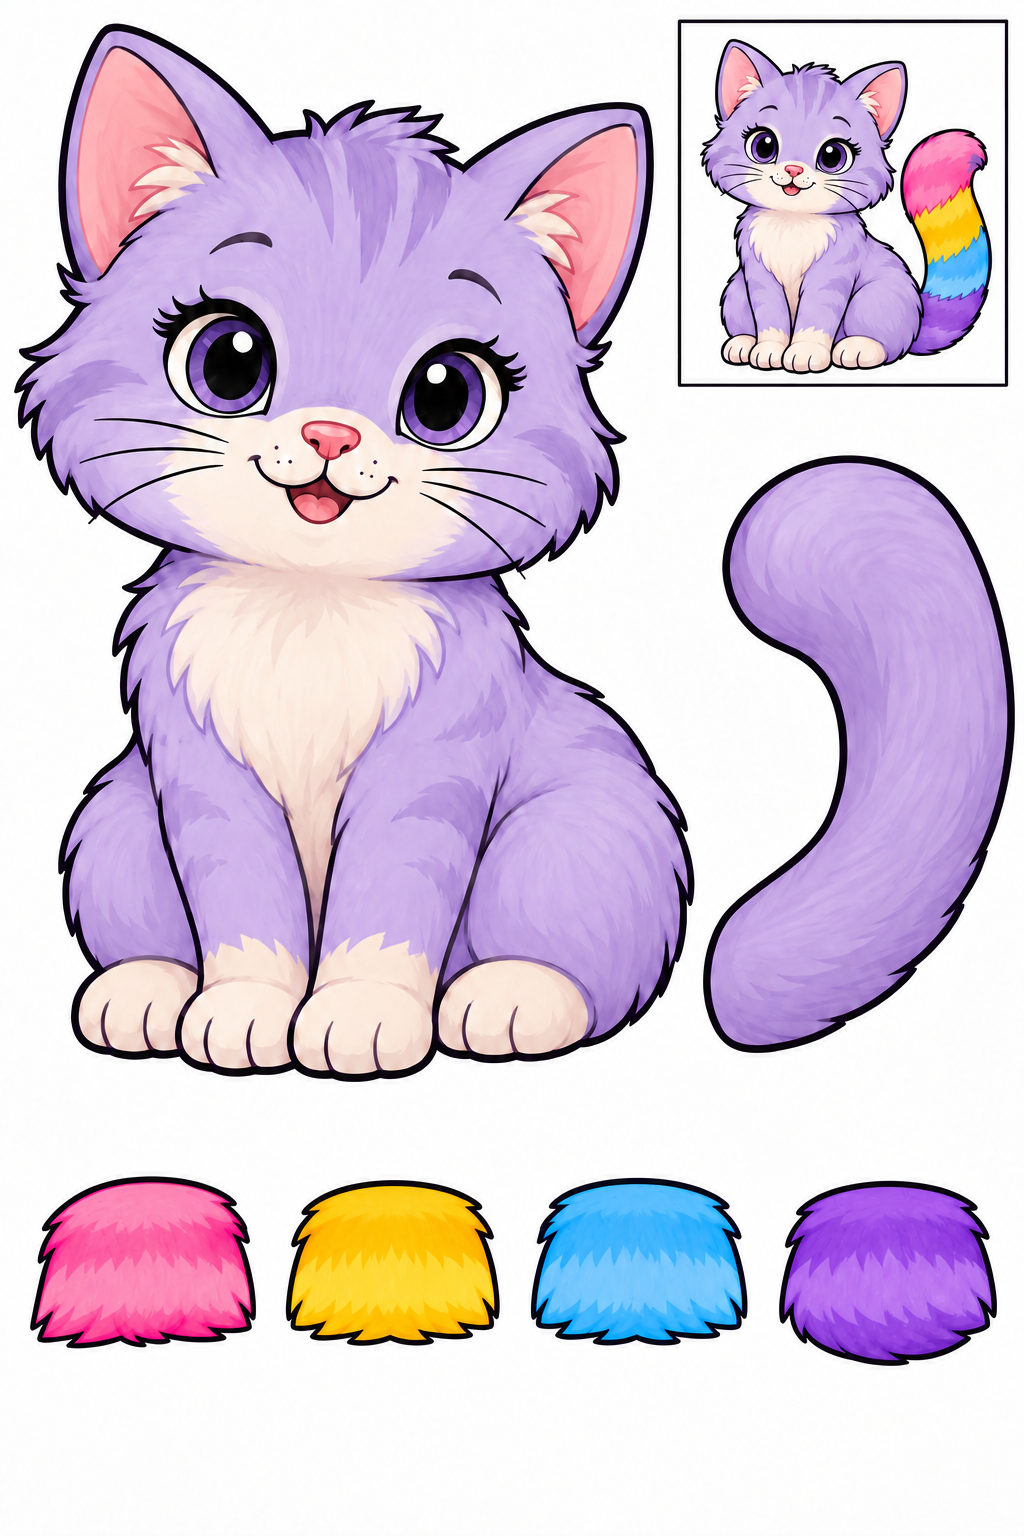
Full color — ready to cut.
Assembly example: The small boxed example shows the finished craft. Do not cut it out.
Arrange pink, yellow, blue and purple patches from tail tip to base with a little overlap. Glue onto the separate tail backing; an adult trims any overhang to the backing outline. Then tuck the tail base behind the kitten. Keep printed details intact; the boxed kitten is a reference, not a cutting piece.
Check: Can you guide the scissors comfortably? If it is difficult, an adult can shorten a strip, cut a tricky curve or offer straight paths. Pieces should be fully separated and arranged as intended before gluing.
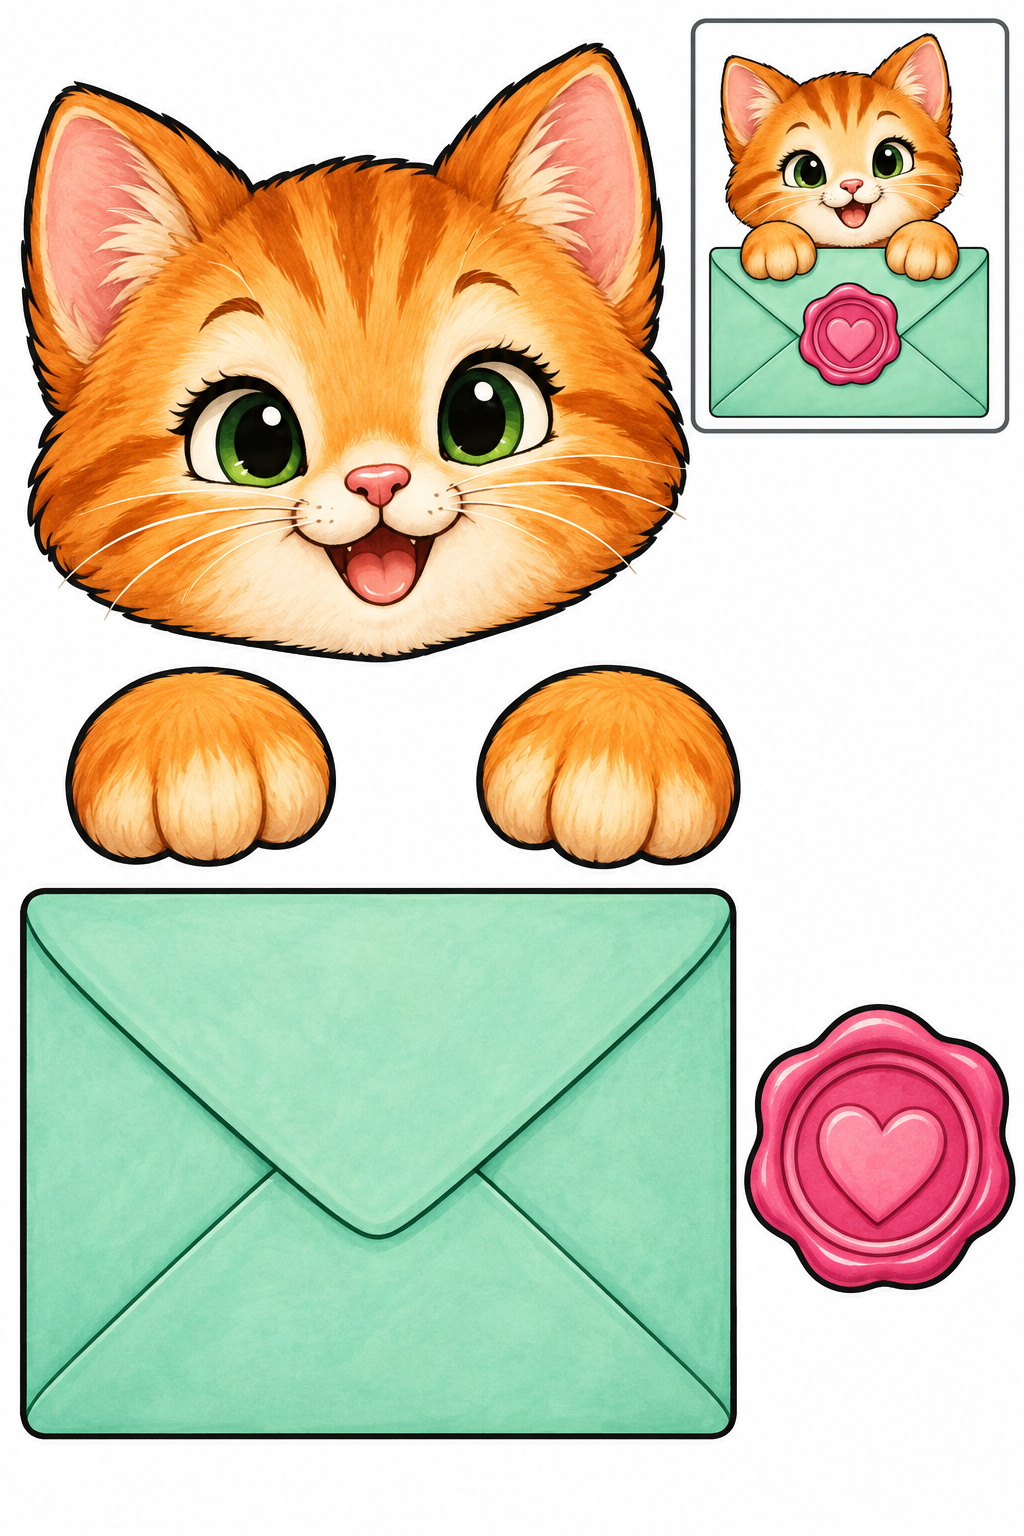
Full color — ready to cut.
Assembly example: The small boxed example shows the finished craft. Do not cut it out.
Glue head behind envelope top, paws across rim and seal on front. No folding required. Keep internal details intact. Compare with the small boxed example before gluing. If a joint is loose, increase the overlap or reinforce it with tape behind the craft.
Check: Can you guide the scissors comfortably? If it is difficult, an adult can shorten a strip, cut a tricky curve or offer straight paths. Pieces should be fully separated and arranged as intended before gluing.
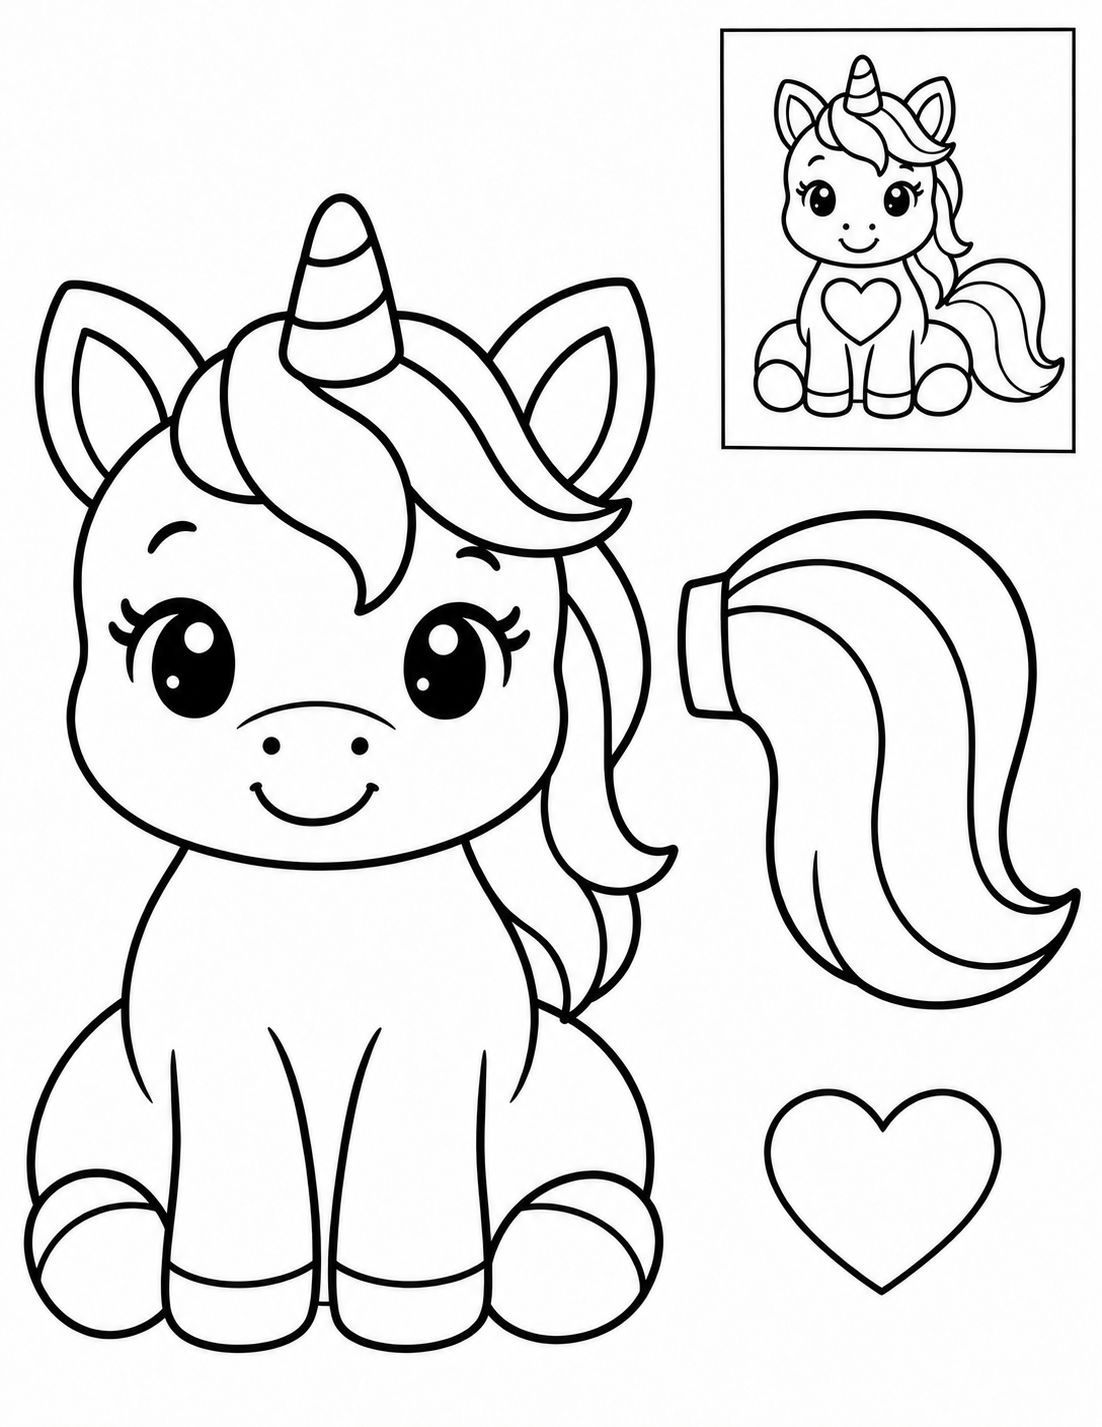
Black and white — color before cutting.
Assembly example: The small boxed example shows the finished craft. Do not cut it out.
Cut the three large pieces along their outer borders. Keep face and internal decoration intact; the small boxed example stays on the sheet. Arrange tail behind the body; heart on the chest. Try the overlaps before applying glue to their backs. Check that the face is visible and the joins hold; lift and reposition a piece before the glue dries if it hides another part.
Check: Can you guide the scissors comfortably? If it is difficult, an adult can shorten a strip, cut a tricky curve or offer straight paths. Pieces should be fully separated and arranged as intended before gluing.
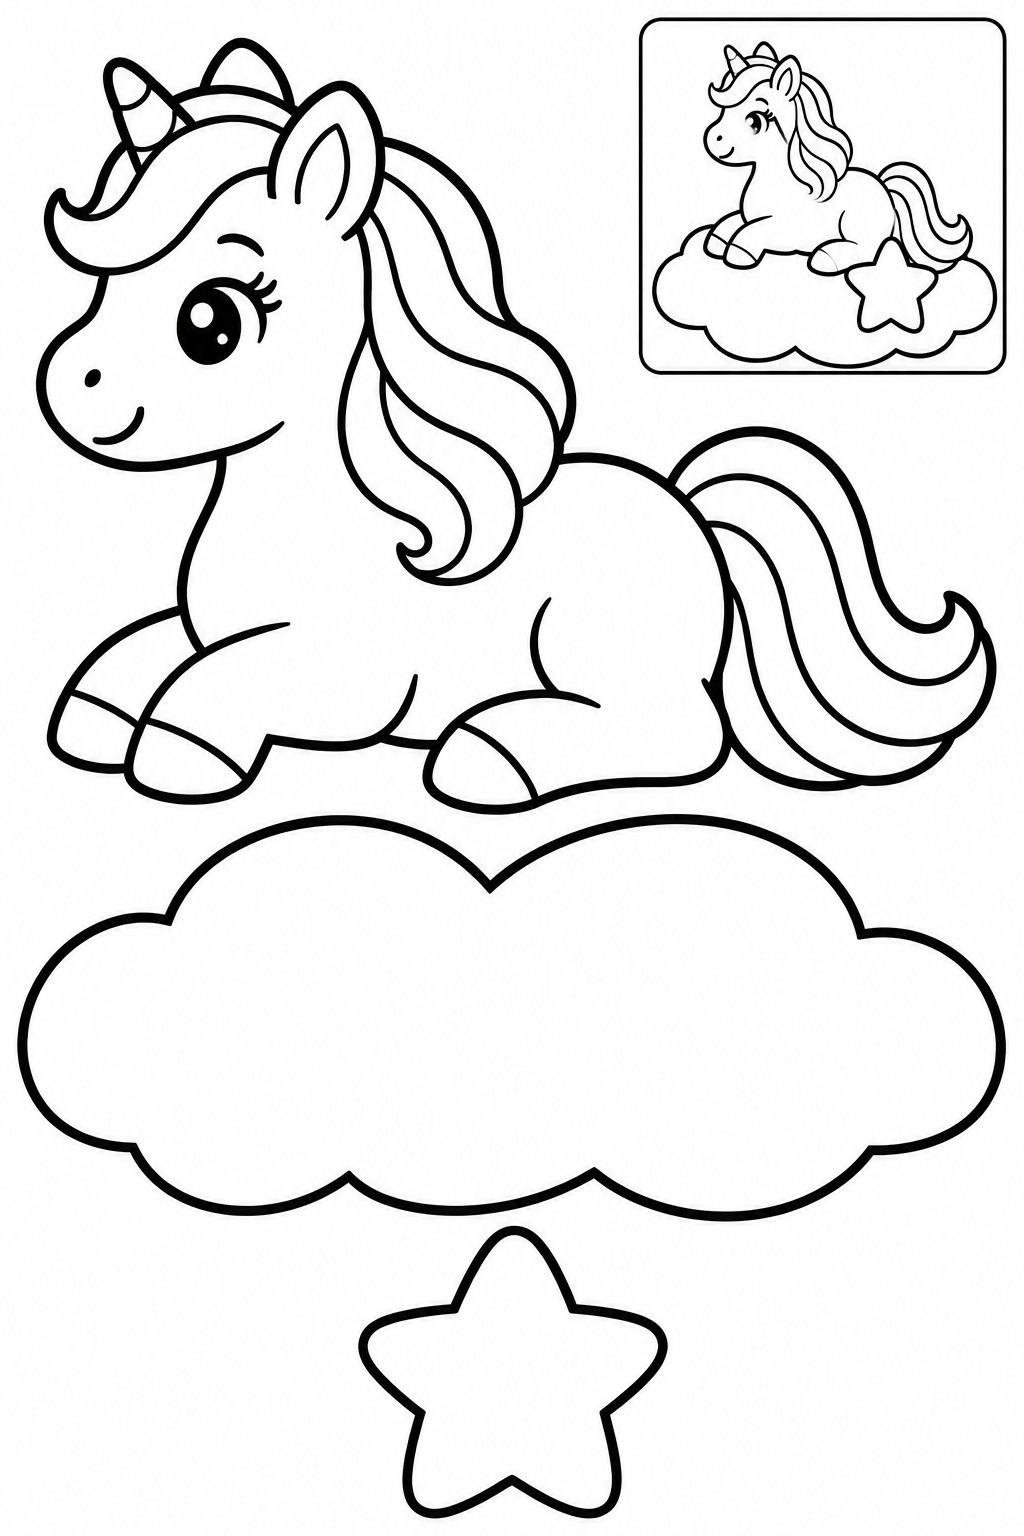
Black and white — color before cutting.
Assembly example: The small boxed example shows the finished craft. Do not cut it out.
Cut the three large pieces along their outer borders. Keep face and internal decoration intact; the small boxed example stays on the sheet. Arrange body on the cloud; star on the cloud. Try the overlaps before applying glue to their backs. Check that the face is visible and the joins hold; lift and reposition a piece before the glue dries if it hides another part.
Check: Can you guide the scissors comfortably? If it is difficult, an adult can shorten a strip, cut a tricky curve or offer straight paths. Pieces should be fully separated and arranged as intended before gluing.
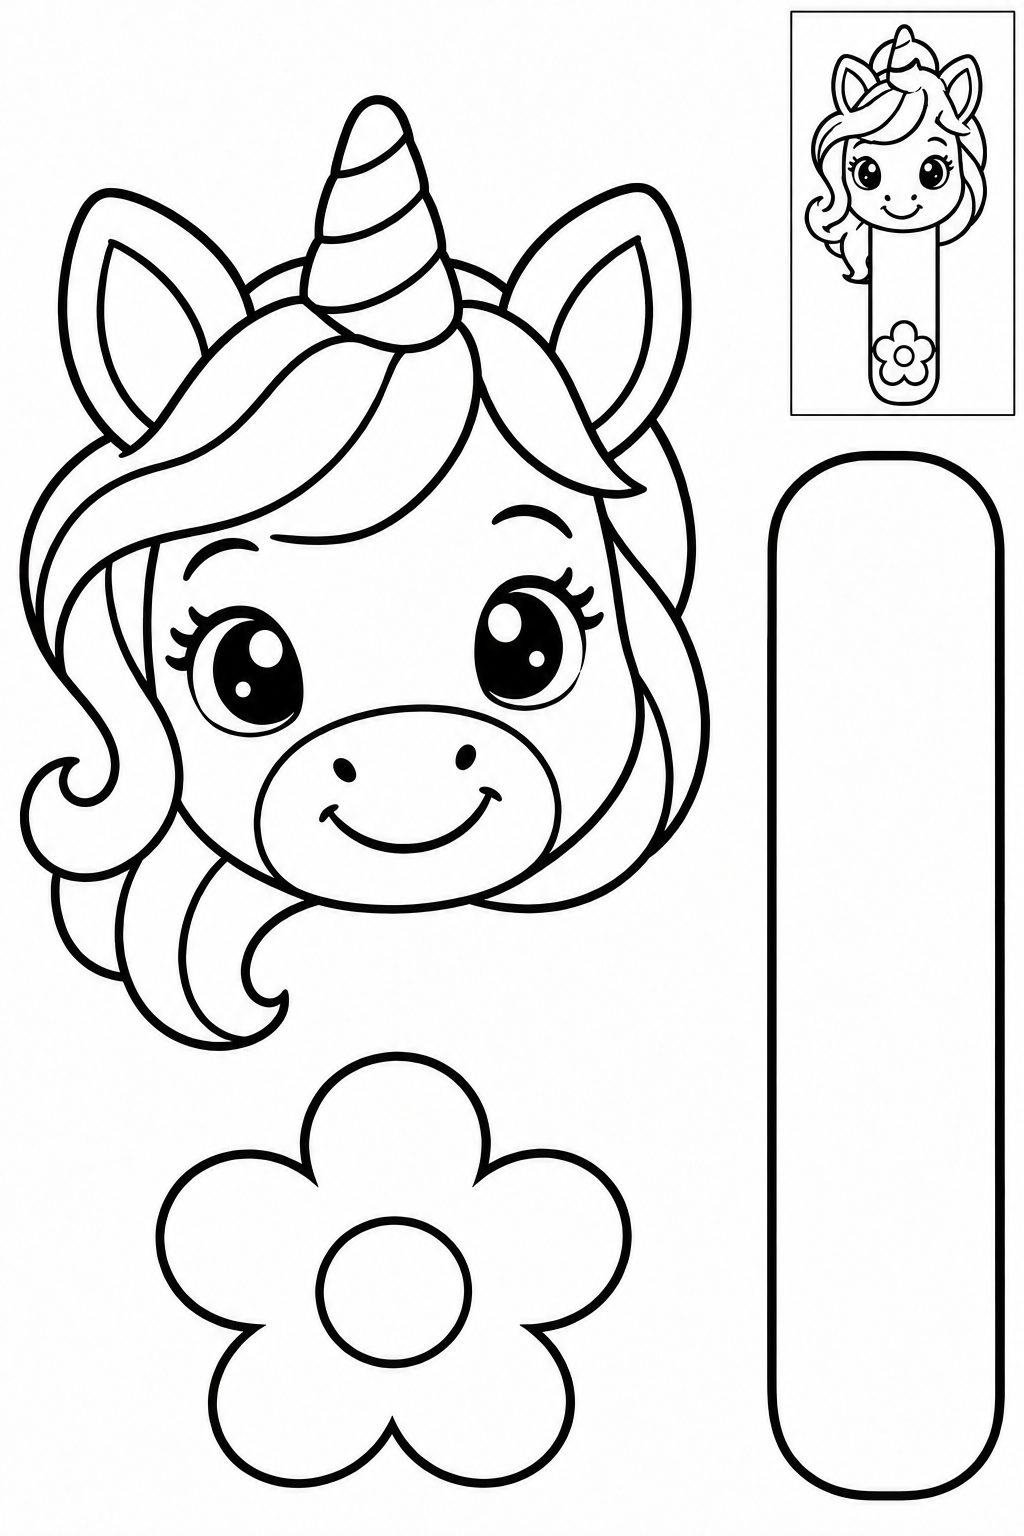
Black and white — color before cutting.
Assembly example: The small boxed example shows the finished craft. Do not cut it out.
Cut the three large pieces along their outer borders. Keep face and internal decoration intact; the small boxed example stays on the sheet. Arrange strip behind the head extending below; flower on the strip. Try the overlaps before applying glue to their backs. Check that the face is visible and the joins hold; lift and reposition a piece before the glue dries if it hides another part.
Check: Can you guide the scissors comfortably? If it is difficult, an adult can shorten a strip, cut a tricky curve or offer straight paths. Pieces should be fully separated and arranged as intended before gluing.
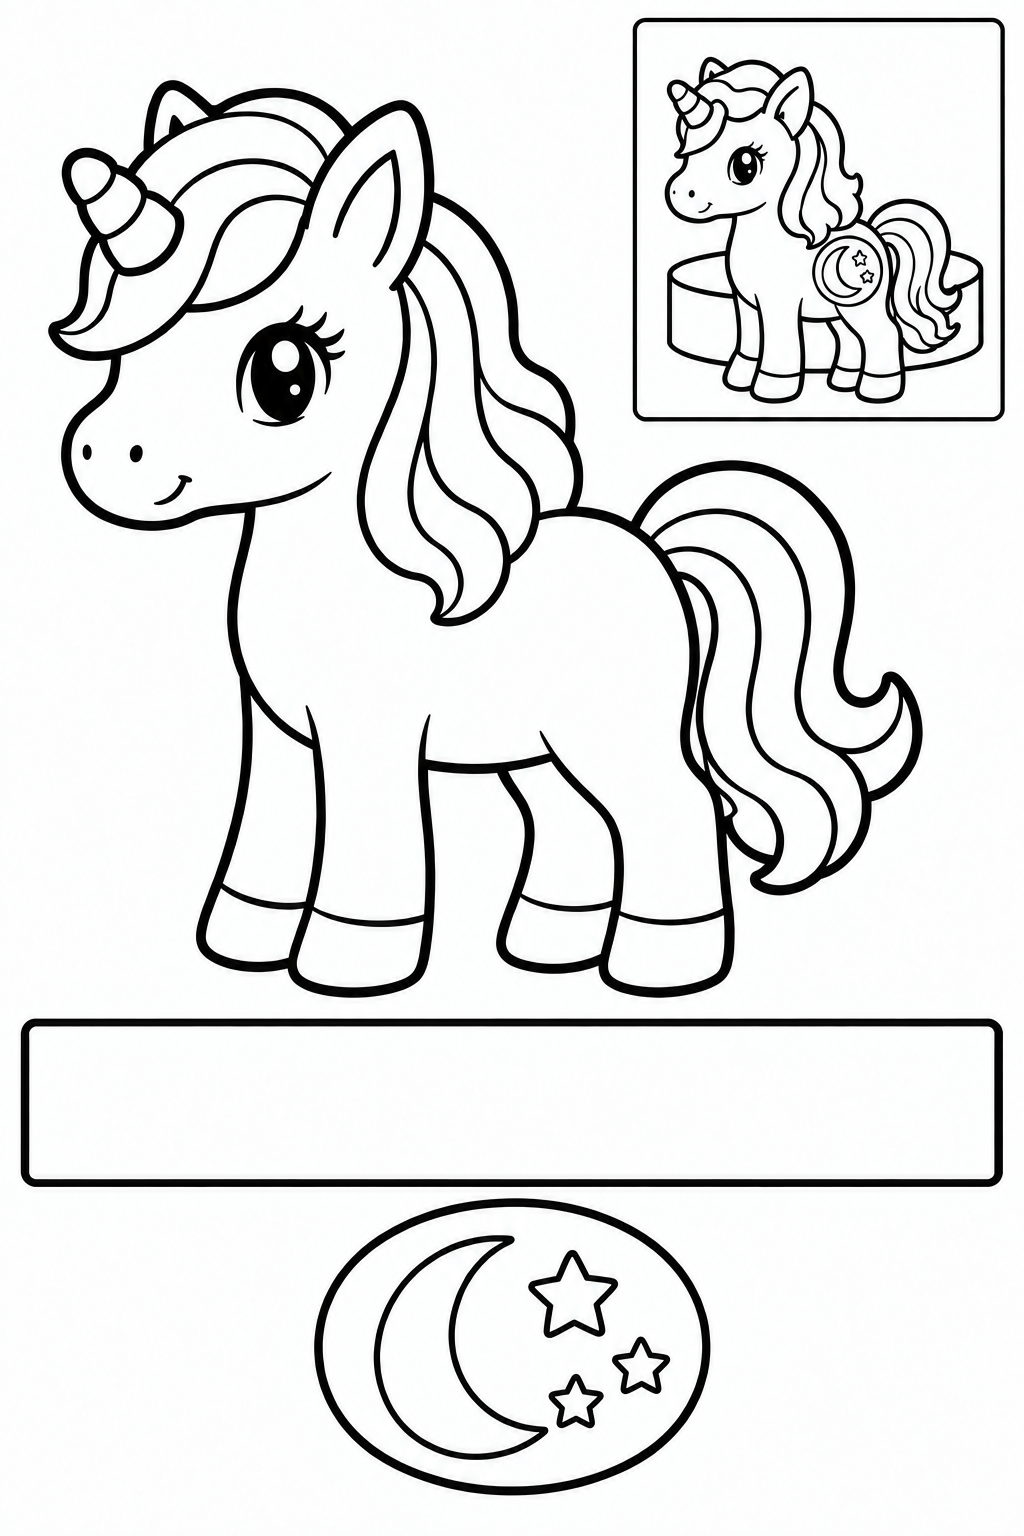
Black and white — color before cutting.
Assembly example: The small boxed example shows the finished craft. Do not cut it out.
Cut the three large pieces along their outer borders. Keep face and internal decoration intact; the small boxed example stays on the sheet. Arrange unicorn on a loop made from the band; moon on the body; draw band FLAT as a cut piece. Try the overlaps before applying glue to their backs. Check that the face is visible and the joins hold; lift and reposition a piece before the glue dries if it hides another part. An adult fits the band loosely around a finger and tapes the ends. Remove and enlarge a tight loop.
Check: Can you guide the scissors comfortably? If it is difficult, an adult can shorten a strip, cut a tricky curve or offer straight paths. Pieces should be fully separated and arranged as intended before gluing.
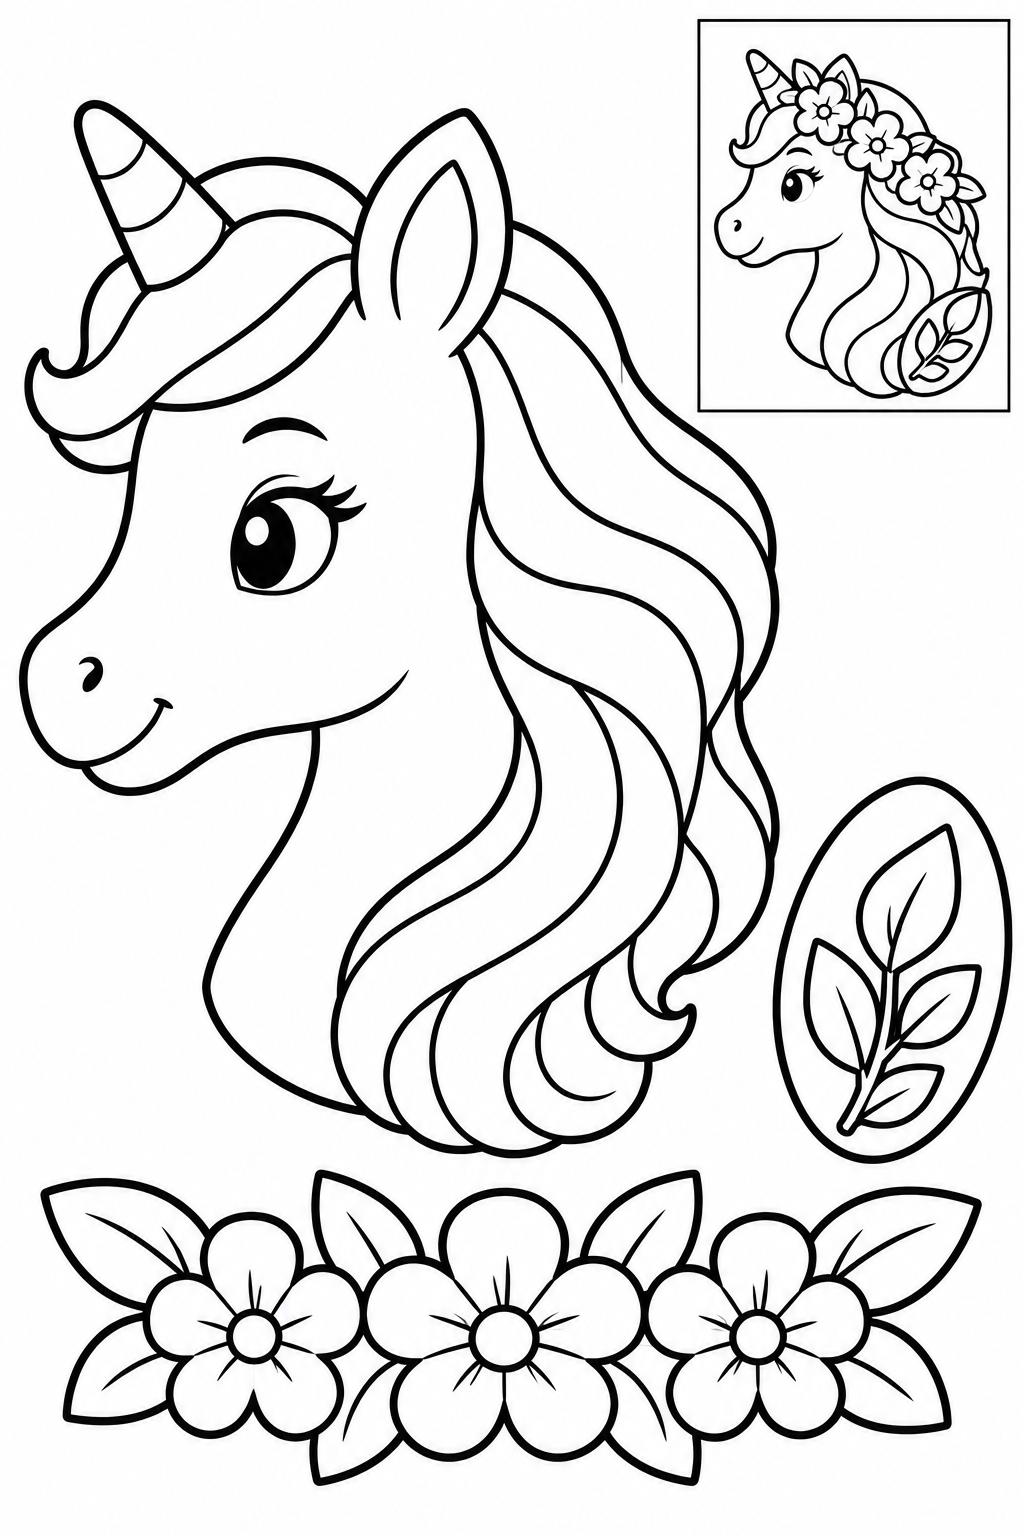
Black and white — color before cutting.
Assembly example: The small boxed example shows the finished craft. Do not cut it out.
Cut the three large pieces along their outer borders. Keep face and internal decoration intact; the small boxed example stays on the sheet. Arrange garland along the mane; leaf at its lower end. Try the overlaps before applying glue to their backs. Check that the face is visible and the joins hold; lift and reposition a piece before the glue dries if it hides another part.
Check: Can you guide the scissors comfortably? If it is difficult, an adult can shorten a strip, cut a tricky curve or offer straight paths. Pieces should be fully separated and arranged as intended before gluing.
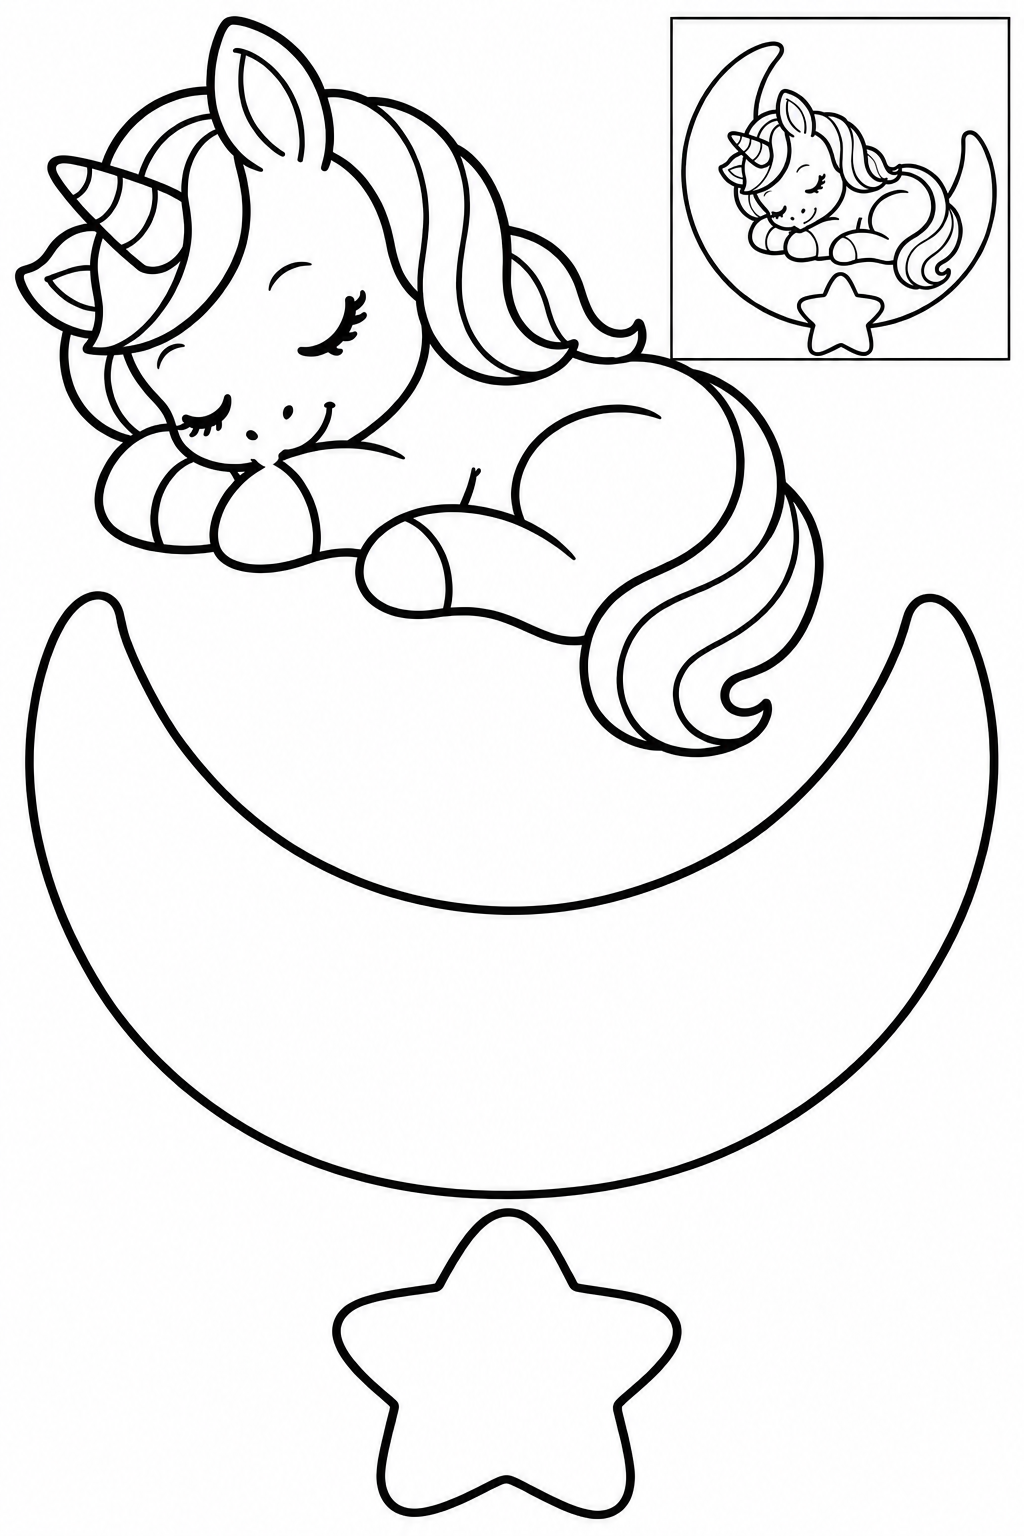
Black and white — color before cutting.
Assembly example: The small boxed example shows the finished craft. Do not cut it out.
Cut the three large pieces along their outer borders. Keep face and internal decoration intact; the small boxed example stays on the sheet. Arrange unicorn nested in the moon cradle; star at the bottom. Try the overlaps before applying glue to their backs. Check that the face is visible and the joins hold; lift and reposition a piece before the glue dries if it hides another part.
Check: Can you guide the scissors comfortably? If it is difficult, an adult can shorten a strip, cut a tricky curve or offer straight paths. Pieces should be fully separated and arranged as intended before gluing.
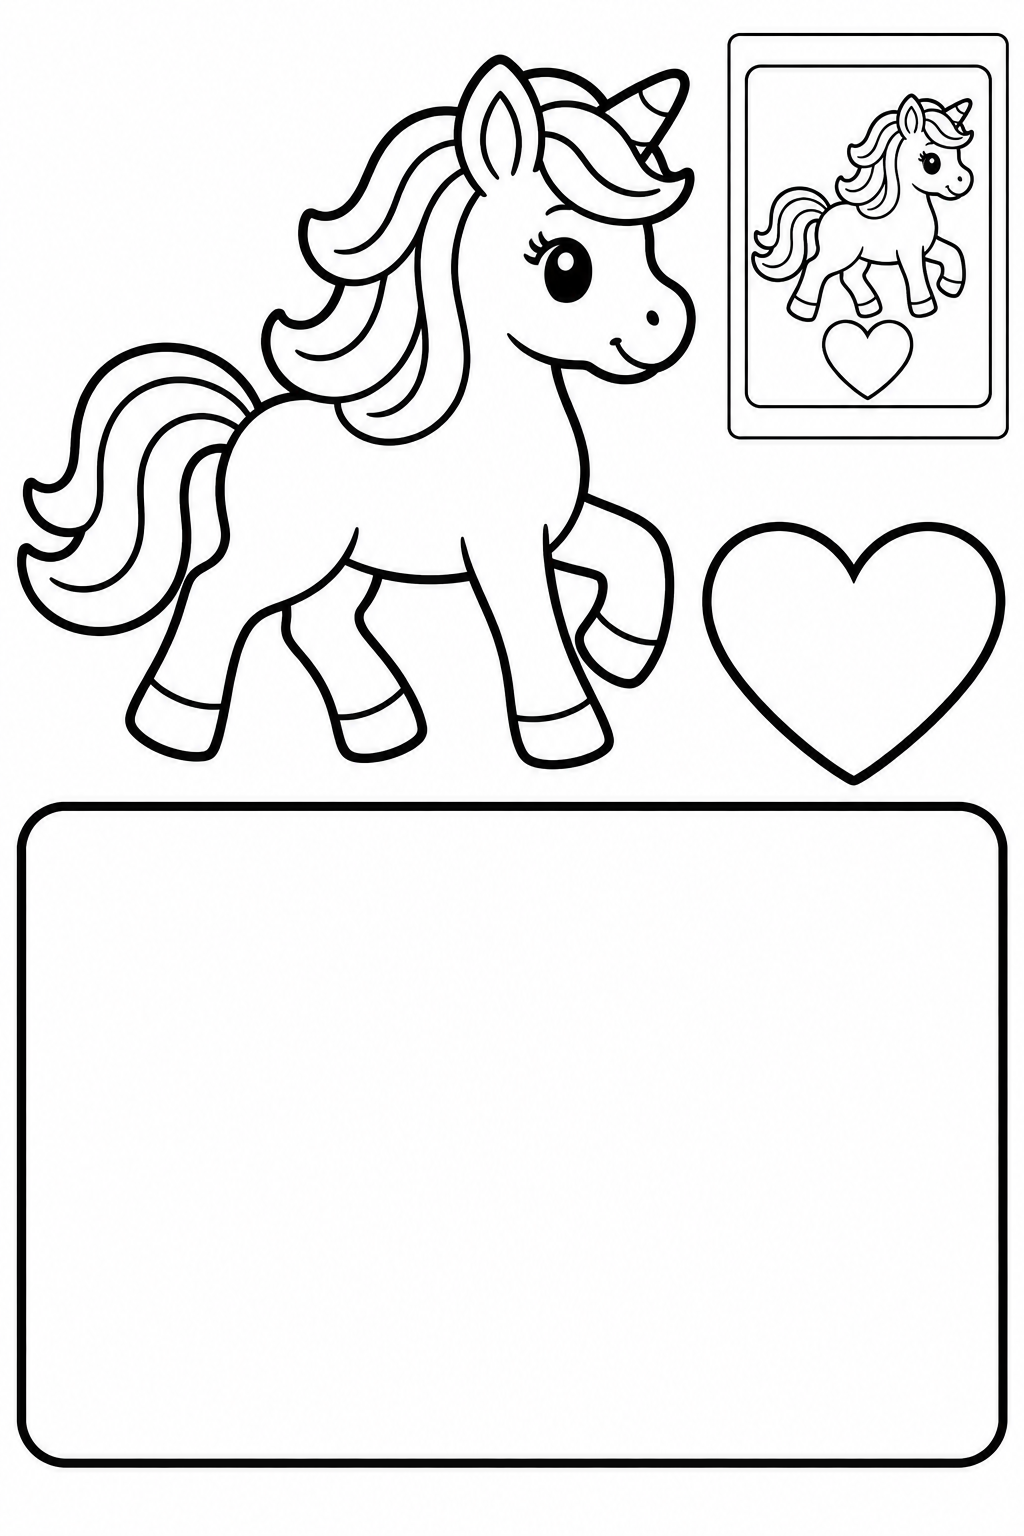
Black and white — color before cutting.
Assembly example: The small boxed example shows the finished craft. Do not cut it out.
Cut the three large pieces along their outer borders. Keep face and internal decoration intact; the small boxed example stays on the sheet. Arrange unicorn centered on backing; heart beneath unicorn; flat greeting collage with no folds. Try the overlaps before applying glue to their backs. Check that the face is visible and the joins hold; lift and reposition a piece before the glue dries if it hides another part.
Check: Can you guide the scissors comfortably? If it is difficult, an adult can shorten a strip, cut a tricky curve or offer straight paths. Pieces should be fully separated and arranged as intended before gluing.
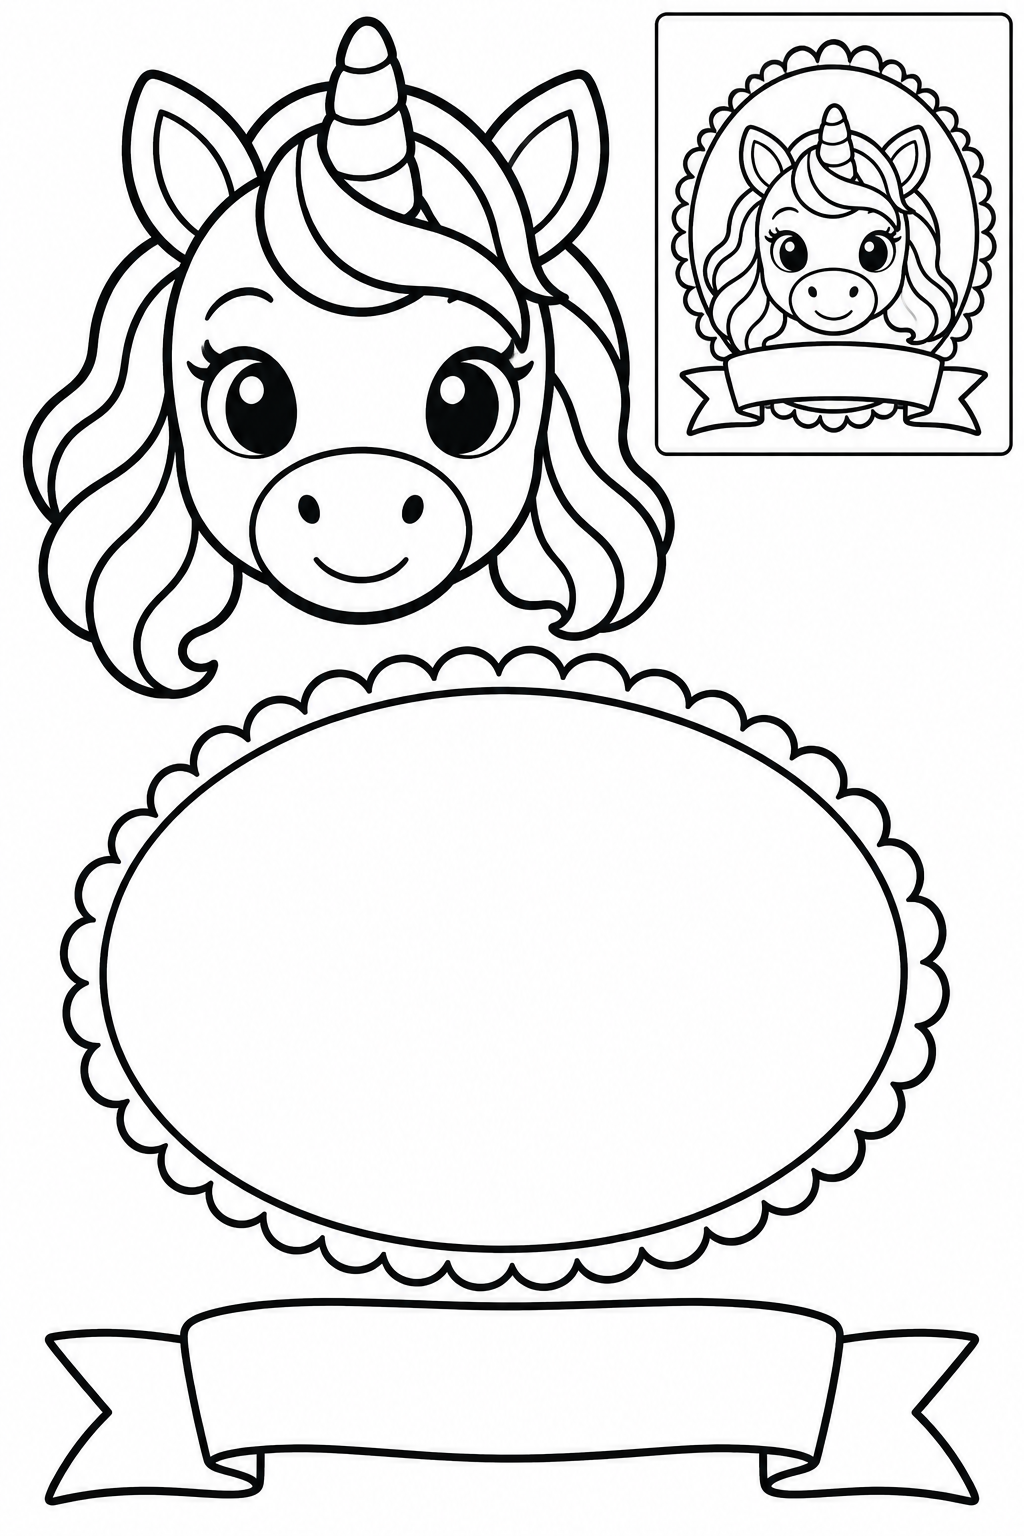
Black and white — color before cutting.
Assembly example: The small boxed example shows the finished craft. Do not cut it out.
Cut the three large pieces along their outer borders. Keep face and internal decoration intact; the small boxed example stays on the sheet. Arrange head on the solid oval backing; ribbon along the lower edge. Try the overlaps before applying glue to their backs. Check that the face is visible and the joins hold; lift and reposition a piece before the glue dries if it hides another part.
Check: Can you guide the scissors comfortably? If it is difficult, an adult can shorten a strip, cut a tricky curve or offer straight paths. Pieces should be fully separated and arranged as intended before gluing.
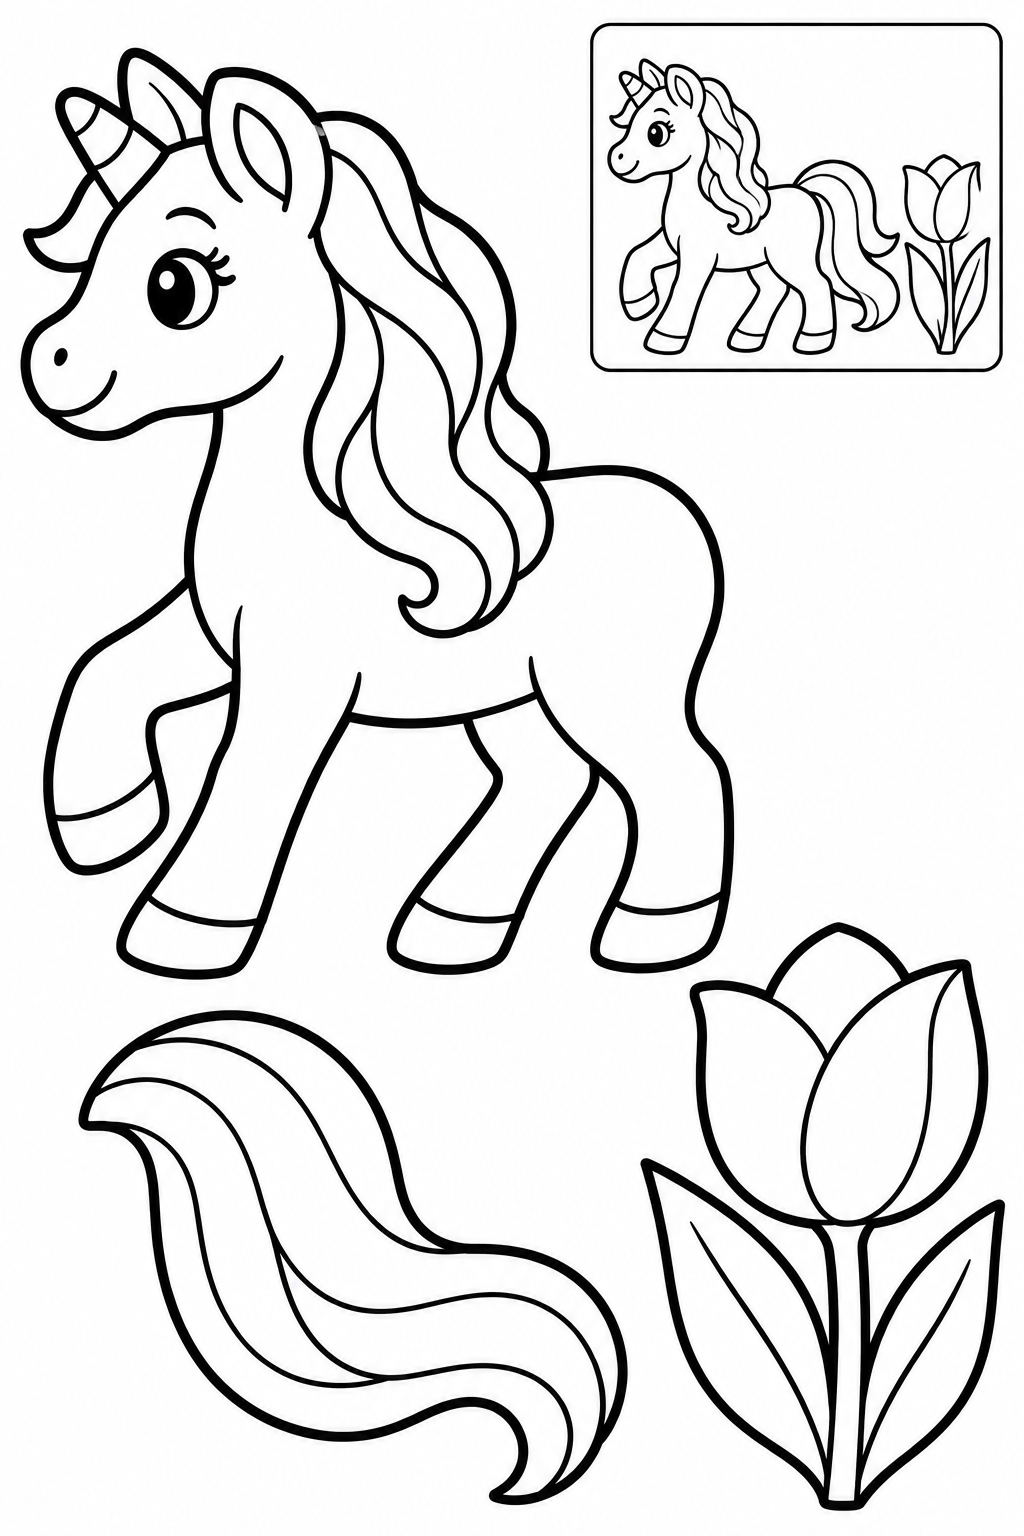
Black and white — color before cutting.
Assembly example: The small boxed example shows the finished craft. Do not cut it out.
Cut the three large pieces along their outer borders. Keep face and internal decoration intact; the small boxed example stays on the sheet. Arrange tail behind rump; tulip beside the unicorn on backing paper. Try the overlaps before applying glue to their backs. Check that the face is visible and the joins hold; lift and reposition a piece before the glue dries if it hides another part.
Check: Can you guide the scissors comfortably? If it is difficult, an adult can shorten a strip, cut a tricky curve or offer straight paths. Pieces should be fully separated and arranged as intended before gluing.
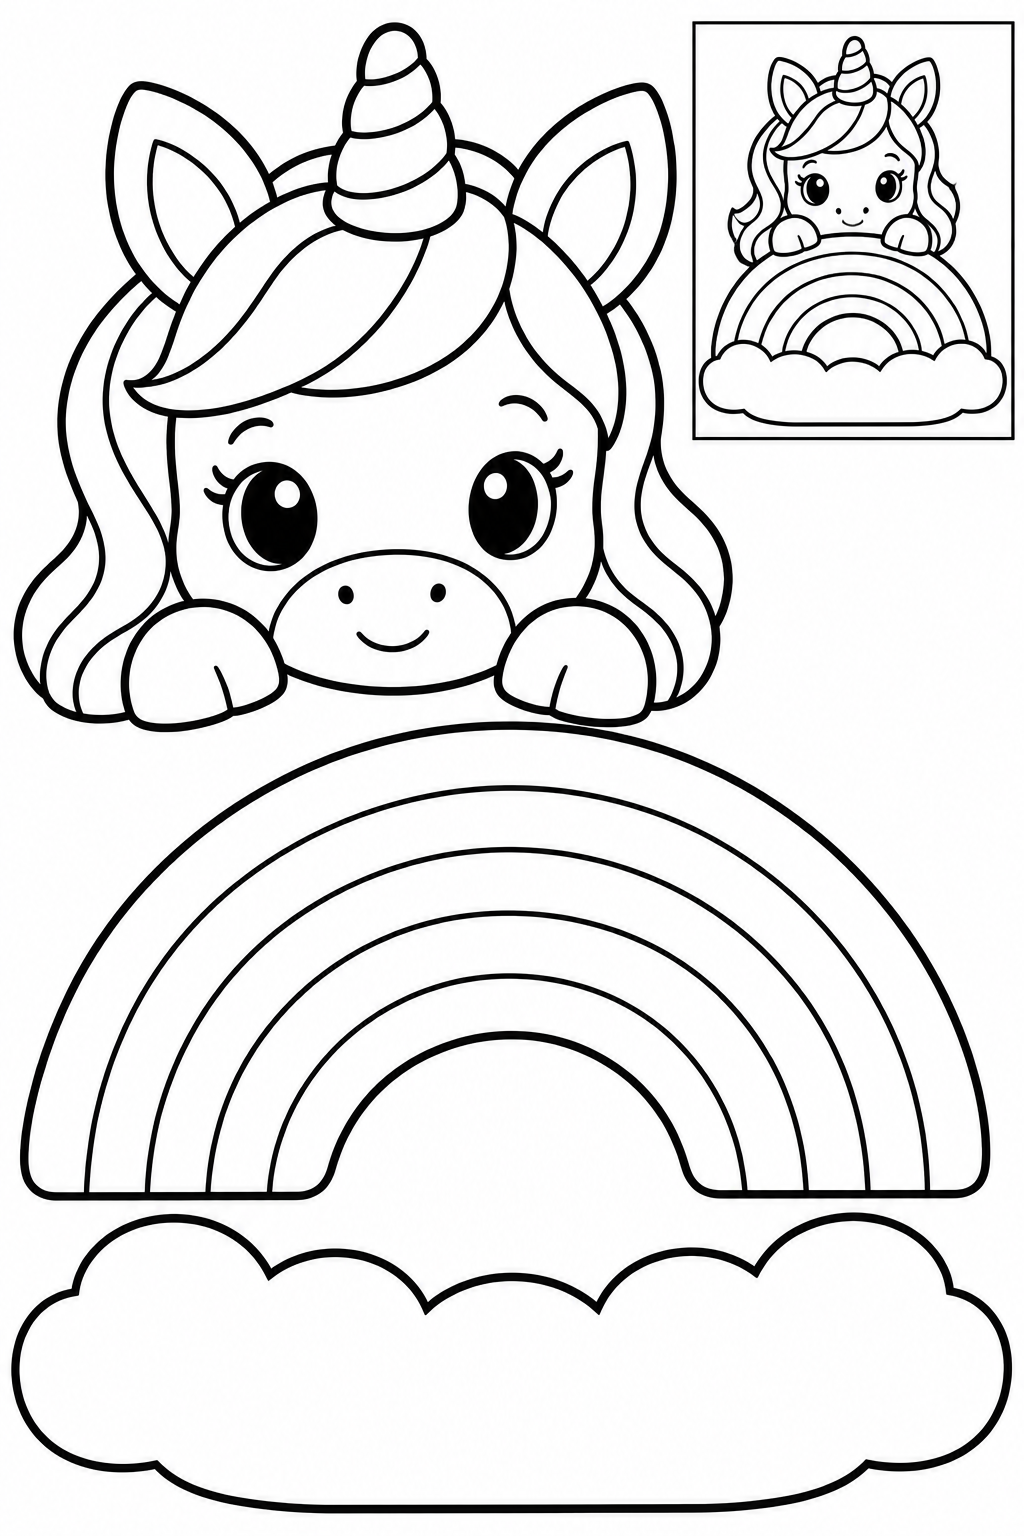
Black and white — color before cutting.
Assembly example: The small boxed example shows the finished craft. Do not cut it out.
Cut the three large pieces along their outer borders. Keep face and internal decoration intact; the small boxed example stays on the sheet. Arrange head behind top of rainbow; rainbow on cloud base. Try the overlaps before applying glue to their backs. Check that the face is visible and the joins hold; lift and reposition a piece before the glue dries if it hides another part.
Check: Can you guide the scissors comfortably? If it is difficult, an adult can shorten a strip, cut a tricky curve or offer straight paths. Pieces should be fully separated and arranged as intended before gluing.
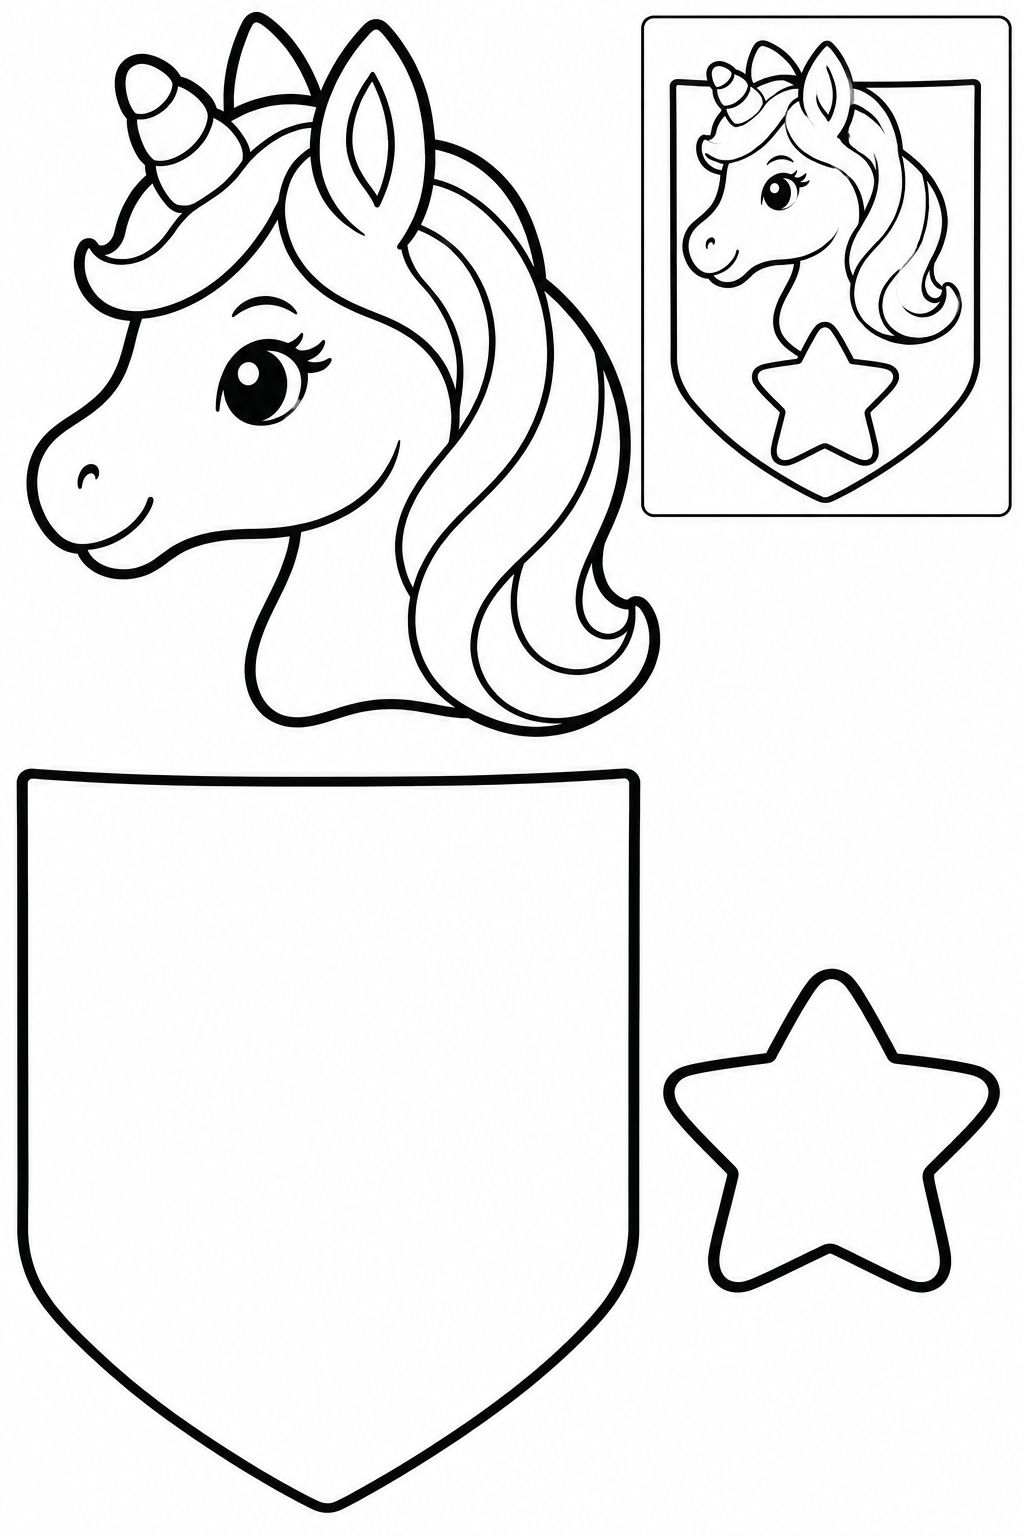
Black and white — color before cutting.
Assembly example: The small boxed example shows the finished craft. Do not cut it out.
Cut the three large pieces along their outer borders. Keep face and internal decoration intact; the small boxed example stays on the sheet. Arrange head in upper half of pennant; star below; no string or holes. Try the overlaps before applying glue to their backs. Check that the face is visible and the joins hold; lift and reposition a piece before the glue dries if it hides another part.
Check: Can you guide the scissors comfortably? If it is difficult, an adult can shorten a strip, cut a tricky curve or offer straight paths. Pieces should be fully separated and arranged as intended before gluing.
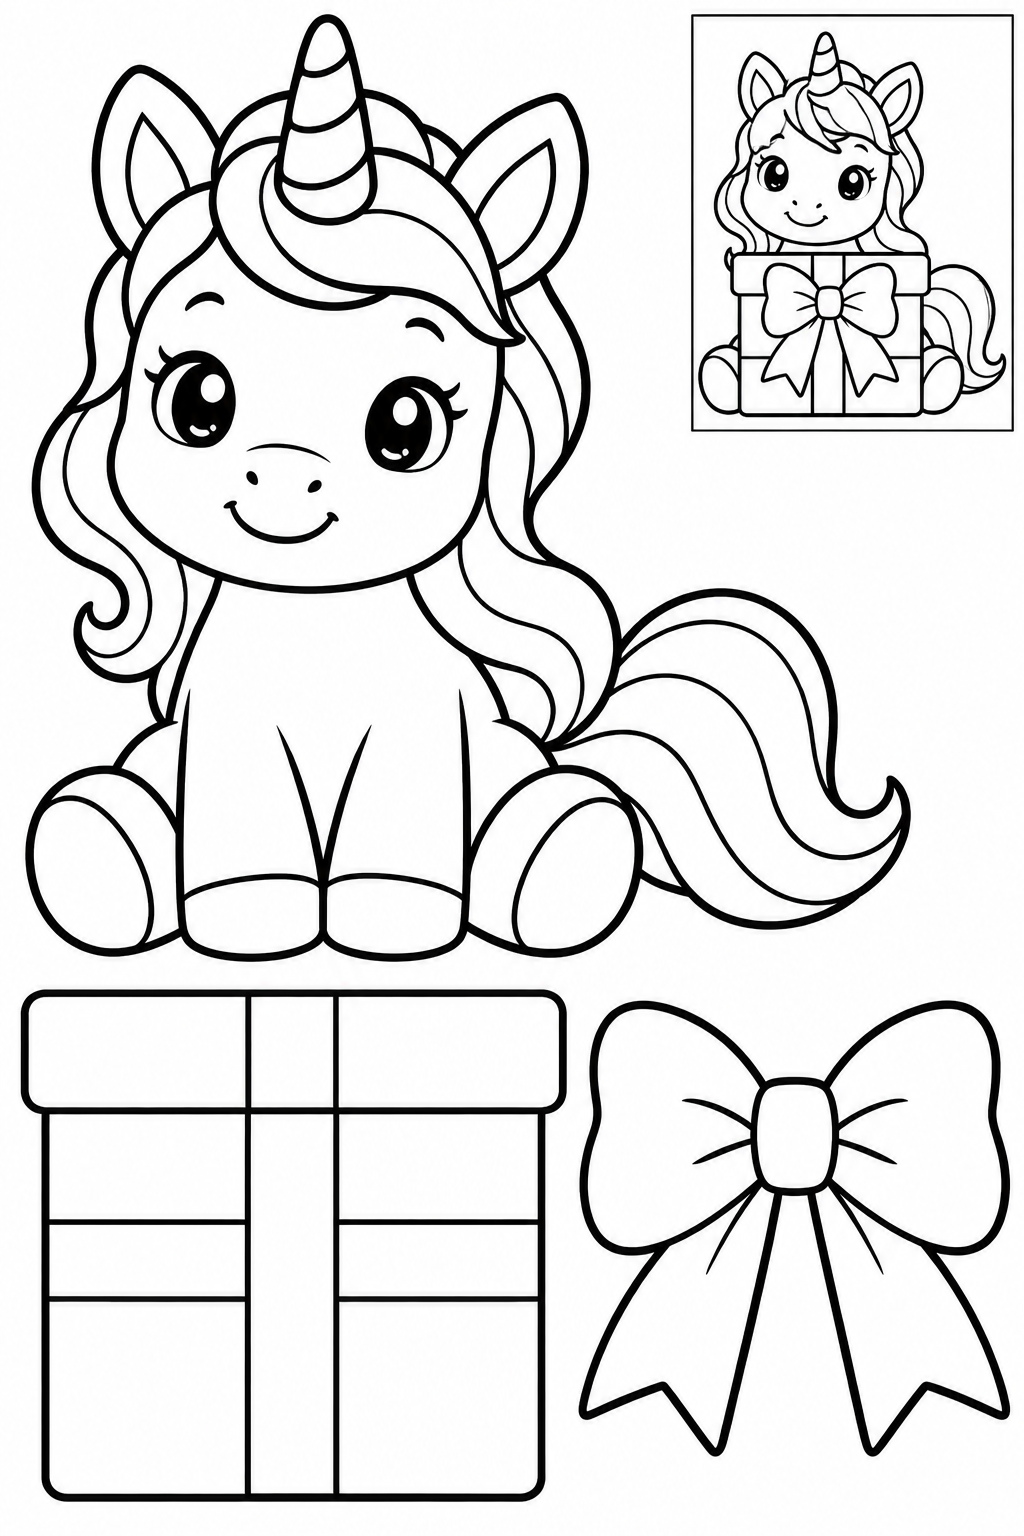
Black and white — color before cutting.
Assembly example: The small boxed example shows the finished craft. Do not cut it out.
Cut the three large pieces along their outer borders. Keep face and internal decoration intact; the small boxed example stays on the sheet. Arrange box panel over lower body; bow on front; flat collage, no actual pocket. Try the overlaps before applying glue to their backs. Check that the face is visible and the joins hold; lift and reposition a piece before the glue dries if it hides another part.
Check: Can you guide the scissors comfortably? If it is difficult, an adult can shorten a strip, cut a tricky curve or offer straight paths. Pieces should be fully separated and arranged as intended before gluing.
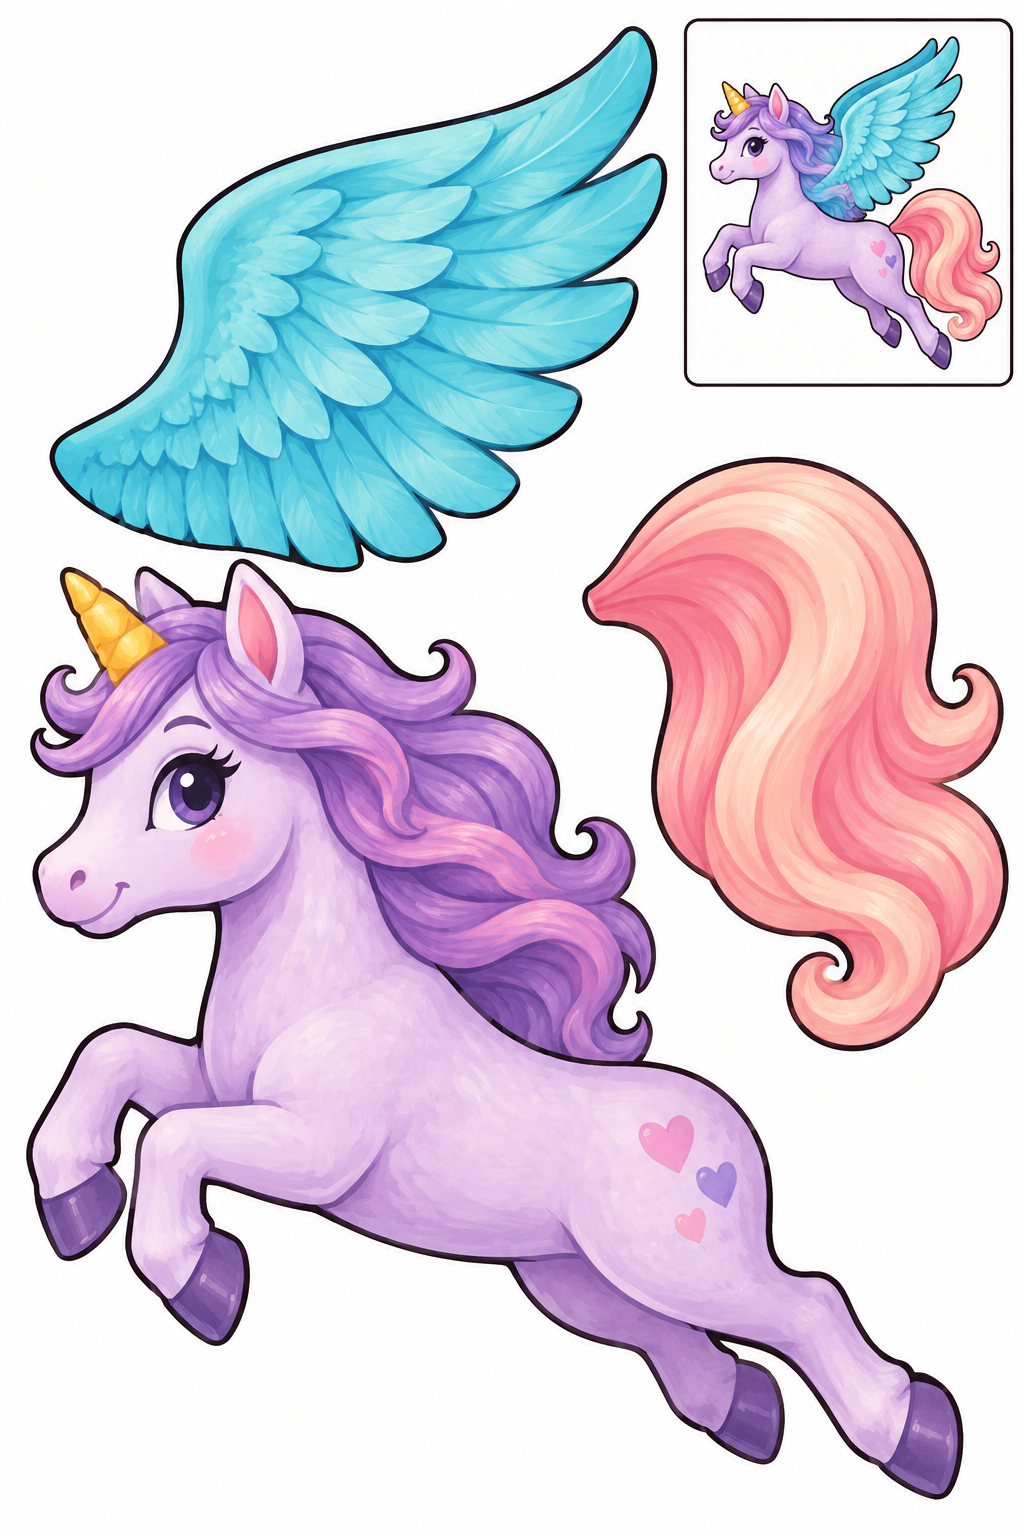
Full color — ready to cut.
Assembly example: The small boxed example shows the finished craft. Do not cut it out.
Cut the three large pieces along their outer borders. Keep face and internal decoration intact; the small boxed example stays on the sheet. Arrange wing on shoulder; tail behind rump. Try the overlaps before applying glue to their backs. Check that the face is visible and the joins hold; lift and reposition a piece before the glue dries if it hides another part.
Check: Can you guide the scissors comfortably? If it is difficult, an adult can shorten a strip, cut a tricky curve or offer straight paths. Pieces should be fully separated and arranged as intended before gluing.
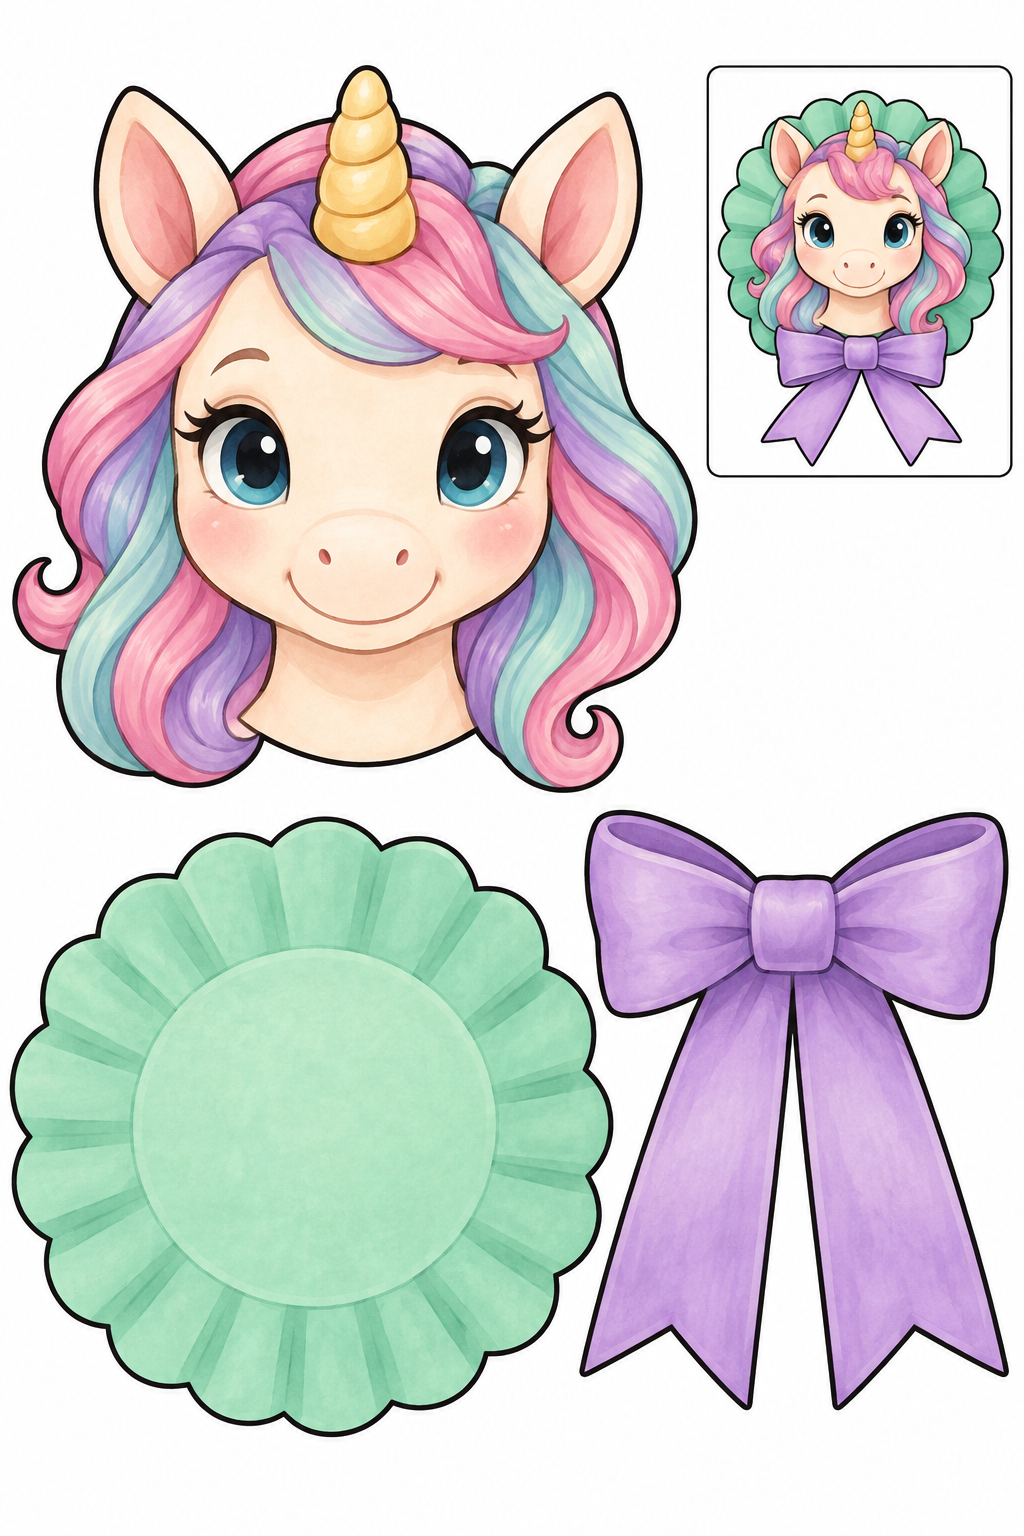
Full color — ready to cut.
Assembly example: The small boxed example shows the finished craft. Do not cut it out.
Cut the three large pieces along their outer borders. Keep face and internal decoration intact; the small boxed example stays on the sheet. Arrange head on rosette; bow below head. Try the overlaps before applying glue to their backs. Check that the face is visible and the joins hold; lift and reposition a piece before the glue dries if it hides another part.
Check: Can you guide the scissors comfortably? If it is difficult, an adult can shorten a strip, cut a tricky curve or offer straight paths. Pieces should be fully separated and arranged as intended before gluing.

Full color — ready to cut.
Assembly example: The small boxed example shows the finished craft. Do not cut it out.
Cut the three large pieces along their outer borders. Keep face and internal decoration intact; the small boxed example stays on the sheet. Arrange shell behind unicorn; heart on chest. Try the overlaps before applying glue to their backs. Check that the face is visible and the joins hold; lift and reposition a piece before the glue dries if it hides another part.
Check: Can you guide the scissors comfortably? If it is difficult, an adult can shorten a strip, cut a tricky curve or offer straight paths. Pieces should be fully separated and arranged as intended before gluing.
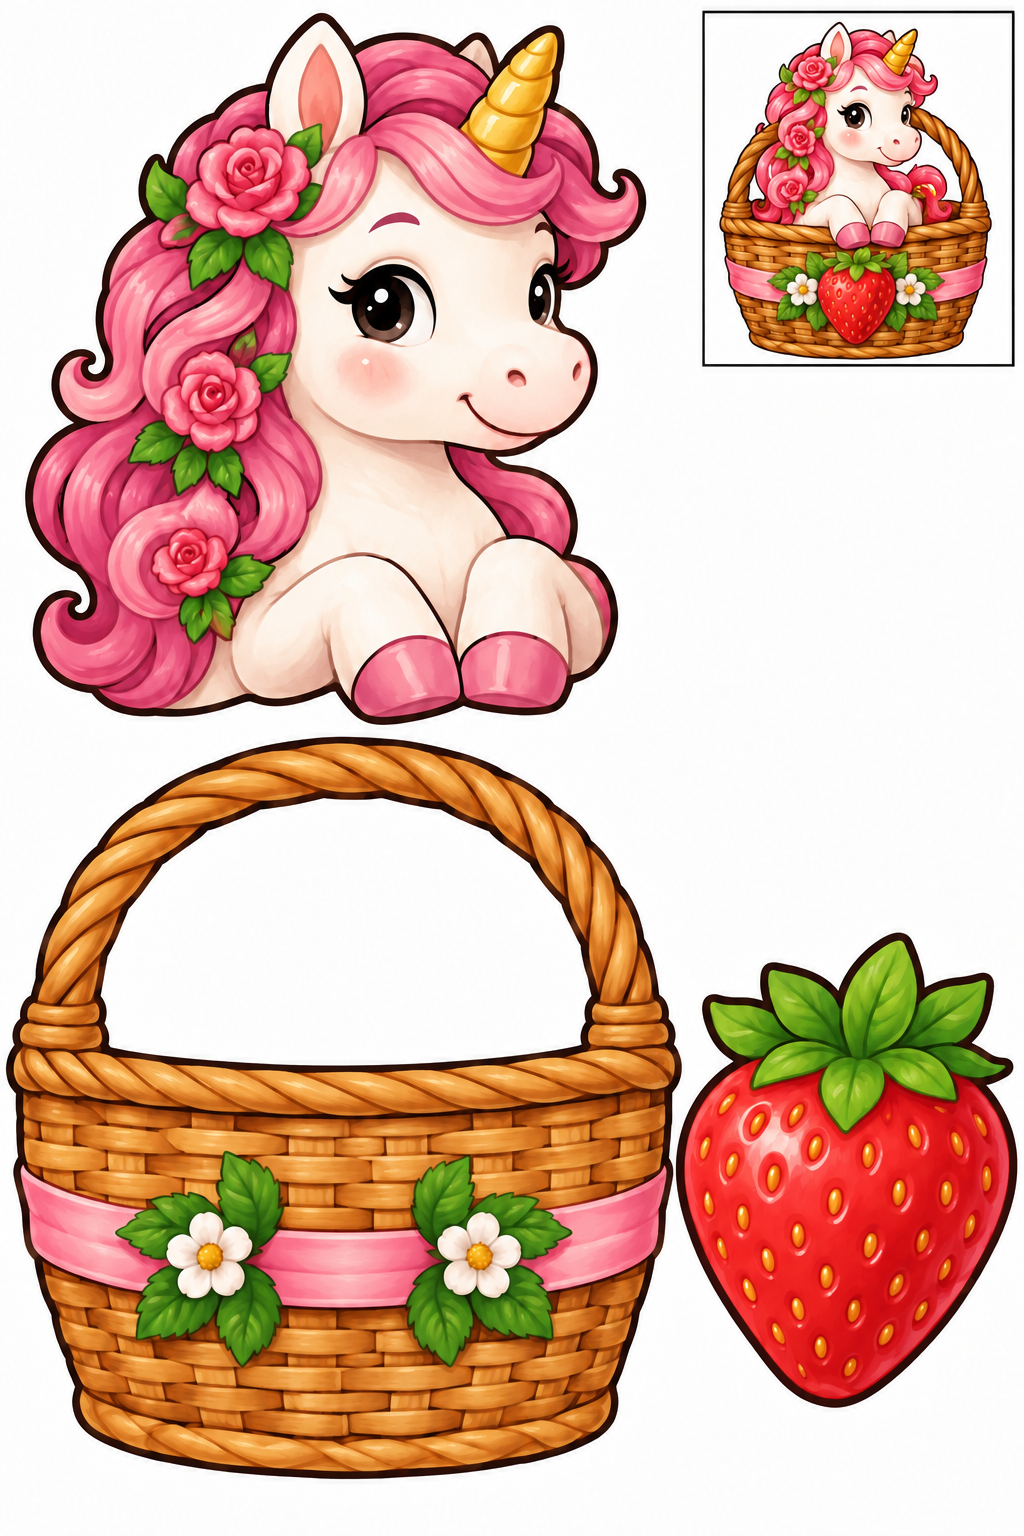
Full color — ready to cut.
Assembly example: The small boxed example shows the finished craft. Do not cut it out.
Cut the three large pieces along their outer borders. Keep face and internal decoration intact; the small boxed example stays on the sheet. Arrange unicorn peeking from basket; strawberry on basket front. Try the overlaps before applying glue to their backs. Check that the face is visible and the joins hold; lift and reposition a piece before the glue dries if it hides another part.
Check: Can you guide the scissors comfortably? If it is difficult, an adult can shorten a strip, cut a tricky curve or offer straight paths. Pieces should be fully separated and arranged as intended before gluing.
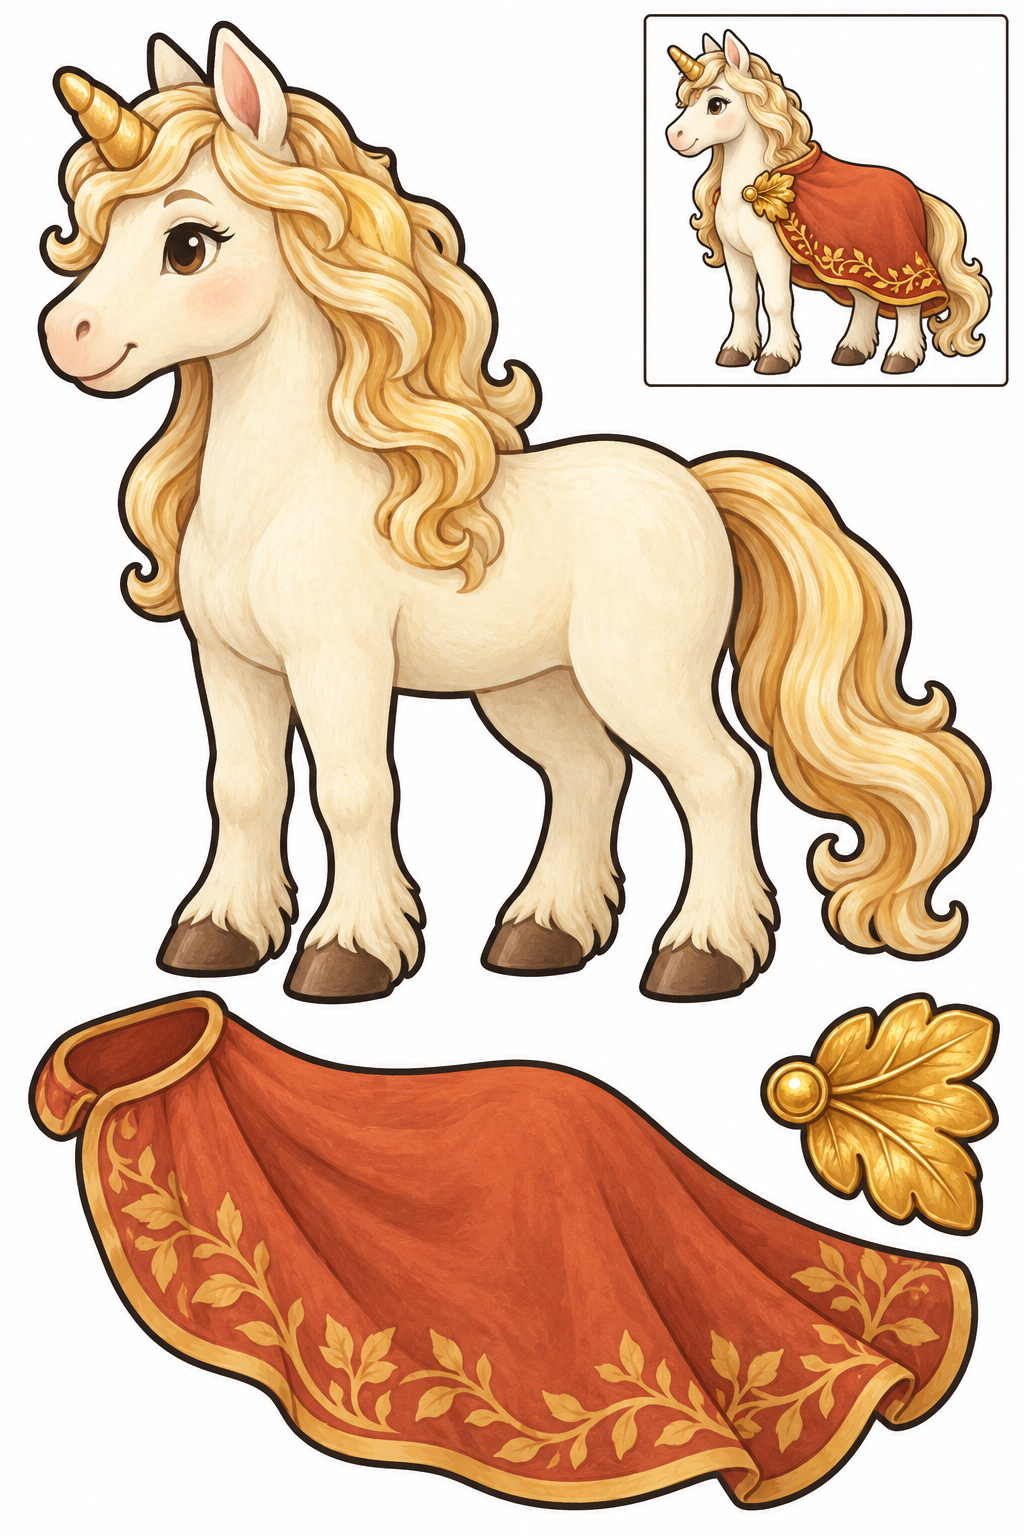
Full color — ready to cut.
Assembly example: The small boxed example shows the finished craft. Do not cut it out.
Cut the three large pieces along their outer borders. Keep face and internal decoration intact; the small boxed example stays on the sheet. Arrange cape over back; leaf clasp at shoulder. Try the overlaps before applying glue to their backs. Check that the face is visible and the joins hold; lift and reposition a piece before the glue dries if it hides another part.
Check: Can you guide the scissors comfortably? If it is difficult, an adult can shorten a strip, cut a tricky curve or offer straight paths. Pieces should be fully separated and arranged as intended before gluing.
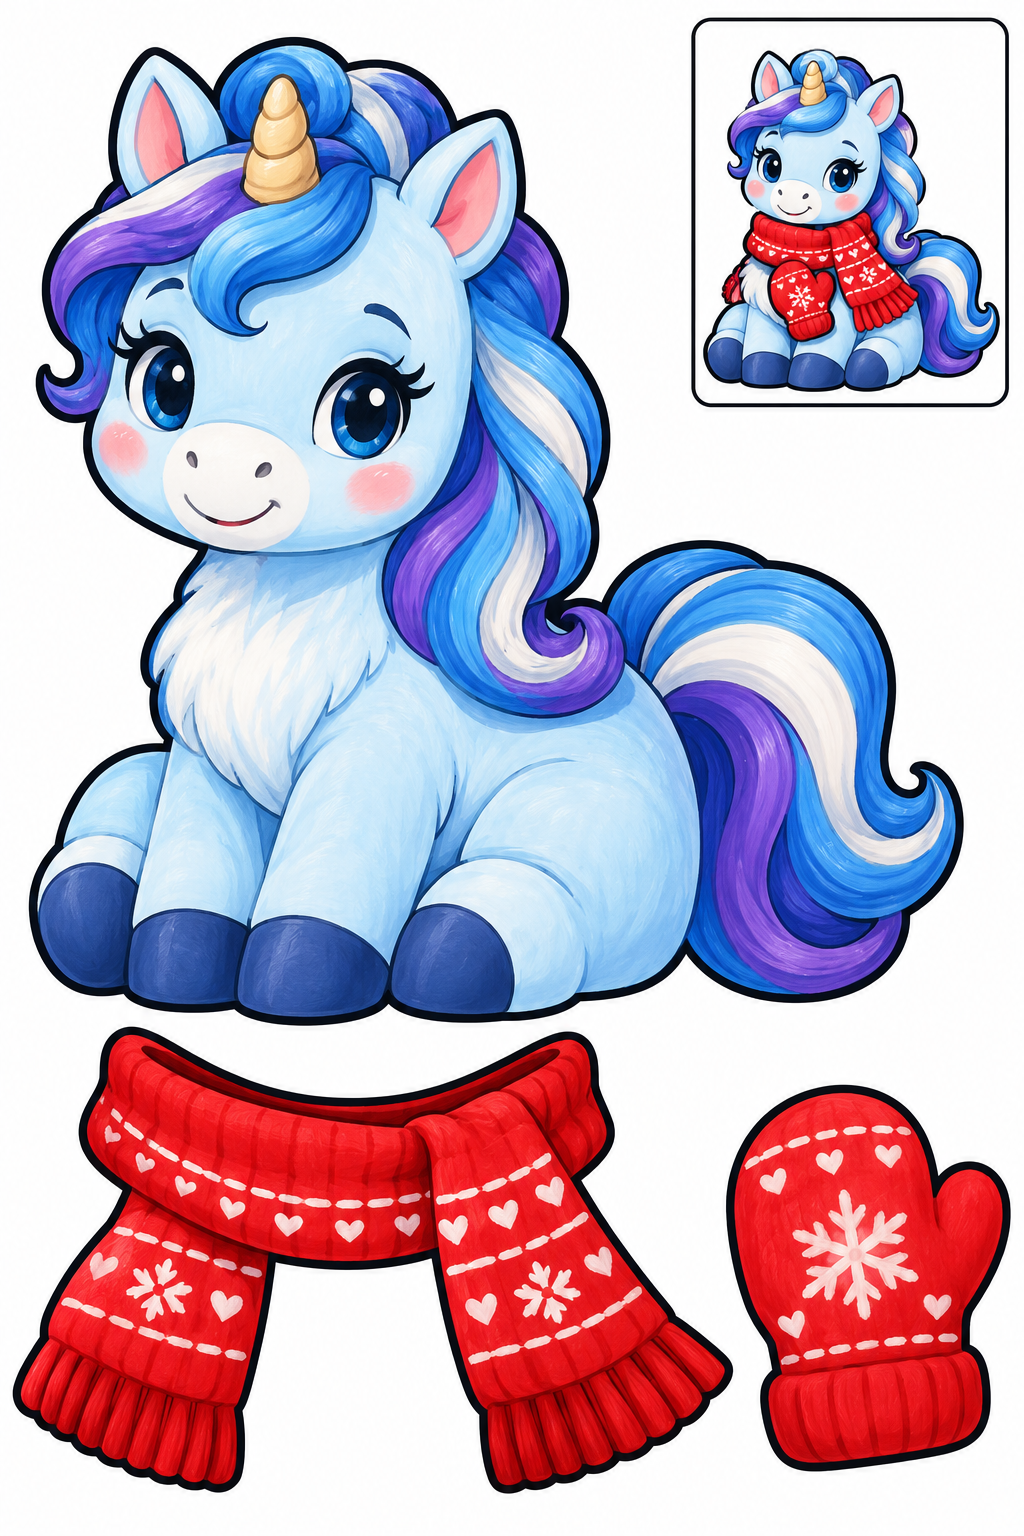
Full color — ready to cut.
Assembly example: The small boxed example shows the finished craft. Do not cut it out.
Cut the three large pieces along their outer borders. Keep face and internal decoration intact; the small boxed example stays on the sheet. Arrange scarf across neck; mitten on chest. Try the overlaps before applying glue to their backs. Check that the face is visible and the joins hold; lift and reposition a piece before the glue dries if it hides another part.
Check: Can you guide the scissors comfortably? If it is difficult, an adult can shorten a strip, cut a tricky curve or offer straight paths. Pieces should be fully separated and arranged as intended before gluing.
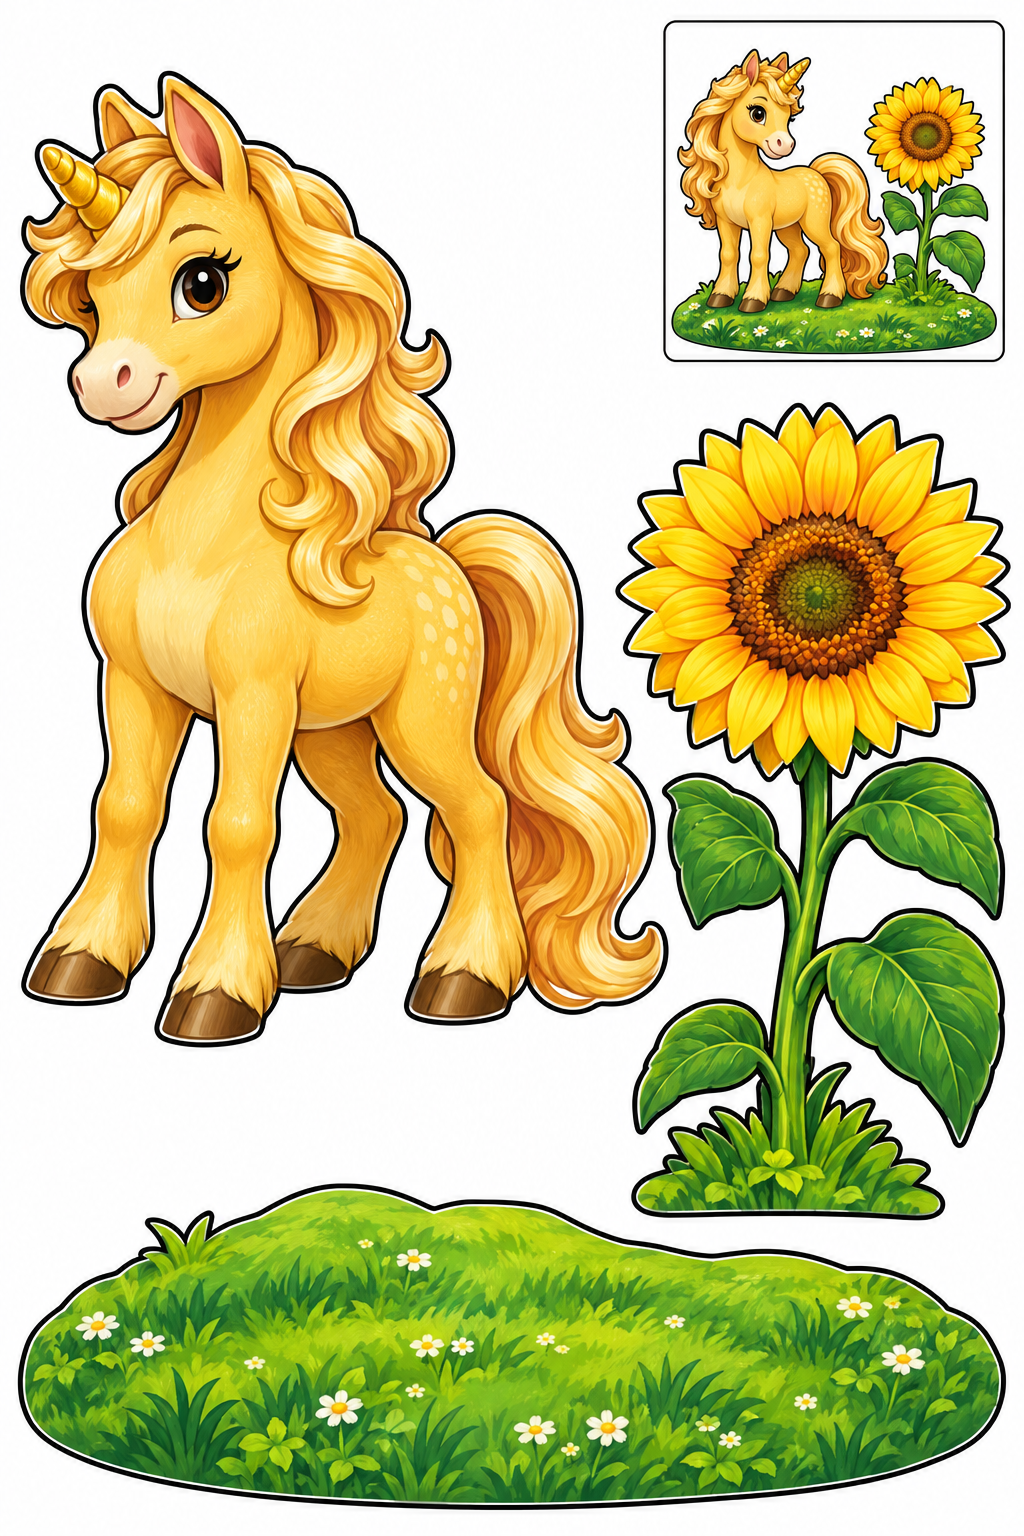
Full color — ready to cut.
Assembly example: The small boxed example shows the finished craft. Do not cut it out.
Cut the three large pieces along their outer borders. Keep face and internal decoration intact; the small boxed example stays on the sheet. Arrange unicorn and sunflower side by side on meadow base. Try the overlaps before applying glue to their backs. Check that the face is visible and the joins hold; lift and reposition a piece before the glue dries if it hides another part.
Check: Can you guide the scissors comfortably? If it is difficult, an adult can shorten a strip, cut a tricky curve or offer straight paths. Pieces should be fully separated and arranged as intended before gluing.
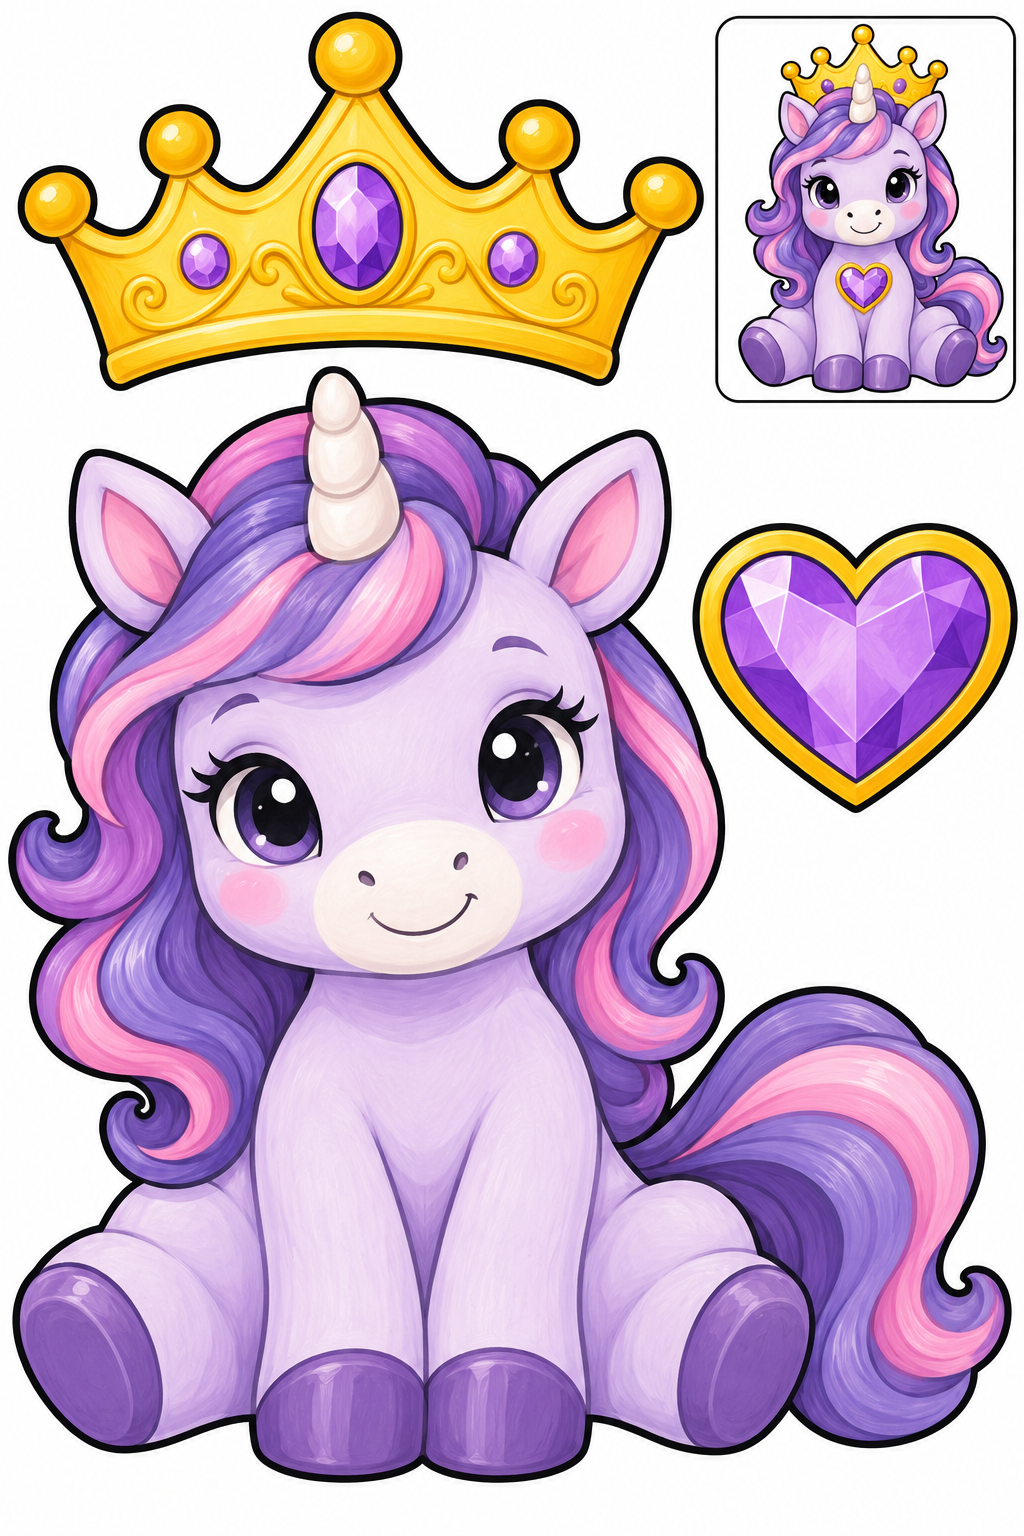
Full color — ready to cut.
Assembly example: The small boxed example shows the finished craft. Do not cut it out.
Cut the three large pieces along their outer borders. Keep face and internal decoration intact; the small boxed example stays on the sheet. Arrange crown behind top of head keeping horn visible; heart on chest. Try the overlaps before applying glue to their backs. Check that the face is visible and the joins hold; lift and reposition a piece before the glue dries if it hides another part.
Check: Can you guide the scissors comfortably? If it is difficult, an adult can shorten a strip, cut a tricky curve or offer straight paths. Pieces should be fully separated and arranged as intended before gluing.
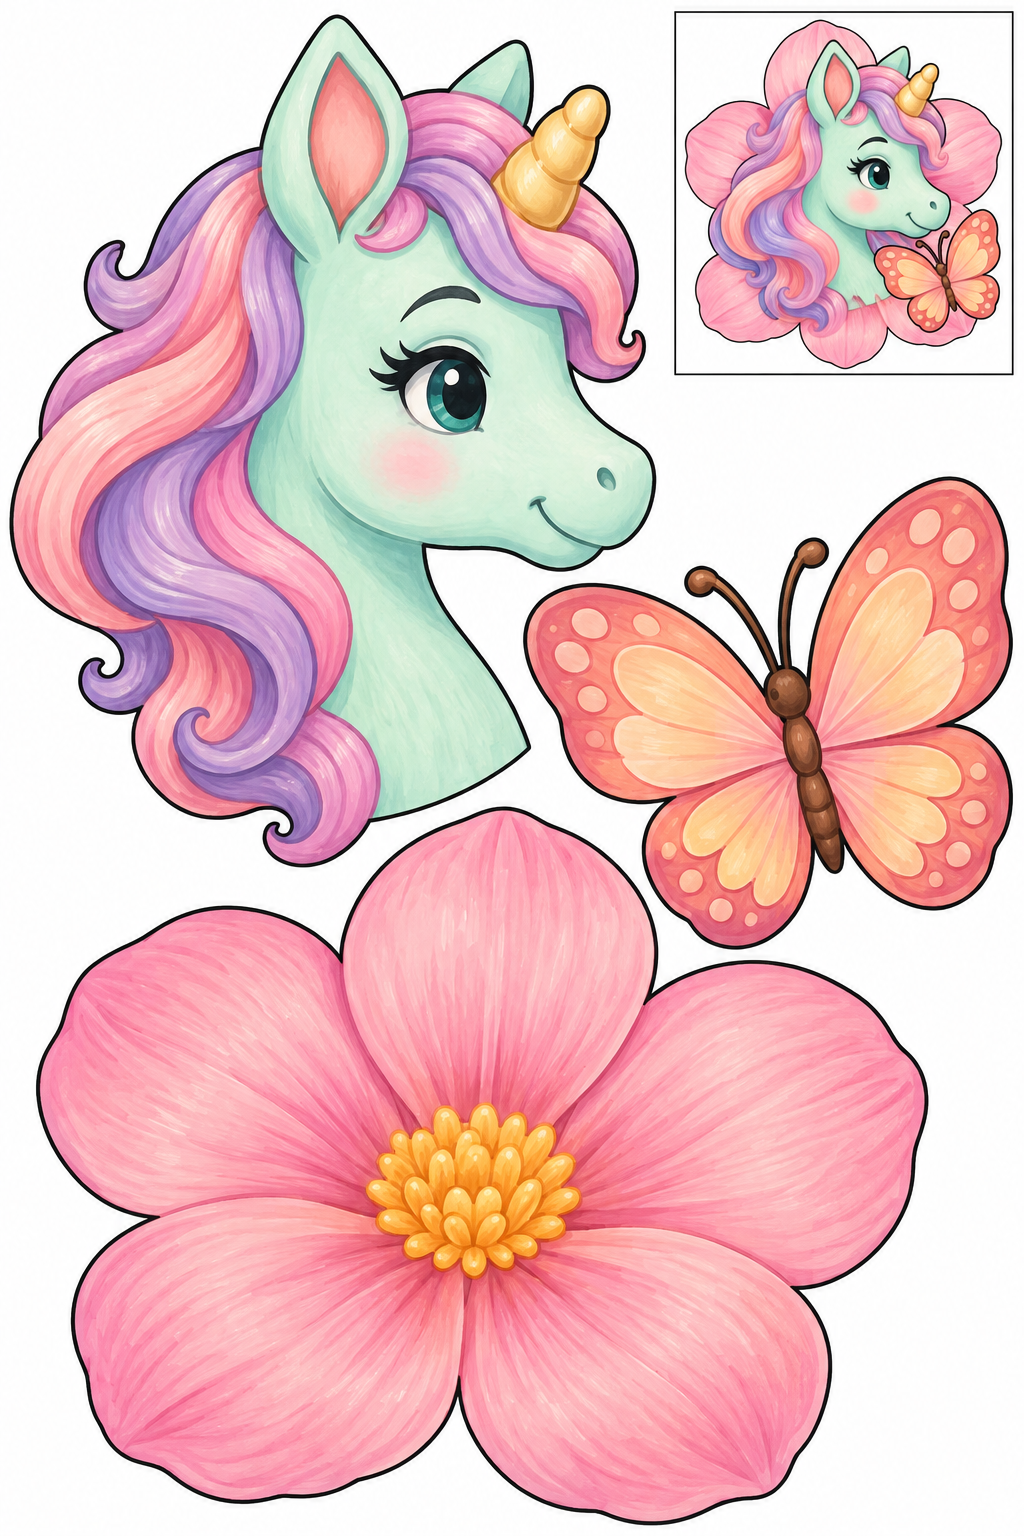
Full color — ready to cut.
Assembly example: The small boxed example shows the finished craft. Do not cut it out.
Cut the three large pieces along their outer borders. Keep face and internal decoration intact; the small boxed example stays on the sheet. Arrange head on flower backdrop; butterfly beside cheek. Try the overlaps before applying glue to their backs. Check that the face is visible and the joins hold; lift and reposition a piece before the glue dries if it hides another part.
Check: Can you guide the scissors comfortably? If it is difficult, an adult can shorten a strip, cut a tricky curve or offer straight paths. Pieces should be fully separated and arranged as intended before gluing.
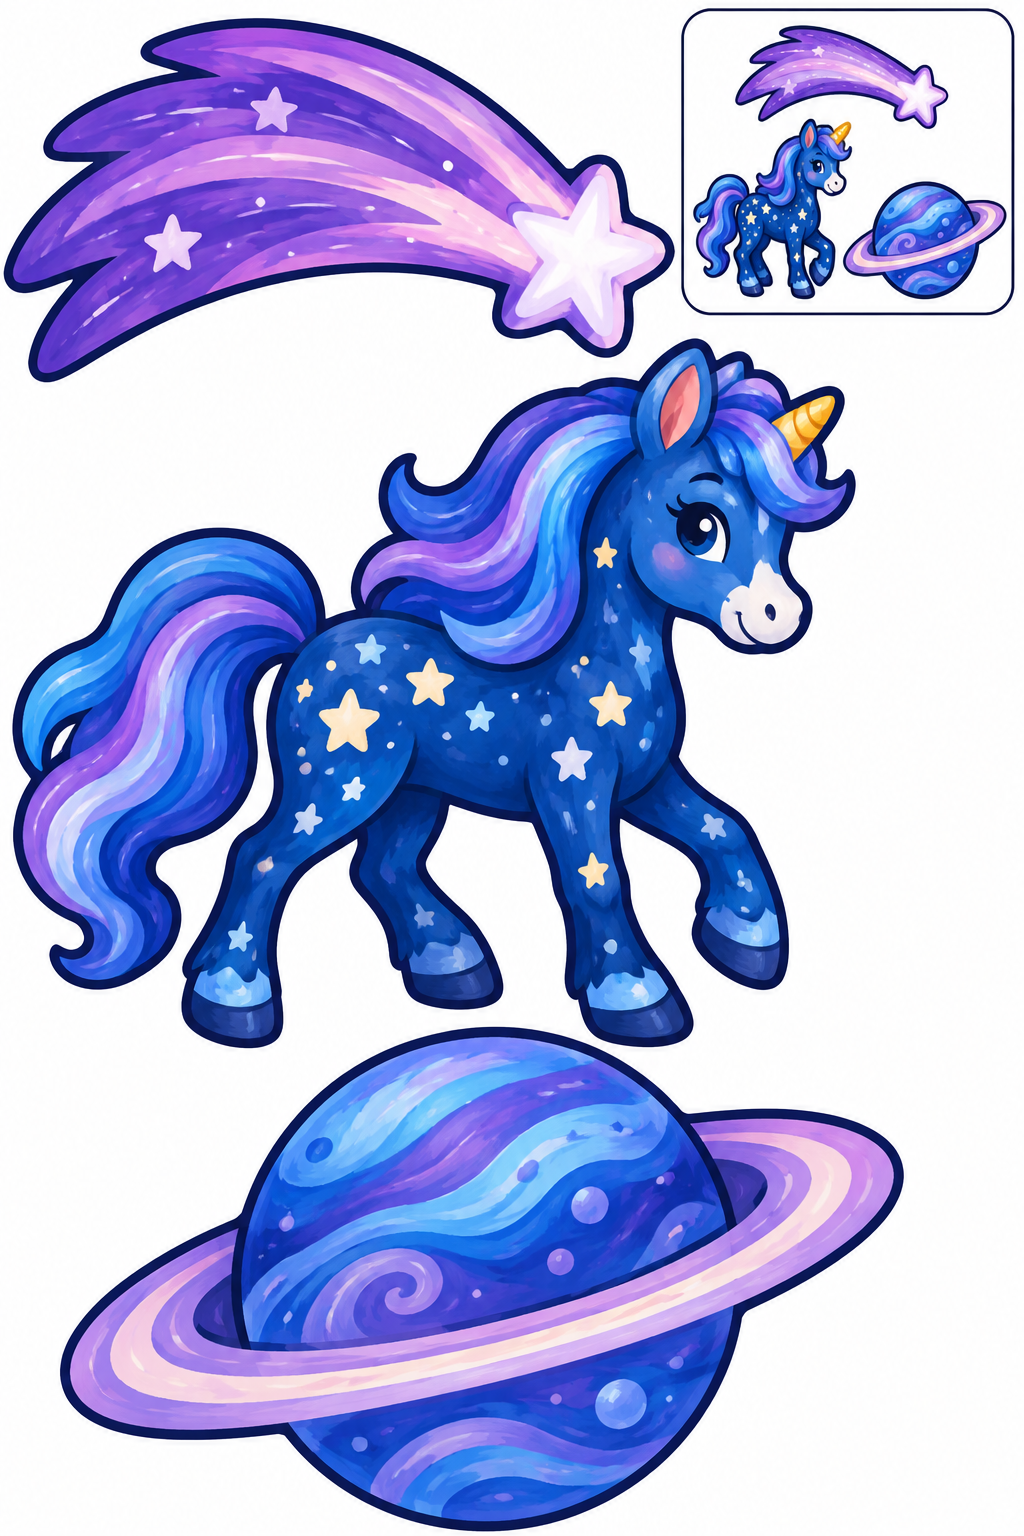
Full color — ready to cut.
Assembly example: The small boxed example shows the finished craft. Do not cut it out.
Cut the three large pieces along their outer borders. Keep face and internal decoration intact; the small boxed example stays on the sheet. Arrange unicorn and planet side by side; comet above on backing paper. Try the overlaps before applying glue to their backs. Check that the face is visible and the joins hold; lift and reposition a piece before the glue dries if it hides another part.
Check: Can you guide the scissors comfortably? If it is difficult, an adult can shorten a strip, cut a tricky curve or offer straight paths. Pieces should be fully separated and arranged as intended before gluing.
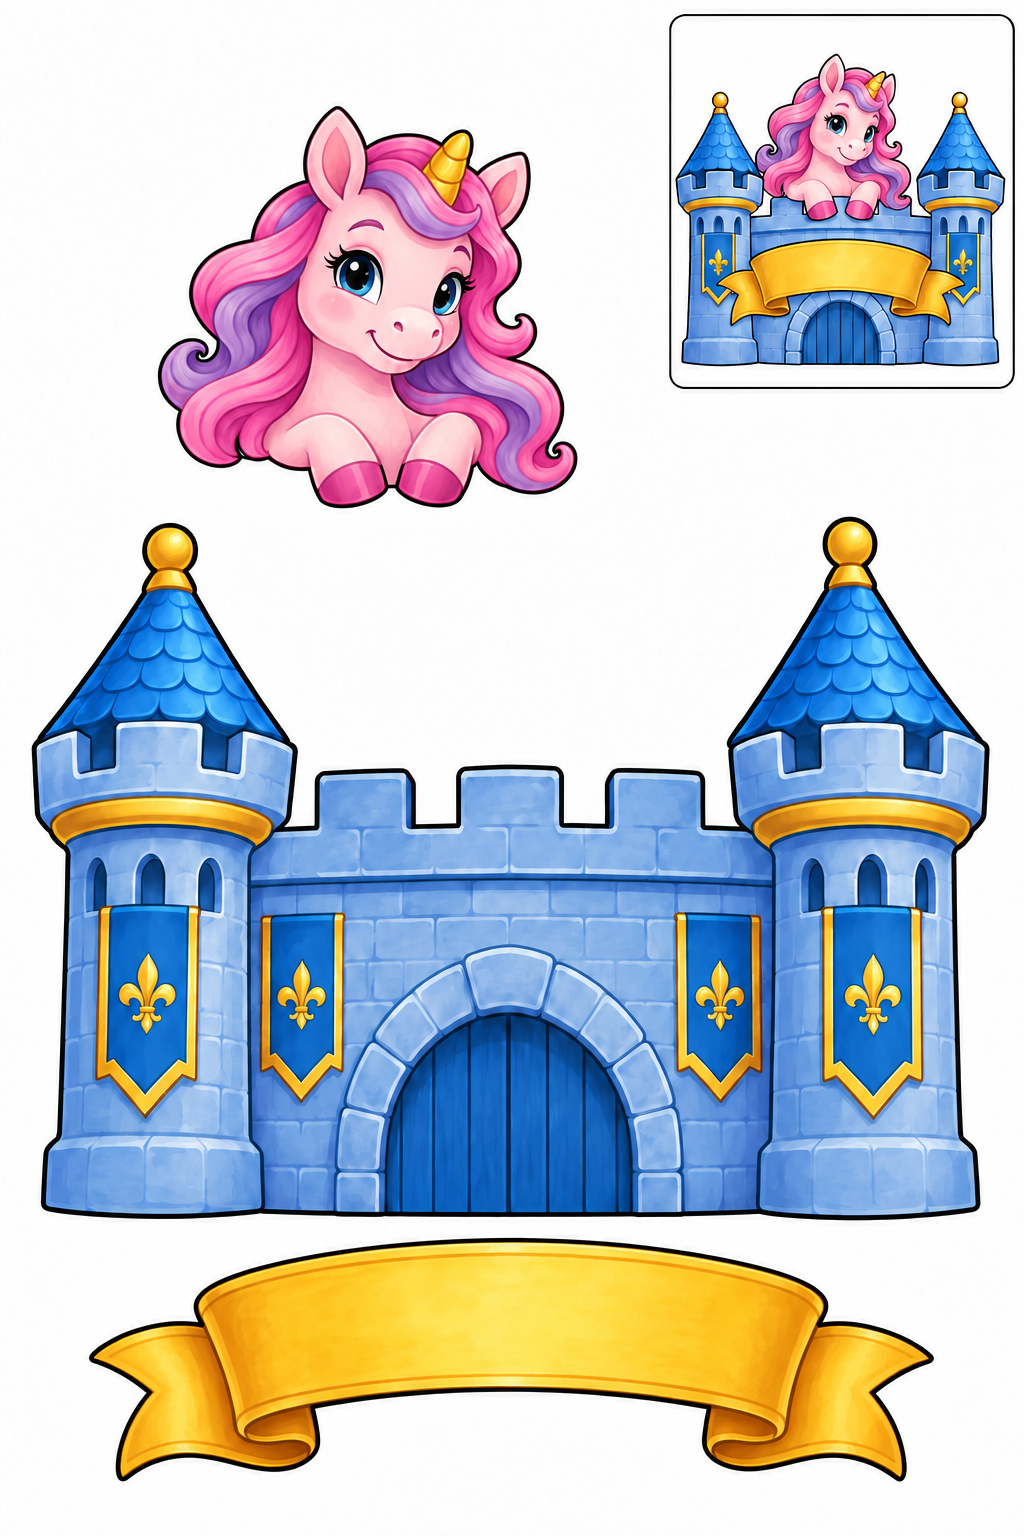
Full color — ready to cut.
Assembly example: The small boxed example shows the finished craft. Do not cut it out.
Cut the three large pieces along their outer borders. Keep face and internal decoration intact; the small boxed example stays on the sheet. Arrange unicorn behind castle parapet; banner on castle front. Try the overlaps before applying glue to their backs. Check that the face is visible and the joins hold; lift and reposition a piece before the glue dries if it hides another part.
Check: Can you guide the scissors comfortably? If it is difficult, an adult can shorten a strip, cut a tricky curve or offer straight paths. Pieces should be fully separated and arranged as intended before gluing.
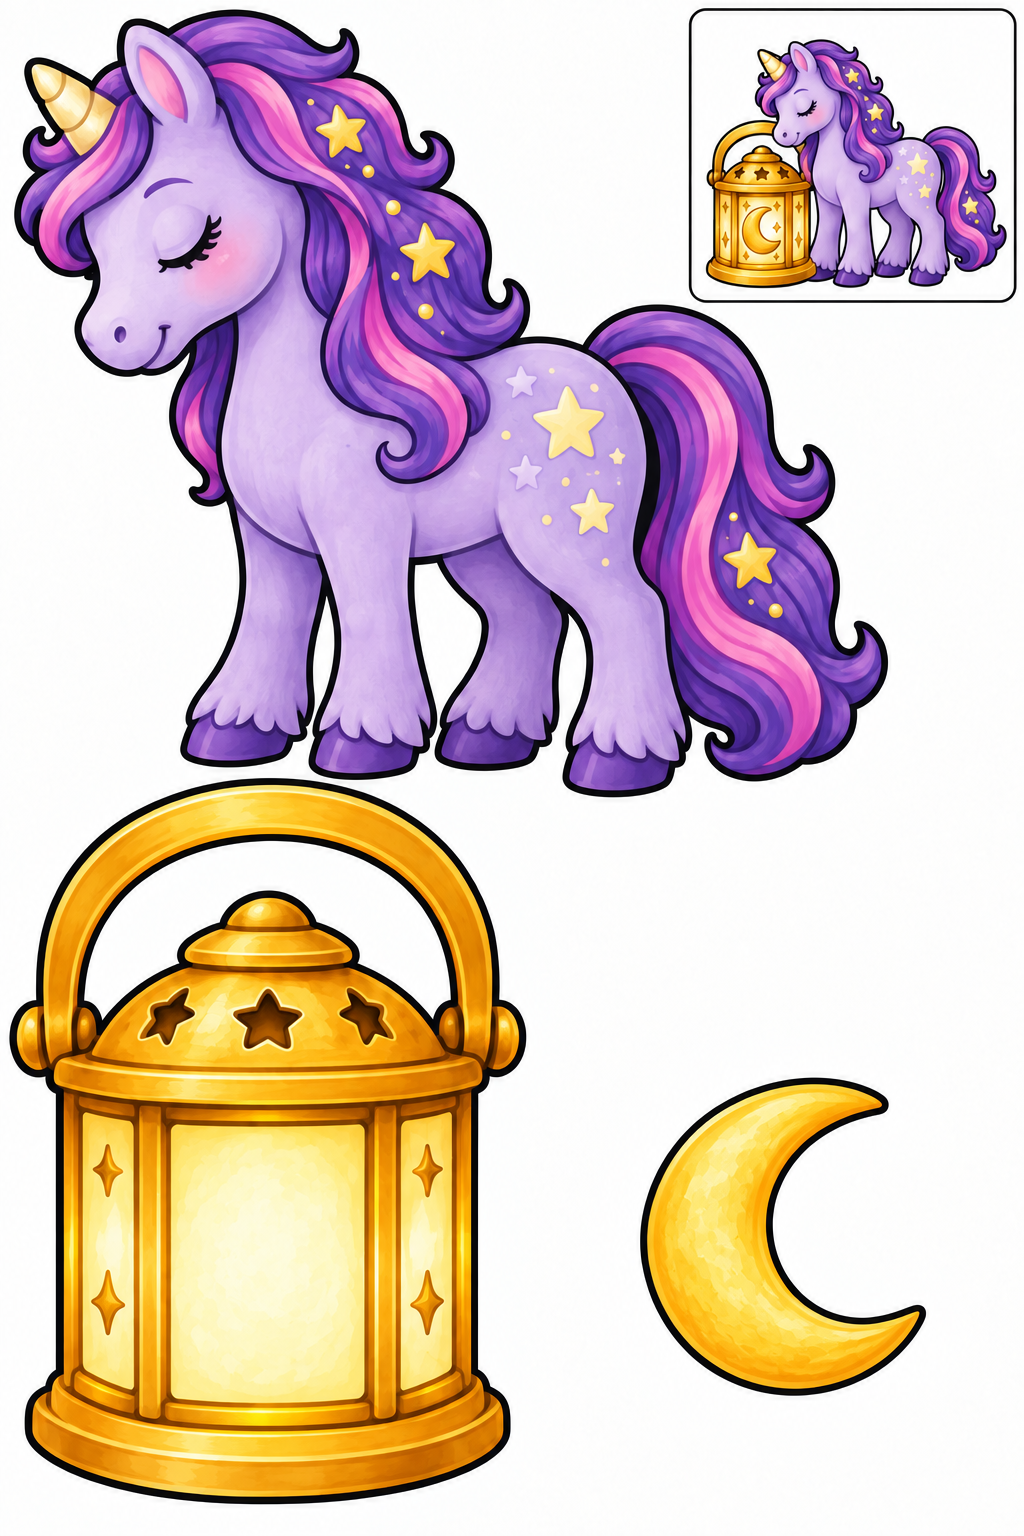
Full color — ready to cut.
Assembly example: The small boxed example shows the finished craft. Do not cut it out.
Cut the three large pieces along their outer borders. Keep face and internal decoration intact; the small boxed example stays on the sheet. Arrange lantern beside unicorn; crescent on lantern front. Try the overlaps before applying glue to their backs. Check that the face is visible and the joins hold; lift and reposition a piece before the glue dries if it hides another part.
Check: Can you guide the scissors comfortably? If it is difficult, an adult can shorten a strip, cut a tricky curve or offer straight paths. Pieces should be fully separated and arranged as intended before gluing.
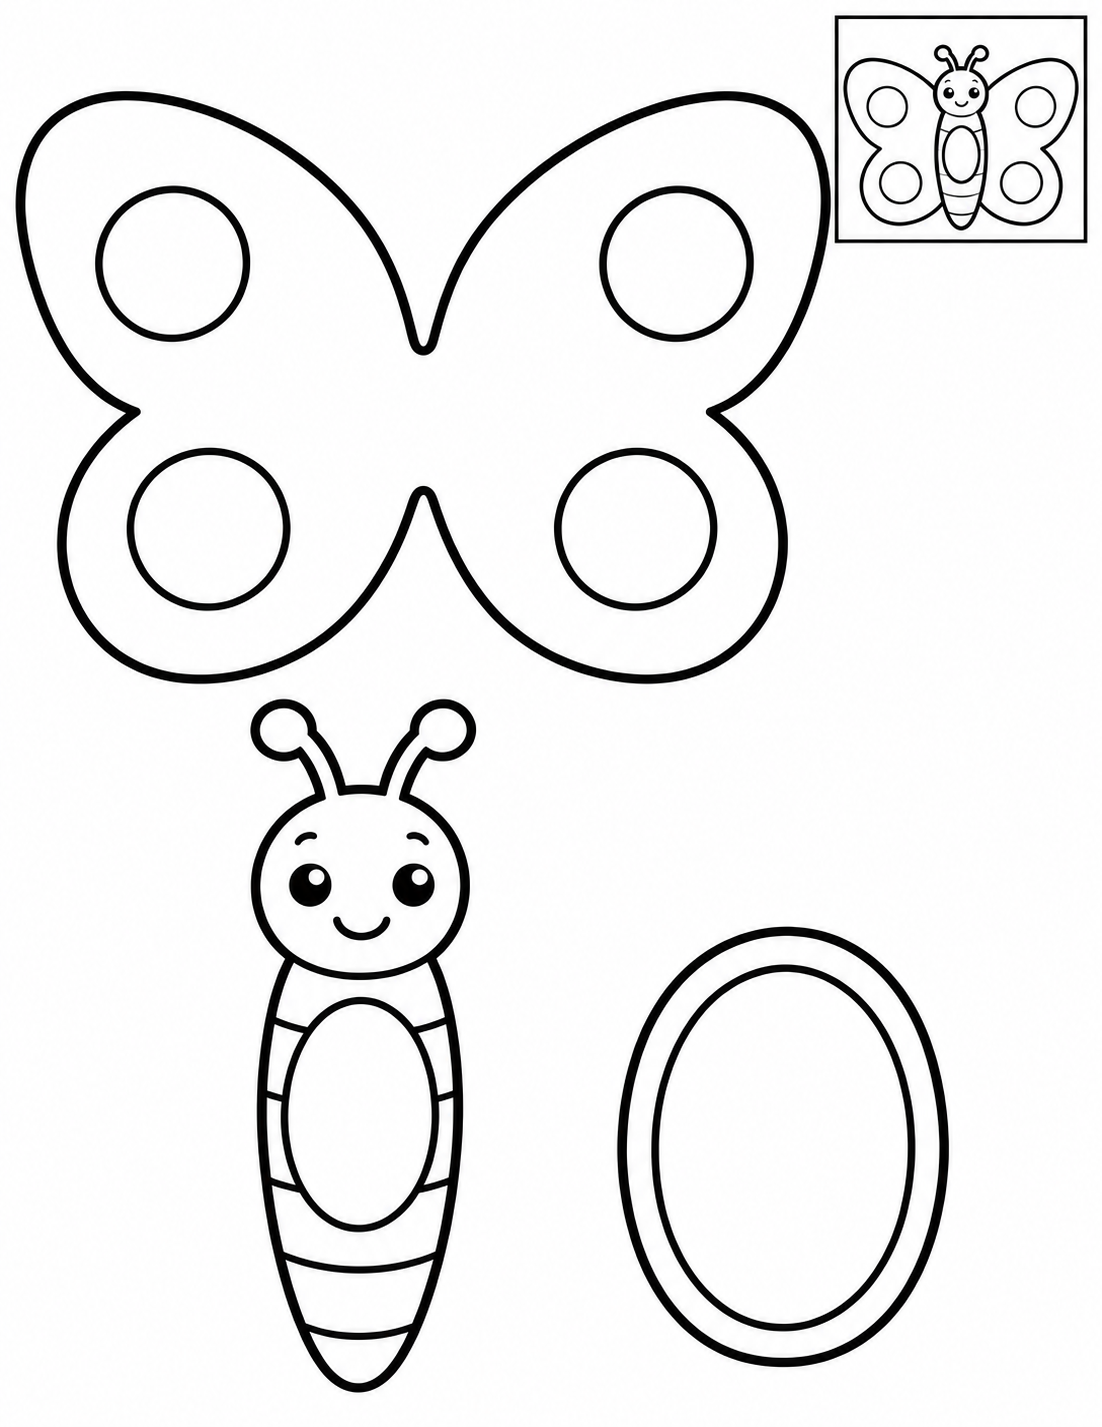
Black and white — color before cutting.
Assembly example: The small boxed example shows the finished craft. Do not cut it out.
Cut the outer contours; leave the boxed example on the page. Lay the joined wings flat, glue the body across their center, then add the oval medallion to the body. Check that the joins hold and the face is clear; reposition a part before the glue dries if it hides another.
Check: Can you guide the scissors comfortably? If it is difficult, an adult can shorten a strip, cut a tricky curve or offer straight paths. Pieces should be fully separated and arranged as intended before gluing.
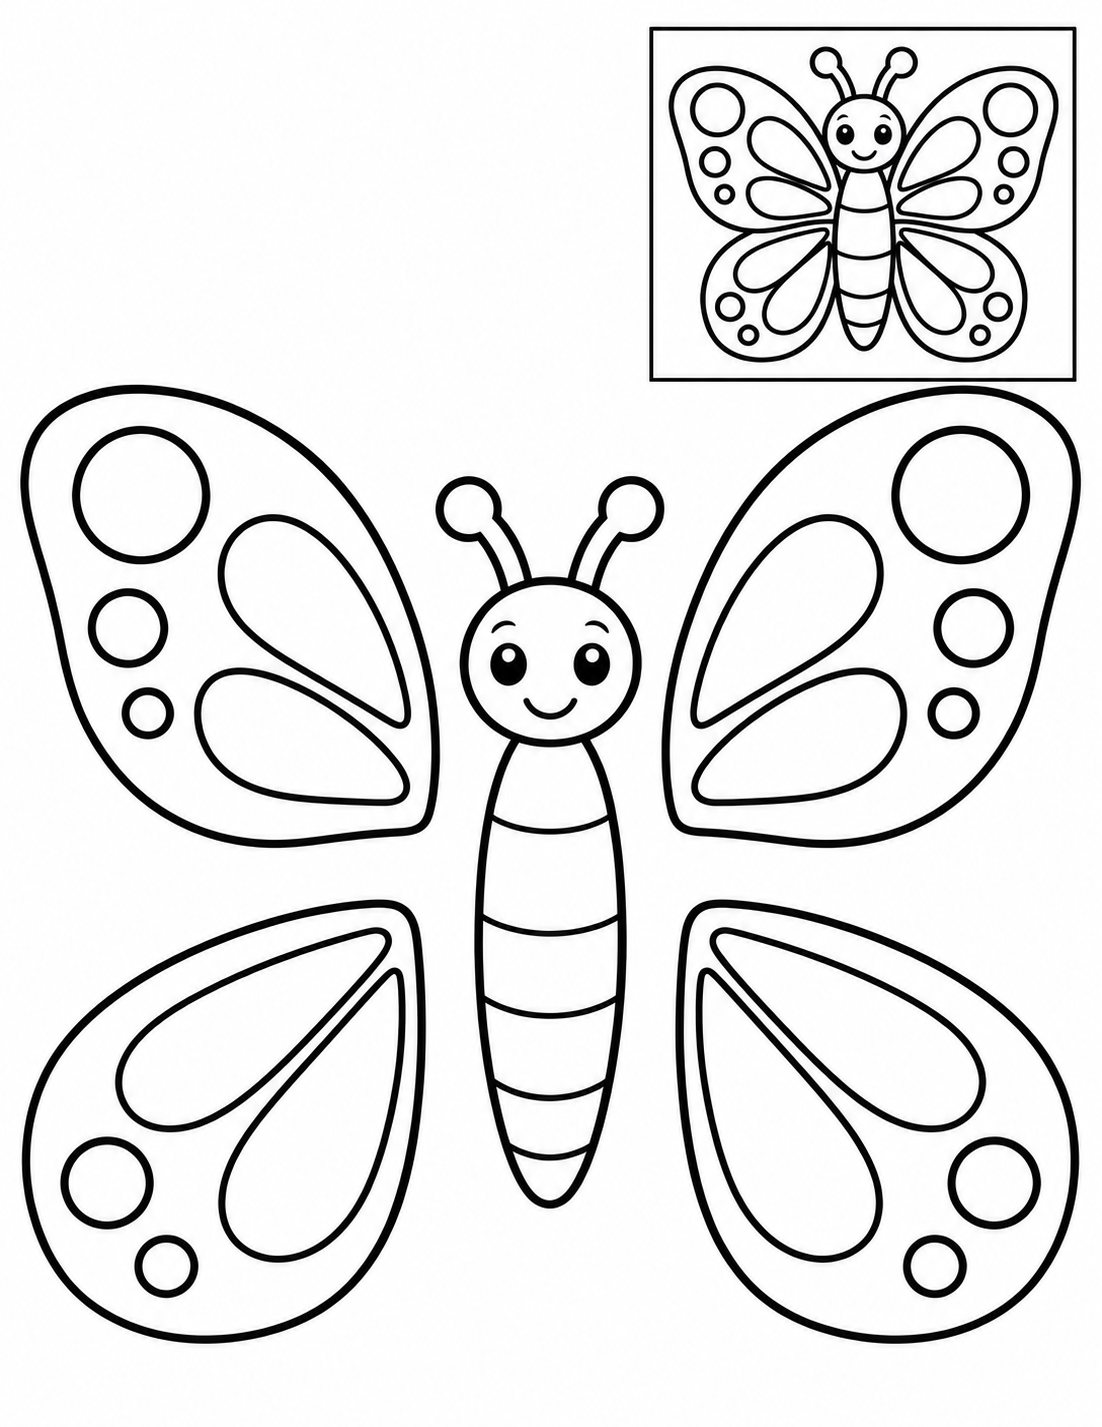
Black and white — color before cutting.
Assembly example: The small boxed example shows the finished craft. Do not cut it out.
Cut the outer contours; leave the boxed example on the page. Match the broad upper wings and smaller lower wings. Tuck all four roots beneath the body and glue the body over the joins. Check that the joins hold and the face is clear; reposition a part before the glue dries if it hides another.
Check: Can you guide the scissors comfortably? If it is difficult, an adult can shorten a strip, cut a tricky curve or offer straight paths. Pieces should be fully separated and arranged as intended before gluing.
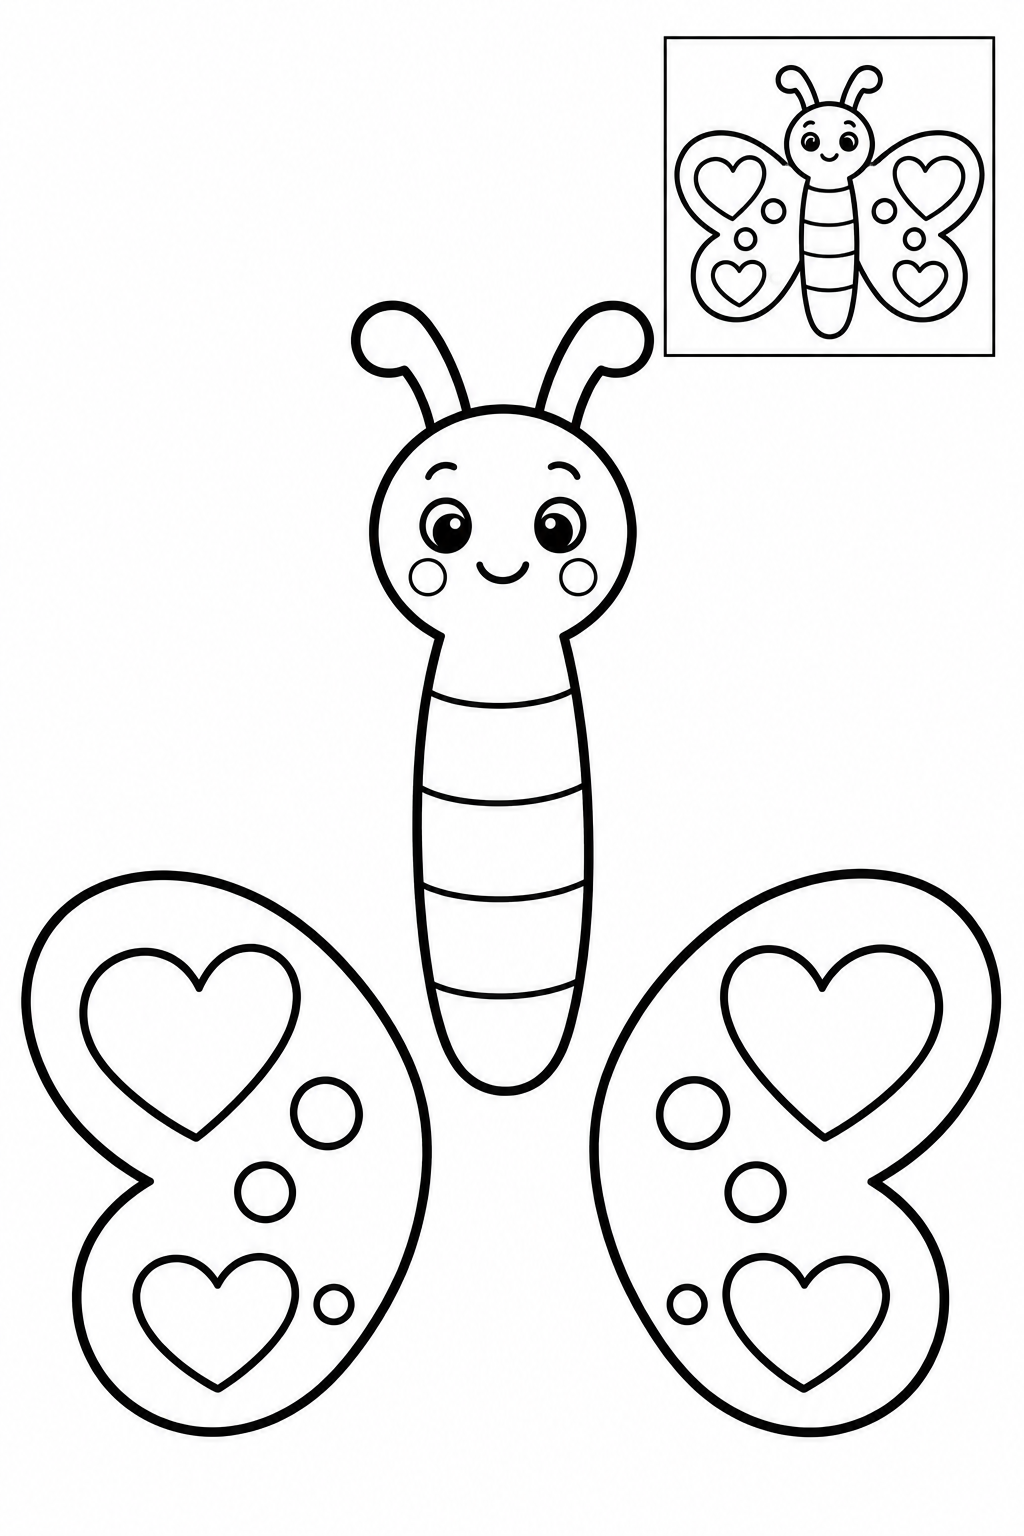
Black and white — color before cutting.
Assembly example: The small boxed example shows the finished craft. Do not cut it out.
Cut the outer contours; leave the boxed example on the page. Place the heart-patterned wing halves on either side. Glue their narrow edges beneath the body; the hearts stay inside the wings. Check that the joins hold and the face is clear; reposition a part before the glue dries if it hides another.
Check: Can you guide the scissors comfortably? If it is difficult, an adult can shorten a strip, cut a tricky curve or offer straight paths. Pieces should be fully separated and arranged as intended before gluing.
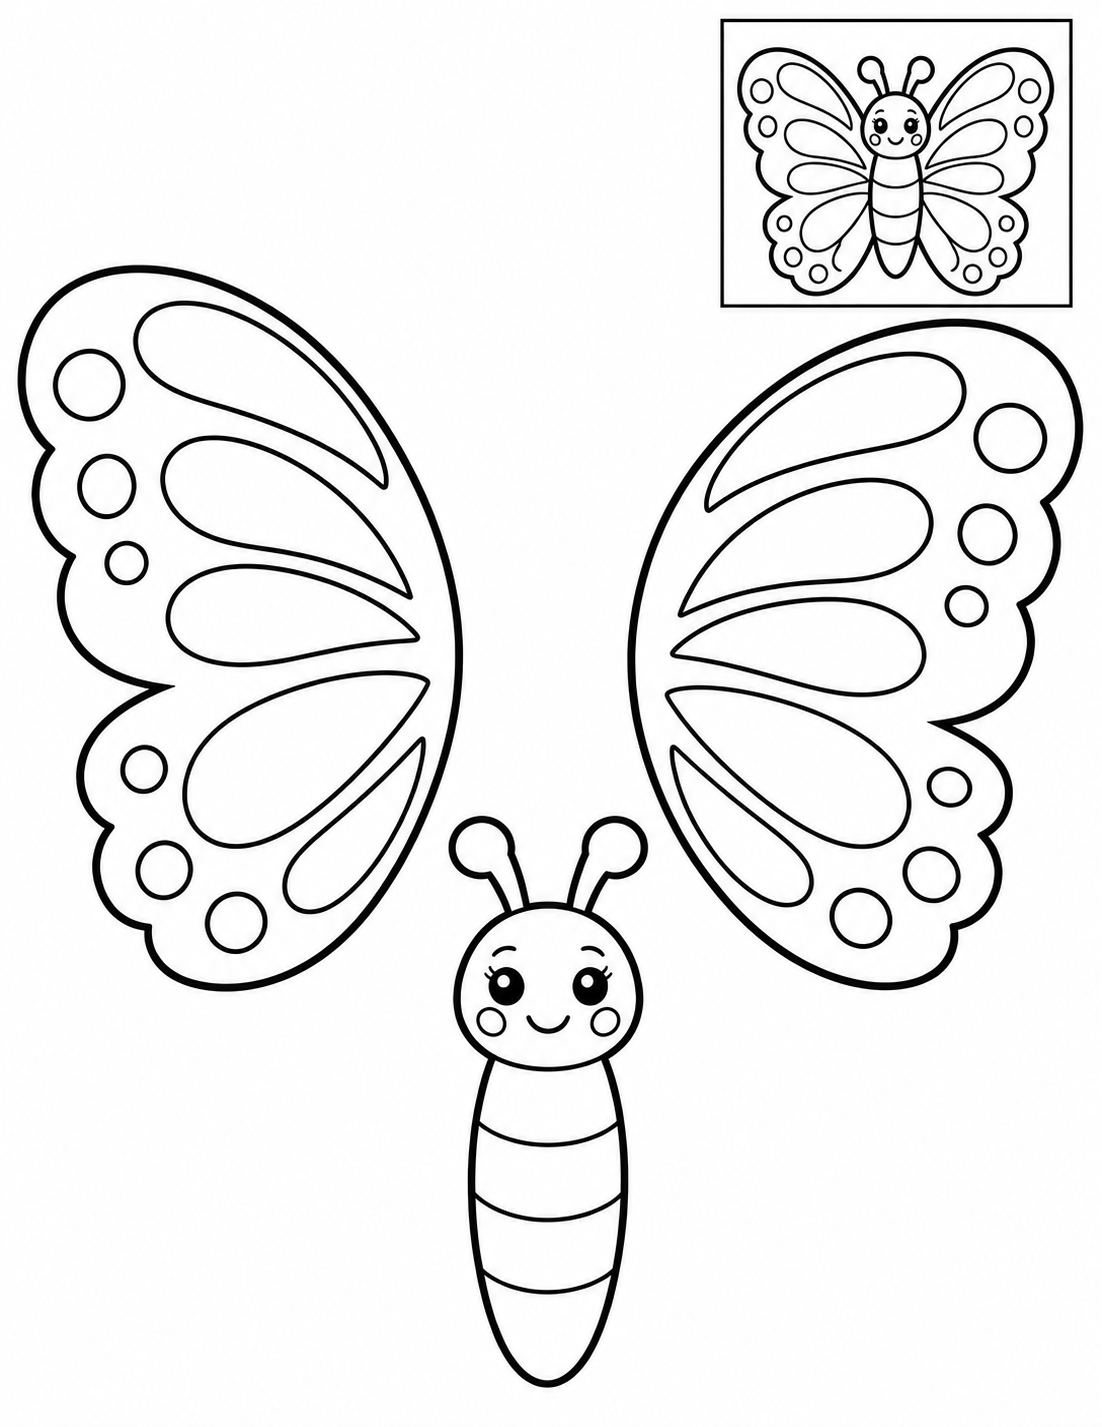
Black and white — color before cutting.
Assembly example: The small boxed example shows the finished craft. Do not cut it out.
Cut the outer contours; leave the boxed example on the page. Match the two scalloped fan wings at equal heights. Glue their inner edges behind the body; keep the fan lines intact. Check that the joins hold and the face is clear; reposition a part before the glue dries if it hides another.
Check: Can you guide the scissors comfortably? If it is difficult, an adult can shorten a strip, cut a tricky curve or offer straight paths. Pieces should be fully separated and arranged as intended before gluing.
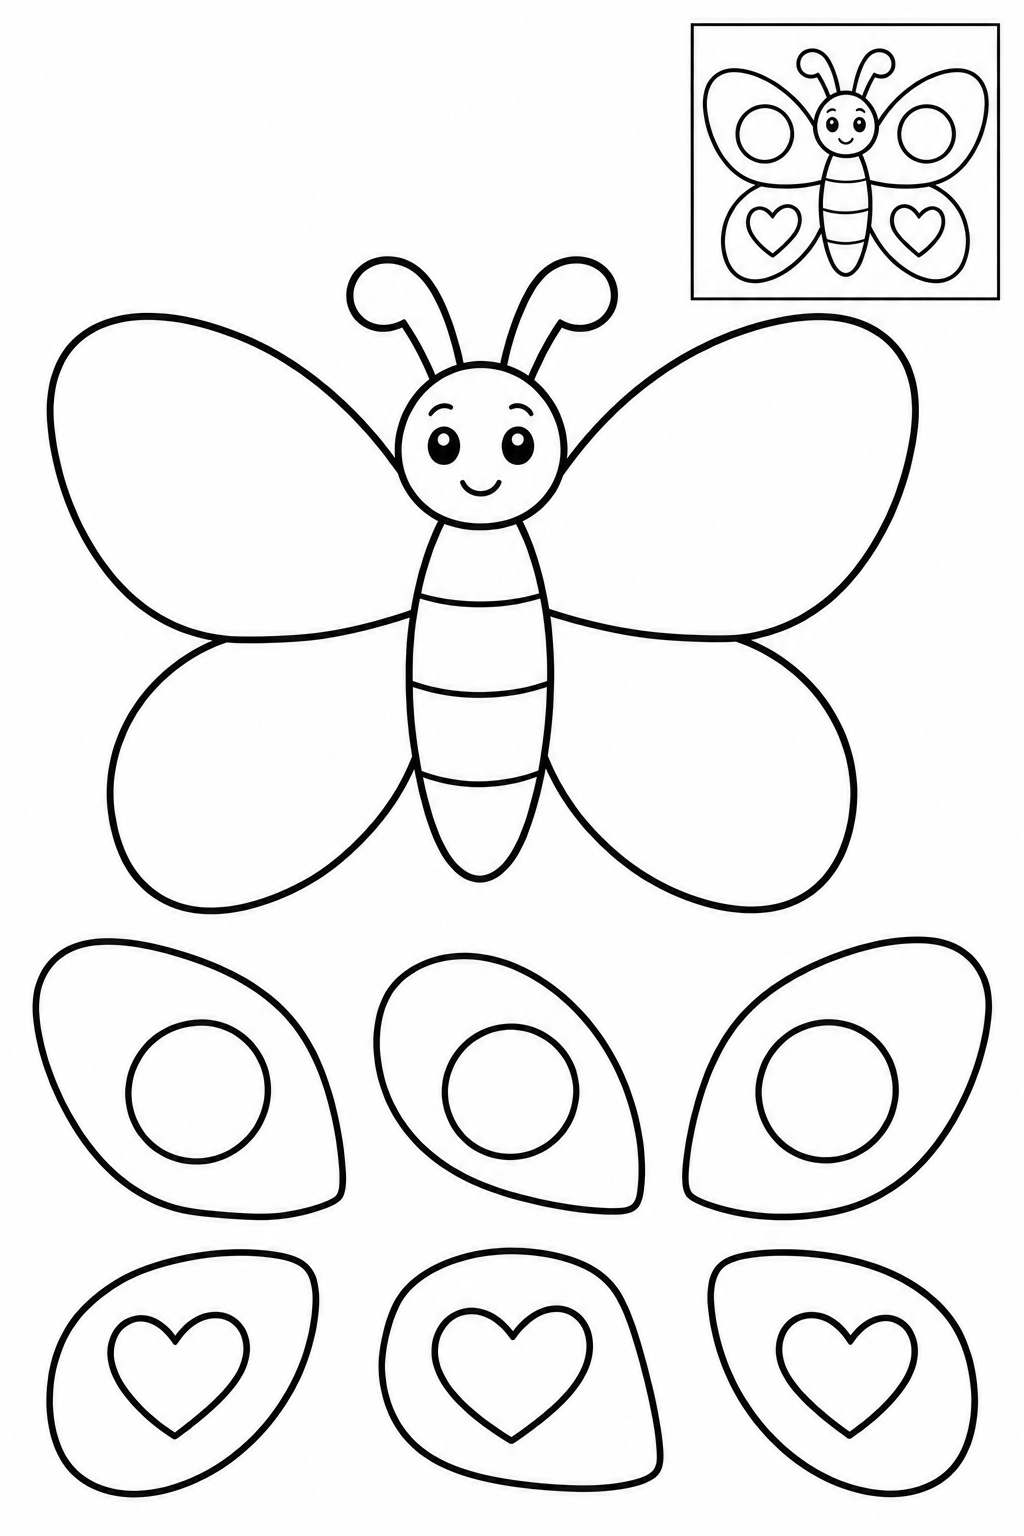
Black and white — color before cutting.
Assembly example: The small boxed example shows the finished craft. Do not cut it out.
Cut the outer contours; leave the boxed example on the page. Cut the butterfly base and six tiles. Use two circle tiles above and two heart tiles below as in the reference; the remaining two are alternatives for your own pattern or backing scene. Check that the joins hold and the face is clear; reposition a part before the glue dries if it hides another.
Check: Can you guide the scissors comfortably? If it is difficult, an adult can shorten a strip, cut a tricky curve or offer straight paths. Pieces should be fully separated and arranged as intended before gluing.
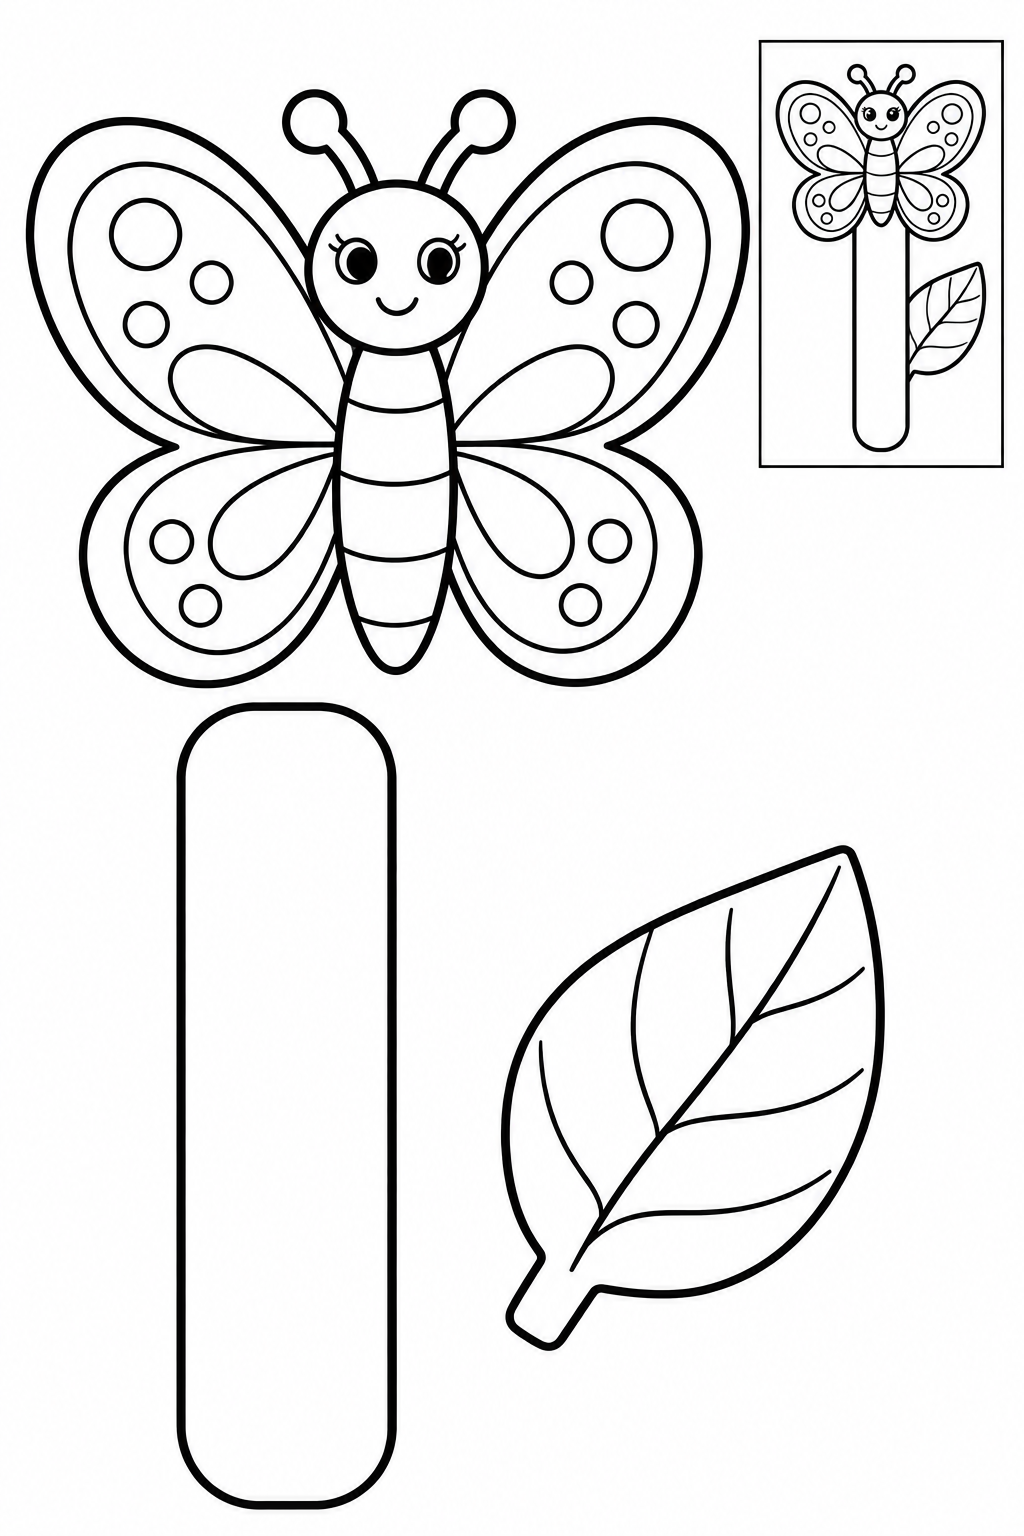
Black and white — color before cutting.
Assembly example: The small boxed example shows the finished craft. Do not cut it out.
Cut the outer contours; leave the boxed example on the page. Glue the butterfly’s middle to the top of the bookmark strip. Overlap the leaf stem onto one side of the strip and keep the lower strip flat. Check that the joins hold and the face is clear; reposition a part before the glue dries if it hides another.
Check: Can you guide the scissors comfortably? If it is difficult, an adult can shorten a strip, cut a tricky curve or offer straight paths. Pieces should be fully separated and arranged as intended before gluing.
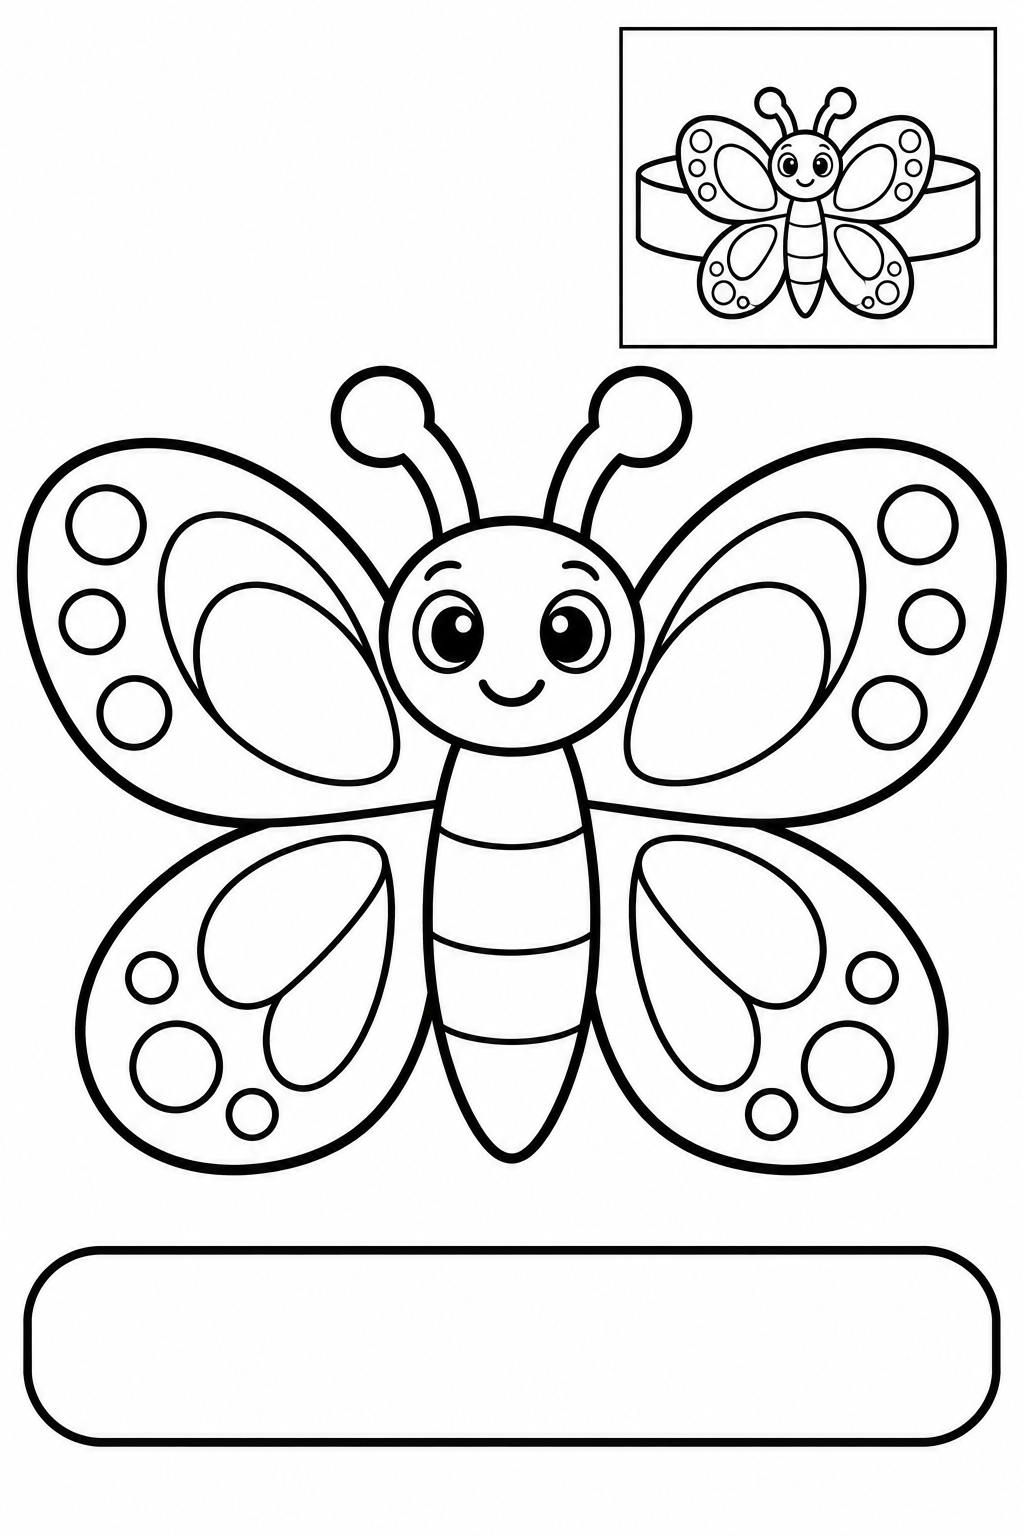
Black and white — color before cutting.
Assembly example: The small boxed example shows the finished craft. Do not cut it out.
Cut the outer contours; leave the boxed example on the page. Cut the band flat. With adult help, wrap it loosely around a finger and glue the ends in overlap. Attach the butterfly to its front and dry it off the finger. It must slide off easily. Check that the joins hold and the face is clear; reposition a part before the glue dries if it hides another.
Check: Can you guide the scissors comfortably? If it is difficult, an adult can shorten a strip, cut a tricky curve or offer straight paths. Pieces should be fully separated and arranged as intended before gluing.
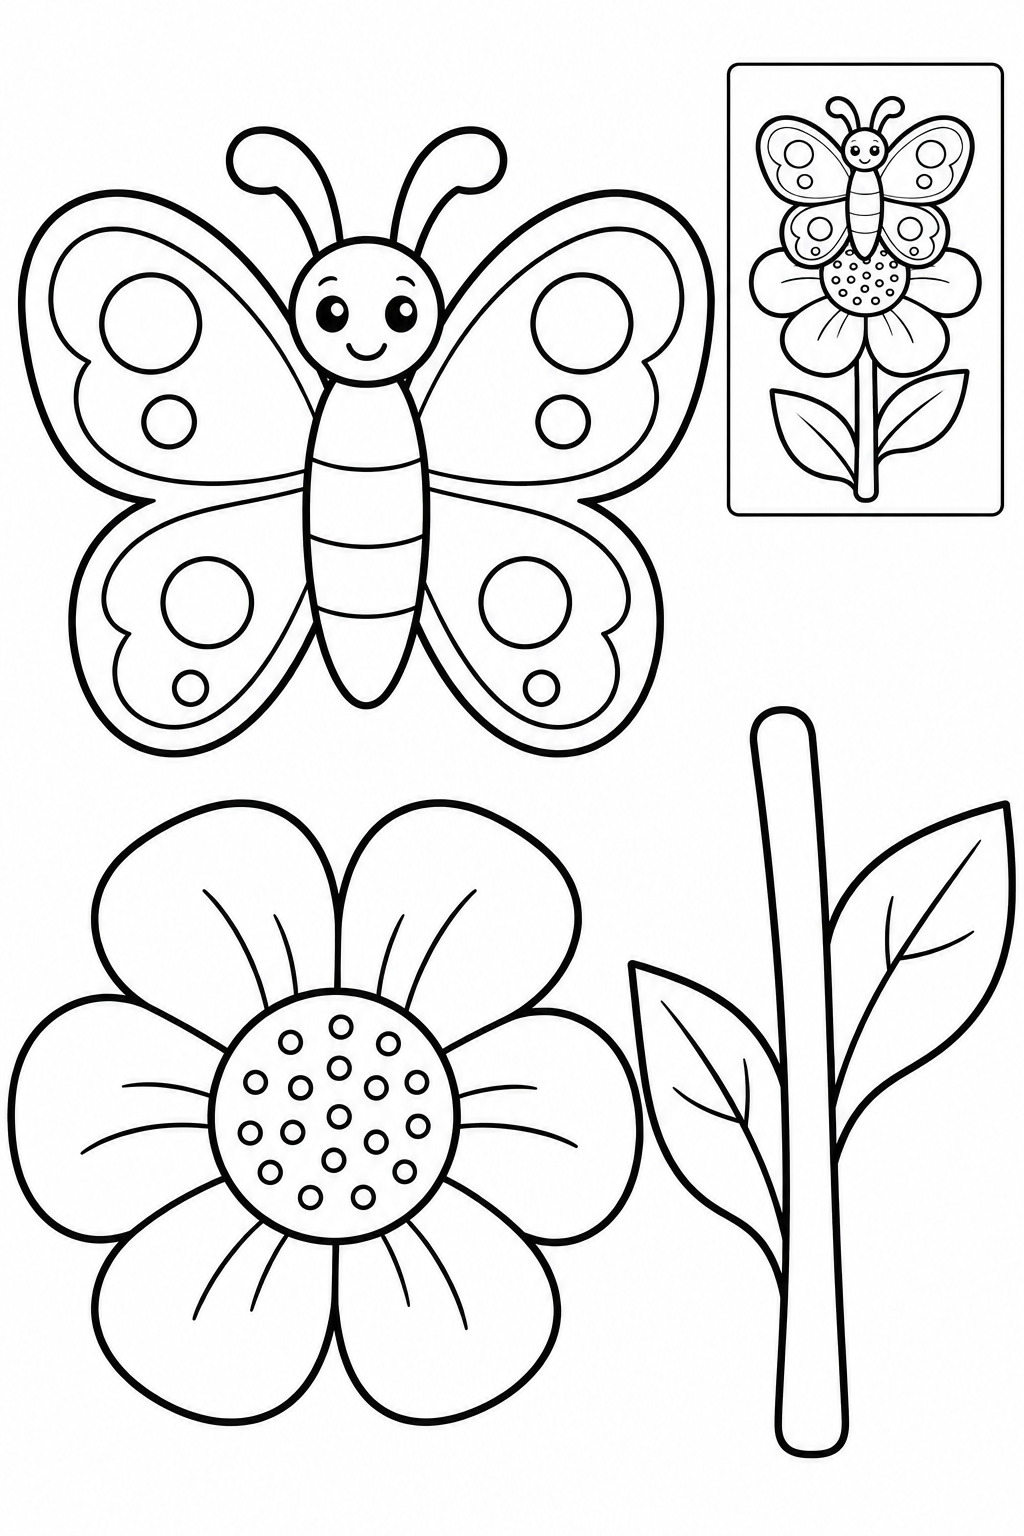
Black and white — color before cutting.
Assembly example: The small boxed example shows the finished craft. Do not cut it out.
Cut the outer contours; leave the boxed example on the page. Glue the flower over the top of the stem with attached leaves. Add the whole butterfly above the flower center with a small overlap at its lower body. Check that the joins hold and the face is clear; reposition a part before the glue dries if it hides another.
Check: Can you guide the scissors comfortably? If it is difficult, an adult can shorten a strip, cut a tricky curve or offer straight paths. Pieces should be fully separated and arranged as intended before gluing.
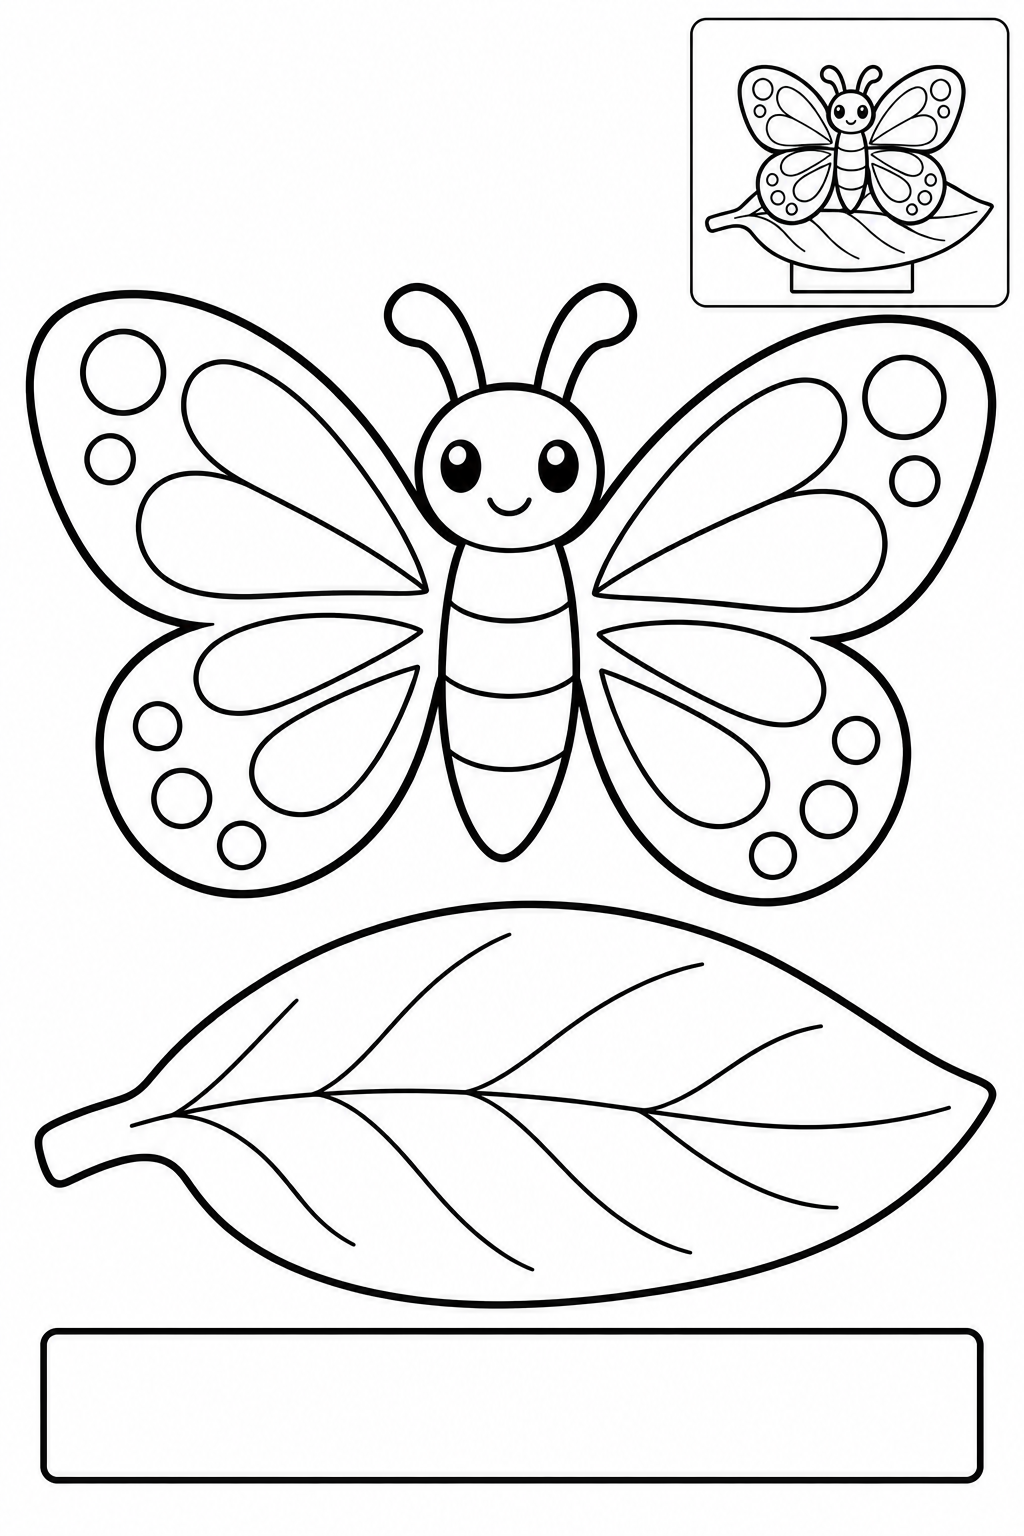
Black and white — color before cutting.
Assembly example: The small boxed example shows the finished craft. Do not cut it out.
Cut the outer contours; leave the boxed example on the page. Place the butterfly on the leaf. Fold the broad strip into a shallow zigzag and glue its ends behind the leaf and body for a raised effect, or keep the scene flat on backing paper. Check that the joins hold and the face is clear; reposition a part before the glue dries if it hides another.
Check: Can you guide the scissors comfortably? If it is difficult, an adult can shorten a strip, cut a tricky curve or offer straight paths. Pieces should be fully separated and arranged as intended before gluing.
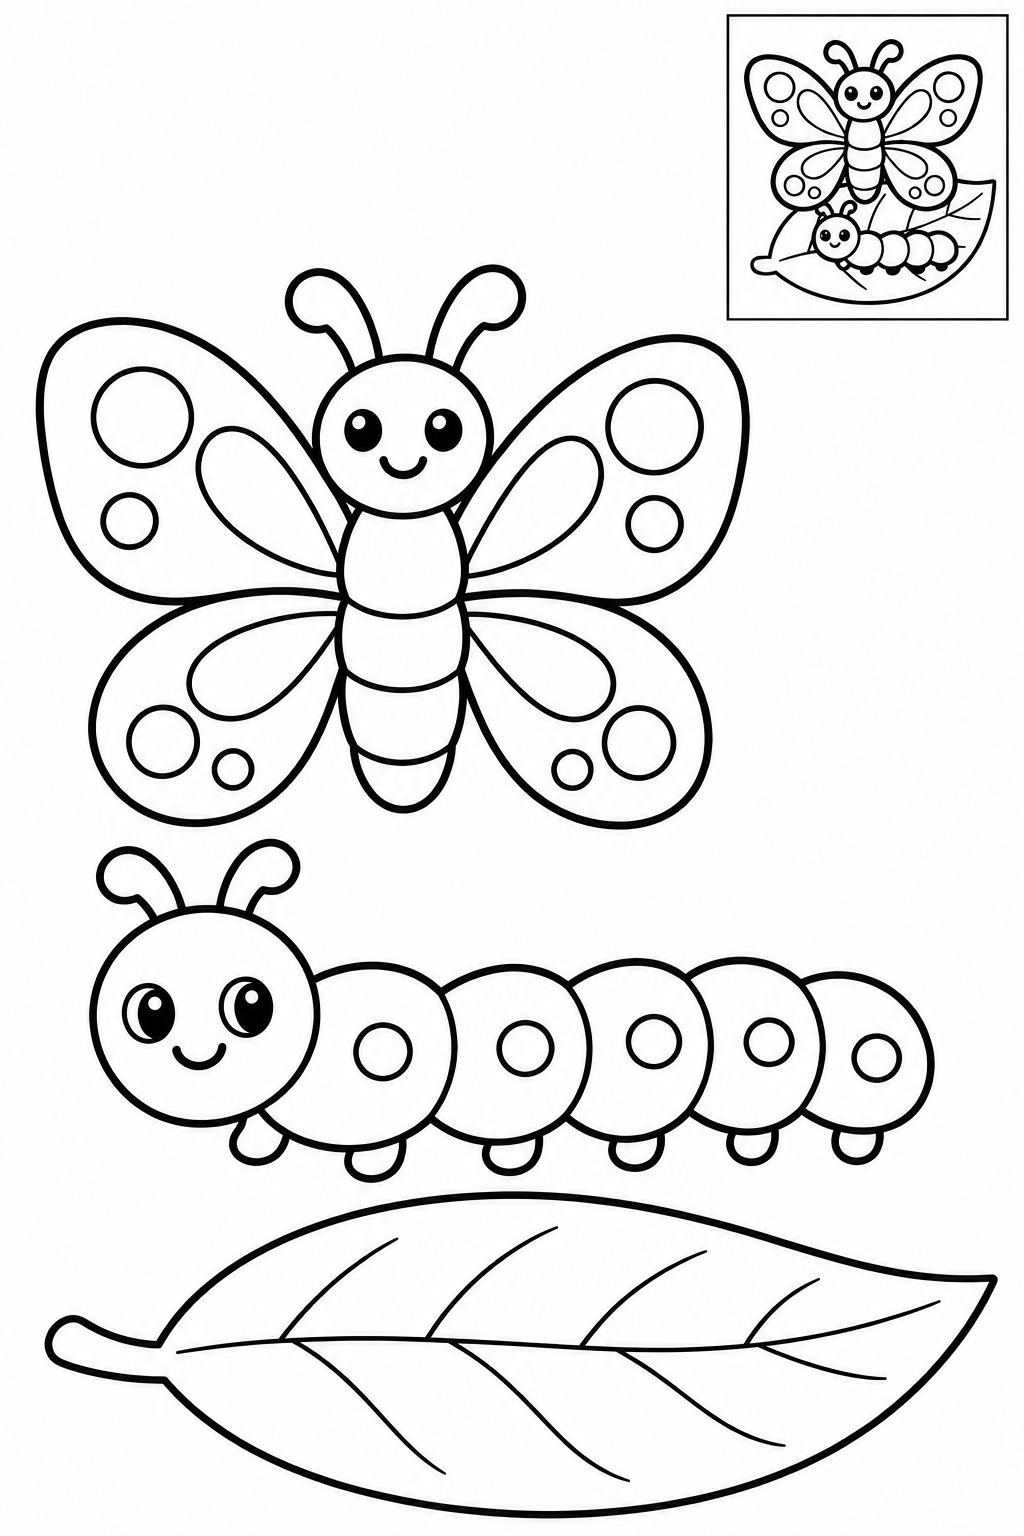
Black and white — color before cutting.
Assembly example: The small boxed example shows the finished craft. Do not cut it out.
Cut the outer contours; leave the boxed example on the page. Glue the leaf to backing paper, add the whole caterpillar along it, then the butterfly above. Tell a story about change; this is not a complete life-cycle diagram. Check that the joins hold and the face is clear; reposition a part before the glue dries if it hides another.
Check: Can you guide the scissors comfortably? If it is difficult, an adult can shorten a strip, cut a tricky curve or offer straight paths. Pieces should be fully separated and arranged as intended before gluing.
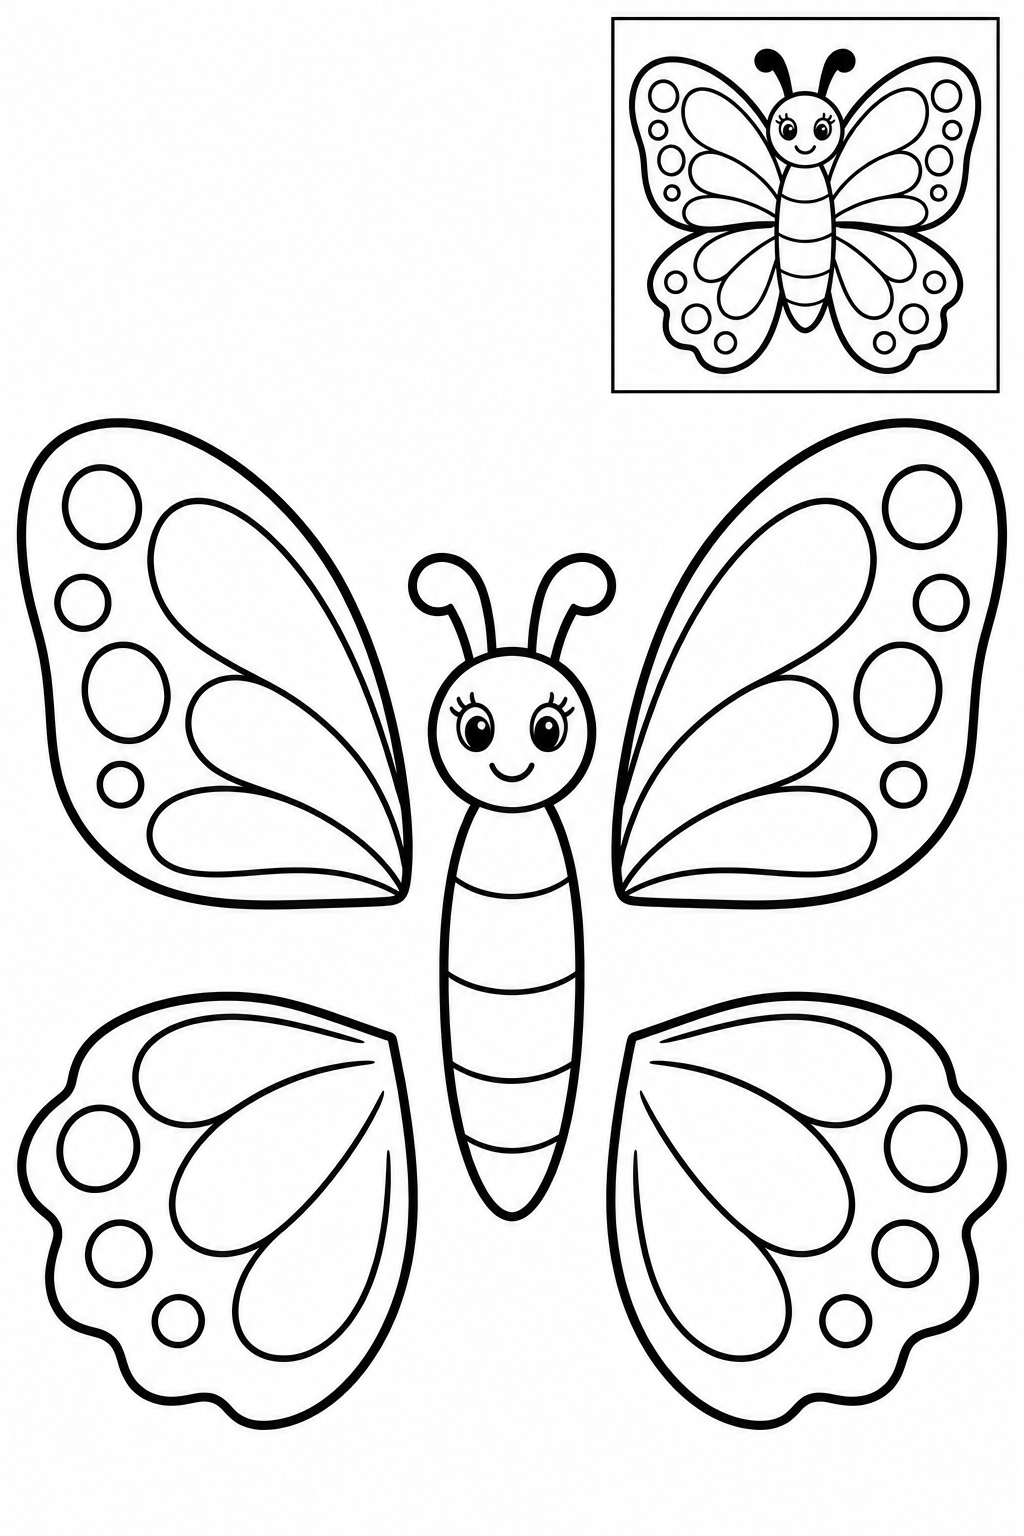
Black and white — color before cutting.
Assembly example: The small boxed example shows the finished craft. Do not cut it out.
Cut the outer contours; leave the boxed example on the page. Pair the smooth upper wings and scalloped lower wings by their patterns. Set each pair at equal heights and cover their roots with the body. Check that the joins hold and the face is clear; reposition a part before the glue dries if it hides another.
Check: Can you guide the scissors comfortably? If it is difficult, an adult can shorten a strip, cut a tricky curve or offer straight paths. Pieces should be fully separated and arranged as intended before gluing.
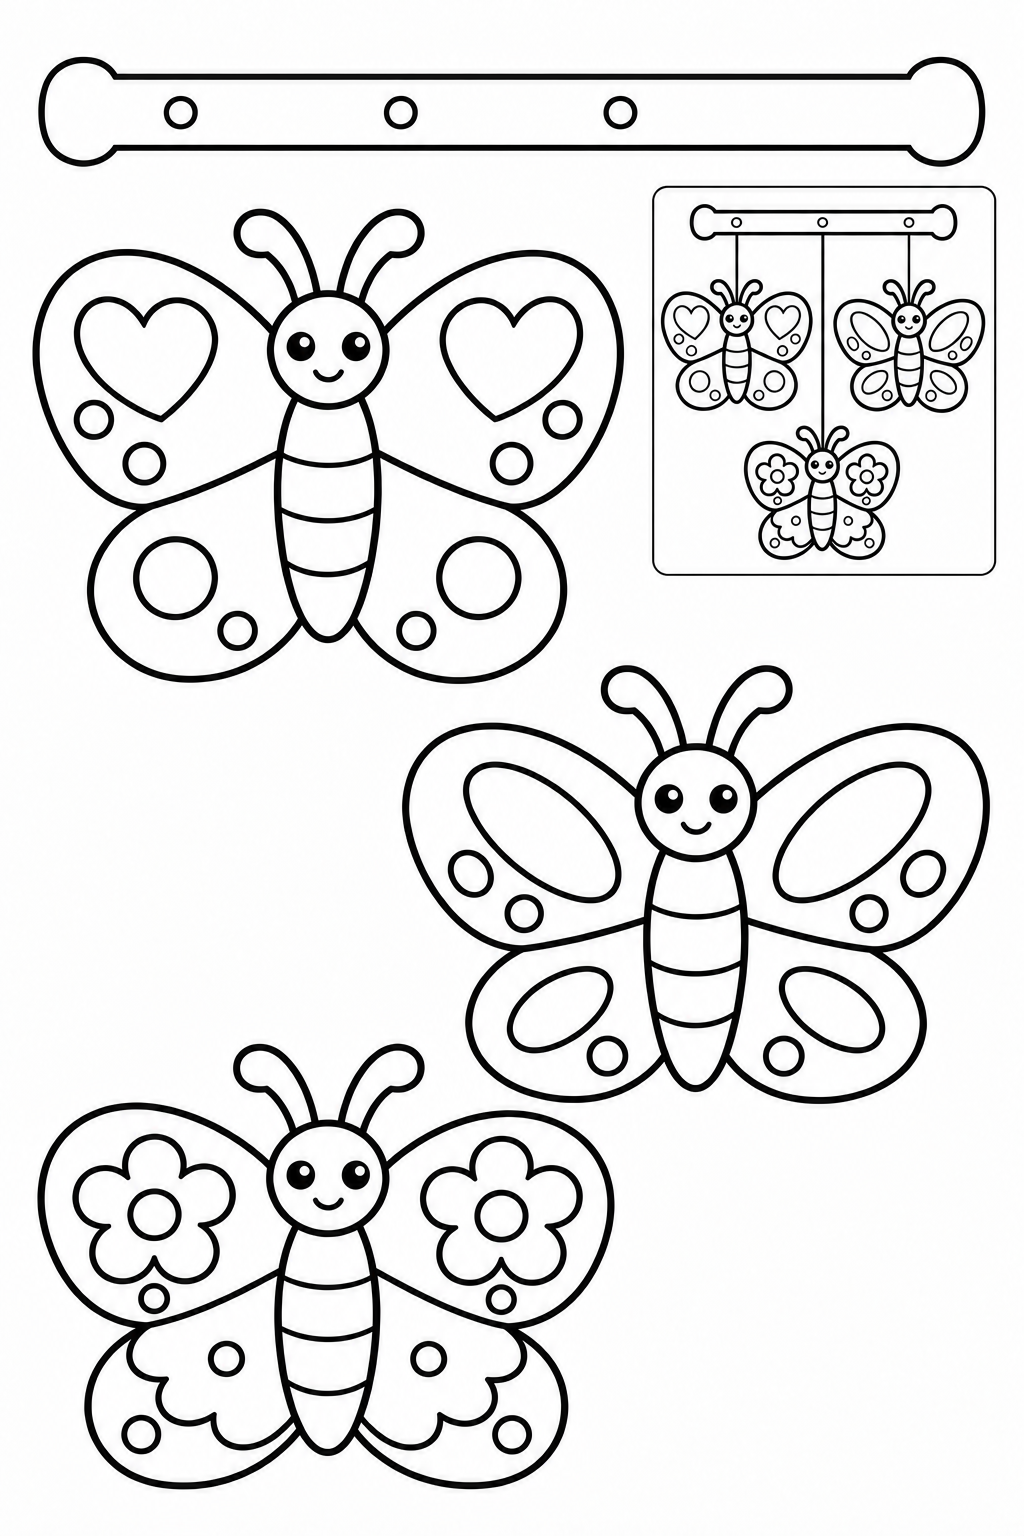
Black and white — color before cutting.
Assembly example: The small boxed example shows the finished craft. Do not cut it out.
Cut the outer contours; leave the boxed example on the page. Cut the three butterflies and broad bar. An adult tapes three short threads to the bar and backs of the butterfly bodies. The circles mark positions; holes are not required. Hang for display with adult help. Check that the joins hold and the face is clear; reposition a part before the glue dries if it hides another.
Check: Can you guide the scissors comfortably? If it is difficult, an adult can shorten a strip, cut a tricky curve or offer straight paths. Pieces should be fully separated and arranged as intended before gluing.
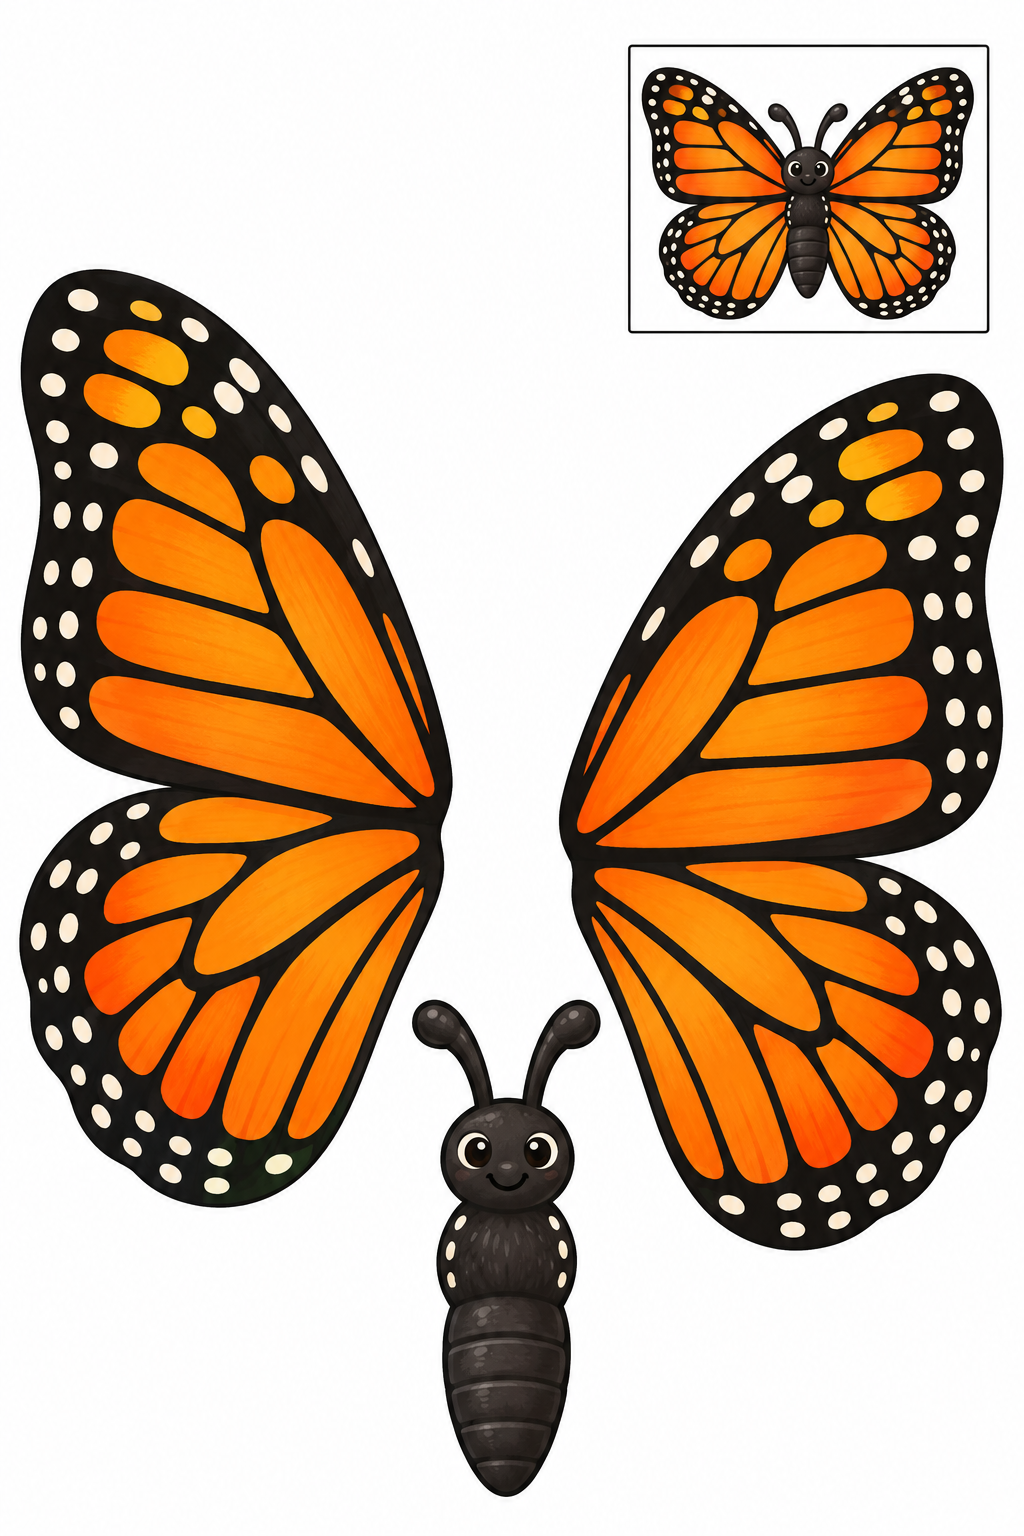
Full color — ready to cut.
Assembly example: The small boxed example shows the finished craft. Do not cut it out.
Cut the outer contours; leave the boxed example on the page. Join the two orange-and-black wing halves beneath the dark body. Align the upper lobes and keep the cream spots intact. Check that the joins hold and the face is clear; reposition a part before the glue dries if it hides another.
Check: Can you guide the scissors comfortably? If it is difficult, an adult can shorten a strip, cut a tricky curve or offer straight paths. Pieces should be fully separated and arranged as intended before gluing.
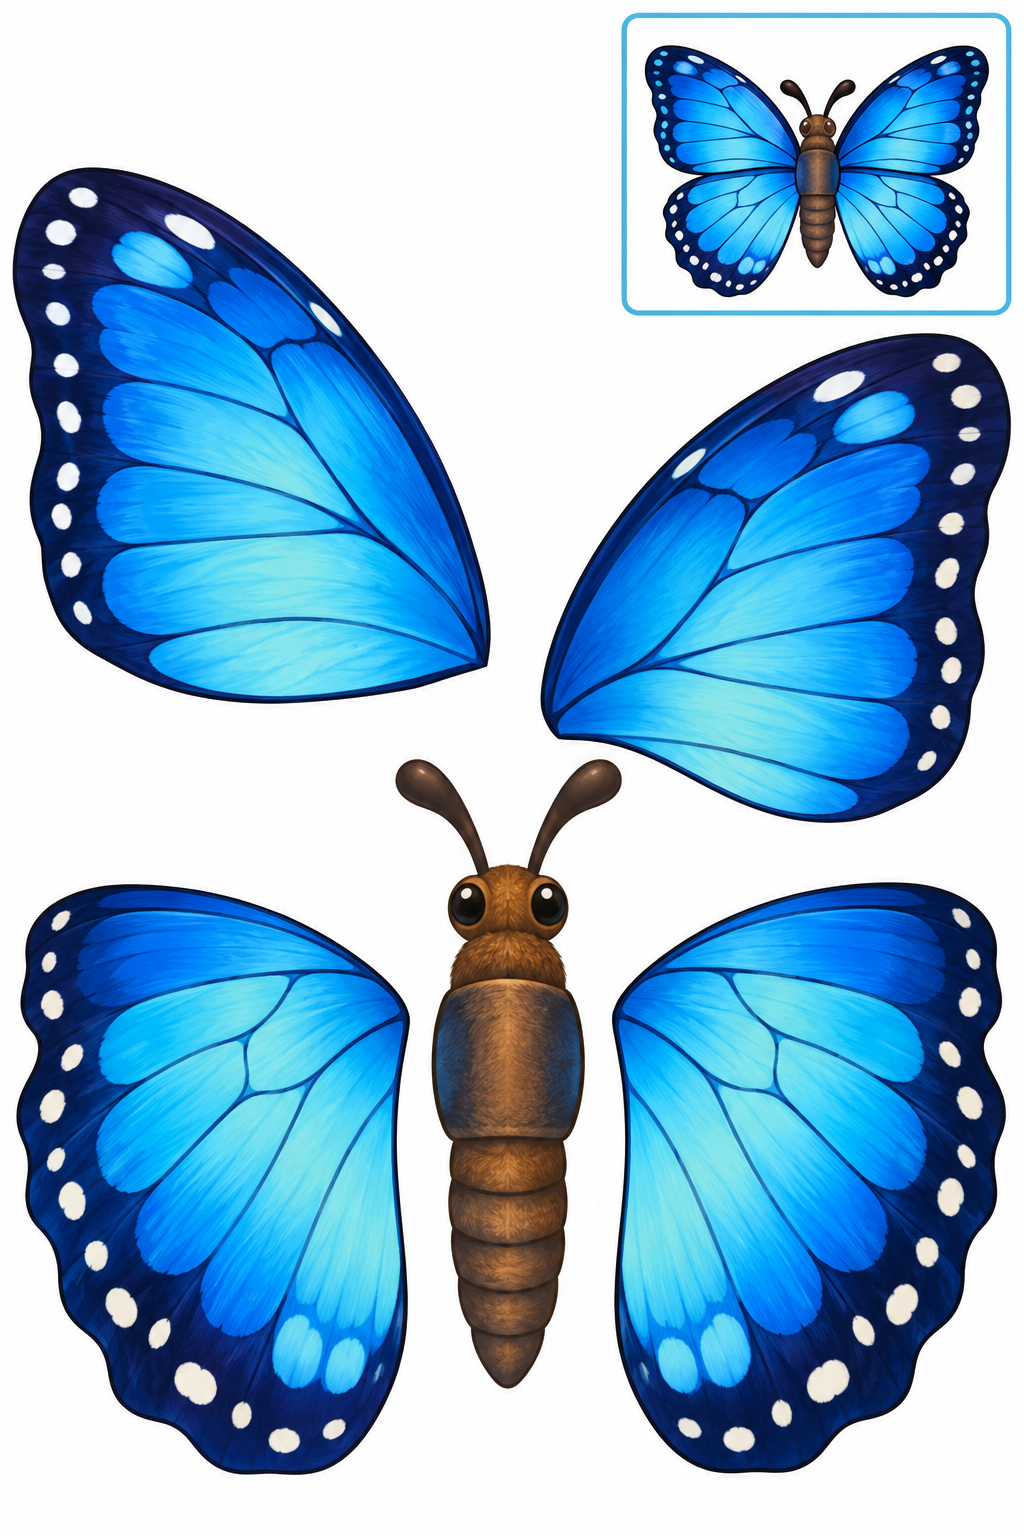
Full color — ready to cut.
Assembly example: The small boxed example shows the finished craft. Do not cut it out.
Cut the outer contours; leave the boxed example on the page. Place the two large blue wings above and two smaller wings below. Glue their roots beneath the brown body; the blue saddle is printed on the body. Check that the joins hold and the face is clear; reposition a part before the glue dries if it hides another.
Check: Can you guide the scissors comfortably? If it is difficult, an adult can shorten a strip, cut a tricky curve or offer straight paths. Pieces should be fully separated and arranged as intended before gluing.
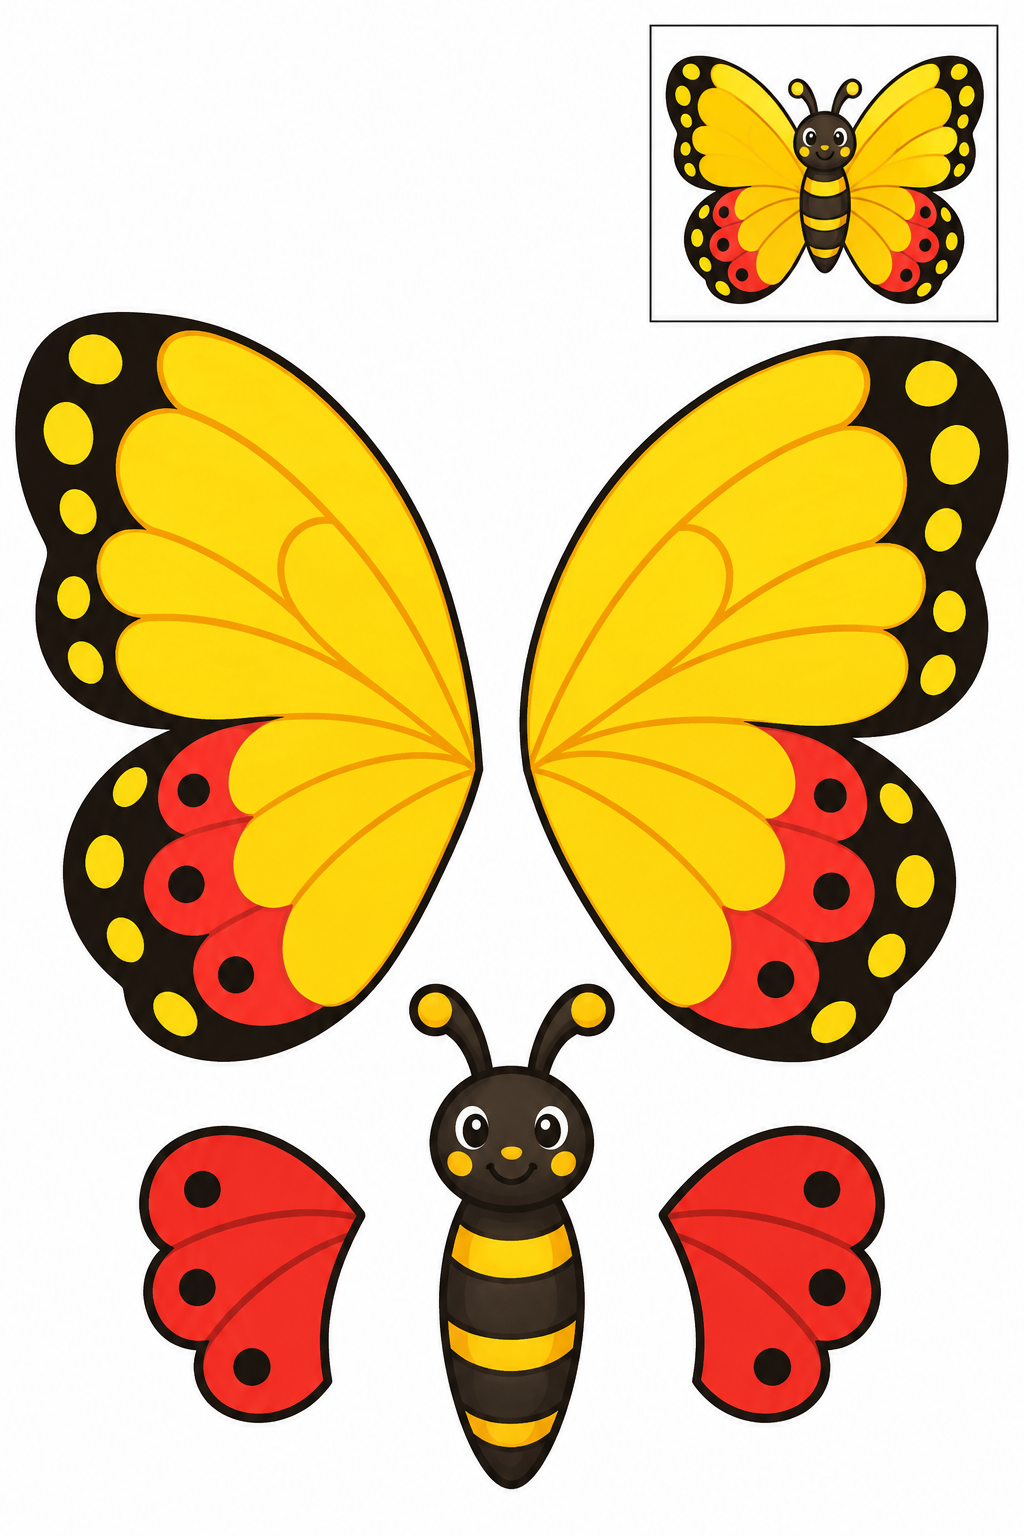
Full color — ready to cut.
Assembly example: The small boxed example shows the finished craft. Do not cut it out.
Cut the outer contours; leave the boxed example on the page. Place the yellow wing halves beneath the striped body. Glue one red patch to each lower wing, matching the rounded lobes. Check that the joins hold and the face is clear; reposition a part before the glue dries if it hides another.
Check: Can you guide the scissors comfortably? If it is difficult, an adult can shorten a strip, cut a tricky curve or offer straight paths. Pieces should be fully separated and arranged as intended before gluing.
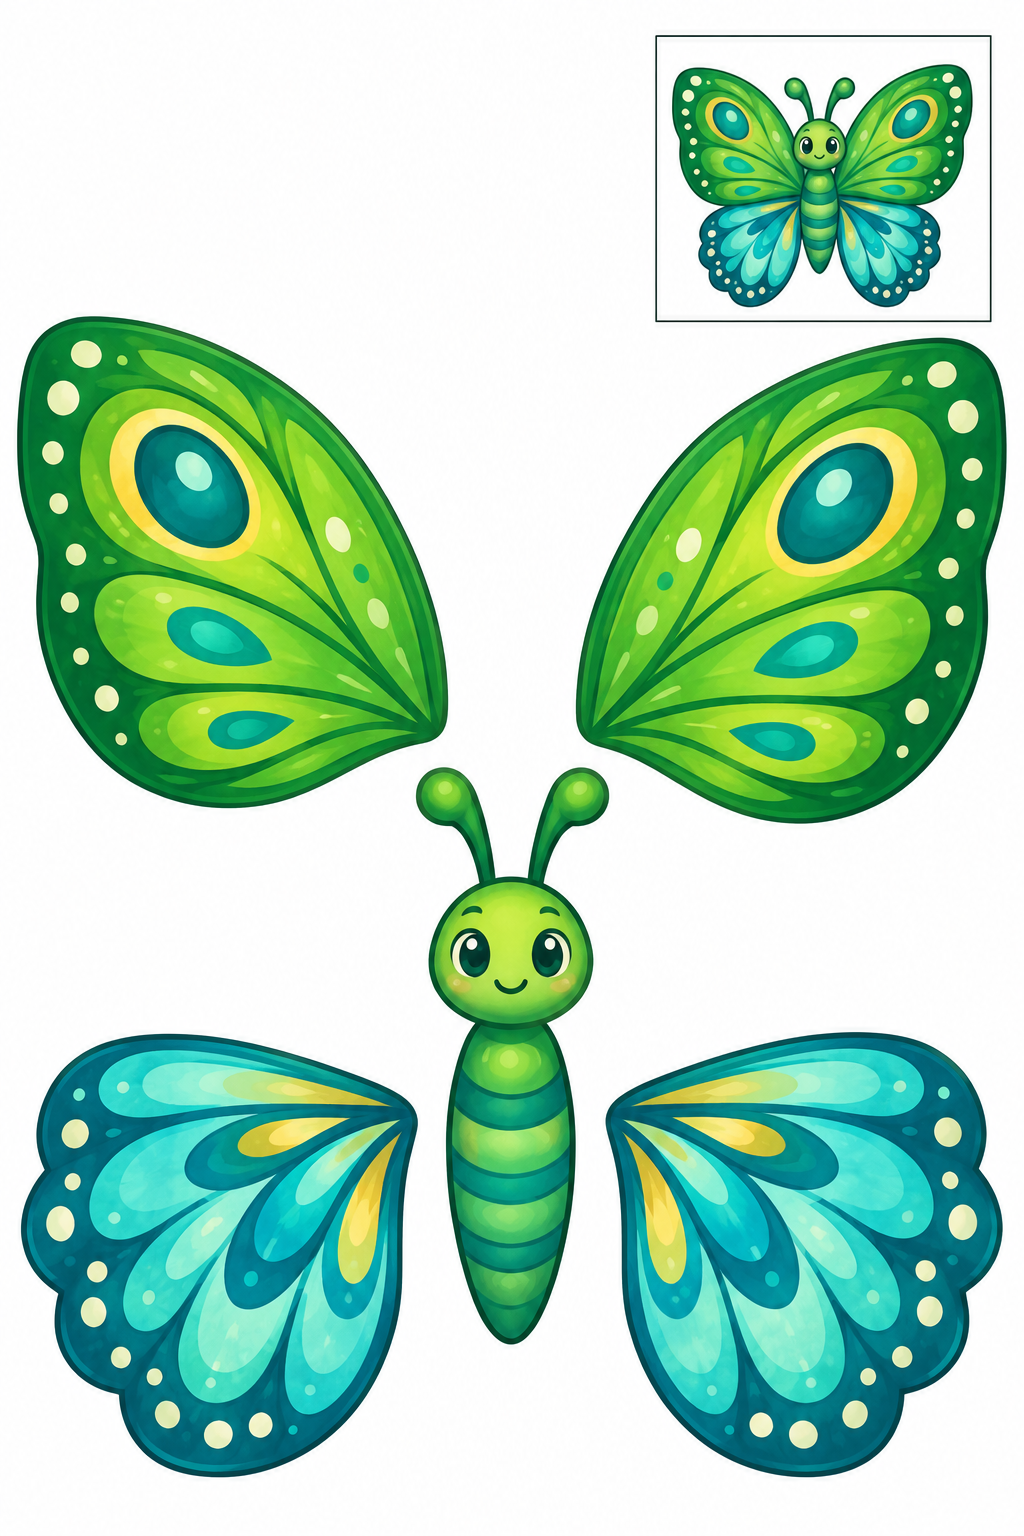
Full color — ready to cut.
Assembly example: The small boxed example shows the finished craft. Do not cut it out.
Cut the outer contours; leave the boxed example on the page. Arrange two green upper wings and two turquoise lower wings. Glue all four roots under the green body with both eyespots facing outward. Check that the joins hold and the face is clear; reposition a part before the glue dries if it hides another.
Check: Can you guide the scissors comfortably? If it is difficult, an adult can shorten a strip, cut a tricky curve or offer straight paths. Pieces should be fully separated and arranged as intended before gluing.
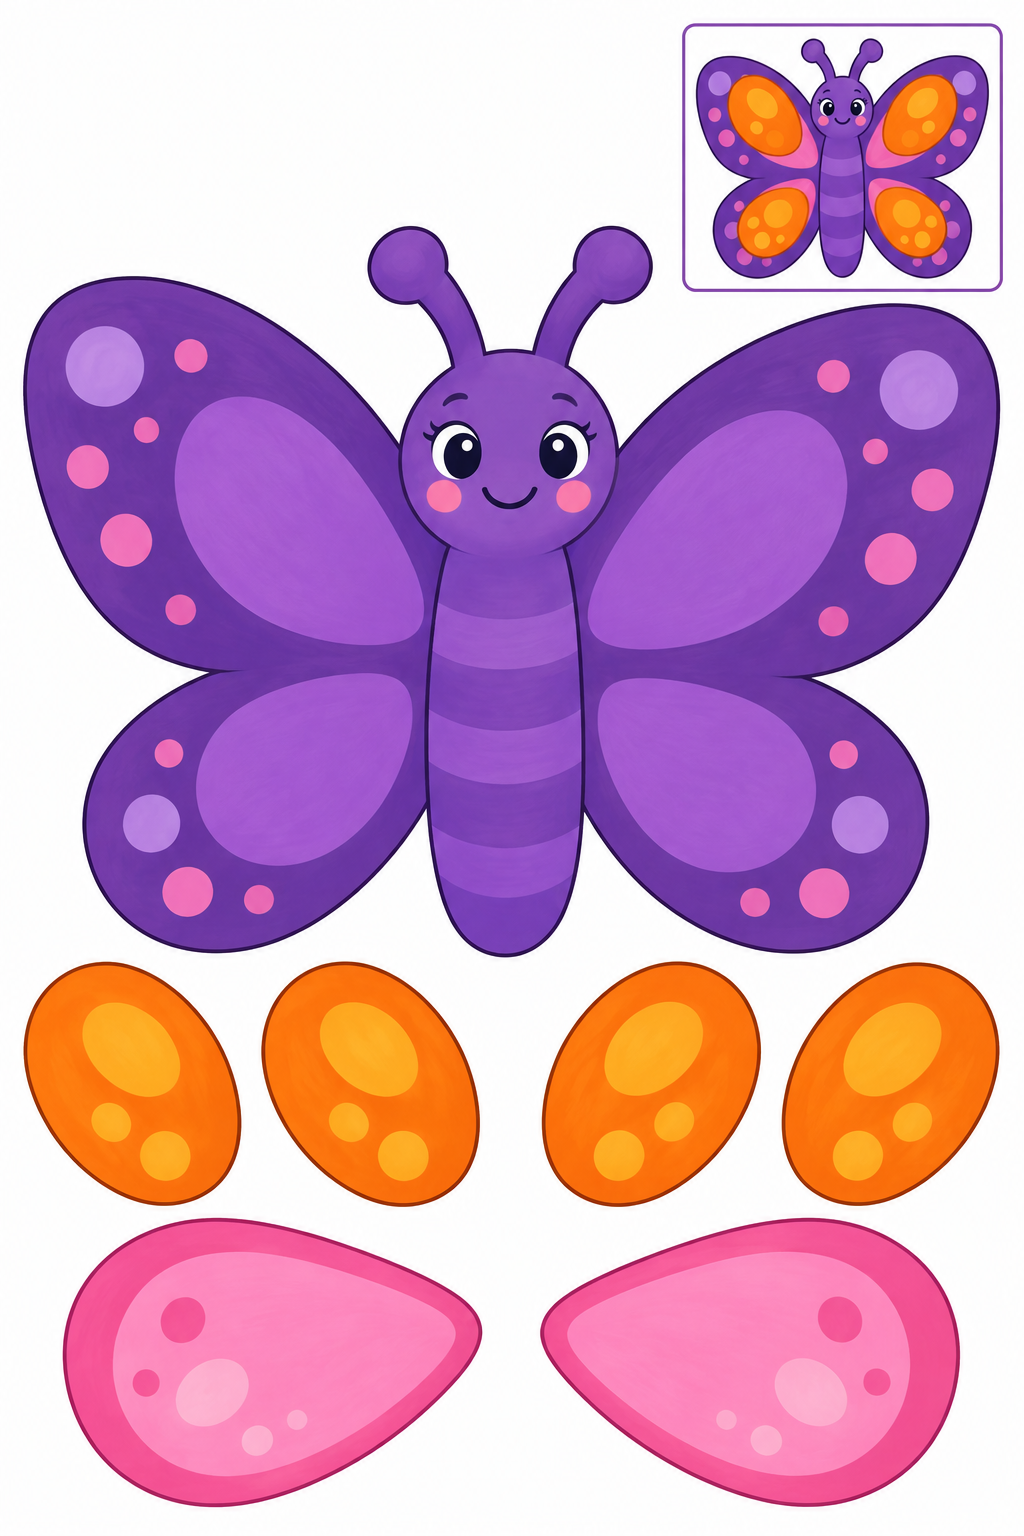
Full color — ready to cut.
Assembly example: The small boxed example shows the finished craft. Do not cut it out.
Cut the outer contours; leave the boxed example on the page. Cut the purple base, four orange ovals and two pink patches. Add one orange oval to each wing as in the reference. Pink patches are optional alternatives for your own lower-wing pattern. Check that the joins hold and the face is clear; reposition a part before the glue dries if it hides another.
Check: Can you guide the scissors comfortably? If it is difficult, an adult can shorten a strip, cut a tricky curve or offer straight paths. Pieces should be fully separated and arranged as intended before gluing.
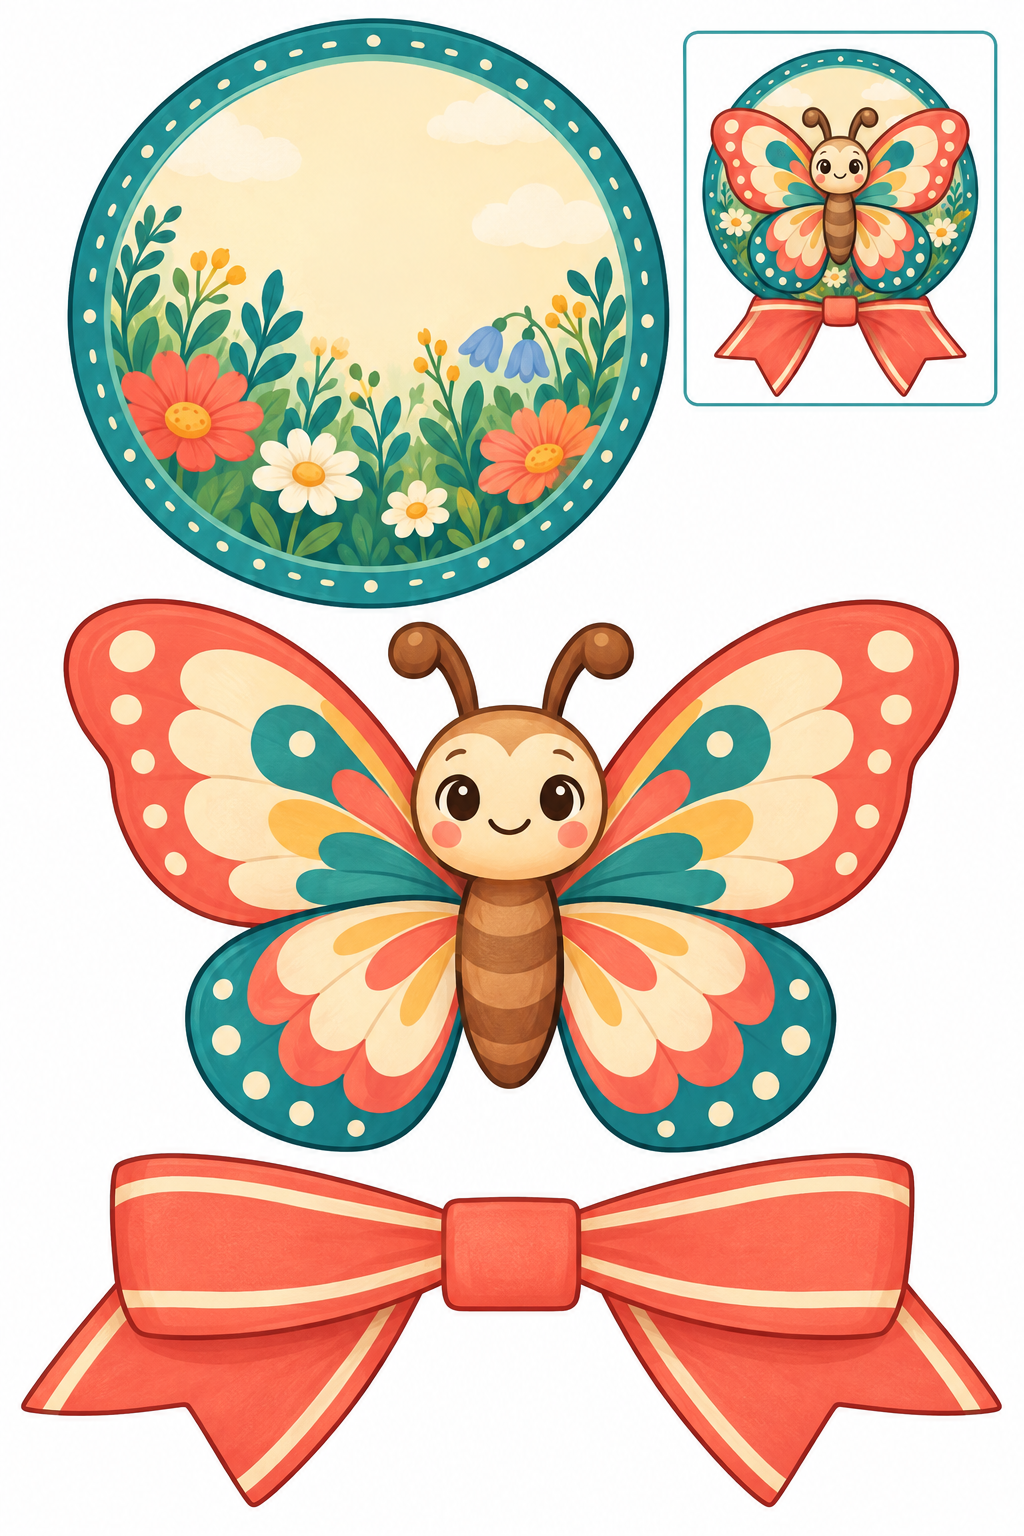
Full color — ready to cut.
Assembly example: The small boxed example shows the finished craft. Do not cut it out.
Cut the outer contours; leave the boxed example on the page. Glue the joined ribbon behind the bottom of the round meadow badge. Add the whole coral butterfly to the front, keeping the meadow border visible. Use as a paper decoration. Check that the joins hold and the face is clear; reposition a part before the glue dries if it hides another.
Check: Can you guide the scissors comfortably? If it is difficult, an adult can shorten a strip, cut a tricky curve or offer straight paths. Pieces should be fully separated and arranged as intended before gluing.
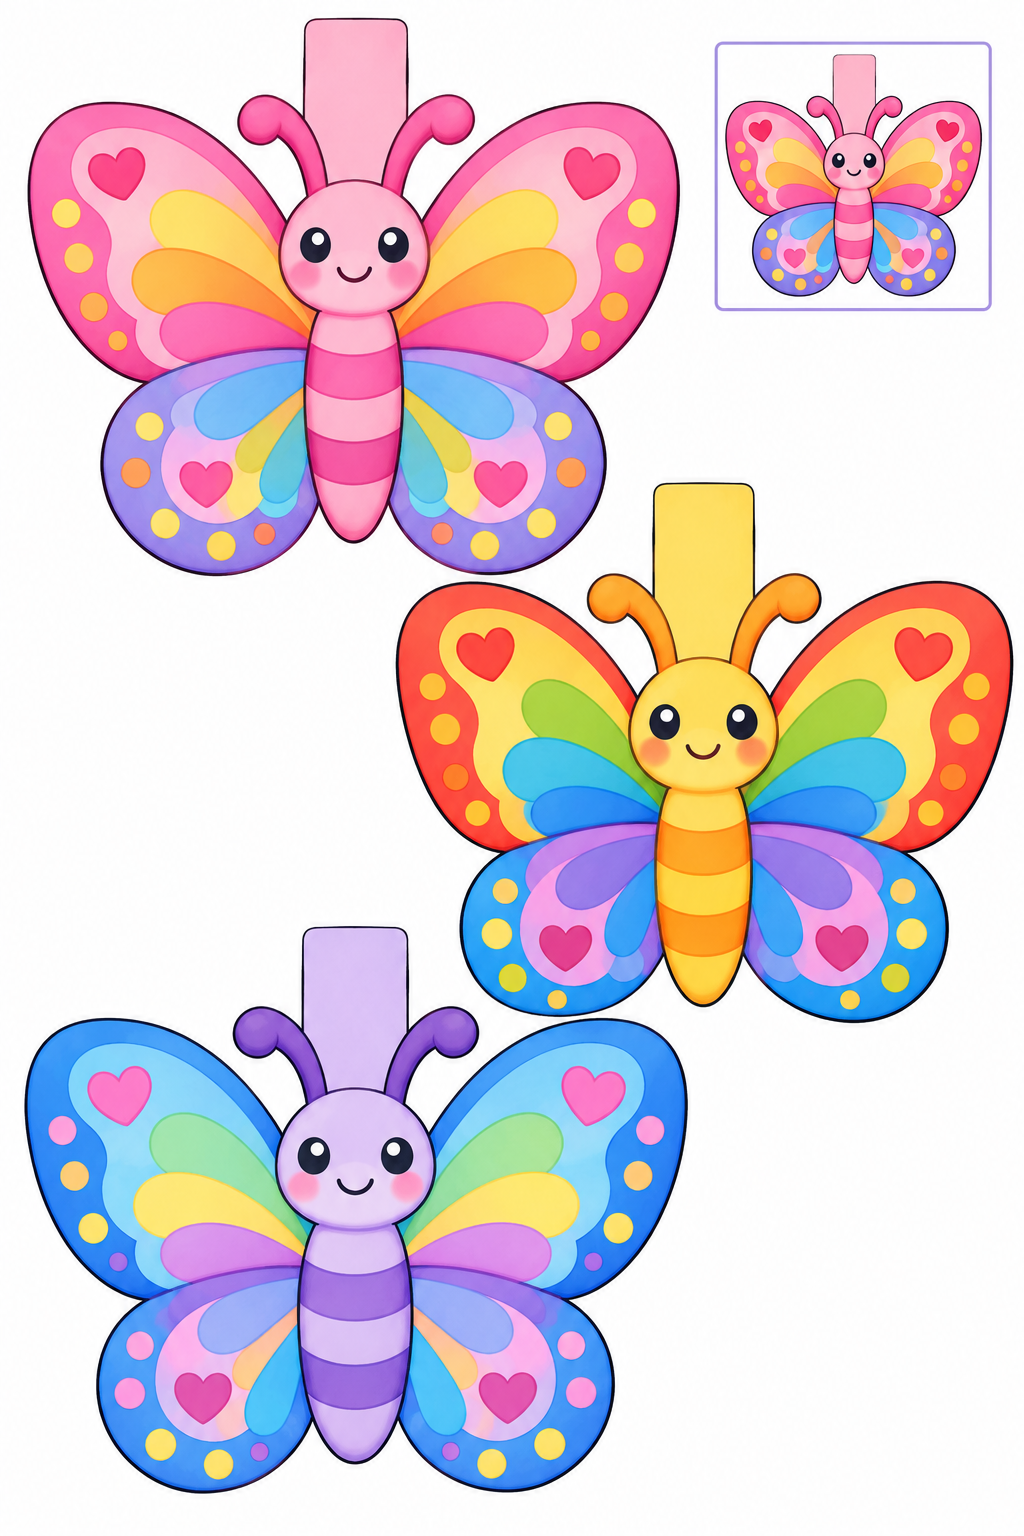
Full color — ready to cut.
Assembly example: The small boxed example shows the finished craft. Do not cut it out.
Cut the outer contours; leave the boxed example on the page. Cut the three whole butterflies with top tabs. Fold each tab over a cord and glue to its own back, leaving space between figures. The example shows one unfolded tab; an adult hangs the garland. Check that the joins hold and the face is clear; reposition a part before the glue dries if it hides another.
Check: Can you guide the scissors comfortably? If it is difficult, an adult can shorten a strip, cut a tricky curve or offer straight paths. Pieces should be fully separated and arranged as intended before gluing.
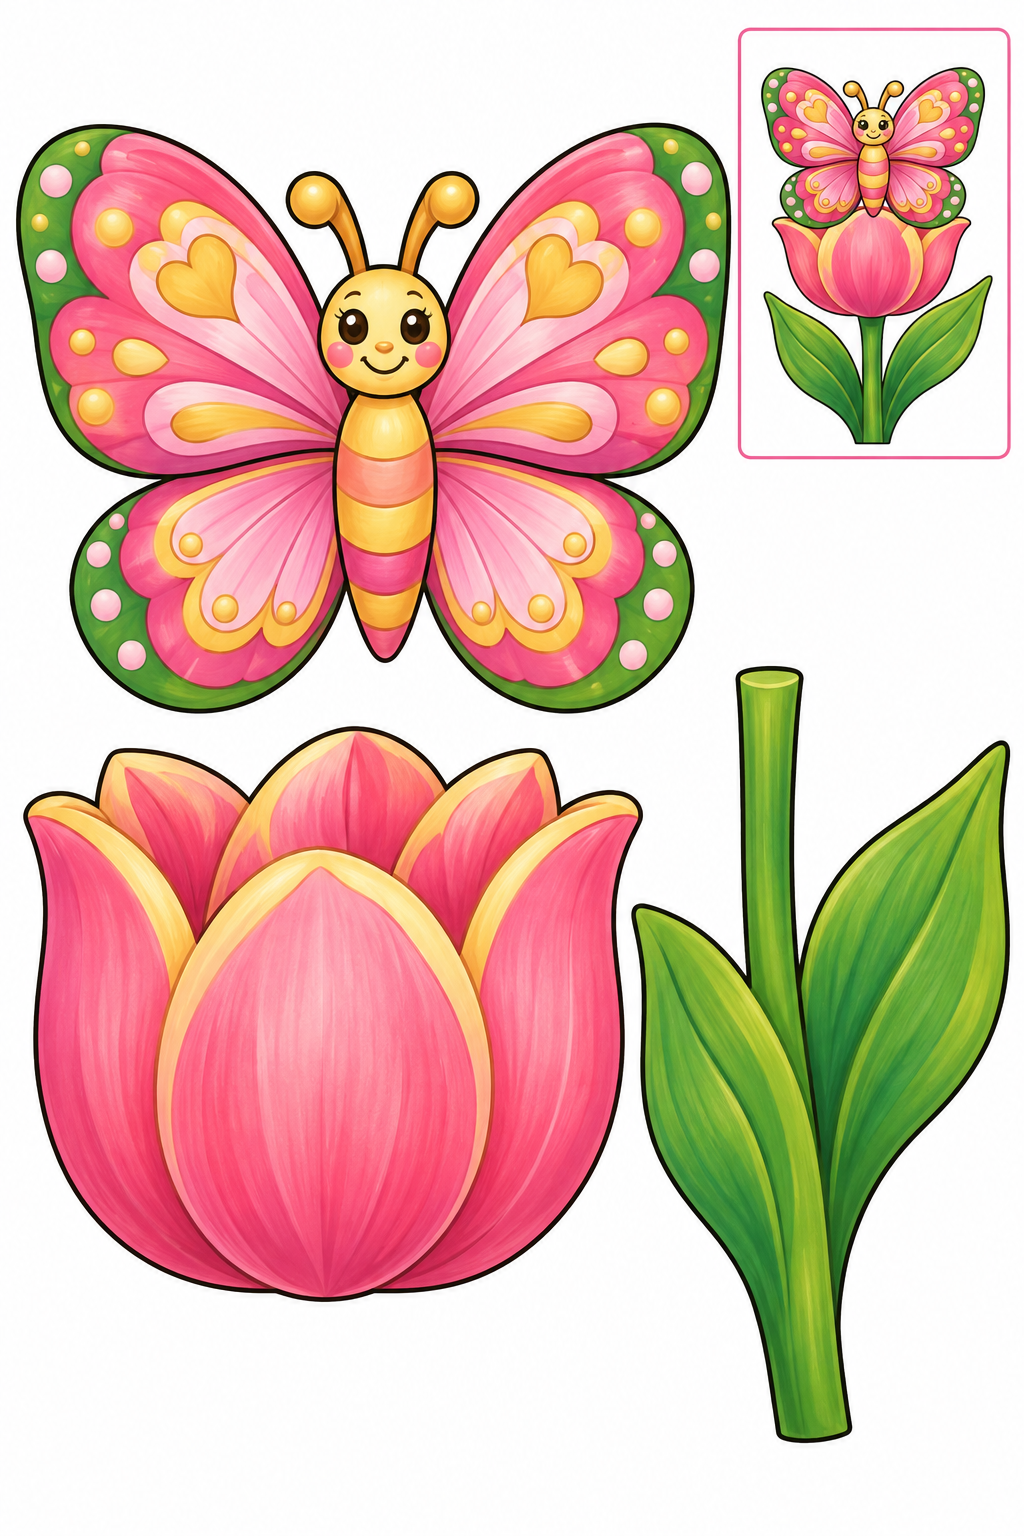
Full color — ready to cut.
Assembly example: The small boxed example shows the finished craft. Do not cut it out.
Cut the outer contours; leave the boxed example on the page. Glue the tulip bloom over the broad green stem with leaves. Add the butterfly above the flower with a small overlap at its lower body. Check that the joins hold and the face is clear; reposition a part before the glue dries if it hides another.
Check: Can you guide the scissors comfortably? If it is difficult, an adult can shorten a strip, cut a tricky curve or offer straight paths. Pieces should be fully separated and arranged as intended before gluing.
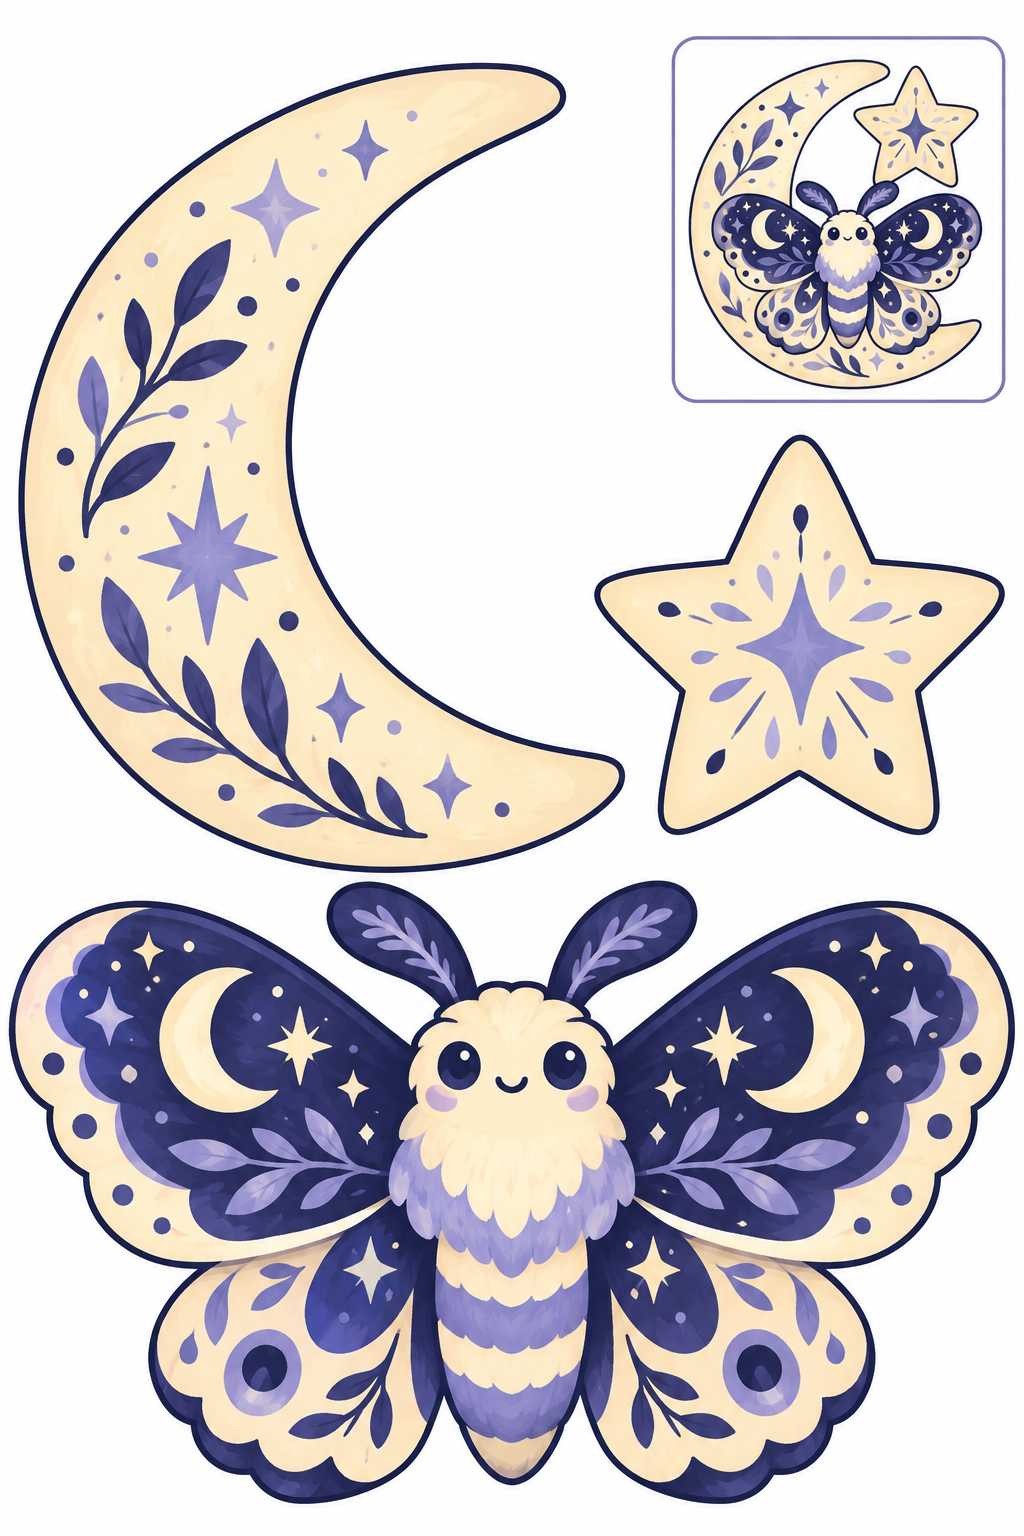
Full color — ready to cut.
Assembly example: The small boxed example shows the finished craft. Do not cut it out.
Cut the outer contours; leave the boxed example on the page. Glue the moon on backing paper, add the whole moth across its lower curve and place the star above. Keep the printed wing patterns intact. Check that the joins hold and the face is clear; reposition a part before the glue dries if it hides another.
Check: Can you guide the scissors comfortably? If it is difficult, an adult can shorten a strip, cut a tricky curve or offer straight paths. Pieces should be fully separated and arranged as intended before gluing.
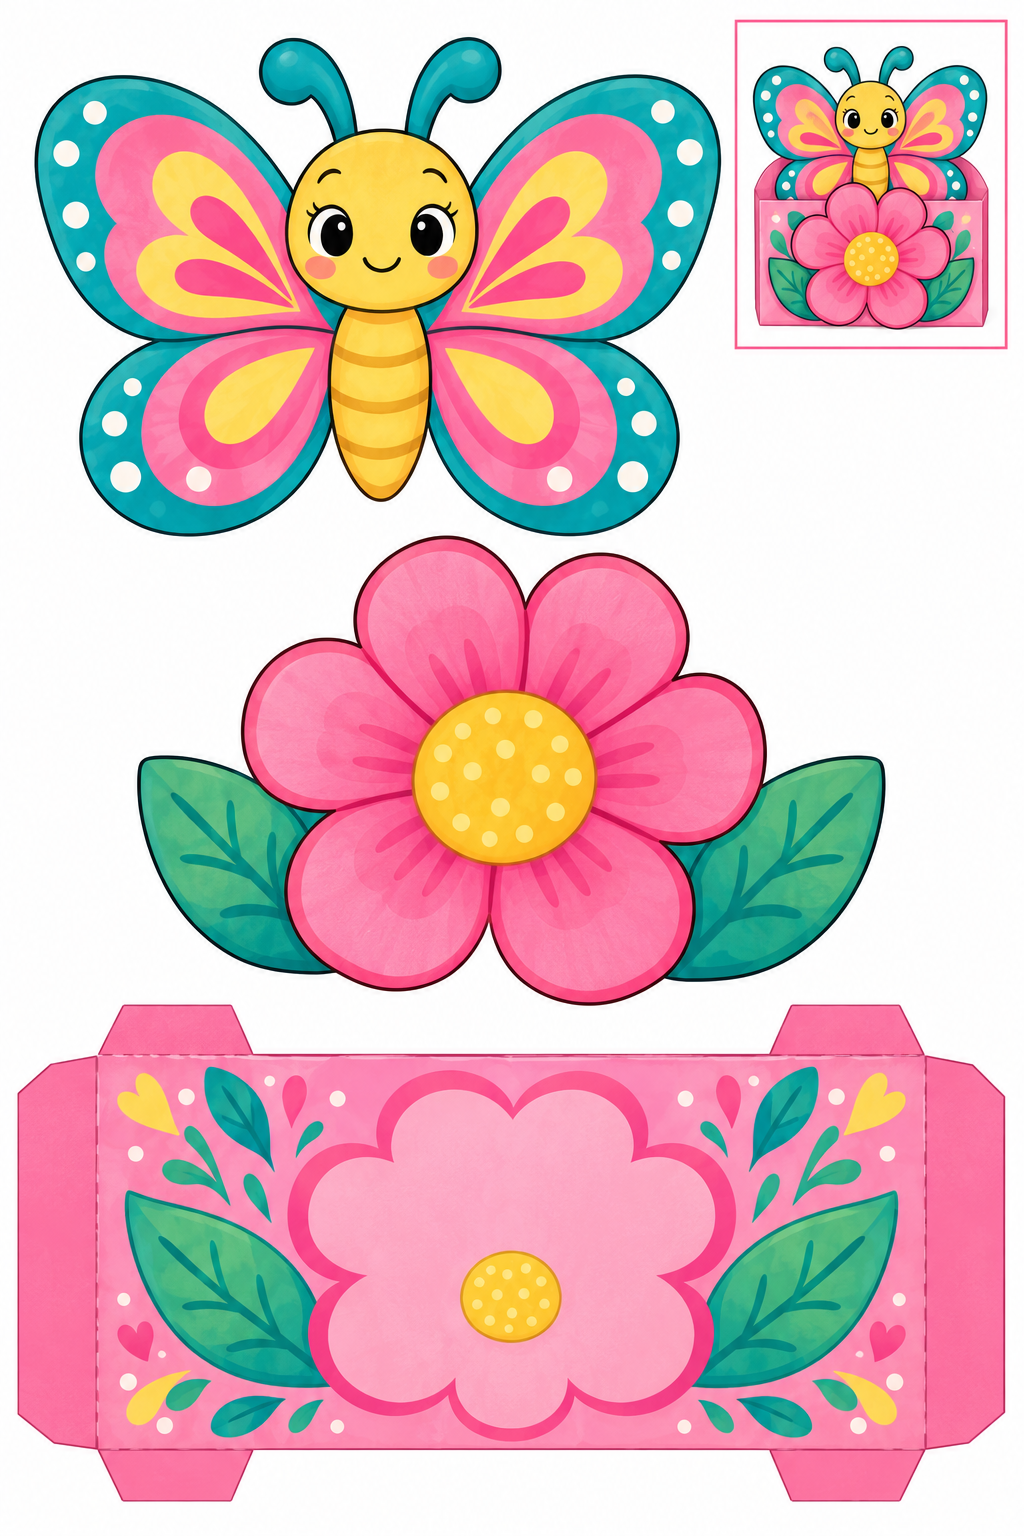
Full color — ready to cut.
Assembly example: The small boxed example shows the finished craft. Do not cut it out.
Cut the outer contours; leave the boxed example on the page. Fold the broad pocket tabs inward along the printed joins. Glue side and bottom tabs to backing paper, leaving the top open. Fold top corner tabs behind the backing. Add the flower to the front and slip the butterfly into the pocket. Check that the joins hold and the face is clear; reposition a part before the glue dries if it hides another.
Check: Can you guide the scissors comfortably? If it is difficult, an adult can shorten a strip, cut a tricky curve or offer straight paths. Pieces should be fully separated and arranged as intended before gluing.
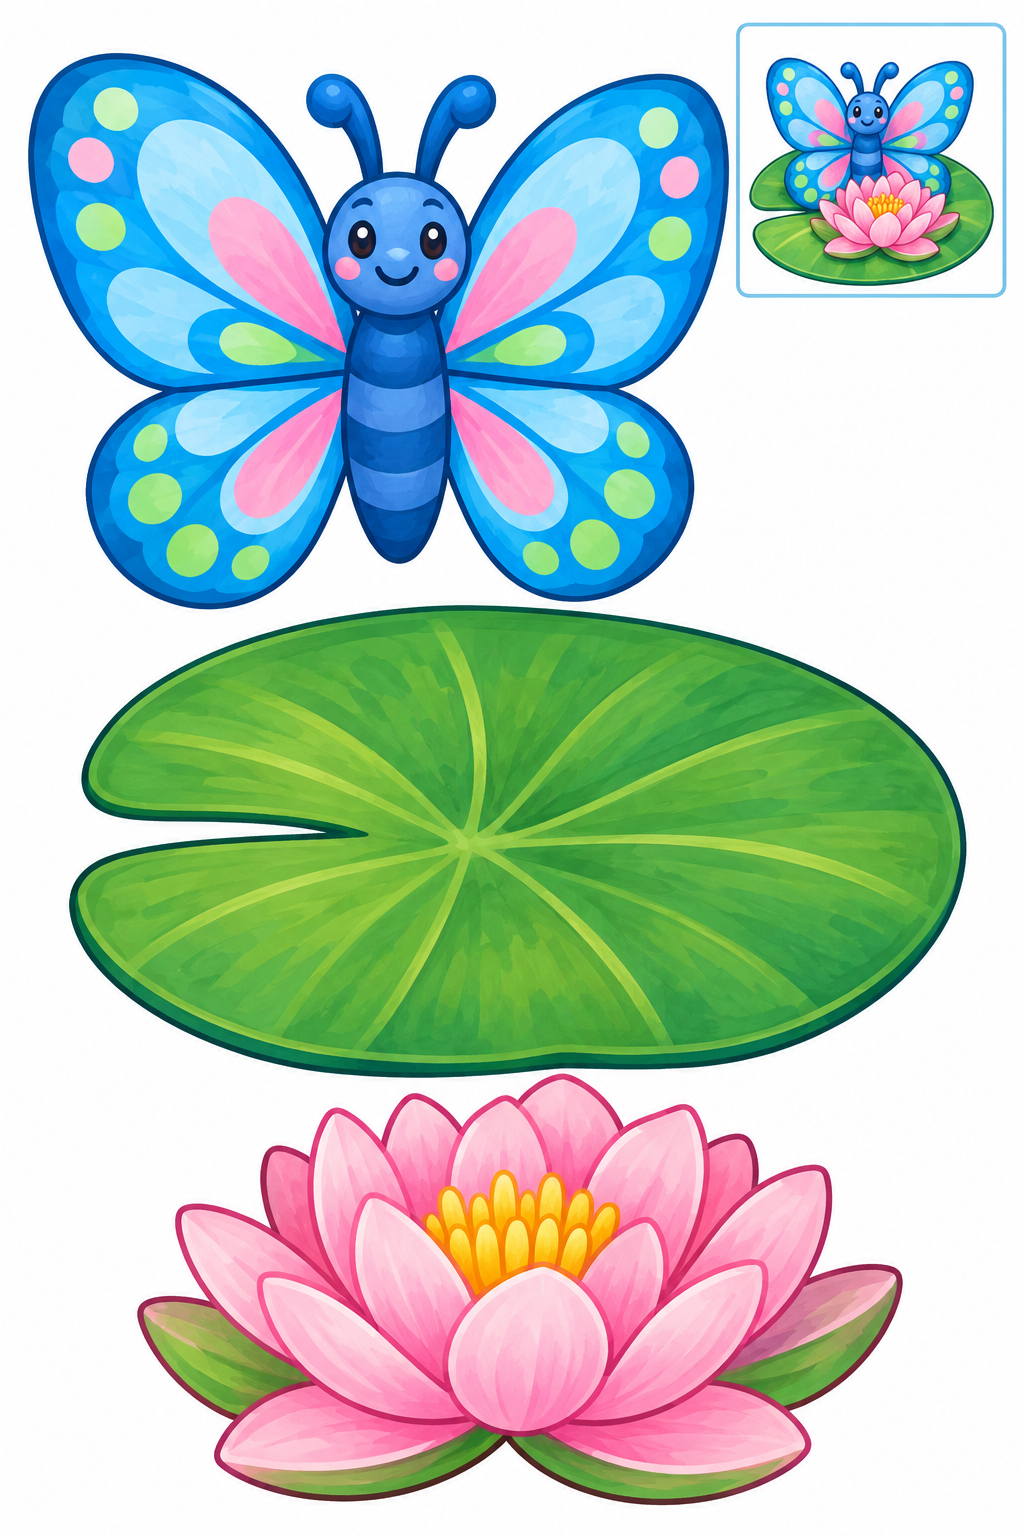
Full color — ready to cut.
Assembly example: The small boxed example shows the finished craft. Do not cut it out.
Cut the outer contours; leave the boxed example on the page. Glue the lily pad to backing paper, add the water lily at its front and place the butterfly behind the flower. Keep the face and flower center visible. Check that the joins hold and the face is clear; reposition a part before the glue dries if it hides another.
Check: Can you guide the scissors comfortably? If it is difficult, an adult can shorten a strip, cut a tricky curve or offer straight paths. Pieces should be fully separated and arranged as intended before gluing.
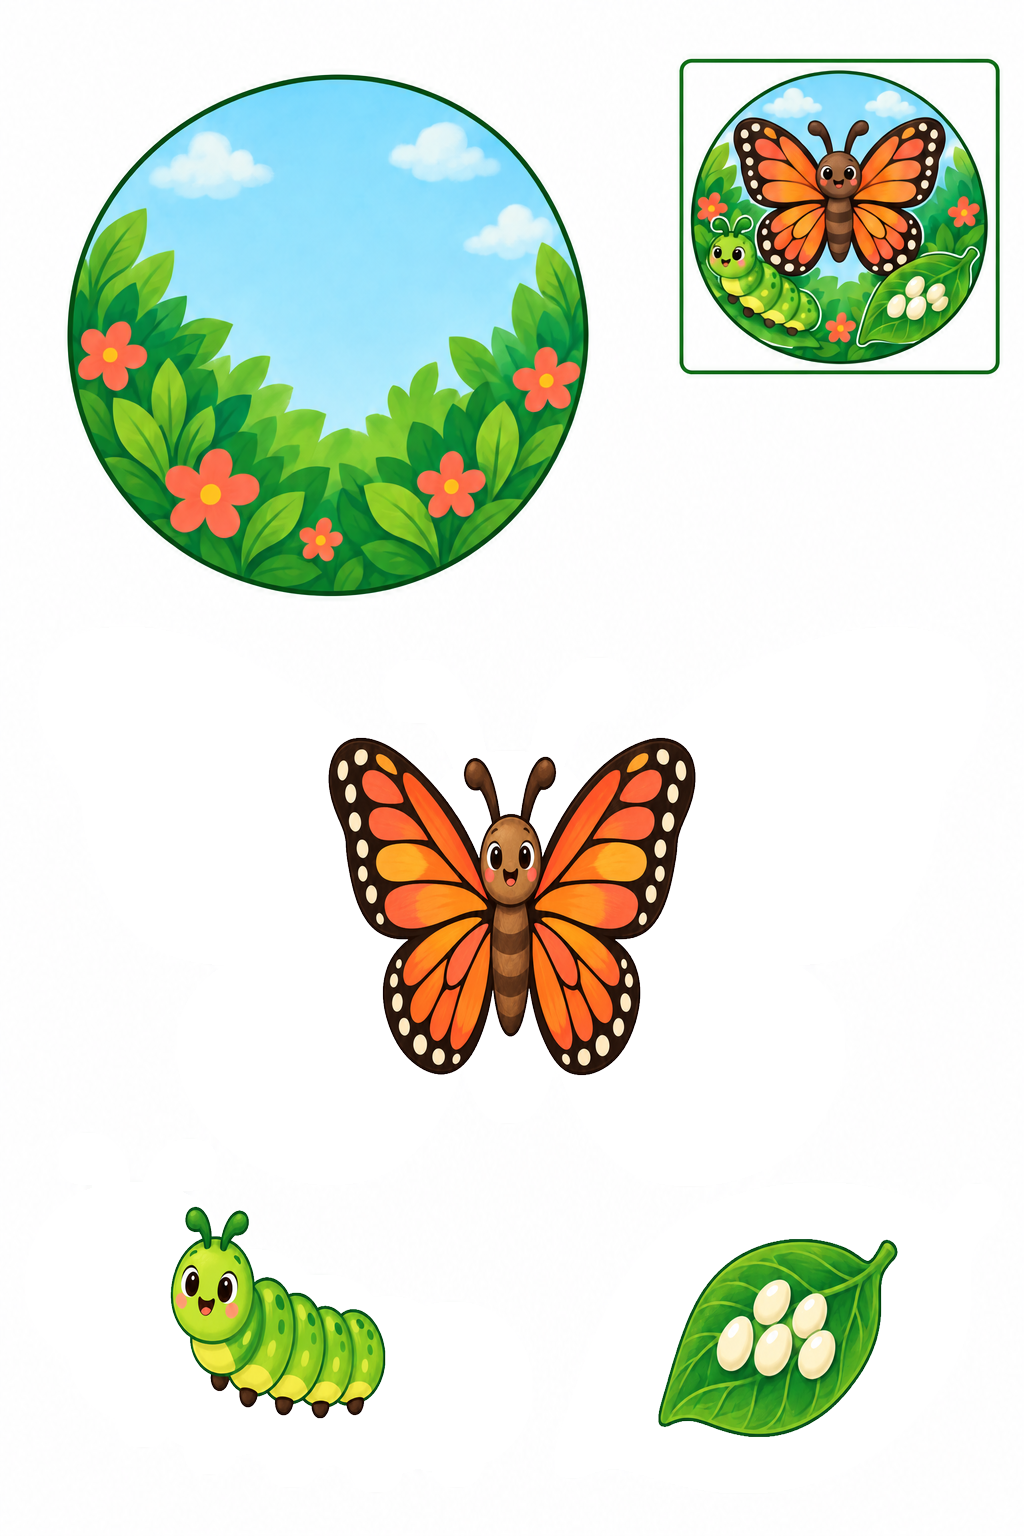
Full color — ready to cut.
Assembly example: The small boxed example shows the finished craft. Do not cut it out.
Cut the outer contours; leave the boxed example on the page. Arrange the caterpillar, egg leaf and butterfly on the round base as in the reference. Glue their broad centers. Tell a story; the pupa stage is not included on this sheet. Check that the joins hold and the face is clear; reposition a part before the glue dries if it hides another.
Check: Can you guide the scissors comfortably? If it is difficult, an adult can shorten a strip, cut a tricky curve or offer straight paths. Pieces should be fully separated and arranged as intended before gluing.
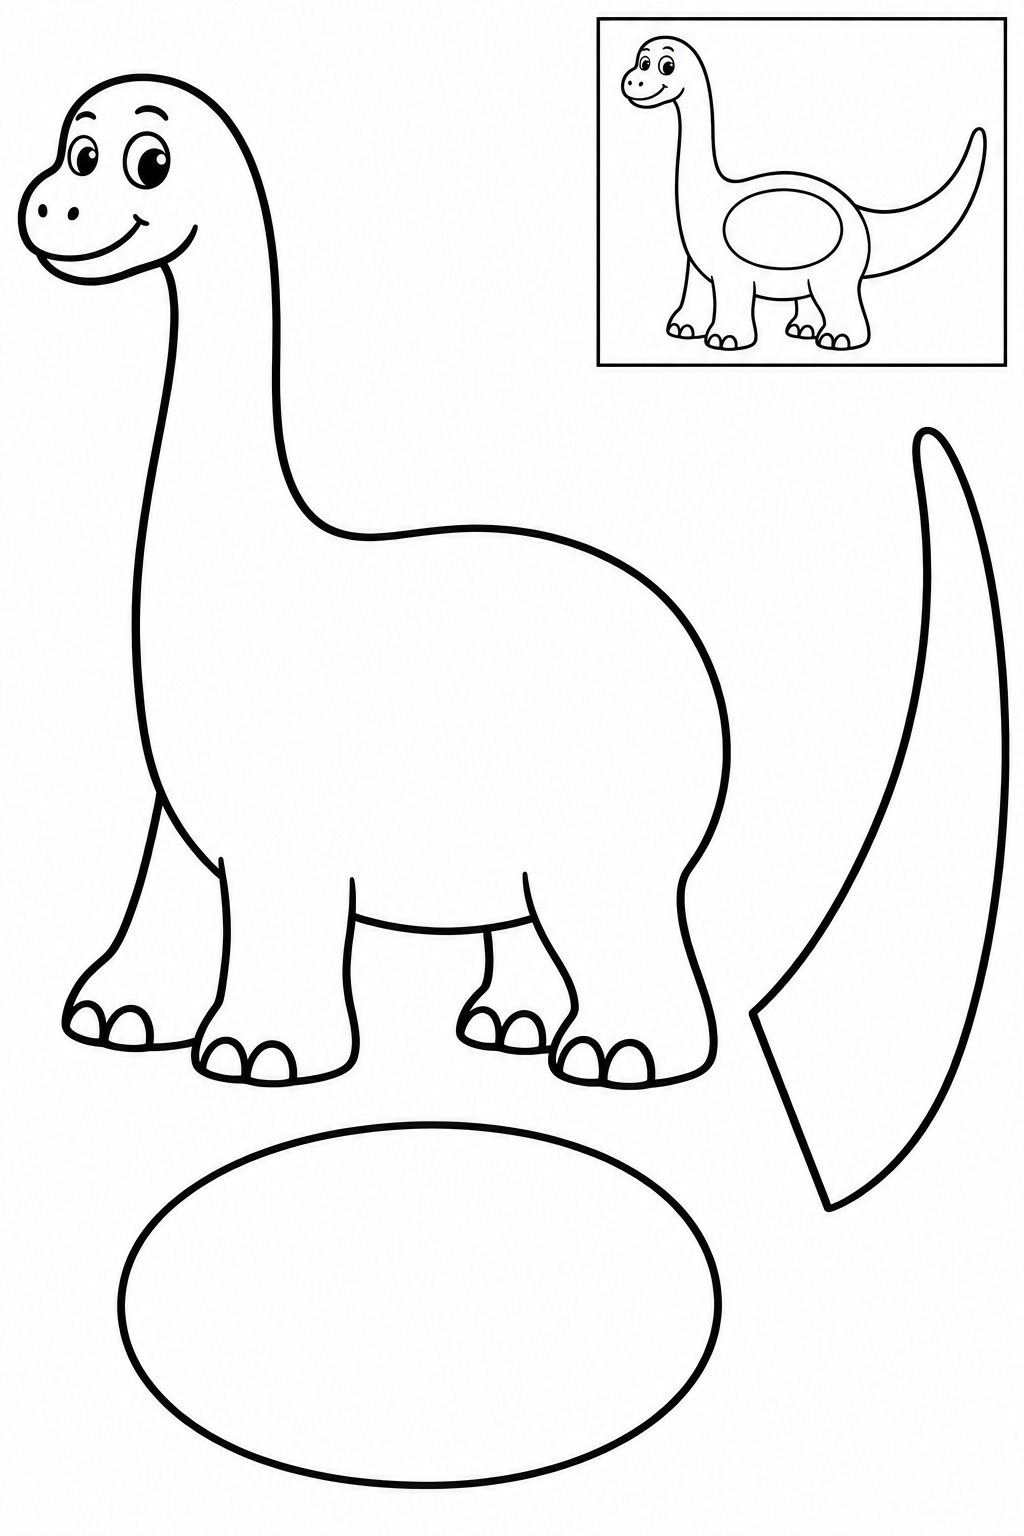
Black and white — color before cutting.
Assembly example: The small boxed example shows the finished craft. Do not cut it out.
Cut the outer contours; leave the boxed reference on the page. Tuck the wide root of the tail behind the rump. Place the oval patch on the side of the body. Keep all four feet visible. Check that each join holds and all parts are visible. Increase overlap or reposition a part before the glue dries if needed.
Check: Can you guide the scissors comfortably? If it is difficult, an adult can shorten a strip, cut a tricky curve or offer straight paths. Pieces should be fully separated and arranged as intended before gluing.
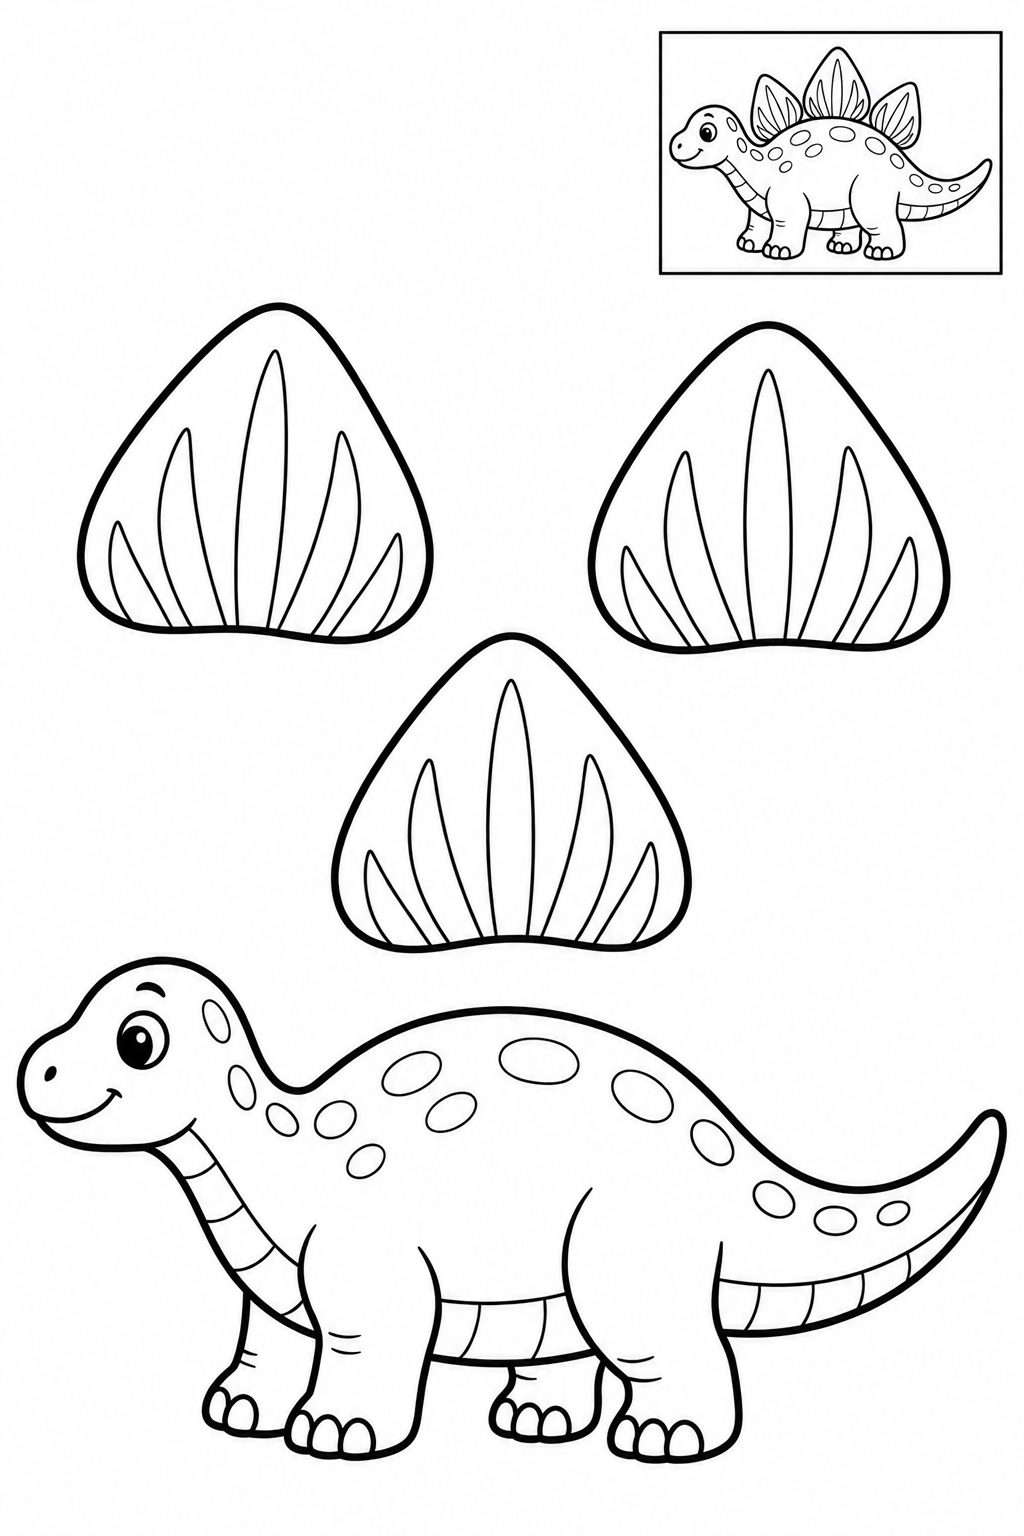
Black and white — color before cutting.
Assembly example: The small boxed example shows the finished craft. Do not cut it out.
Cut the outer contours; leave the boxed reference on the page. Arrange the three plates along the back, tallest in the middle. Glue their broad bases behind the body; keep the tail clear. Check that each join holds and all parts are visible. Increase overlap or reposition a part before the glue dries if needed.
Check: Can you guide the scissors comfortably? If it is difficult, an adult can shorten a strip, cut a tricky curve or offer straight paths. Pieces should be fully separated and arranged as intended before gluing.
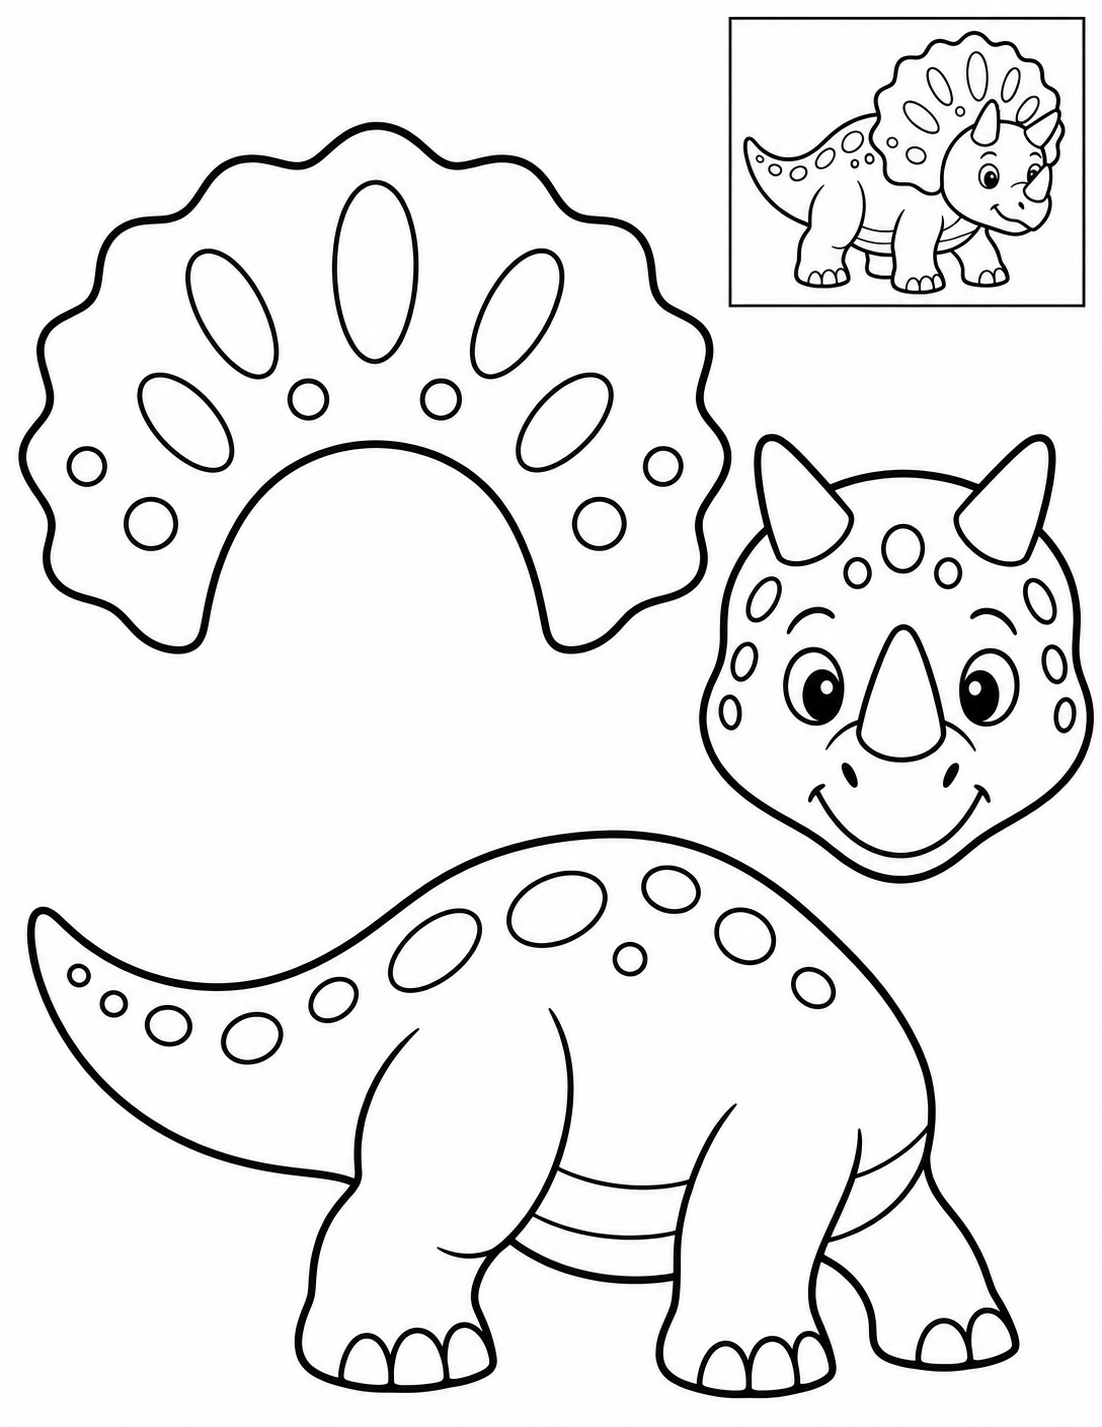
Black and white — color before cutting.
Assembly example: The small boxed example shows the finished craft. Do not cut it out.
Cut the outer contours; leave the boxed reference on the page. Place the head over the open center of the frill. Join both to the front of the body. The horns remain attached to the head. Check that each join holds and all parts are visible. Increase overlap or reposition a part before the glue dries if needed.
Check: Can you guide the scissors comfortably? If it is difficult, an adult can shorten a strip, cut a tricky curve or offer straight paths. Pieces should be fully separated and arranged as intended before gluing.
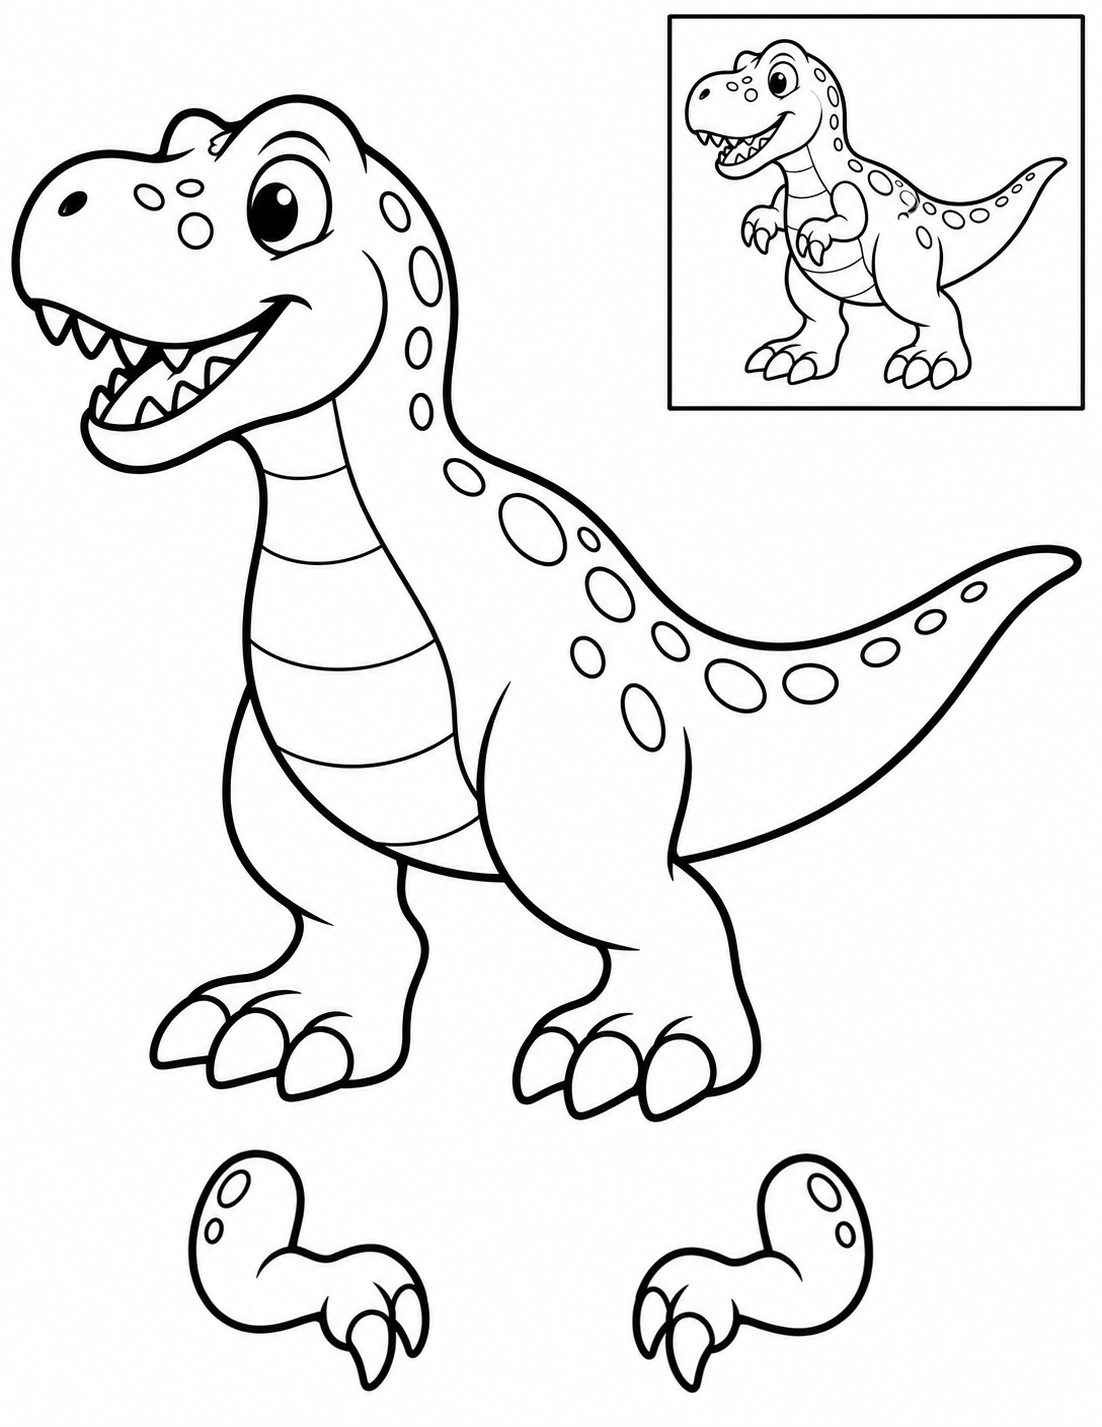
Black and white — color before cutting.
Assembly example: The small boxed example shows the finished craft. Do not cut it out.
Cut the outer contours; leave the boxed reference on the page. Place the two arms on the chest, pointing their hands forward. Glue the broad upper ends to the body; keep the mouth and feet clear. Check that each join holds and all parts are visible. Increase overlap or reposition a part before the glue dries if needed.
Check: Can you guide the scissors comfortably? If it is difficult, an adult can shorten a strip, cut a tricky curve or offer straight paths. Pieces should be fully separated and arranged as intended before gluing.
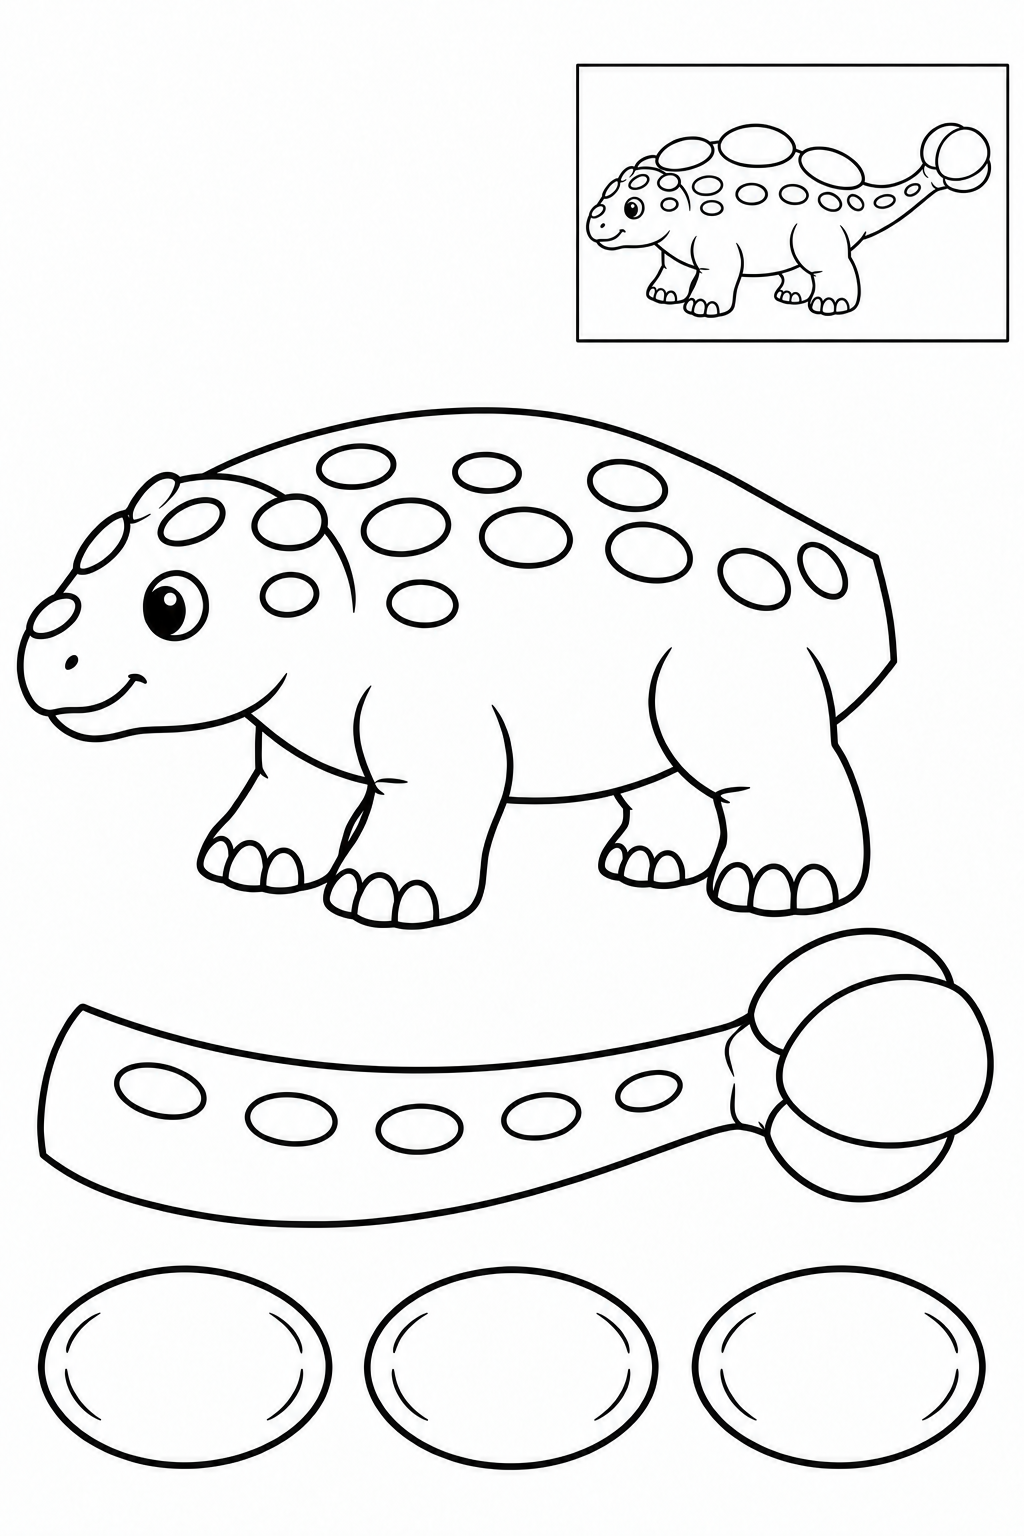
Black and white — color before cutting.
Assembly example: The small boxed example shows the finished craft. Do not cut it out.
Cut the outer contours; leave the boxed reference on the page. Join the club tail behind the rump. Arrange the three armor patches on the back, with space between them. Check that each join holds and all parts are visible. Increase overlap or reposition a part before the glue dries if needed.
Check: Can you guide the scissors comfortably? If it is difficult, an adult can shorten a strip, cut a tricky curve or offer straight paths. Pieces should be fully separated and arranged as intended before gluing.
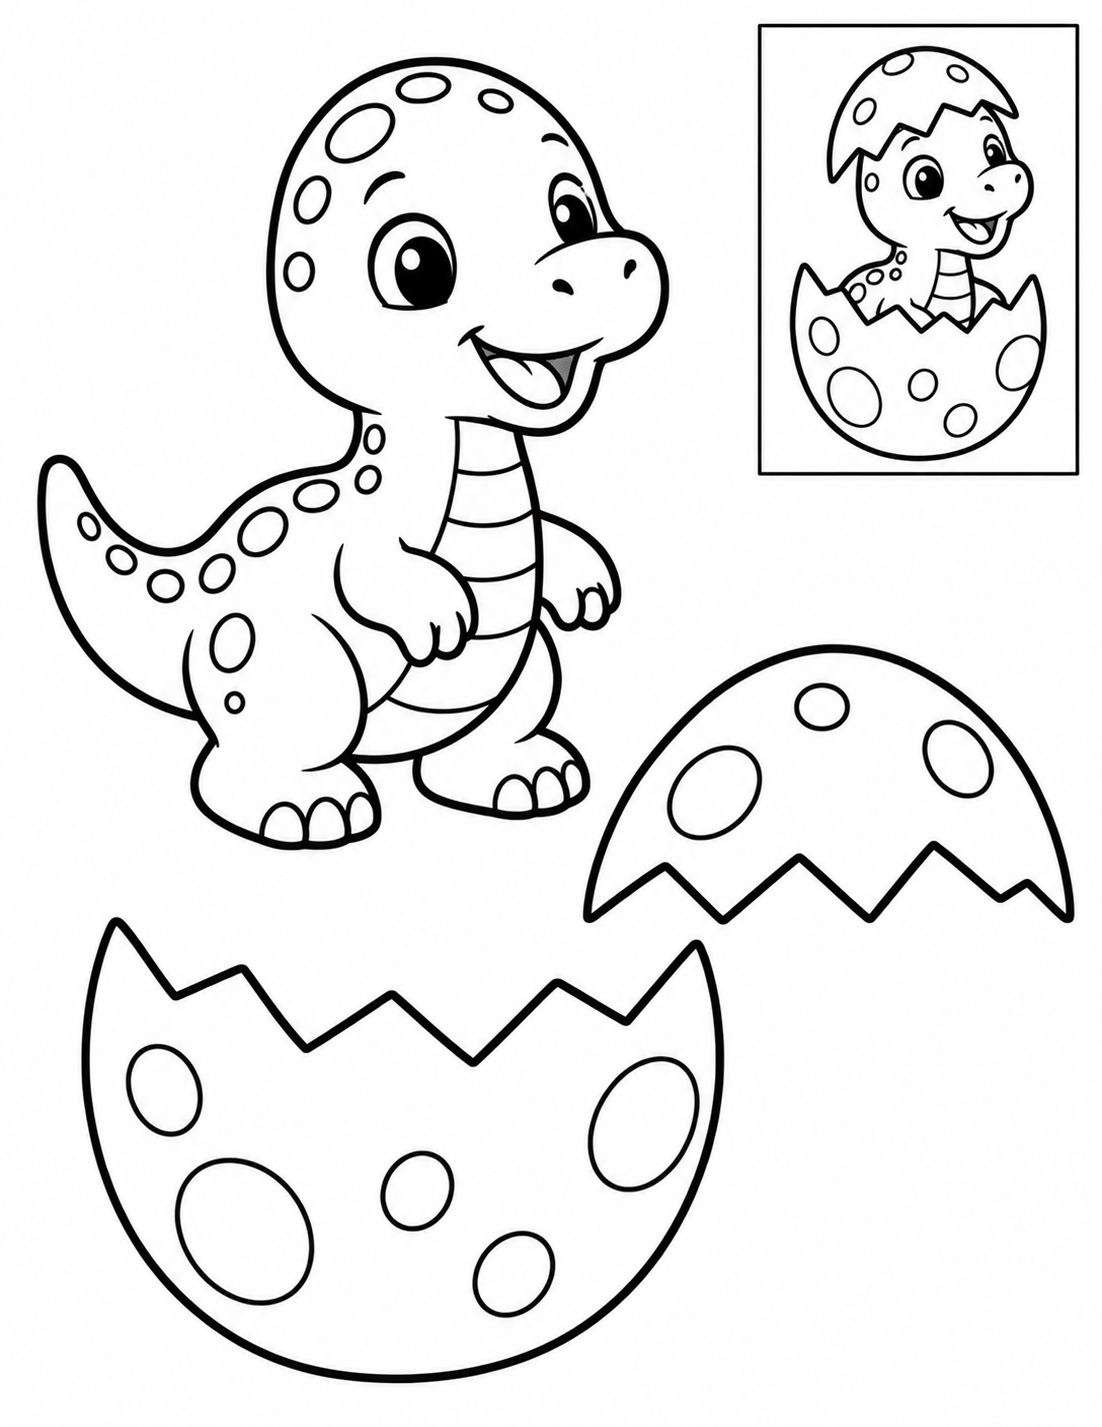
Black and white — color before cutting.
Assembly example: The small boxed example shows the finished craft. Do not cut it out.
Cut the outer contours; leave the boxed reference on the page. Put the baby behind the lower shell so its face peeks out. Place the upper cap on the head as in the reference, leaving the eyes clear. Check that each join holds and all parts are visible. Increase overlap or reposition a part before the glue dries if needed.
Check: Can you guide the scissors comfortably? If it is difficult, an adult can shorten a strip, cut a tricky curve or offer straight paths. Pieces should be fully separated and arranged as intended before gluing.
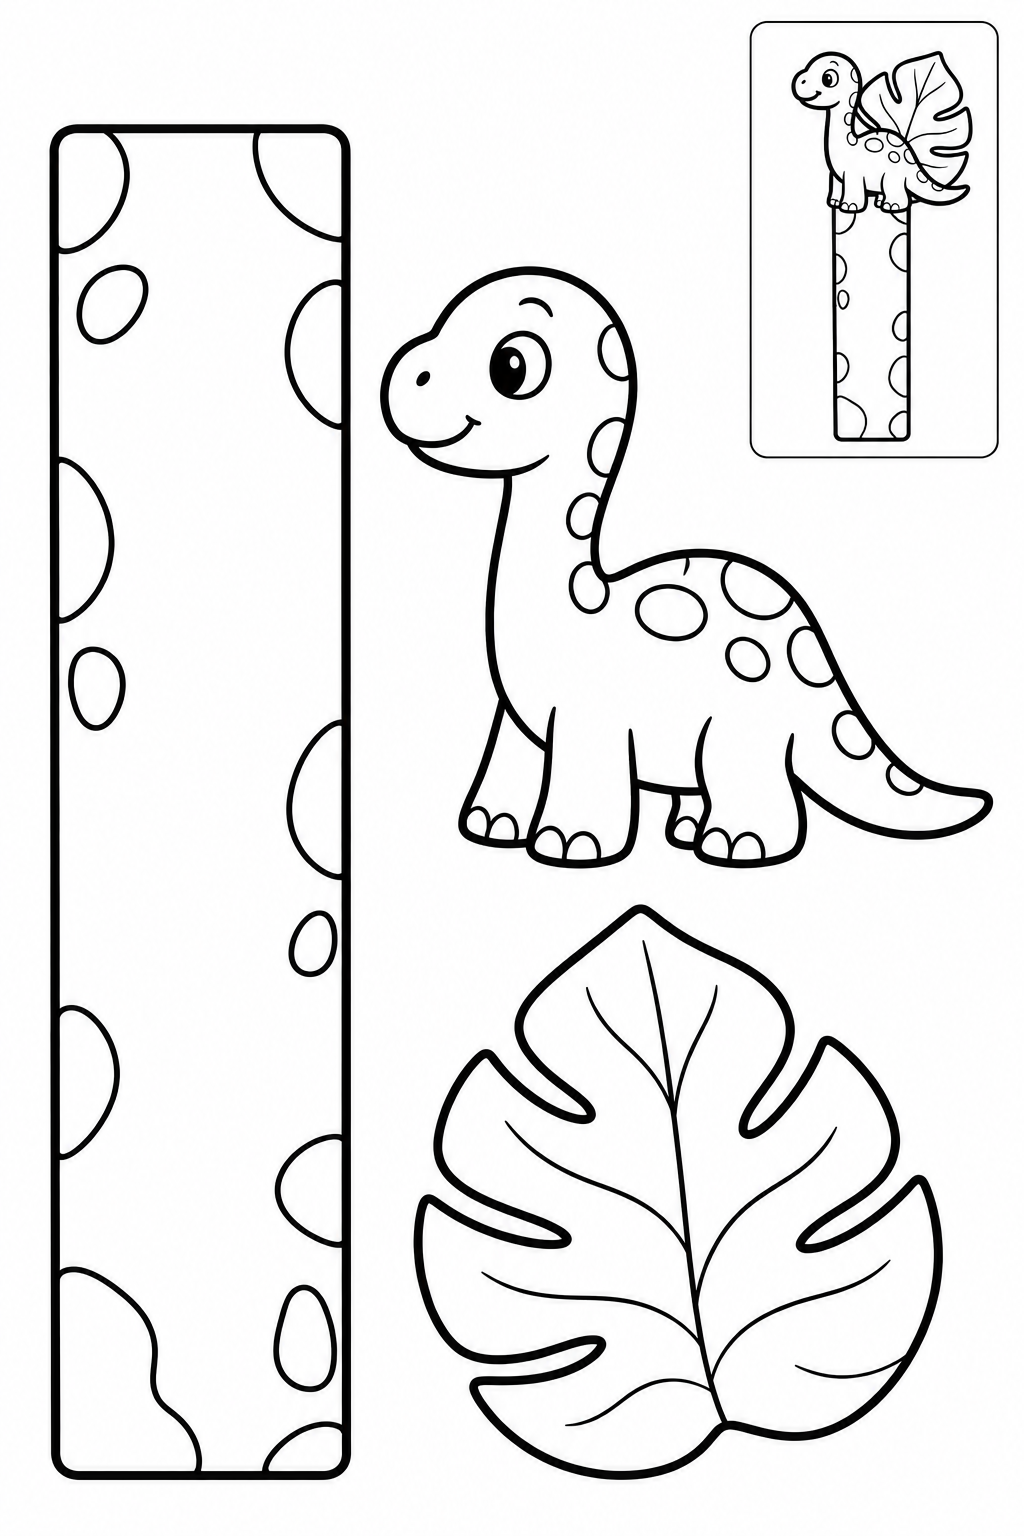
Black and white — color before cutting.
Assembly example: The small boxed example shows the finished craft. Do not cut it out.
Cut the outer contours; leave the boxed reference on the page. Glue the dinosaur to the top of the bookmark strip by its lower body. Tuck the leaf behind the dinosaur’s back as in the reference. Leave the lower end flat to slide between pages. Check that each join holds and all parts are visible. Increase overlap or reposition a part before the glue dries if needed.
Check: Can you guide the scissors comfortably? If it is difficult, an adult can shorten a strip, cut a tricky curve or offer straight paths. Pieces should be fully separated and arranged as intended before gluing.
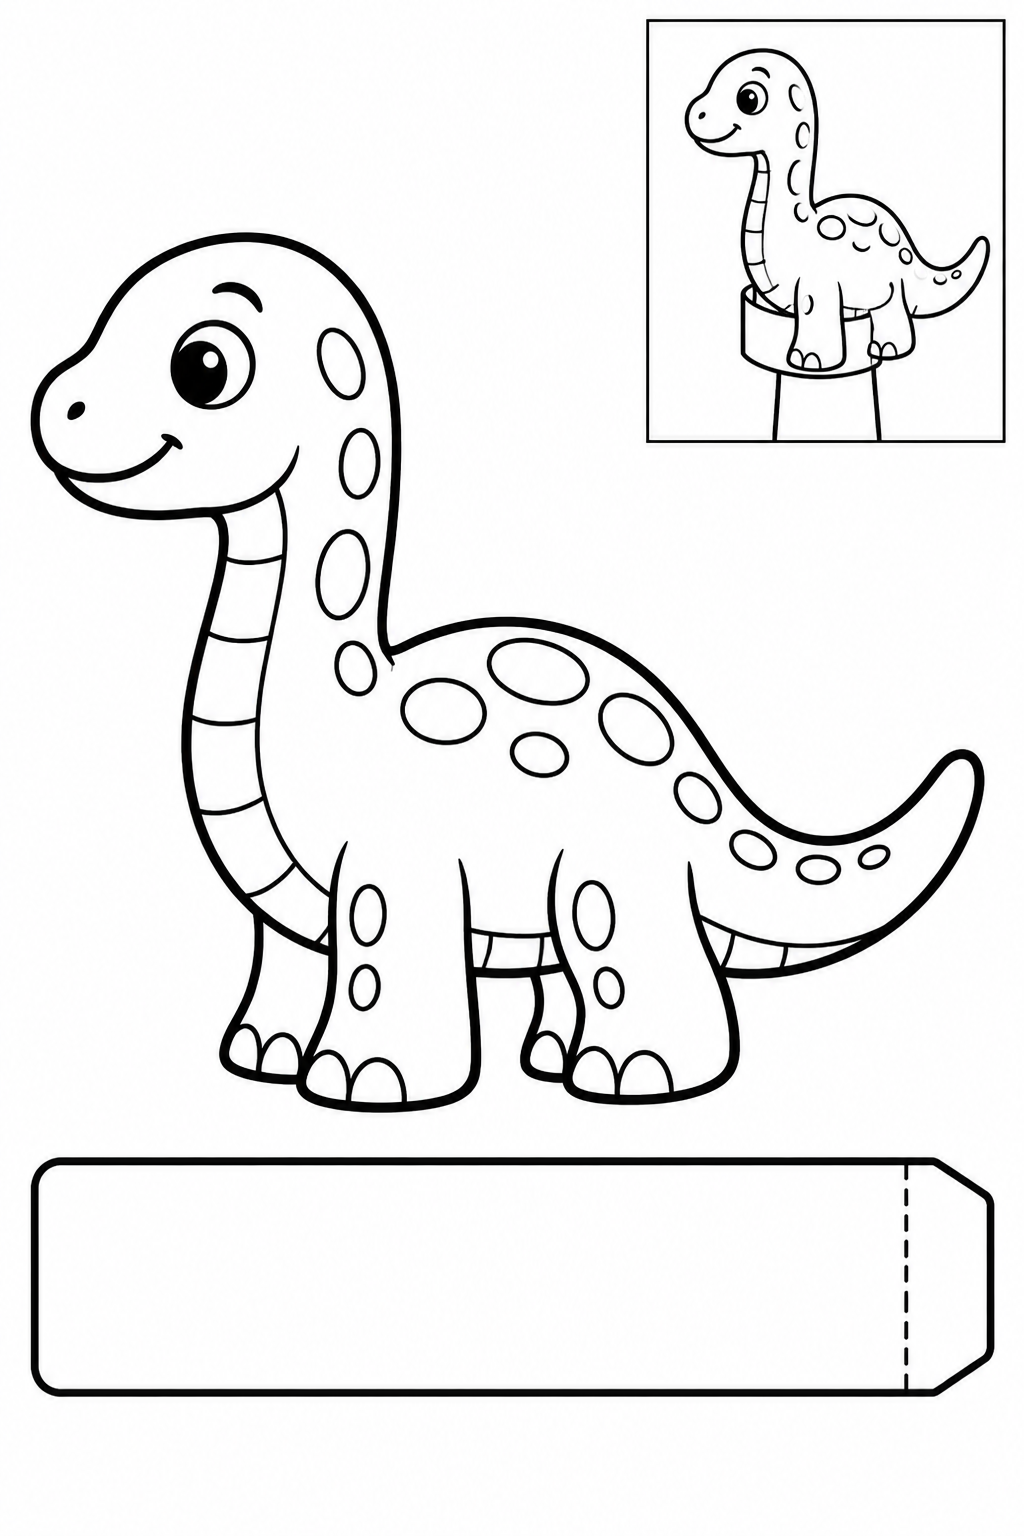
Black and white — color before cutting.
Assembly example: The small boxed example shows the finished craft. Do not cut it out.
Cut the outer contours; leave the boxed reference on the page. An adult helps curl the flat band into a loose ring around a finger. Glue its ends together, then attach the dinosaur to the front. Let it dry before playing. Check that each join holds and all parts are visible. Increase overlap or reposition a part before the glue dries if needed.
Check: Can you guide the scissors comfortably? If it is difficult, an adult can shorten a strip, cut a tricky curve or offer straight paths. Pieces should be fully separated and arranged as intended before gluing.
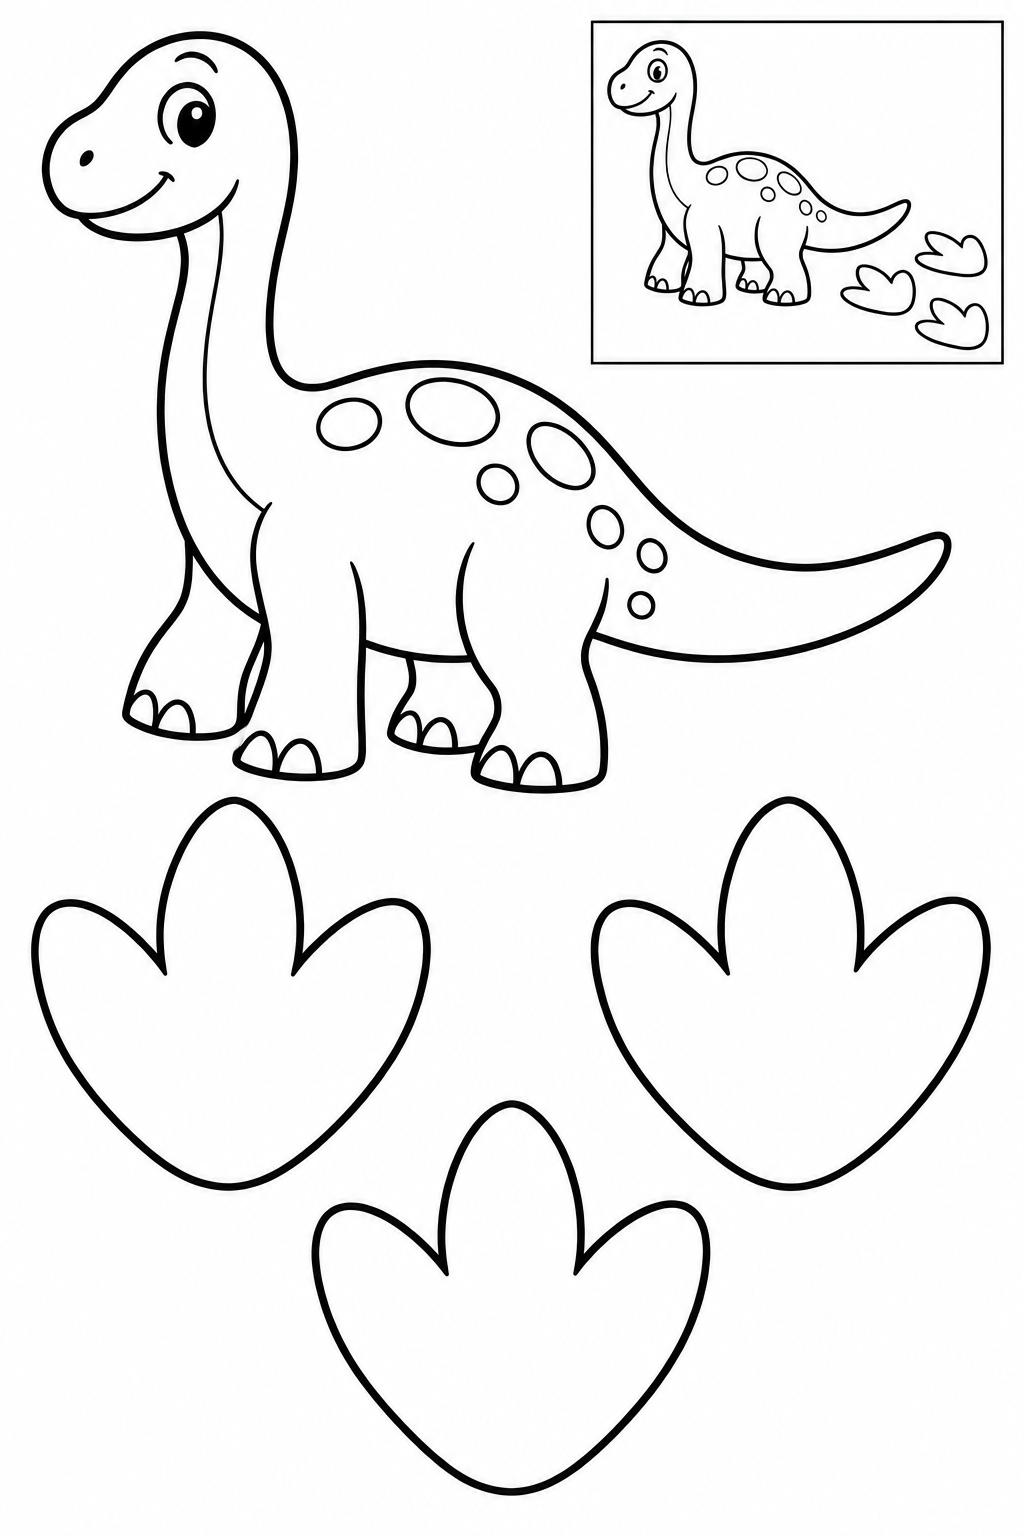
Black and white — color before cutting.
Assembly example: The small boxed example shows the finished craft. Do not cut it out.
Cut the outer contours; leave the boxed reference on the page. Place the dinosaur at one end of the three-footprint trail. Try changing the spacing to show short or long steps. Check that each join holds and all parts are visible. Increase overlap or reposition a part before the glue dries if needed.
Check: Can you guide the scissors comfortably? If it is difficult, an adult can shorten a strip, cut a tricky curve or offer straight paths. Pieces should be fully separated and arranged as intended before gluing.
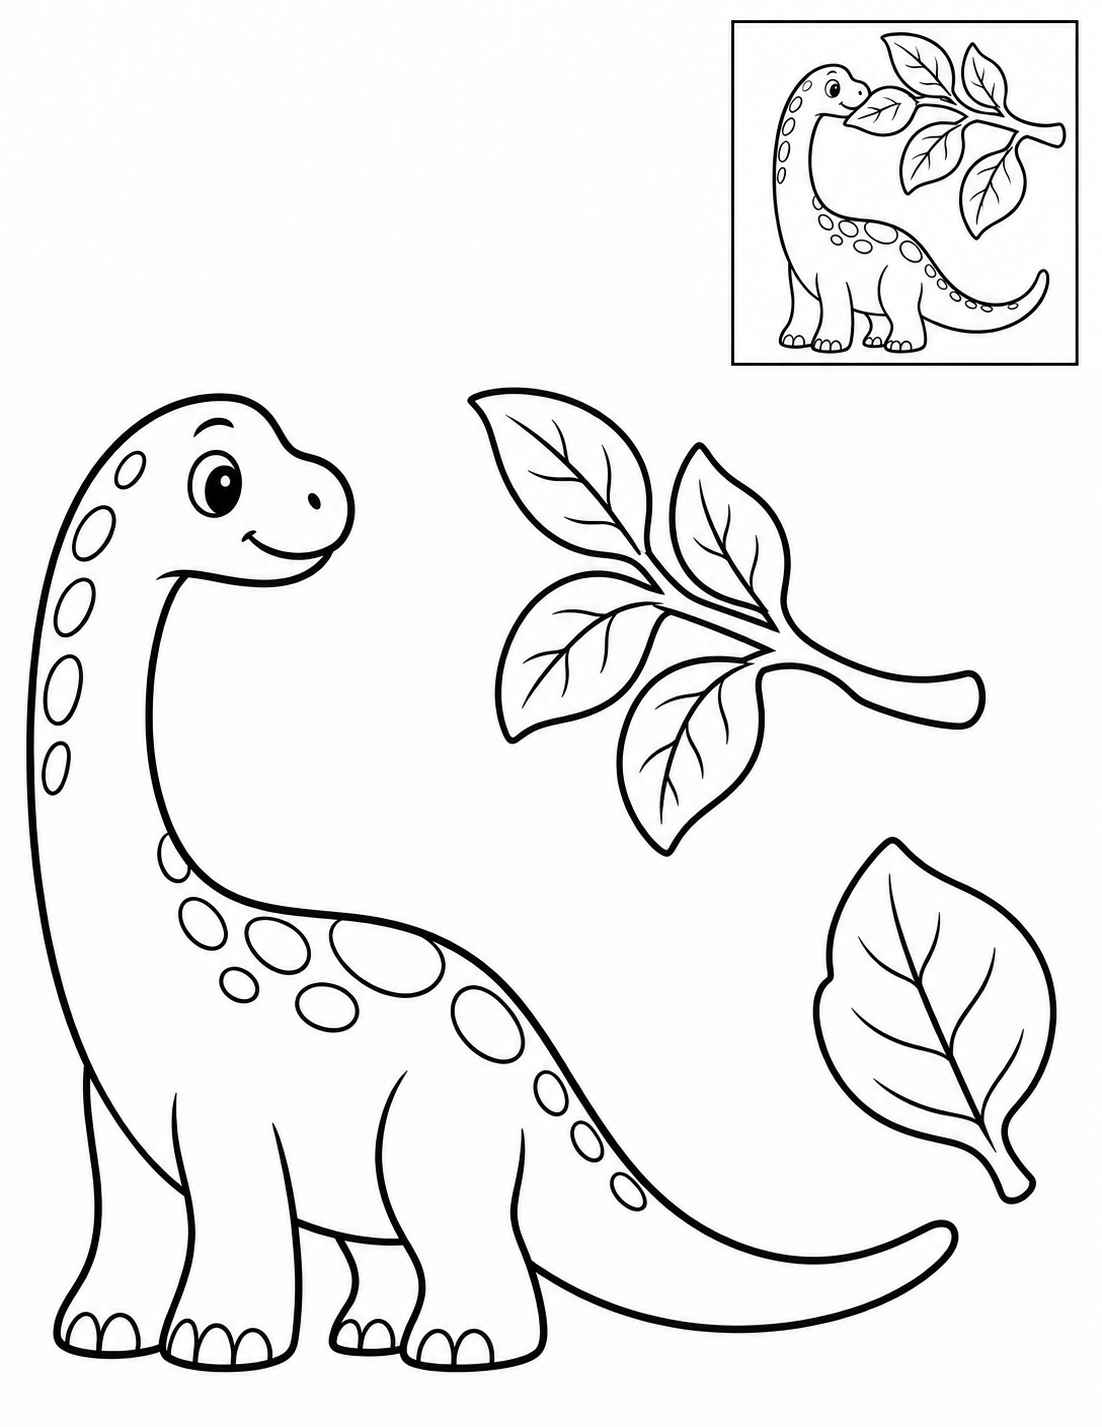
Black and white — color before cutting.
Assembly example: The small boxed example shows the finished craft. Do not cut it out.
Cut the outer contours; leave the boxed reference on the page. Place the leafy branch beside the dinosaur and the loose leaf near its mouth. Keep the printed face visible. Check that each join holds and all parts are visible. Increase overlap or reposition a part before the glue dries if needed.
Check: Can you guide the scissors comfortably? If it is difficult, an adult can shorten a strip, cut a tricky curve or offer straight paths. Pieces should be fully separated and arranged as intended before gluing.
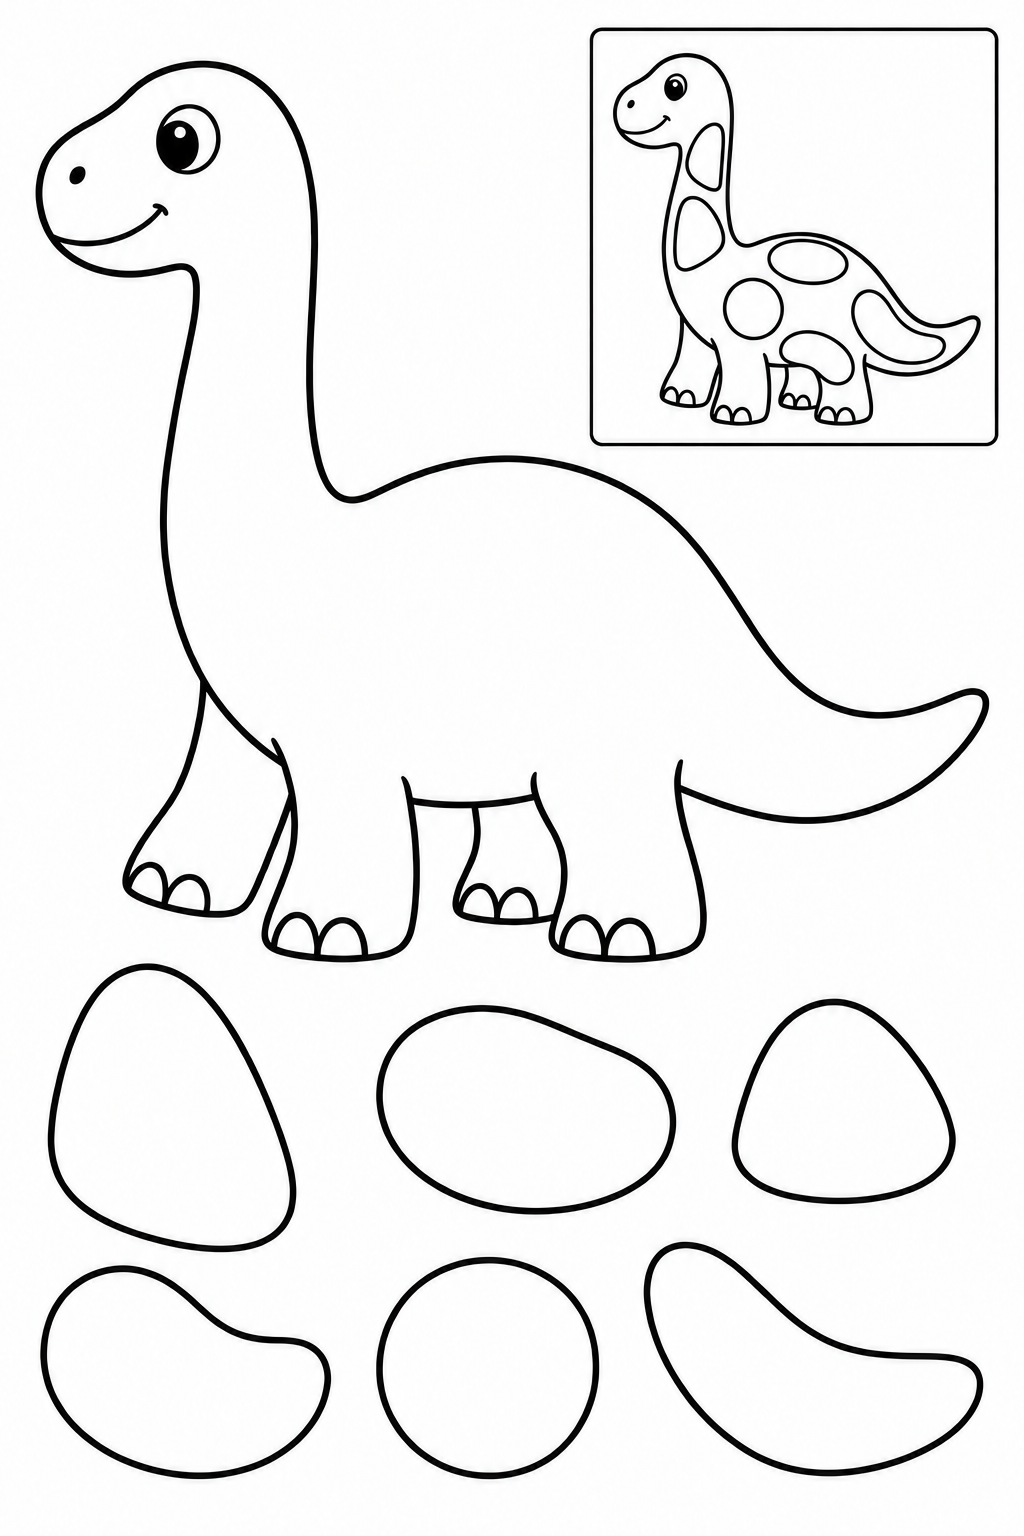
Black and white — color before cutting.
Assembly example: The small boxed example shows the finished craft. Do not cut it out.
Cut the outer contours; leave the boxed reference on the page. Arrange the six large tiles on the dinosaur base before gluing. Leave the face and feet clear; choose your own spacing for the pattern. Check that each join holds and all parts are visible. Increase overlap or reposition a part before the glue dries if needed.
Check: Can you guide the scissors comfortably? If it is difficult, an adult can shorten a strip, cut a tricky curve or offer straight paths. Pieces should be fully separated and arranged as intended before gluing.
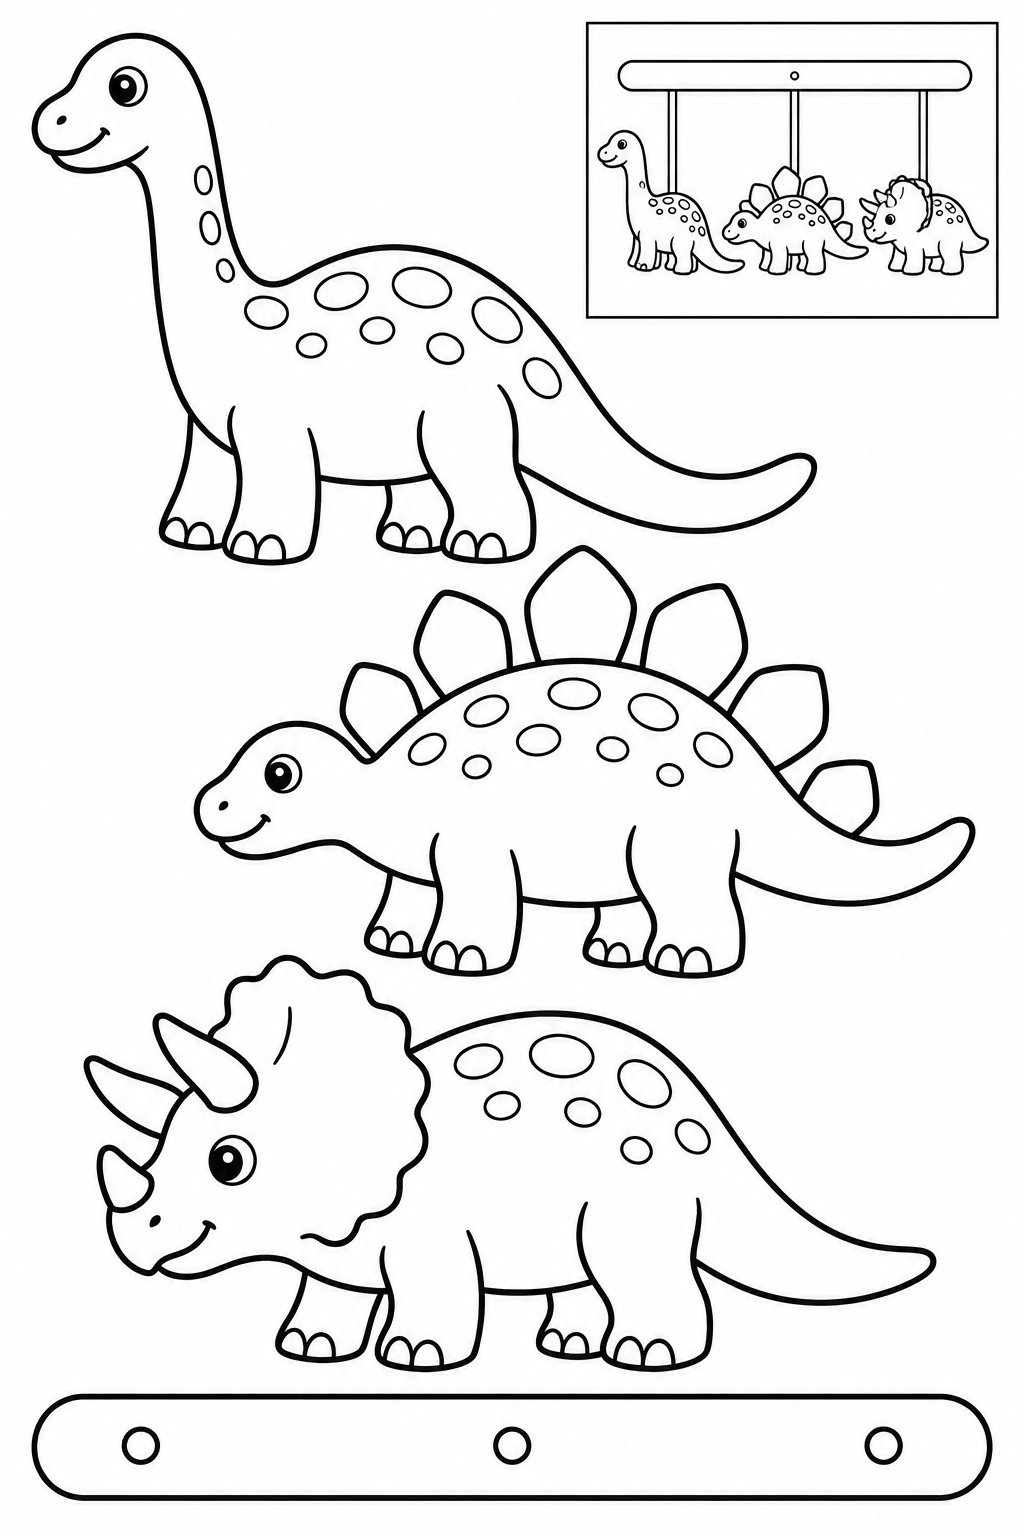
Black and white — color before cutting.
Assembly example: The small boxed example shows the finished craft. Do not cut it out.
Cut the outer contours; leave the boxed reference on the page. An adult attaches thread to the broad bar and the backs of the three dinosaurs. Try different hanging heights and check the balance before lifting the mobile. Check that each join holds and all parts are visible. Increase overlap or reposition a part before the glue dries if needed.
Check: Can you guide the scissors comfortably? If it is difficult, an adult can shorten a strip, cut a tricky curve or offer straight paths. Pieces should be fully separated and arranged as intended before gluing.
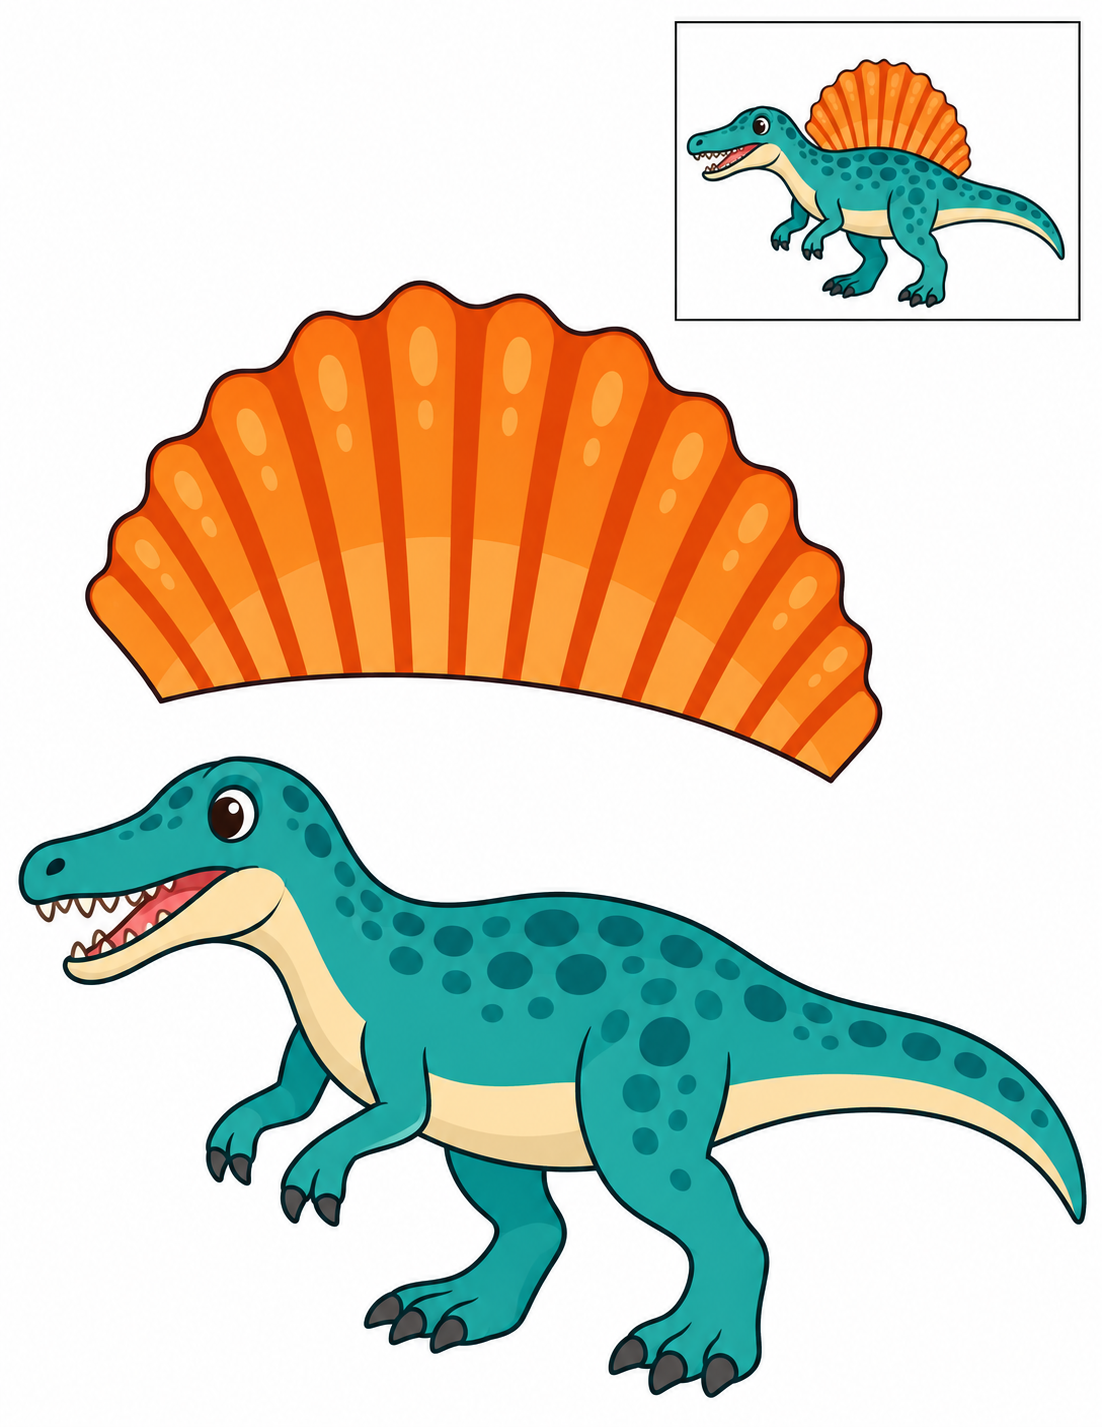
Full color — ready to cut.
Assembly example: The small boxed example shows the finished craft. Do not cut it out.
Cut the outer contours; leave the boxed reference on the page. Tuck the orange sail’s wide base behind the dinosaur’s back. Glue only the overlap so the fan remains visible above the body. Check that each join holds and all parts are visible. Increase overlap or reposition a part before the glue dries if needed.
Check: Can you guide the scissors comfortably? If it is difficult, an adult can shorten a strip, cut a tricky curve or offer straight paths. Pieces should be fully separated and arranged as intended before gluing.
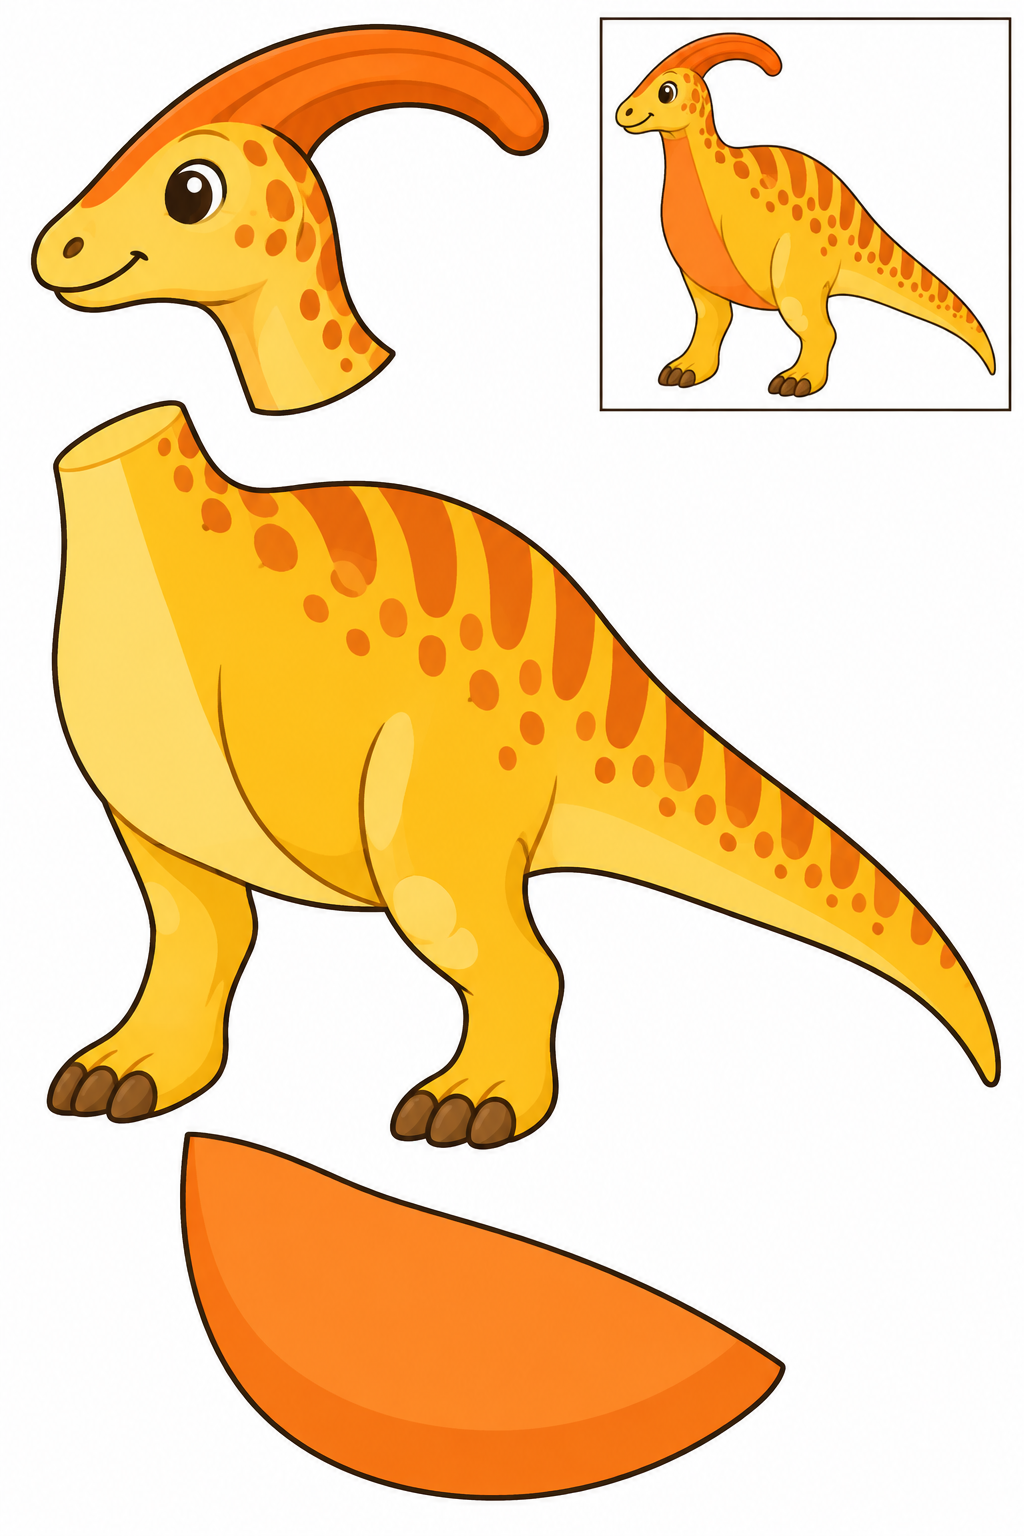
Full color — ready to cut.
Assembly example: The small boxed example shows the finished craft. Do not cut it out.
Cut the outer contours; leave the boxed reference on the page. Overlap the head’s neck with the front of the body. Add the orange belly patch on top, keeping the feet and face clear. Check that each join holds and all parts are visible. Increase overlap or reposition a part before the glue dries if needed.
Check: Can you guide the scissors comfortably? If it is difficult, an adult can shorten a strip, cut a tricky curve or offer straight paths. Pieces should be fully separated and arranged as intended before gluing.
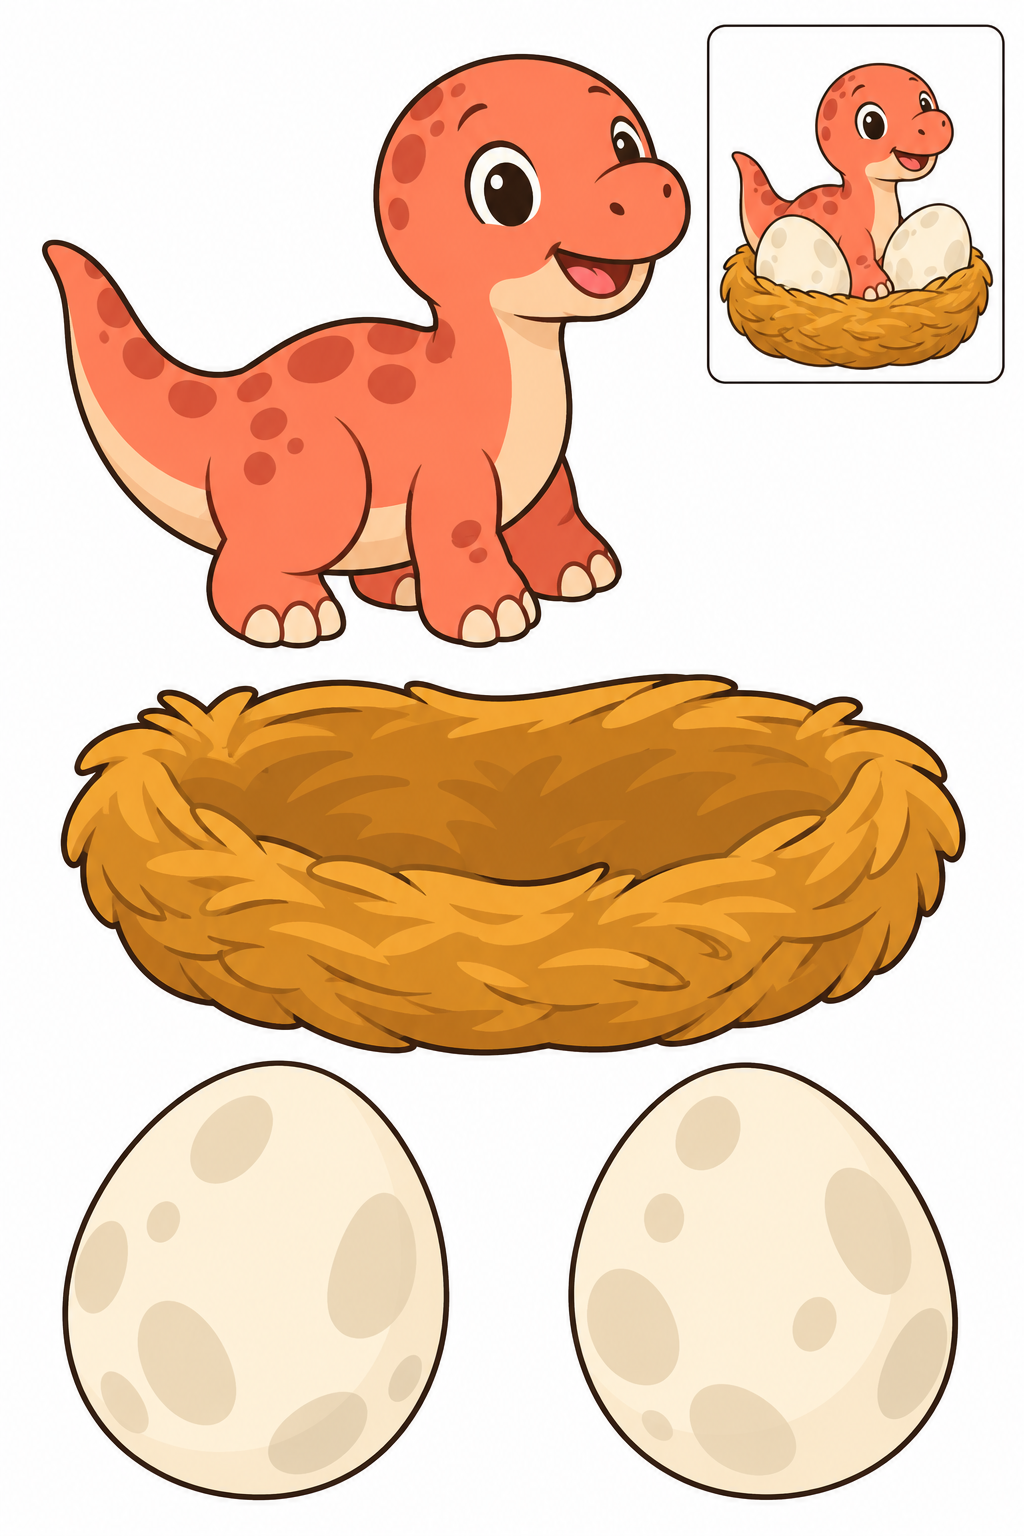
Full color — ready to cut.
Assembly example: The small boxed example shows the finished craft. Do not cut it out.
Cut the outer contours; leave the boxed reference on the page. Arrange the dinosaur and two eggs on the broad nest. Put the nest’s front edge over their lower edges if you want them to look tucked inside. Check that each join holds and all parts are visible. Increase overlap or reposition a part before the glue dries if needed.
Check: Can you guide the scissors comfortably? If it is difficult, an adult can shorten a strip, cut a tricky curve or offer straight paths. Pieces should be fully separated and arranged as intended before gluing.
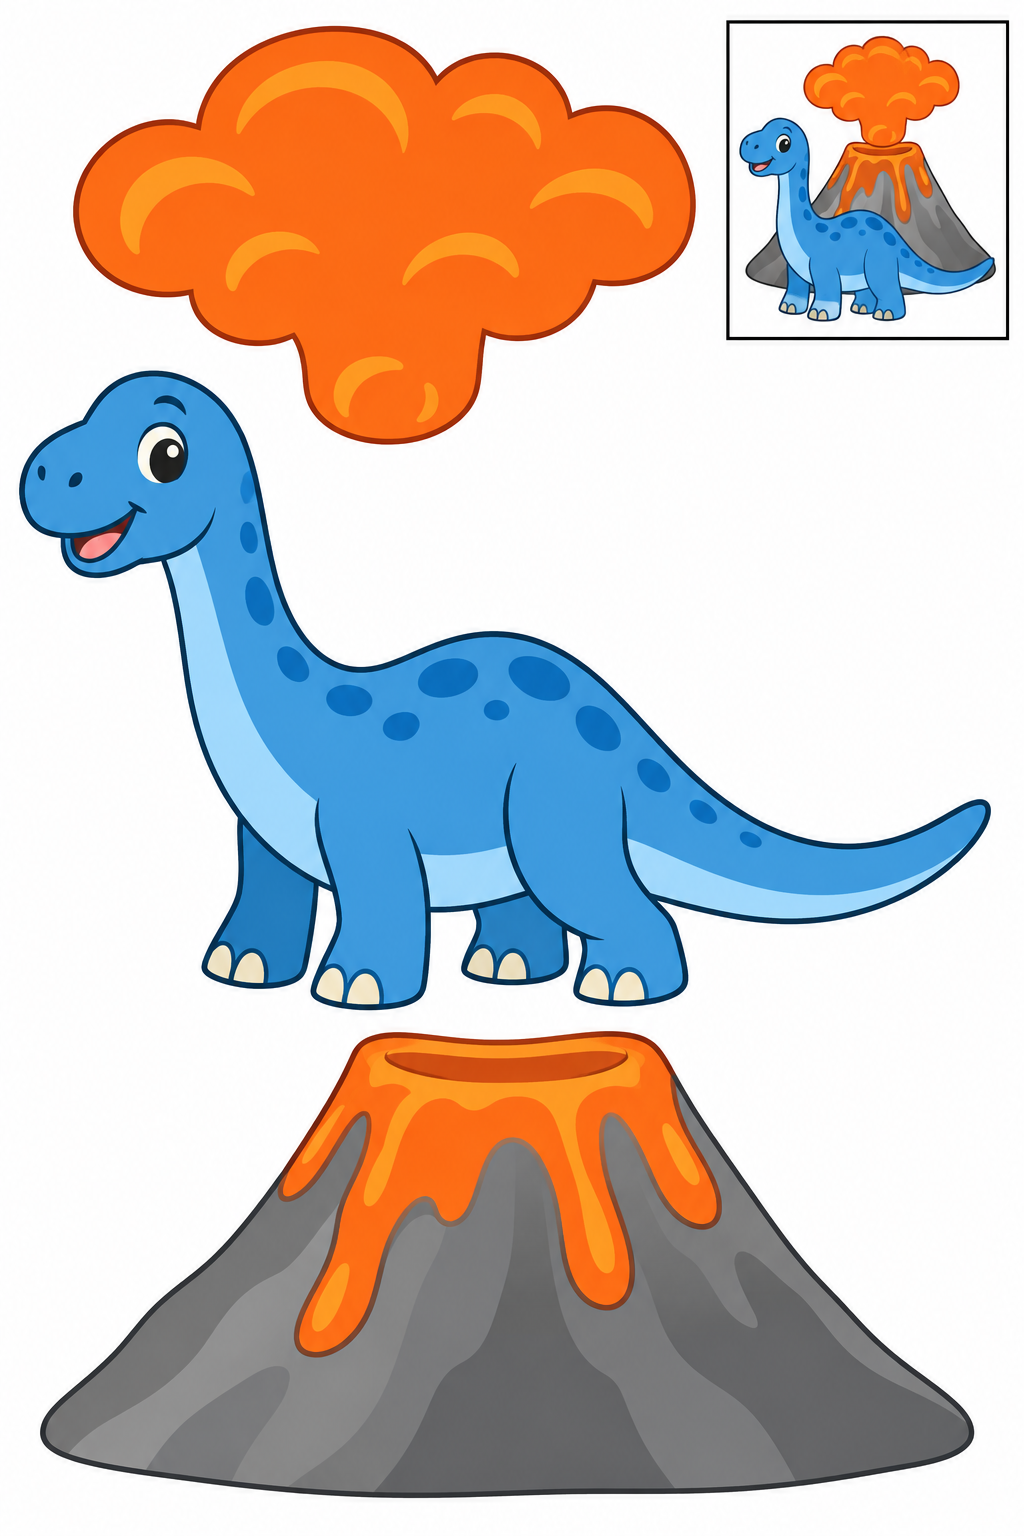
Full color — ready to cut.
Assembly example: The small boxed example shows the finished craft. Do not cut it out.
Cut the outer contours; leave the boxed reference on the page. Place the orange lava cloud over the top of the volcano. Put the dinosaur beside it with clear space around its feet. Check that each join holds and all parts are visible. Increase overlap or reposition a part before the glue dries if needed.
Check: Can you guide the scissors comfortably? If it is difficult, an adult can shorten a strip, cut a tricky curve or offer straight paths. Pieces should be fully separated and arranged as intended before gluing.
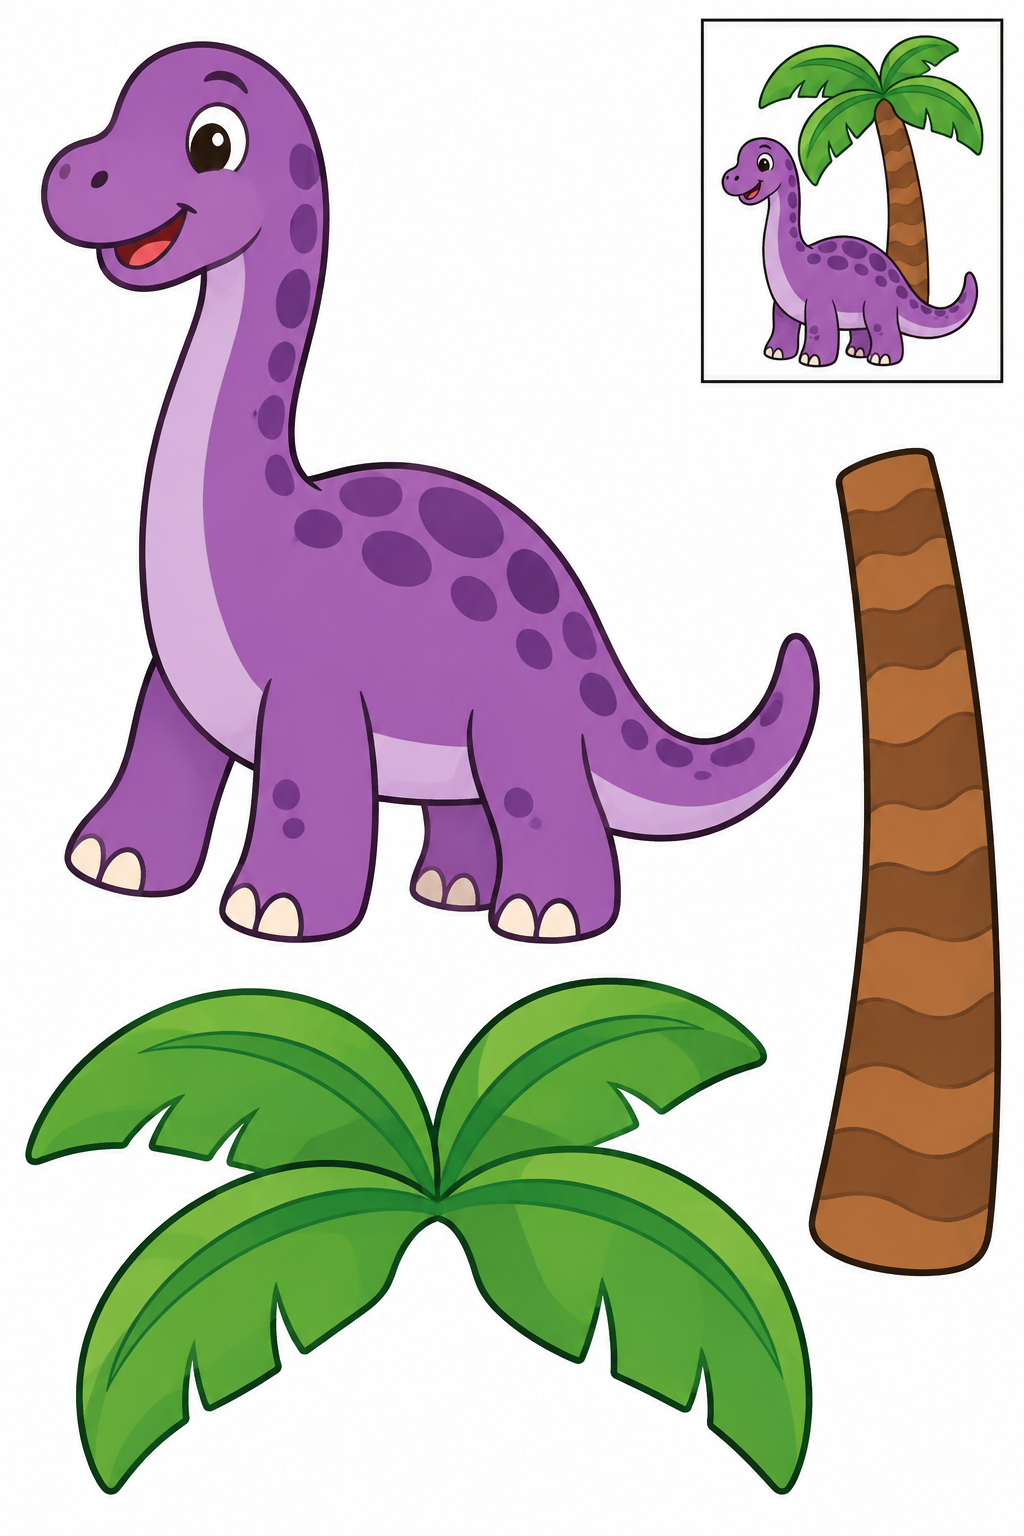
Full color — ready to cut.
Assembly example: The small boxed example shows the finished craft. Do not cut it out.
Cut the outer contours; leave the boxed reference on the page. Overlap the green palm crown over the top of the brown trunk. Put the dinosaur beside the tree, keeping the crown away from its face. Check that each join holds and all parts are visible. Increase overlap or reposition a part before the glue dries if needed.
Check: Can you guide the scissors comfortably? If it is difficult, an adult can shorten a strip, cut a tricky curve or offer straight paths. Pieces should be fully separated and arranged as intended before gluing.
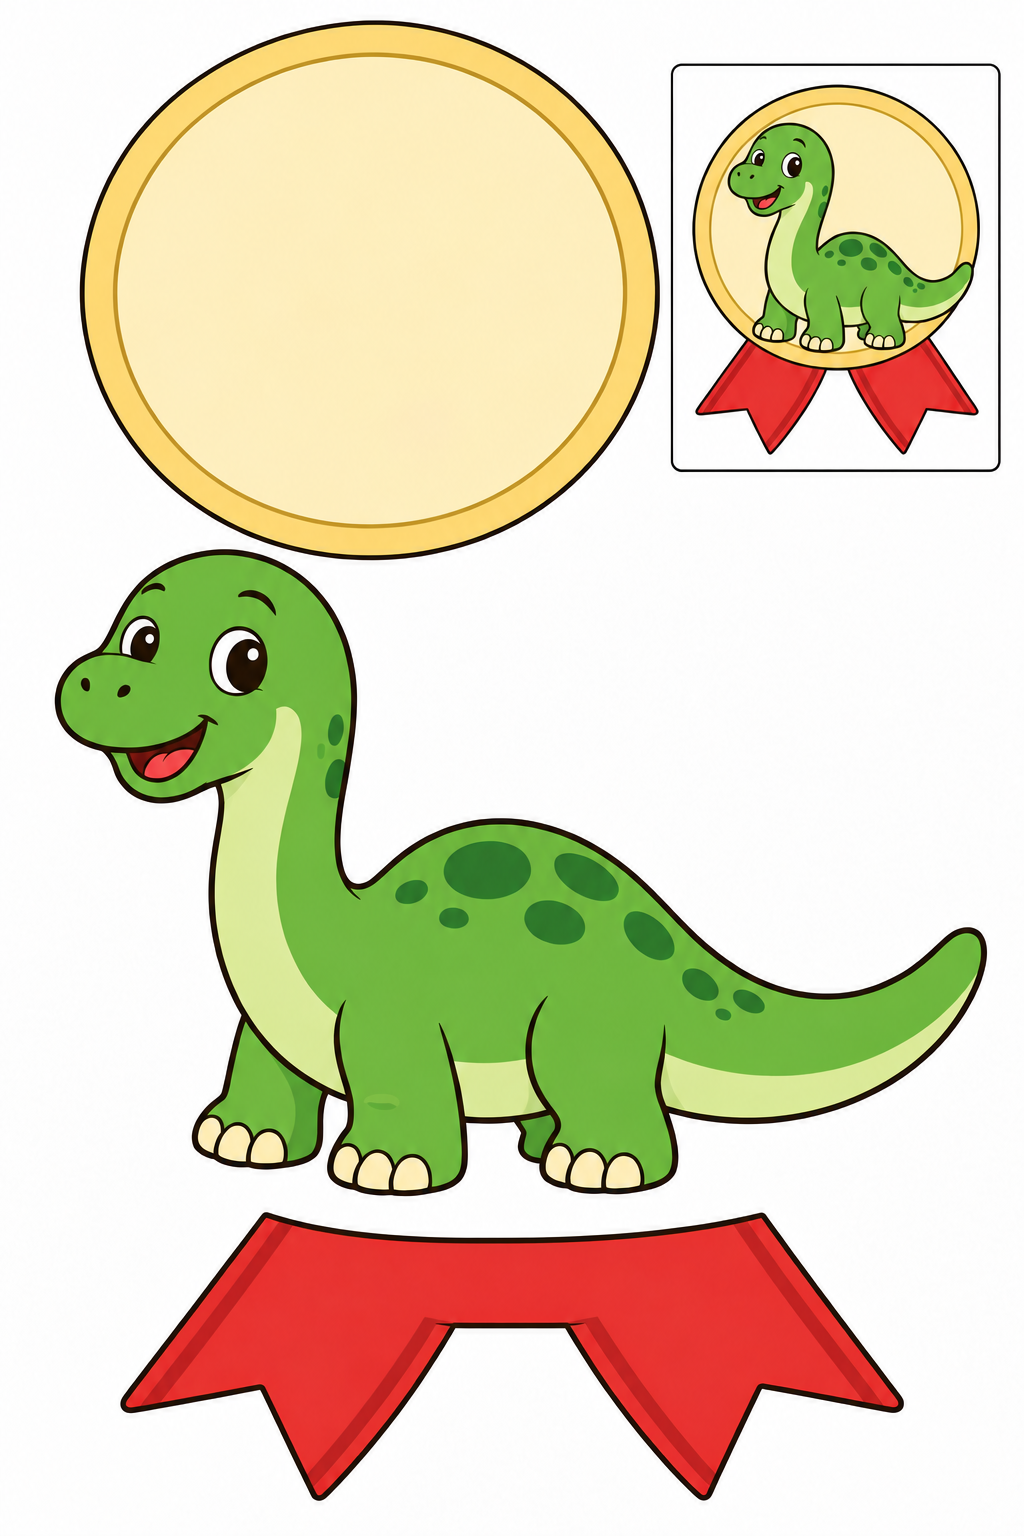
Full color — ready to cut.
Assembly example: The small boxed example shows the finished craft. Do not cut it out.
Cut the outer contours; leave the boxed reference on the page. Glue the joined ribbon pair behind the bottom of the round badge. Place the dinosaur in the center on top. Check that each join holds and all parts are visible. Increase overlap or reposition a part before the glue dries if needed.
Check: Can you guide the scissors comfortably? If it is difficult, an adult can shorten a strip, cut a tricky curve or offer straight paths. Pieces should be fully separated and arranged as intended before gluing.
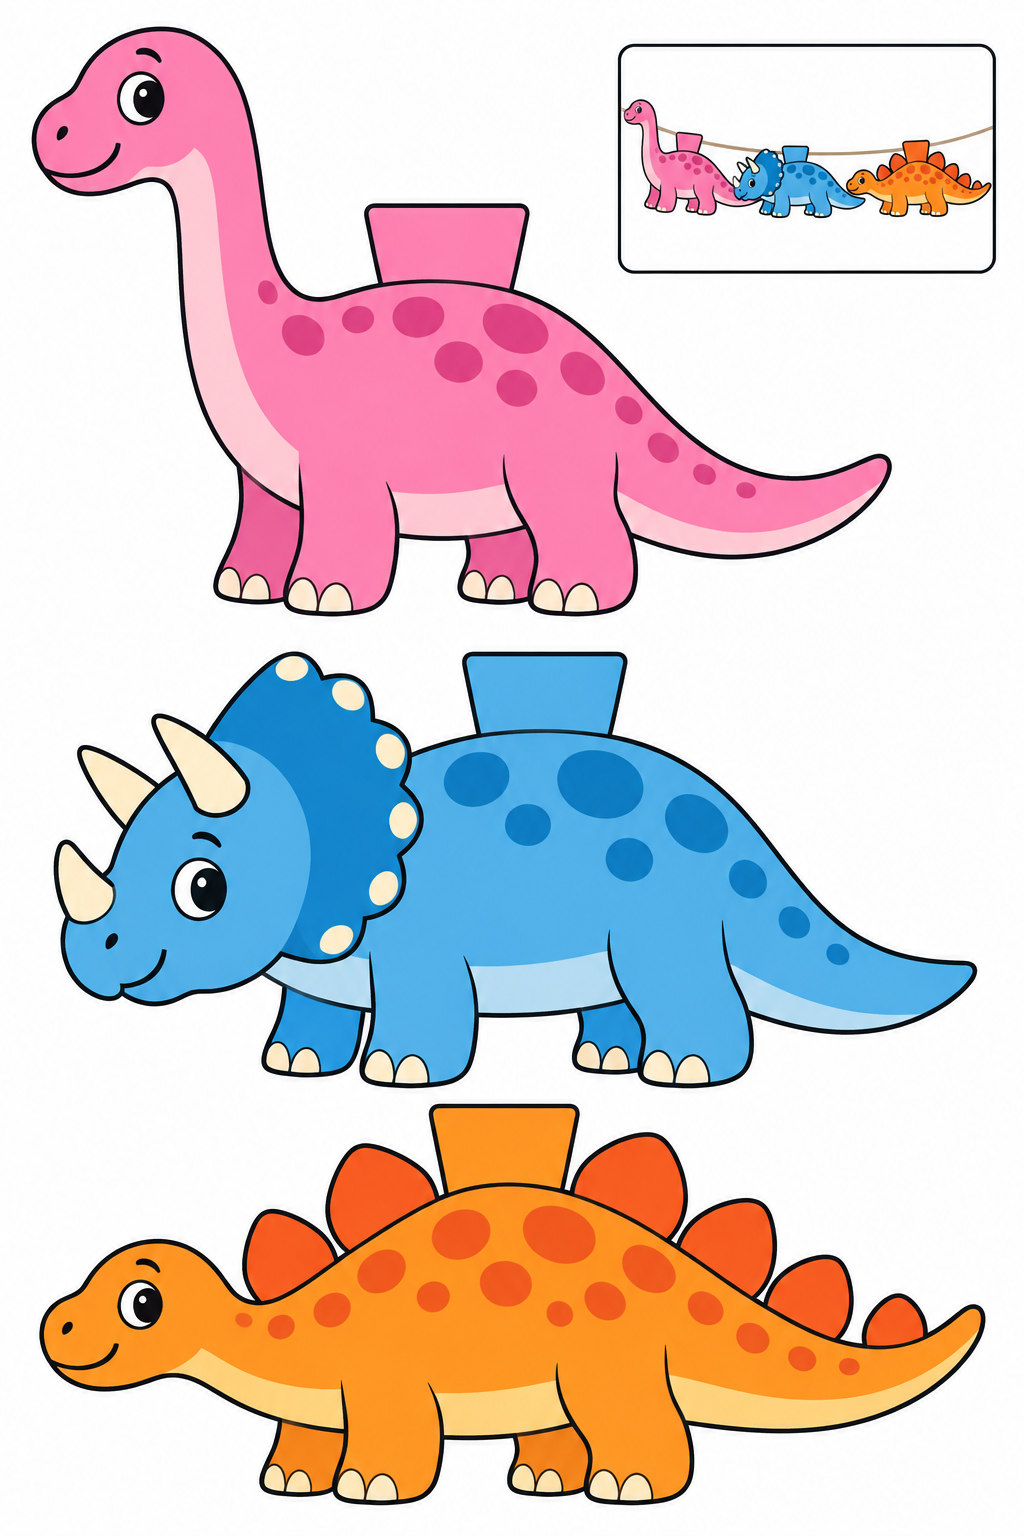
Full color — ready to cut.
Assembly example: The small boxed example shows the finished craft. Do not cut it out.
Cut the outer contours; leave the boxed reference on the page. An adult helps fold the broad top tabs over a cord and glue each tab to its own back. Keep a gap between the three figures; let the glue dry before hanging. Check that each join holds and all parts are visible. Increase overlap or reposition a part before the glue dries if needed.
Check: Can you guide the scissors comfortably? If it is difficult, an adult can shorten a strip, cut a tricky curve or offer straight paths. Pieces should be fully separated and arranged as intended before gluing.
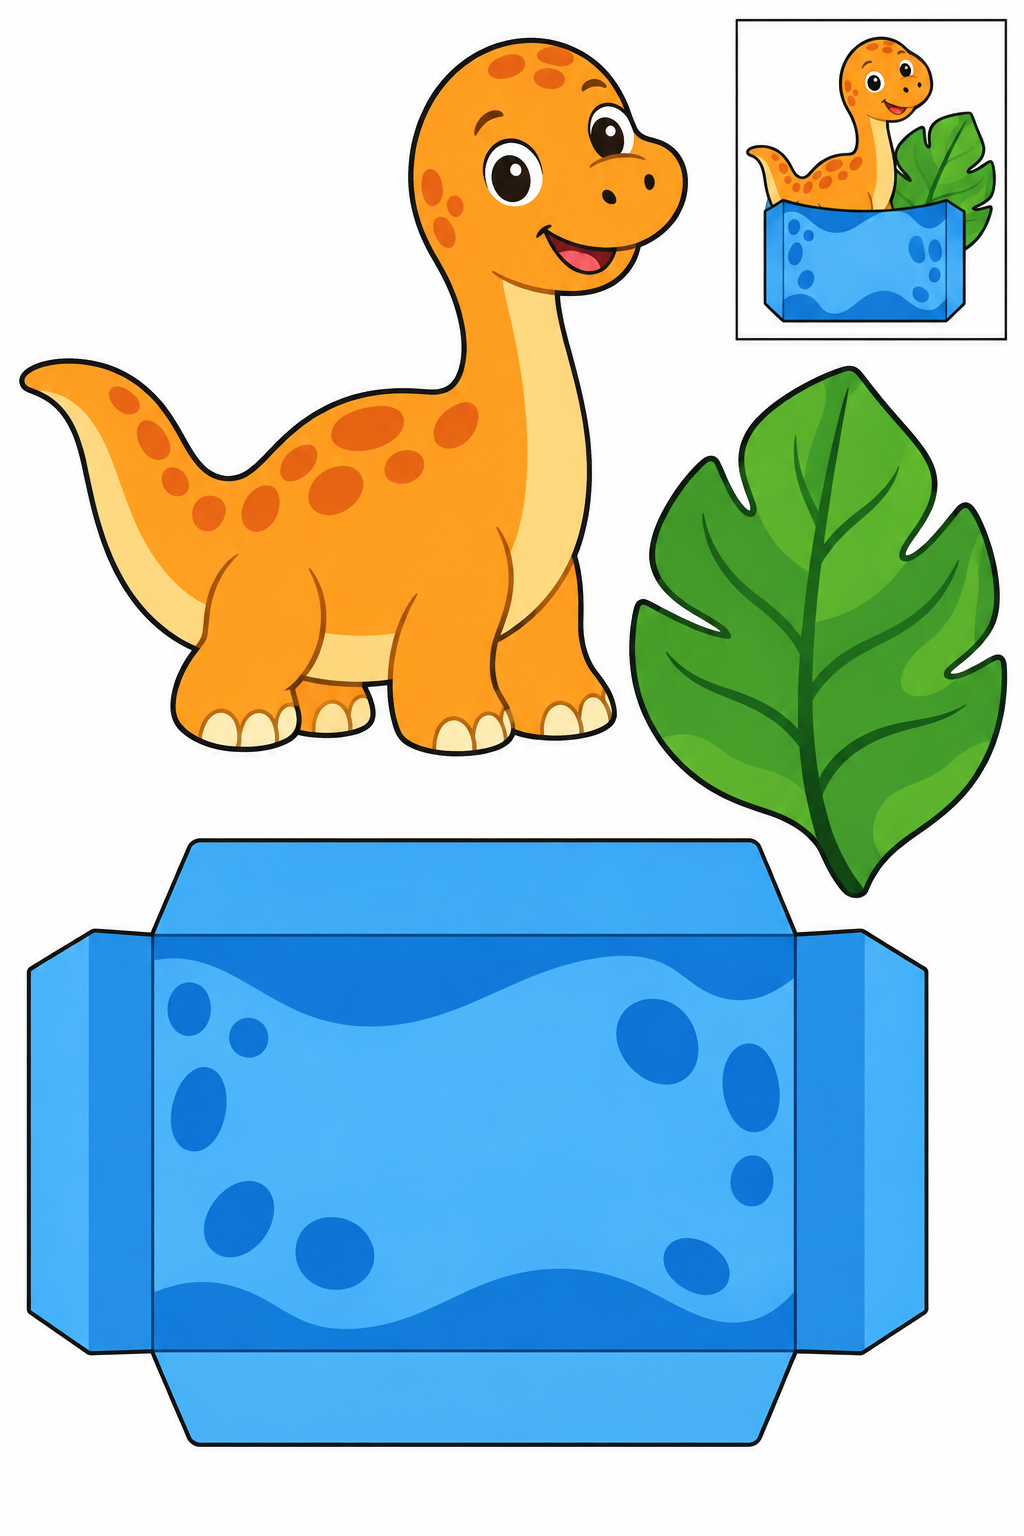
Full color — ready to cut.
Assembly example: The small boxed example shows the finished craft. Do not cut it out.
Cut the outer contours; leave the boxed reference on the page. Fold the broad pocket tabs backward. Glue the side and bottom tabs to backing paper, leaving the top open. Tuck the lower part of the dinosaur behind the open top and add the leaf beside it, as in the reference. The top tab folds back without glue; internal straight lines are folds. Check that each join holds and all parts are visible. Increase overlap or reposition a part before the glue dries if needed.
Check: Can you guide the scissors comfortably? If it is difficult, an adult can shorten a strip, cut a tricky curve or offer straight paths. Pieces should be fully separated and arranged as intended before gluing.
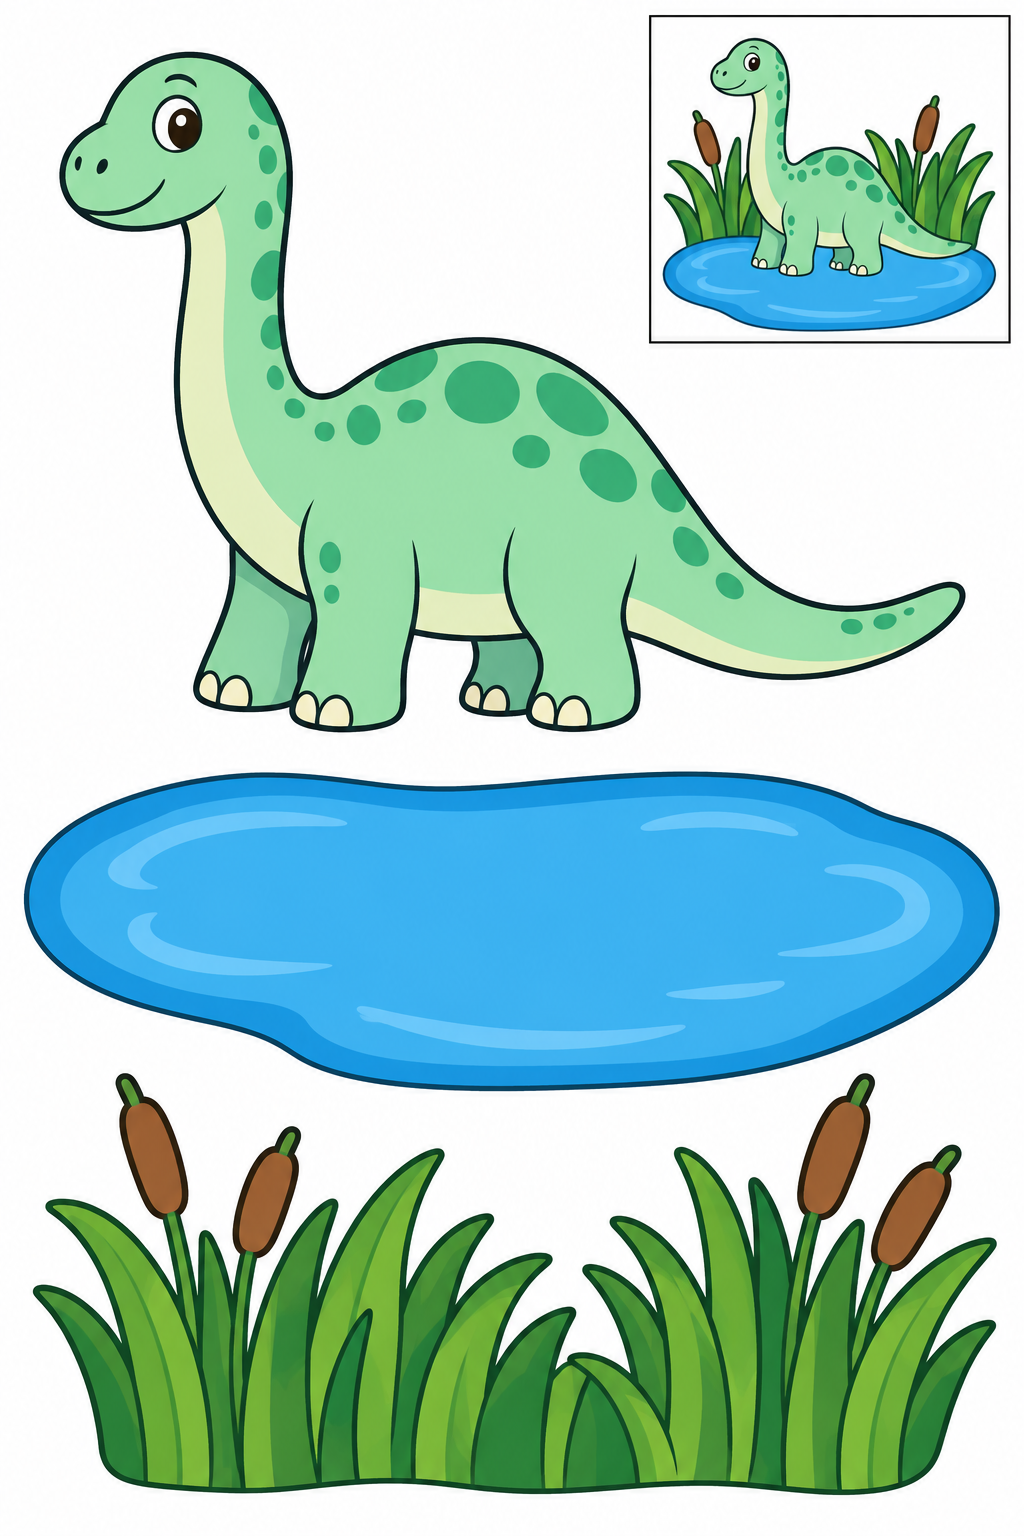
Full color — ready to cut.
Assembly example: The small boxed example shows the finished craft. Do not cut it out.
Cut the outer contours; leave the boxed reference on the page. Arrange the reeds along one edge of the oval pond. Put the dinosaur on the bank, leaving part of the water visible. Check that each join holds and all parts are visible. Increase overlap or reposition a part before the glue dries if needed.
Check: Can you guide the scissors comfortably? If it is difficult, an adult can shorten a strip, cut a tricky curve or offer straight paths. Pieces should be fully separated and arranged as intended before gluing.
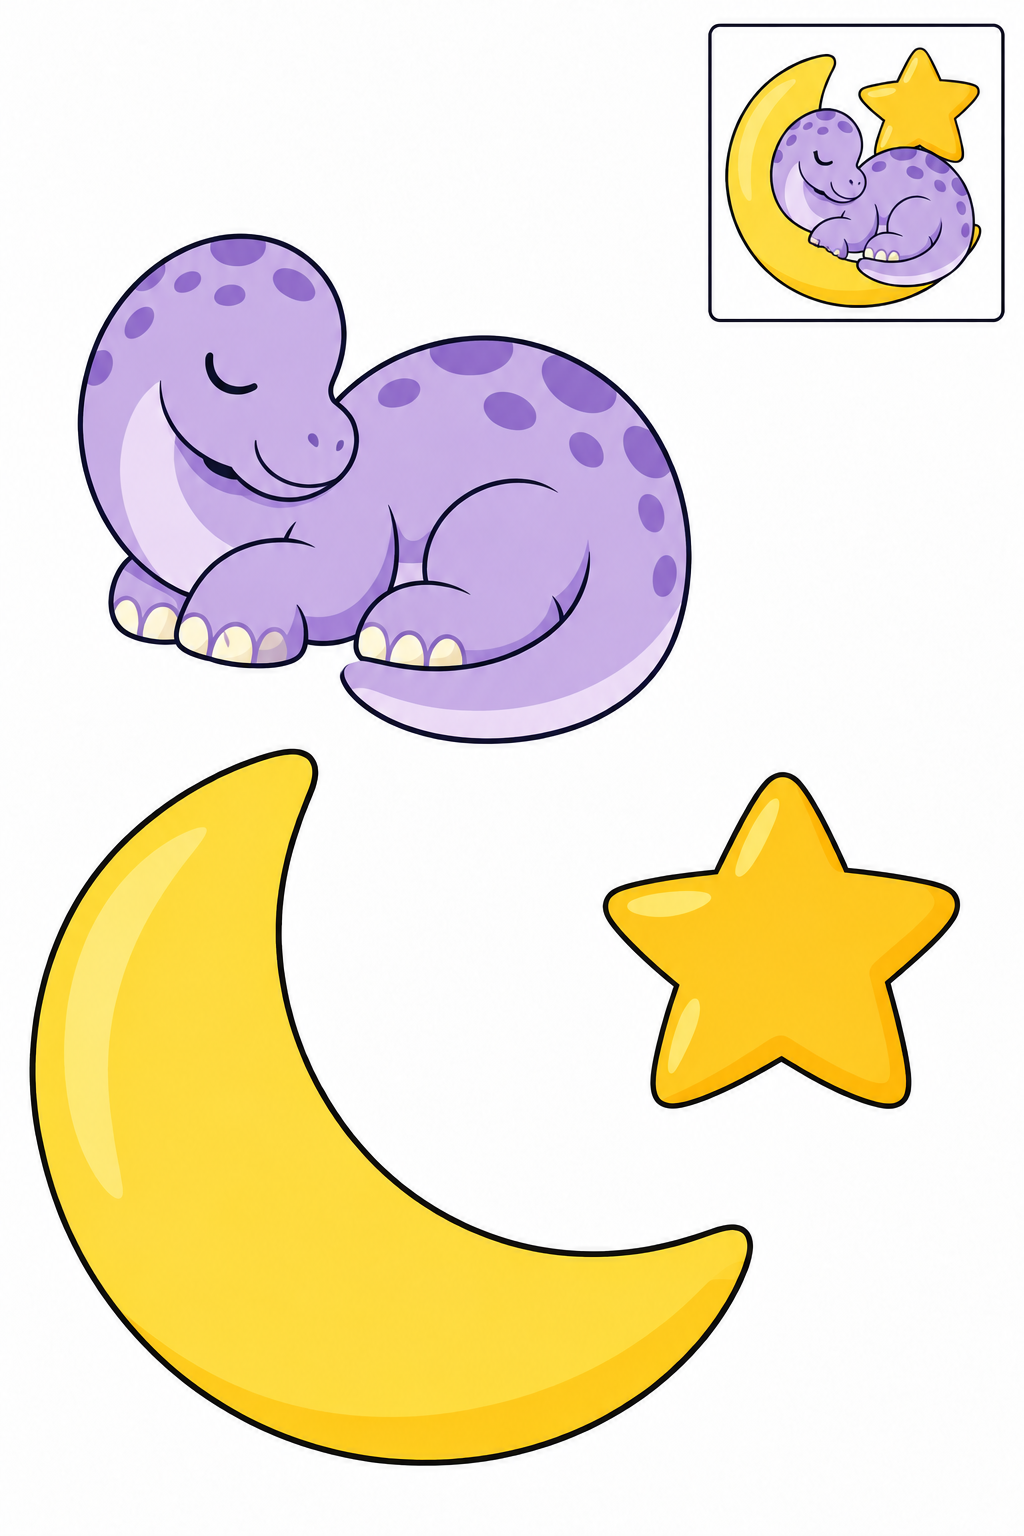
Full color — ready to cut.
Assembly example: The small boxed example shows the finished craft. Do not cut it out.
Cut the outer contours; leave the boxed reference on the page. Place the sleeping dinosaur over the lower curve of the crescent moon. Add the large star nearby without covering the face. Check that each join holds and all parts are visible. Increase overlap or reposition a part before the glue dries if needed.
Check: Can you guide the scissors comfortably? If it is difficult, an adult can shorten a strip, cut a tricky curve or offer straight paths. Pieces should be fully separated and arranged as intended before gluing.
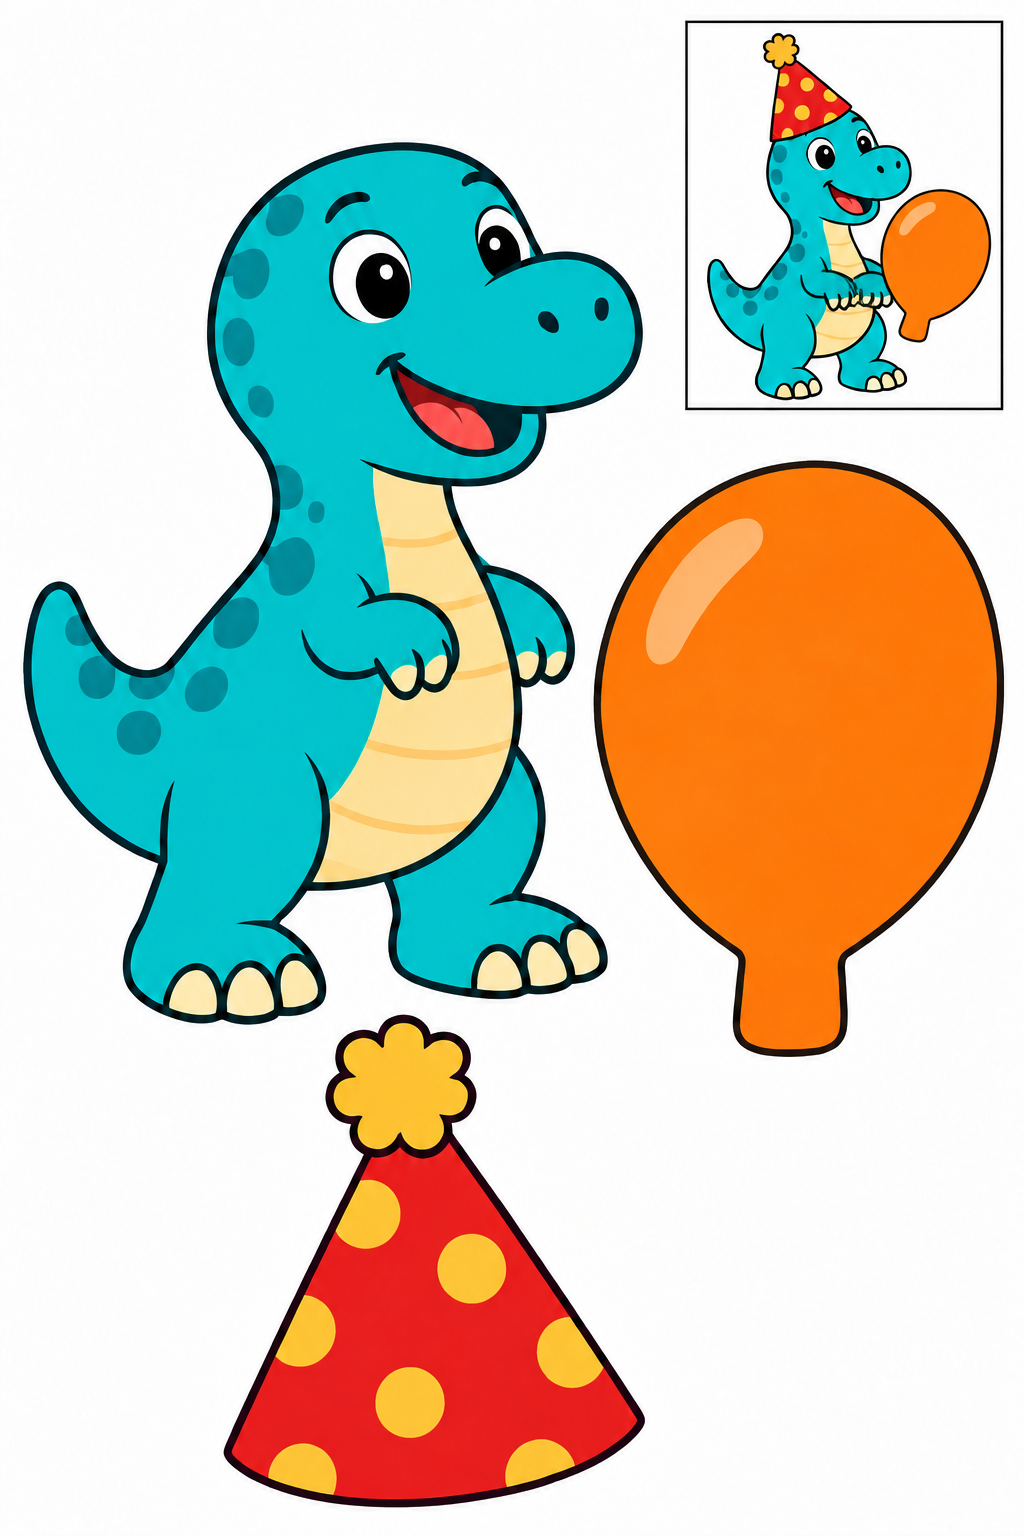
Full color — ready to cut.
Assembly example: The small boxed example shows the finished craft. Do not cut it out.
Cut the outer contours; leave the boxed reference on the page. Glue the hat over the dinosaur’s head with a small overlap. Put the balloon beside its hand; the broad balloon stem stays integral. Check that each join holds and all parts are visible. Increase overlap or reposition a part before the glue dries if needed.
Check: Can you guide the scissors comfortably? If it is difficult, an adult can shorten a strip, cut a tricky curve or offer straight paths. Pieces should be fully separated and arranged as intended before gluing.
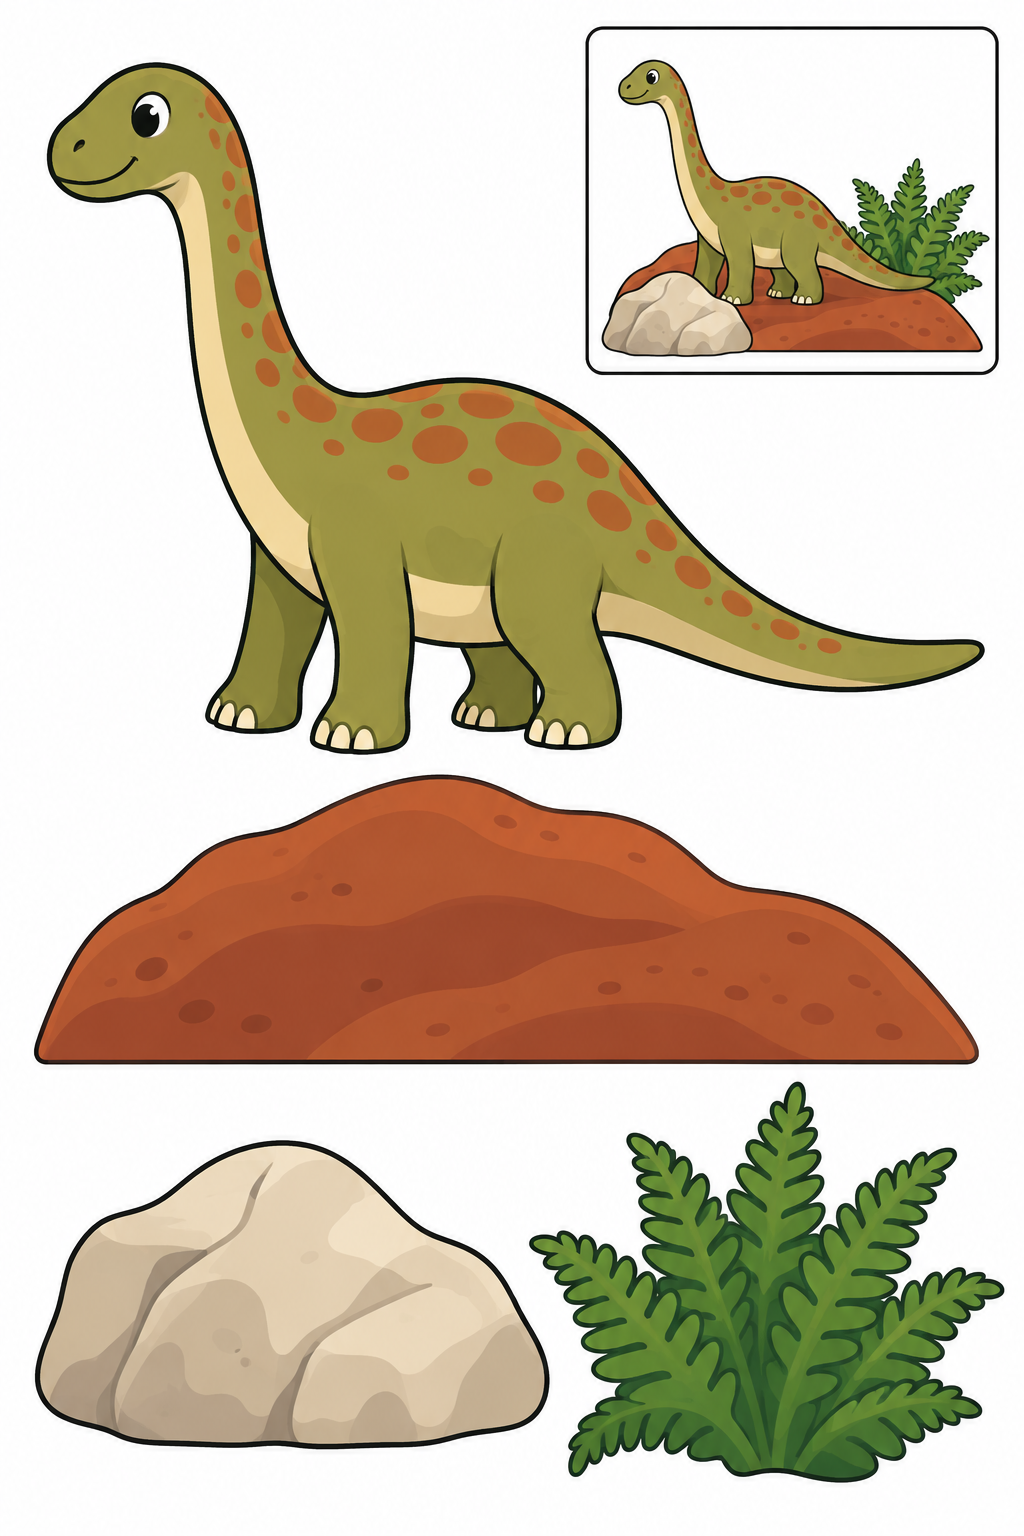
Full color — ready to cut.
Assembly example: The small boxed example shows the finished craft. Do not cut it out.
Cut the outer contours; leave the boxed reference on the page. Arrange the hill behind the dinosaur. Add the rock and fern beside its feet, leaving the face and tail visible. Check that each join holds and all parts are visible. Increase overlap or reposition a part before the glue dries if needed.
Check: Can you guide the scissors comfortably? If it is difficult, an adult can shorten a strip, cut a tricky curve or offer straight paths. Pieces should be fully separated and arranged as intended before gluing.
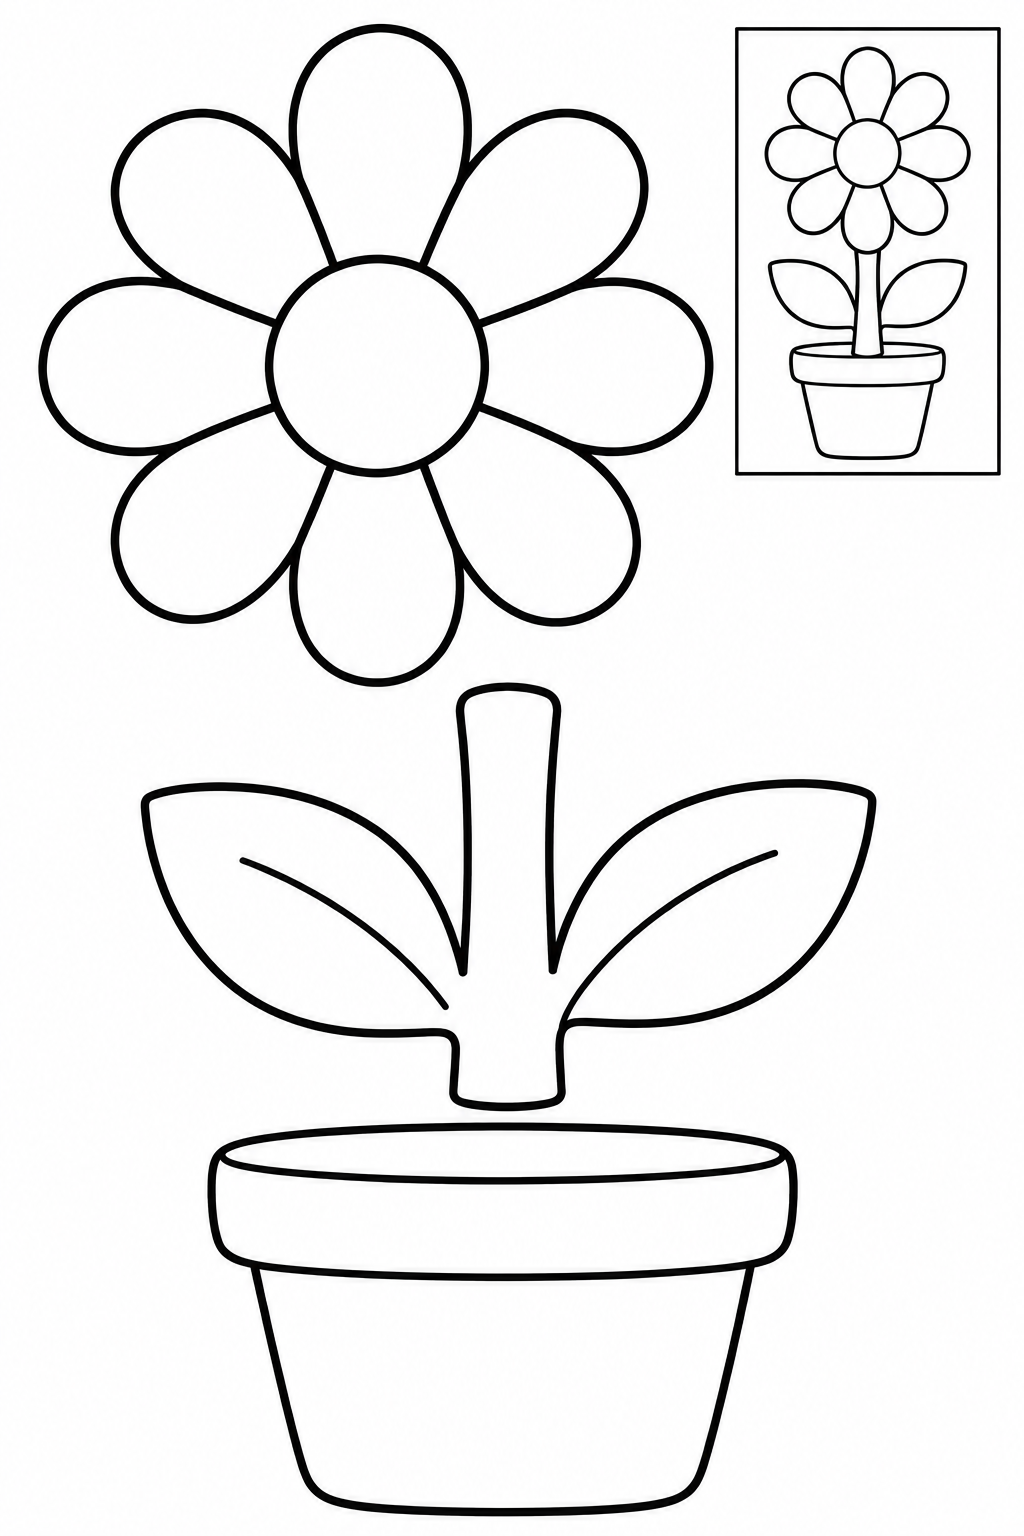
Black and white — color before cutting.
Assembly example: The small boxed example shows the finished craft. Do not cut it out.
Cut the outside edges; leave the boxed example on the sheet. Place the stem behind the pot rim, then overlap the blossom at its top. Keep the two leaves visible. Check every join before the glue dries. If a piece slips, increase its overlap and press again.
Check: Can you guide the scissors comfortably? If it is difficult, an adult can shorten a strip, cut a tricky curve or offer straight paths. Pieces should be fully separated and arranged as intended before gluing.
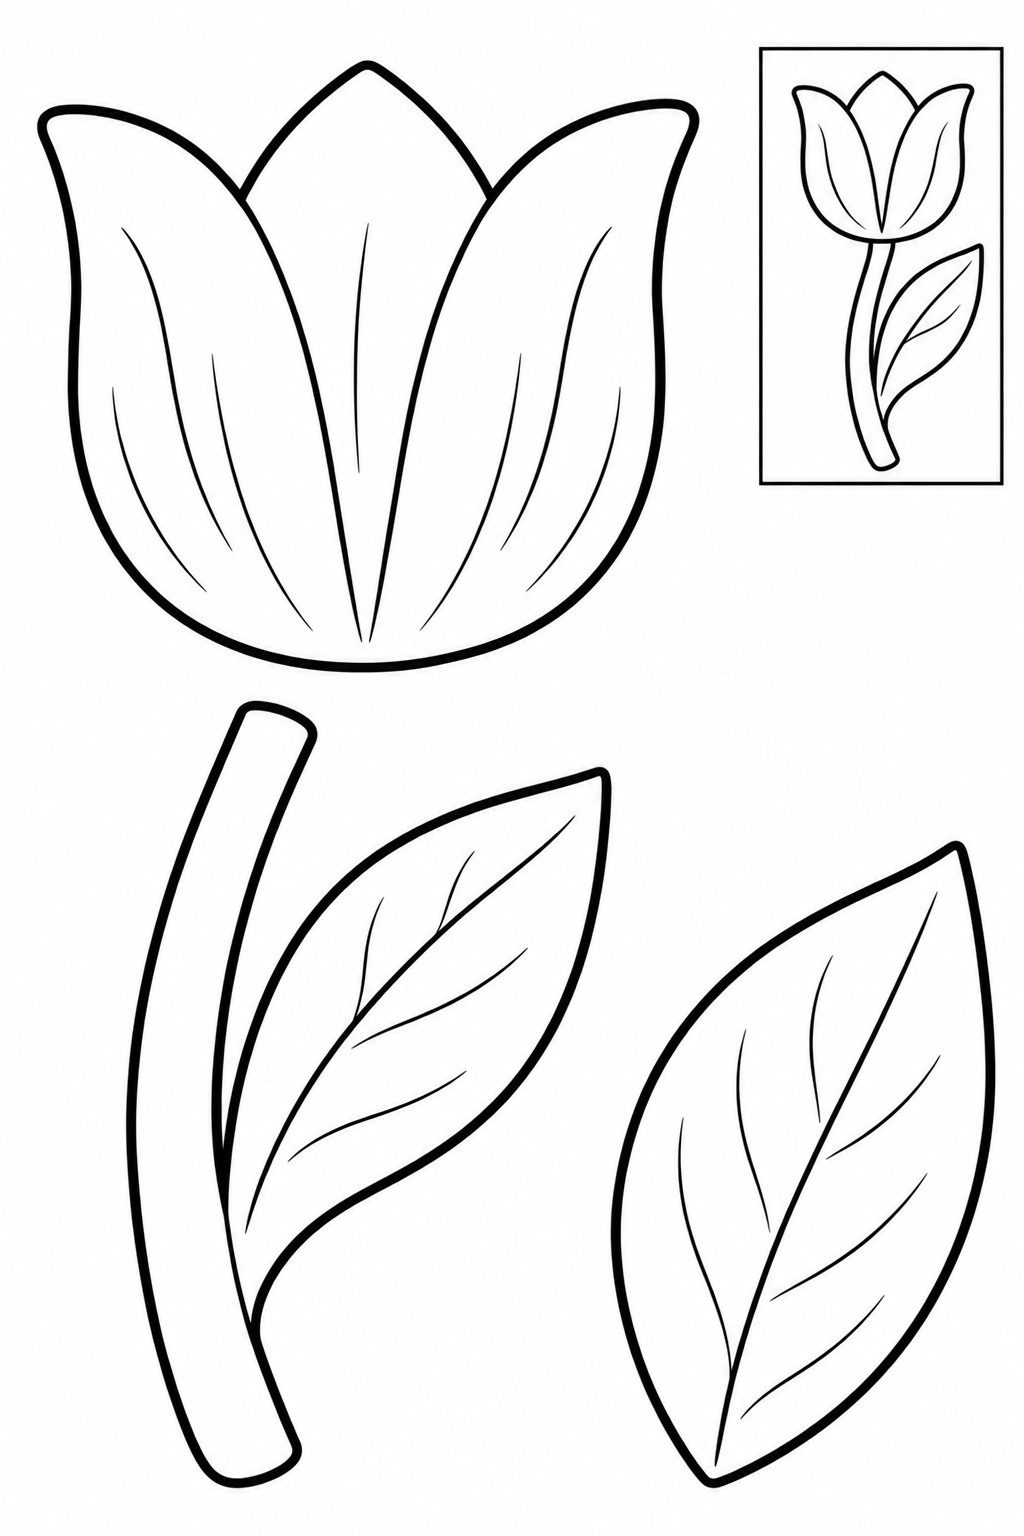
Black and white — color before cutting.
Assembly example: The small boxed example shows the finished craft. Do not cut it out.
Cut the outside edges; leave the boxed example on the sheet. Join the blossom to the stem and tuck the separate leaf behind its lower half. Leave space around the flower for a greeting. Check every join before the glue dries. If a piece slips, increase its overlap and press again.
Check: Can you guide the scissors comfortably? If it is difficult, an adult can shorten a strip, cut a tricky curve or offer straight paths. Pieces should be fully separated and arranged as intended before gluing.
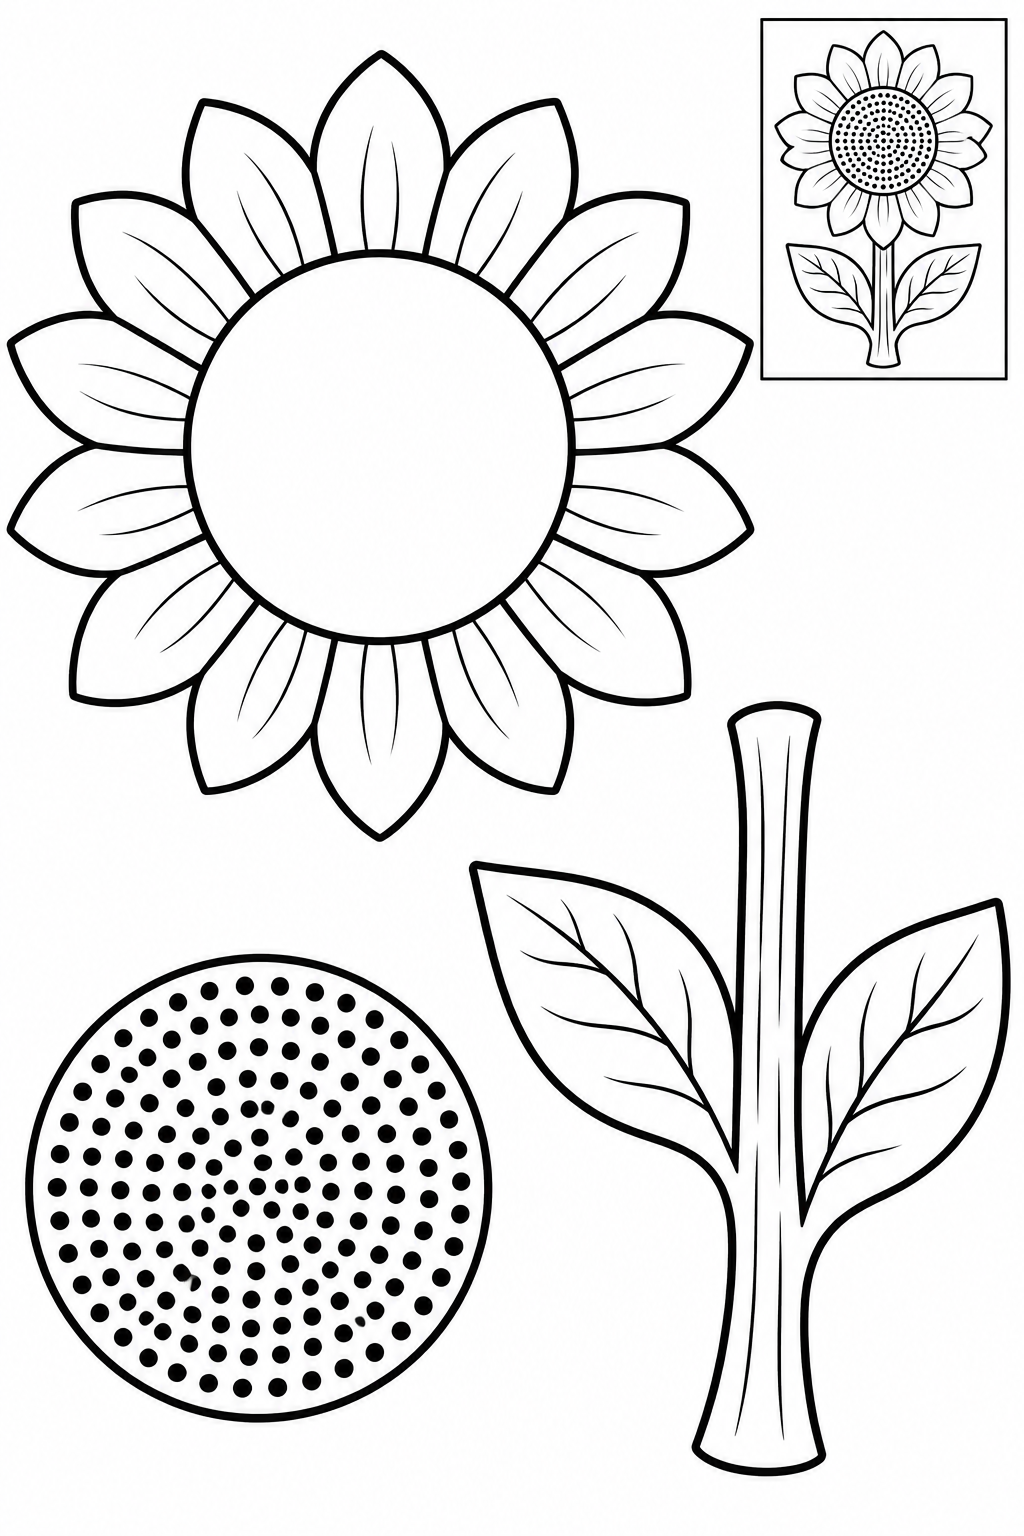
Black and white — color before cutting.
Assembly example: The small boxed example shows the finished craft. Do not cut it out.
Cut the outside edges; leave the boxed example on the sheet. Lay the seed center over the petal ring. Attach the stalk behind the blossom so its leaves point outwards. Check every join before the glue dries. If a piece slips, increase its overlap and press again.
Check: Can you guide the scissors comfortably? If it is difficult, an adult can shorten a strip, cut a tricky curve or offer straight paths. Pieces should be fully separated and arranged as intended before gluing.
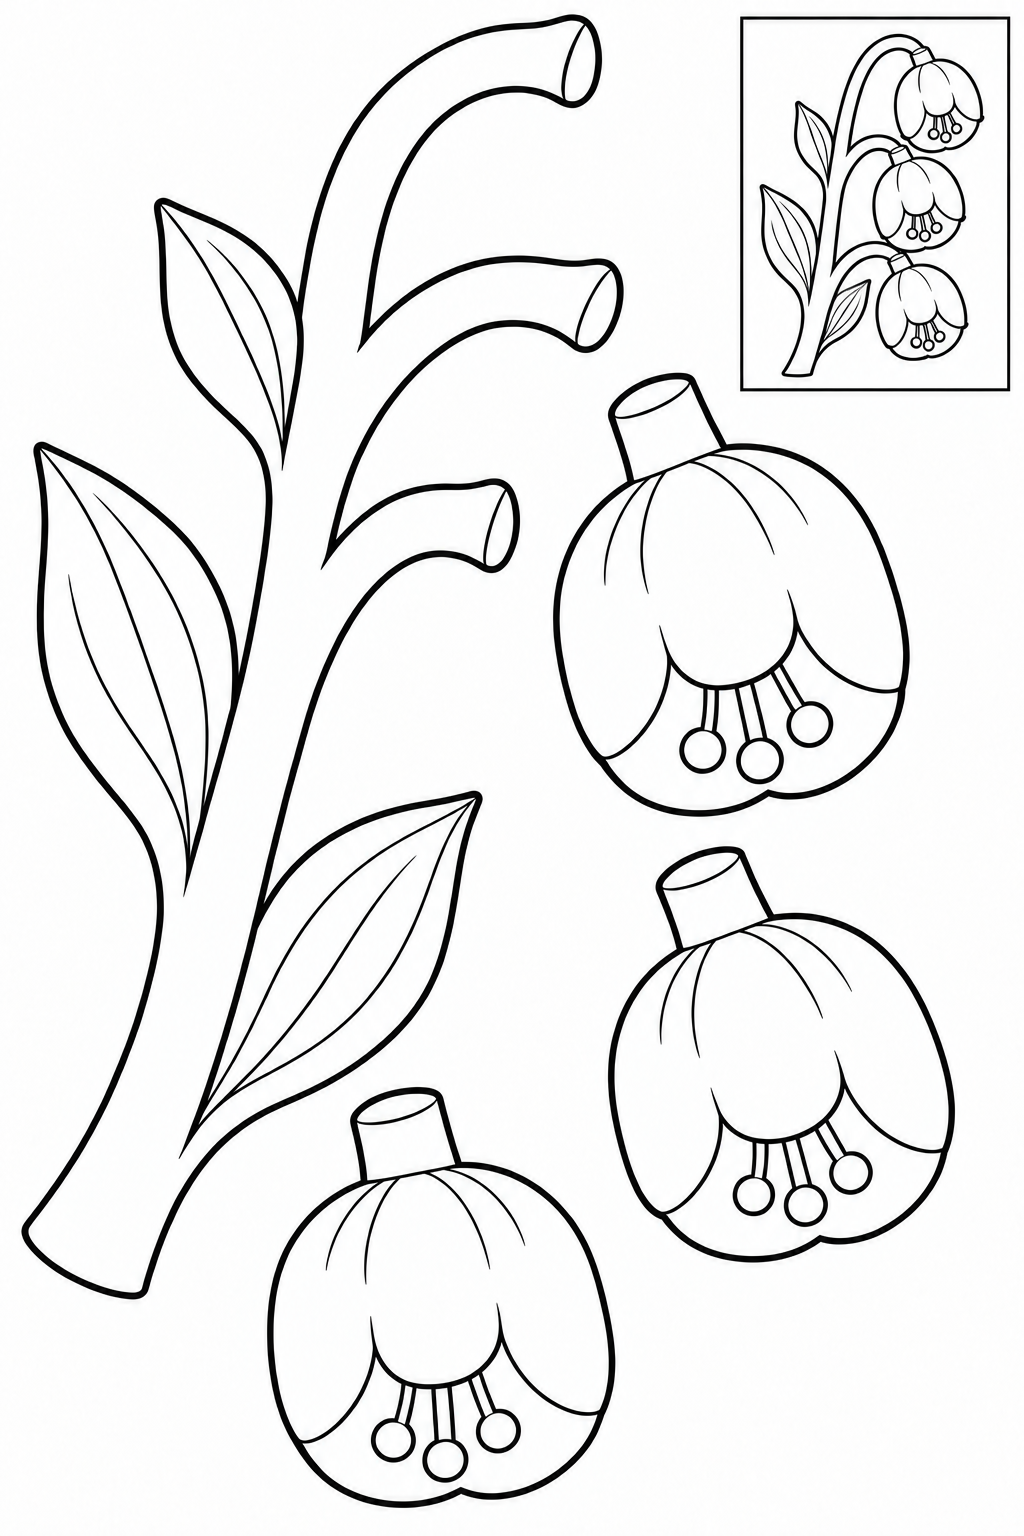
Black and white — color before cutting.
Assembly example: The small boxed example shows the finished craft. Do not cut it out.
Cut the outside edges; leave the boxed example on the sheet. Place one bell at each branch tip, with the open end facing down. Overlap each top with the branch. Check every join before the glue dries. If a piece slips, increase its overlap and press again.
Check: Can you guide the scissors comfortably? If it is difficult, an adult can shorten a strip, cut a tricky curve or offer straight paths. Pieces should be fully separated and arranged as intended before gluing.
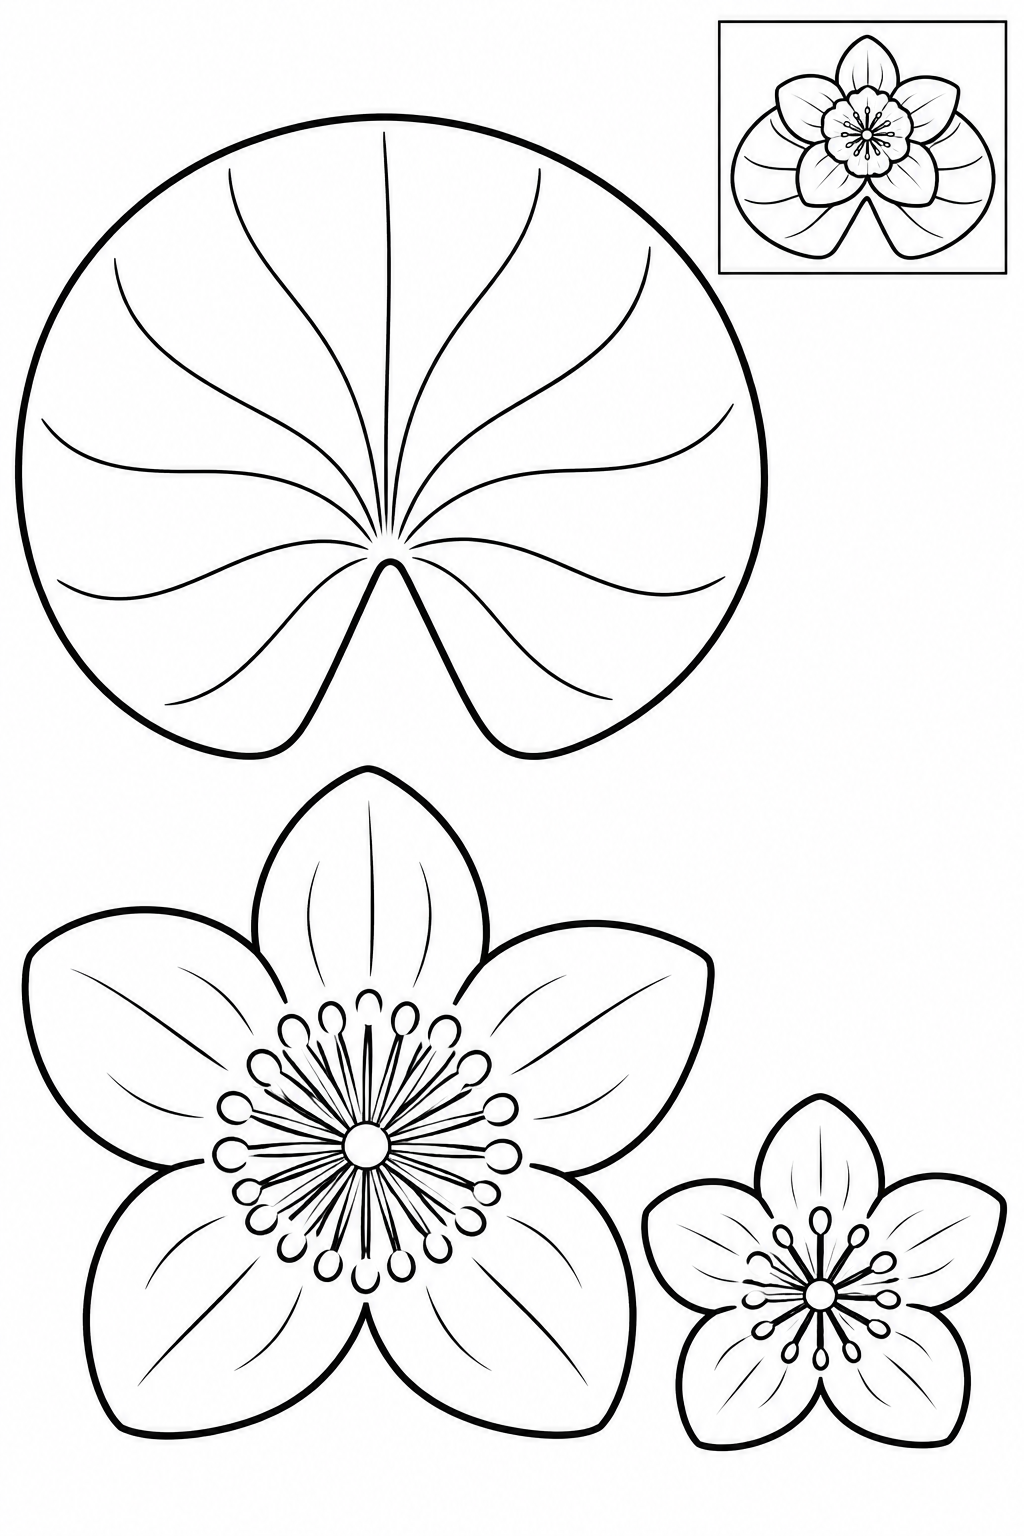
Black and white — color before cutting.
Assembly example: The small boxed example shows the finished craft. Do not cut it out.
Cut the outside edges; leave the boxed example on the sheet. Layer the smaller blossom on the larger one with offset petals. Glue the flower beside the pad notch. Check every join before the glue dries. If a piece slips, increase its overlap and press again.
Check: Can you guide the scissors comfortably? If it is difficult, an adult can shorten a strip, cut a tricky curve or offer straight paths. Pieces should be fully separated and arranged as intended before gluing.
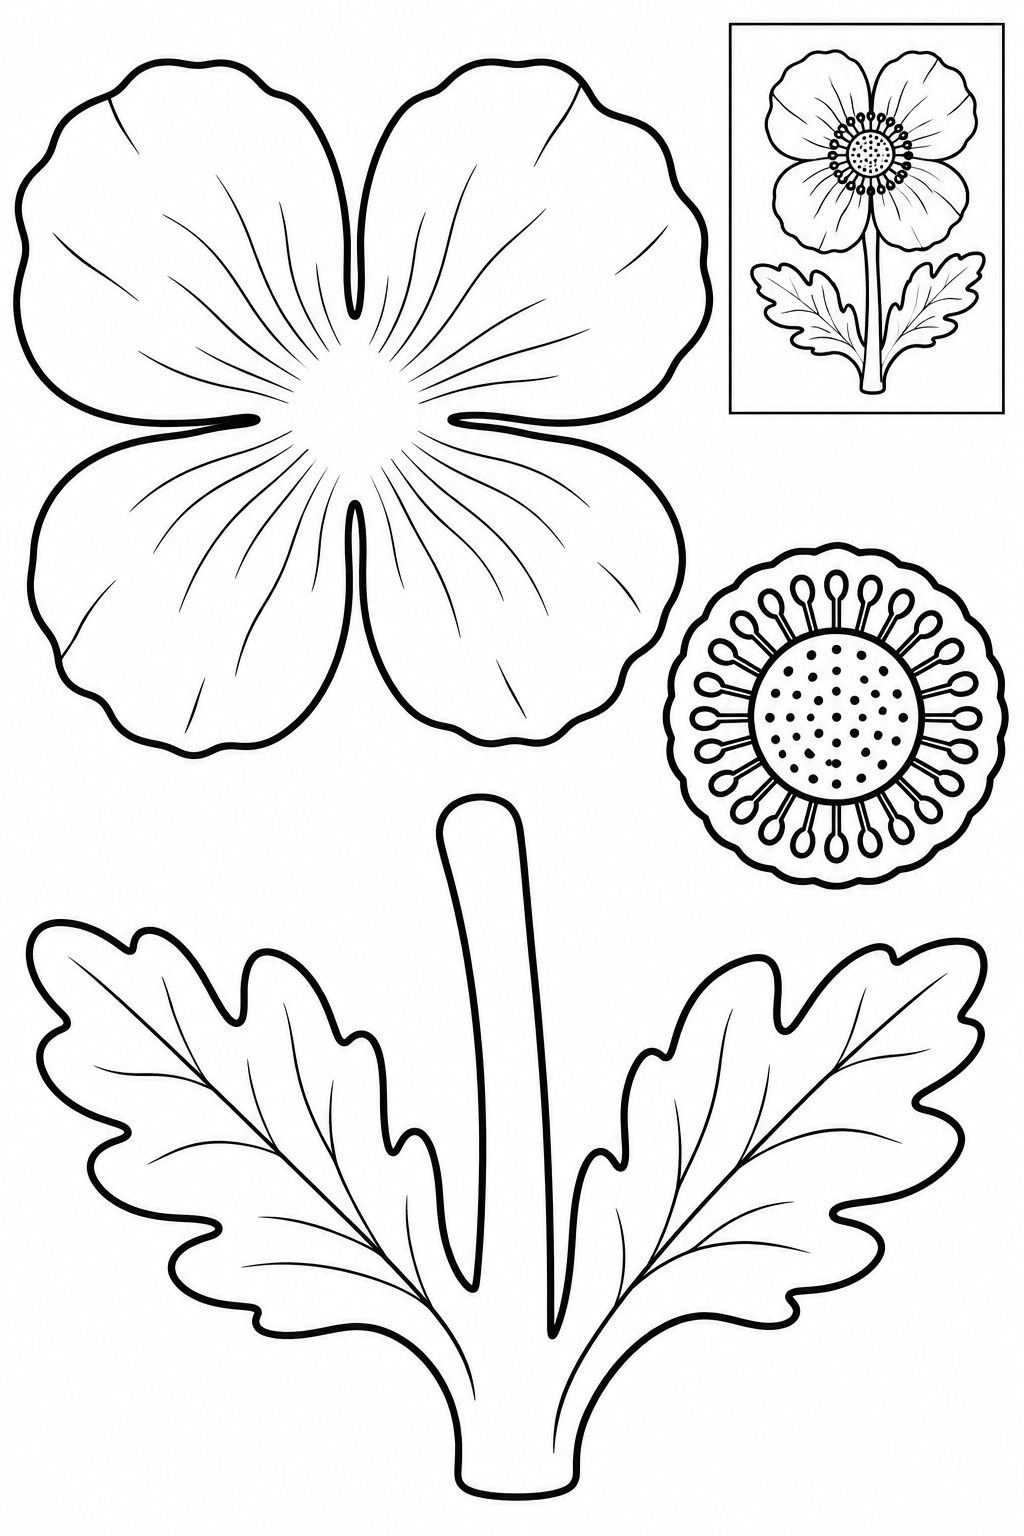
Black and white — color before cutting.
Assembly example: The small boxed example shows the finished craft. Do not cut it out.
Cut the outside edges; leave the boxed example on the sheet. Glue the center disk inside the blossom. Attach the stalk behind the lower petal, leaving the center uncovered. Check every join before the glue dries. If a piece slips, increase its overlap and press again.
Check: Can you guide the scissors comfortably? If it is difficult, an adult can shorten a strip, cut a tricky curve or offer straight paths. Pieces should be fully separated and arranged as intended before gluing.
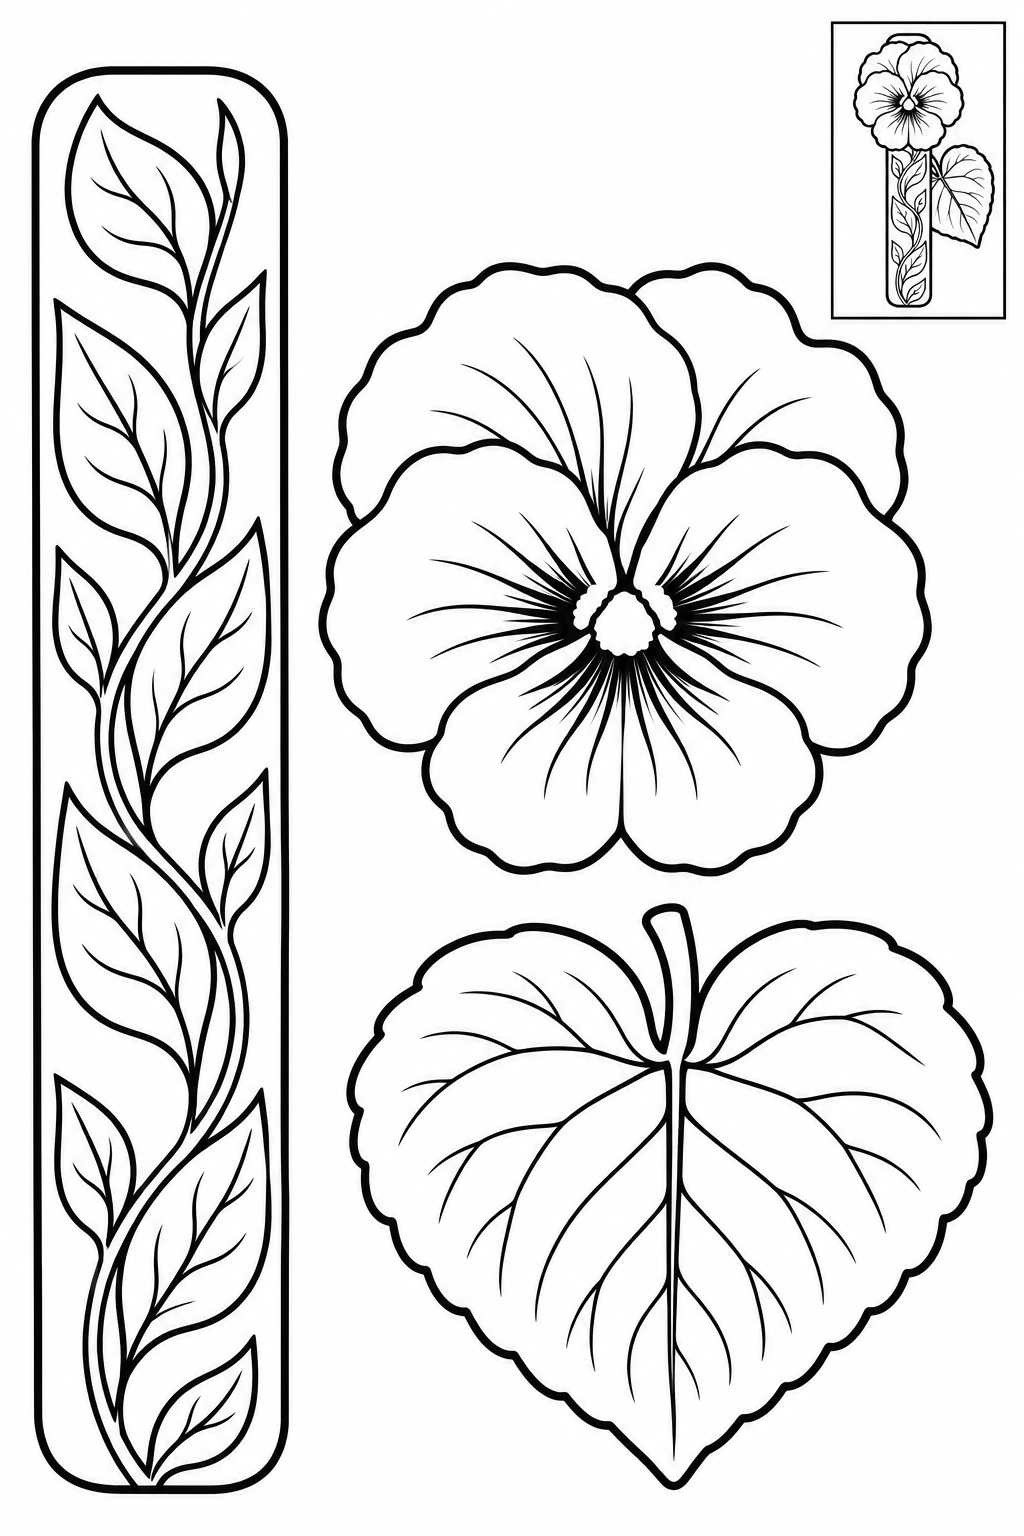
Black and white — color before cutting.
Assembly example: The small boxed example shows the finished craft. Do not cut it out.
Cut the outside edges; leave the boxed example on the sheet. Attach the pansy at the top of the strip and the heart leaf below it. Keep the lower strip flat for the book. Check every join before the glue dries. If a piece slips, increase its overlap and press again.
Check: Can you guide the scissors comfortably? If it is difficult, an adult can shorten a strip, cut a tricky curve or offer straight paths. Pieces should be fully separated and arranged as intended before gluing.
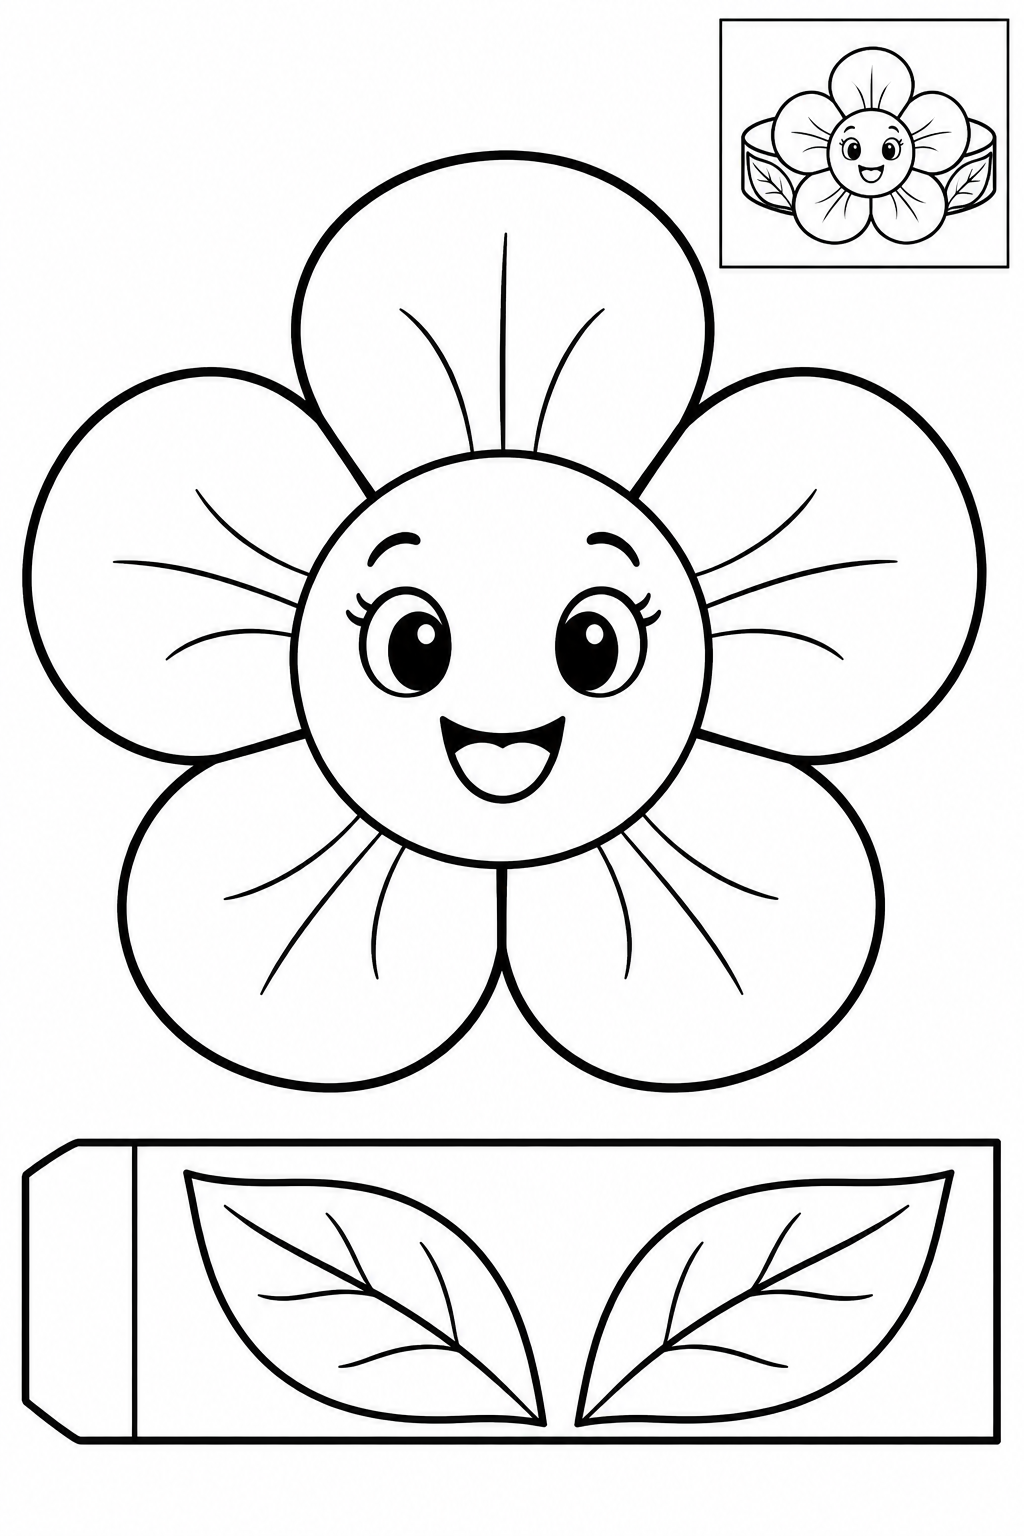
Black and white — color before cutting.
Assembly example: The small boxed example shows the finished craft. Do not cut it out.
Cut the outside edges; leave the boxed example on the sheet. An adult fits the flat band loosely around a finger and glues only the overlapping ends. Attach the flower face outside the join. Check every join before the glue dries. If a piece slips, increase its overlap and press again.
Check: Can you guide the scissors comfortably? If it is difficult, an adult can shorten a strip, cut a tricky curve or offer straight paths. Pieces should be fully separated and arranged as intended before gluing.
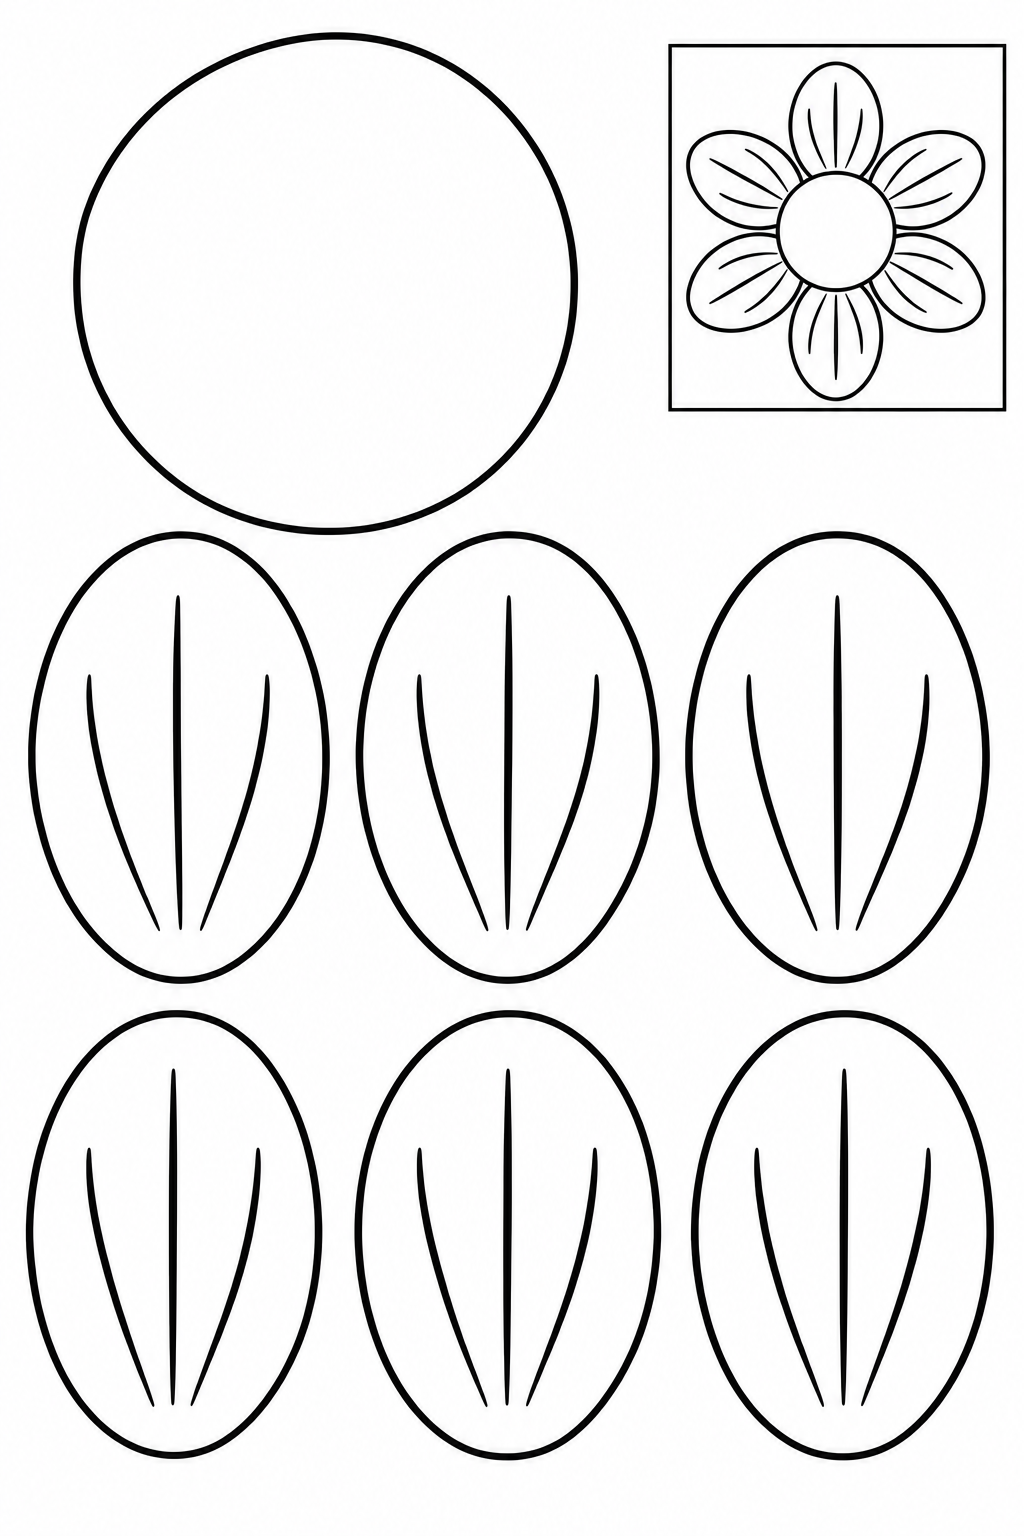
Black and white — color before cutting.
Assembly example: The small boxed example shows the finished craft. Do not cut it out.
Cut the outside edges; leave the boxed example on the sheet. Arrange six oval petals around the base, overlapping their inner ends. Leave the middle visible as the flower center. Check every join before the glue dries. If a piece slips, increase its overlap and press again.
Check: Can you guide the scissors comfortably? If it is difficult, an adult can shorten a strip, cut a tricky curve or offer straight paths. Pieces should be fully separated and arranged as intended before gluing.
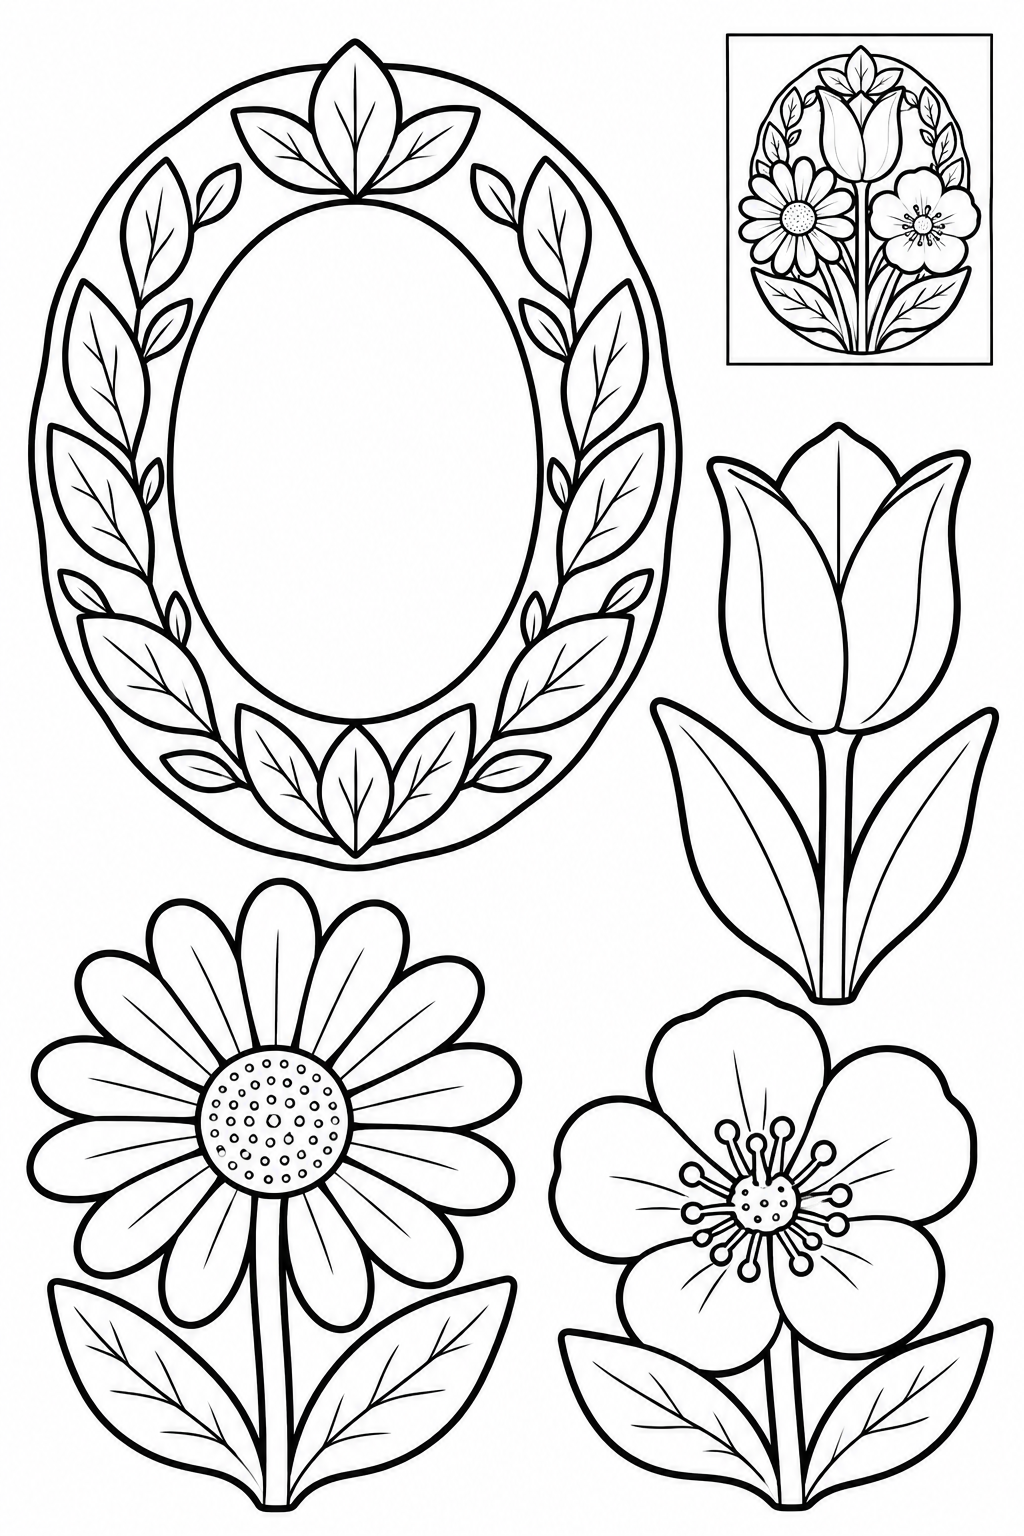
Black and white — color before cutting.
Assembly example: The small boxed example shows the finished craft. Do not cut it out.
Cut the outside edges; leave the boxed example on the sheet. Place the three flowers around the lower half of the leafy oval. The printed inner oval stays intact; there is no inside cut. Check every join before the glue dries. If a piece slips, increase its overlap and press again.
Check: Can you guide the scissors comfortably? If it is difficult, an adult can shorten a strip, cut a tricky curve or offer straight paths. Pieces should be fully separated and arranged as intended before gluing.
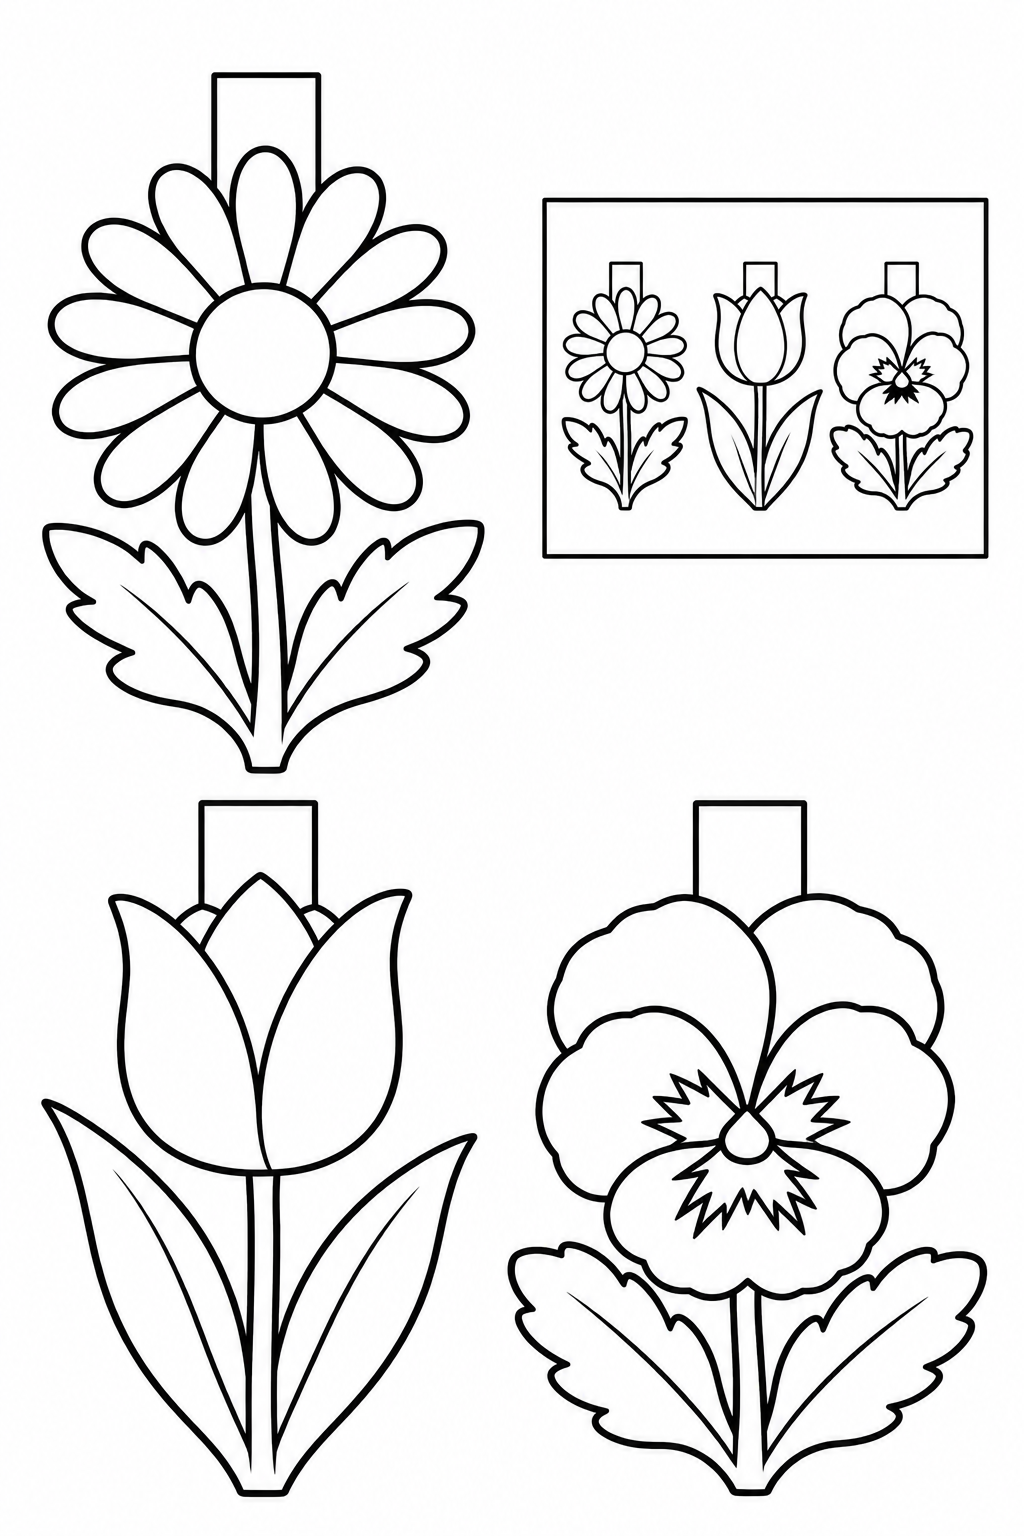
Black and white — color before cutting.
Assembly example: The small boxed example shows the finished craft. Do not cut it out.
Cut the outside edges; leave the boxed example on the sheet. Glue each broad top tab over a paper ribbon. Space the flowers so their edges do not overlap. Check every join before the glue dries. If a piece slips, increase its overlap and press again.
Check: Can you guide the scissors comfortably? If it is difficult, an adult can shorten a strip, cut a tricky curve or offer straight paths. Pieces should be fully separated and arranged as intended before gluing.
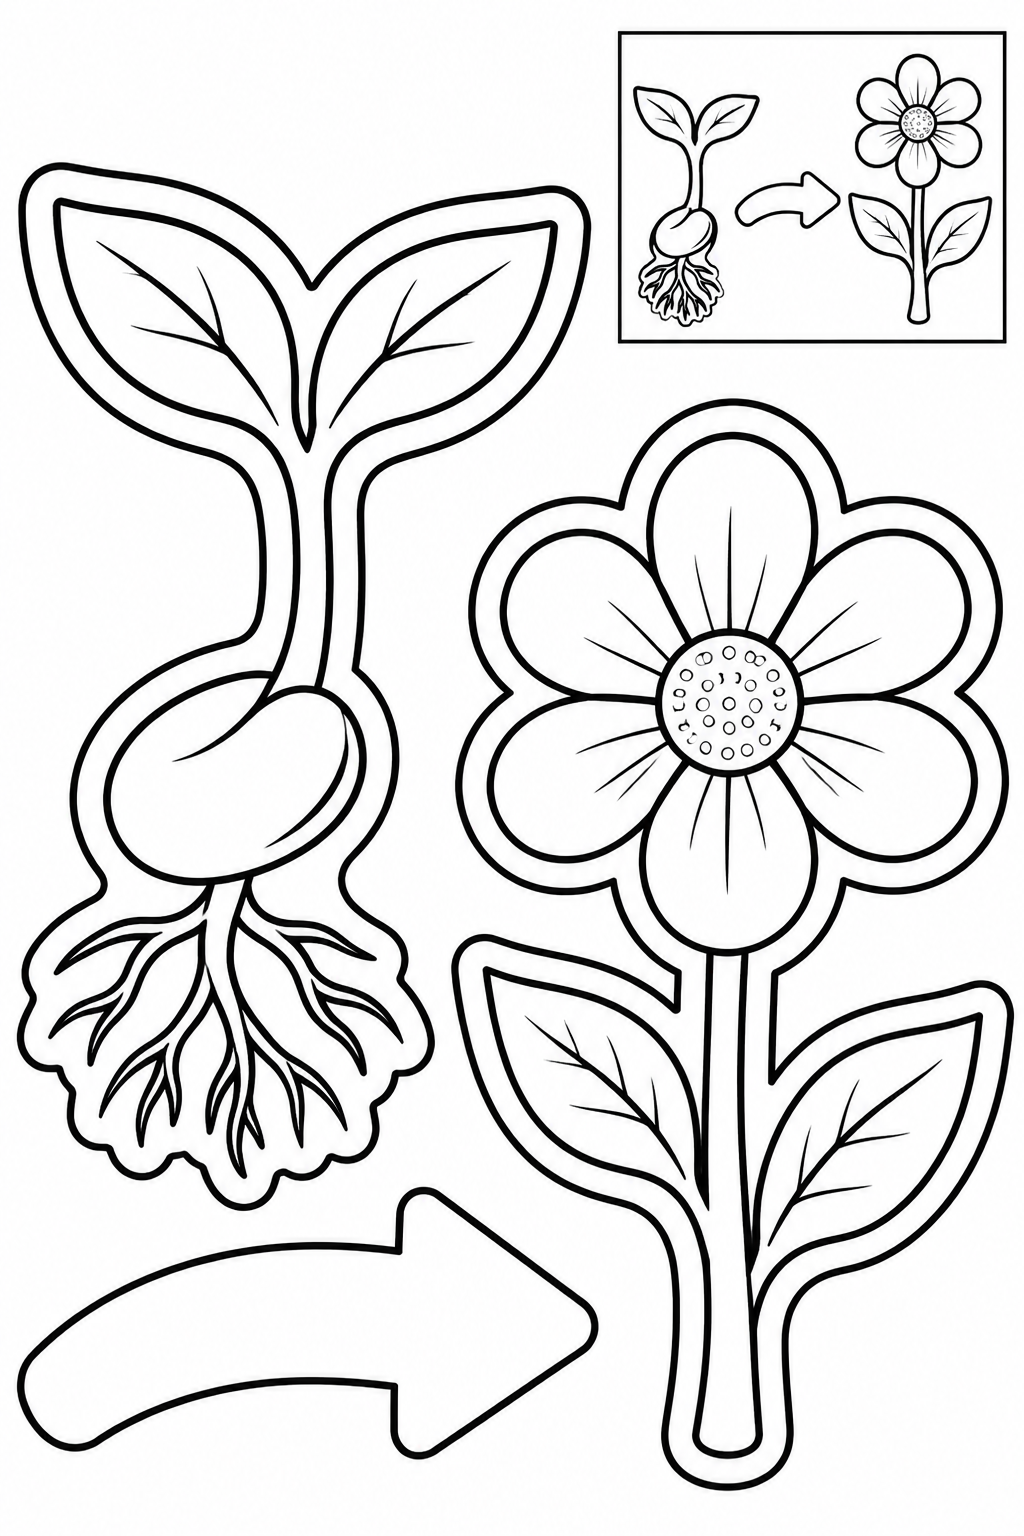
Black and white — color before cutting.
Assembly example: The small boxed example shows the finished craft. Do not cut it out.
Cut the outside edges; leave the boxed example on the sheet. Place the sprout on the left and flower on the right. Glue the arrow between them, pointing toward the bloom. Check every join before the glue dries. If a piece slips, increase its overlap and press again.
Check: Can you guide the scissors comfortably? If it is difficult, an adult can shorten a strip, cut a tricky curve or offer straight paths. Pieces should be fully separated and arranged as intended before gluing.
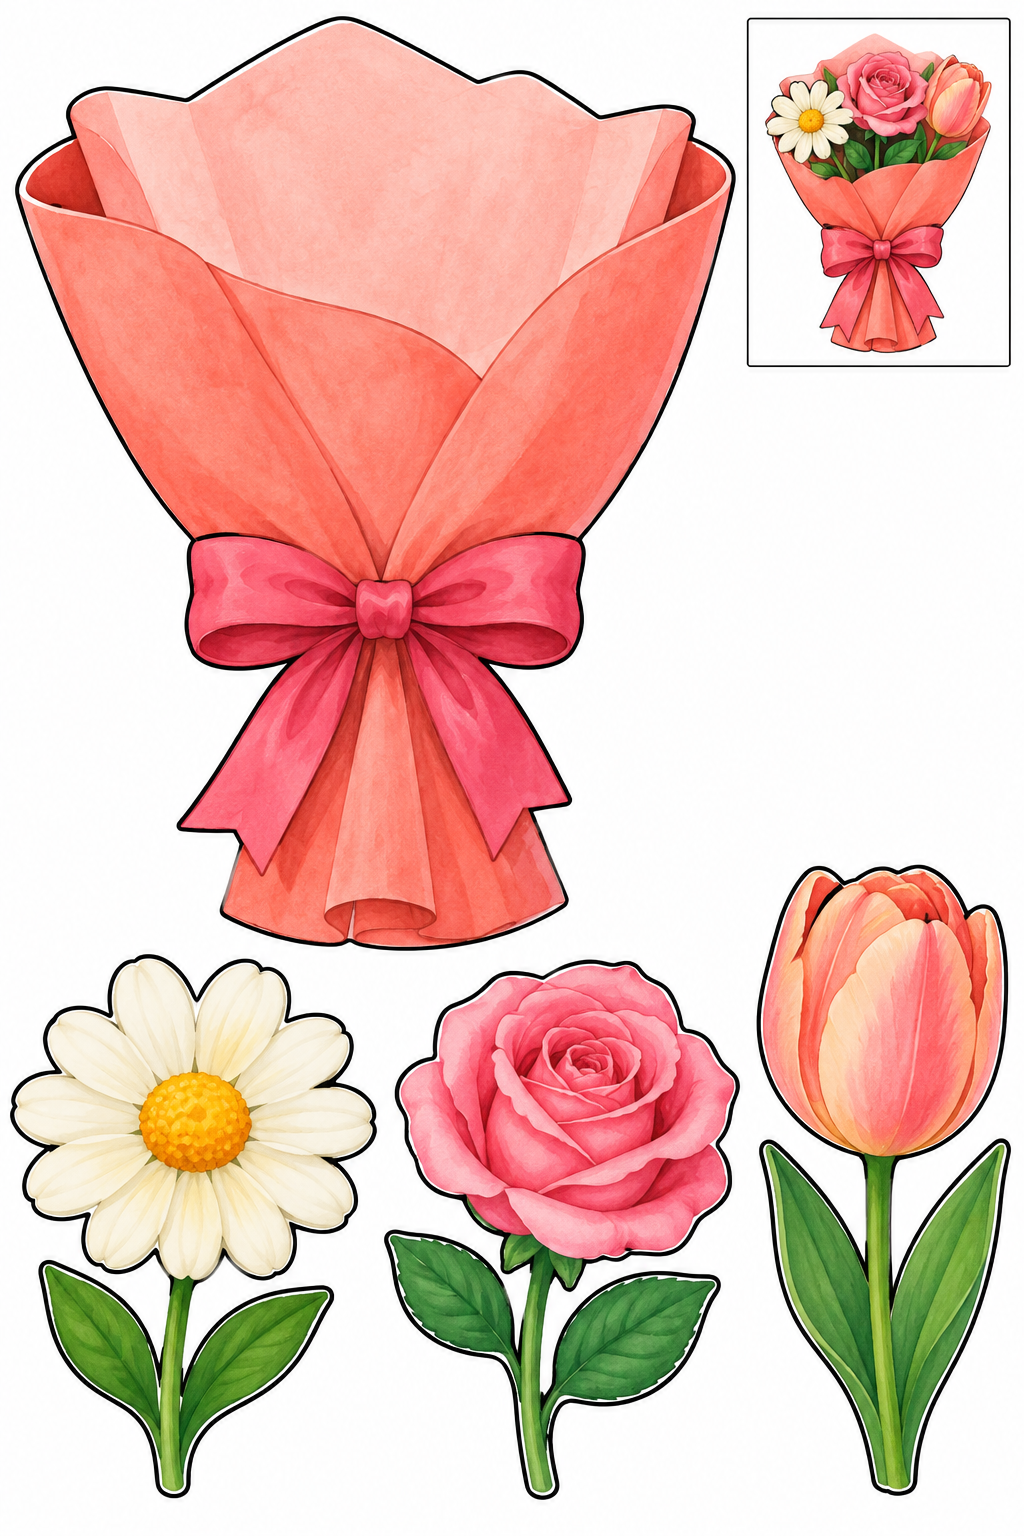
Full color — ready to cut.
Assembly example: The small boxed example shows the finished craft. Do not cut it out.
Cut the outside edges; leave the boxed example on the sheet. Arrange the three short stems behind the wrapper, with all blossoms above the rim. Glue the wrapper over their lower ends. Check every join before the glue dries. If a piece slips, increase its overlap and press again.
Check: Can you guide the scissors comfortably? If it is difficult, an adult can shorten a strip, cut a tricky curve or offer straight paths. Pieces should be fully separated and arranged as intended before gluing.
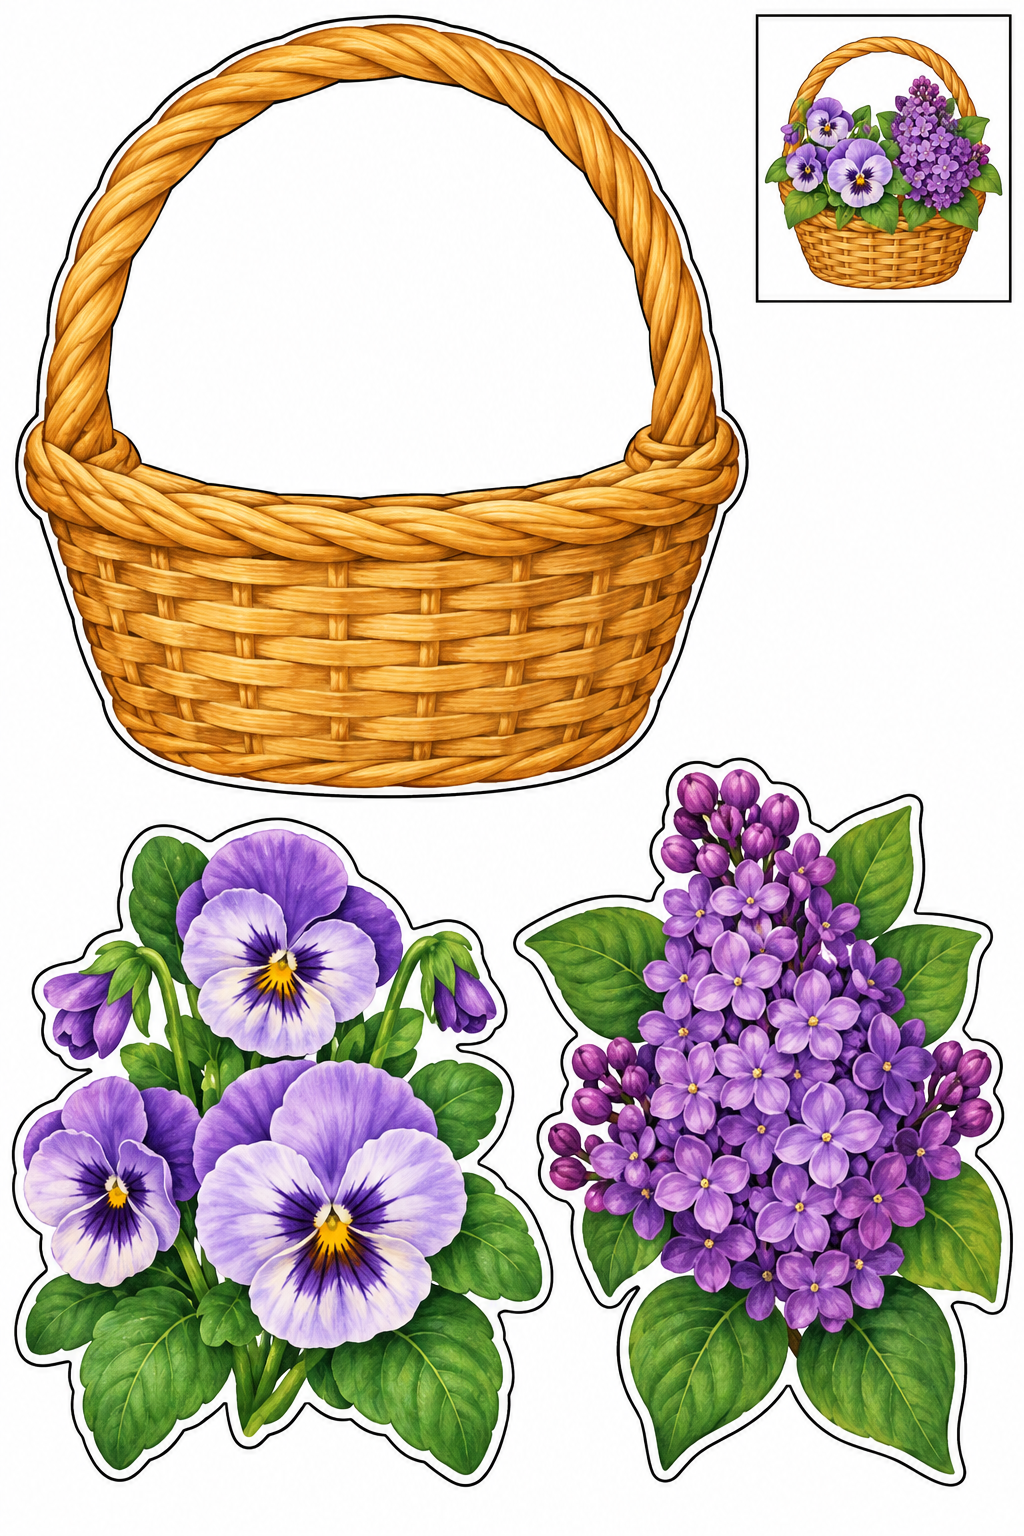
Full color — ready to cut.
Assembly example: The small boxed example shows the finished craft. Do not cut it out.
Cut the outside edges; leave the boxed example on the sheet. Arrange the two clusters above the basket rim and under the printed handle. Glue their broad bases behind the basket. Check every join before the glue dries. If a piece slips, increase its overlap and press again.
Check: Can you guide the scissors comfortably? If it is difficult, an adult can shorten a strip, cut a tricky curve or offer straight paths. Pieces should be fully separated and arranged as intended before gluing.
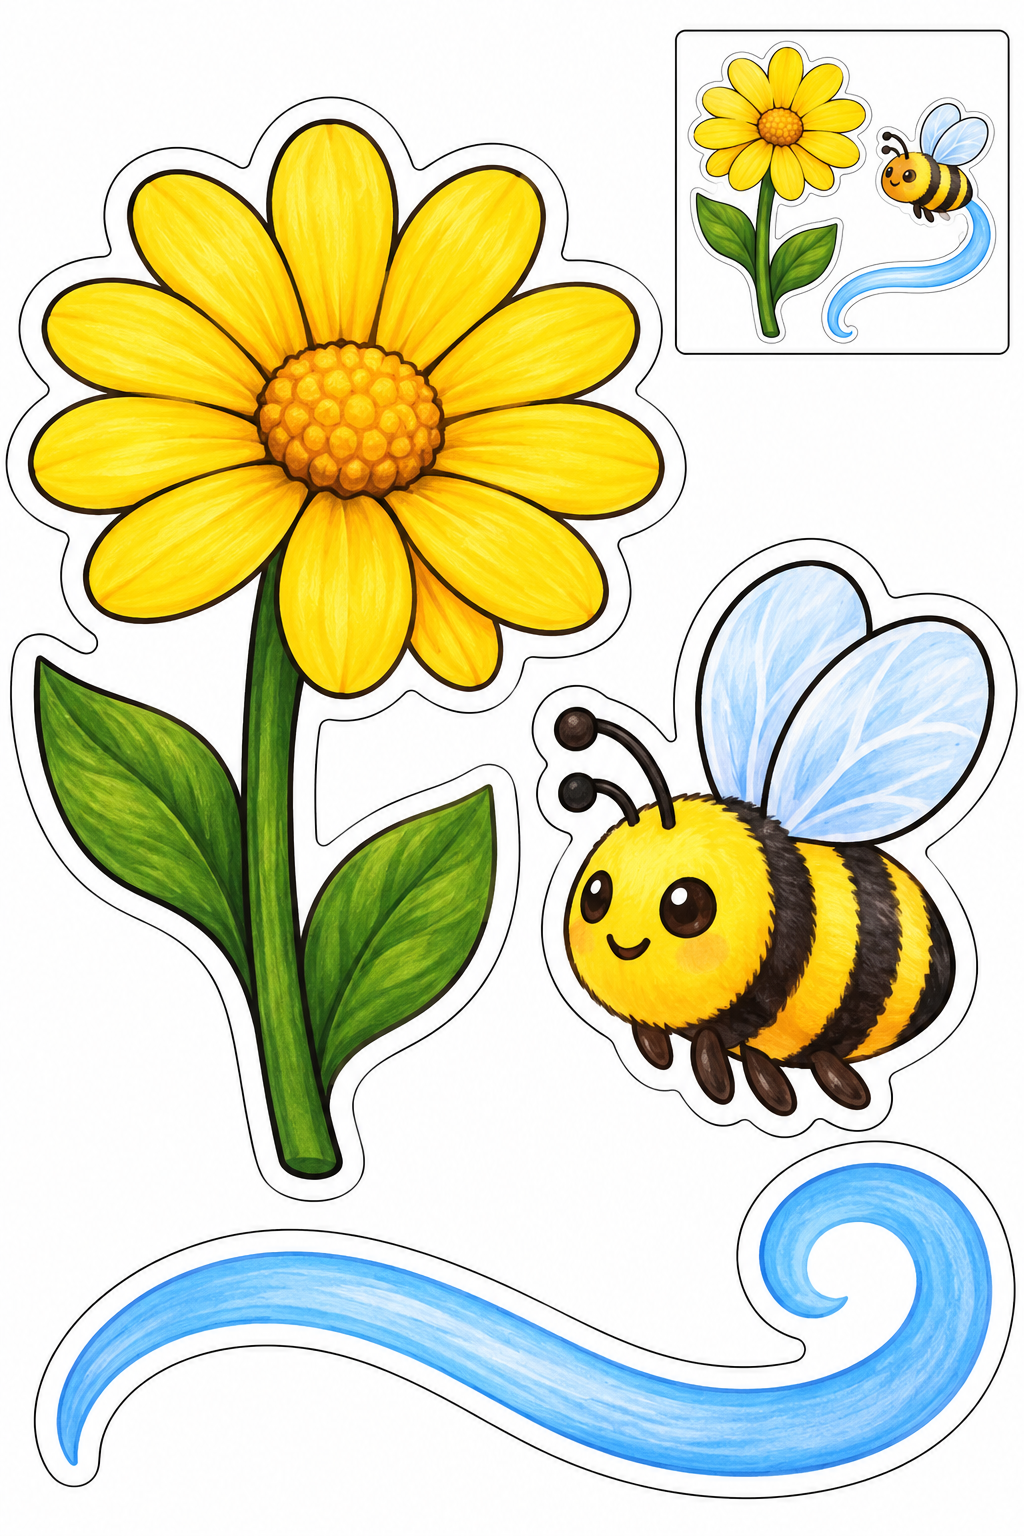
Full color — ready to cut.
Assembly example: The small boxed example shows the finished craft. Do not cut it out.
Cut the outside edges; leave the boxed example on the sheet. Glue the bee beside the blossom and the flight swoosh behind it on backing paper. Keep the wings clear of petals. Check every join before the glue dries. If a piece slips, increase its overlap and press again.
Check: Can you guide the scissors comfortably? If it is difficult, an adult can shorten a strip, cut a tricky curve or offer straight paths. Pieces should be fully separated and arranged as intended before gluing.

Full color — ready to cut.
Assembly example: The small boxed example shows the finished craft. Do not cut it out.
Cut the outside edges; leave the boxed example on the sheet. Try both stems above the vase, one slightly higher. Glue their ends behind the vase neck. Check every join before the glue dries. If a piece slips, increase its overlap and press again.
Check: Can you guide the scissors comfortably? If it is difficult, an adult can shorten a strip, cut a tricky curve or offer straight paths. Pieces should be fully separated and arranged as intended before gluing.
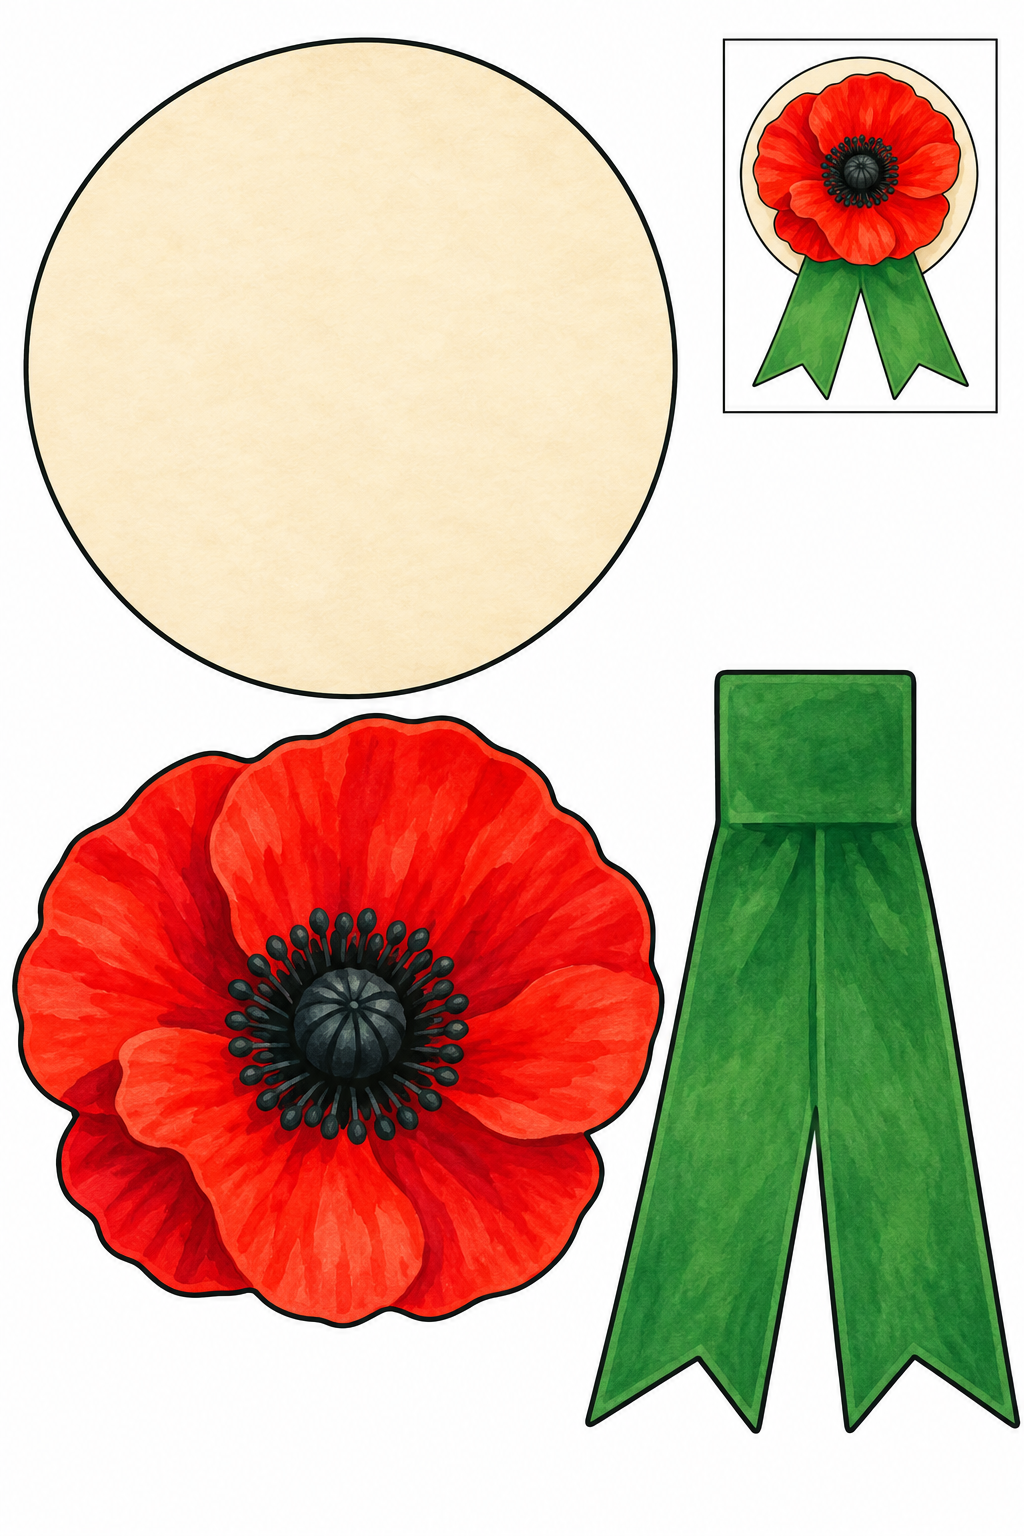
Full color — ready to cut.
Assembly example: The small boxed example shows the finished craft. Do not cut it out.
Cut the outside edges; leave the boxed example on the sheet. Place the poppy in the middle of the badge. Attach the joined ribbon tails behind its lower edge. Check every join before the glue dries. If a piece slips, increase its overlap and press again.
Check: Can you guide the scissors comfortably? If it is difficult, an adult can shorten a strip, cut a tricky curve or offer straight paths. Pieces should be fully separated and arranged as intended before gluing.
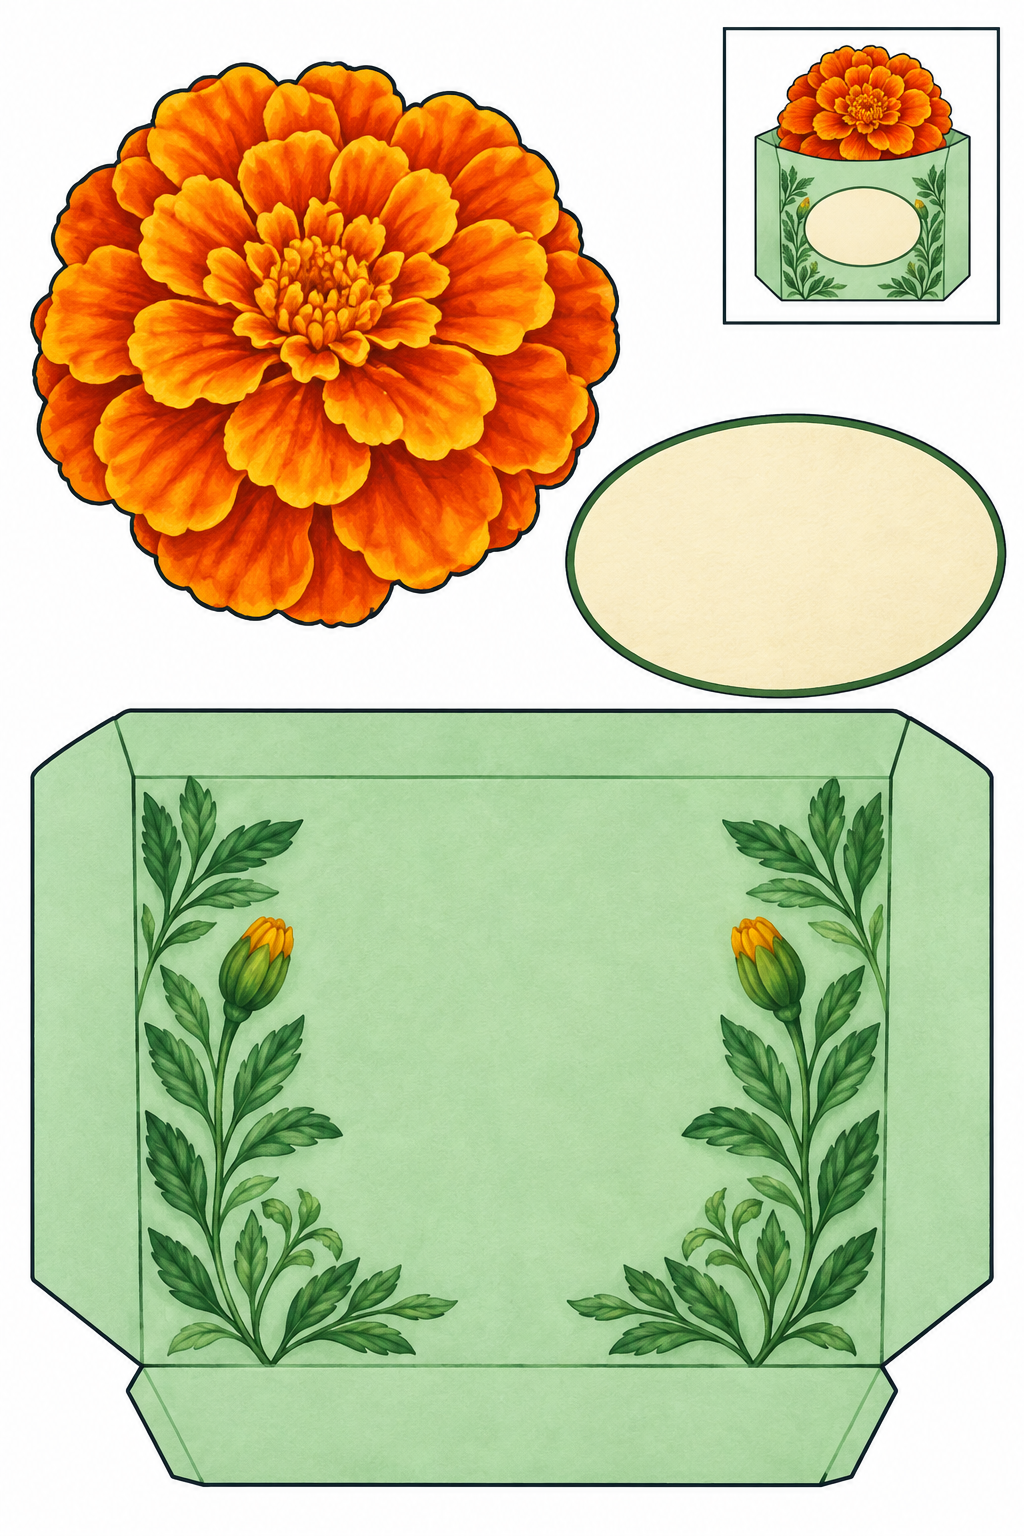
Full color — ready to cut.
Assembly example: The small boxed example shows the finished craft. Do not cut it out.
Cut the outside edges; leave the boxed example on the sheet. An adult folds the wide tabs back. Glue only tabs to backing paper, leaving the top open. Add the marigold and blank label to the front. Check every join before the glue dries. If a piece slips, increase its overlap and press again.
Check: Can you guide the scissors comfortably? If it is difficult, an adult can shorten a strip, cut a tricky curve or offer straight paths. Pieces should be fully separated and arranged as intended before gluing.
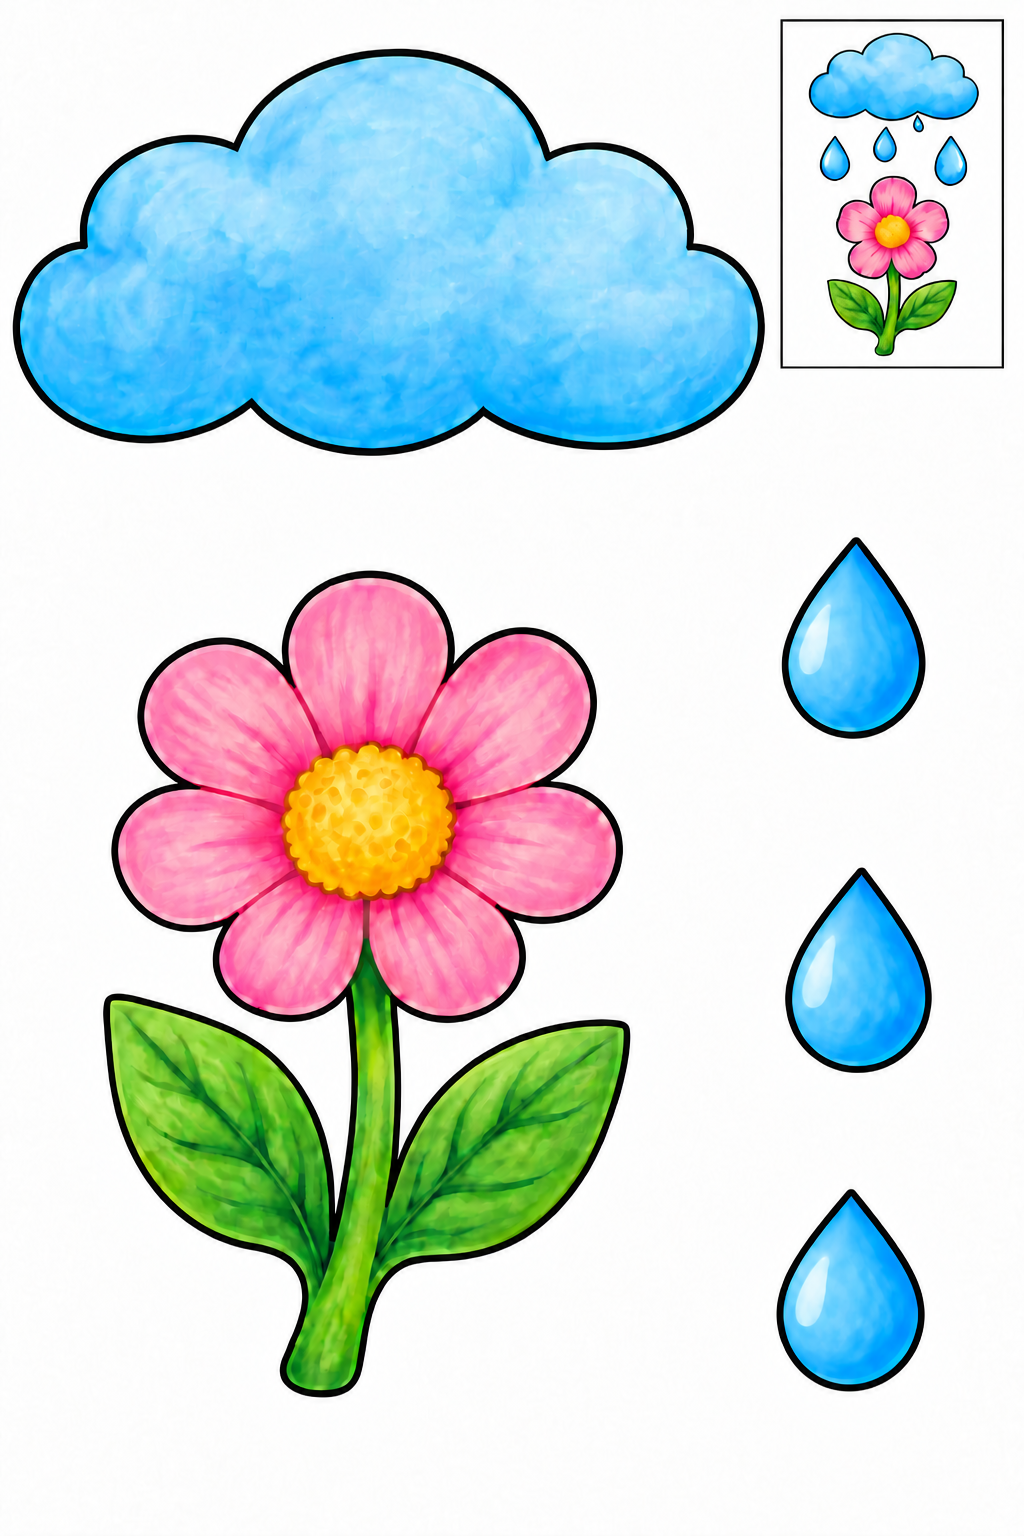
Full color — ready to cut.
Assembly example: The small boxed example shows the finished craft. Do not cut it out.
Cut the outside edges; leave the boxed example on the sheet. Arrange the cloud above the flower and three drops between them. Glue each piece to backing paper without covering the blossom. Check every join before the glue dries. If a piece slips, increase its overlap and press again.
Check: Can you guide the scissors comfortably? If it is difficult, an adult can shorten a strip, cut a tricky curve or offer straight paths. Pieces should be fully separated and arranged as intended before gluing.
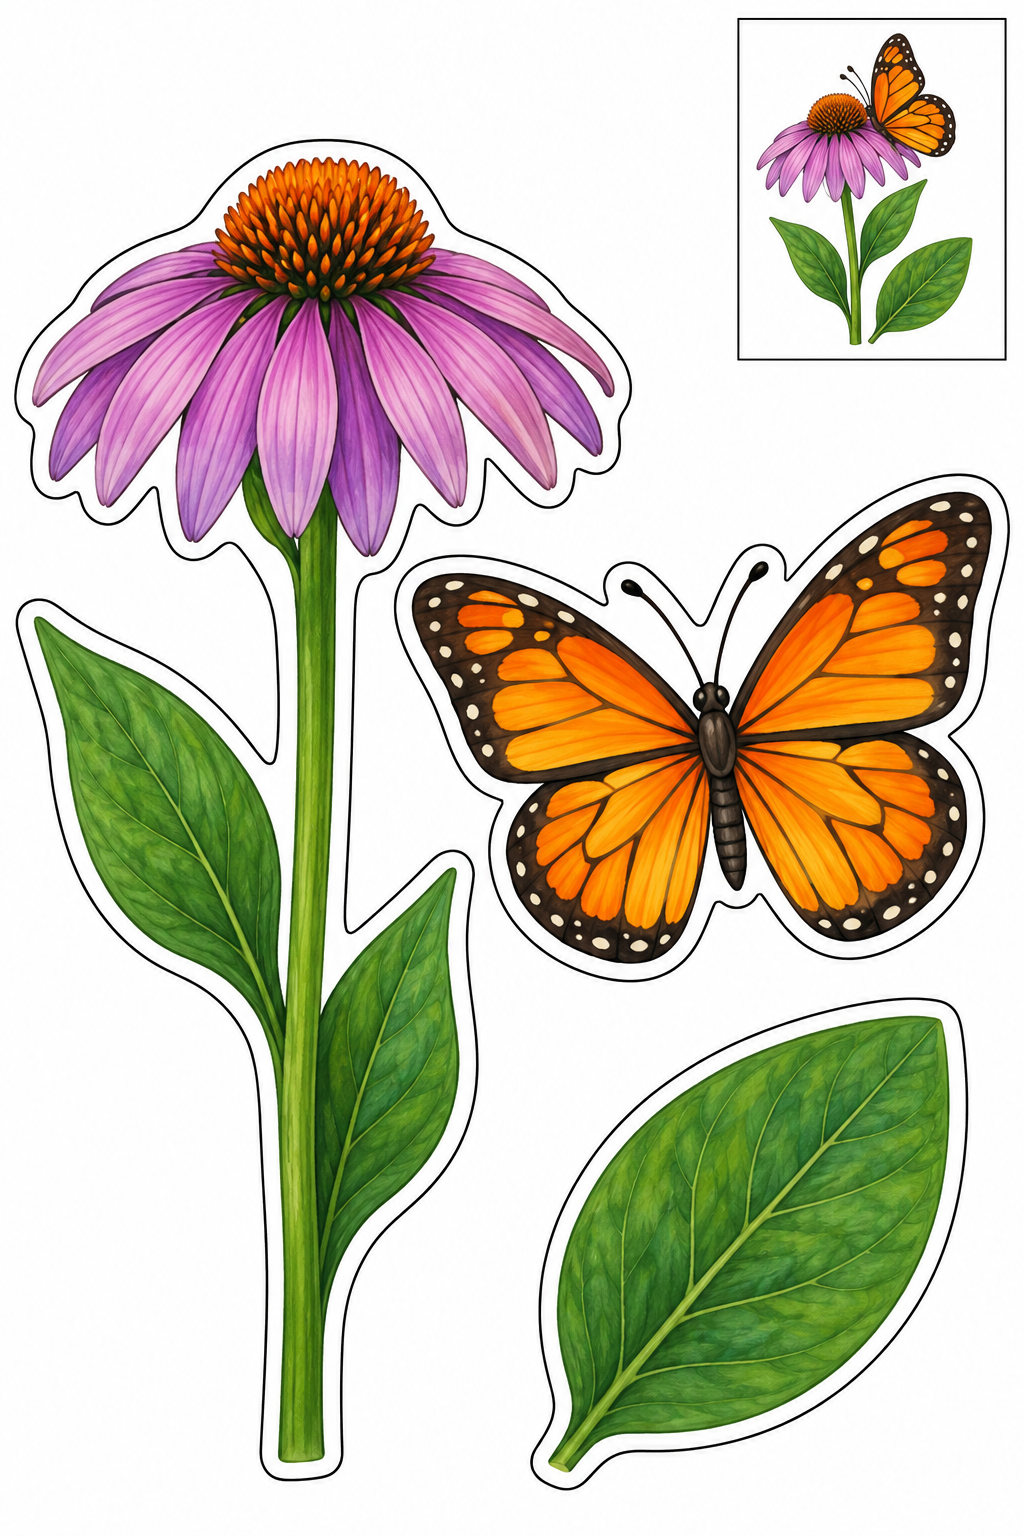
Full color — ready to cut.
Assembly example: The small boxed example shows the finished craft. Do not cut it out.
Cut the outside edges; leave the boxed example on the sheet. Place the butterfly just above the flower center. Add the separate leaf to the lower stalk, keeping its pointed end outside. Check every join before the glue dries. If a piece slips, increase its overlap and press again.
Check: Can you guide the scissors comfortably? If it is difficult, an adult can shorten a strip, cut a tricky curve or offer straight paths. Pieces should be fully separated and arranged as intended before gluing.
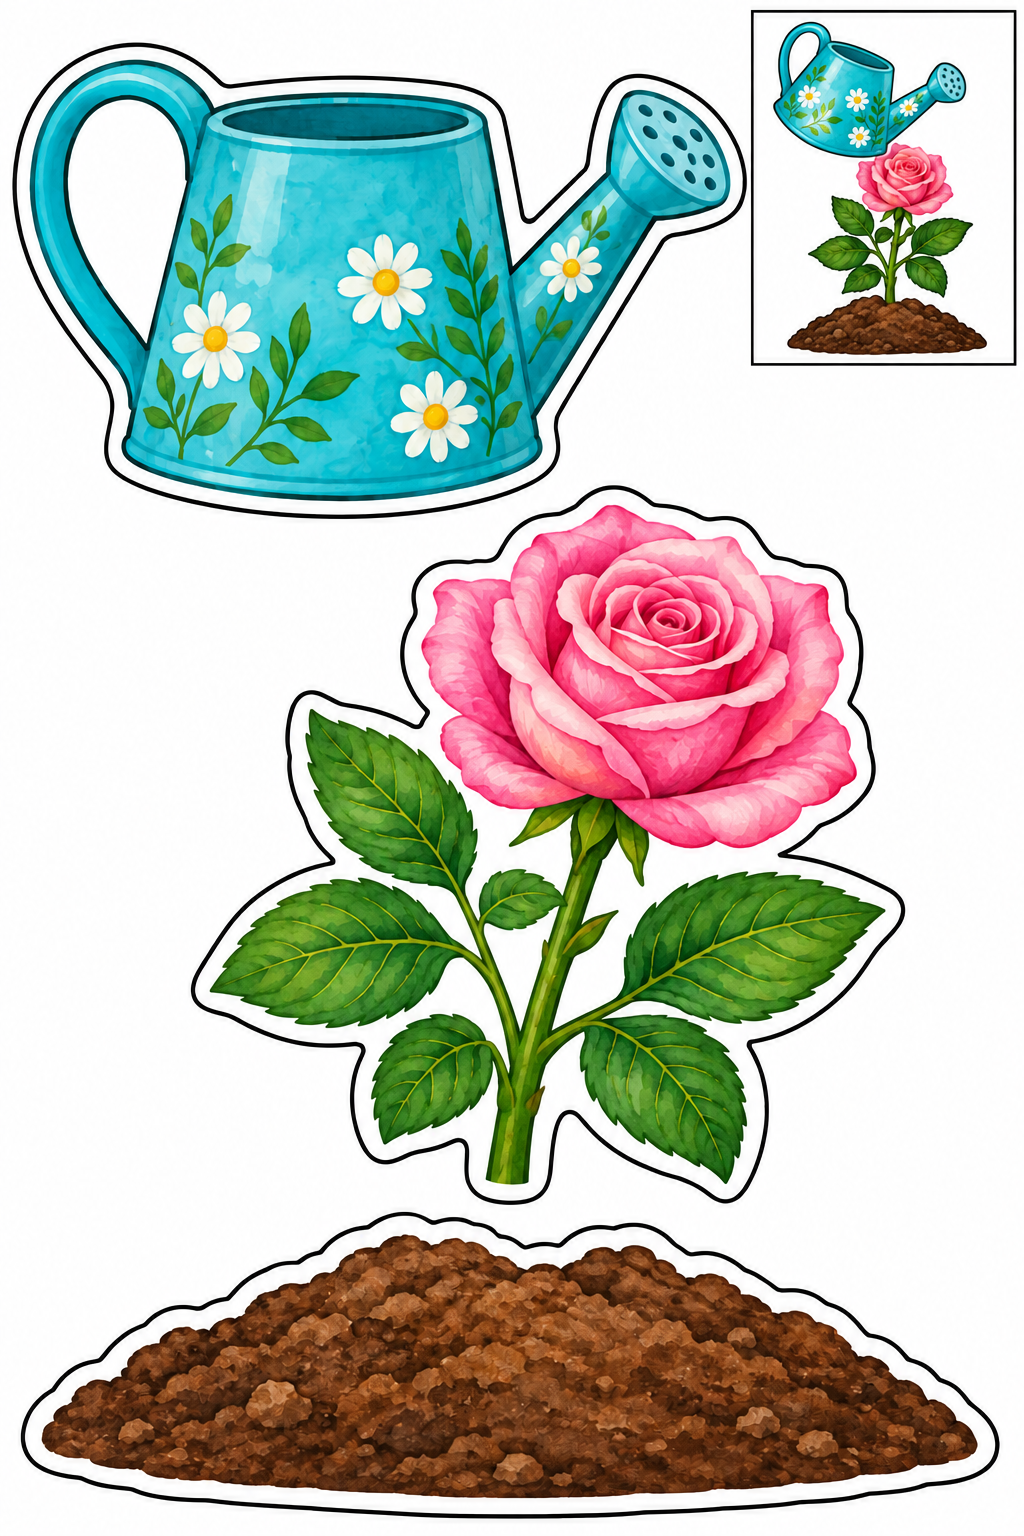
Full color — ready to cut.
Assembly example: The small boxed example shows the finished craft. Do not cut it out.
Cut the outside edges; leave the boxed example on the sheet. Glue the rose behind the soil mound. Put the can beside it with the spout facing the plant. Leave the handle center uncut. Check every join before the glue dries. If a piece slips, increase its overlap and press again.
Check: Can you guide the scissors comfortably? If it is difficult, an adult can shorten a strip, cut a tricky curve or offer straight paths. Pieces should be fully separated and arranged as intended before gluing.

Full color — ready to cut.
Assembly example: The small boxed example shows the finished craft. Do not cut it out.
Cut the outside edges; leave the boxed example on the sheet. Place both plants over the printed lower panes. Glue their stems behind the window box, then attach the box to the window base. Check every join before the glue dries. If a piece slips, increase its overlap and press again.
Check: Can you guide the scissors comfortably? If it is difficult, an adult can shorten a strip, cut a tricky curve or offer straight paths. Pieces should be fully separated and arranged as intended before gluing.
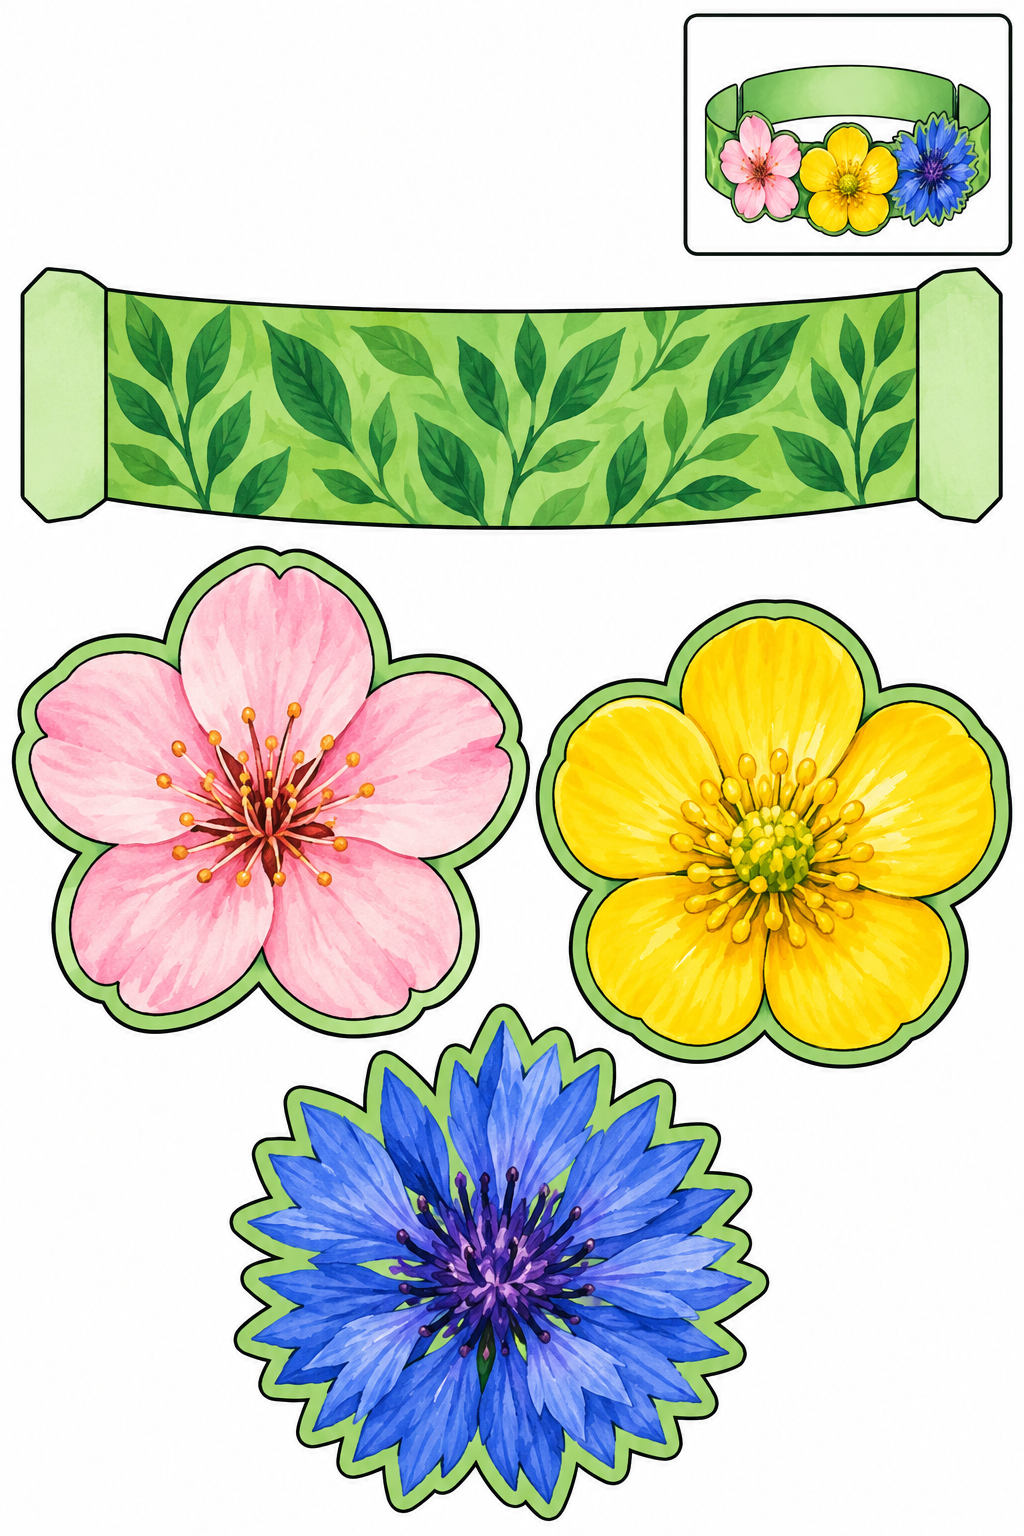
Full color — ready to cut.
Assembly example: The small boxed example shows the finished craft. Do not cut it out.
Cut the outside edges; leave the boxed example on the sheet. Arrange the three blossoms along the flat strip. An adult adds a plain paper extension to fit loosely before joining the band ends. Check every join before the glue dries. If a piece slips, increase its overlap and press again.
Check: Can you guide the scissors comfortably? If it is difficult, an adult can shorten a strip, cut a tricky curve or offer straight paths. Pieces should be fully separated and arranged as intended before gluing.
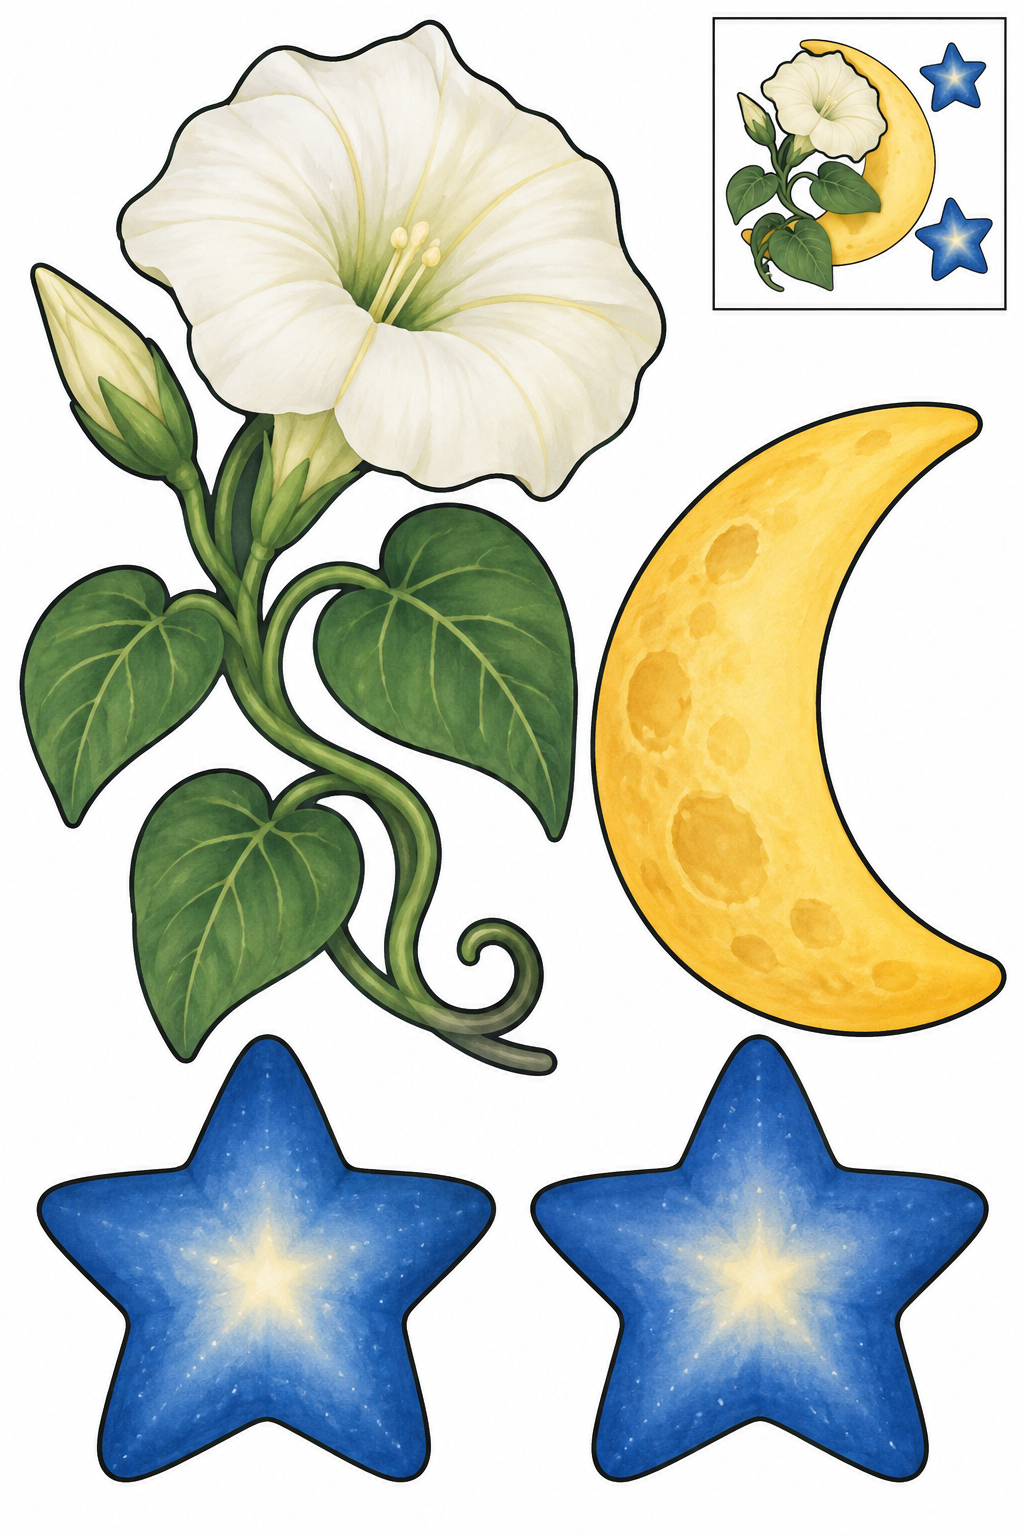
Full color — ready to cut.
Assembly example: The small boxed example shows the finished craft. Do not cut it out.
Cut the outside edges; leave the boxed example on the sheet. Arrange the moon and two stars above the vine on backing paper. Keep the ivory blossom clear so its shape is easy to see. Check every join before the glue dries. If a piece slips, increase its overlap and press again.
Check: Can you guide the scissors comfortably? If it is difficult, an adult can shorten a strip, cut a tricky curve or offer straight paths. Pieces should be fully separated and arranged as intended before gluing.
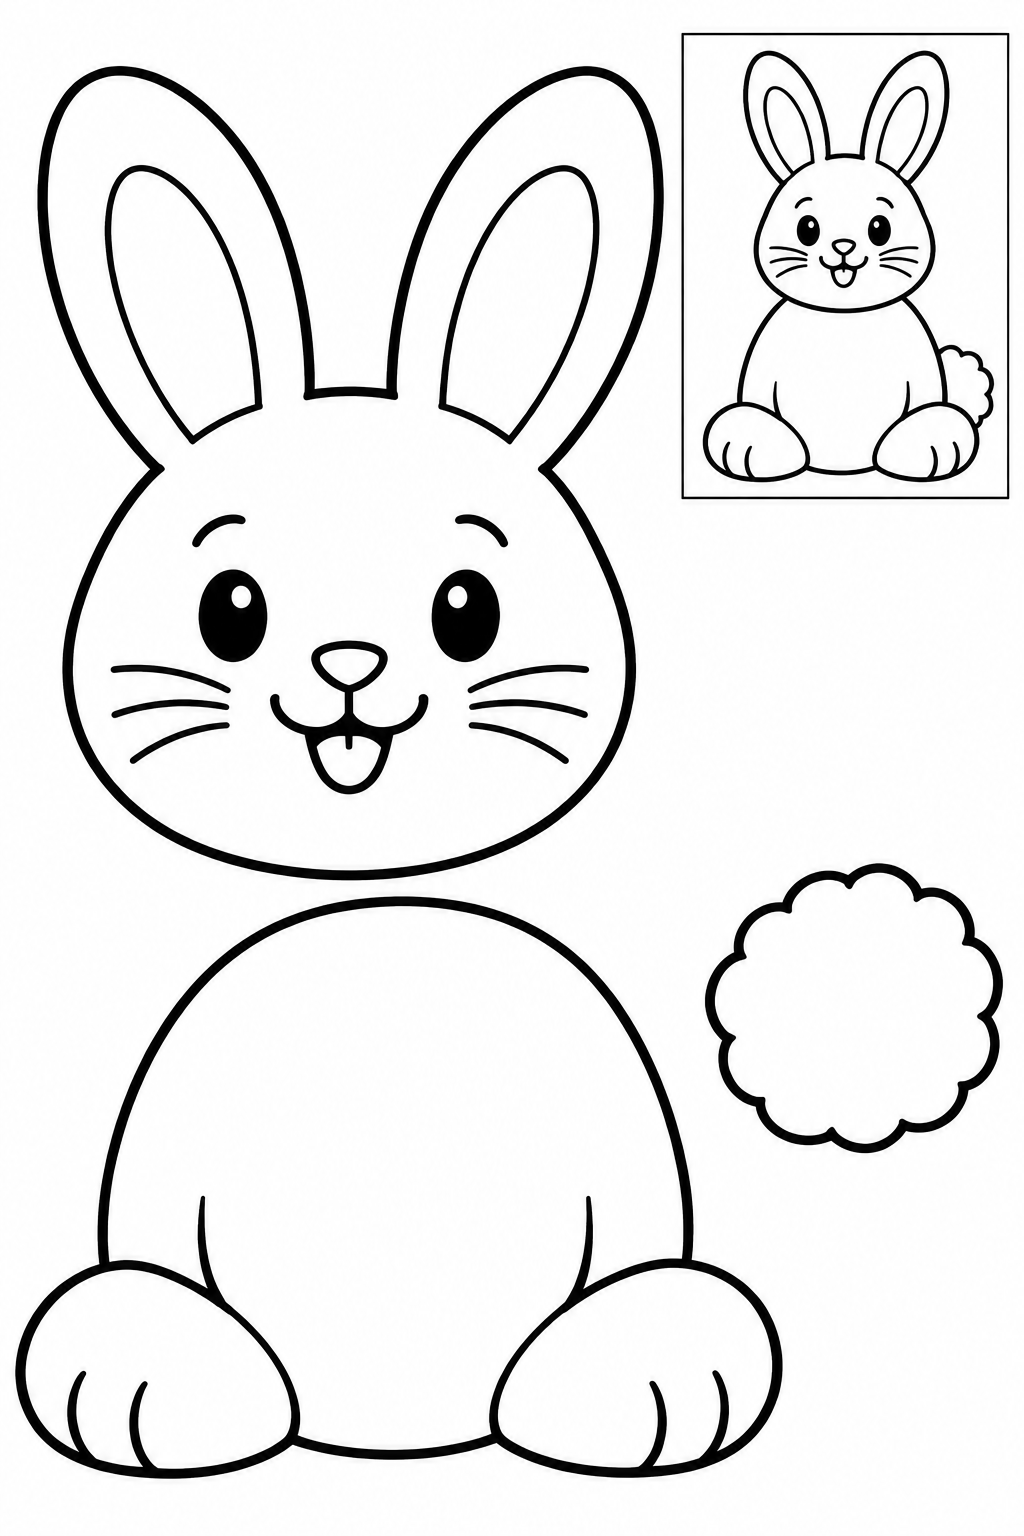
Black and white — color before cutting.
Assembly example: The small boxed example shows the finished craft. Do not cut it out.
Cut outside edges; leave boxed reference on sheet. Overlap head at top of torso and tail behind its side. Keep printed details intact. Check joins before glue dries; increase overlap if loose.
Check: Can you guide the scissors comfortably? If it is difficult, an adult can shorten a strip, cut a tricky curve or offer straight paths. Pieces should be fully separated and arranged as intended before gluing.
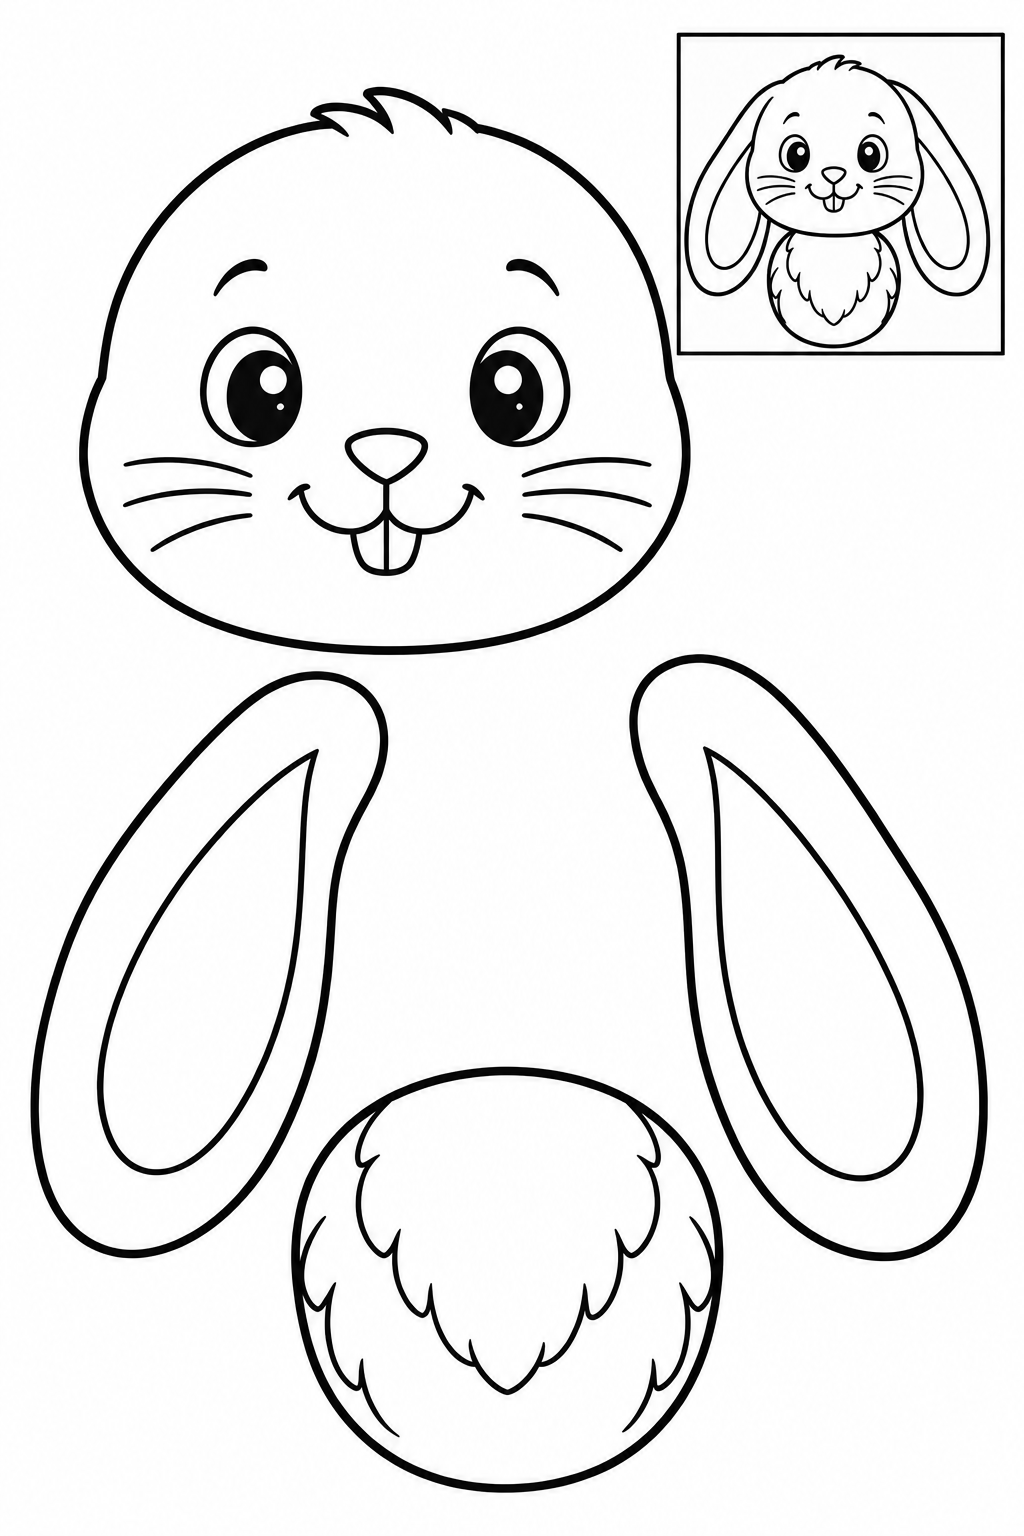
Black and white — color before cutting.
Assembly example: The small boxed example shows the finished craft. Do not cut it out.
Cut outside edges; leave boxed reference on sheet. Attach both ears behind head sides, then bib below chin. Keep printed details intact. Check joins before glue dries; increase overlap if loose.
Check: Can you guide the scissors comfortably? If it is difficult, an adult can shorten a strip, cut a tricky curve or offer straight paths. Pieces should be fully separated and arranged as intended before gluing.
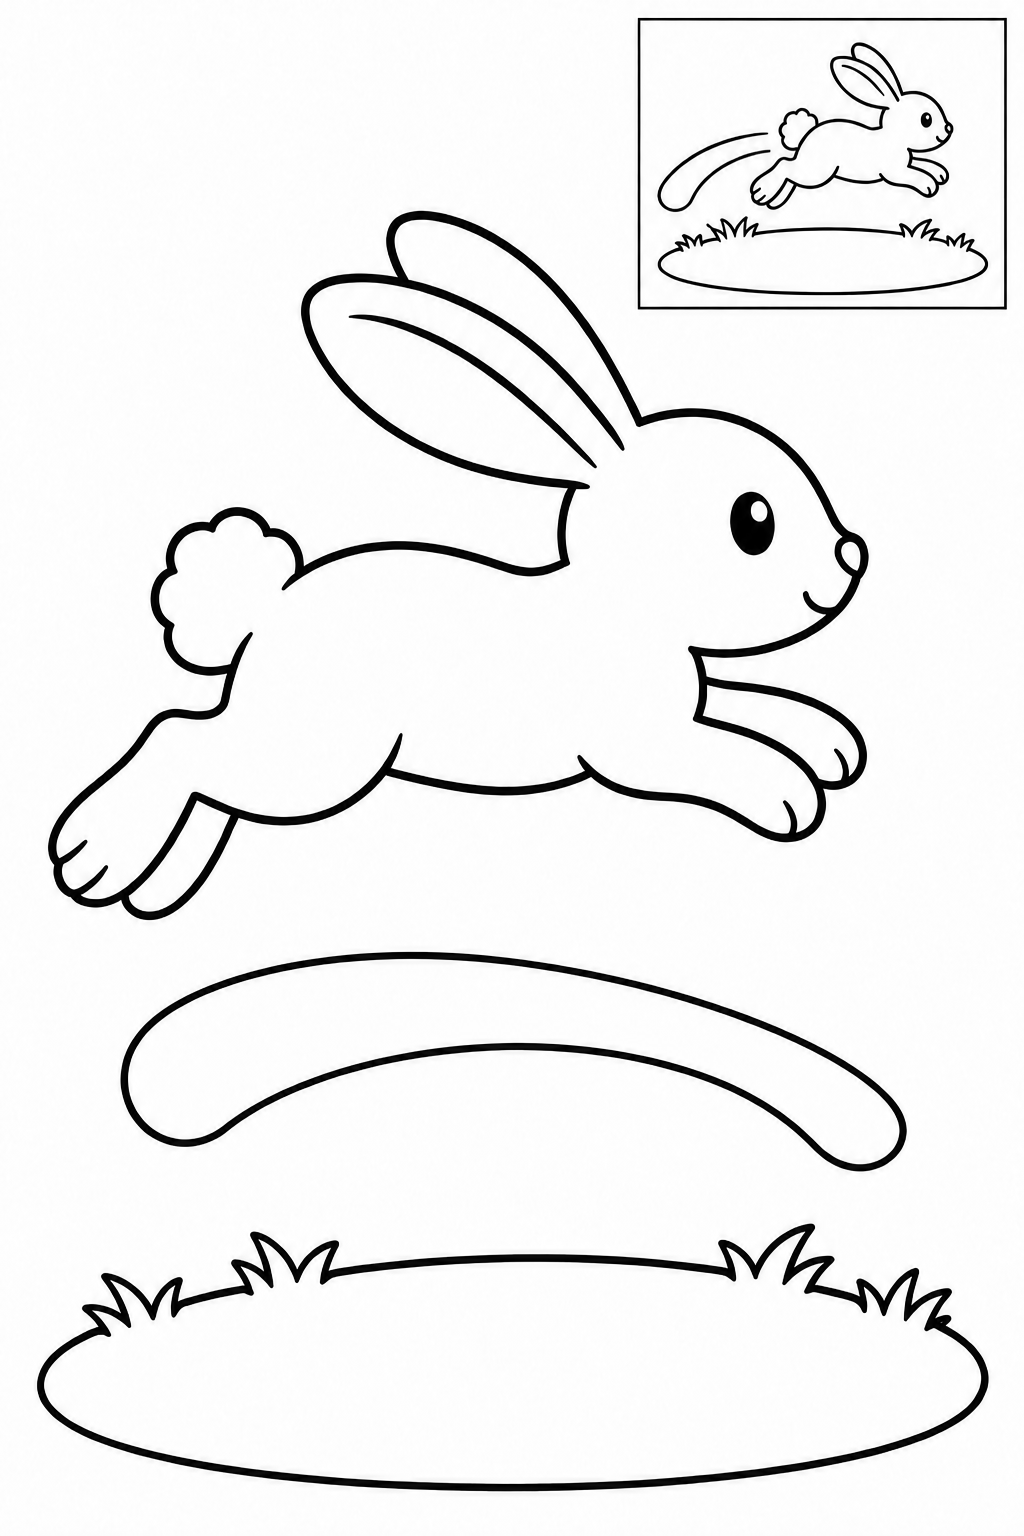
Black and white — color before cutting.
Assembly example: The small boxed example shows the finished craft. Do not cut it out.
Cut the three outside contours; leave boxed reference on sheet. Glue grass to backing, bunny above it and curved speed swoosh behind the tail. Keep the bunny whole. Check the face is clear; move swoosh if it covers a paw.
Check: Can you guide the scissors comfortably? If it is difficult, an adult can shorten a strip, cut a tricky curve or offer straight paths. Pieces should be fully separated and arranged as intended before gluing.
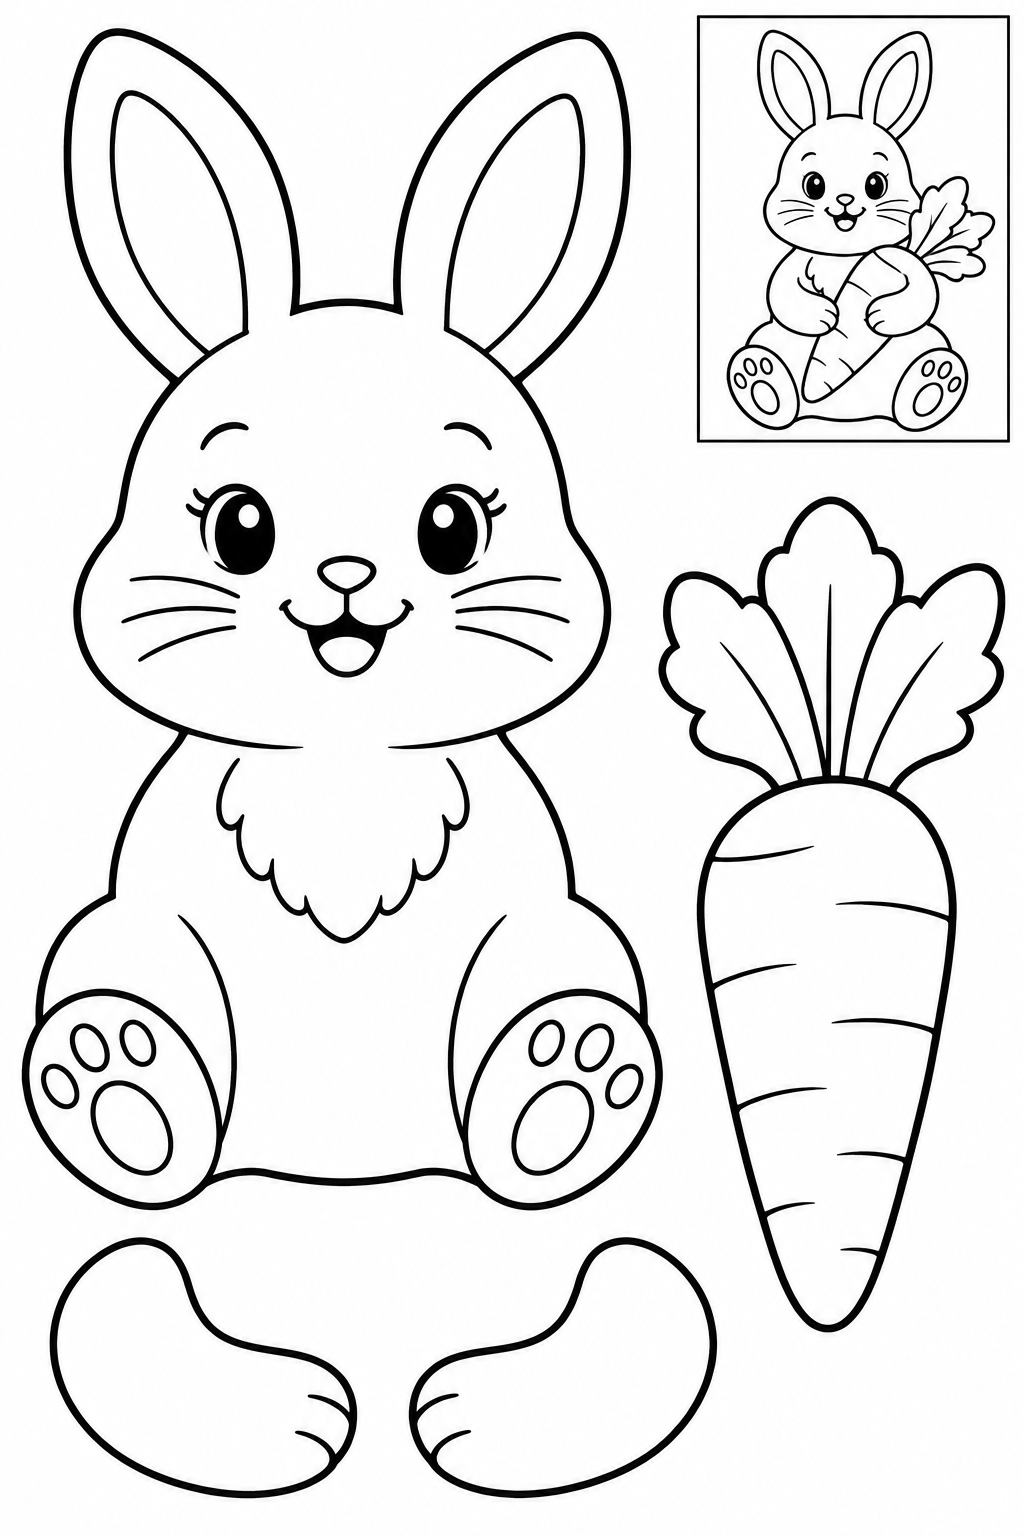
Black and white — color before cutting.
Assembly example: The small boxed example shows the finished craft. Do not cut it out.
Cut outside edges; leave boxed reference on sheet. Lay carrot on belly and overlap arm patches over its sides. Keep printed details intact. Check joins before glue dries; increase overlap if loose.
Check: Can you guide the scissors comfortably? If it is difficult, an adult can shorten a strip, cut a tricky curve or offer straight paths. Pieces should be fully separated and arranged as intended before gluing.
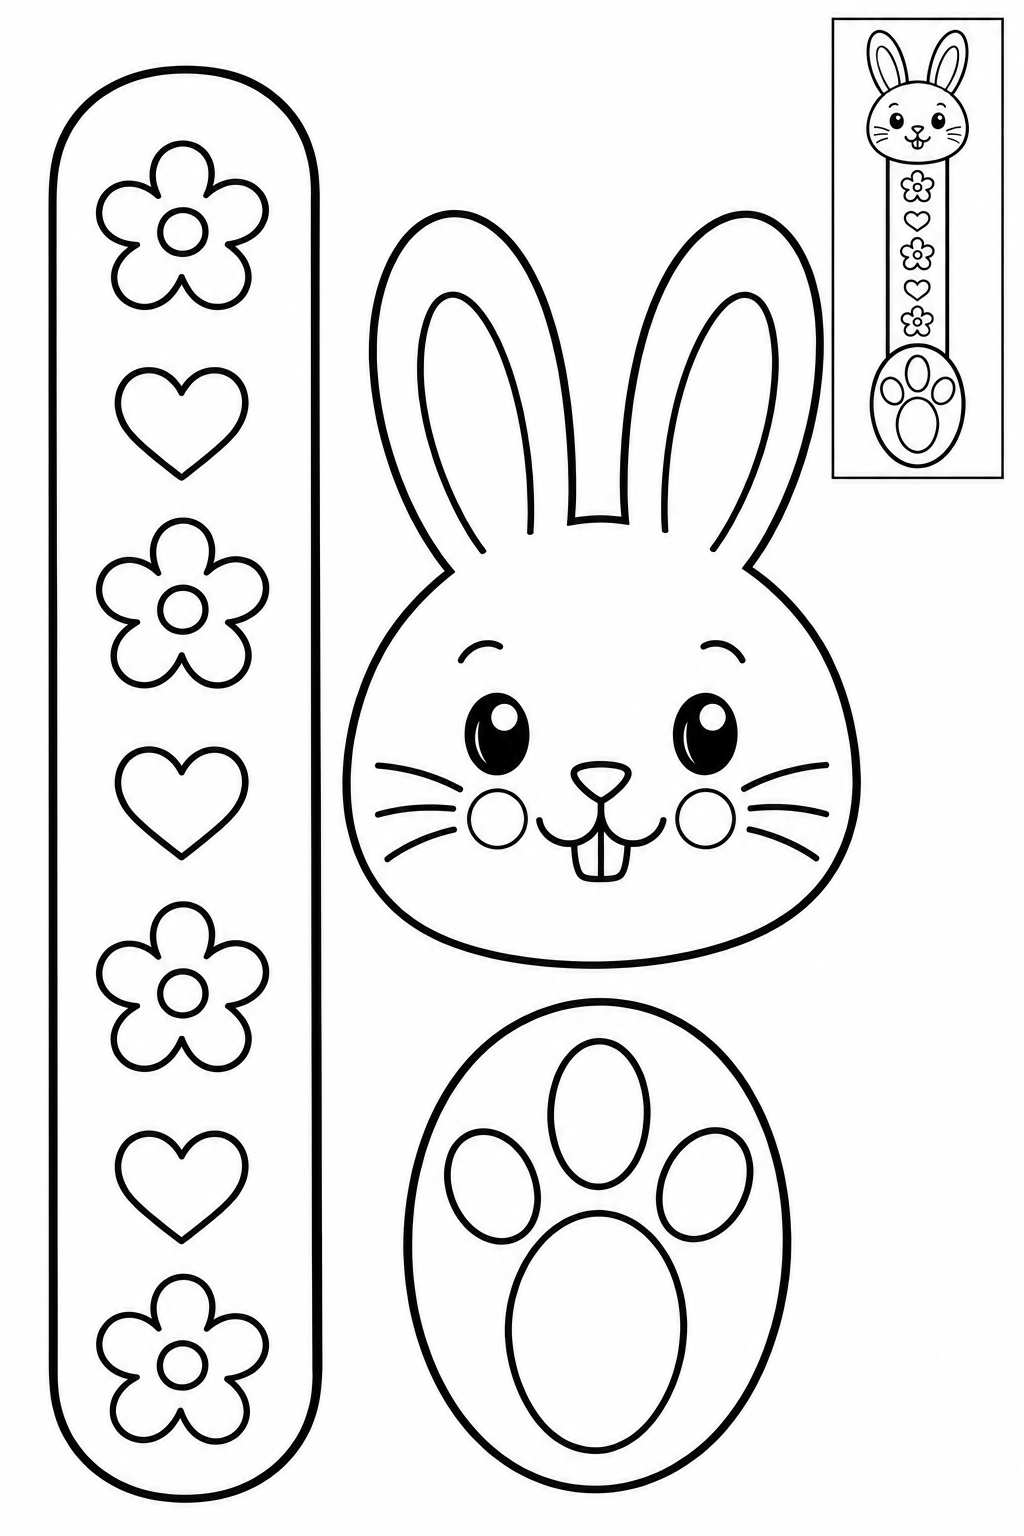
Black and white — color before cutting.
Assembly example: The small boxed example shows the finished craft. Do not cut it out.
Cut outside edges; leave boxed reference on sheet. Glue head at strip top, paw below; leave lower strip flat. Keep printed details intact. Check joins before glue dries; increase overlap if loose.
Check: Can you guide the scissors comfortably? If it is difficult, an adult can shorten a strip, cut a tricky curve or offer straight paths. Pieces should be fully separated and arranged as intended before gluing.
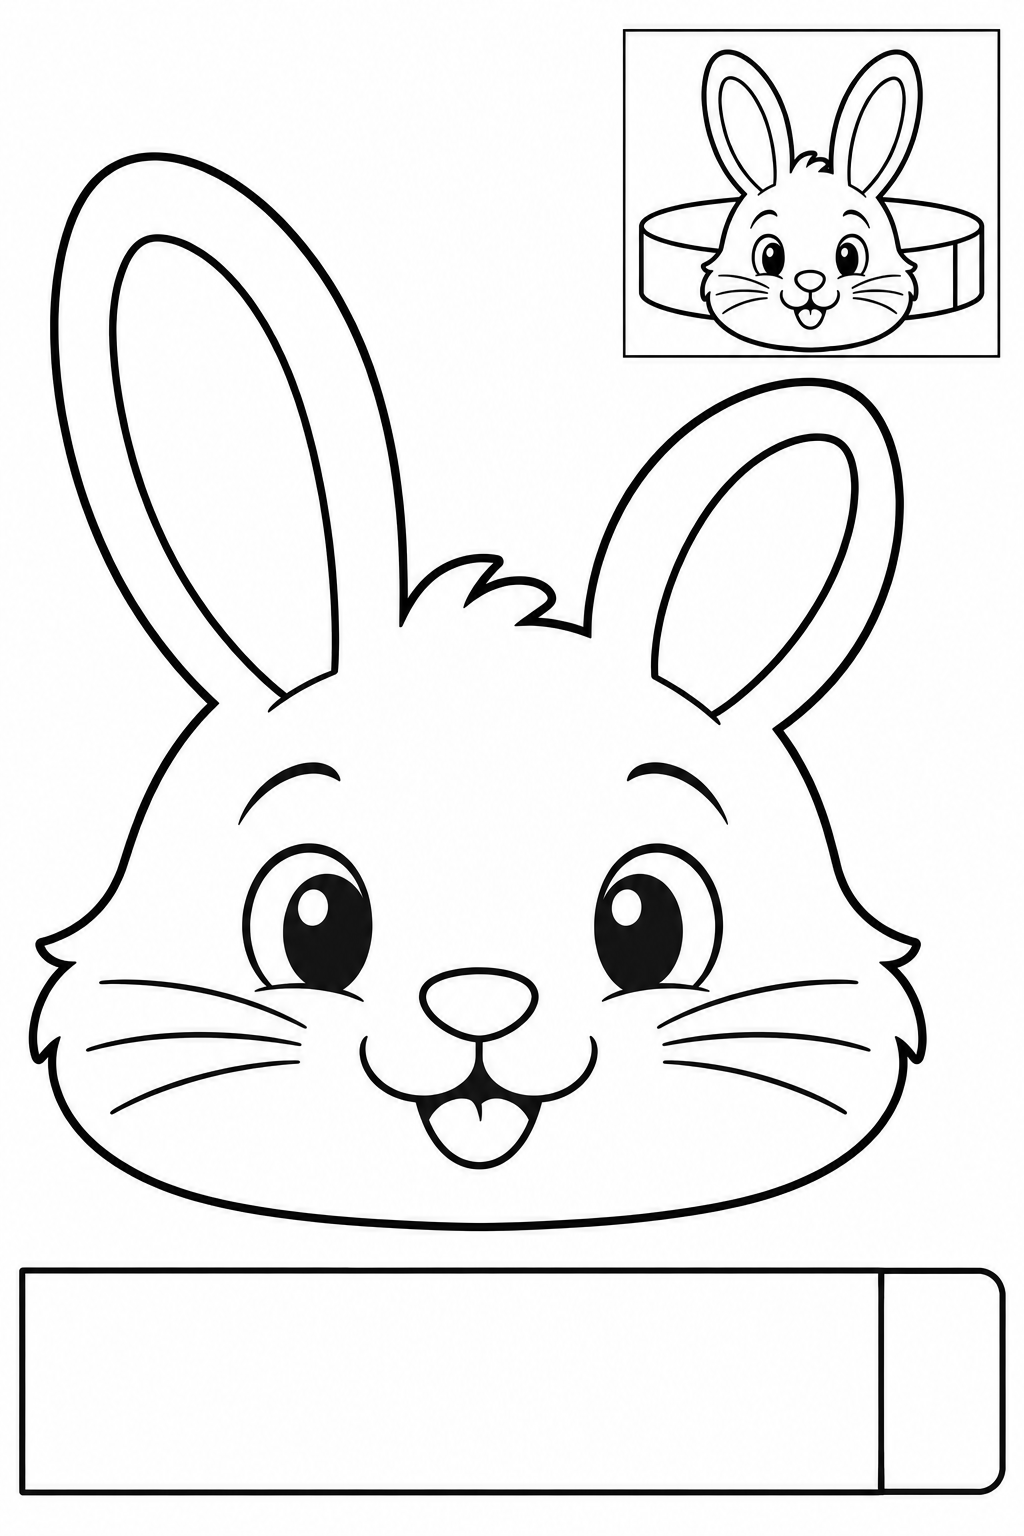
Black and white — color before cutting.
Assembly example: The small boxed example shows the finished craft. Do not cut it out.
Cut outside edges; leave boxed reference on sheet. An adult trims the band to fit, wraps band loosely around finger and joins ends; glue head outside join. Keep printed details intact. Check joins before glue dries; increase overlap if loose.
Check: Can you guide the scissors comfortably? If it is difficult, an adult can shorten a strip, cut a tricky curve or offer straight paths. Pieces should be fully separated and arranged as intended before gluing.
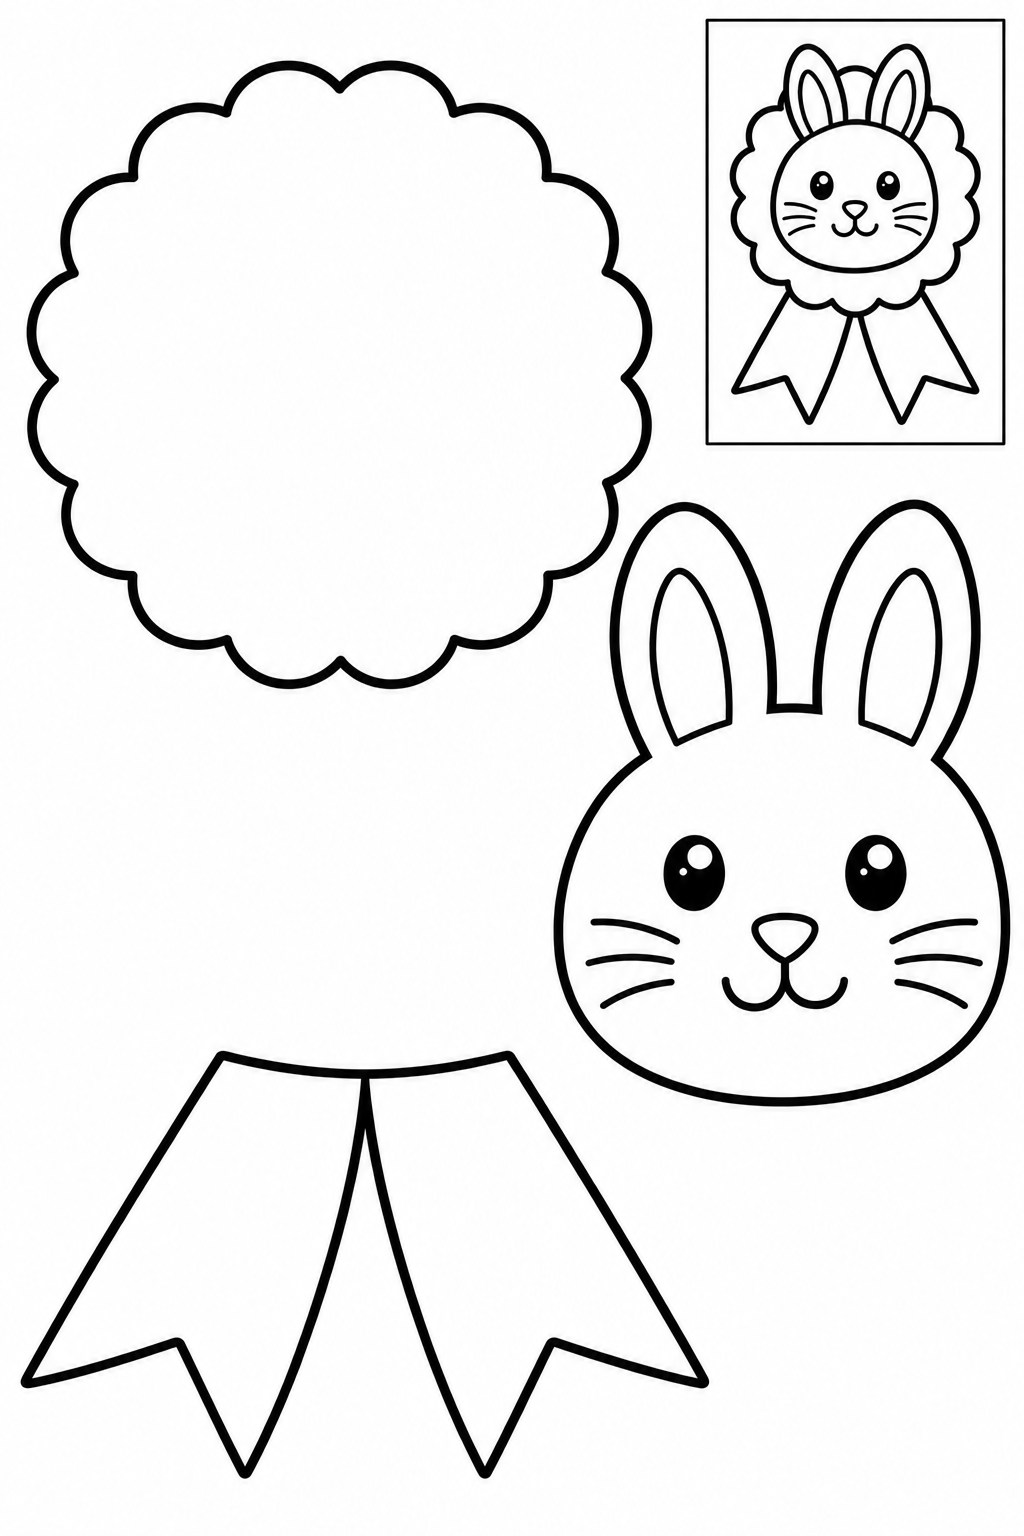
Black and white — color before cutting.
Assembly example: The small boxed example shows the finished craft. Do not cut it out.
Cut outside edges; leave boxed reference on sheet. Center face on disk; attach joined ribbon tails behind lower edge. Keep printed details intact. Check joins before glue dries; increase overlap if loose.
Check: Can you guide the scissors comfortably? If it is difficult, an adult can shorten a strip, cut a tricky curve or offer straight paths. Pieces should be fully separated and arranged as intended before gluing.
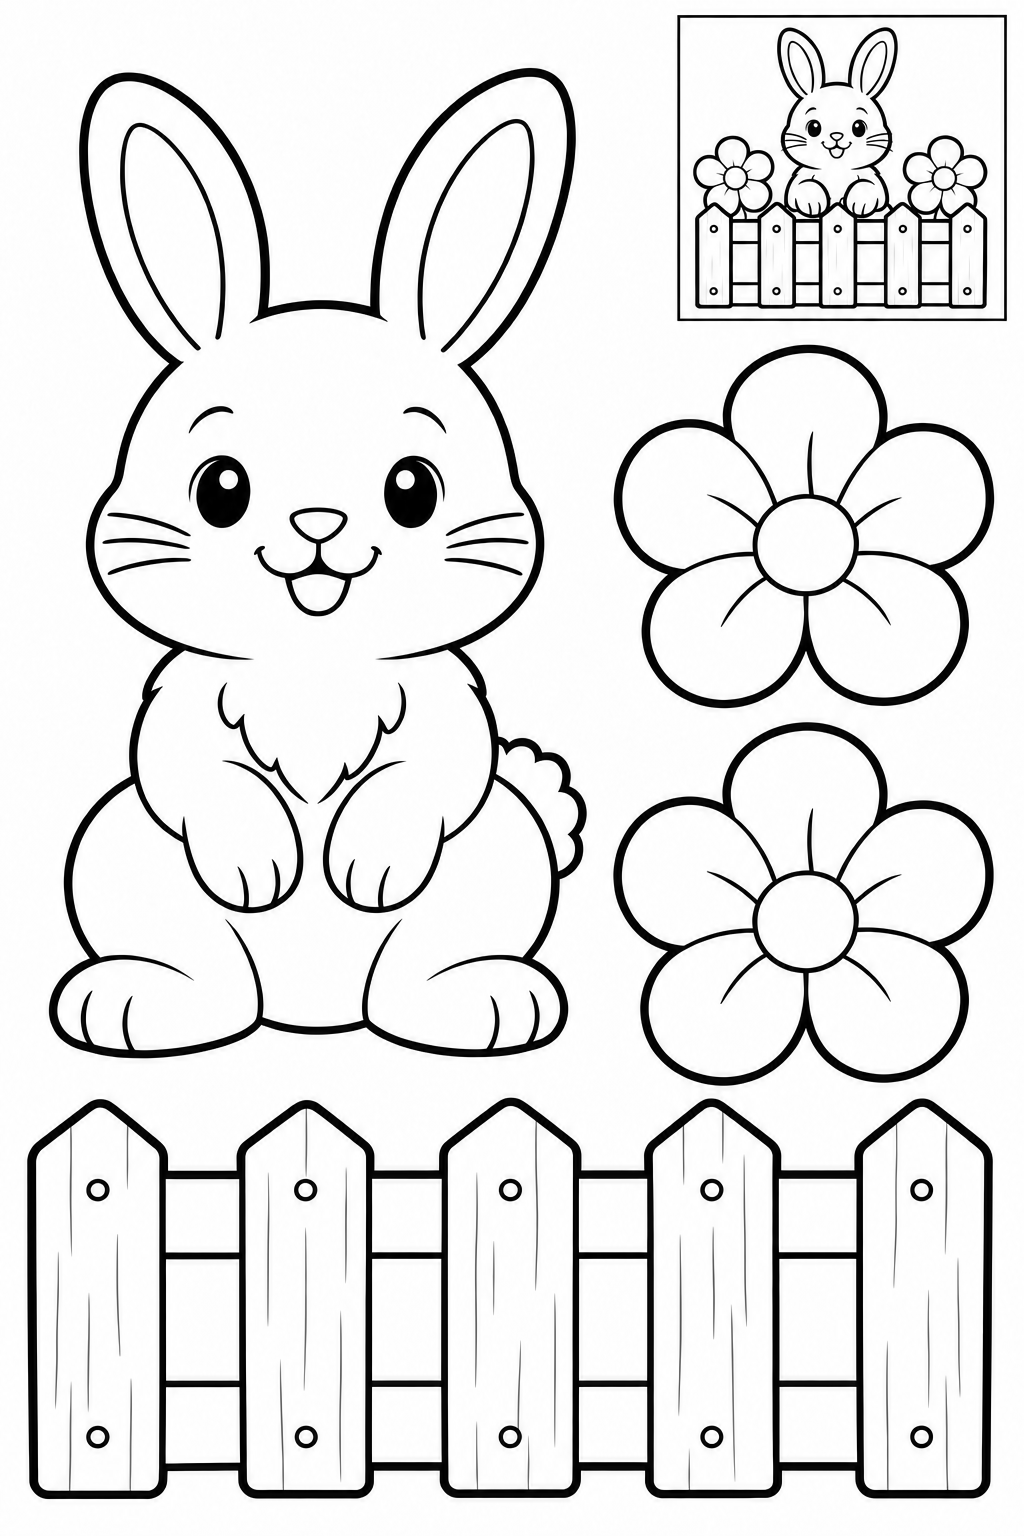
Black and white — color before cutting.
Assembly example: The small boxed example shows the finished craft. Do not cut it out.
Cut outside edges; leave boxed reference on sheet. Place bunny behind fence and flowers at its two lower corners. Keep printed details intact. Check joins before glue dries; increase overlap if loose.
Check: Can you guide the scissors comfortably? If it is difficult, an adult can shorten a strip, cut a tricky curve or offer straight paths. Pieces should be fully separated and arranged as intended before gluing.
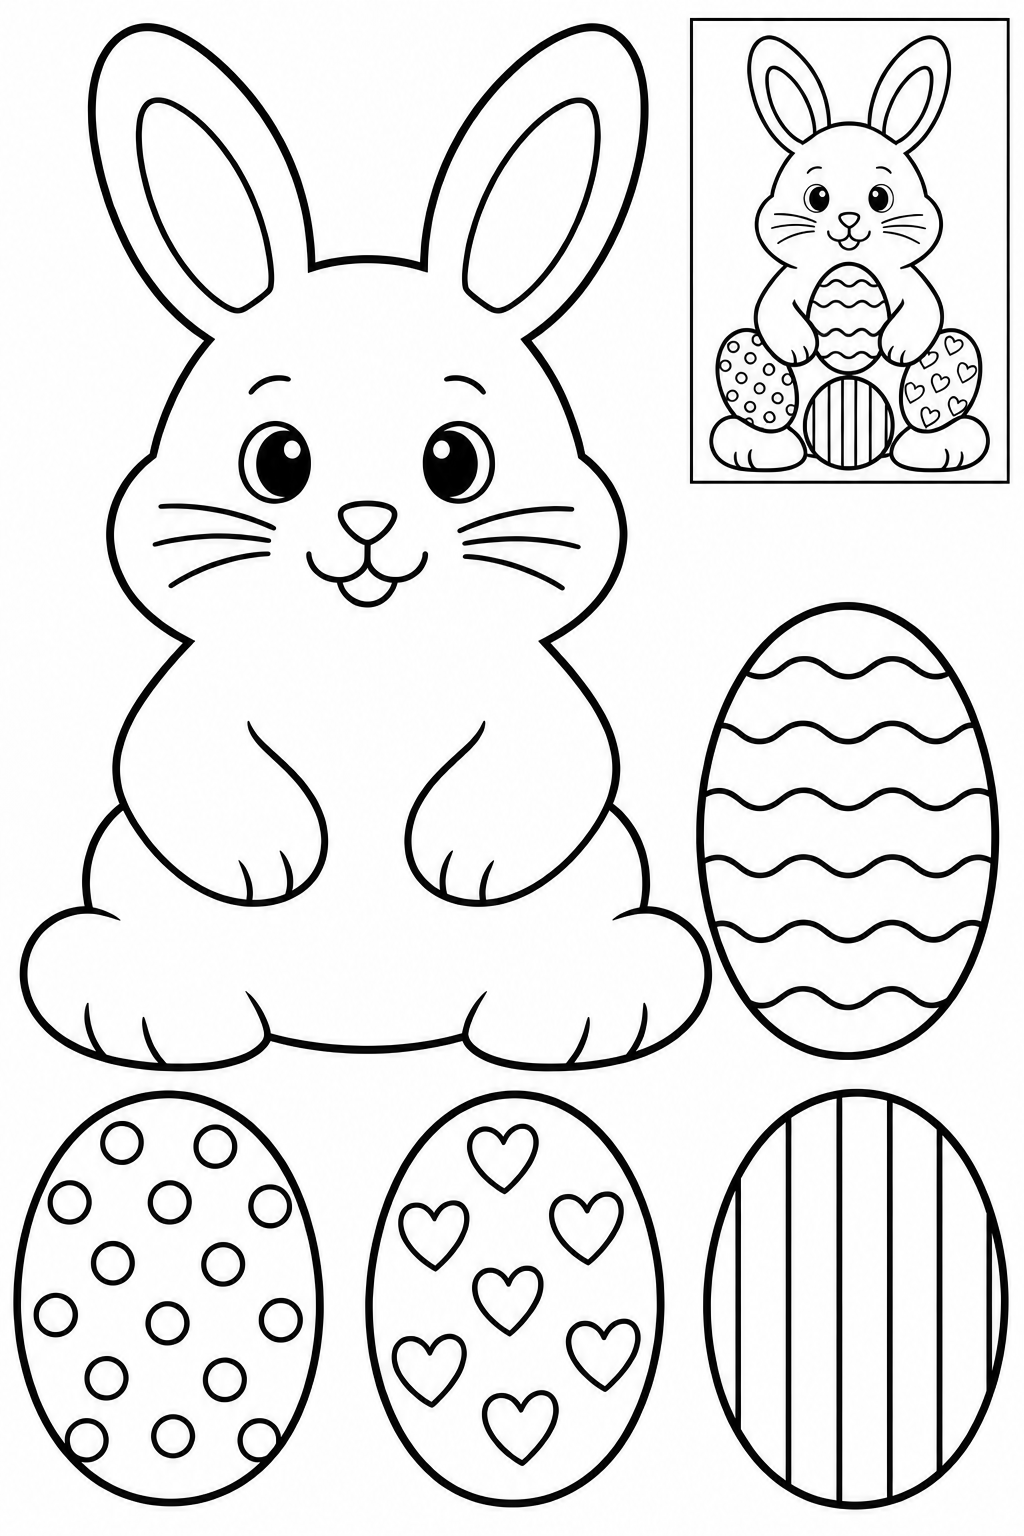
Black and white — color before cutting.
Assembly example: The small boxed example shows the finished craft. Do not cut it out.
Cut outside edges; leave boxed reference on sheet. Arrange four patches inside body without hiding face; overlap patches if needed. Keep printed details intact. Check joins before glue dries; increase overlap if loose.
Check: Can you guide the scissors comfortably? If it is difficult, an adult can shorten a strip, cut a tricky curve or offer straight paths. Pieces should be fully separated and arranged as intended before gluing.
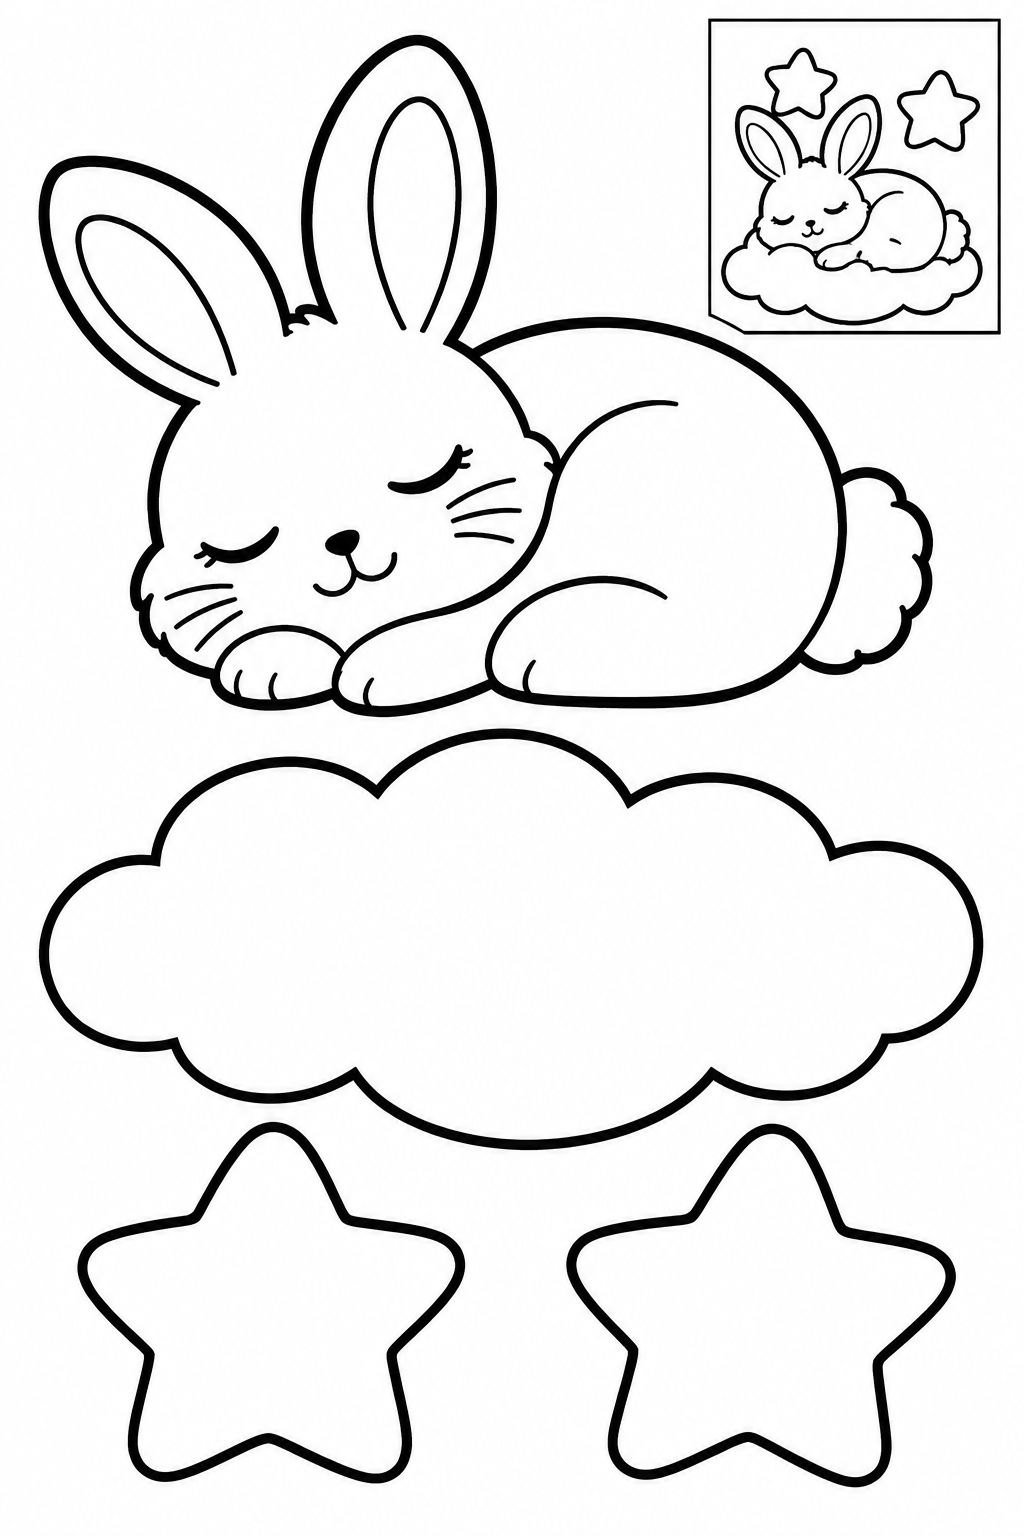
Black and white — color before cutting.
Assembly example: The small boxed example shows the finished craft. Do not cut it out.
Cut outside edges; leave boxed reference on sheet. Glue bunny across cloud front, stars on backing above both ends; adult adds paper strips for hanging. Keep printed details intact. Check joins before glue dries; increase overlap if loose.
Check: Can you guide the scissors comfortably? If it is difficult, an adult can shorten a strip, cut a tricky curve or offer straight paths. Pieces should be fully separated and arranged as intended before gluing.
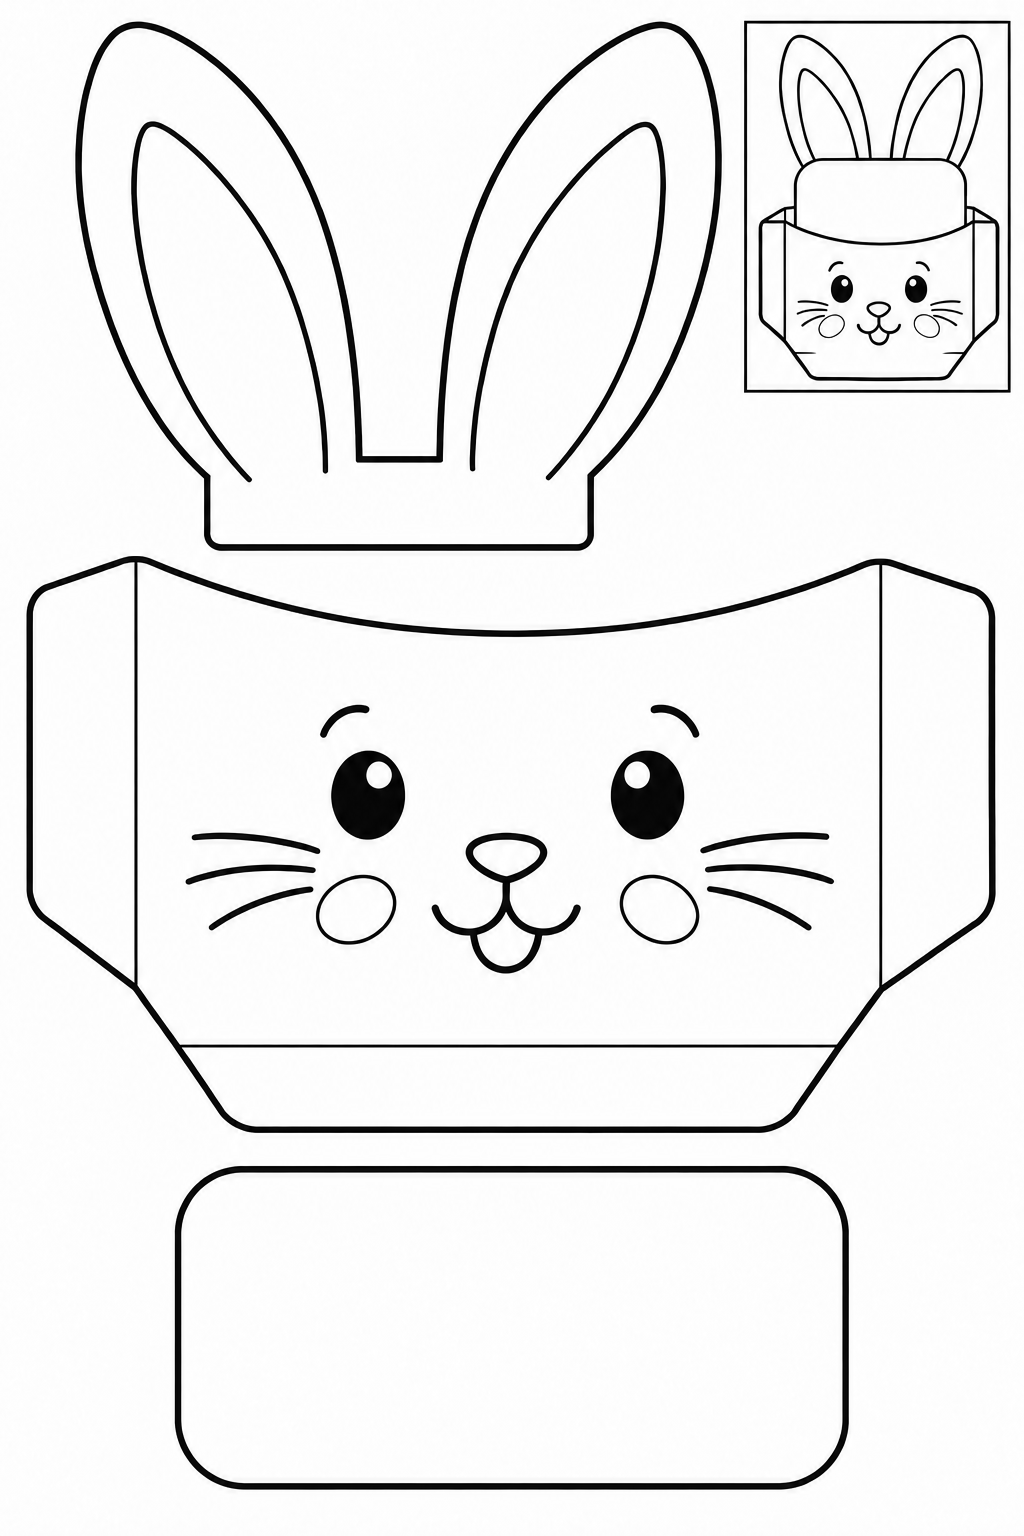
Black and white — color before cutting.
Assembly example: The small boxed example shows the finished craft. Do not cut it out.
Cut outside edges; leave boxed reference on sheet. Fold tabs back and glue only tabs to backing; attach ears behind top, slide card into open pocket. Keep printed details intact. Check joins before glue dries; increase overlap if loose.
Check: Can you guide the scissors comfortably? If it is difficult, an adult can shorten a strip, cut a tricky curve or offer straight paths. Pieces should be fully separated and arranged as intended before gluing.
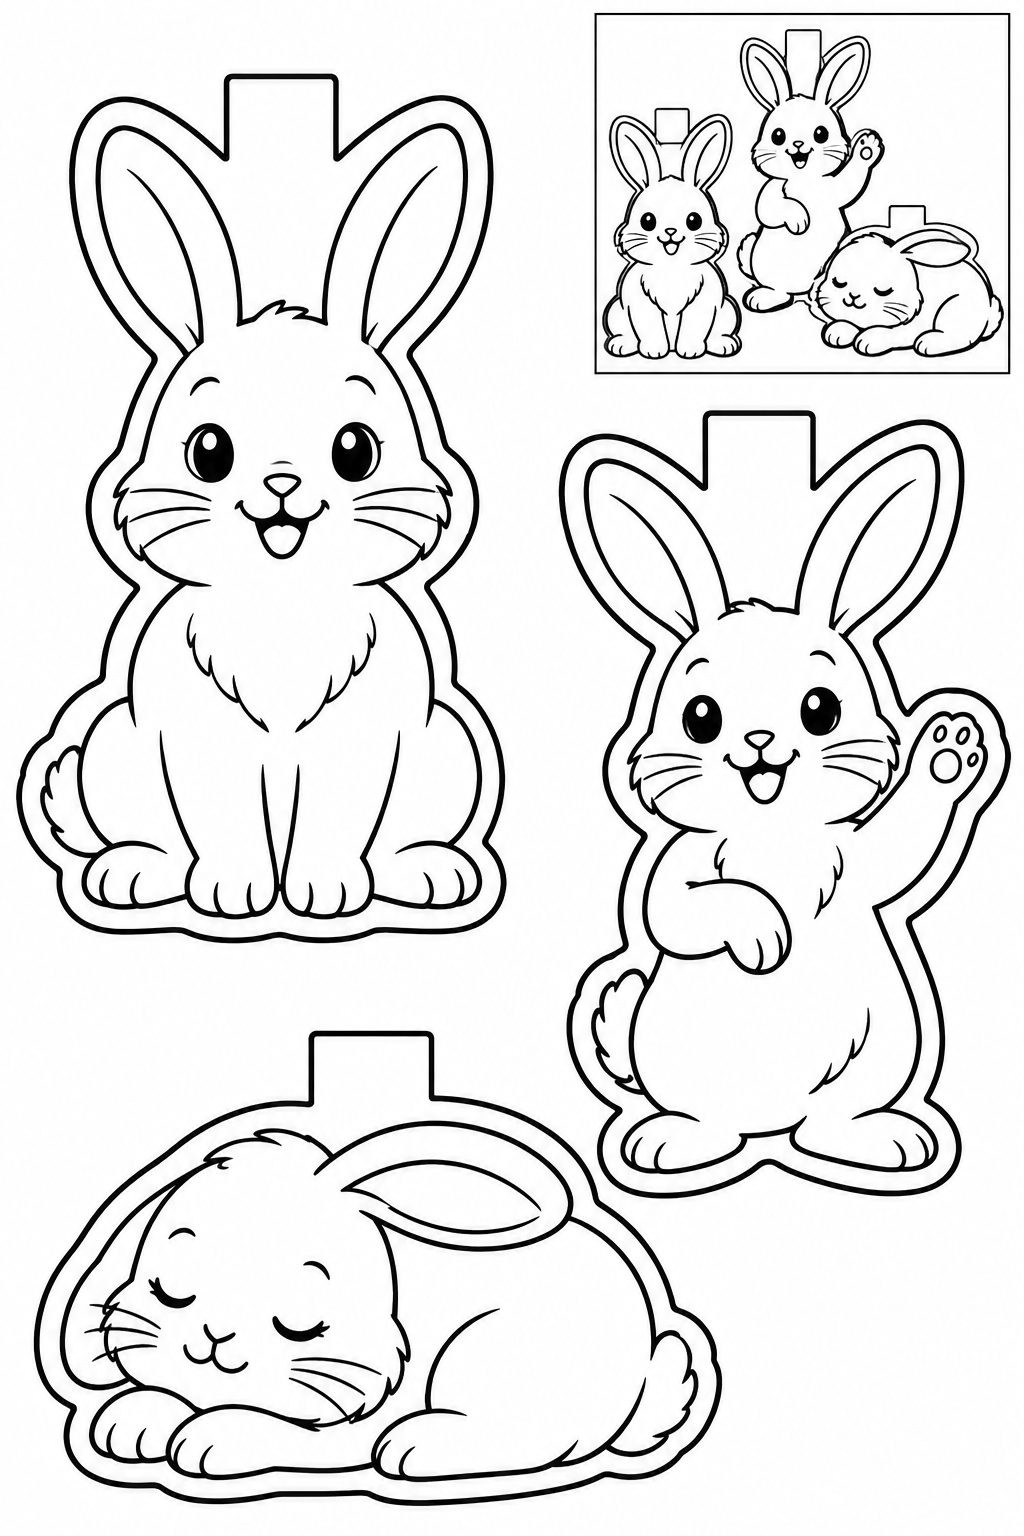
Black and white — color before cutting.
Assembly example: The small boxed example shows the finished craft. Do not cut it out.
Cut outside edges; leave boxed reference on sheet. Glue top tabs over a separate paper ribbon; space figures apart. Keep printed details intact. Check joins before glue dries; increase overlap if loose.
Check: Can you guide the scissors comfortably? If it is difficult, an adult can shorten a strip, cut a tricky curve or offer straight paths. Pieces should be fully separated and arranged as intended before gluing.
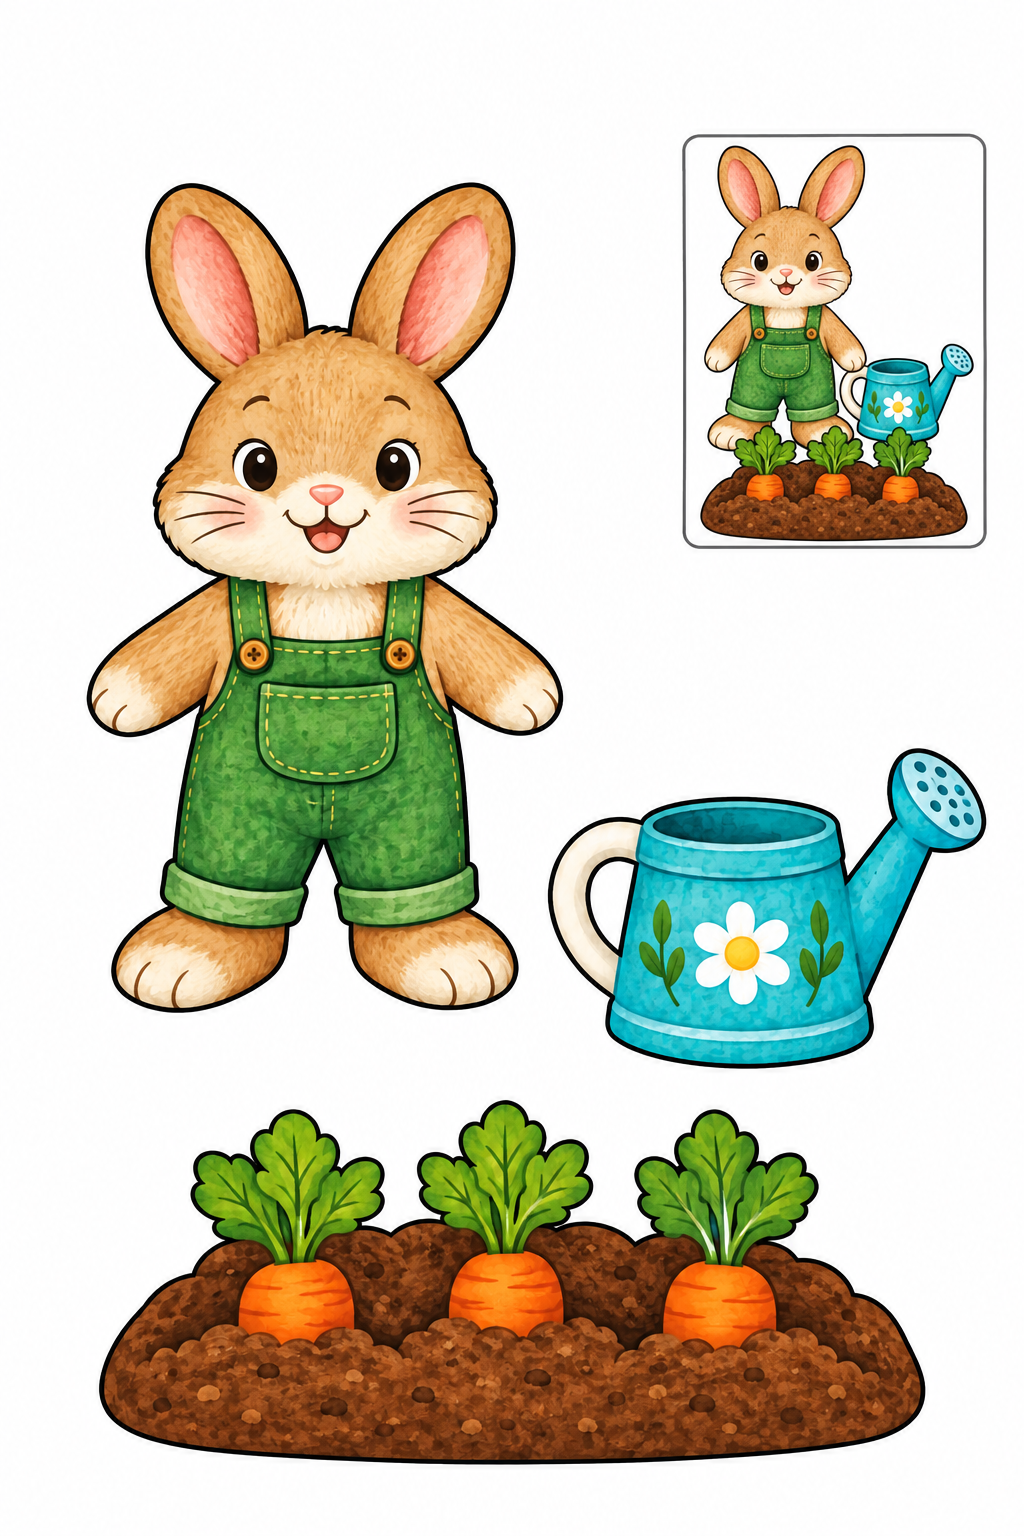
Full color — ready to cut.
Assembly example: The small boxed example shows the finished craft. Do not cut it out.
Cut outside edges; leave boxed reference on sheet. Place bunny and watering can above garden bed; keep can beside paws and leaves visible. Keep printed details intact. Check joins before glue dries; increase overlap if loose.
Check: Can you guide the scissors comfortably? If it is difficult, an adult can shorten a strip, cut a tricky curve or offer straight paths. Pieces should be fully separated and arranged as intended before gluing.
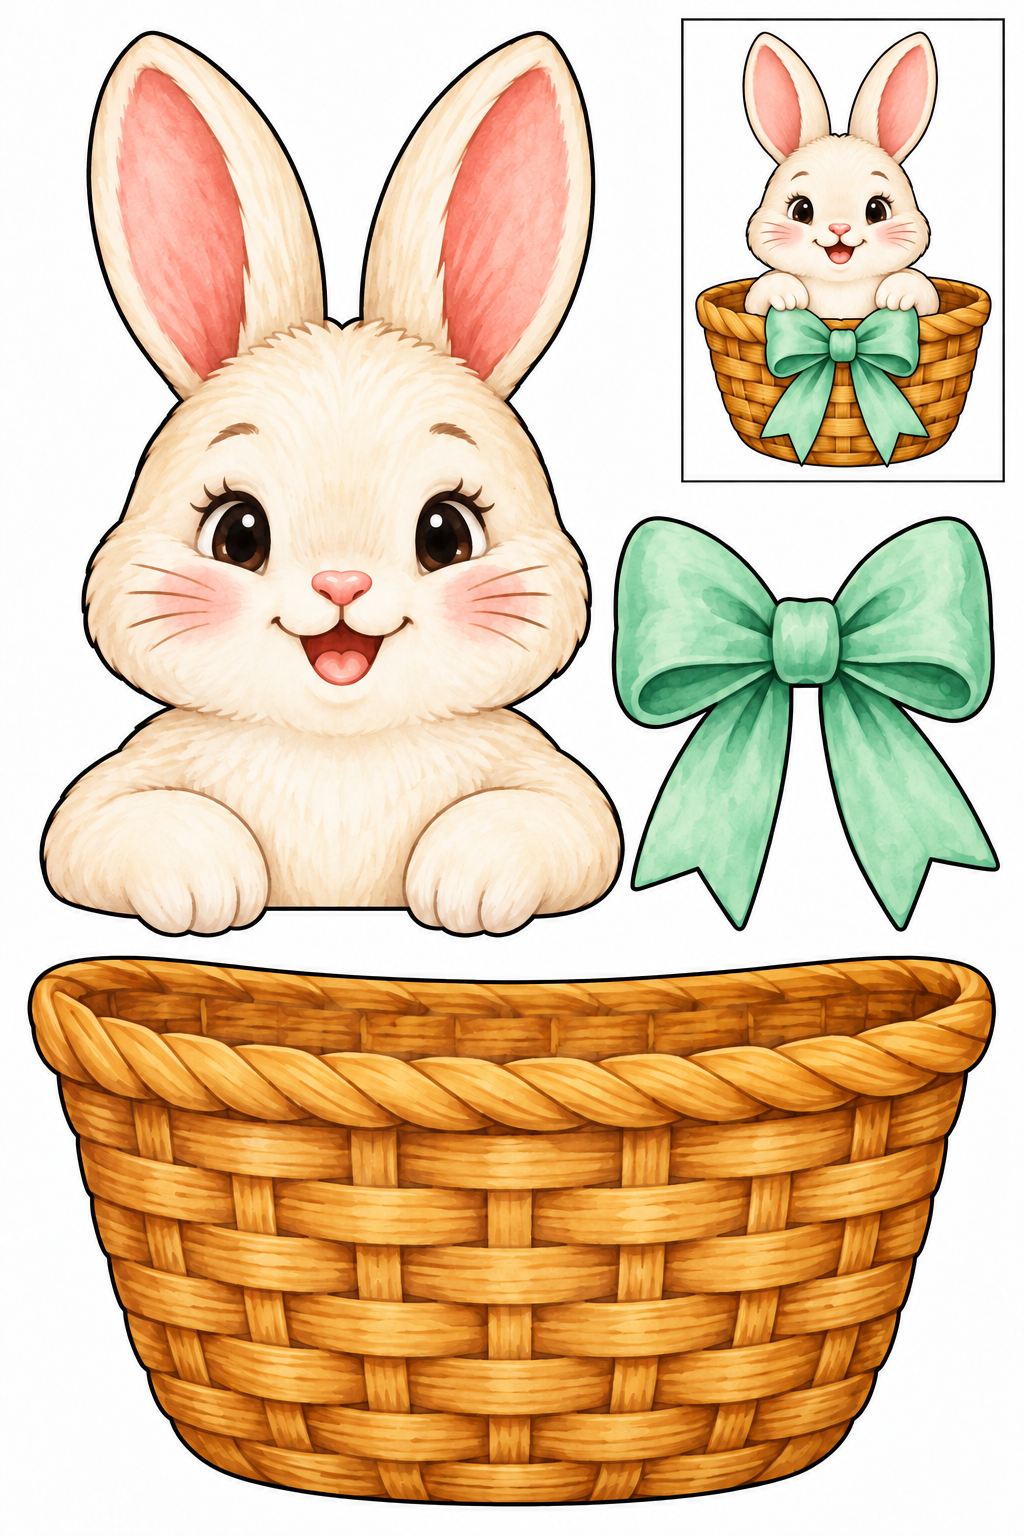
Full color — ready to cut.
Assembly example: The small boxed example shows the finished craft. Do not cut it out.
Cut outside edges; leave boxed reference on sheet. Hide lower body behind basket rim; glue bow at basket center. Keep printed details intact. Check joins before glue dries; increase overlap if loose.
Check: Can you guide the scissors comfortably? If it is difficult, an adult can shorten a strip, cut a tricky curve or offer straight paths. Pieces should be fully separated and arranged as intended before gluing.
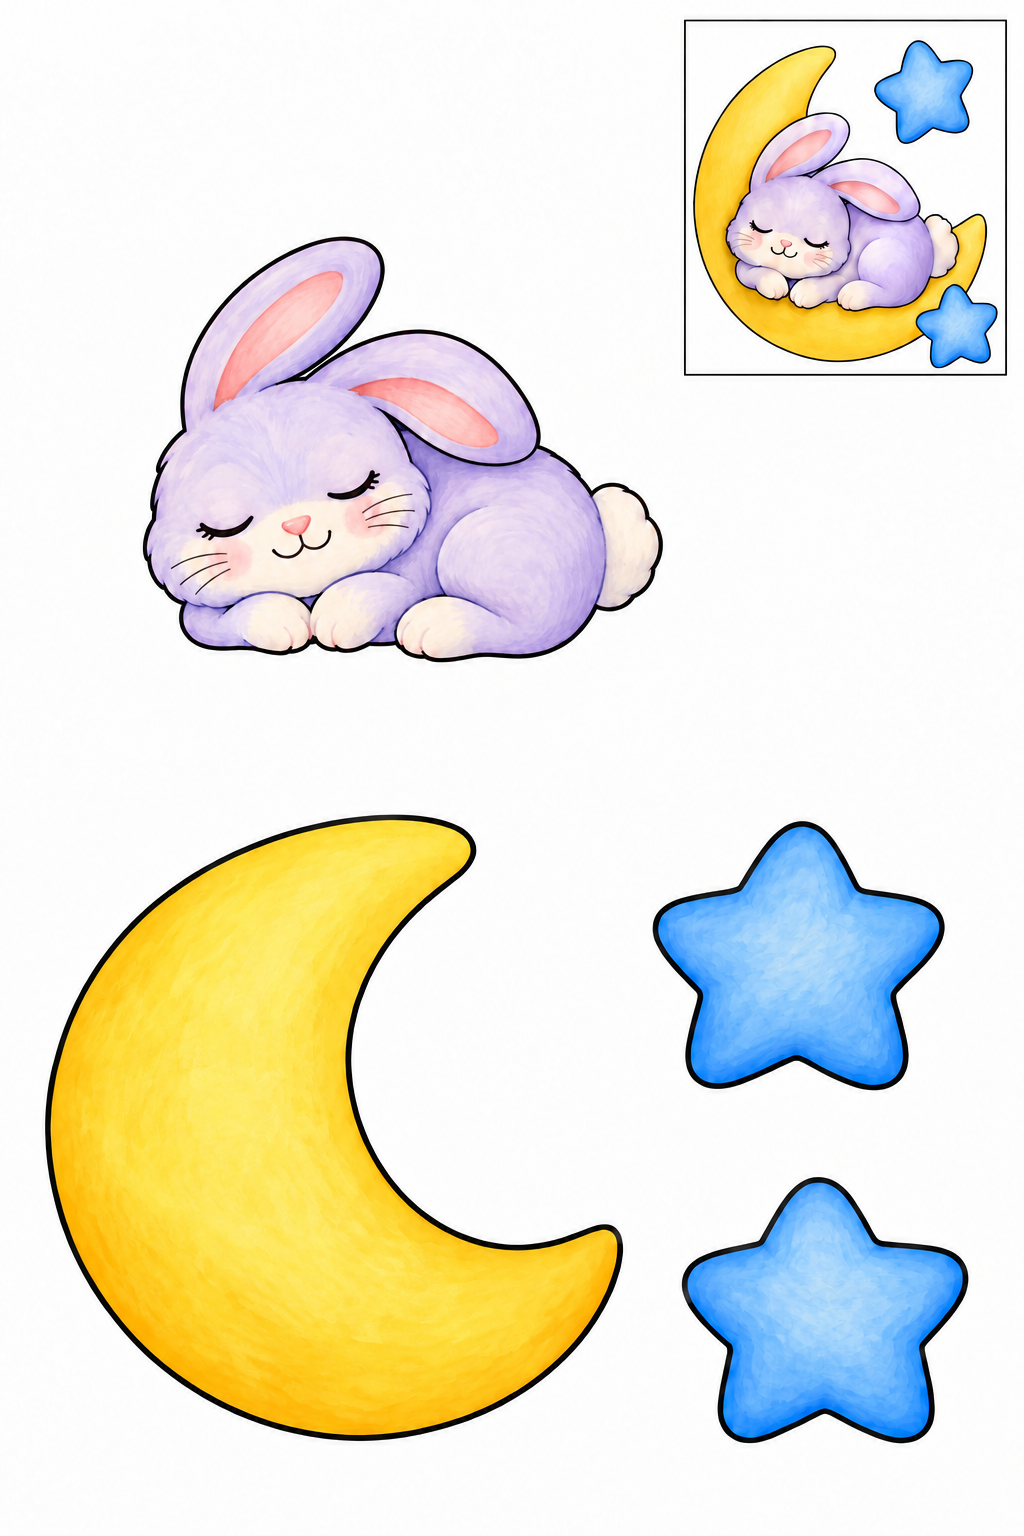
Full color — ready to cut.
Assembly example: The small boxed example shows the finished craft. Do not cut it out.
Cut outside edges; leave boxed reference on sheet. Rest bunny across lower crescent; arrange stars above moon on backing. Keep printed details intact. Check joins before glue dries; increase overlap if loose.
Check: Can you guide the scissors comfortably? If it is difficult, an adult can shorten a strip, cut a tricky curve or offer straight paths. Pieces should be fully separated and arranged as intended before gluing.
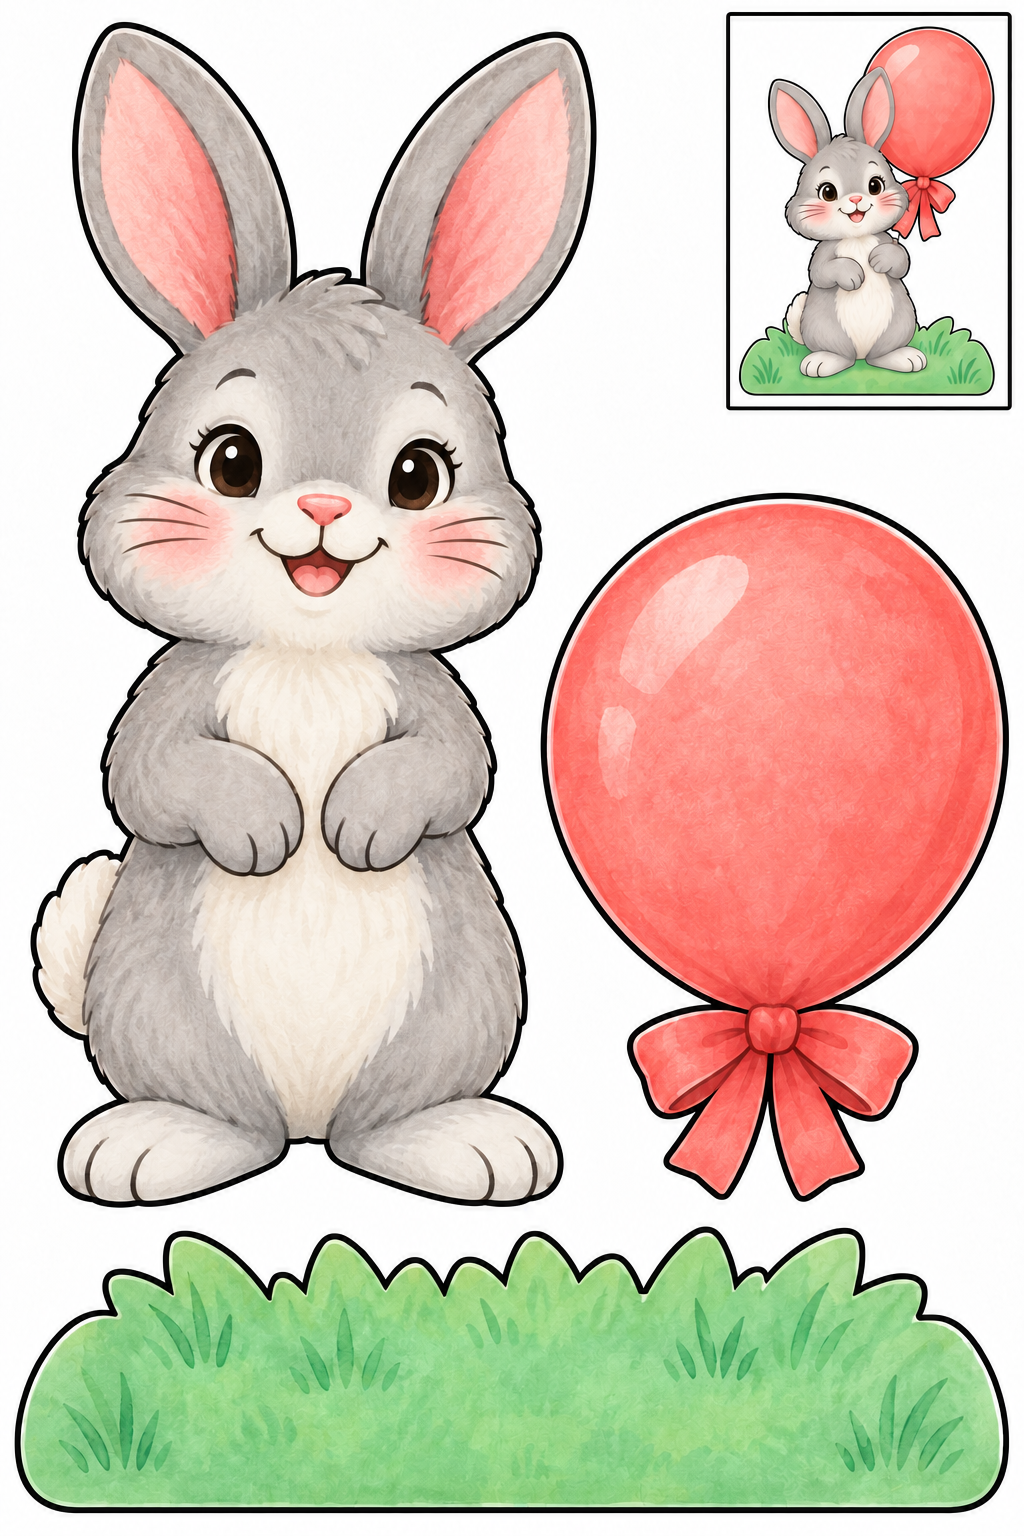
Full color — ready to cut.
Assembly example: The small boxed example shows the finished craft. Do not cut it out.
Cut outside edges; leave boxed reference on sheet. Place bunny on grass; overlap balloon ribbon at raised paw. Keep printed details intact. Check joins before glue dries; increase overlap if loose.
Check: Can you guide the scissors comfortably? If it is difficult, an adult can shorten a strip, cut a tricky curve or offer straight paths. Pieces should be fully separated and arranged as intended before gluing.
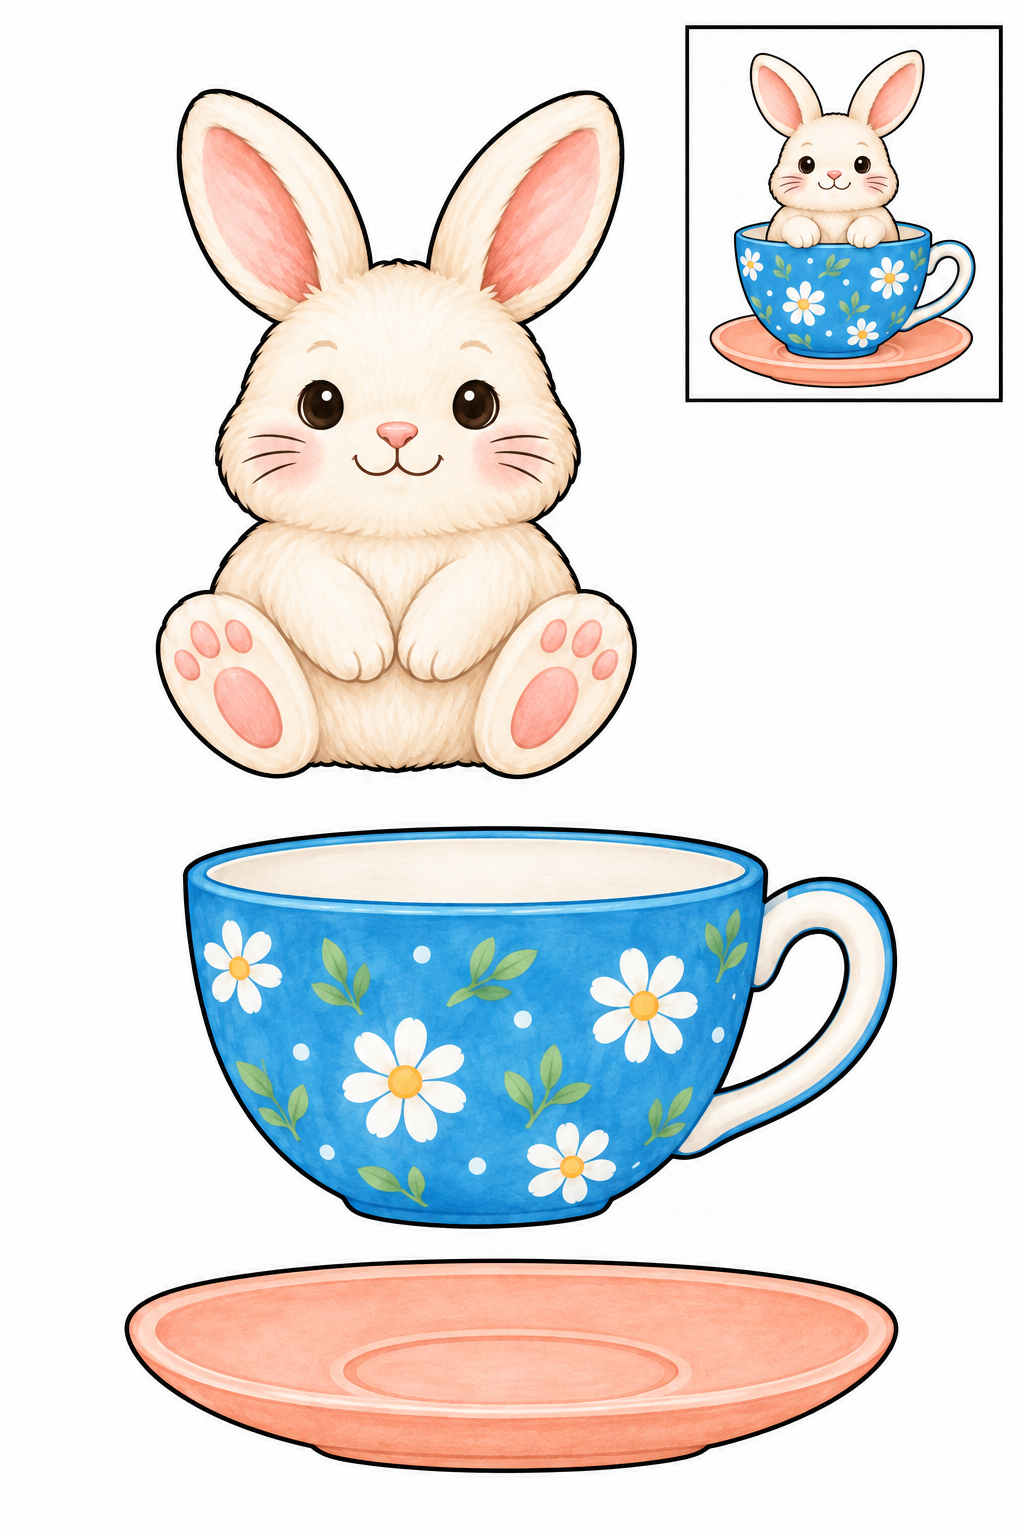
Full color — ready to cut.
Assembly example: The small boxed example shows the finished craft. Do not cut it out.
Cut outside edges; leave boxed reference on sheet. Place bunny behind cup rim and saucer below cup; leave handle center intact. Keep printed details intact. Check joins before glue dries; increase overlap if loose.
Check: Can you guide the scissors comfortably? If it is difficult, an adult can shorten a strip, cut a tricky curve or offer straight paths. Pieces should be fully separated and arranged as intended before gluing.
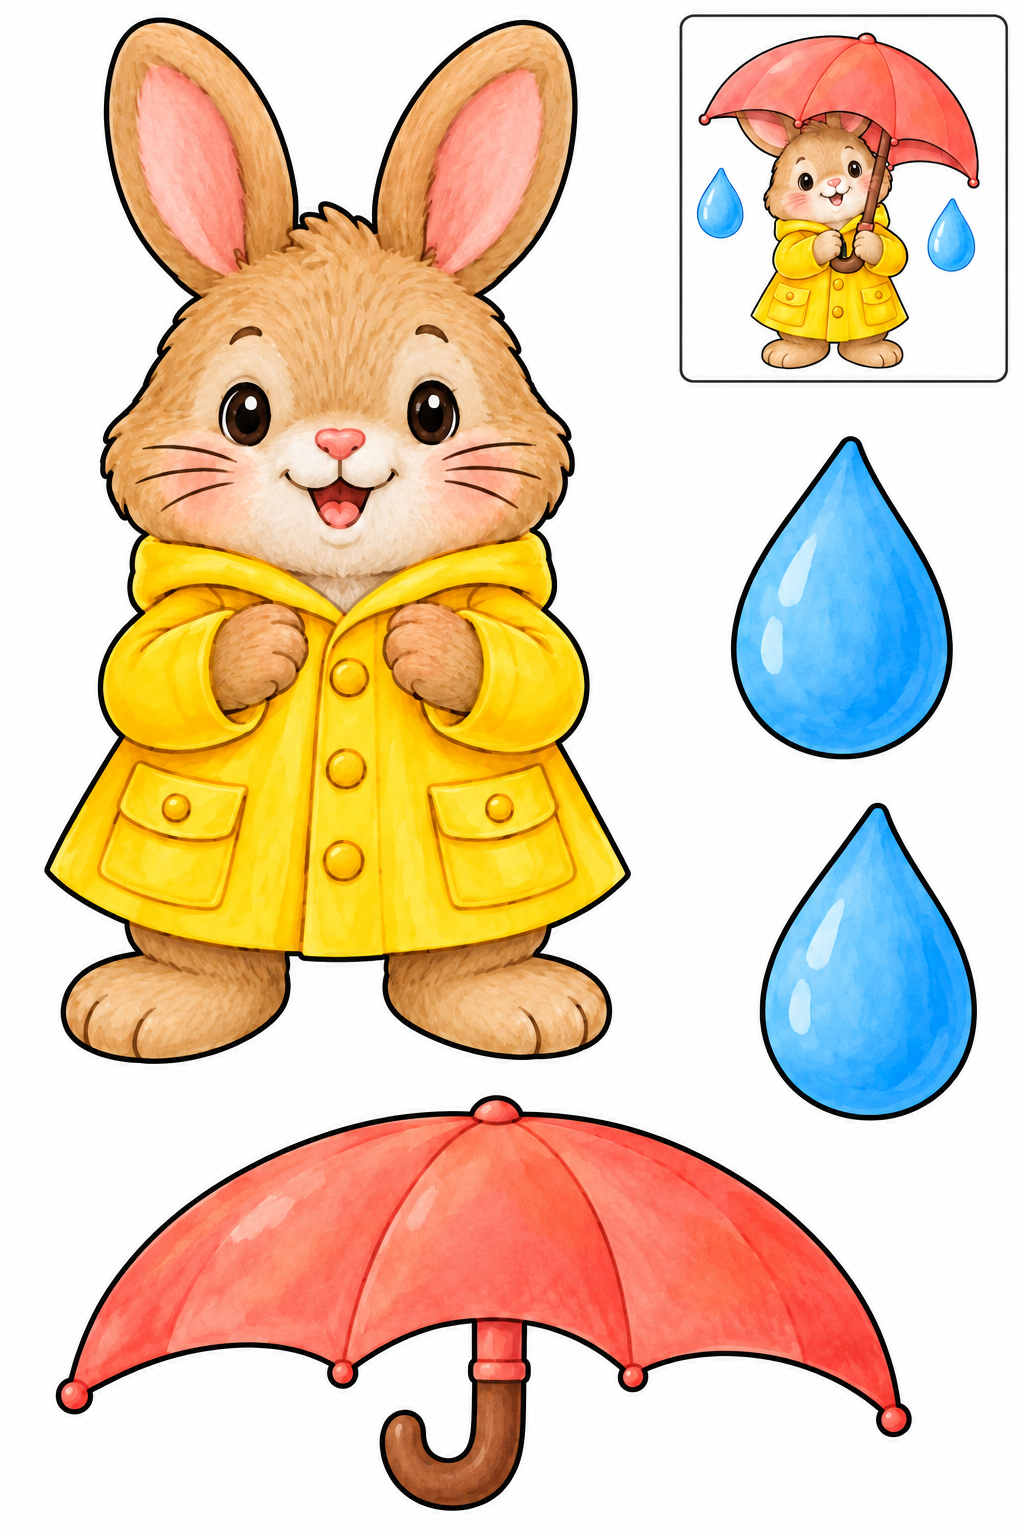
Full color — ready to cut.
Assembly example: The small boxed example shows the finished craft. Do not cut it out.
Cut outside edges; leave boxed reference on sheet. Overlap umbrella handle at paw, place drops beside canopy on backing. Keep printed details intact. Check joins before glue dries; increase overlap if loose.
Check: Can you guide the scissors comfortably? If it is difficult, an adult can shorten a strip, cut a tricky curve or offer straight paths. Pieces should be fully separated and arranged as intended before gluing.
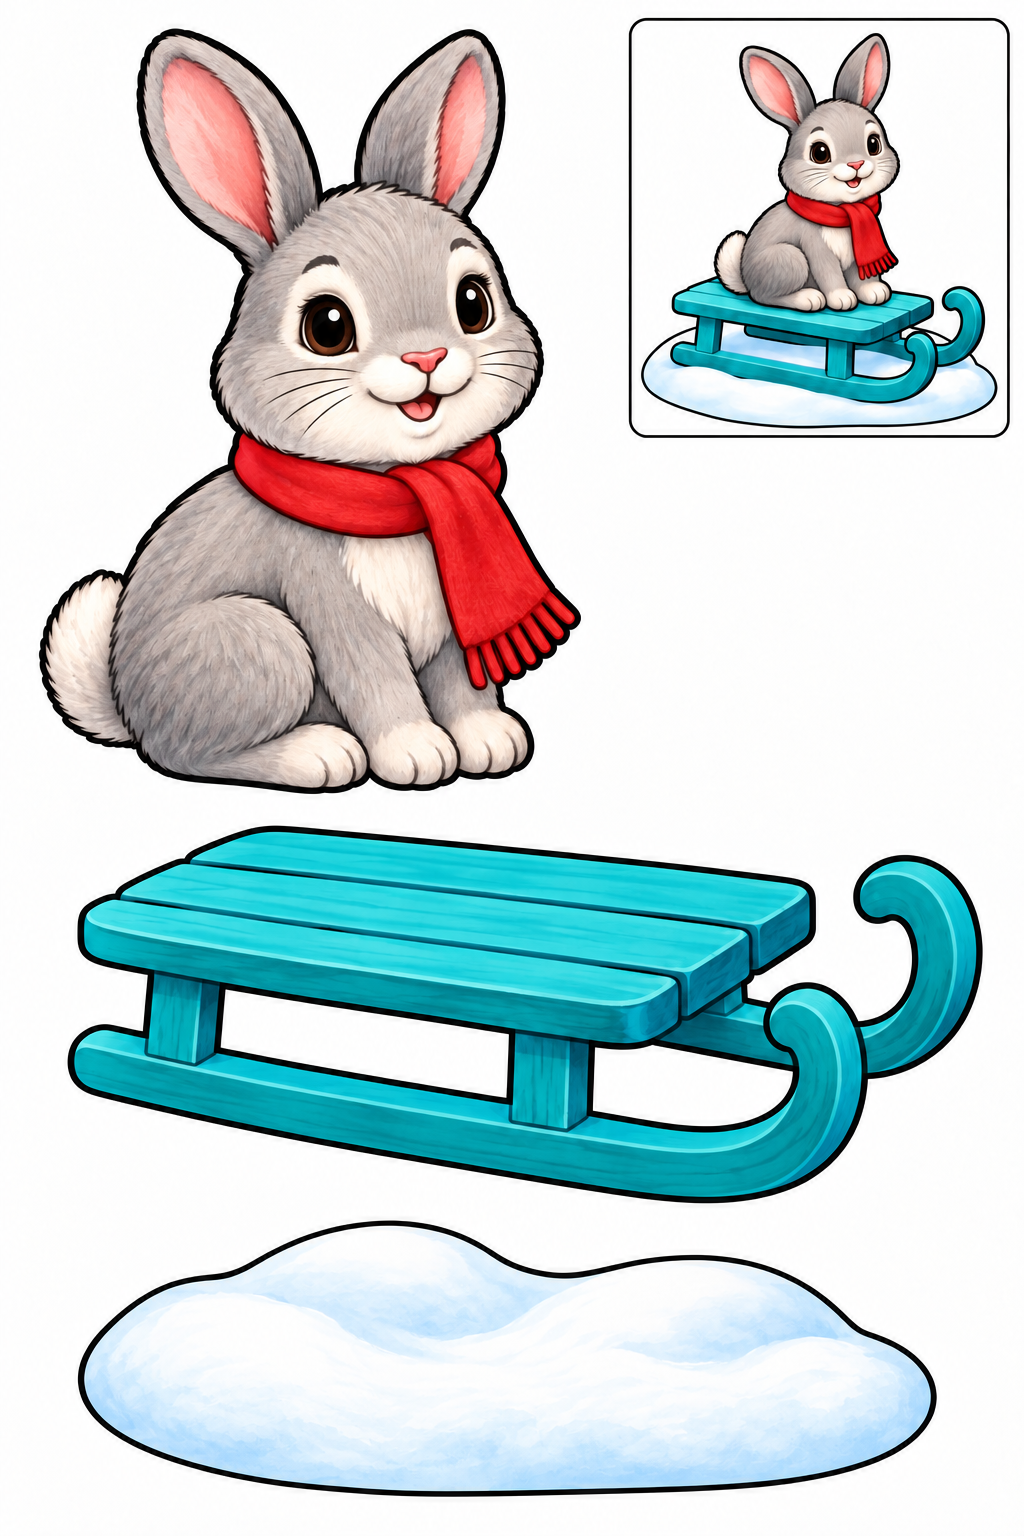
Full color — ready to cut.
Assembly example: The small boxed example shows the finished craft. Do not cut it out.
Cut outside edges; leave boxed reference on sheet. Place sled on snow and bunny above sled seat; keep scarf visible. Keep printed details intact. Check joins before glue dries; increase overlap if loose.
Check: Can you guide the scissors comfortably? If it is difficult, an adult can shorten a strip, cut a tricky curve or offer straight paths. Pieces should be fully separated and arranged as intended before gluing.
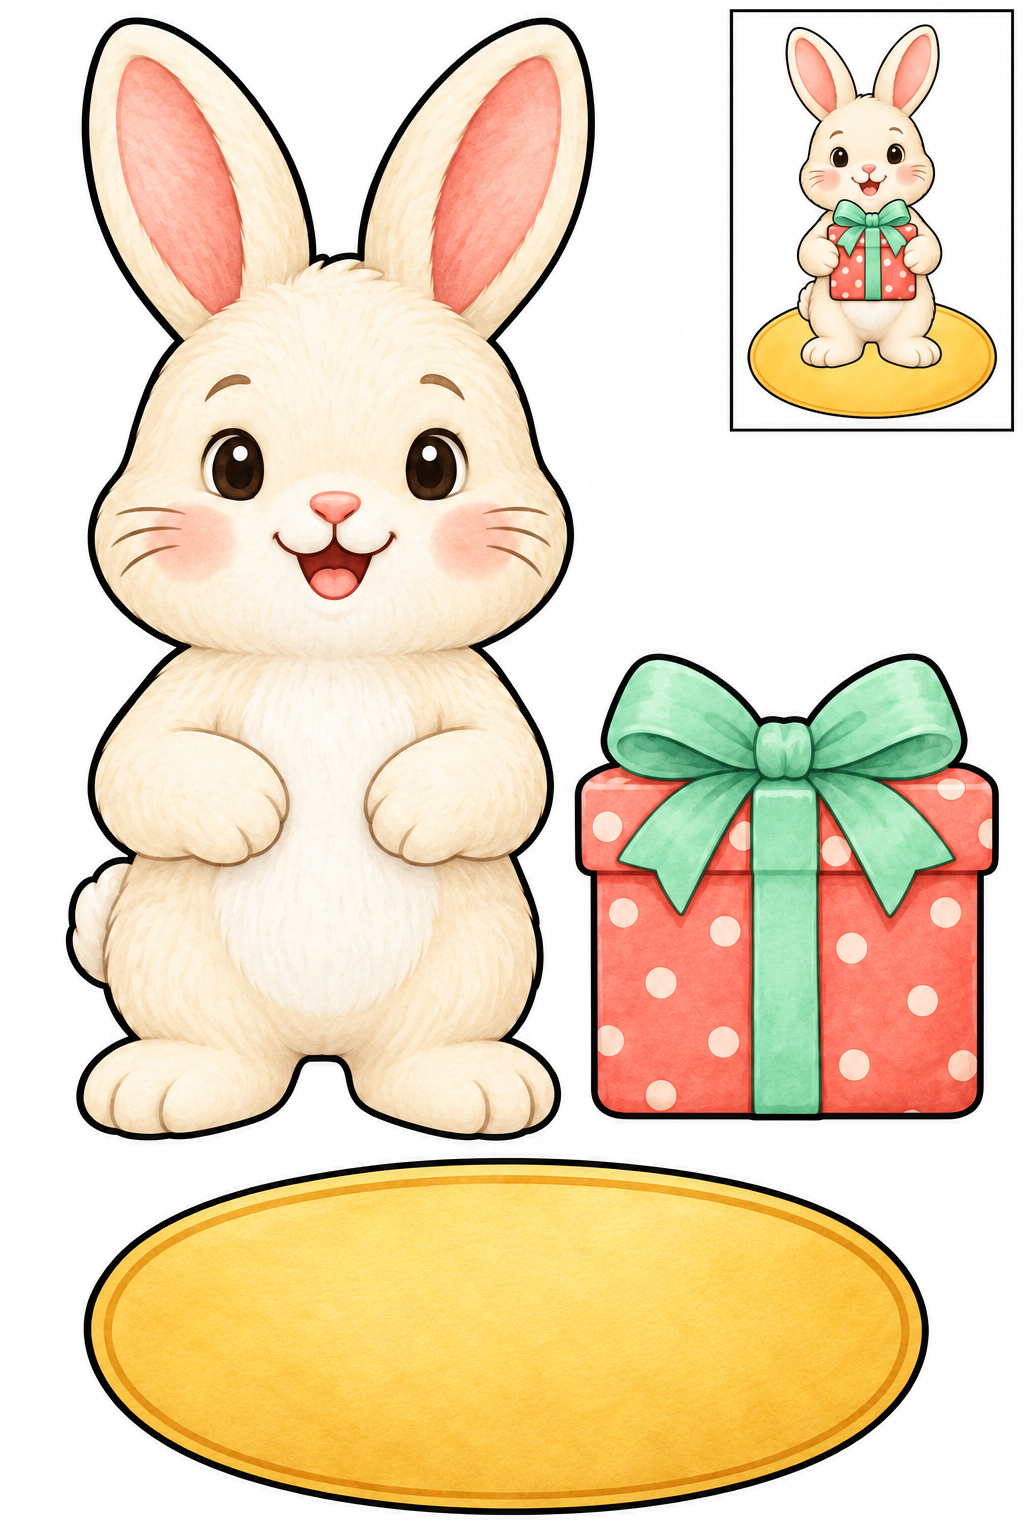
Full color — ready to cut.
Assembly example: The small boxed example shows the finished craft. Do not cut it out.
Cut outside edges; leave boxed reference on sheet. Place gift below paws and label below bunny on backing; add greeting to label. Keep printed details intact. Check joins before glue dries; increase overlap if loose.
Check: Can you guide the scissors comfortably? If it is difficult, an adult can shorten a strip, cut a tricky curve or offer straight paths. Pieces should be fully separated and arranged as intended before gluing.
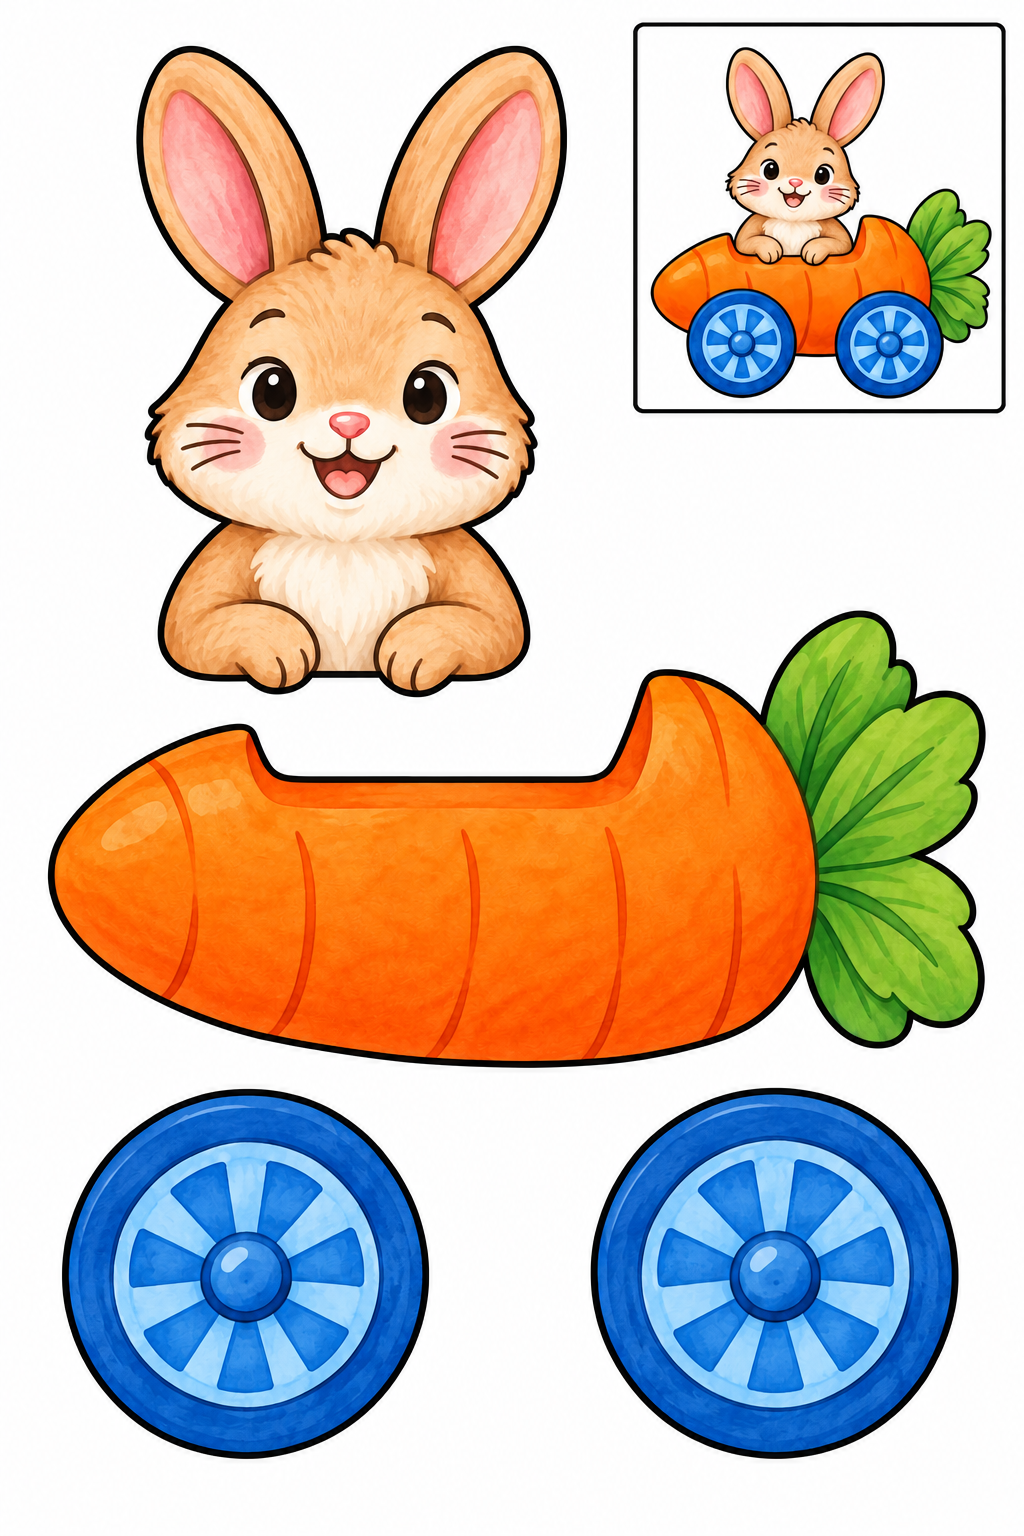
Full color — ready to cut.
Assembly example: The small boxed example shows the finished craft. Do not cut it out.
Cut outside edges; leave boxed reference on sheet. Glue bunny behind carriage top and wheels over two lower corners. Keep printed details intact. Check joins before glue dries; increase overlap if loose.
Check: Can you guide the scissors comfortably? If it is difficult, an adult can shorten a strip, cut a tricky curve or offer straight paths. Pieces should be fully separated and arranged as intended before gluing.
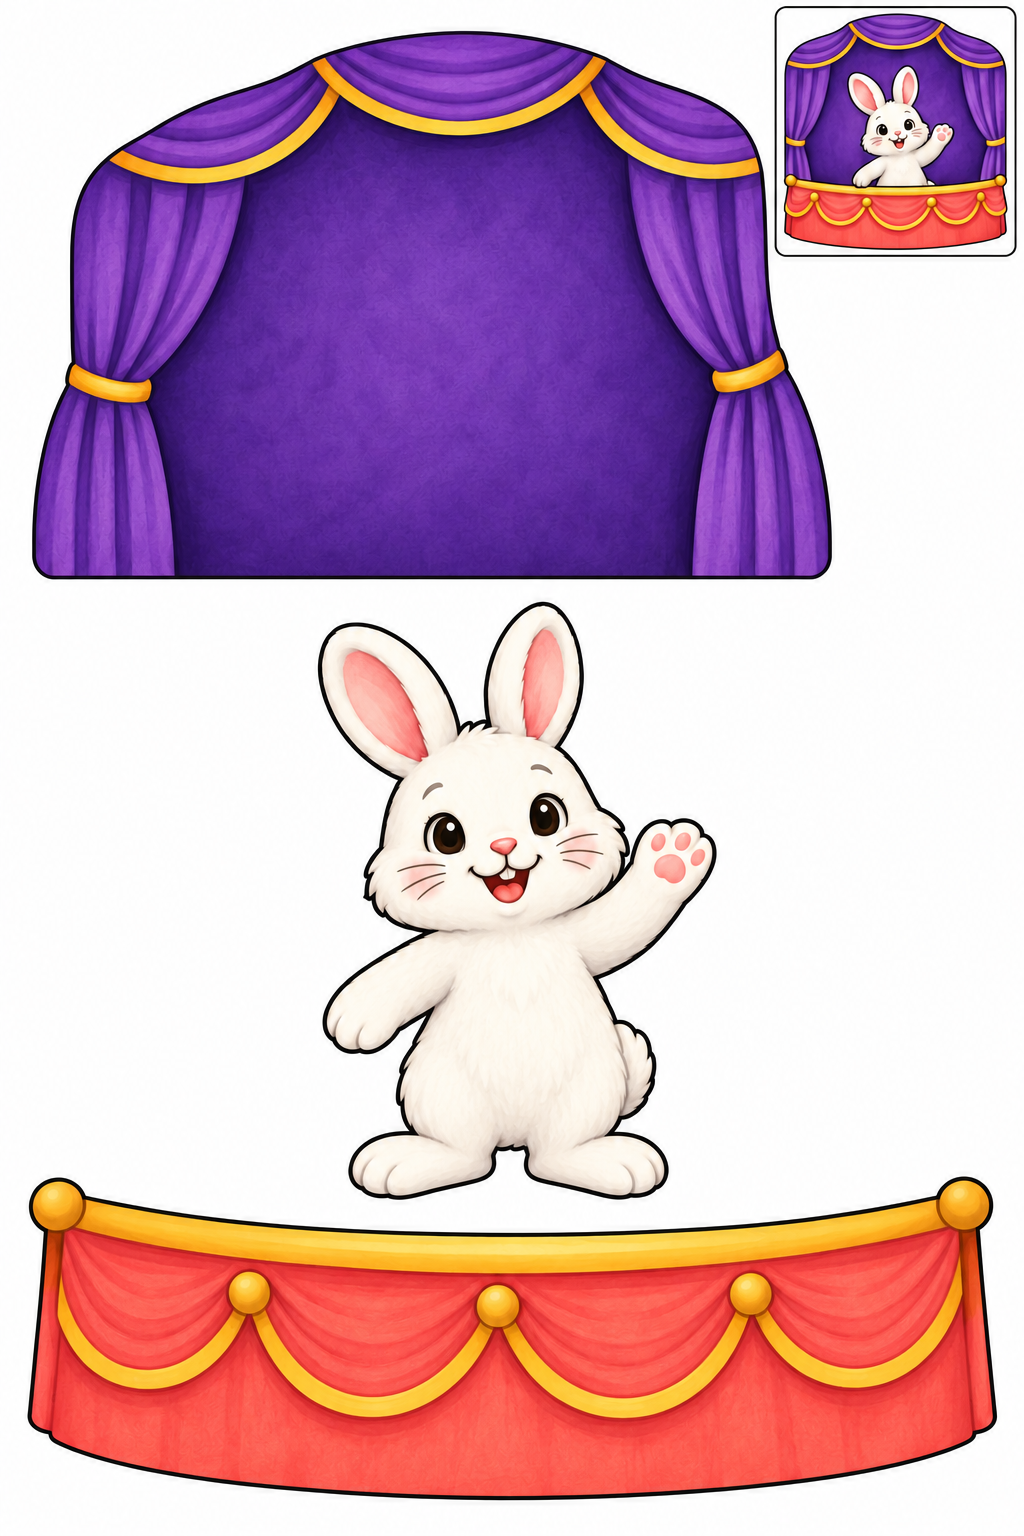
Full color — ready to cut.
Assembly example: The small boxed example shows the finished craft. Do not cut it out.
Cut outside edges; leave boxed reference on sheet. Place bunny on solid backdrop, attach stage front over lower feet. Keep printed details intact. Check joins before glue dries; increase overlap if loose.
Check: Can you guide the scissors comfortably? If it is difficult, an adult can shorten a strip, cut a tricky curve or offer straight paths. Pieces should be fully separated and arranged as intended before gluing.
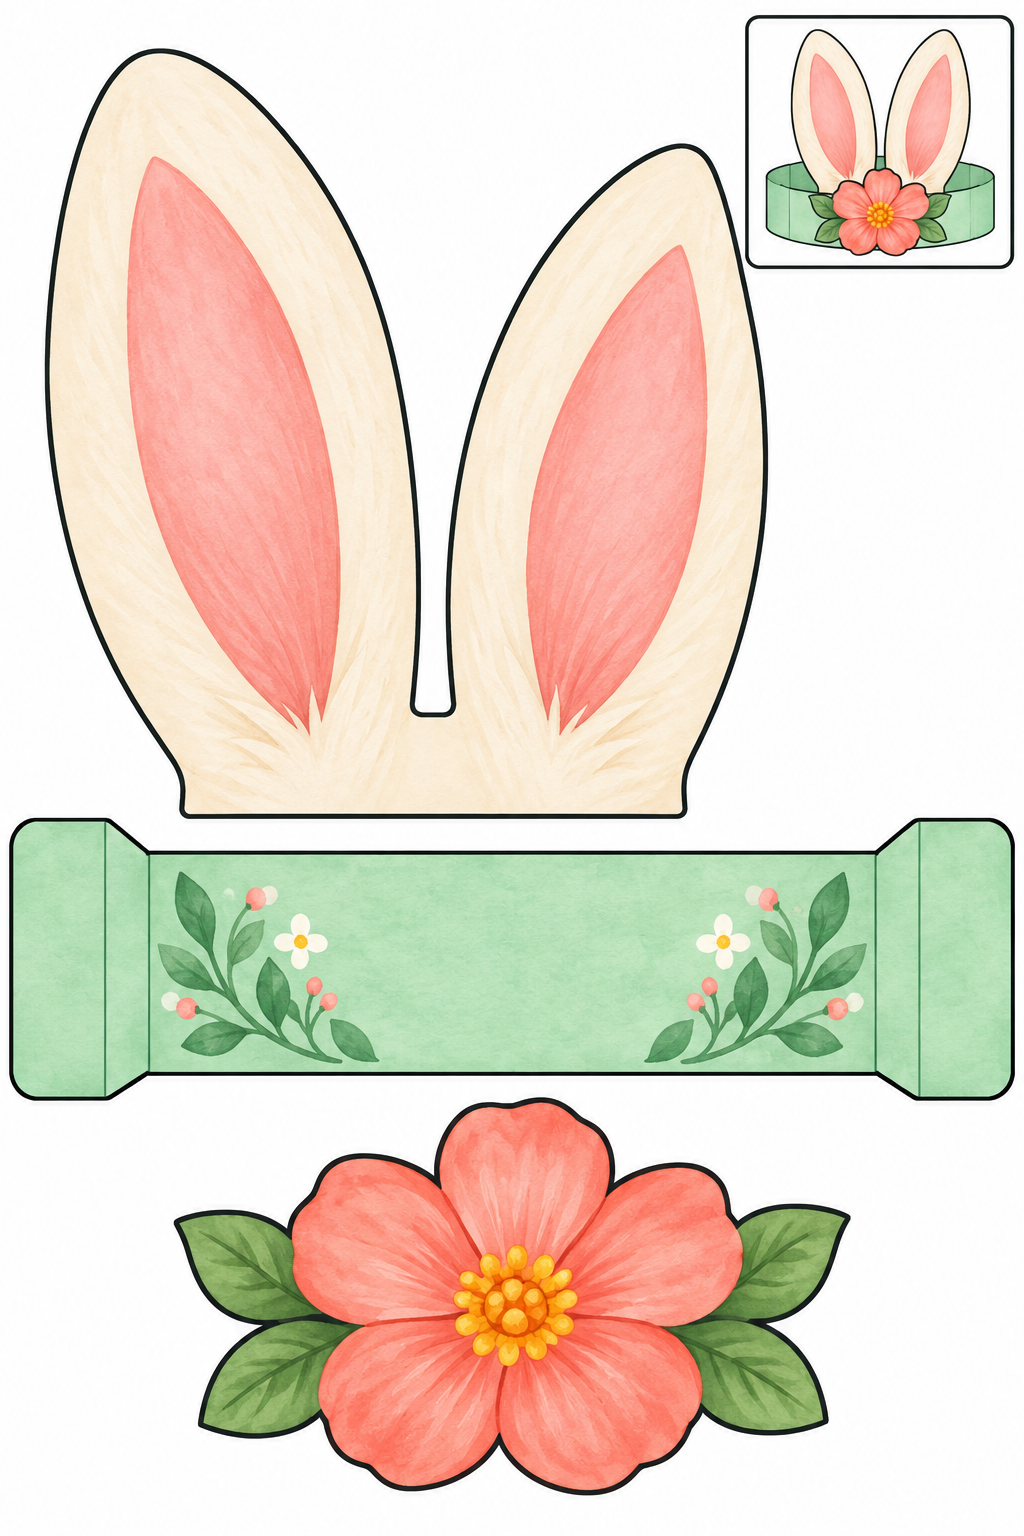
Full color — ready to cut.
Assembly example: The small boxed example shows the finished craft. Do not cut it out.
Cut outside edges; leave boxed reference on sheet. Glue joined ears above strip and flower at center; adult adds paper extension for loose fit. Keep printed details intact. Check joins before glue dries; increase overlap if loose.
Check: Can you guide the scissors comfortably? If it is difficult, an adult can shorten a strip, cut a tricky curve or offer straight paths. Pieces should be fully separated and arranged as intended before gluing.
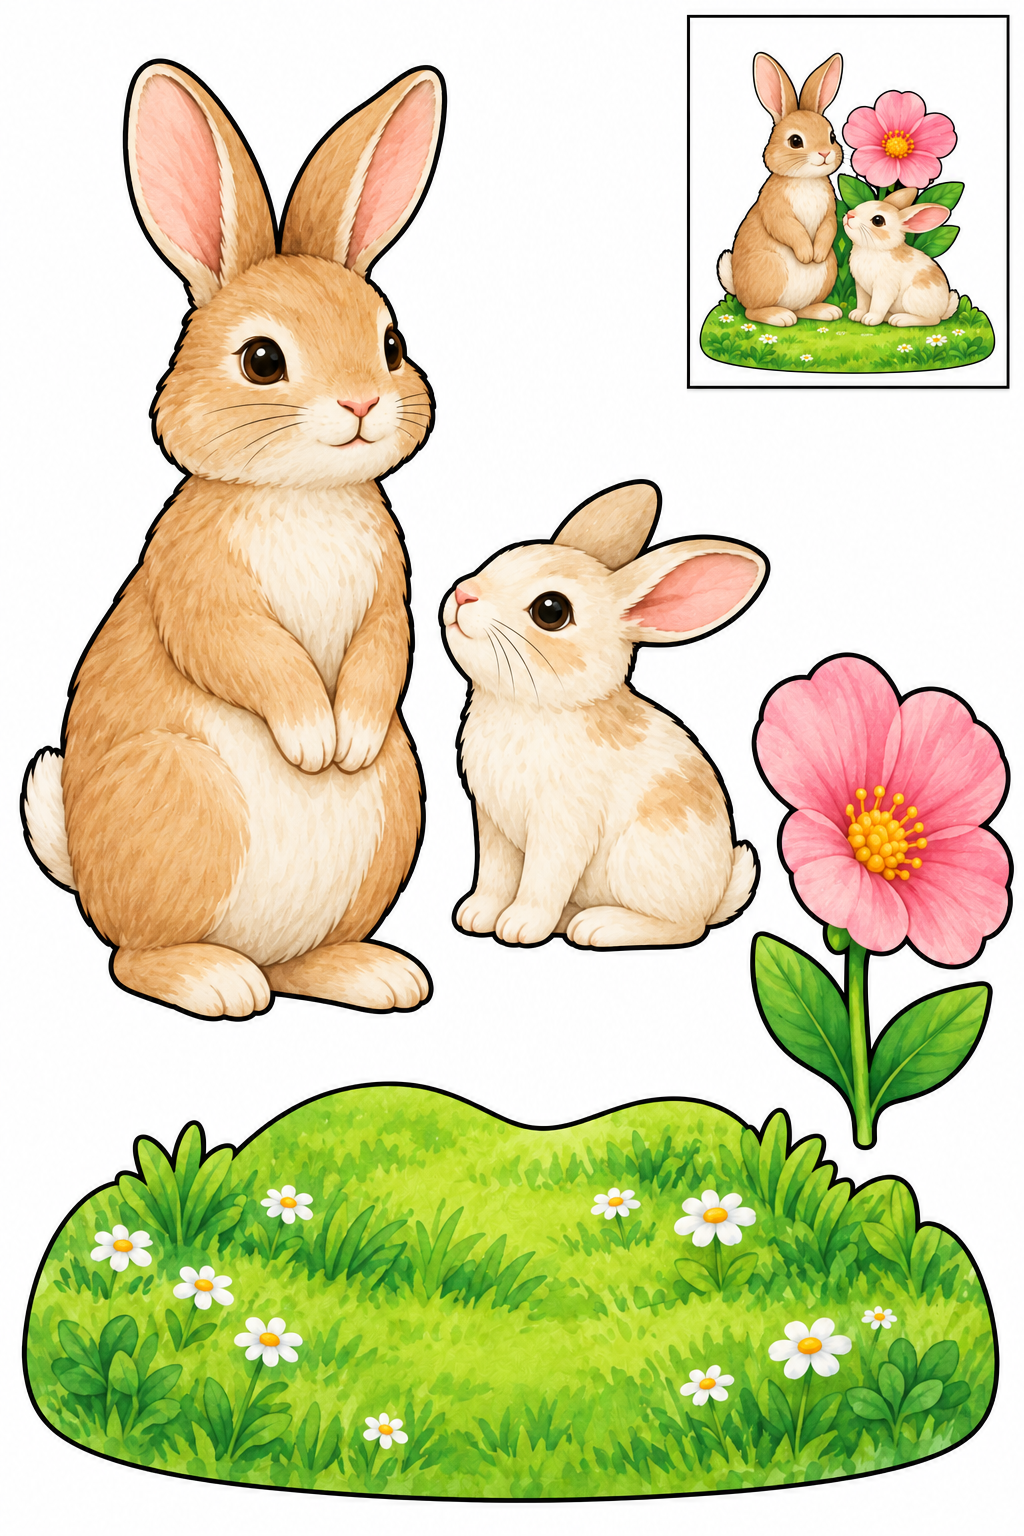
Full color — ready to cut.
Assembly example: The small boxed example shows the finished craft. Do not cut it out.
Cut outside edges; leave boxed reference on sheet. Stand both rabbits on meadow and flower beside small bunny; keep faces clear. Keep printed details intact. Check joins before glue dries; increase overlap if loose.
Check: Can you guide the scissors comfortably? If it is difficult, an adult can shorten a strip, cut a tricky curve or offer straight paths. Pieces should be fully separated and arranged as intended before gluing.
These projects are intended roughly for ages 4–8 with adult help. Start with straight paths and squares. Once a straight cut feels comfortable, try corners, then circles and gentle curves. Age is a guide: choose a manageable task and take breaks.
You need paper, child scissors, coloring pencils and a glue stick for assembly crafts. Keep fingers away from the blades and cut while seated at a table. If a child is not ready for scissors, an adult can cut while the child colors and arranges.
Yes. All templates are downloadable without an account or email address. Use them at home or in class; do not resell the files.
Match your printer paper: A4 is 210 × 297 mm; US Letter is 8.5 × 11 inches. Print at 100%. Each PDF contains one page.
On practice paths, cut dashed lines from the edge or starting dot. On crafts, cut the solid outer border of each piece. Do not cut out the small boxed assembly example.
Ask an adult to check that the scissors cut the paper. Try a shorter strip and smaller motions. Stop before a corner and turn the paper with the supporting hand.