Make paper fish with 24 original illustrated templates: 12 black-and-white and 12 colorful projects. Free A4 and Letter PDFs, assembly examples and practical instructions.
Scissors with a grown-up. Use child scissors with rounded tips and cut while seated at a table. If a child is not ready yet, an adult cuts while the child colors and assembles.
Print
Choose A4 or US Letter. Print at 100%, with scaling off. Ordinary printer paper works.
Cut
Color black-and-white sheets first. Cut outer borders; follow dashed lines on the practice paths.
Make it yours
Arrange pieces before gluing. Try a new arrangement or tell a story about your creation.
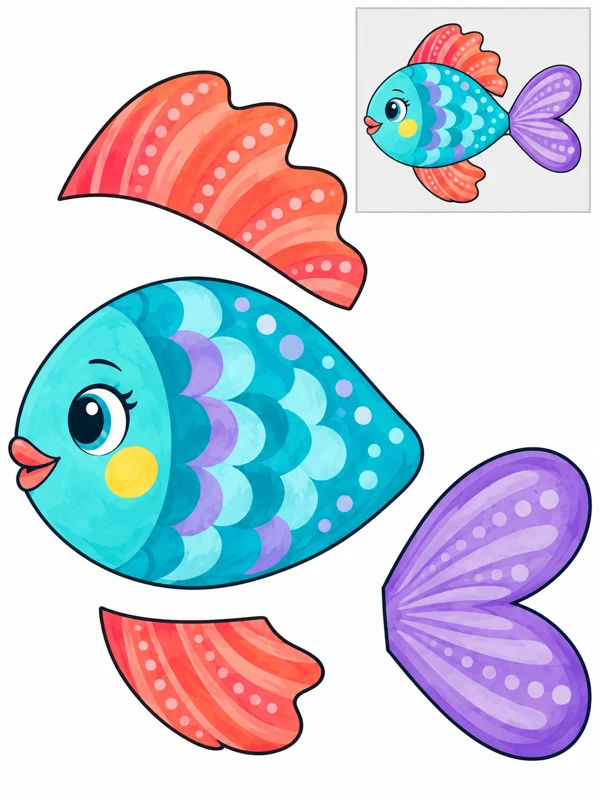
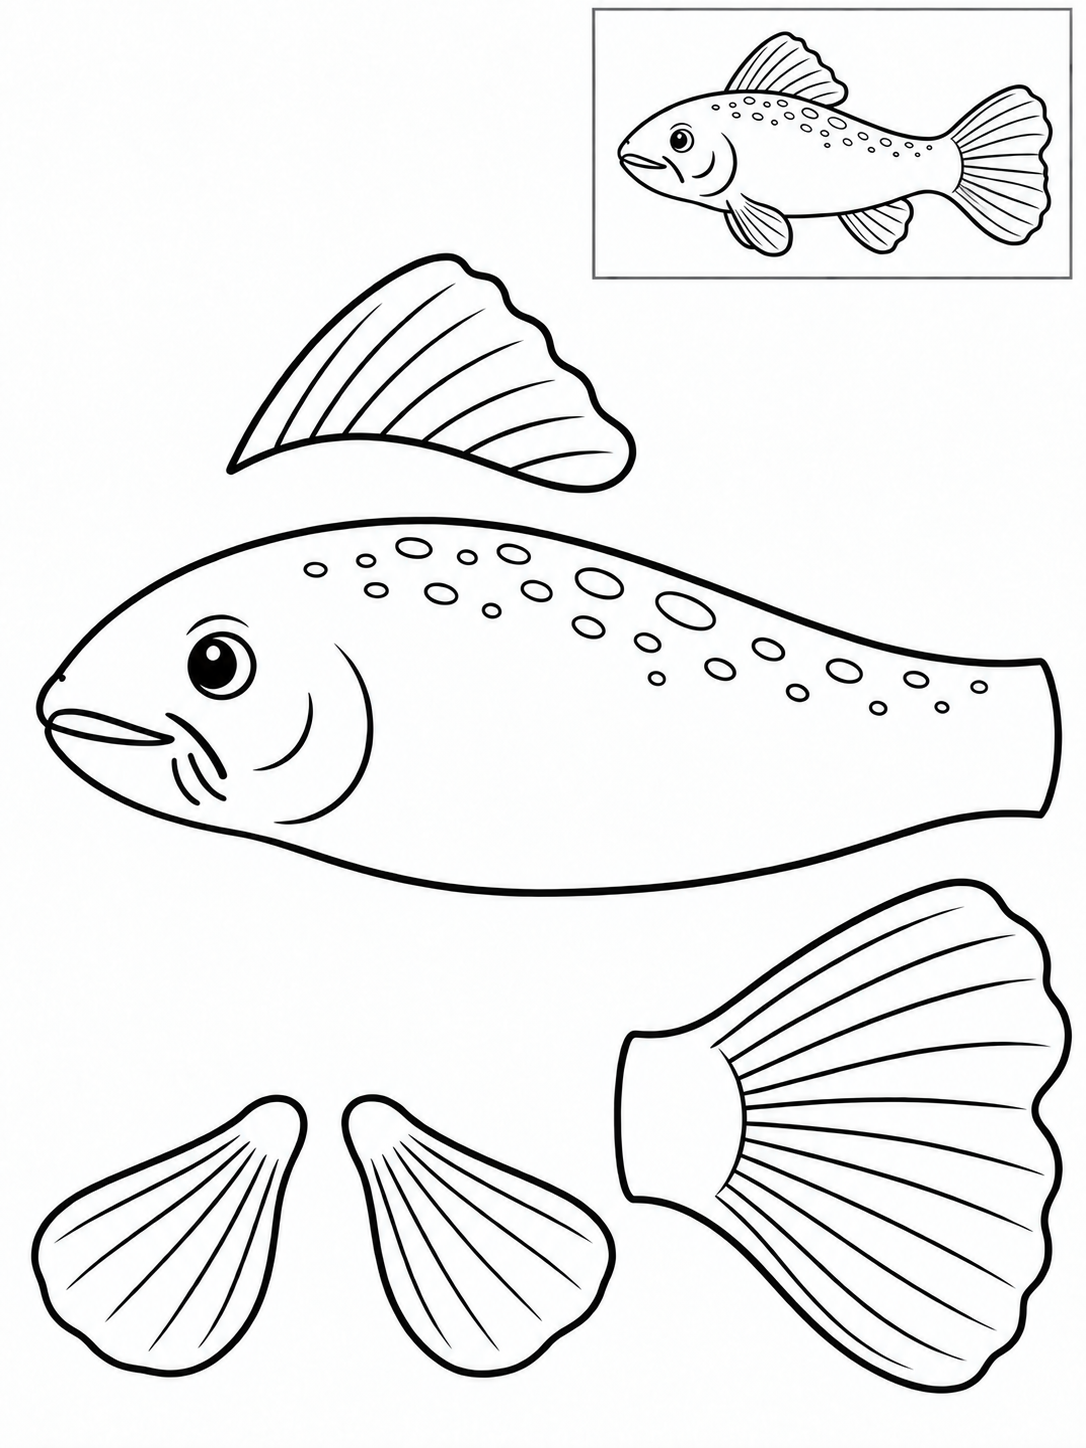
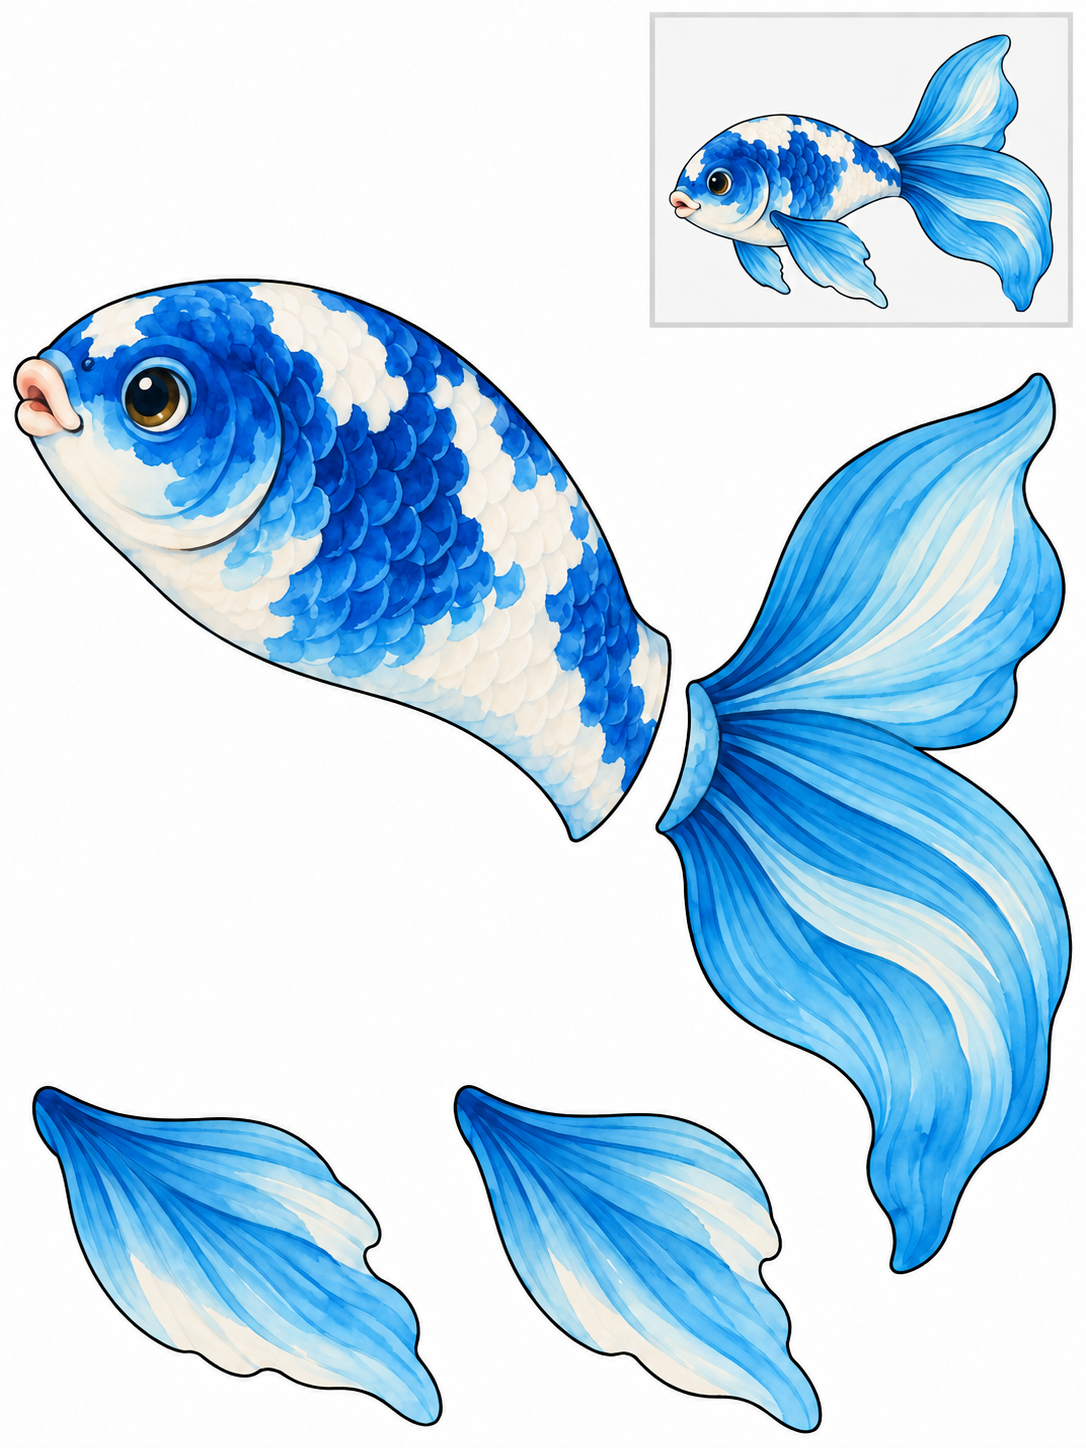
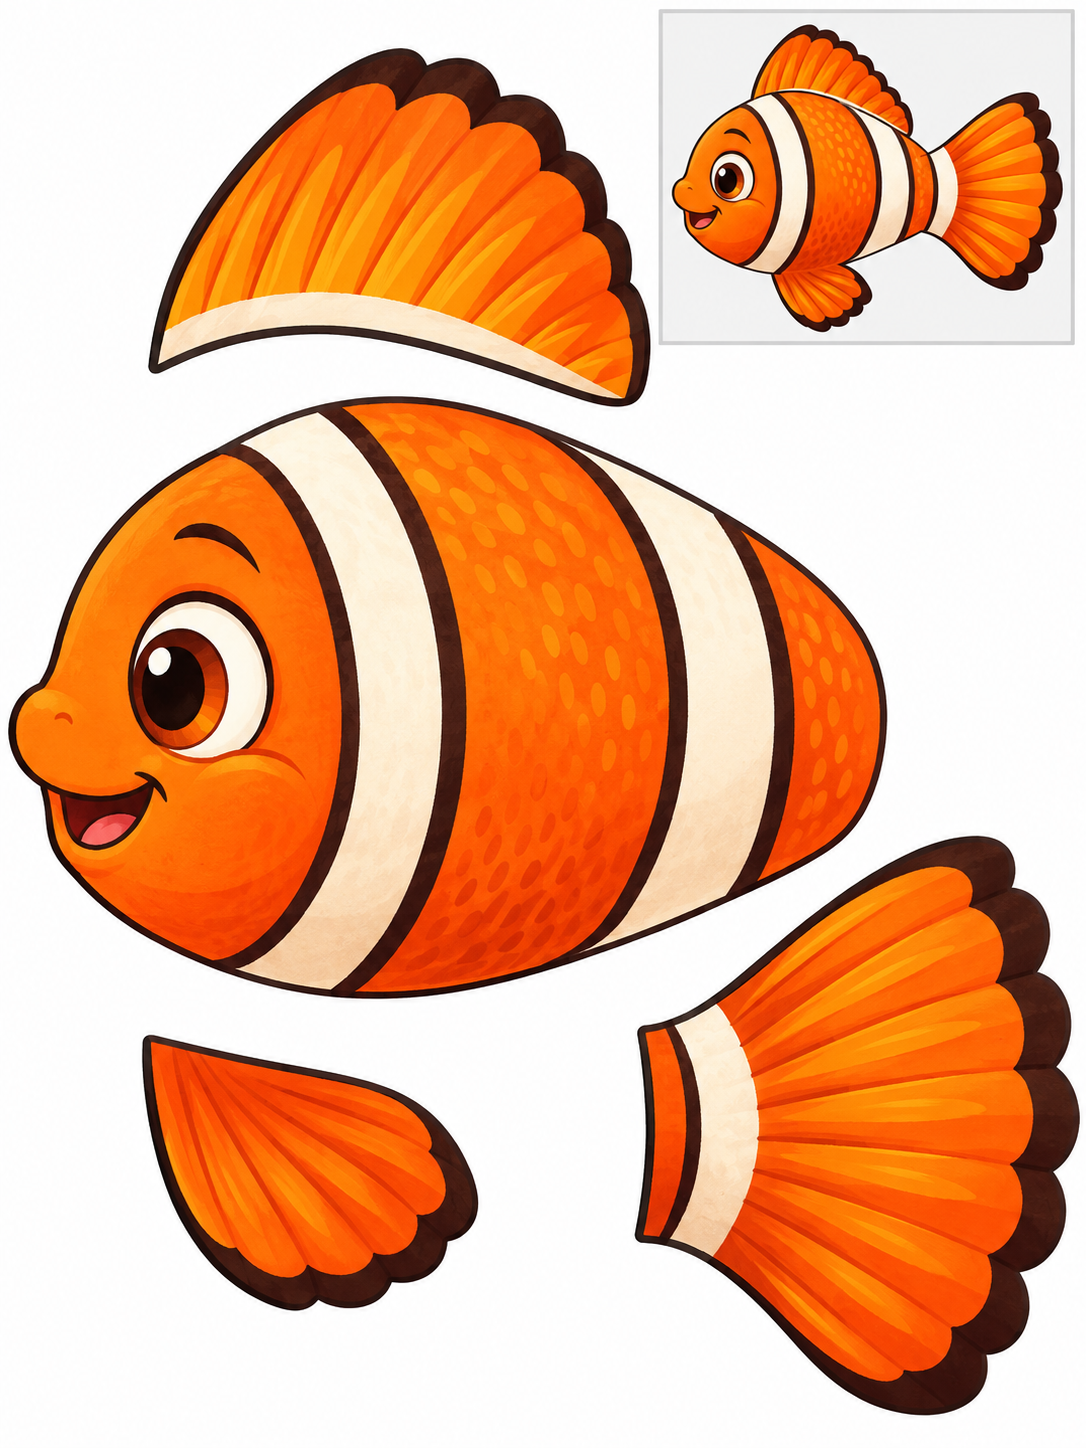
Assembly example: The small boxed fish at the top right shows the finished craft. Do not cut it out.
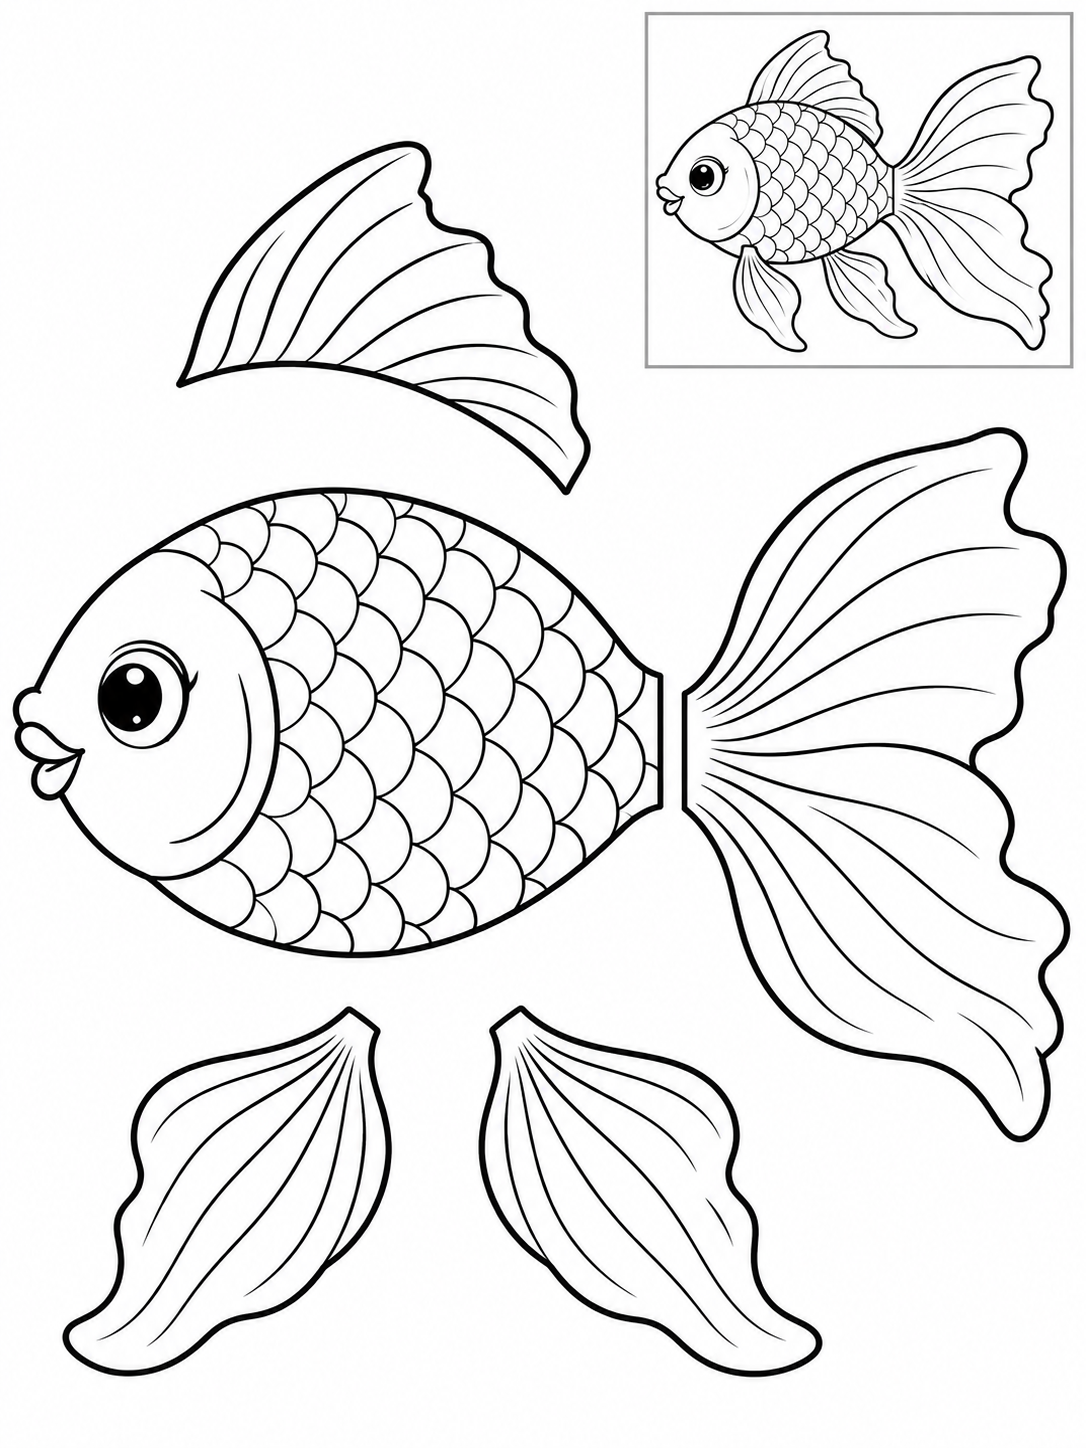
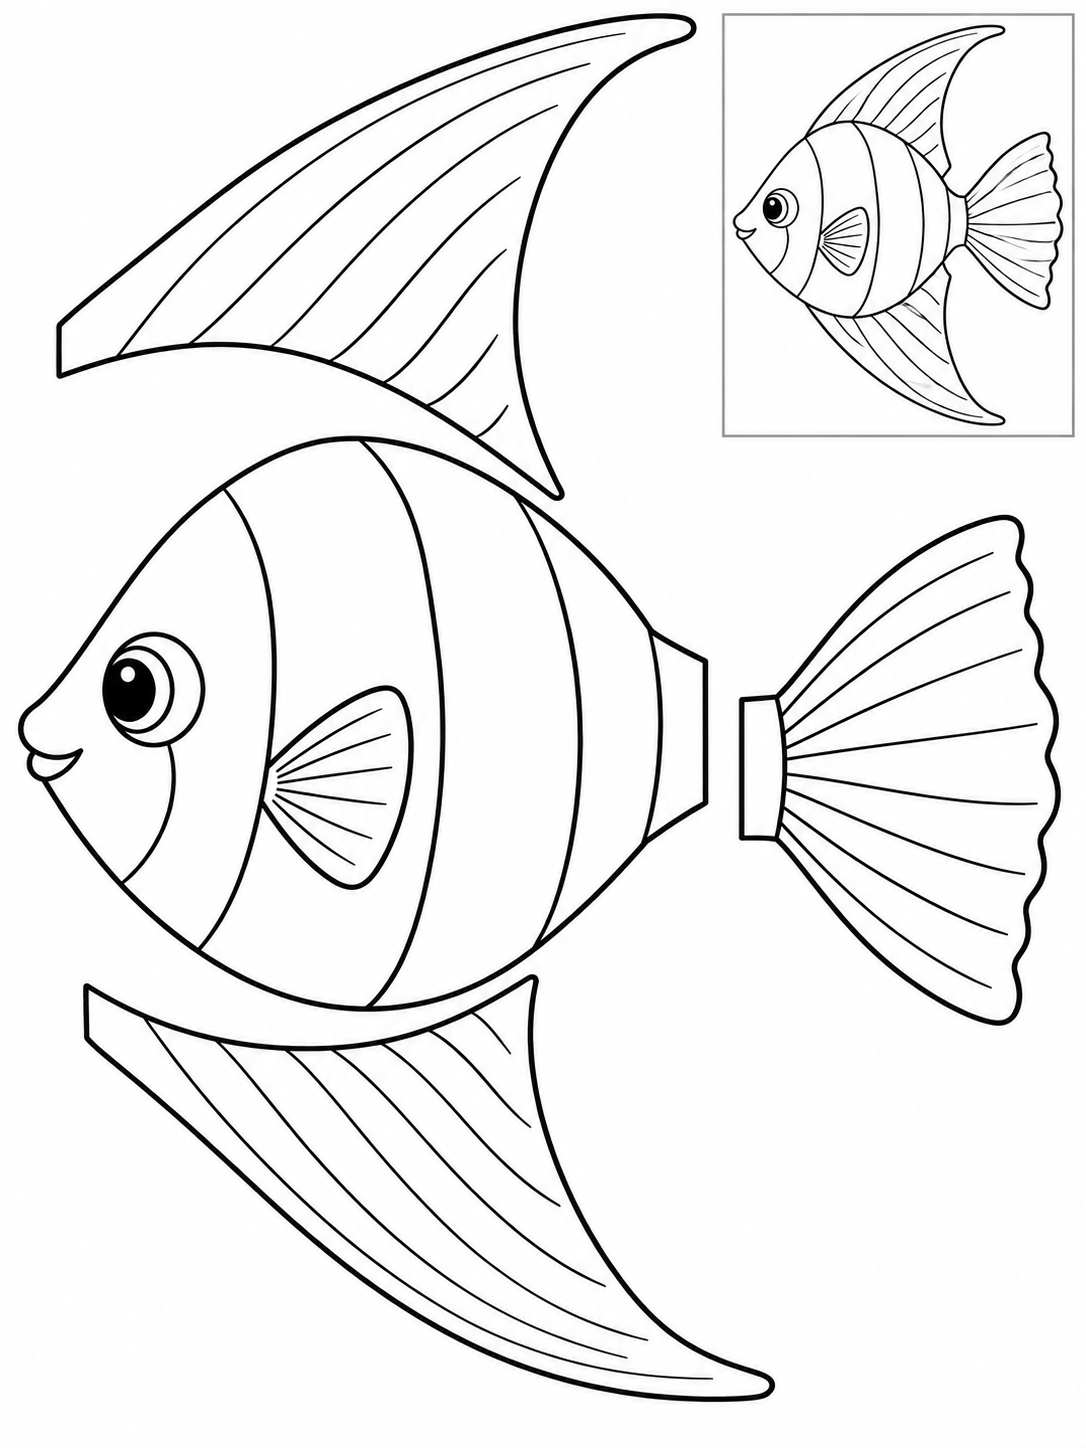
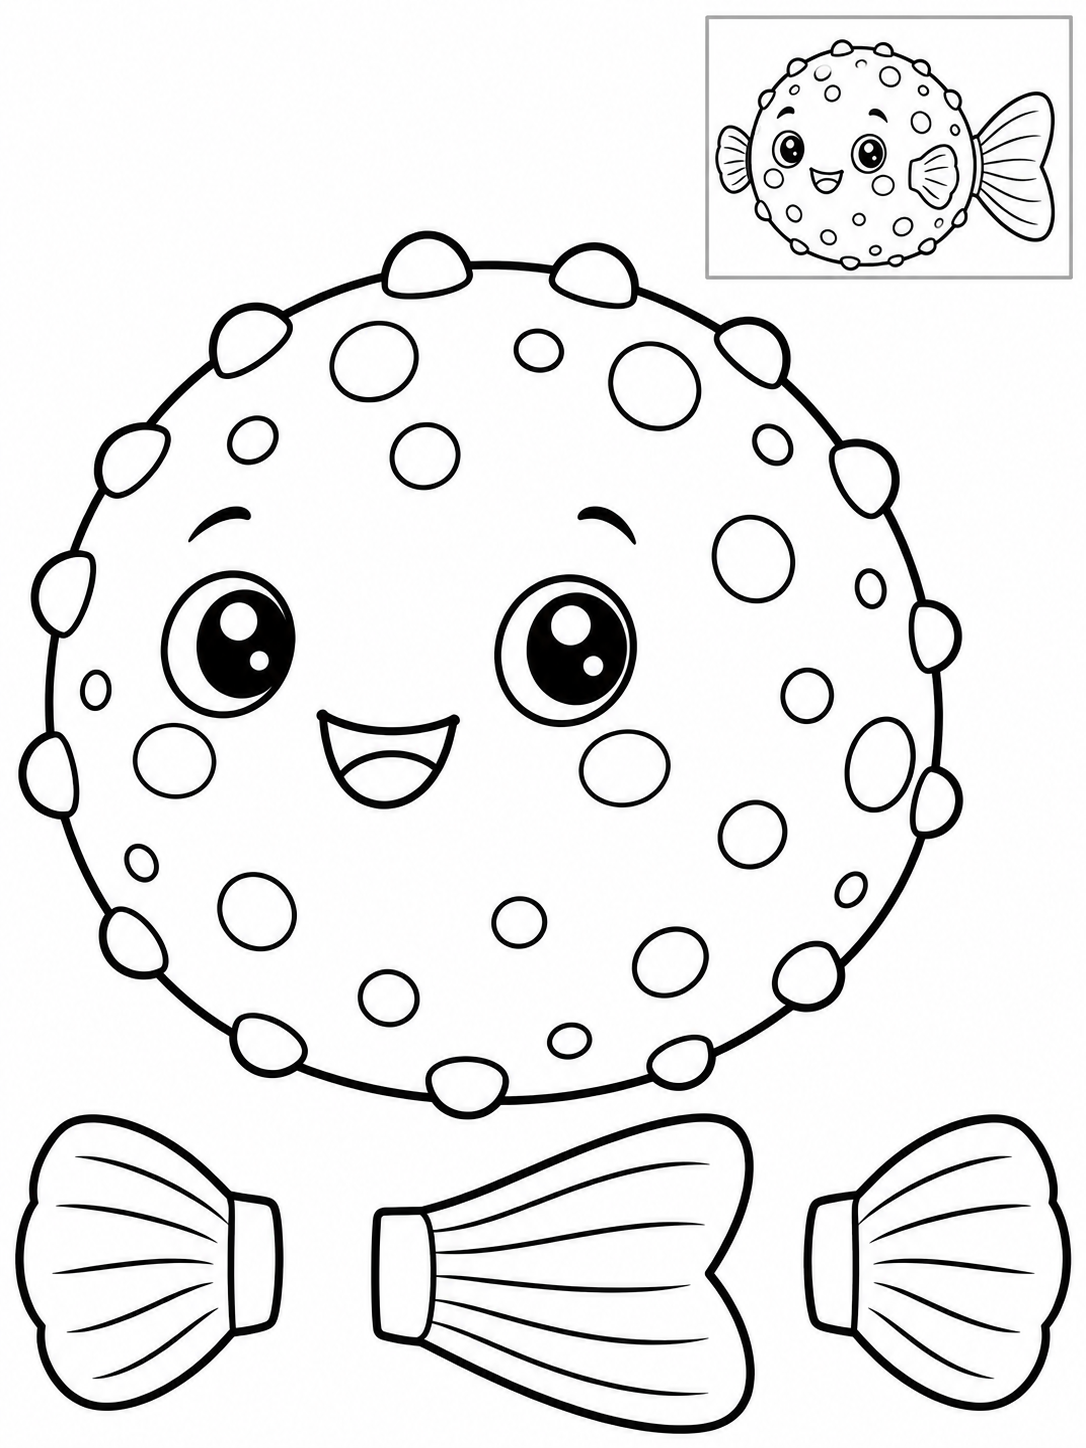
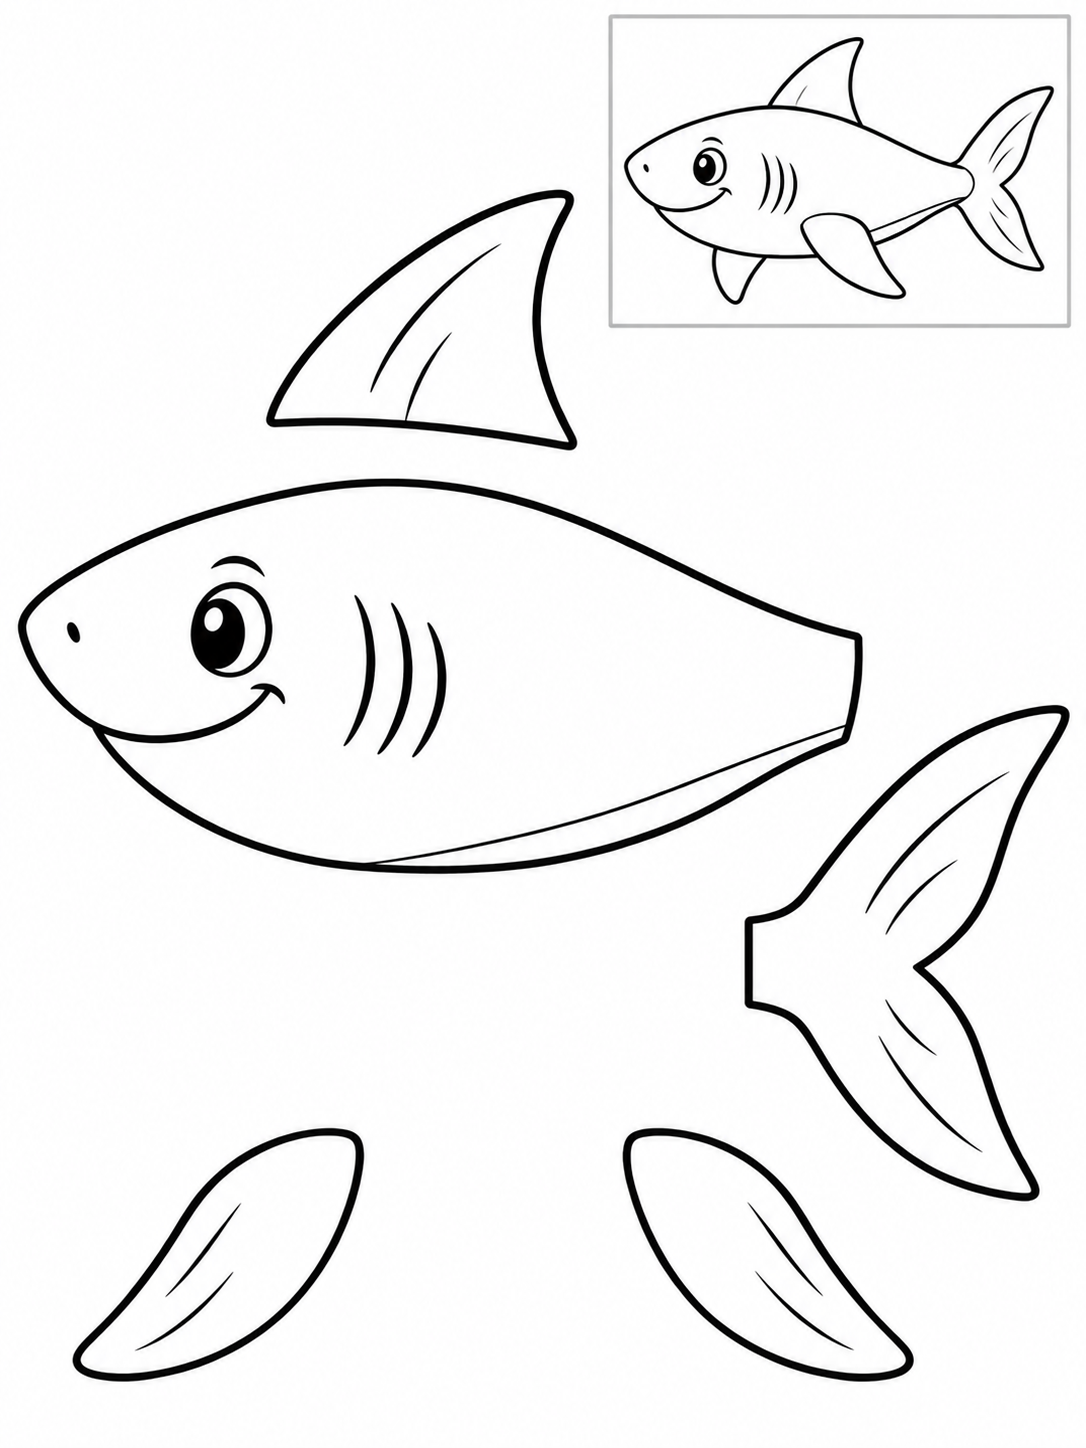
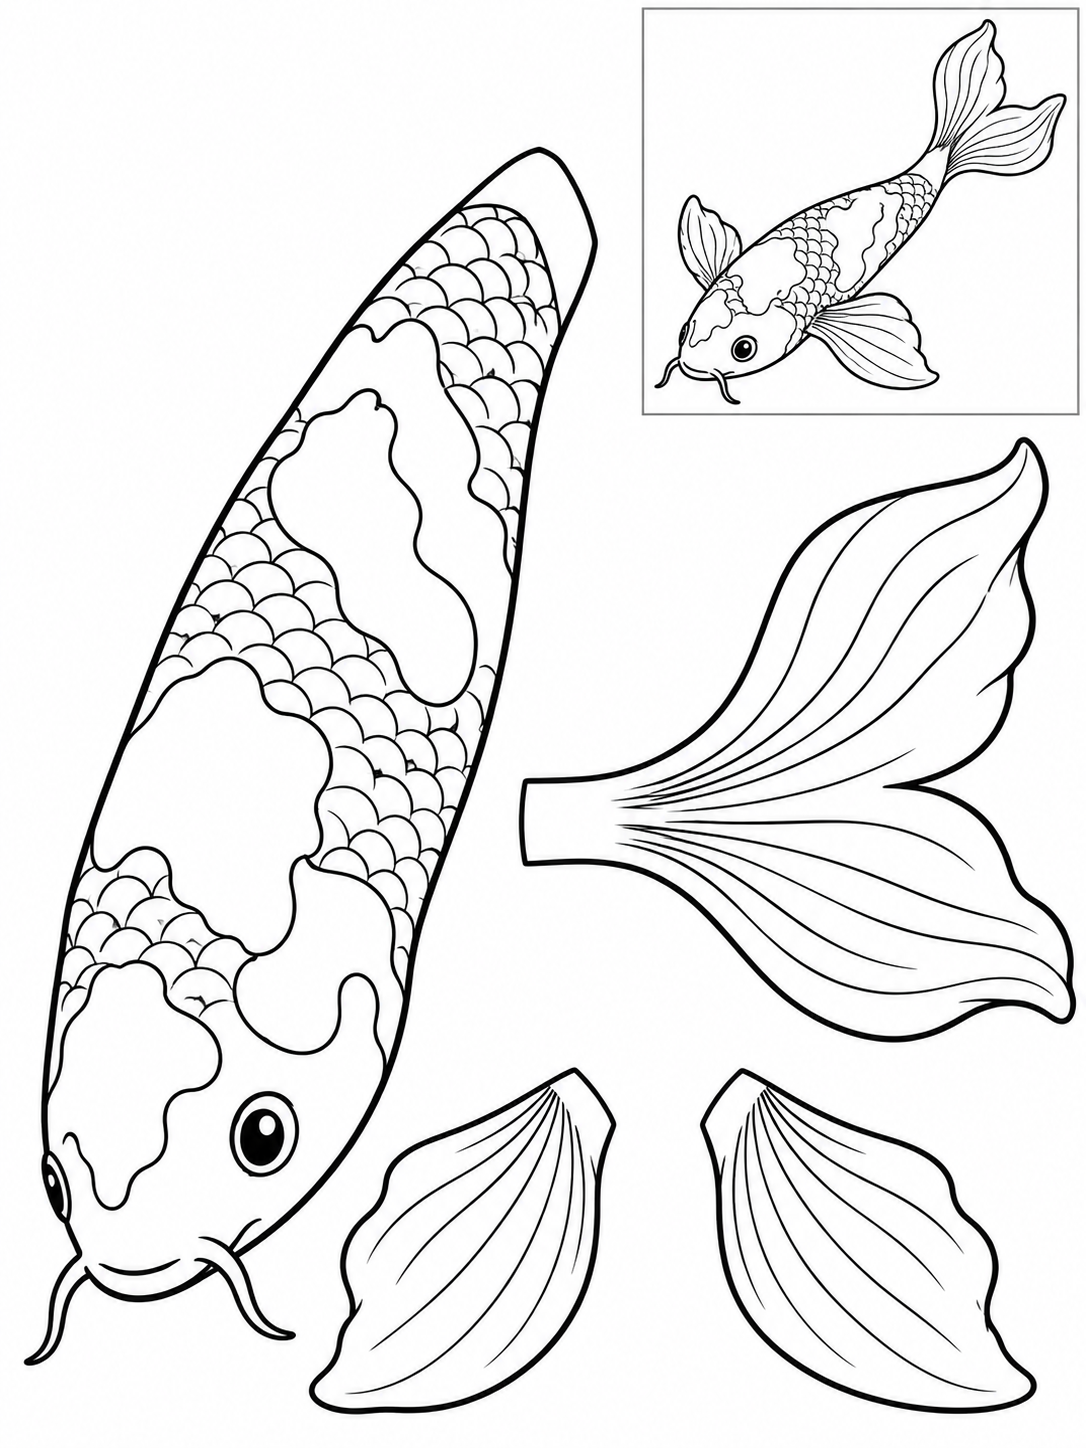
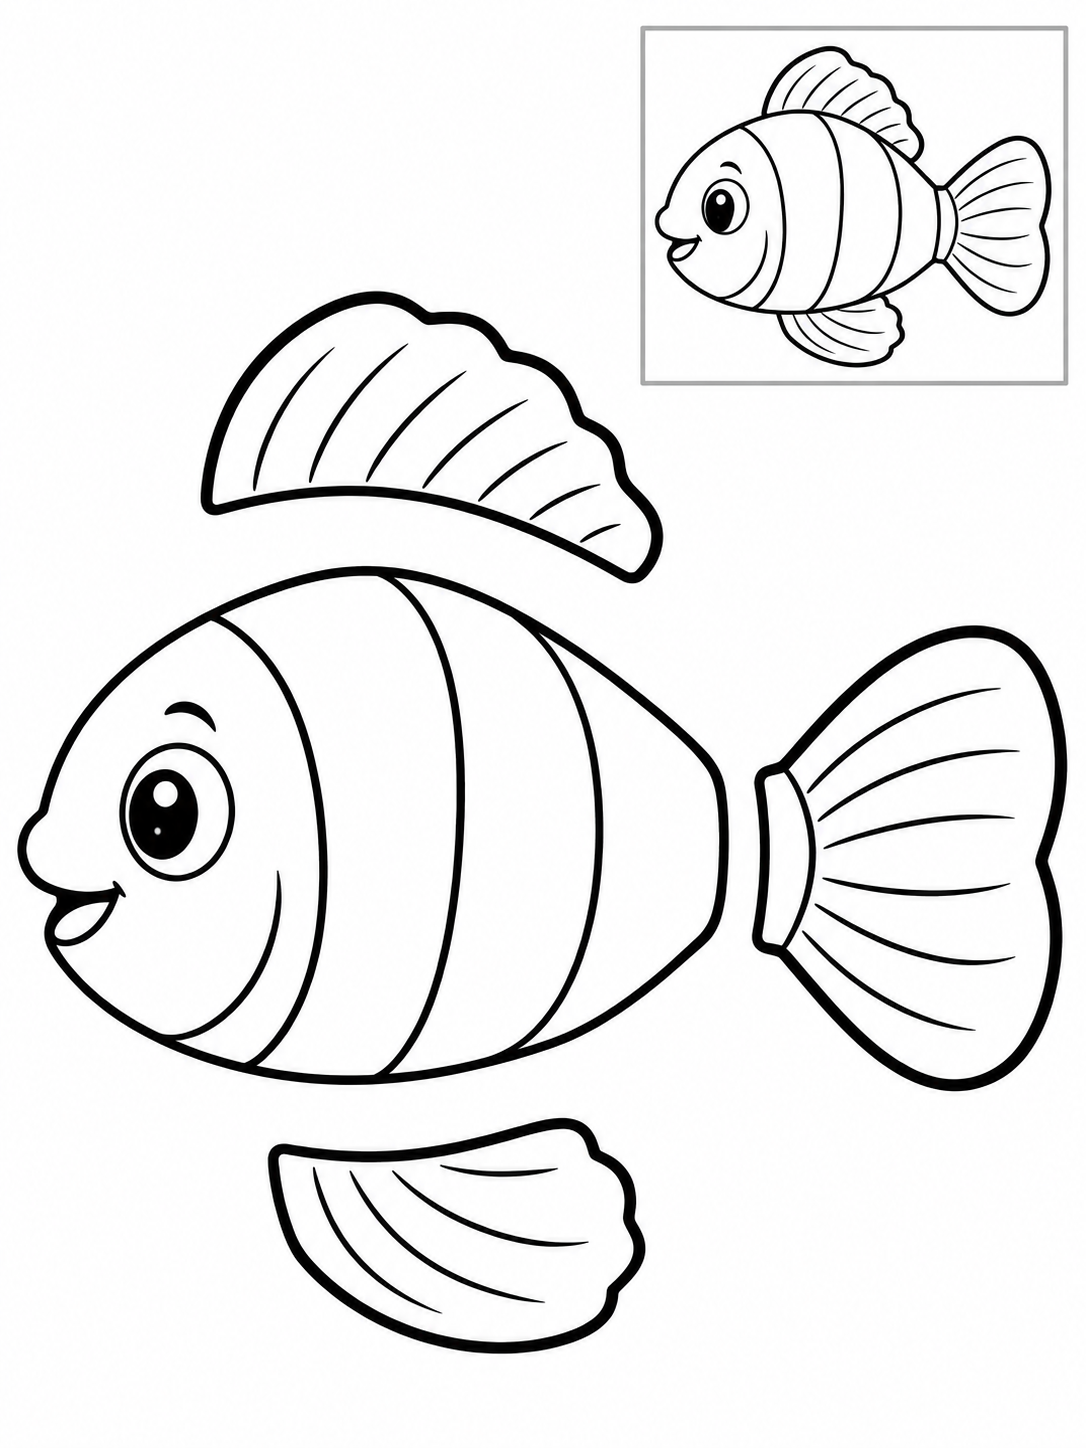
Cut the large body and the separate tail and fins around their outside edges. Keep the face and internal patterns intact. The small fish in the top-right box is a reference, not a piece. Match the fin positions to that example, tuck their bases and the tail under the body, then glue the overlaps.
Check: Can you guide the scissors comfortably? If it is difficult, an adult can shorten a strip, cut a tricky curve or offer straight paths. Pieces should be fully separated and arranged as intended before gluing.
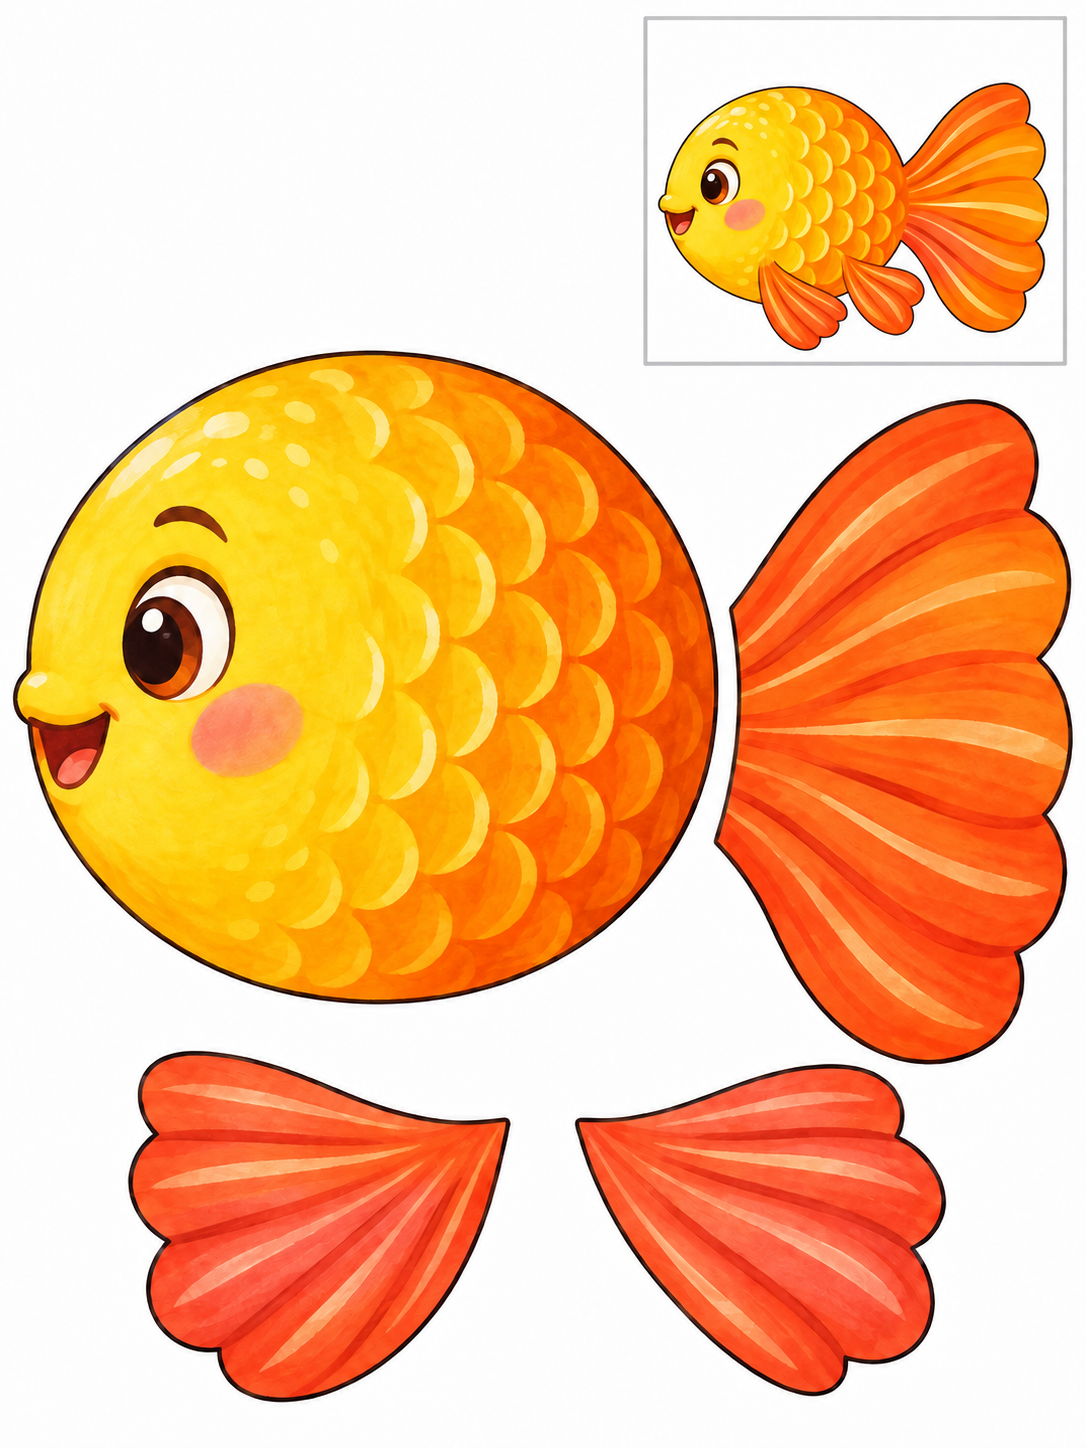
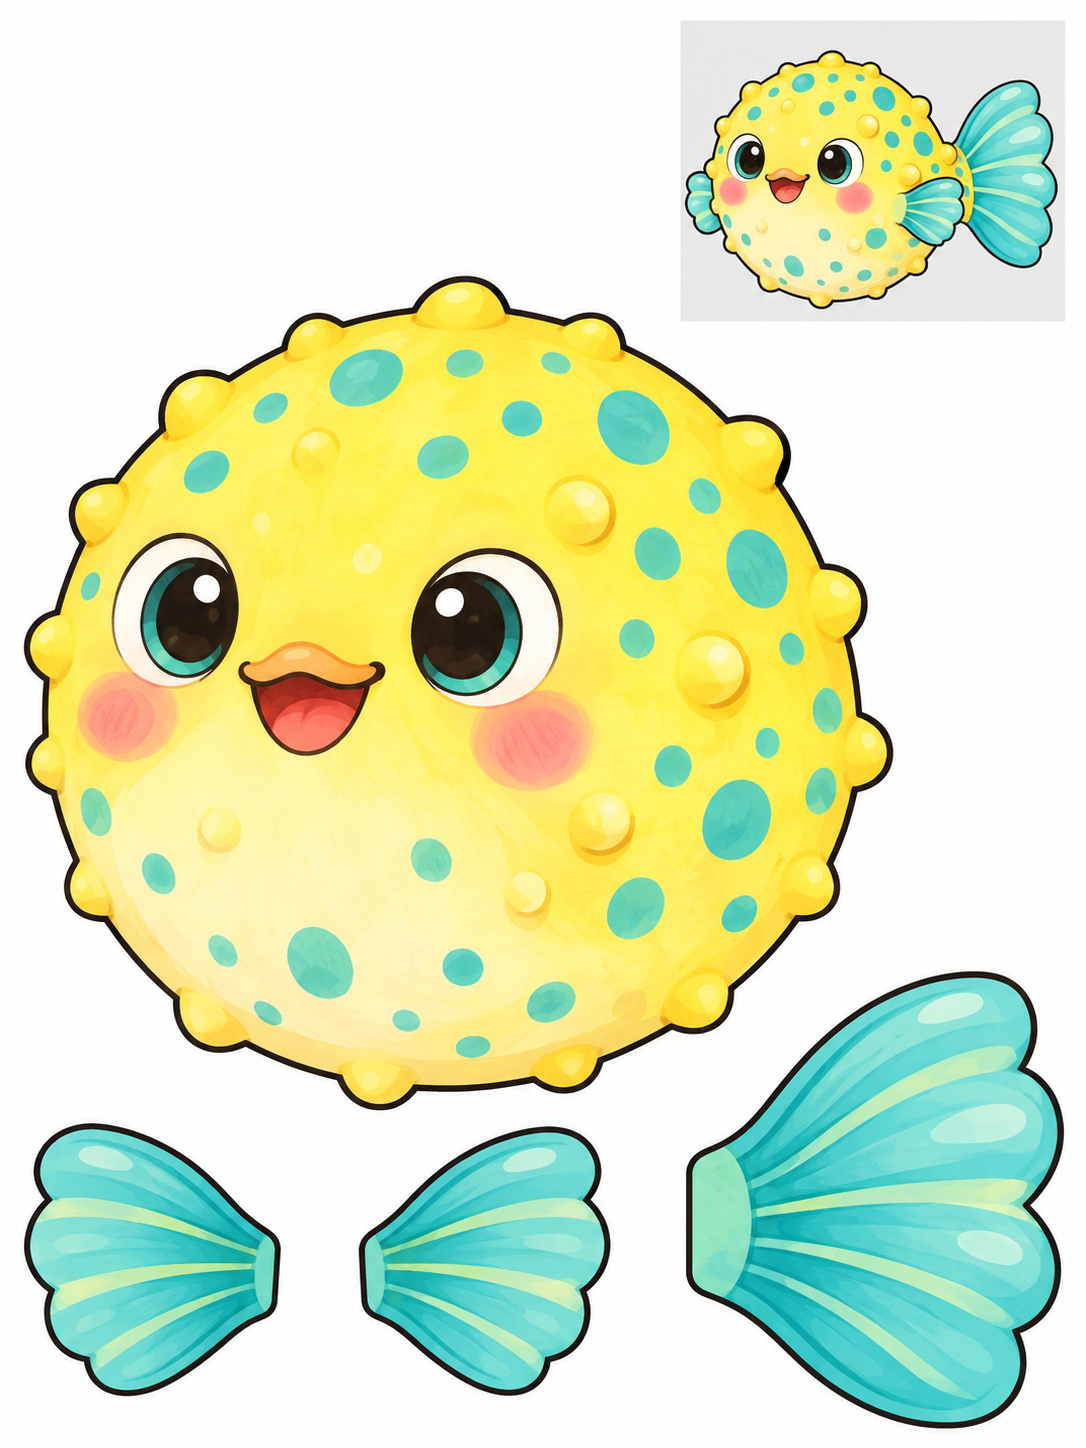
Assembly example: The small boxed fish at the top right shows the finished craft. Do not cut it out.
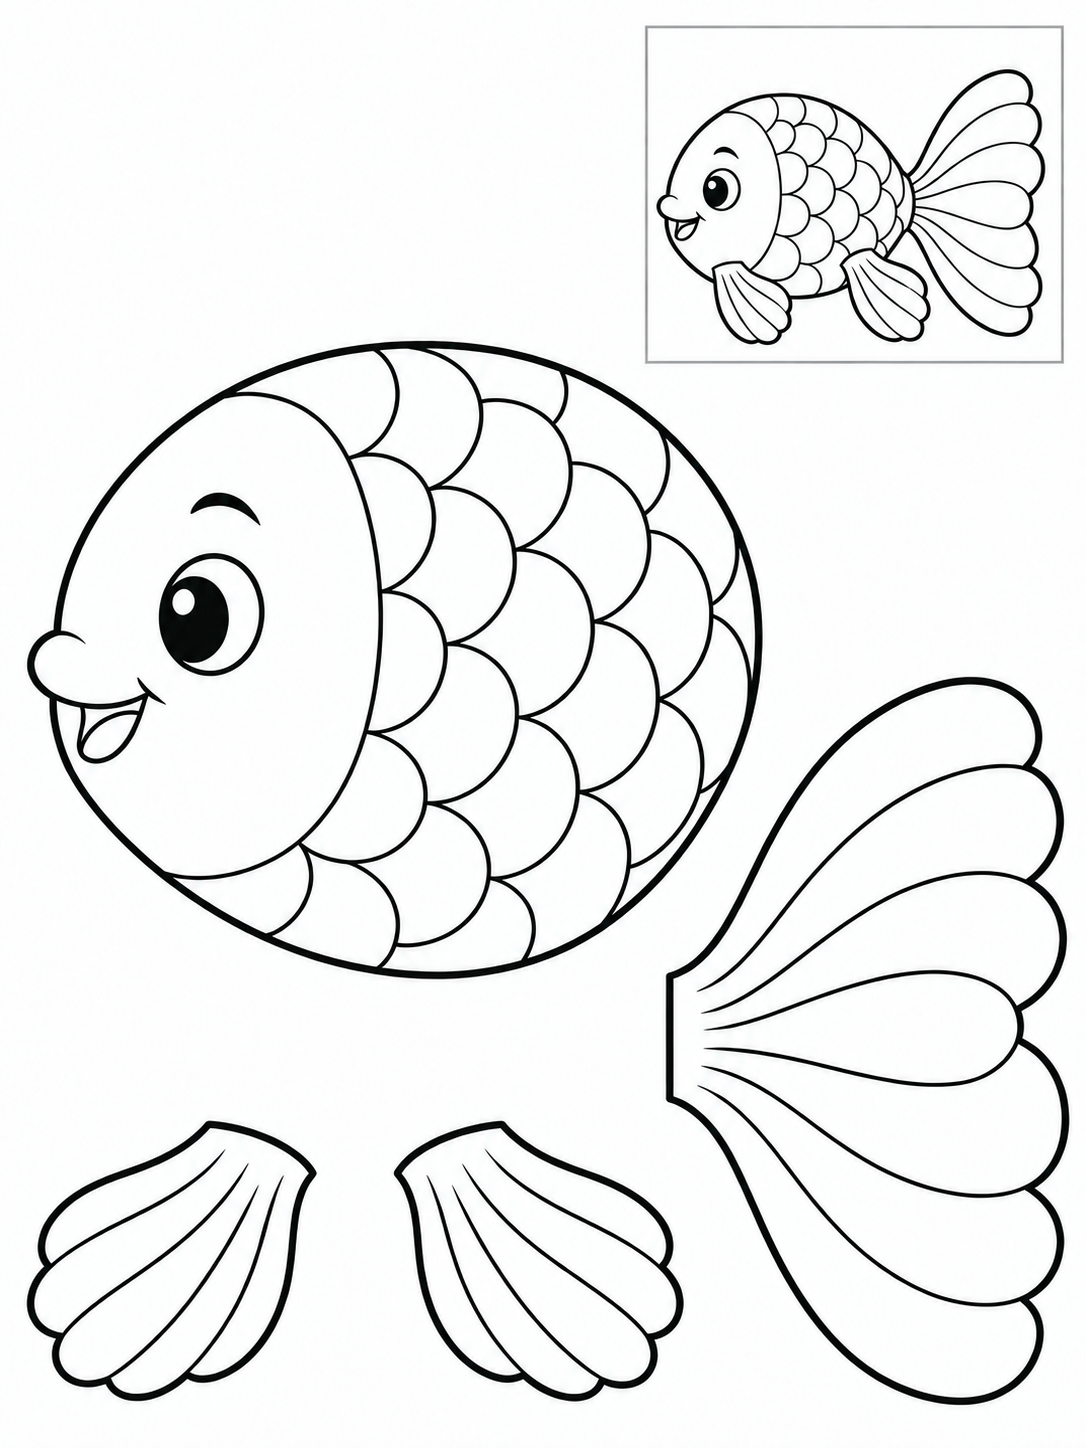
Cut the large body and the separate tail and fins around their outside edges. Keep the face and internal patterns intact. The small fish in the top-right box is a reference, not a piece. Match the fin positions to that example, tuck their bases and the tail under the body, then glue the overlaps. Cut the broad scallops as one continuous edge; the thin lines inside the fan are decoration. Rotate the paper through each lobe.
Check: Can you guide the scissors comfortably? If it is difficult, an adult can shorten a strip, cut a tricky curve or offer straight paths. Pieces should be fully separated and arranged as intended before gluing.
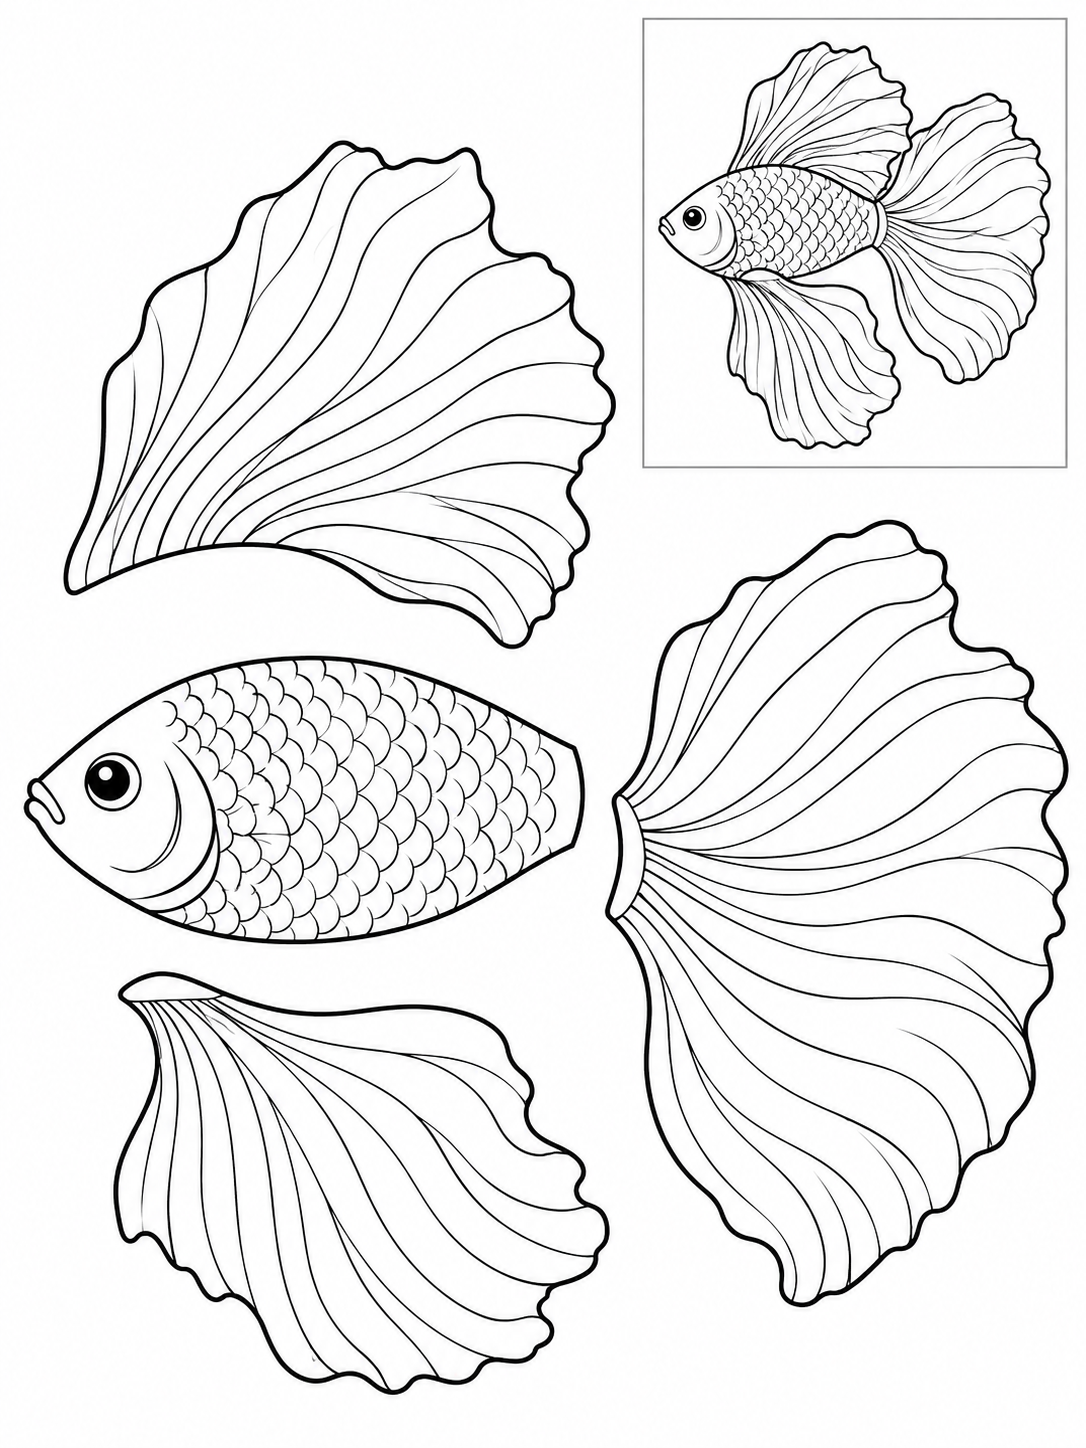
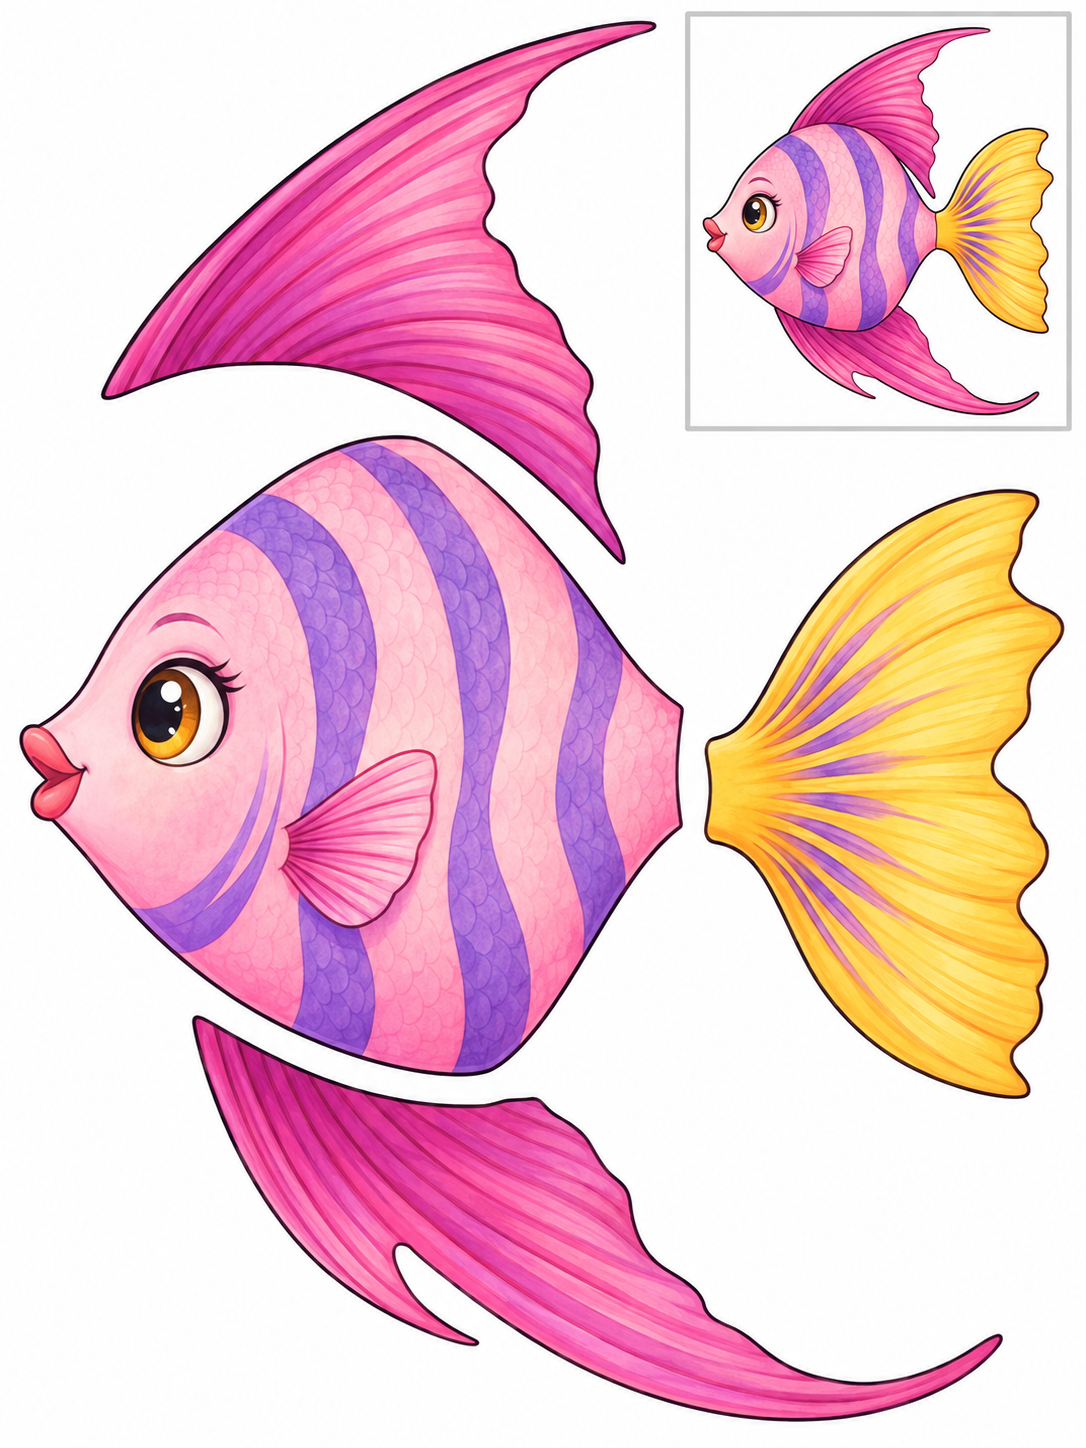
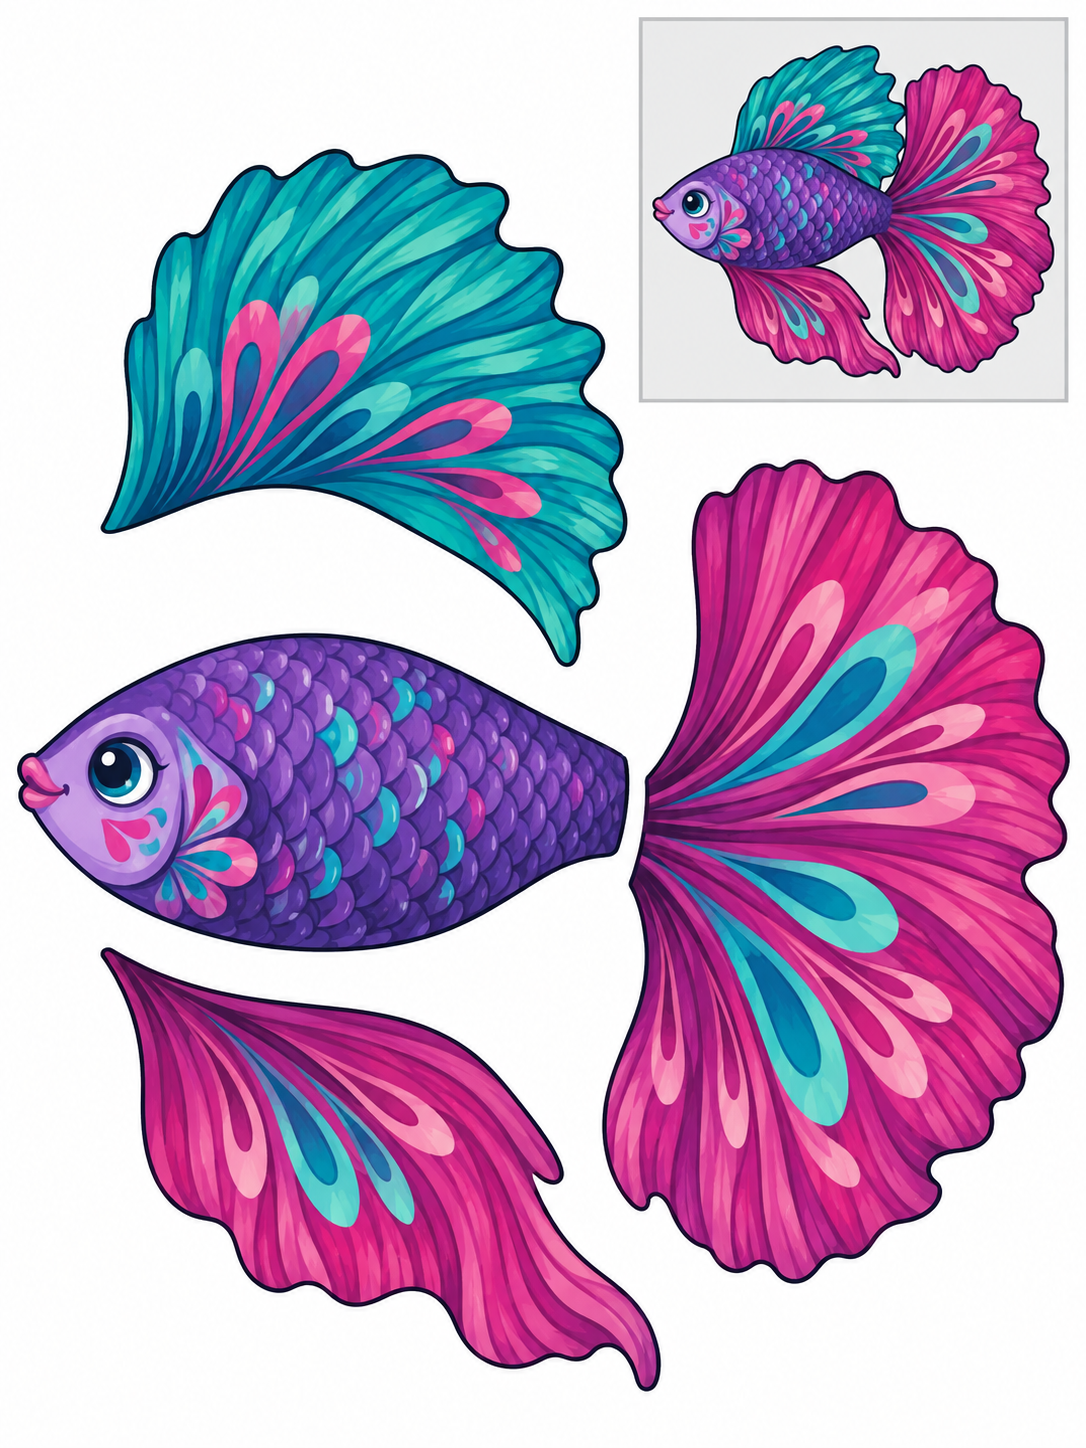
Assembly example: The small boxed fish at the top right shows the finished craft. Do not cut it out.
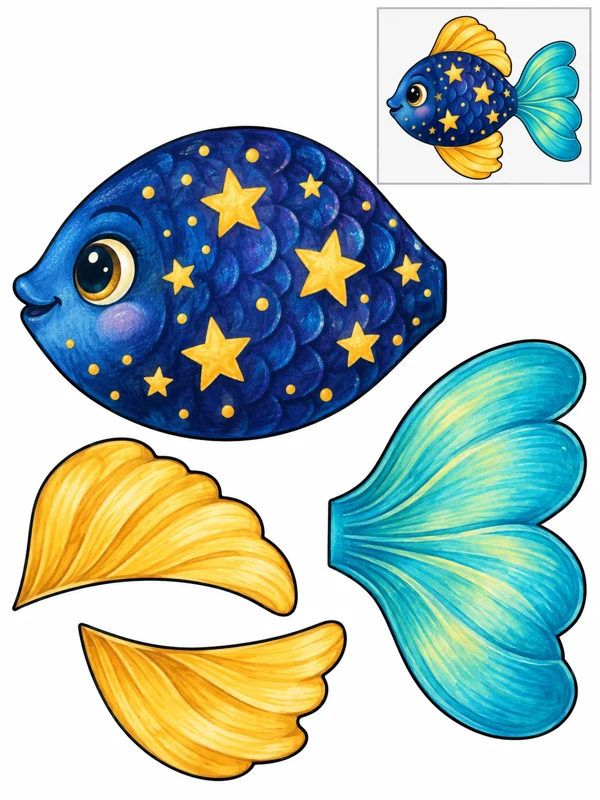
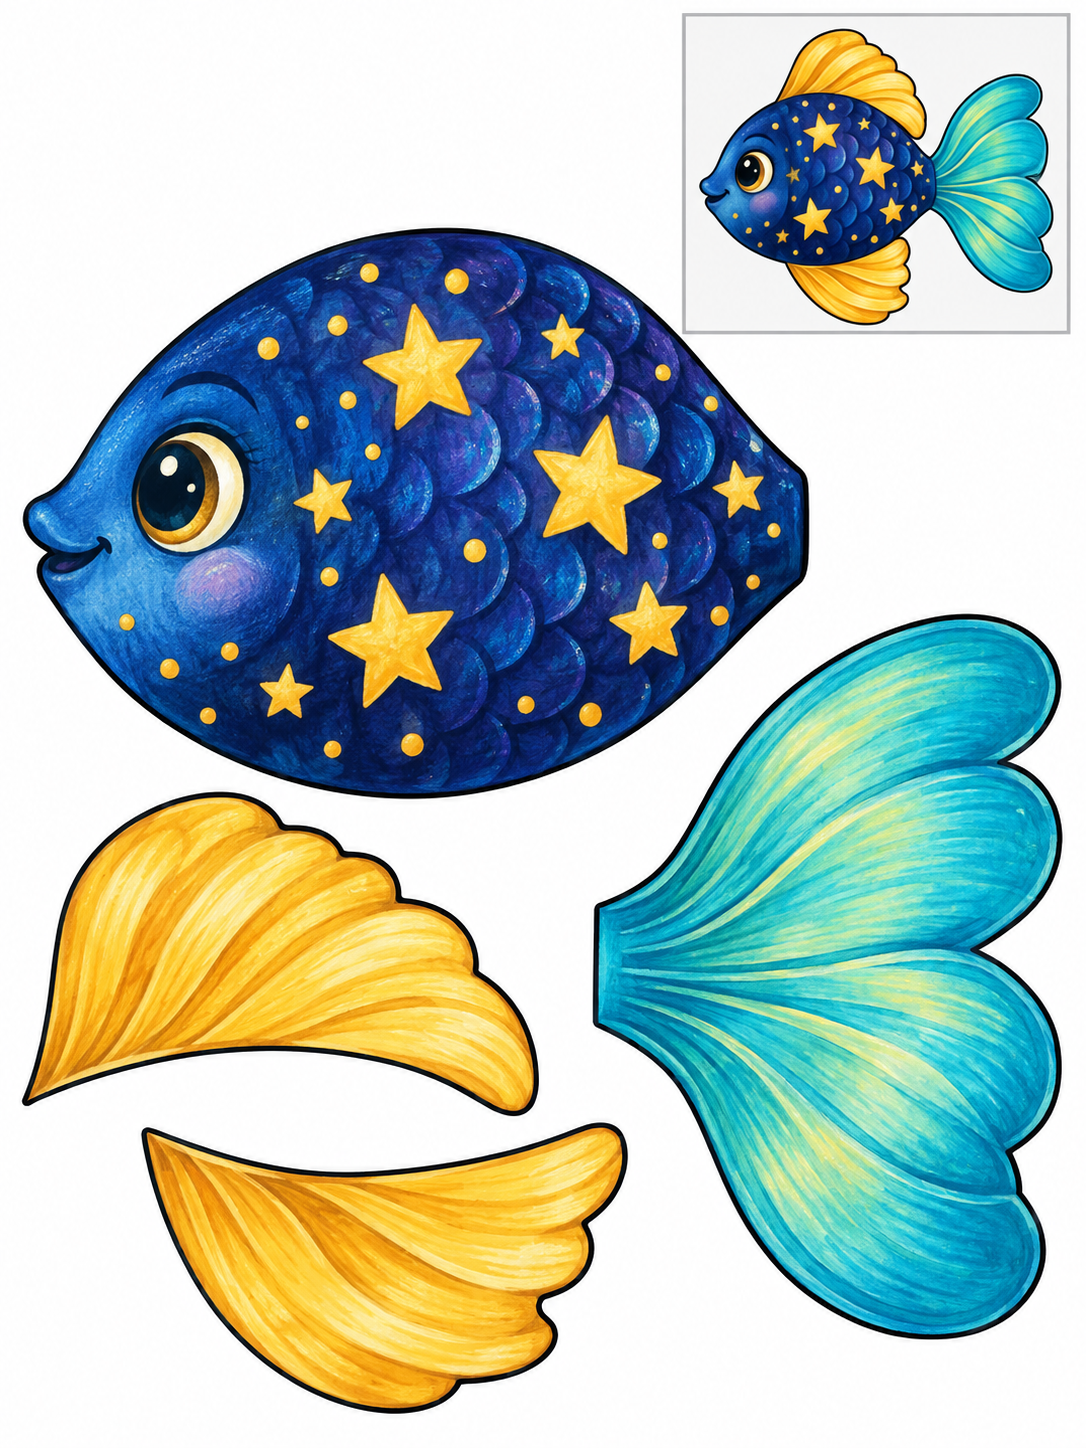
Cut the large body and the separate tail and fins around their outside edges. Keep the face and internal patterns intact. The small fish in the top-right box is a reference, not a piece. Match the fin positions to that example, tuck their bases and the tail under the body, then glue the overlaps. The long fin goes above the body and the matching lower fin goes below it. Stop before each pointed turn and rotate the paper.
Check: Can you guide the scissors comfortably? If it is difficult, an adult can shorten a strip, cut a tricky curve or offer straight paths. Pieces should be fully separated and arranged as intended before gluing.
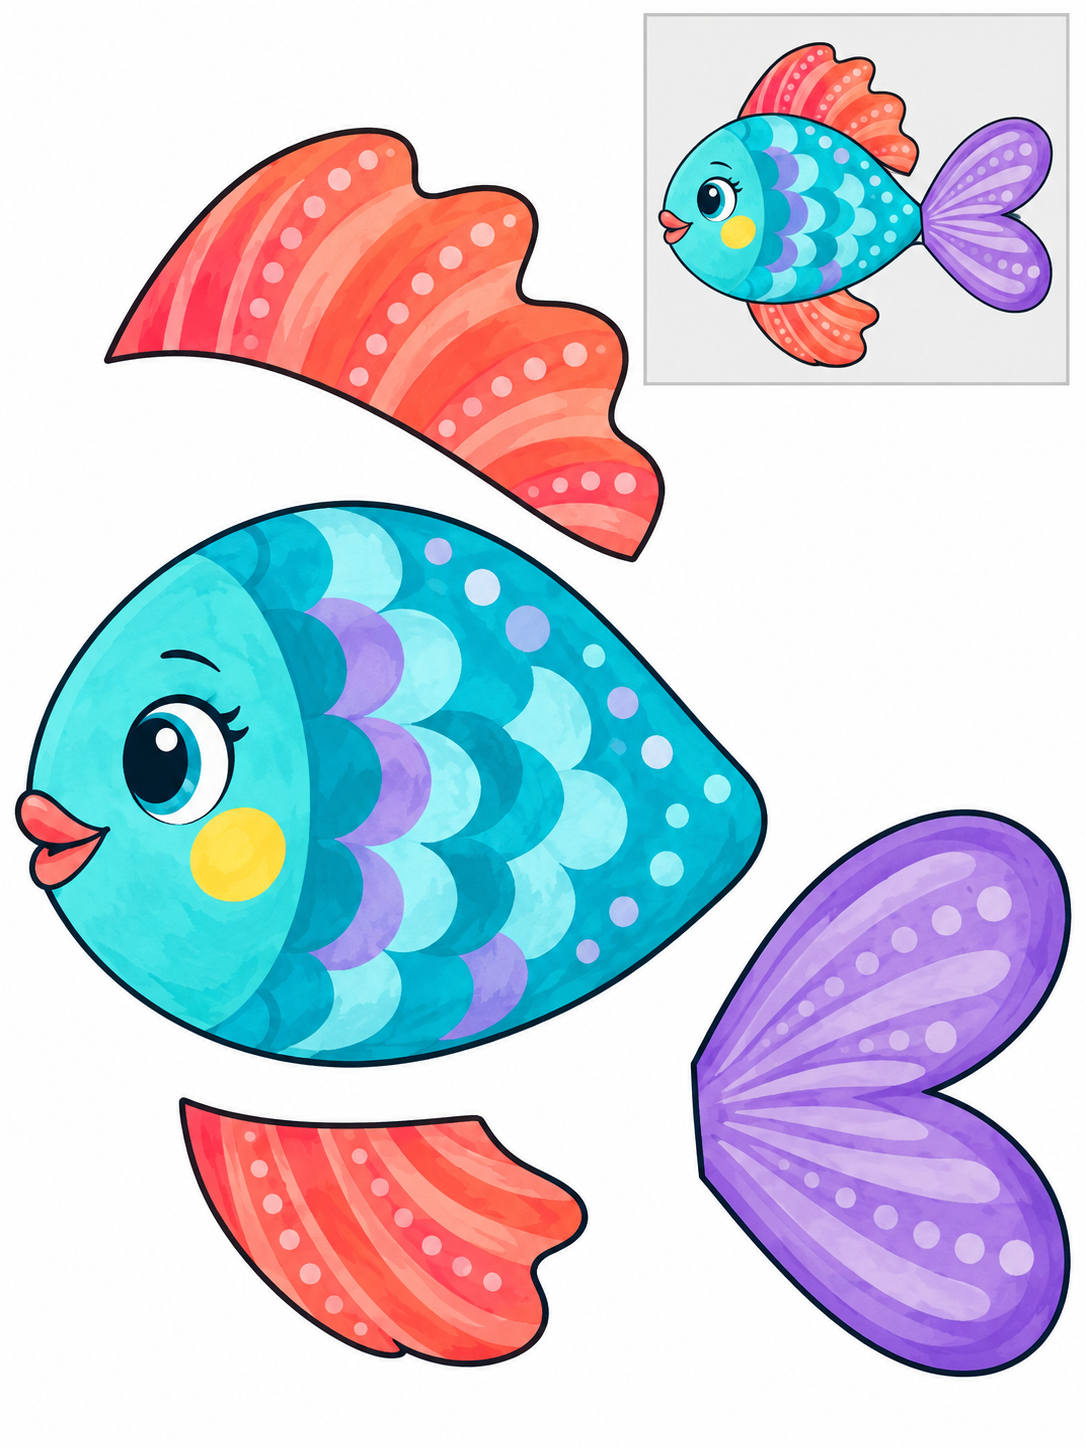
Assembly example: The small boxed fish at the top right shows the finished craft. Do not cut it out.
Cut the large body and the separate tail and fins around their outside edges. Keep the face and internal patterns intact. The small fish in the top-right box is a reference, not a piece. Match the fin positions to that example, tuck their bases and the tail under the body, then glue the overlaps.
Check: Can you guide the scissors comfortably? If it is difficult, an adult can shorten a strip, cut a tricky curve or offer straight paths. Pieces should be fully separated and arranged as intended before gluing.
Assembly example: The small boxed fish at the top right shows the finished craft. Do not cut it out.
Cut the large body and the separate tail and fins around their outside edges. Keep the face and internal patterns intact. The small fish in the top-right box is a reference, not a piece. Match the fin positions to that example, tuck their bases and the tail under the body, then glue the overlaps. The long fin goes above the body and the matching lower fin goes below it. Stop before each pointed turn and rotate the paper.
Check: Can you guide the scissors comfortably? If it is difficult, an adult can shorten a strip, cut a tricky curve or offer straight paths. Pieces should be fully separated and arranged as intended before gluing.
Assembly example: The small boxed fish at the top right shows the finished craft. Do not cut it out.
Cut the large body and the separate tail and fins around their outside edges. Keep the face and internal patterns intact. The small fish in the top-right box is a reference, not a piece. Match the fin positions to that example, tuck their bases and the tail under the body, then glue the overlaps. Cut the broad scallops as one continuous edge; the thin lines inside the fan are decoration. Rotate the paper through each lobe.
Check: Can you guide the scissors comfortably? If it is difficult, an adult can shorten a strip, cut a tricky curve or offer straight paths. Pieces should be fully separated and arranged as intended before gluing.
Assembly example: The small boxed fish at the top right shows the finished craft. Do not cut it out.
Cut the large body and the separate tail and fins around their outside edges. Keep the face and internal patterns intact. The small fish in the top-right box is a reference, not a piece. Match the fin positions to that example, tuck their bases and the tail under the body, then glue the overlaps.
Check: Can you guide the scissors comfortably? If it is difficult, an adult can shorten a strip, cut a tricky curve or offer straight paths. Pieces should be fully separated and arranged as intended before gluing.
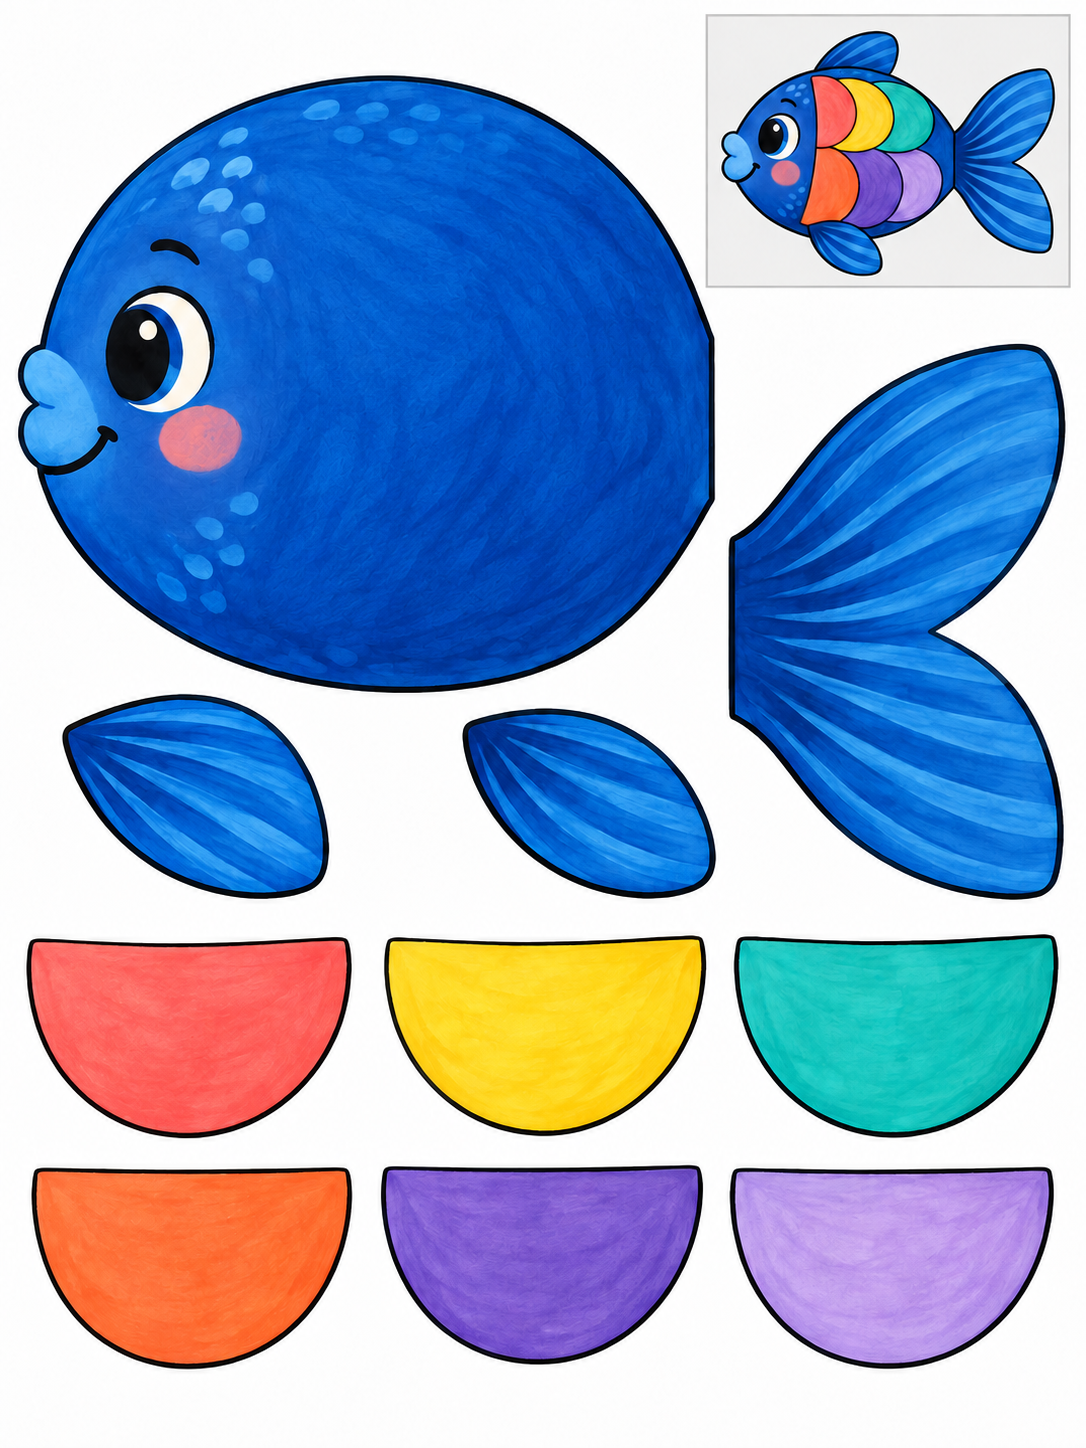
Assembly example: The small boxed fish at the top right shows the finished craft. Do not cut it out.
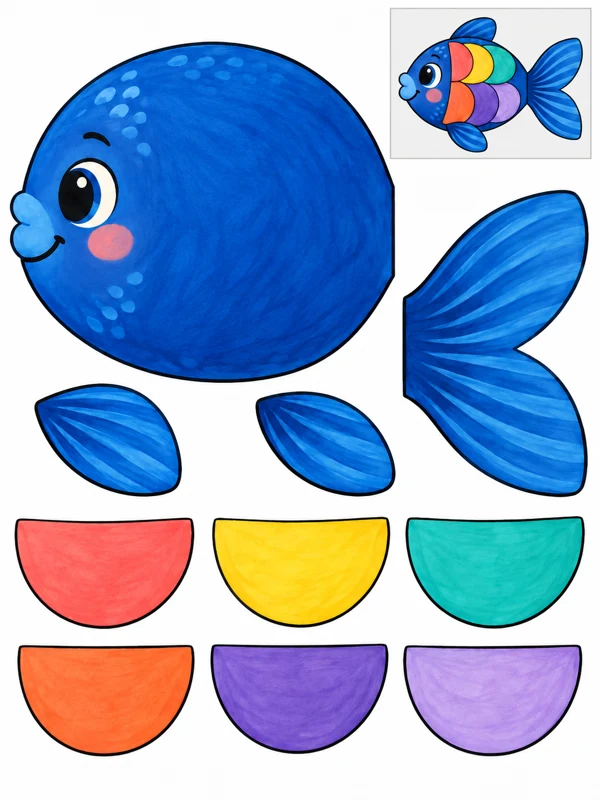
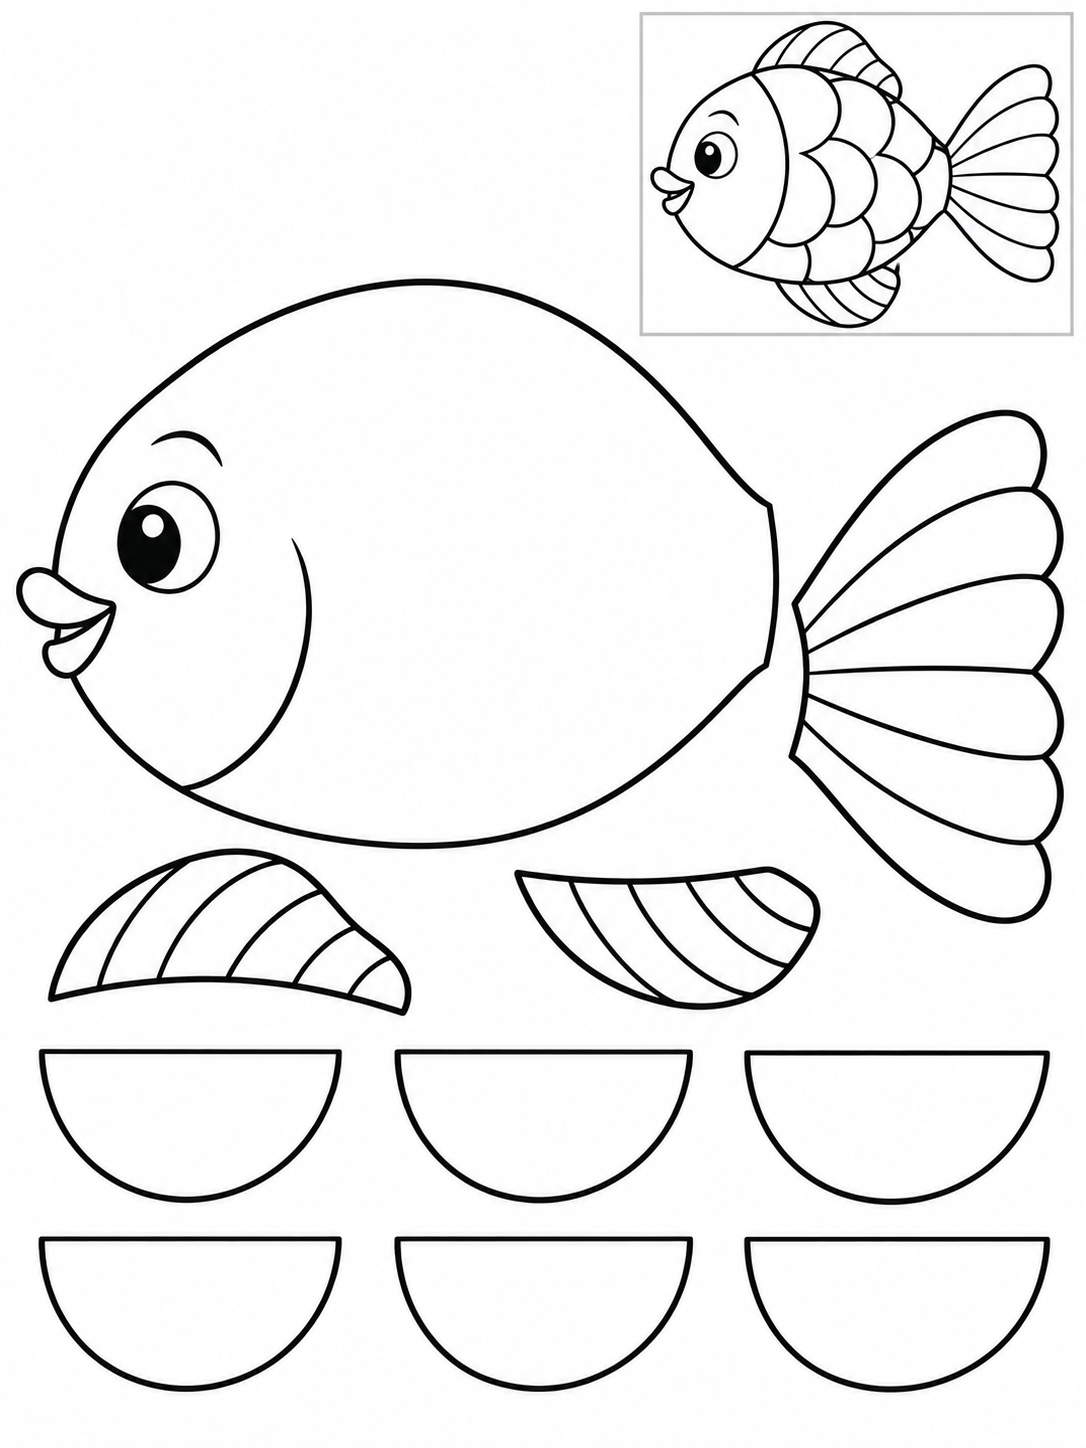
Cut the large body and the separate tail and fins around their outside edges. Keep the face and internal patterns intact. The small fish in the top-right box is a reference, not a piece. Match the fin positions to that example, tuck their bases and the tail under the body, then glue the overlaps. The six separate semicircles are scales. Layer them from the tail toward the head, overlapping only a little and keeping the eye visible.
Check: Can you guide the scissors comfortably? If it is difficult, an adult can shorten a strip, cut a tricky curve or offer straight paths. Pieces should be fully separated and arranged as intended before gluing.
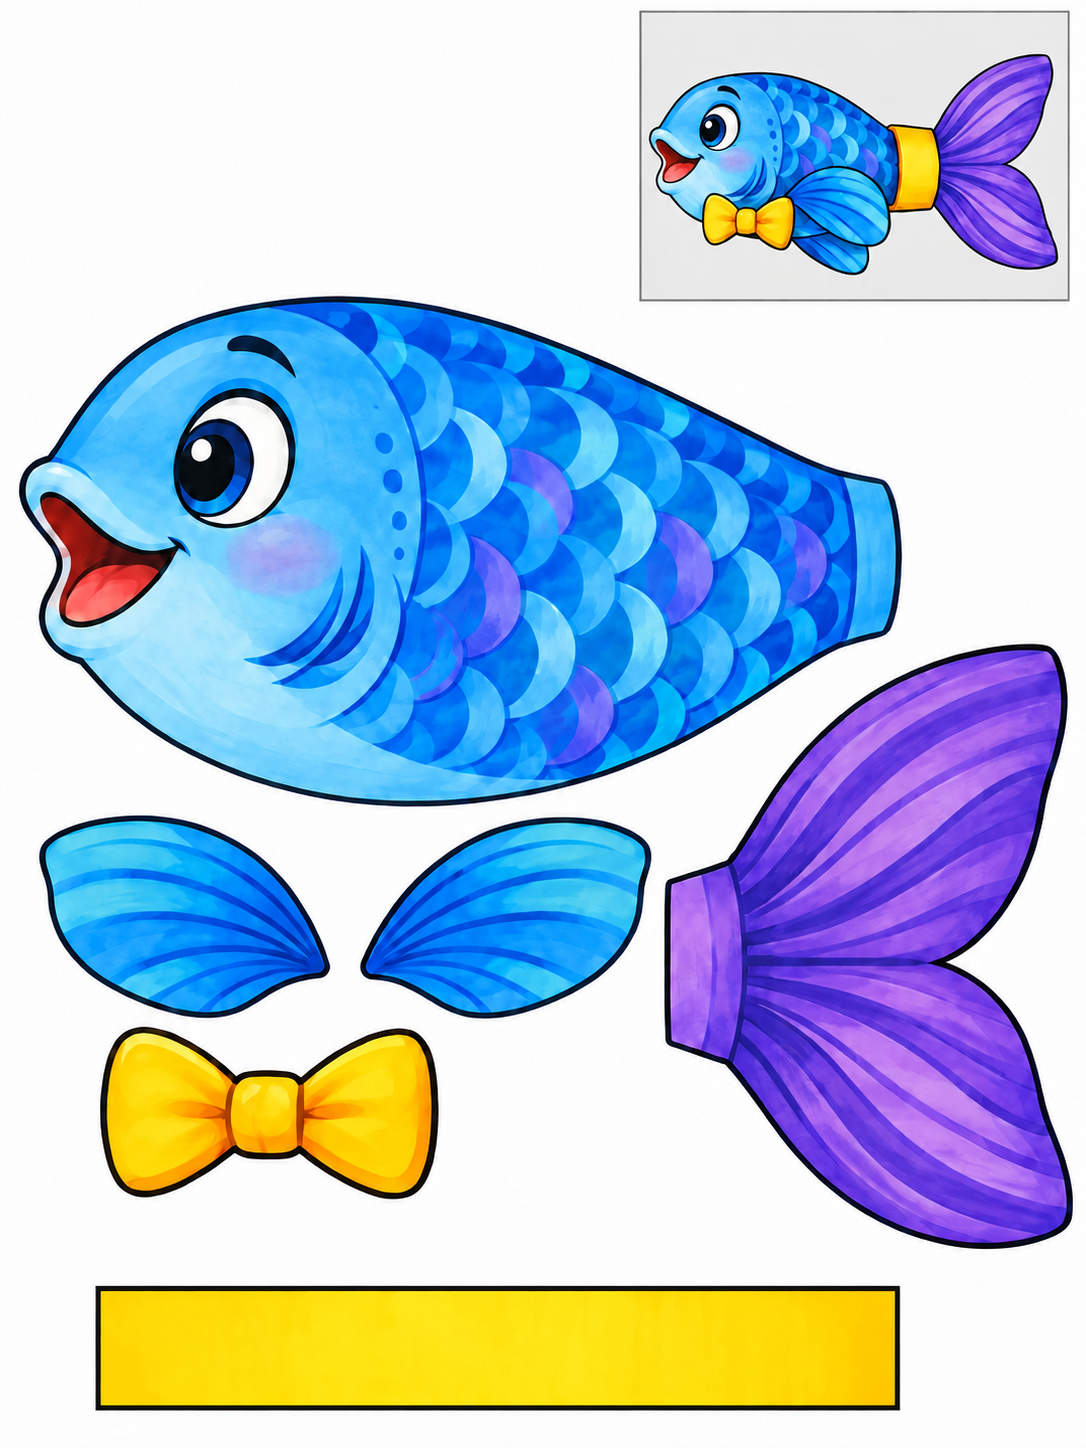
Assembly example: The small boxed fish at the top right shows the finished craft. Do not cut it out.
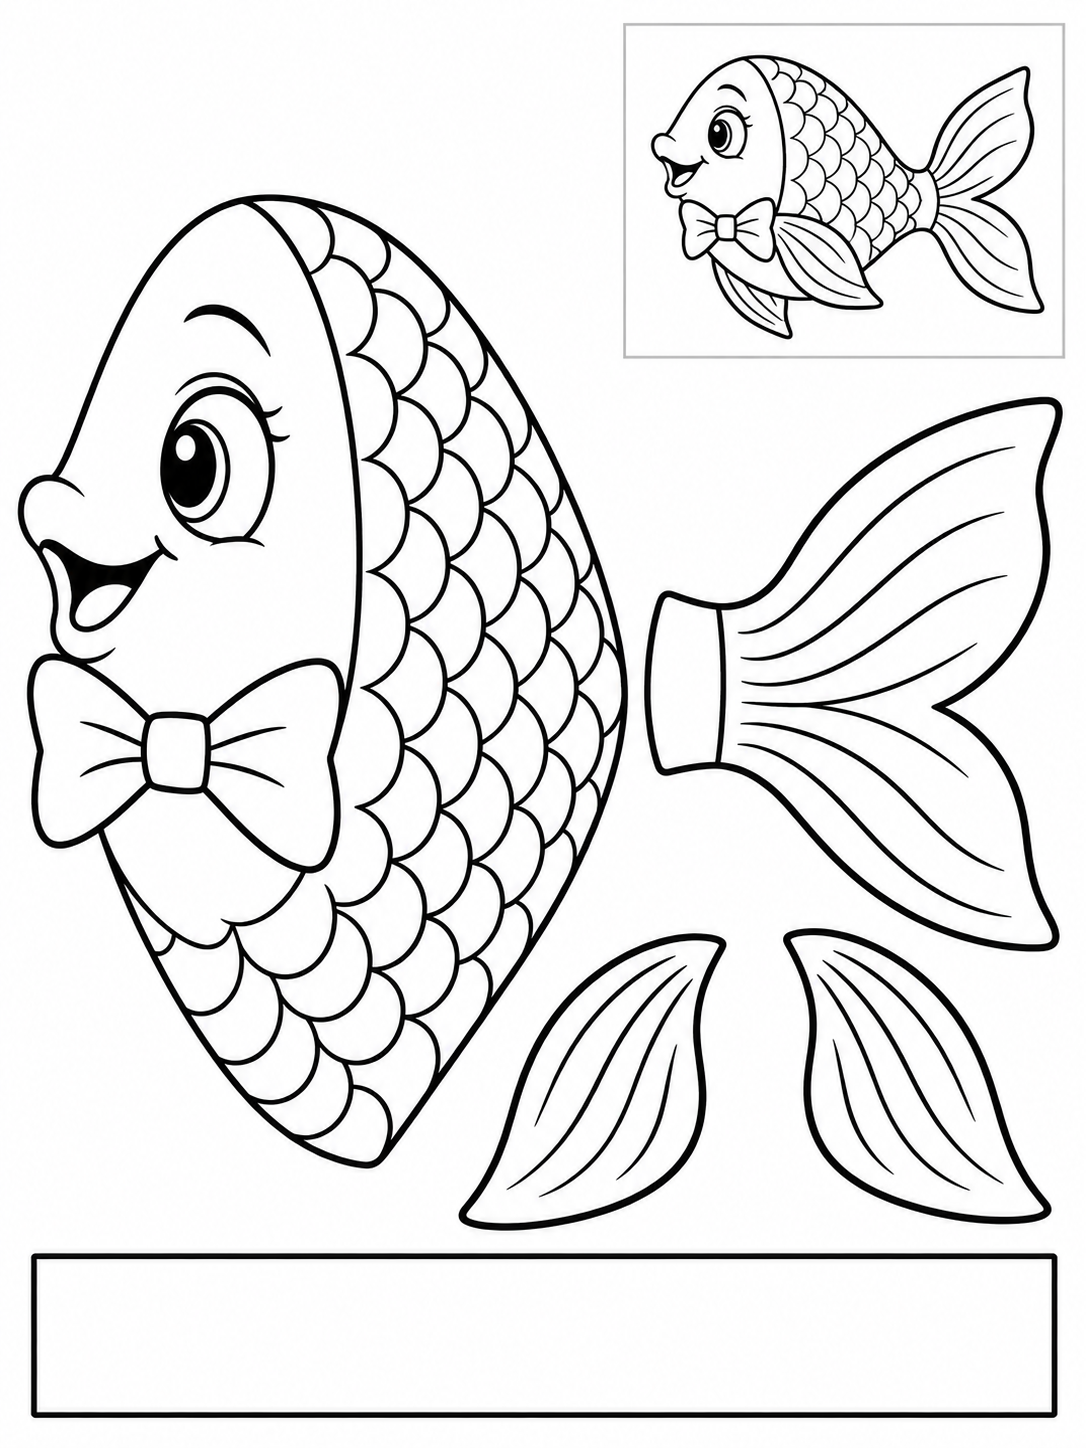
Cut the large body and the separate tail and fins around their outside edges. Keep the face and internal patterns intact. The small fish in the top-right box is a reference, not a piece. Match the fin positions to that example, tuck their bases and the tail under the body, then glue the overlaps. An adult fits the broad band loosely around a finger, trims the excess and tapes its ends. Glue the fish outside the band. Remove and enlarge a tight band. Keep printed face decorations uncut.
Check: Can you guide the scissors comfortably? If it is difficult, an adult can shorten a strip, cut a tricky curve or offer straight paths. Pieces should be fully separated and arranged as intended before gluing.
Assembly example: The small boxed fish at the top right shows the finished craft. Do not cut it out.
Cut the large body and the separate tail and fins around their outside edges. Keep the face and internal patterns intact. The small fish in the top-right box is a reference, not a piece. Match the fin positions to that example, tuck their bases and the tail under the body, then glue the overlaps.
Check: Can you guide the scissors comfortably? If it is difficult, an adult can shorten a strip, cut a tricky curve or offer straight paths. Pieces should be fully separated and arranged as intended before gluing.
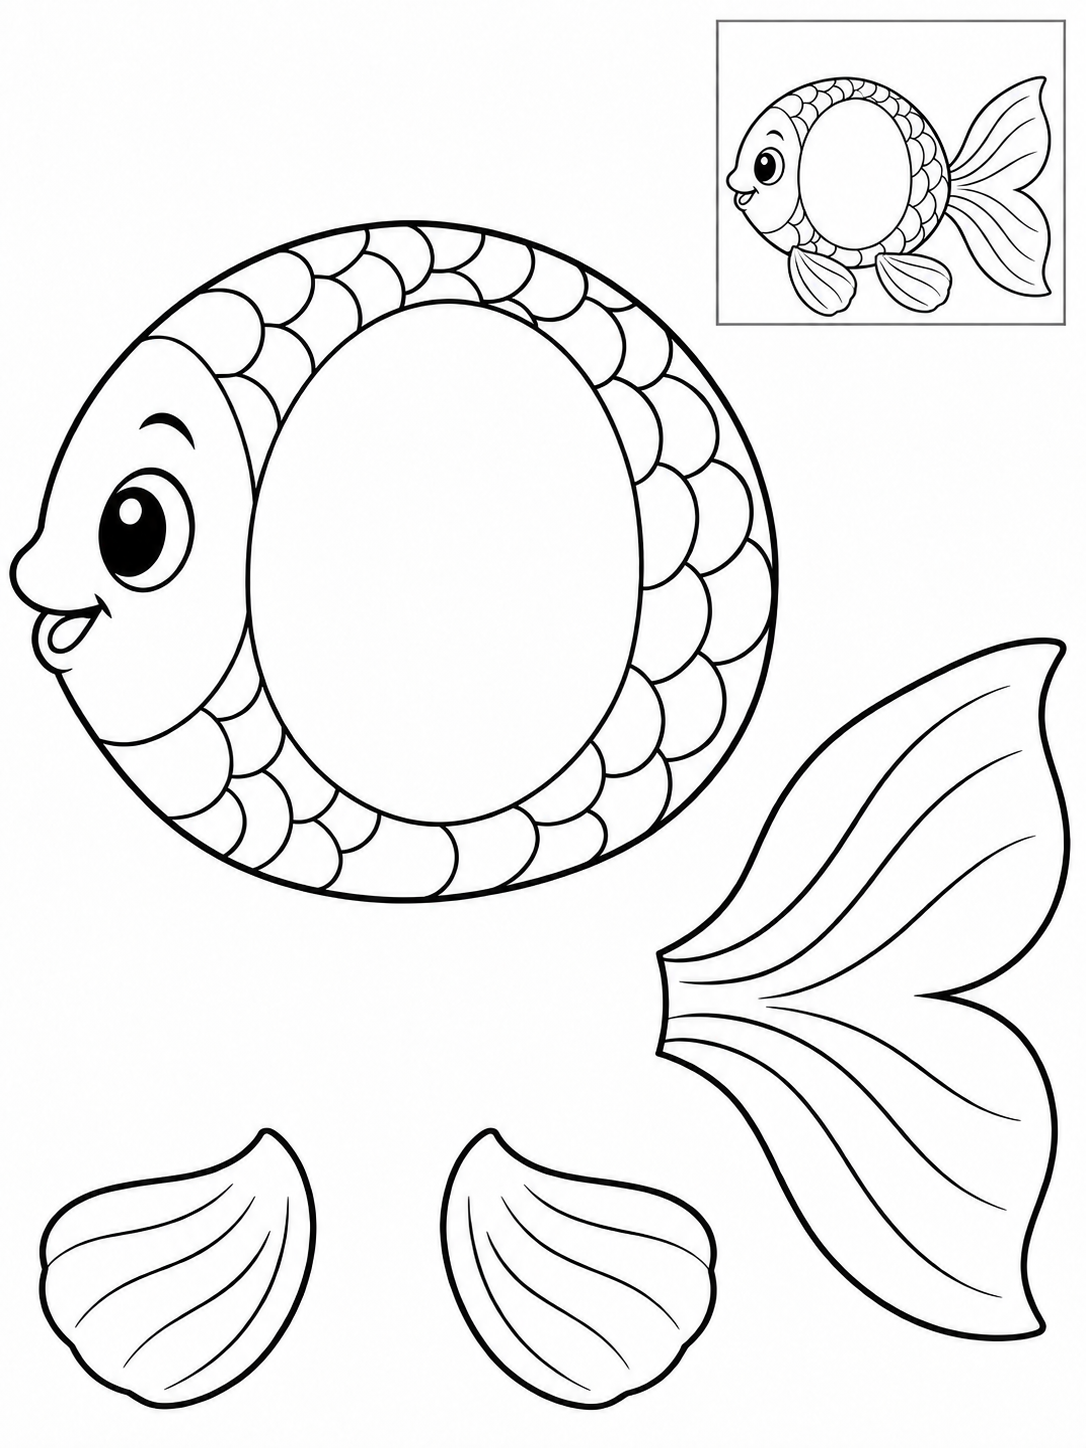
Assembly example: The small boxed fish at the top right shows the finished craft. Do not cut it out.
Cut the large body and the separate tail and fins around their outside edges. Keep the face and internal patterns intact. The small fish in the top-right box is a reference, not a piece. Match the fin positions to that example, tuck their bases and the tail under the body, then glue the overlaps. The blank oval is a space for your own little picture, not a hole to cut. Draw a tiny sea character inside it.
Check: Can you guide the scissors comfortably? If it is difficult, an adult can shorten a strip, cut a tricky curve or offer straight paths. Pieces should be fully separated and arranged as intended before gluing.
Assembly example: The small boxed fish at the top right shows the finished craft. Do not cut it out.
Cut the large body and the separate tail and fins around their outside edges. Keep the face and internal patterns intact. The small fish in the top-right box is a reference, not a piece. Match the fin positions to that example, tuck their bases and the tail under the body, then glue the overlaps. Cut the broad scallops as one continuous edge; the thin lines inside the fan are decoration. Rotate the paper through each lobe.
Check: Can you guide the scissors comfortably? If it is difficult, an adult can shorten a strip, cut a tricky curve or offer straight paths. Pieces should be fully separated and arranged as intended before gluing.
Assembly example: The small boxed fish at the top right shows the finished craft. Do not cut it out.
Cut the large body and the separate tail and fins around their outside edges. Keep the face and internal patterns intact. The small fish in the top-right box is a reference, not a piece. Match the fin positions to that example, tuck their bases and the tail under the body, then glue the overlaps.
Check: Can you guide the scissors comfortably? If it is difficult, an adult can shorten a strip, cut a tricky curve or offer straight paths. Pieces should be fully separated and arranged as intended before gluing.
Assembly example: The small boxed fish at the top right shows the finished craft. Do not cut it out.
Cut the large body and the separate tail and fins around their outside edges. Keep the face and internal patterns intact. The small fish in the top-right box is a reference, not a piece. Match the fin positions to that example, tuck their bases and the tail under the body, then glue the overlaps. The six separate semicircles are scales. Layer them from the tail toward the head, overlapping only a little and keeping the eye visible.
Check: Can you guide the scissors comfortably? If it is difficult, an adult can shorten a strip, cut a tricky curve or offer straight paths. Pieces should be fully separated and arranged as intended before gluing.
Assembly example: The small boxed fish at the top right shows the finished craft. Do not cut it out.
Cut the large body and the separate tail and fins around their outside edges. Keep the face and internal patterns intact. The small fish in the top-right box is a reference, not a piece. Match the fin positions to that example, tuck their bases and the tail under the body, then glue the overlaps.
Check: Can you guide the scissors comfortably? If it is difficult, an adult can shorten a strip, cut a tricky curve or offer straight paths. Pieces should be fully separated and arranged as intended before gluing.
Assembly example: The small boxed fish at the top right shows the finished craft. Do not cut it out.
Cut the large body and the separate tail and fins around their outside edges. Keep the face and internal patterns intact. The small fish in the top-right box is a reference, not a piece. Match the fin positions to that example, tuck their bases and the tail under the body, then glue the overlaps. Cut the broad scallops as one continuous edge; the thin lines inside the fan are decoration. Rotate the paper through each lobe.
Check: Can you guide the scissors comfortably? If it is difficult, an adult can shorten a strip, cut a tricky curve or offer straight paths. Pieces should be fully separated and arranged as intended before gluing.
Assembly example: The small boxed fish at the top right shows the finished craft. Do not cut it out.
Cut the large body and the separate tail and fins around their outside edges. Keep the face and internal patterns intact. The small fish in the top-right box is a reference, not a piece. Match the fin positions to that example, tuck their bases and the tail under the body, then glue the overlaps. The long fin goes above the body and the matching lower fin goes below it. Stop before each pointed turn and rotate the paper.
Check: Can you guide the scissors comfortably? If it is difficult, an adult can shorten a strip, cut a tricky curve or offer straight paths. Pieces should be fully separated and arranged as intended before gluing.
Assembly example: The small boxed fish at the top right shows the finished craft. Do not cut it out.
Cut the large body and the separate tail and fins around their outside edges. Keep the face and internal patterns intact. The small fish in the top-right box is a reference, not a piece. Match the fin positions to that example, tuck their bases and the tail under the body, then glue the overlaps.
Check: Can you guide the scissors comfortably? If it is difficult, an adult can shorten a strip, cut a tricky curve or offer straight paths. Pieces should be fully separated and arranged as intended before gluing.
Assembly example: The small boxed fish at the top right shows the finished craft. Do not cut it out.
Cut the large body and the separate tail and fins around their outside edges. Keep the face and internal patterns intact. The small fish in the top-right box is a reference, not a piece. Match the fin positions to that example, tuck their bases and the tail under the body, then glue the overlaps.
Check: Can you guide the scissors comfortably? If it is difficult, an adult can shorten a strip, cut a tricky curve or offer straight paths. Pieces should be fully separated and arranged as intended before gluing.
Assembly example: The small boxed fish at the top right shows the finished craft. Do not cut it out.
Cut the large body and the separate tail and fins around their outside edges. Keep the face and internal patterns intact. The small fish in the top-right box is a reference, not a piece. Match the fin positions to that example, tuck their bases and the tail under the body, then glue the overlaps. Cut the broad scallops as one continuous edge; the thin lines inside the fan are decoration. Rotate the paper through each lobe.
Check: Can you guide the scissors comfortably? If it is difficult, an adult can shorten a strip, cut a tricky curve or offer straight paths. Pieces should be fully separated and arranged as intended before gluing.
Assembly example: The small boxed fish at the top right shows the finished craft. Do not cut it out.
Cut the large body and the separate tail and fins around their outside edges. Keep the face and internal patterns intact. The small fish in the top-right box is a reference, not a piece. Match the fin positions to that example, tuck their bases and the tail under the body, then glue the overlaps. An adult fits the broad band loosely around a finger, trims the excess and tapes its ends. Glue the fish outside the band. Remove and enlarge a tight band. Keep printed face decorations uncut.
Check: Can you guide the scissors comfortably? If it is difficult, an adult can shorten a strip, cut a tricky curve or offer straight paths. Pieces should be fully separated and arranged as intended before gluing.
Assembly example: The small boxed fish at the top right shows the finished craft. Do not cut it out.
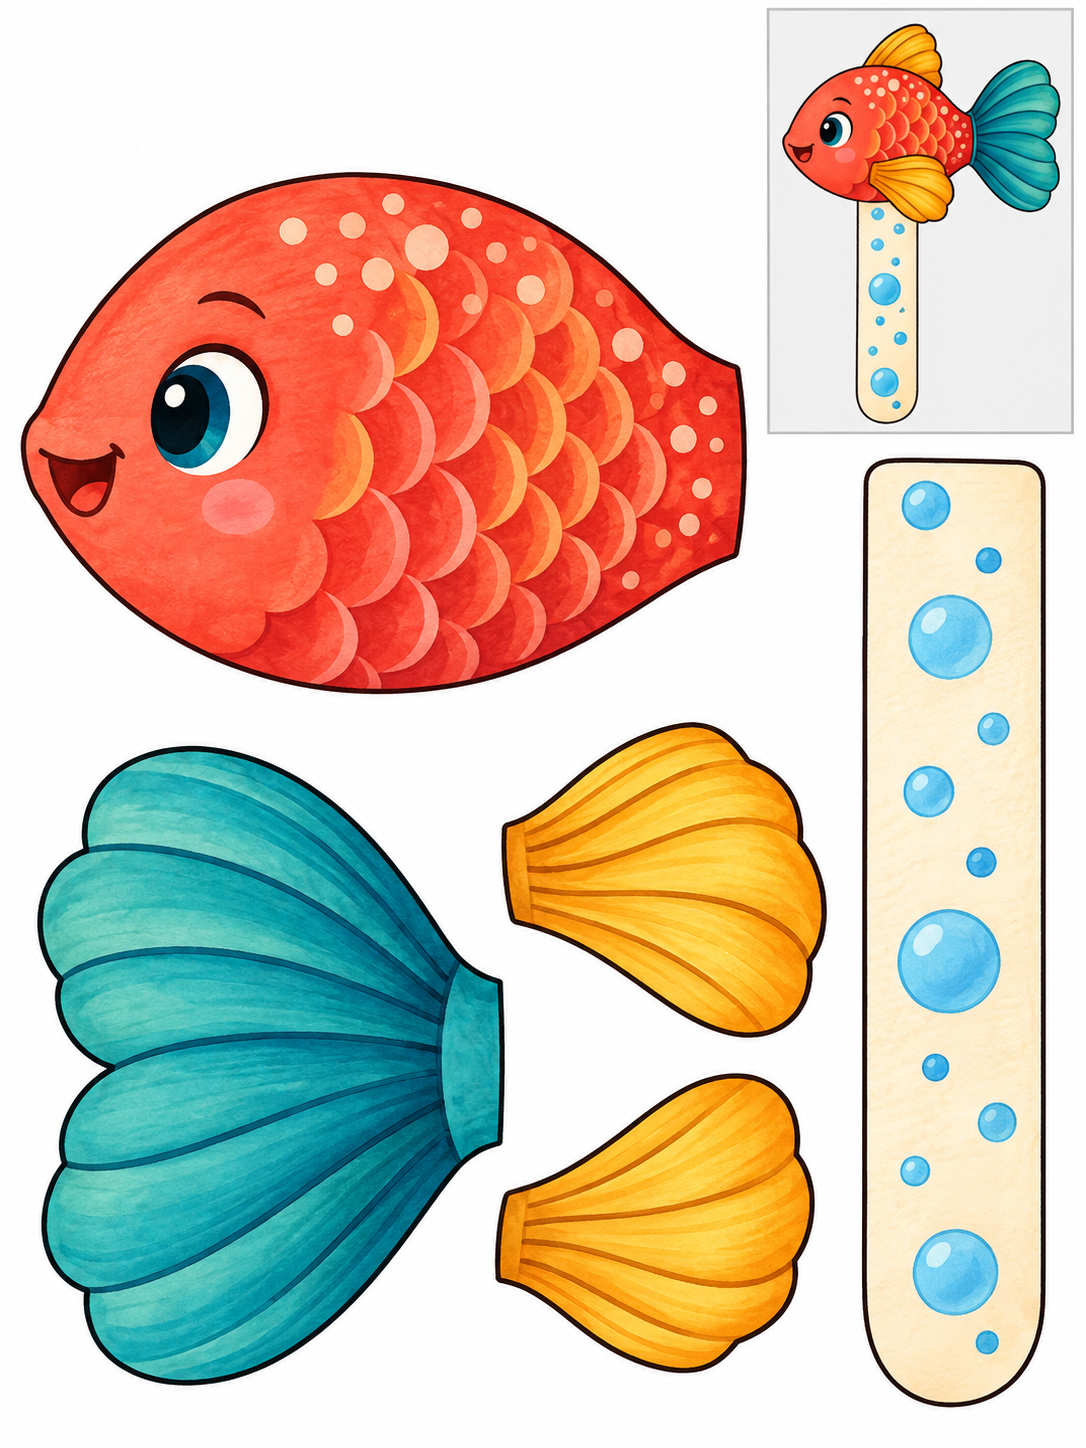
Cut the large body and the separate tail and fins around their outside edges. Keep the face and internal patterns intact. The small fish in the top-right box is a reference, not a piece. Match the fin positions to that example, tuck their bases and the tail under the body, then glue the overlaps. Glue the top of the long strip behind the body so it extends below the fish. Let it dry before putting it between book pages.
Check: Can you guide the scissors comfortably? If it is difficult, an adult can shorten a strip, cut a tricky curve or offer straight paths. Pieces should be fully separated and arranged as intended before gluing.
Assembly example: The small boxed fish at the top right shows the finished craft. Do not cut it out.
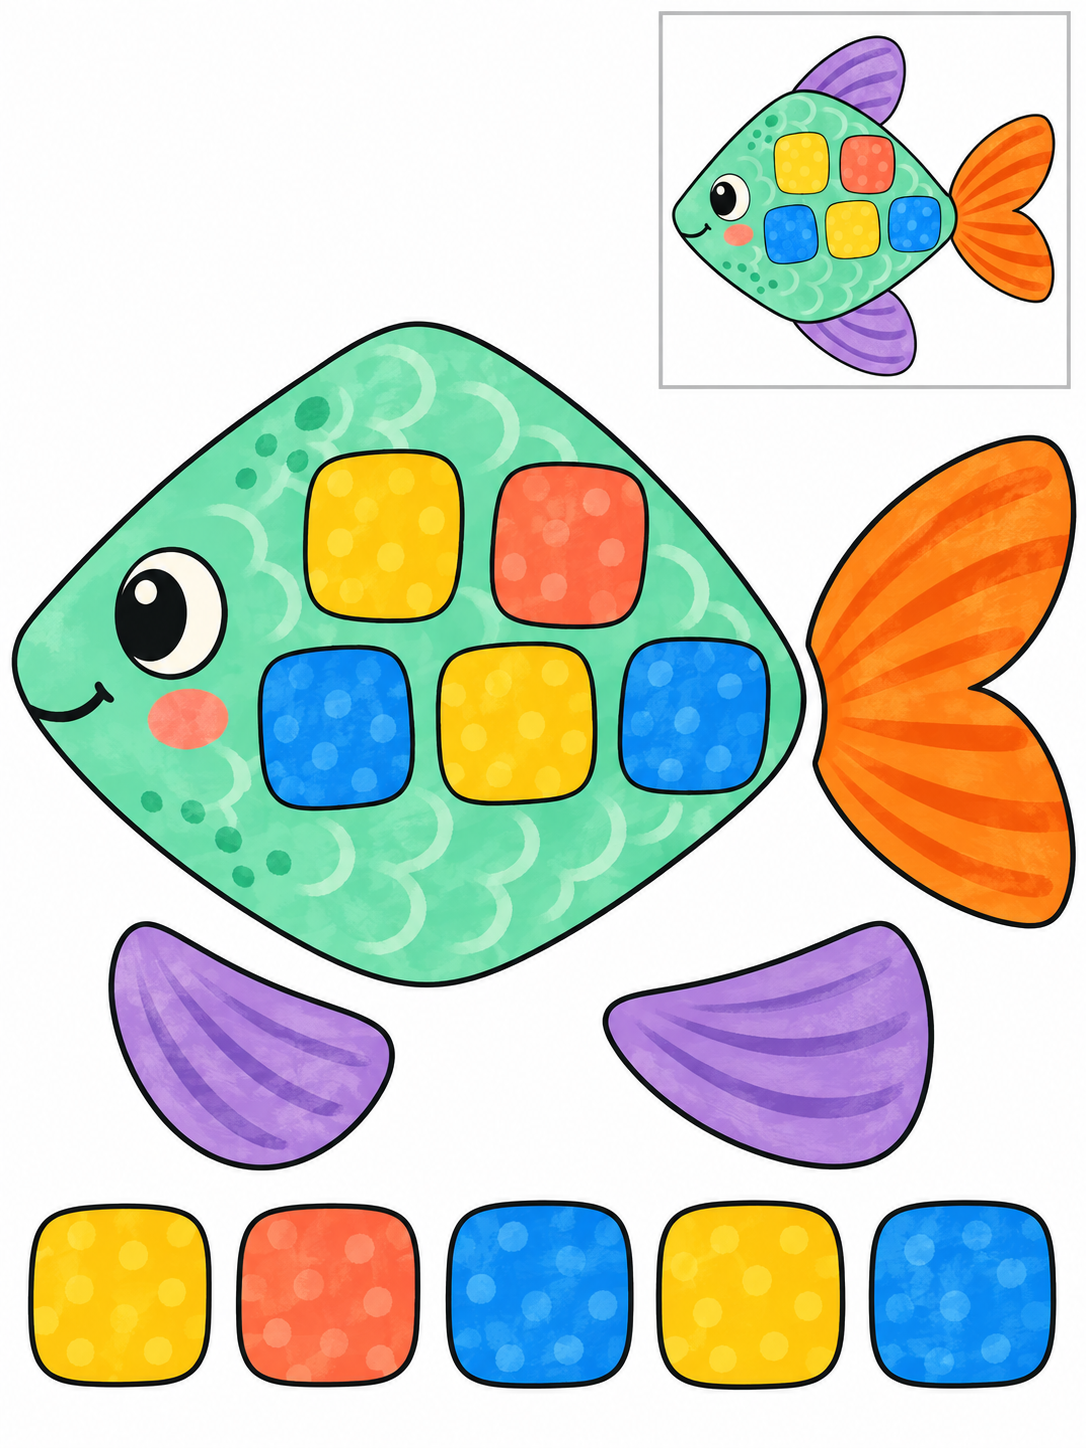
Cut the large body and the separate tail and fins around their outside edges. Keep the face and internal patterns intact. The small fish in the top-right box is a reference, not a piece. Match the fin positions to that example, tuck their bases and the tail under the body, then glue the overlaps. Arrange the five rounded square tiles on the body with small gaps, leaving the face clear. Try the arrangement before gluing.
Check: Can you guide the scissors comfortably? If it is difficult, an adult can shorten a strip, cut a tricky curve or offer straight paths. Pieces should be fully separated and arranged as intended before gluing.
Assembly example: The small boxed fish at the top right shows the finished craft. Do not cut it out.
Cut the large body and the separate tail and fins around their outside edges. Keep the face and internal patterns intact. The small fish in the top-right box is a reference, not a piece. Match the fin positions to that example, tuck their bases and the tail under the body, then glue the overlaps.
Check: Can you guide the scissors comfortably? If it is difficult, an adult can shorten a strip, cut a tricky curve or offer straight paths. Pieces should be fully separated and arranged as intended before gluing.
How to build your paper fish
This collection contains 24 different constructions: 12 black-and-white sheets to color and 12 ready-colored sheets. They are different projects rather than one template recolored. Begin with an oval fish made from four large pieces. Then try a diamond reef fish, a koi with a flowing tail or a collage with separate scales. Finger puppets and bookmarks add one extra piece and a different way to join the parts.
Prepare your table and choose a sheet
You need A4 or US Letter paper, child scissors with rounded tips, a glue stick and a separate backing sheet for a collage. Add pencils or markers for black-and-white designs, and tape for a finger band. Print the matching PDF at 100%. Color before cutting while the whole sheet is easy to hold. Full-color templates are ready to cut. Choose broad edges first and save the small scales for another session.
Cut the outside edges
An adult can first separate the large areas of the sheet so neighboring pieces do not get in the way. Cut only the solid outside border of each piece. The eye, mouth, stripes and white portrait window stay inside the fish. Before a turn, stop the scissors and rotate the paper with your supporting hand; this helps keep the edge smooth. Check that the tail is fully separated. If paper catches, find the uncut section and make a short cut instead of pulling.
Arrange the pieces before using glue
Orient the body as shown in the small reference on your chosen sheet. Tuck the tail behind its narrow end and place the fins where the example shows them, leaving part of each piece under the body to make a stronger join. Open “How to make it” beside your chosen printable for its exact example and extra actions. Check that the eye and both fins remain visible. If the tail looks detached, move it inward until its edge sits beneath the body. Apply a little glue only to the overlapping areas; for a collage, attach the whole arrangement to a backing sheet.
Scales, bookmarks and finger puppets
Turn the semicircular scales so their straight edges face the head. Glue them from tail toward head with a small overlap, keeping the eye visible. The five square mosaic tiles can have gaps between them. For a bookmark, attach the long strip behind the fish so it extends downward. An adult fits the finger band loosely, trims the extra length and tapes the ends; remove and enlarge a tight band. The printable band is flat; an adult adjusts its size to the finger. Keep the portrait window intact and draw a tiny character inside it.
Try an arrangement of your own
Before the final glue step, change one fin angle or the scale arrangement and compare both versions. Check that the eye is clear, the tail is attached and no loose pieces catch on your hand. For a shared underwater collage, place fish at different heights, add seaweed from paper scraps and invent a short story. Your craft can have its own expression and uneven edges; aim for comfortable cutting and secure joins.
Choose by skill, not just age
These projects are intended roughly for ages 4–8 with adult help. Start with straight paths and squares. Once a straight cut feels comfortable, try corners, then circles and gentle curves. Age is a guide: choose a manageable task and take breaks.
You need paper, child scissors, coloring pencils and a glue stick for assembly crafts. Keep fingers away from the blades and cut while seated at a table. If a child is not ready for scissors, an adult can cut while the child colors and arranges.
Printing and activity questions
Are the templates really free?
Yes. All templates are downloadable without an account or email address. Use them at home or in class; do not resell the files.
Should I choose A4 or Letter?
Match your printer paper: A4 is 210 × 297 mm; US Letter is 8.5 × 11 inches. Print at 100%. Each PDF contains one page.
Which lines should we cut?
On practice paths, cut dashed lines from the edge or starting dot. On crafts, cut the solid outer border of each piece. Do not cut out the small boxed assembly example.
What if the paper keeps tearing?
Ask an adult to check that the scissors cut the paper. Try a shorter strip and smaller motions. Stop before a corner and turn the paper with the supporting hand.
Whole sea characters to cut out
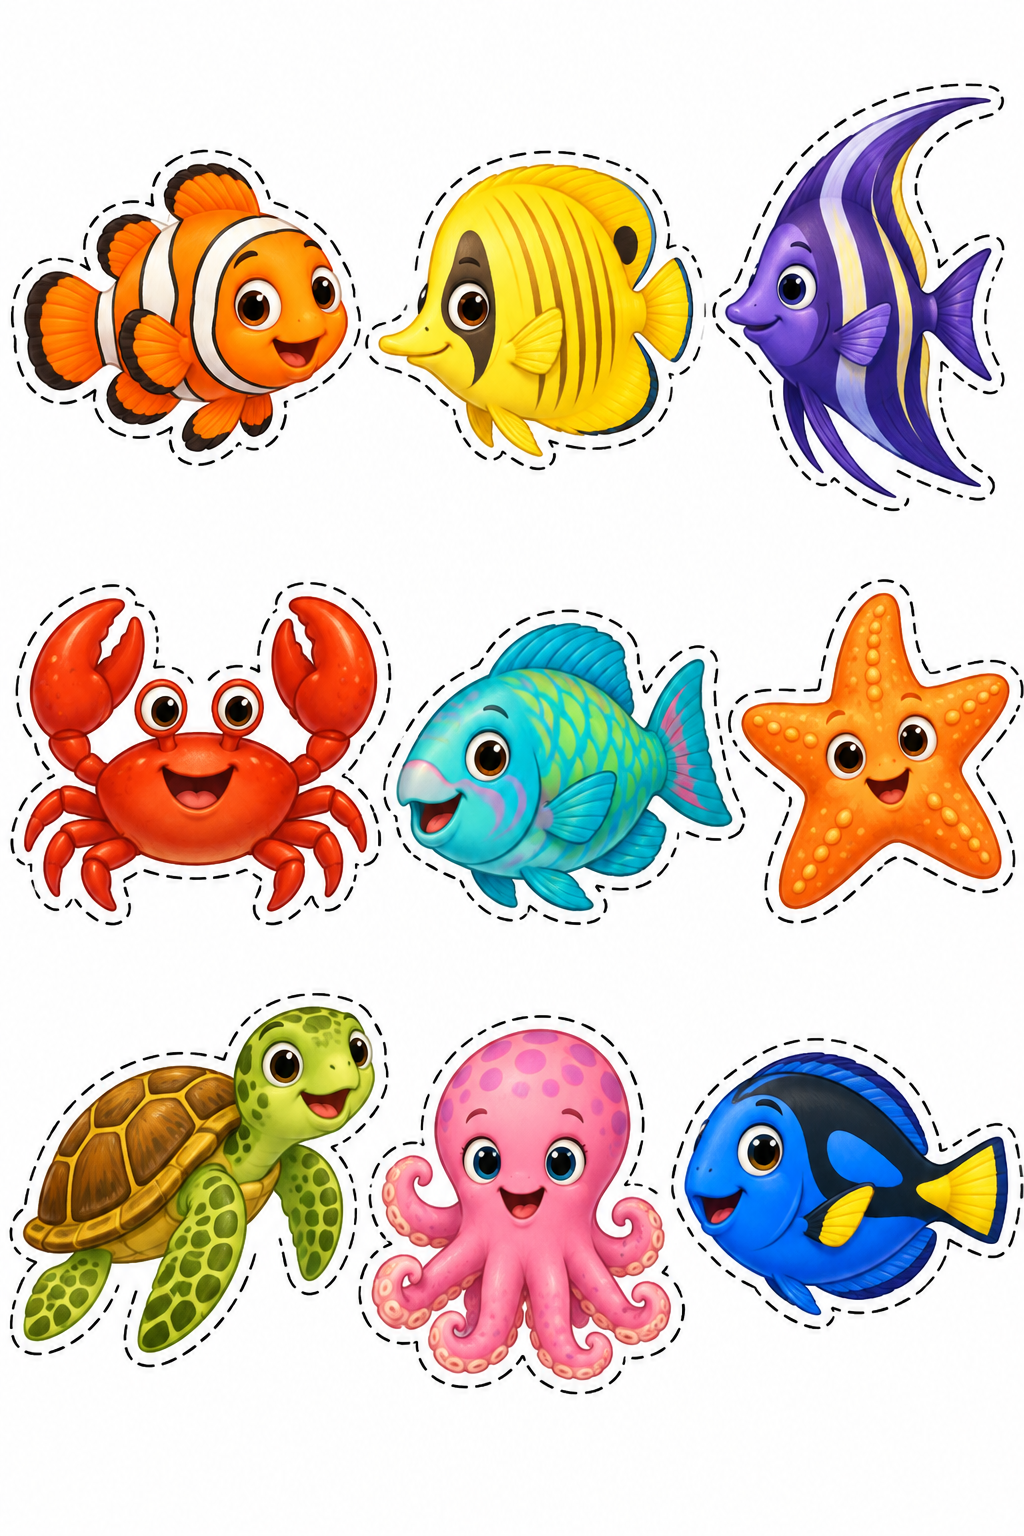
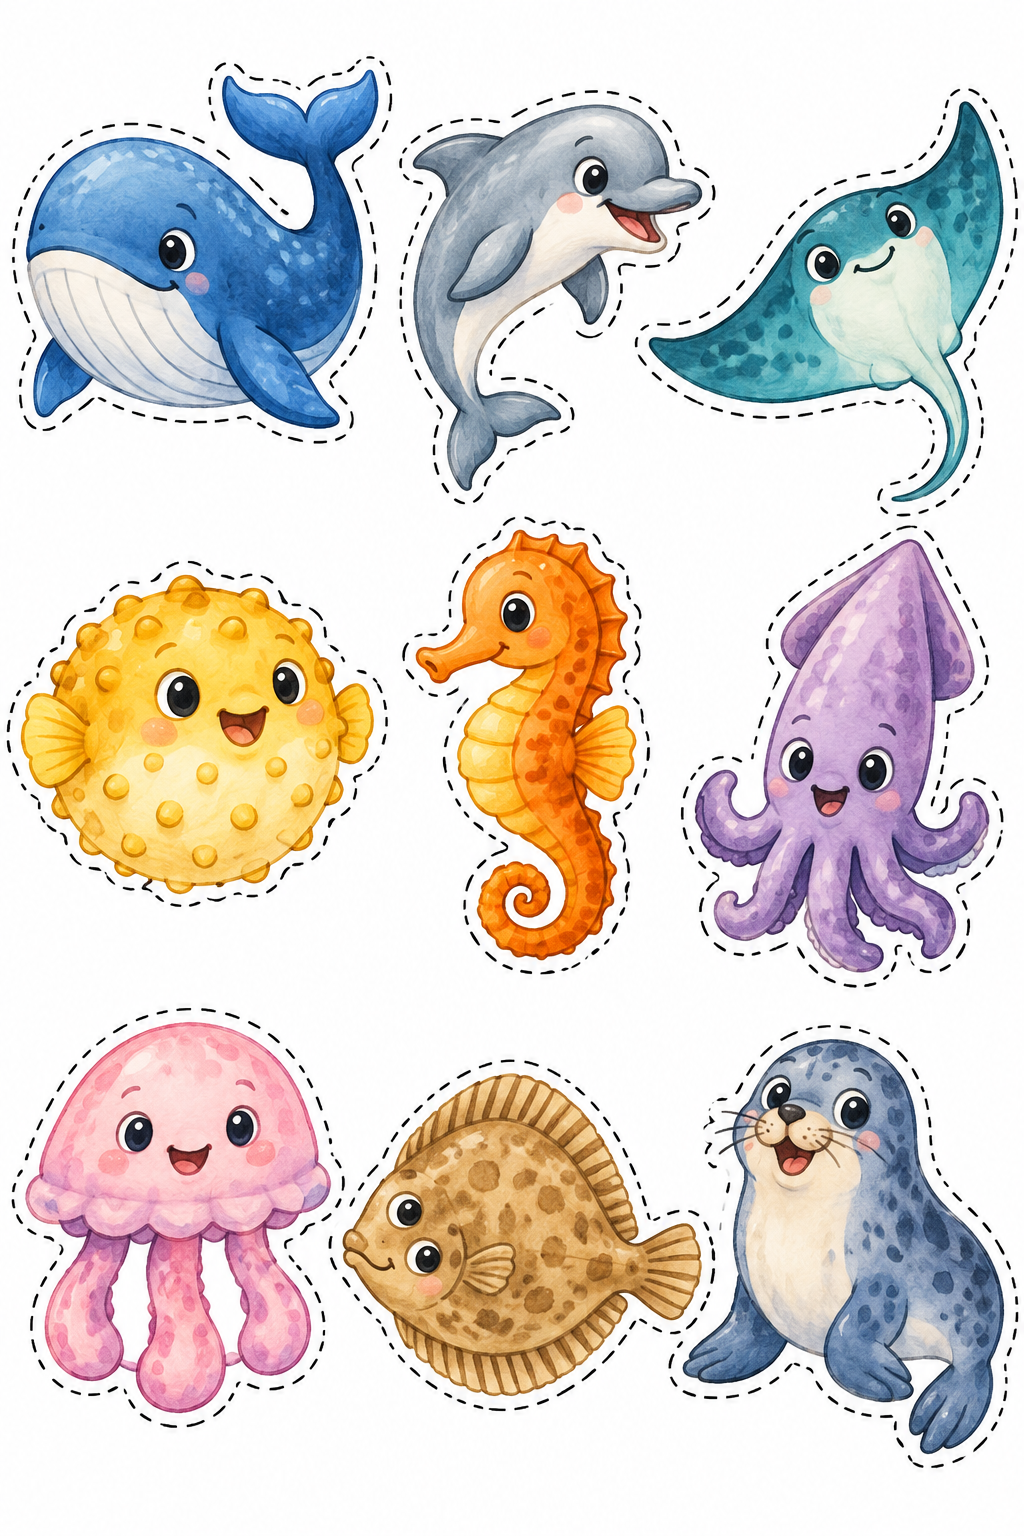
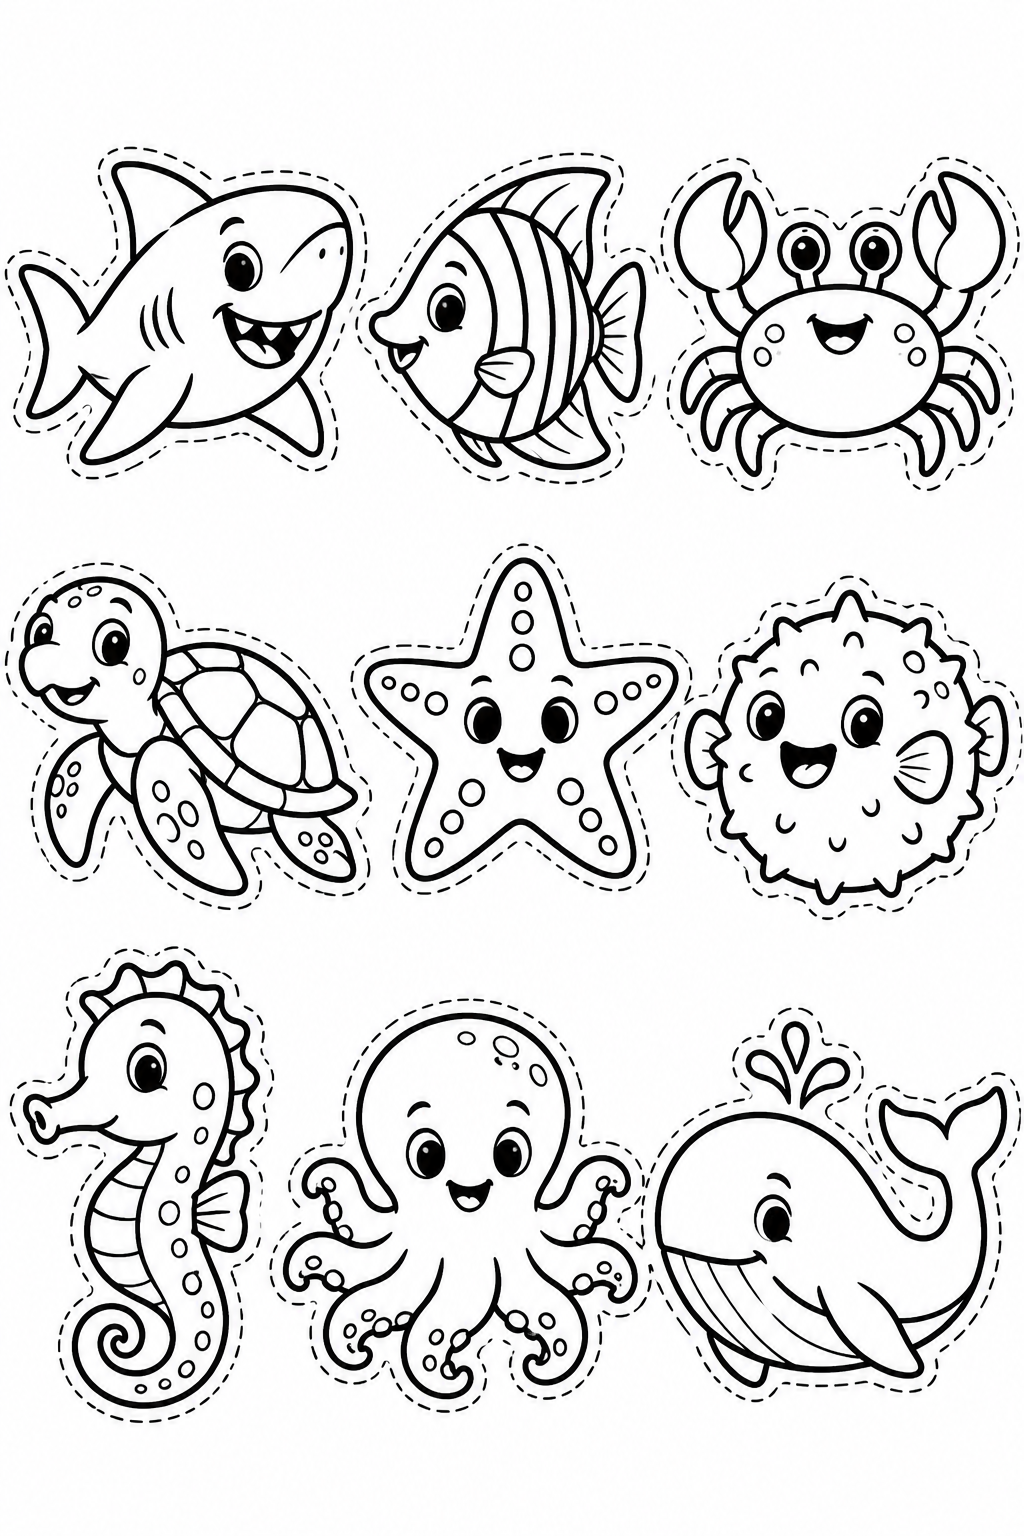
Three more sheets for an underwater collage, each with nine different sea characters. These are whole figures: a fish, crab or turtle is cut in one piece along its outside dashed outline. There are no separate bodies or fins to assemble. The colorful sets are ready to cut; color the black-and-white set first. These sheets supplement the 24 projects above.
Make a shared underwater collage
Print the chosen sheet at 100% scale. An adult can first separate it into nine areas, making it easier to turn the paper without neighboring figures getting in the way. Cut only along the outer dashed line; leave eyes, shell patterns and lines inside fins intact. Stop before a tight turn and rotate the paper instead of pulling on a narrow part. If a flipper or fin is accidentally nicked, reinforce the join with a small piece of tape on the back.
Before gluing, arrange the characters on blue paper: fish in the water, the crab and starfish near the bottom. This is an imaginative story scene, rather than a diagram of a real habitat. Try two arrangements and choose the one where every character is easy to see. Apply glue to the back of the main body; projecting edges need not be covered completely. Add broad seaweed shapes from paper scraps and invent who the fish meets first. For a shorter session, choose three figures and save the others for another day.
Nine whole figures: clownfish, butterflyfish, angelfish, crab, parrotfish, starfish, turtle, octopus and blue tang. Cut along each outer dashed line and arrange your reef scene.
Nine watercolor figures: whale, dolphin, ray, pufferfish, seahorse, squid, jellyfish, flatfish and seal. Keep narrow tails and tentacles inside the dashed silhouette; try an arrangement before gluing.
Nine black-and-white figures: shark, tropical fish, crab, turtle, starfish, pufferfish, seahorse, octopus and whale. Color first, then cut the whole characters along the outside dashed lines.
 kiduverse