 kiduverse
How to draw a fish: form and overlap
A step-by-step lesson to draw a fish from simple forms: curves, overlap, erasing, warm-up, small repairs, independent tasks and printable A4/Letter PDFs.
- 3 detail levels
- Paper, HB/2B pencil, eraser
- 14 parts
Tap a drawing below to choose your level. The other levels hide and the “trial → after checking” pairs get bigger.
Find a smooth body edge from an oval, with a tail behind it. The main decisions are form and overlap; choose your own sizes.
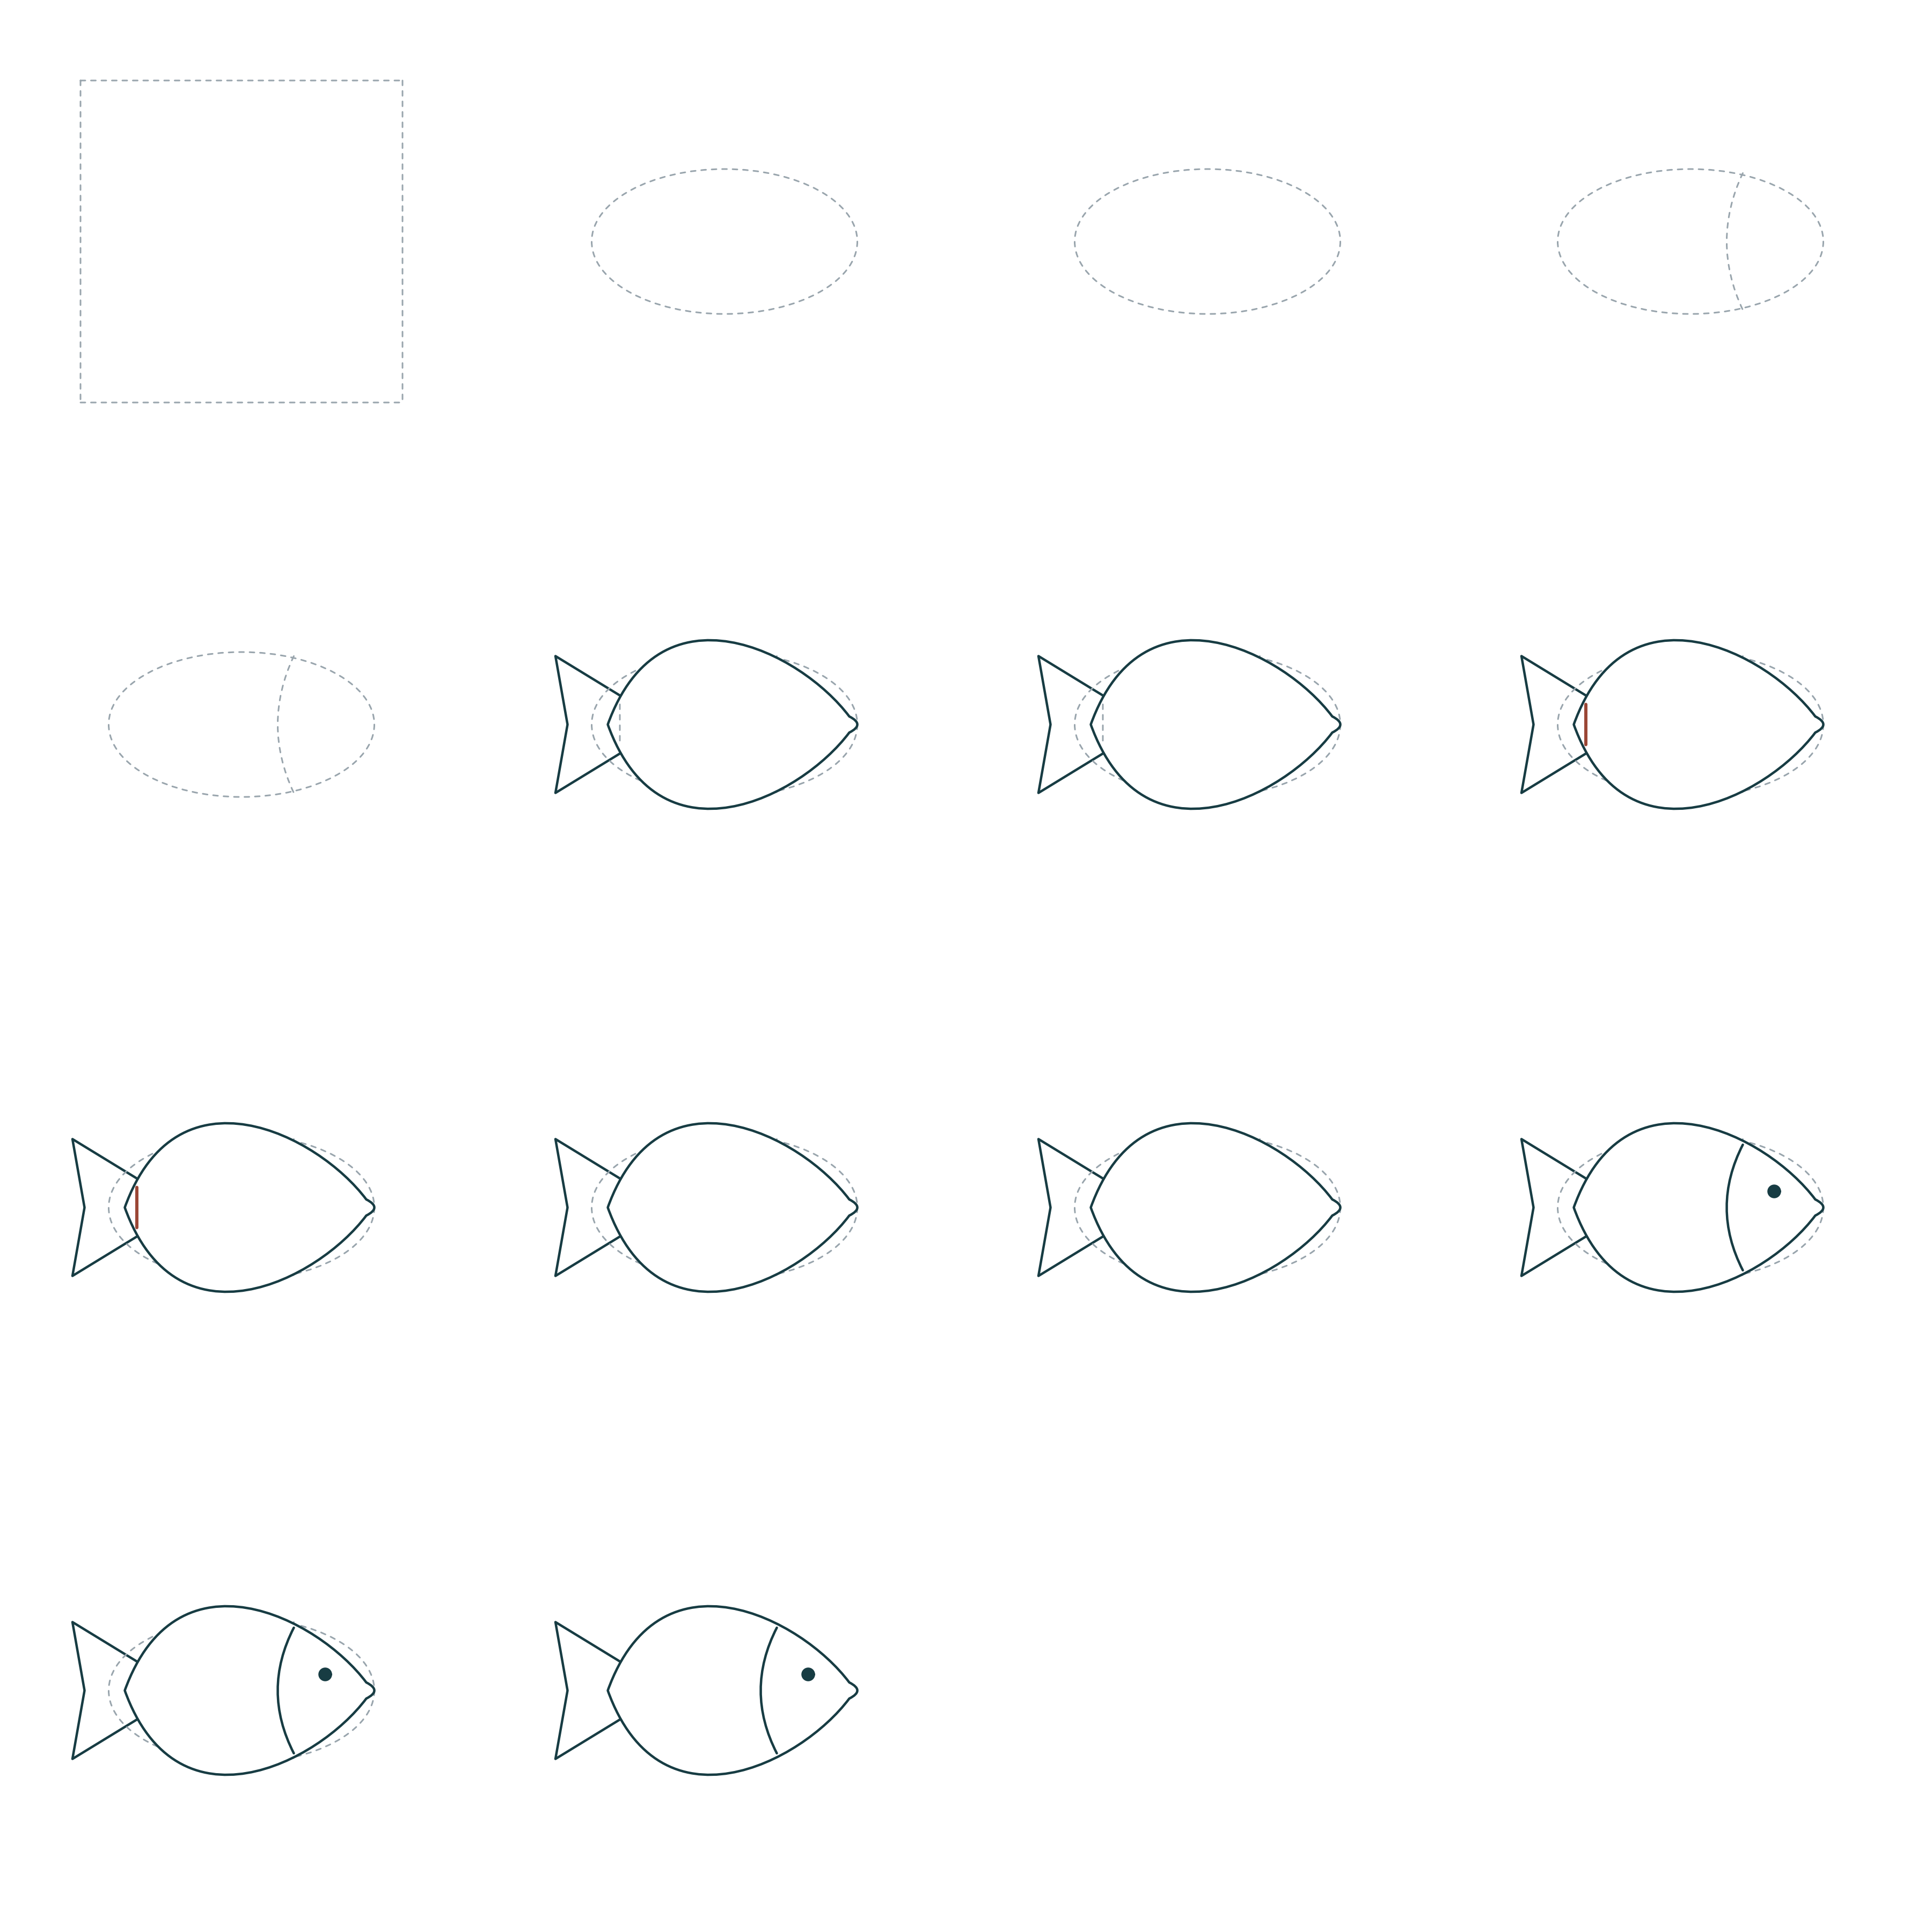
Simplest: Refine one gill curve and place a dot eye on the right above the body middle. Omit the side fin for this route.
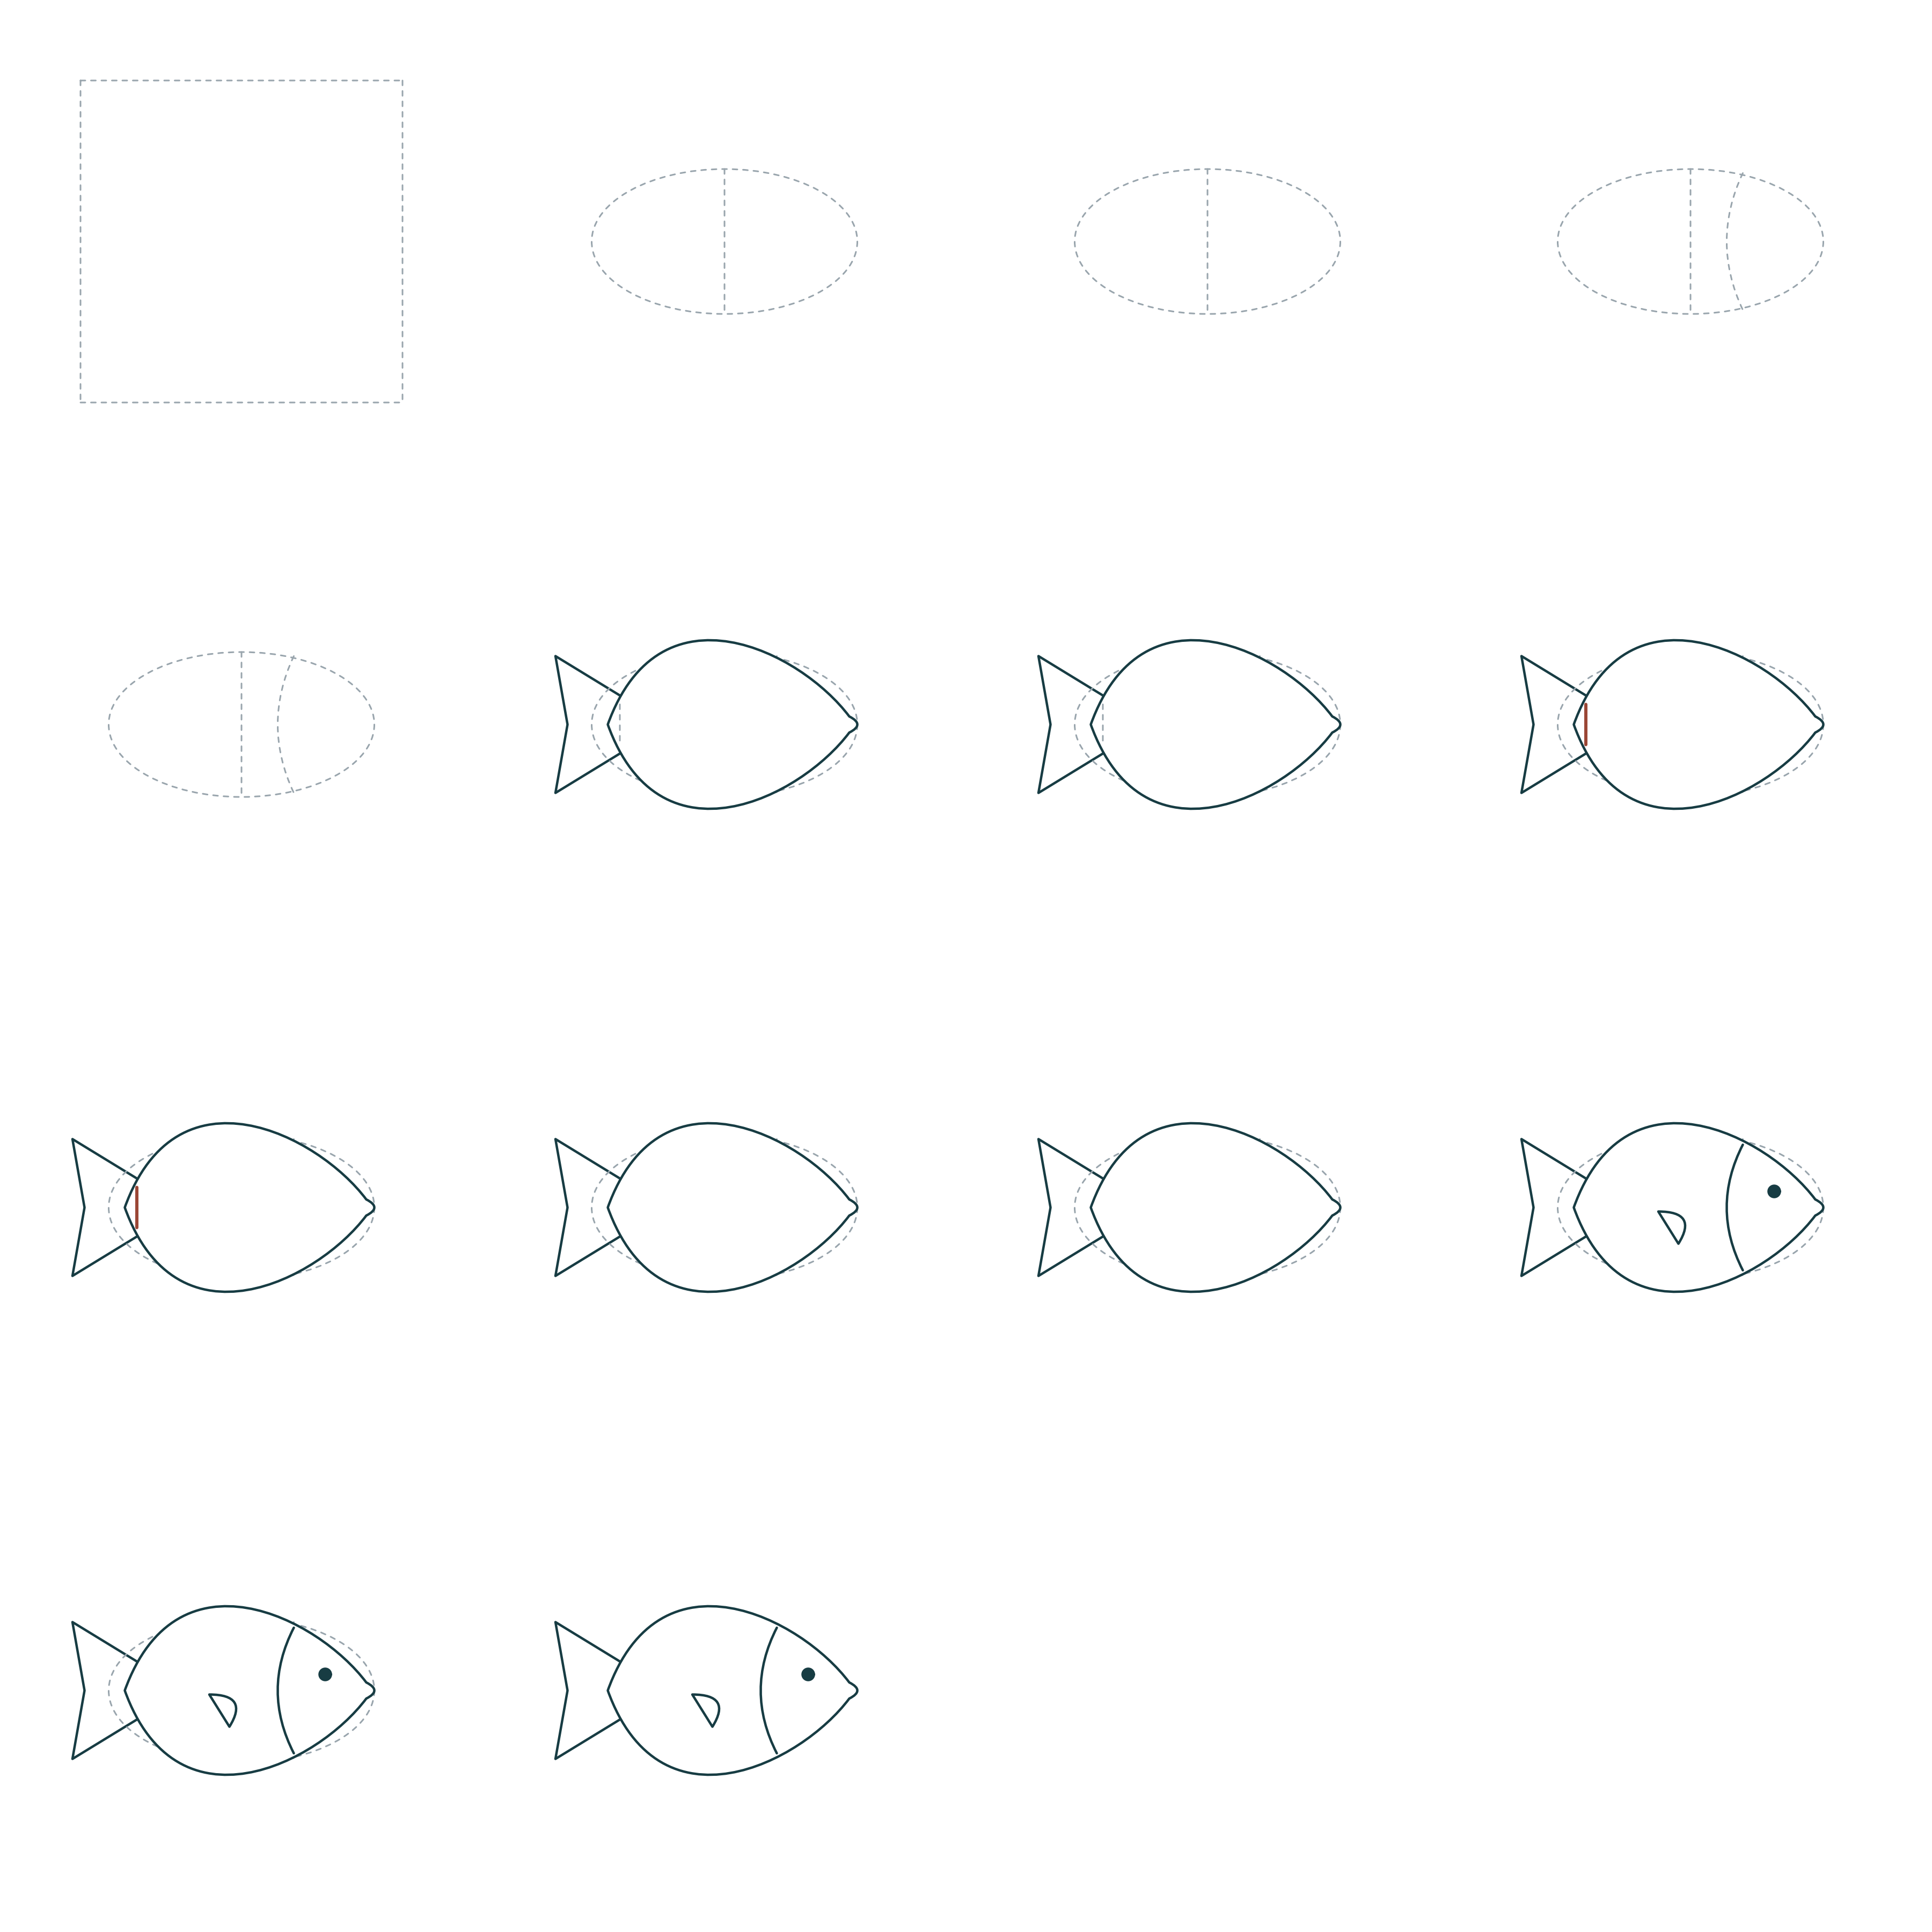
A little more detail: Keep the dot eye and gill curve. Below the body middle build a small side fin from a soft curve and short edge.
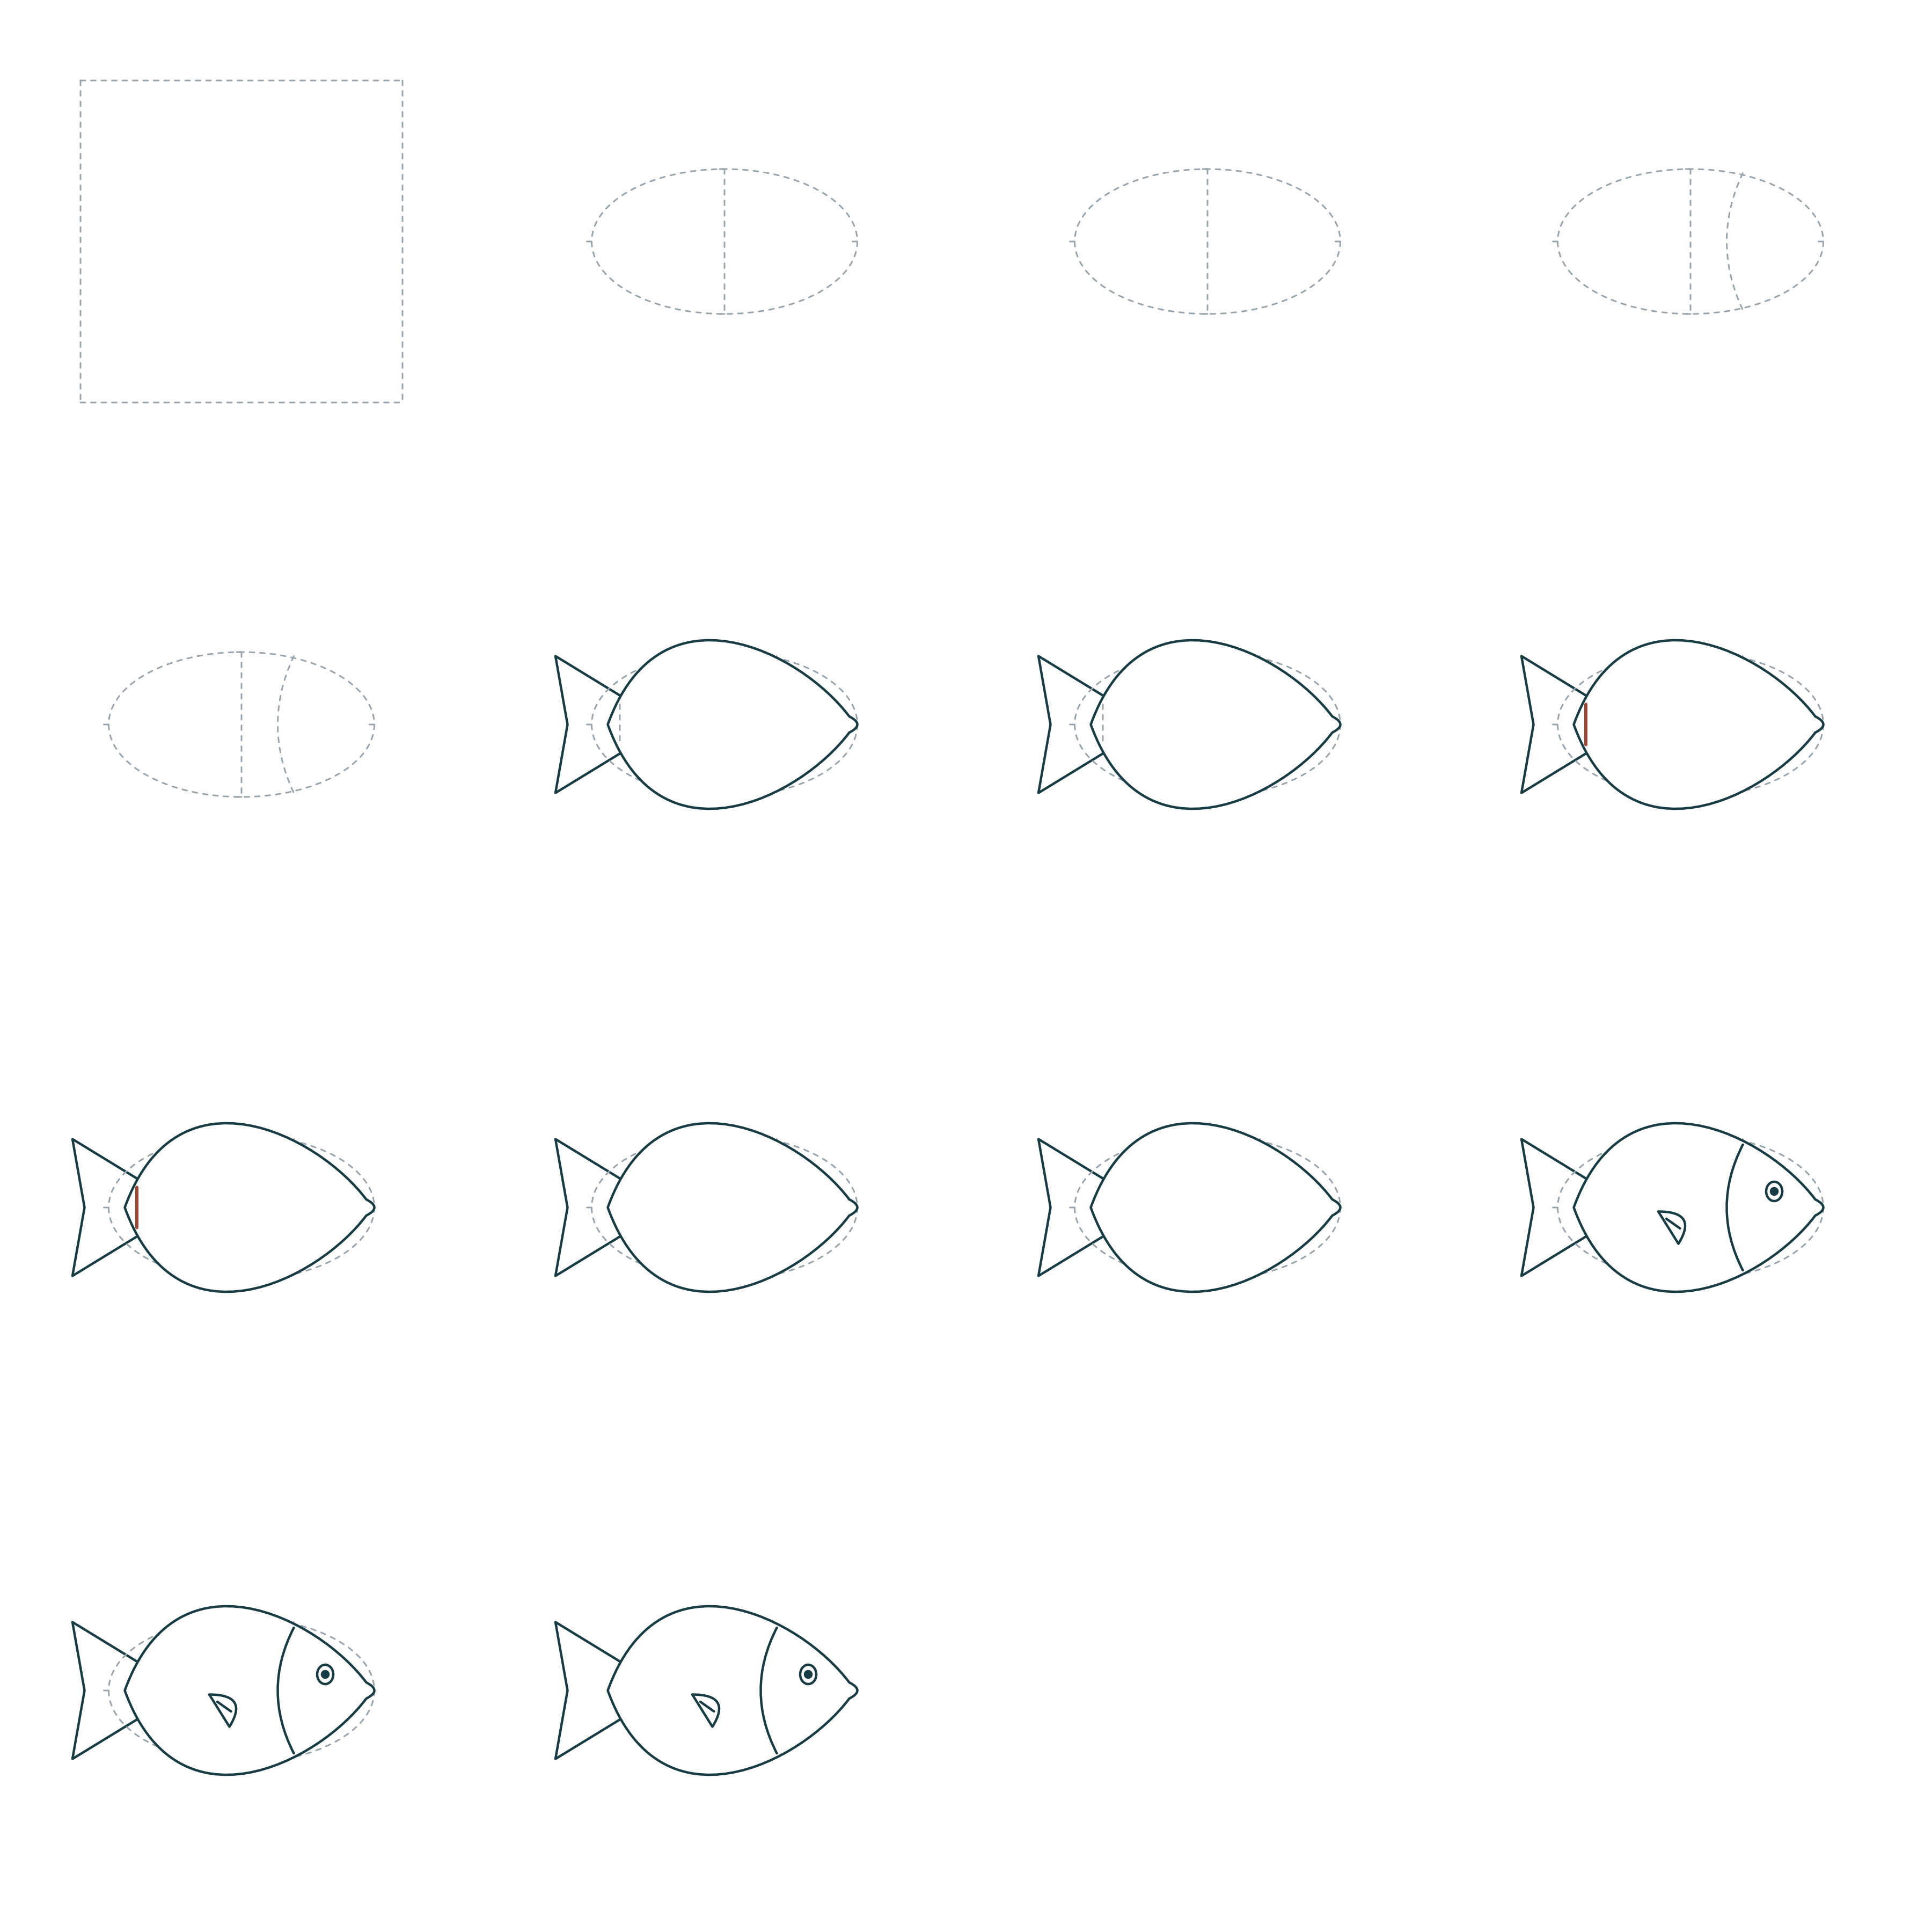
Best version: Mark the eye with a small oval and dot inside, keeping its position. Add one short stroke inside the side fin along its direction.
Goal and preparation
One simple fish swimming right, seen from the side; no realistic anatomy. Choose a curve on a form, explain the overlap order and erase only the covered rear edge.
Use paper, an HB/2B pencil and an eraser. Start with a rough circle, oval and curve. Allow 20–35 minutes, with a break if needed. Around age 7 is a suggestion for learners familiar with these shapes, not an ability rating. To simplify, omit small details but keep both checks. To extend, try all three transfer tasks and choose your own sizes.
Technique 1. A curve on the form
The gill curve follows the bulge of the side. In this side view it separates the head from the body; avoid a straight line across the page.
Place horizontal and vertical ovals. Choose the head end in each and place a gill curve behind the eye position. Check that both curve endpoints stay on the body.
Check: The curve endpoints stay on one mass; explain what the curve shows.
Technique 2. Overlap
An opaque foreground shape hides part of the rear shape. Draw two intersecting ovals, choose the front one and erase the covered rear segment. Swap the order in a second trial. Check: where does the rear line end? The criterion is at the foreground edge, not inside it.
Warm-up
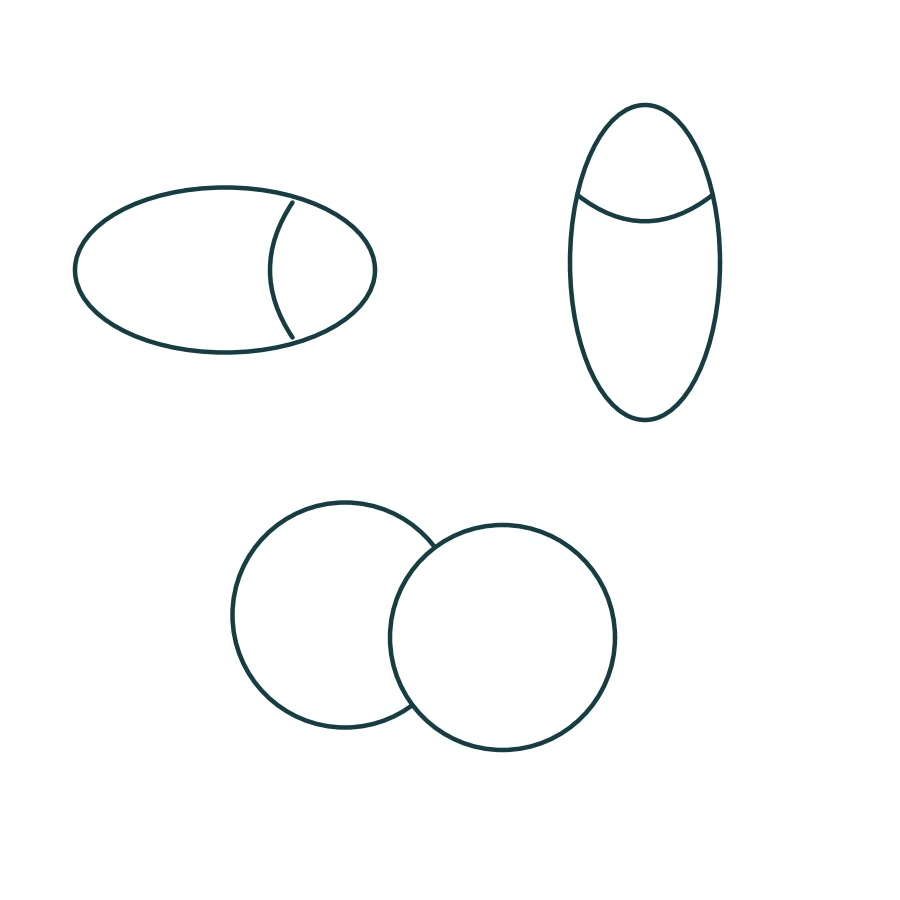
Place two body ovals: horizontal and vertical. Put a gill curve near the right end of the first and near the top of the second. Check for eye space ahead of each curve. Then overlap two ovals, choose the front one and erase the covered edge; swap the order in a second trial. This prepares steps 2 and 4–5.
Step 1. Place the body oval
Trial
After checking
Trial
After checking
Trial
After checking
Simplest: Place a horizontal body oval. Keep the large forms light, without an extra axis.
A little more detail: Place a horizontal body oval. Add a light axis to the first mass.
Best version: Place a horizontal body oval. Check its top, base and both sides with four short markers; add an axis.
Place a horizontal oval, leaving a third of its width to the left for the tail.
Why: The main mass direction sets the rightward movement.
Check: Is the oval longer than it is tall?
Repair: Move only the side markers apart.
Step 2. Place the gill curve
Trial
After checking
Trial
After checking
Trial
After checking
Simplest: Choose the main curve from this step; you may omit a separate axis.
A little more detail: Draw the main curve using the axis. Keep shared arc endpoints when constructing an ellipse.
Best version: Draw the main curve and compare its ends to the side markers. Keep the top and bottom supports light.
In the right third put the curve endpoints at the upper and lower boundaries; its middle bows left.
Why: The curve describes the volume side, leaving the right section as the head.
Check: Is there room for an eye to the right of the curve?
Repair: Move the curve a little left.
Step 3. Find the nose and tail
Trial
After checking
Trial
After checking
Trial
After checking
Simplest: Refine a rounded nose on the right and the body taper on the left. Behind the taper build a tail with two spreading edges and a shallow notch. Keep the outer edge plain, without internal details.
A little more detail: Refine a rounded nose on the right and the body taper on the left. Behind the taper build a tail with two spreading edges and a shallow notch. Keep the axis light for checking detail placement.
Best version: Refine a rounded nose on the right and the body taper on the left. Behind the taper build a tail with two spreading edges and a shallow notch. Compare the new edge to all four markers; keep them out of the final outline.
Refine a rounded nose on the right and the body taper on the left. Behind the taper build a tail with two spreading edges and a shallow notch.
Why: Body and tail meet through overlap rather than an attached circle.
Check: Does the tail attach to the narrow left part?
Repair: Move only the tail base towards the taper.
Step 4. Choose the hidden edge
Trial edge
Covered section identified
Trial edge
Covered section identified
Trial edge
Covered section identified
Simplest: On the left find the provisional tail-base line inside the body. The body is in front of the tail. Point to one section to erase.
A little more detail: On the left find the provisional tail-base line inside the body. The body is in front of the tail. Name both covered-line endpoints before erasing.
Best version: On the left find the provisional tail-base line inside the body. The body is in front of the tail. Compare the covered line with the adjacent visible edge: they serve different purposes.
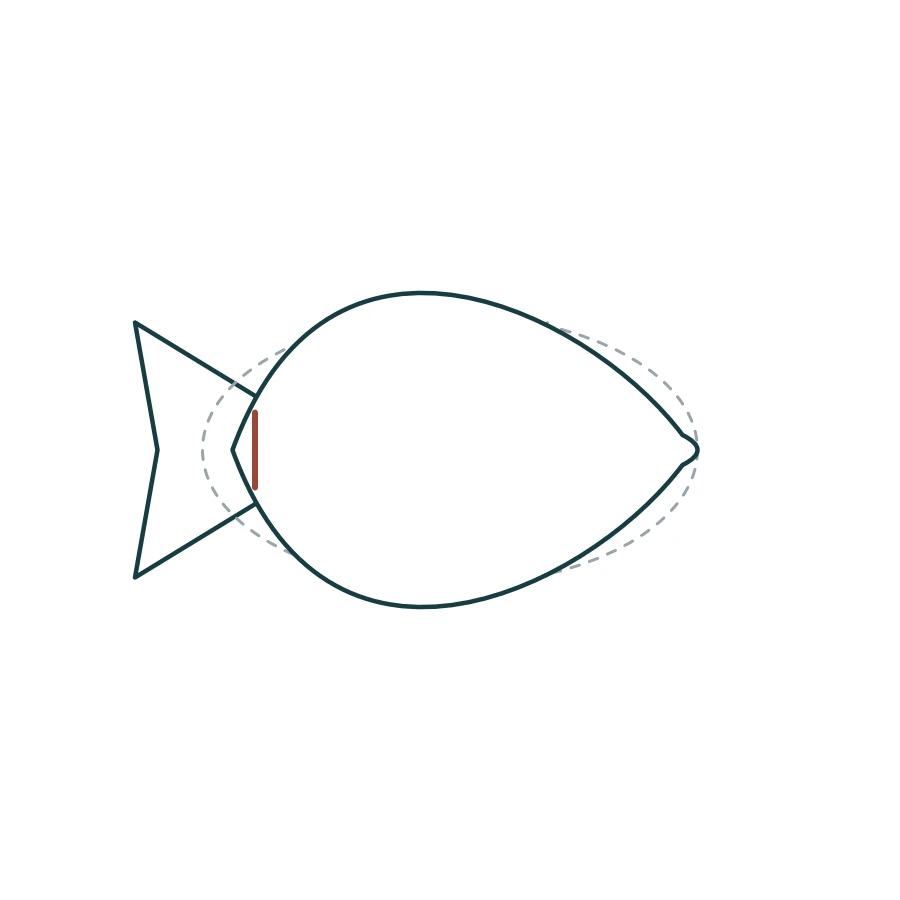
The red line is a diagnostic error for comparison, not an action to copy. The next frame removes exactly this covered segment.
On the left find the provisional tail-base line inside the body. The body is in front of the tail.
Why: Because the body covers the tail base, a continuous rear line would make the front shape look transparent.
Check: Can you name the front shape and point to the covered segment?
Repair: Do not erase everything: first locate both ends of the covered segment.
Step 5. Erase only the covered line
Trial
After checking
Trial
After checking
Trial
After checking
Simplest: Erase the tail base inside the body, keeping the spreading outer tail edges. Keep the foreground outer edge.
A little more detail: Erase the tail base inside the body, keeping the spreading outer tail edges. Check that the visible rear end reaches the front edge.
Best version: Erase the tail base inside the body, keeping the spreading outer tail edges. If the eraser touched an adjacent visible line, restore only its short endpoint.
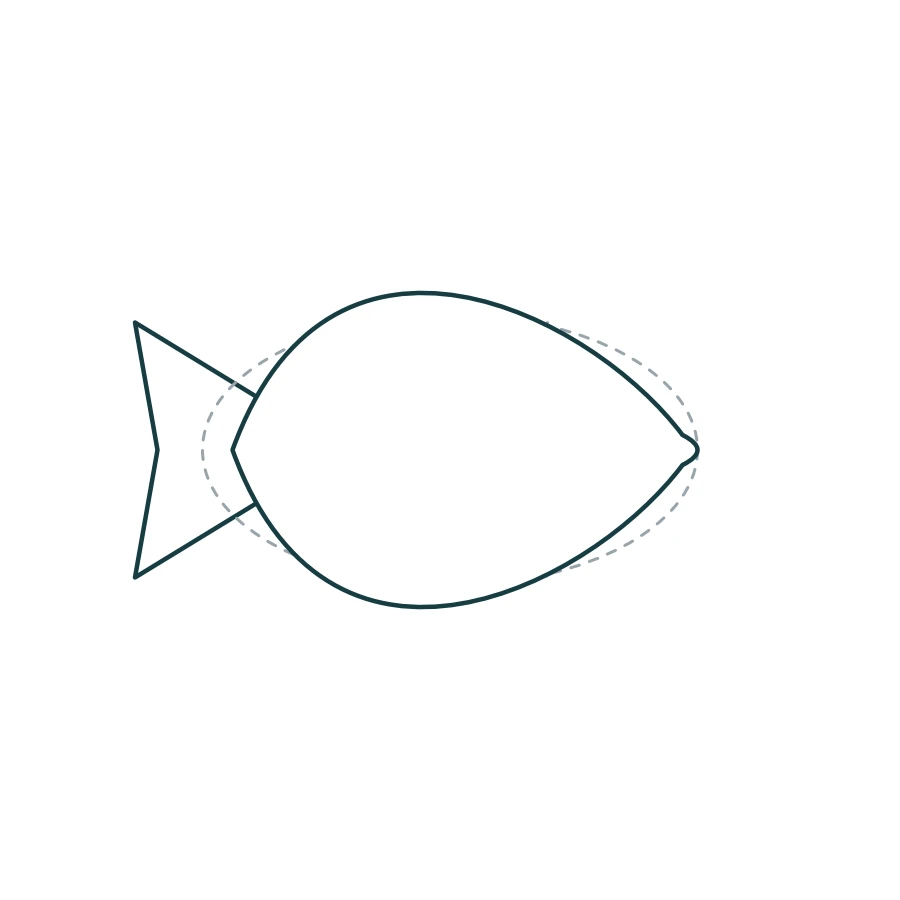
Erase the tail base inside the body, keeping the spreading outer tail edges.
Why: The eraser commits the chosen order: the front form hides the rear one.
Check: Is the previous error line gone, with adjacent visible edges retained?
Repair: If you erased a visible end, restore a short line up to the foreground boundary.
Step 6. Add the useful details
Trial
After checking
Trial
After checking
Trial
After checking
Simplest: Refine one gill curve and place a dot eye on the right above the body middle. Omit the side fin for this route.
A little more detail: Keep the dot eye and gill curve. Below the body middle build a small side fin from a soft curve and short edge.
Best version: Mark the eye with a small oval and dot inside, keeping its position. Add one short stroke inside the side fin along its direction.
Add only the details of your selected level, keeping the checked silhouette.
Why: Details use the masses and curves already checked.
Check: Does each detail belong to its form without crossing the neighbouring one?
Repair: Erase only the misplaced detail endpoint and shorten it to its own edge.
Step 7. Remove the guides
Trial
After checking
Trial
After checking
Trial
After checking
Simplest: Remove the temporary curve and light masses; retain the plain edge and this route details.
A little more detail: Remove the axis and temporary masses. Keep the details added at step 6.
Best version: Remove the axis, four boundary markers and masses. Keep the chosen curves and step 6 details without adding new ones.
Erase the dashed masses and temporary guides, keeping the chosen outer edge and explained details. Add no new details.
Why: The guides helped choose the form, but not all are part of its surface.
Check: Is there less construction, with the overlap order intact?
Repair: Restore one needed visible edge if the eraser touched it; do not trace everything again.
If the drawing is unclear
The front form looks transparent. Cause: A covered rear edge remains: the body covers the tail base. Repair: Erase the tail base inside the body, keeping the spreading outer tail edges.
The curve does not belong to the form. Cause: Its endpoints escaped the mass boundary. Repair: Soften one endpoint and return it to the side marker from step 2.
There is a gap after erasing. Cause: The eraser touched a visible section beside the overlap. Repair: Restore a short visible end up to the front boundary; keep the hidden line erased.
Independent tasks
Choose one new condition below. First construct your own masses and curve, name the foreground form, then draw the edge and erase the covered section. The construction-to-example pair explains the change; build rather than copy a finished outline. Your sizes and uneven lines may differ.
1. The fish swims upwards
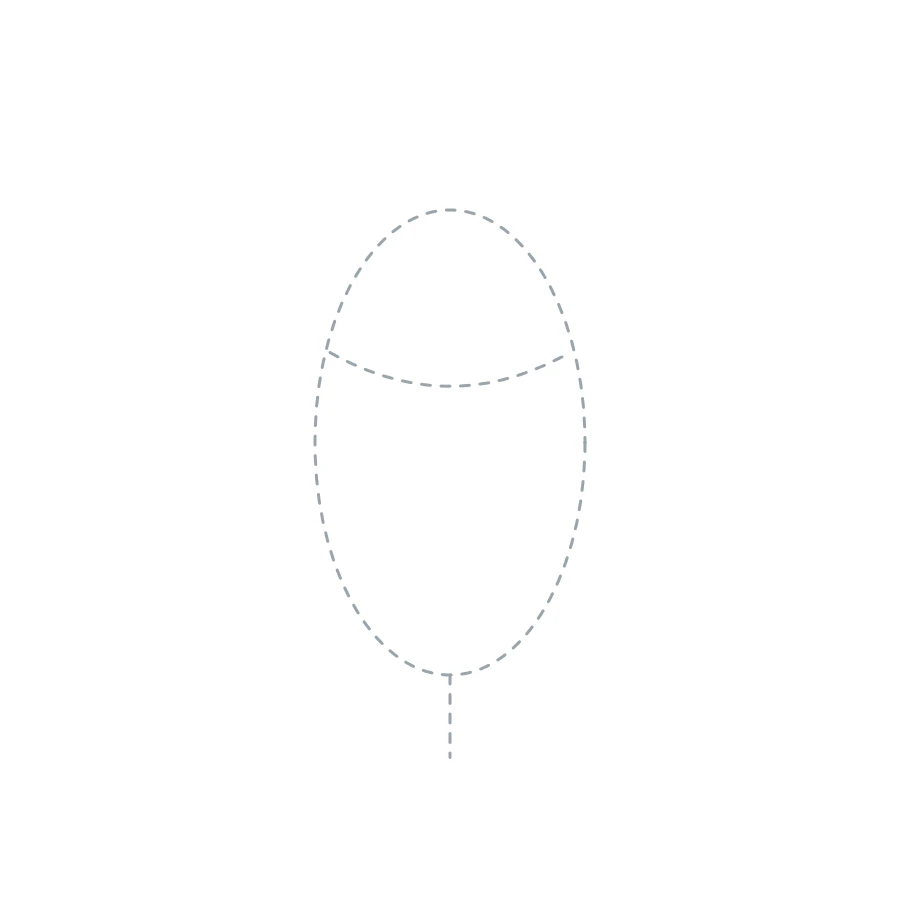
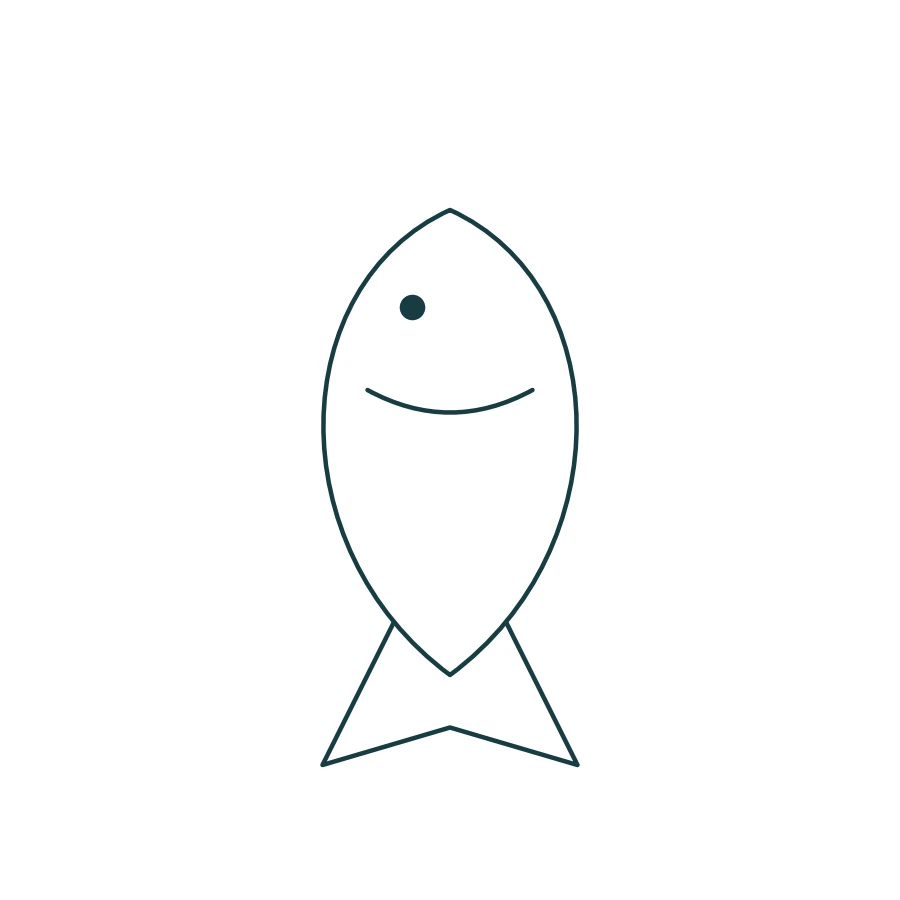
Place a vertical oval with the tail below it. Find a gill curve across the upper body, then place an eye above it.
Why: The new direction changes the head and tail landmarks; the gill curve must belong to the new mass.
Check: Does the tail emerge below, with the curve nearer the upper head?
Repair: Move only the curve and eye marker; do not rotate the old finished outline.
2. A narrower side
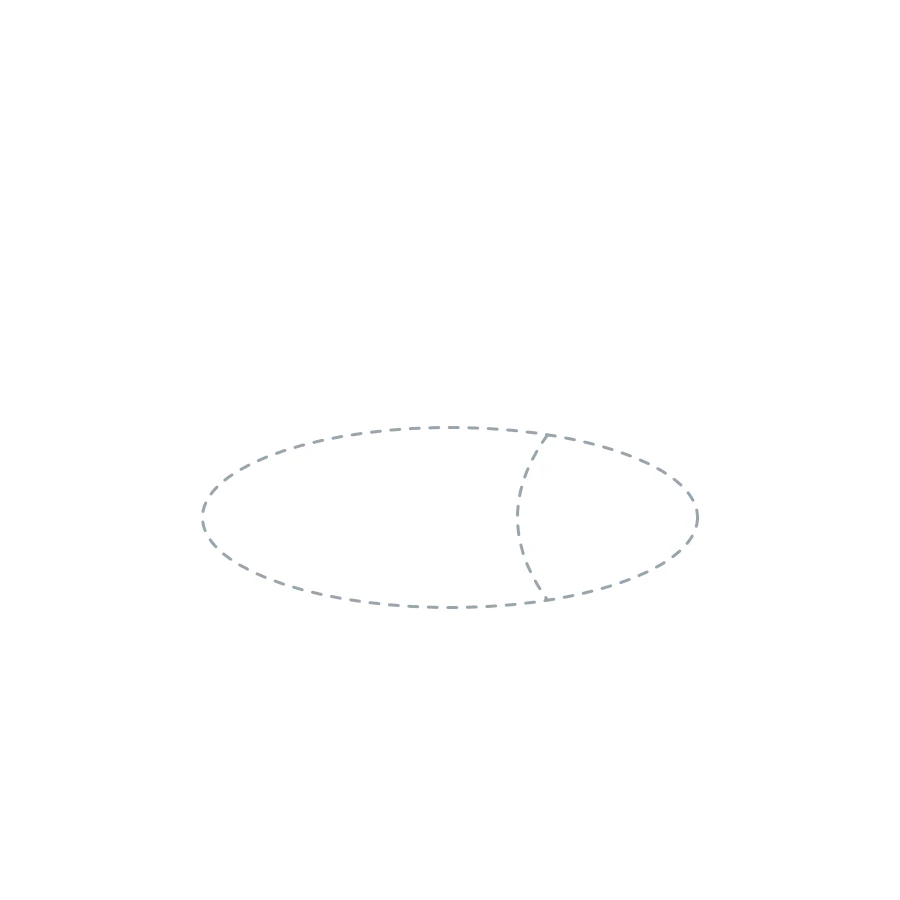
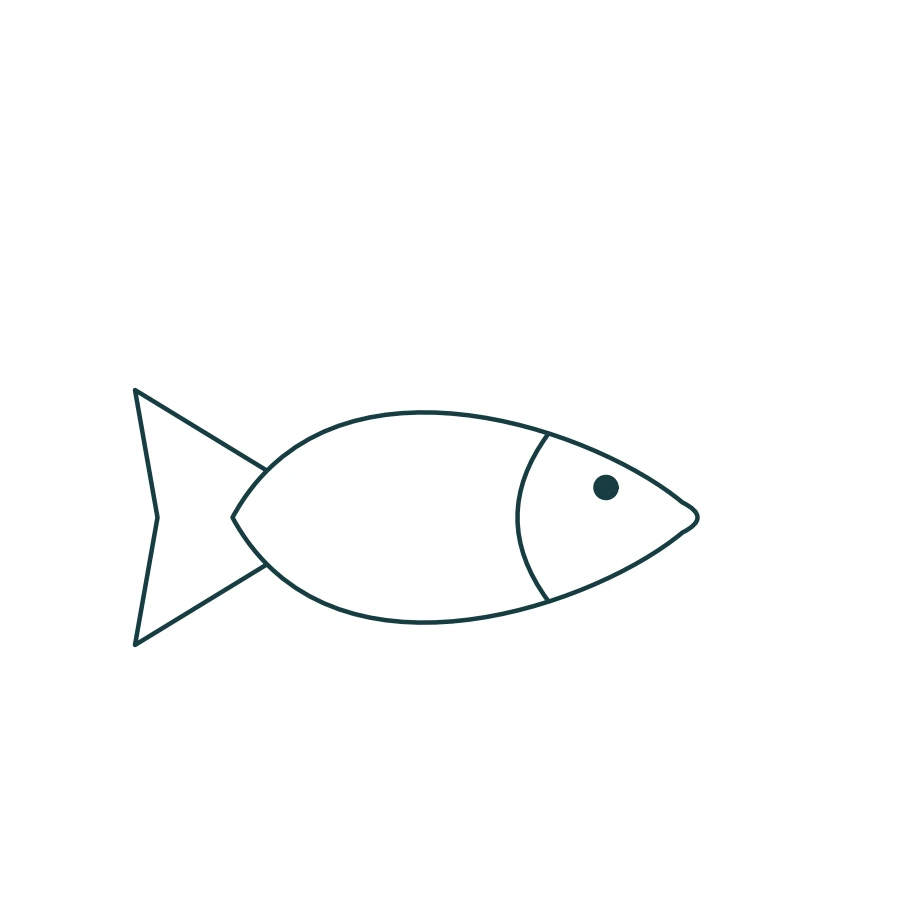
Make the mass shallower and place it lower on the page. Locate the gill curve endpoints and tail base again.
Why: A different volume needs a shorter curve; this transfers the skill to a slimmer fish.
Check: Does the curve stay within the new narrow body?
Repair: Shorten its endpoint at the lower edge.
3. A second fish in front
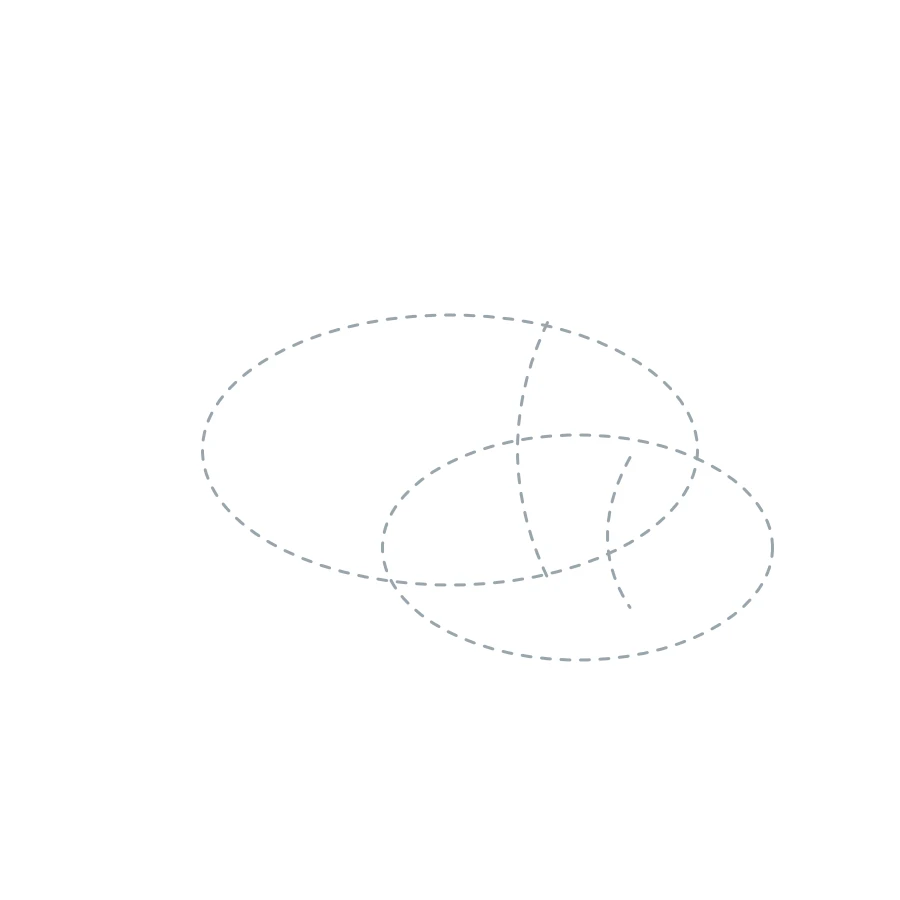
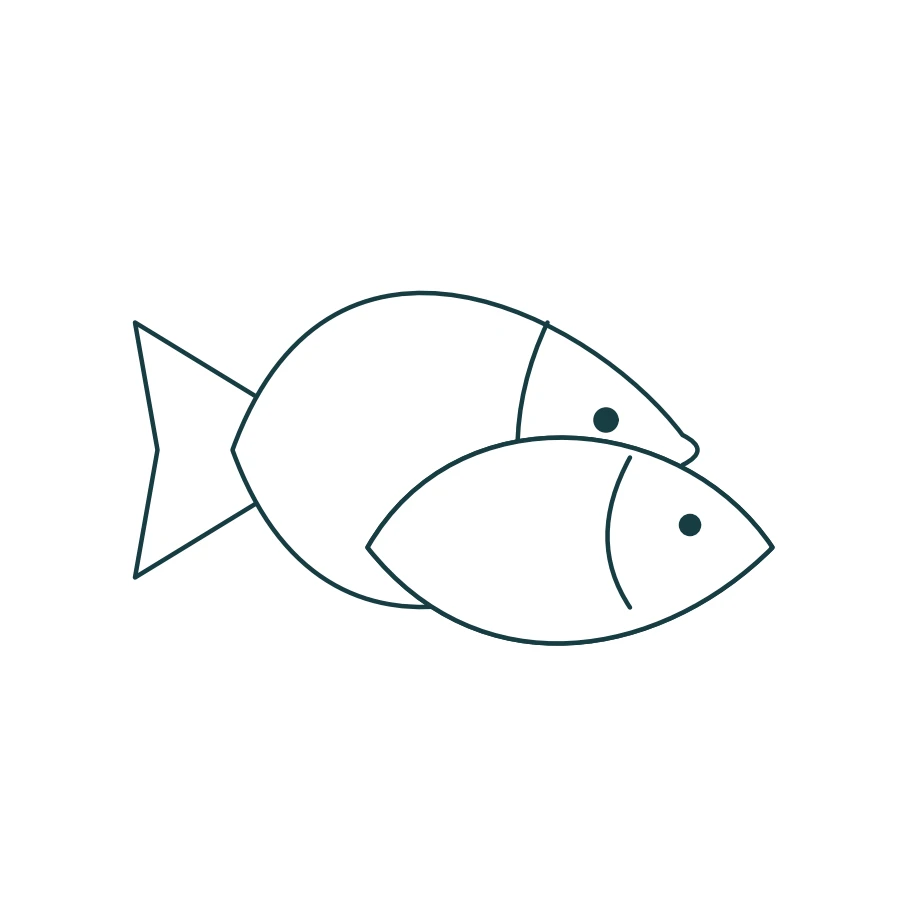
Place a new oval at the lower right in front of the first body. Locate its eye and gill curve separately, then remove the covered rear-fish edge.
Why: Two masses need their own curves and a new overlap order.
Check: Is the front fish opaque, with the rear edge stopping at it?
Repair: Erase only the rear arc inside the foreground oval.
Self-check
Name the changed condition, point to a curve on your new mass and show where the rear edge stops. Explain which guide you erased after checking.
Question: Why does the rear edge stop at an opaque foreground shape?
Answer: The foreground shape hides that segment. Continuing the rear edge inside it would suggest transparency. Retain the visible end up to the overlap.
Uneven lines are fine. Explain your chosen curve and where the rear edge stops. The example does not prescribe the only proportions. Structure and illustrations received editorial checks; no classroom trial has been conducted.
What to draw next
All drawing lessons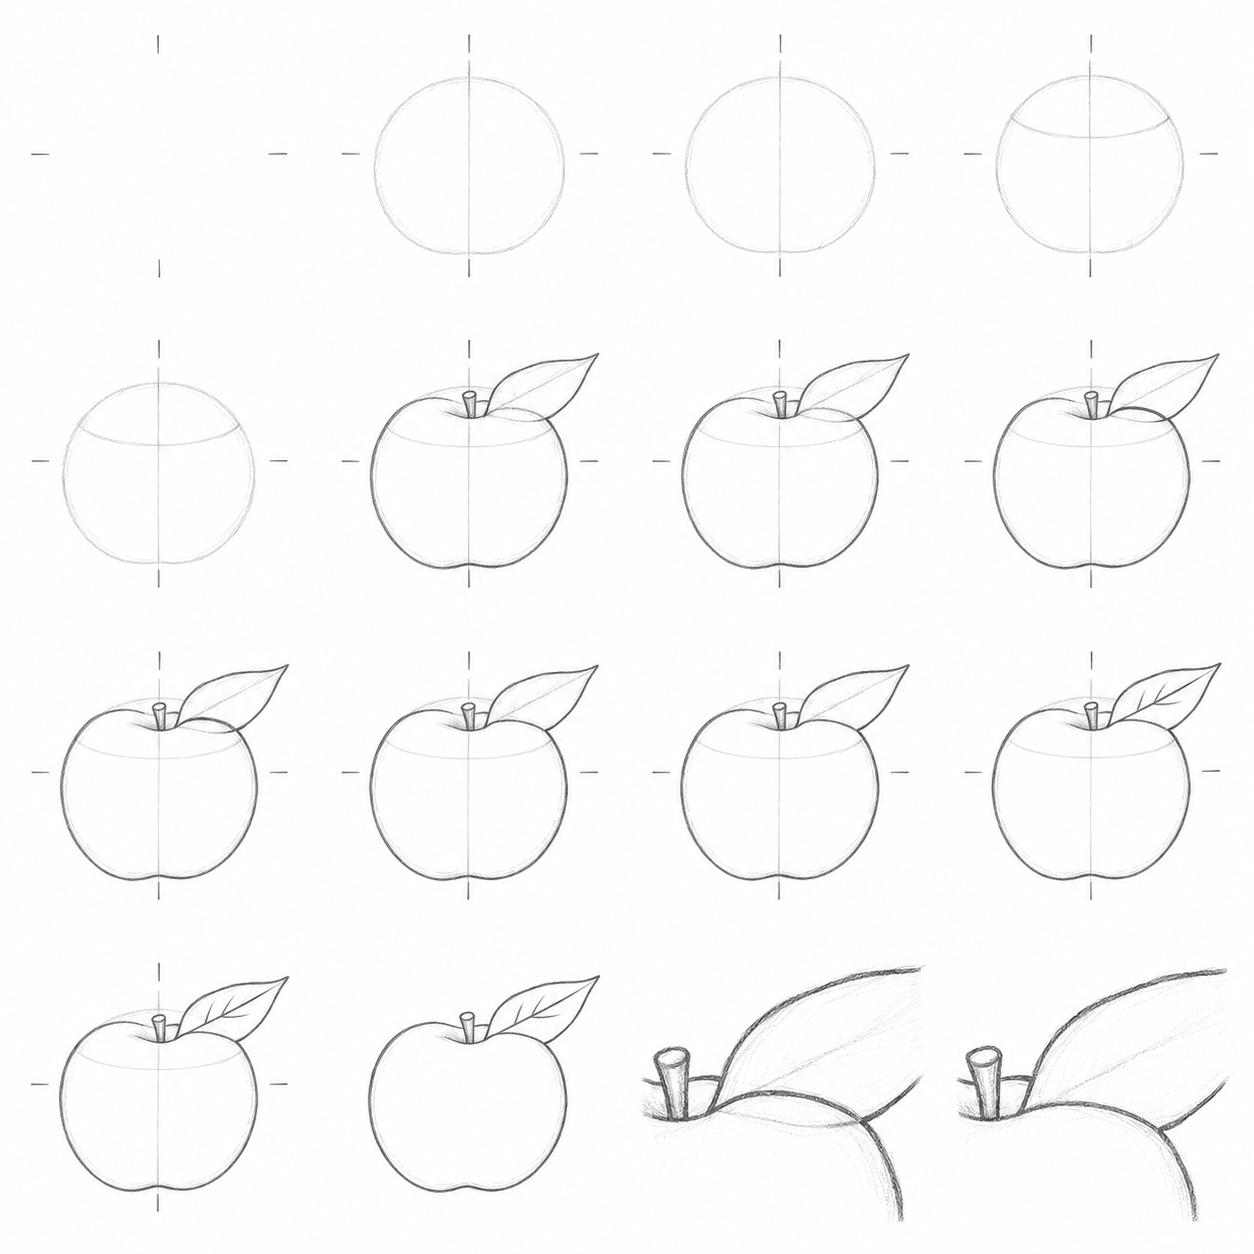 3 levels
How to draw an apple
A step-by-step lesson to draw an apple from simple forms: curves, overlap, erasing, warm-up, small repairs, independent tasks and printable A4/Letter PDFs.
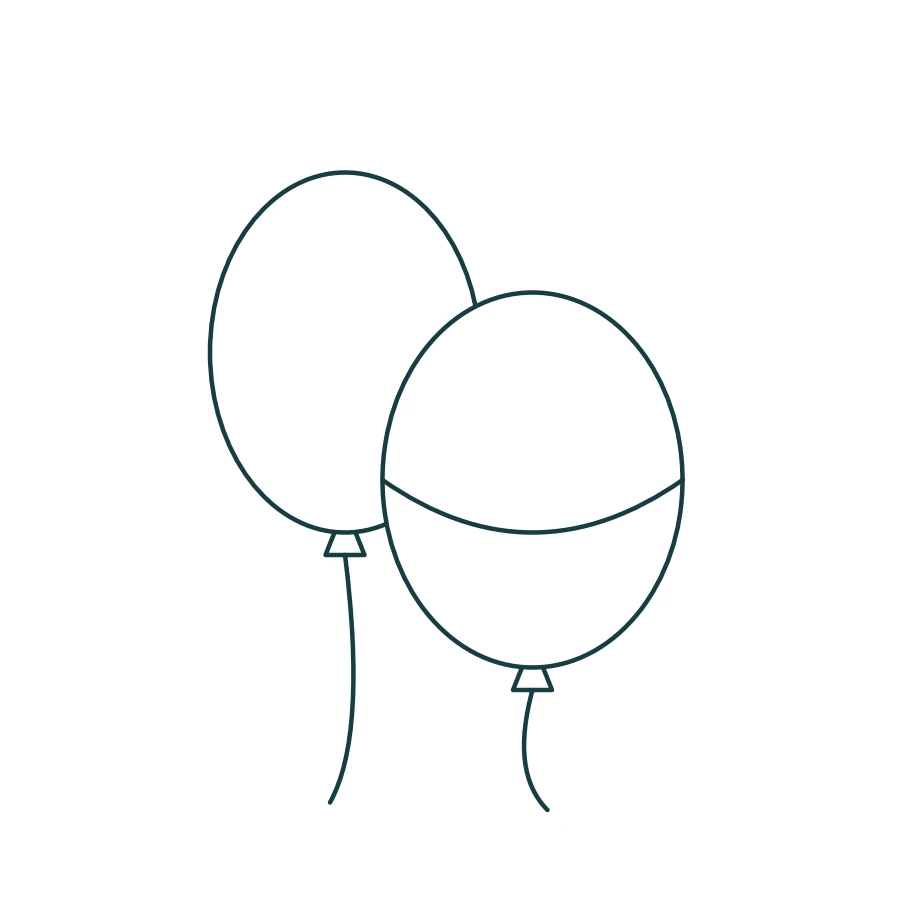 3 levels
How to draw overlapping balloons
A step-by-step lesson to draw overlapping balloons from simple forms: curves, overlap, erasing, warm-up, small repairs, independent tasks and printable A4/Letter PDFs.
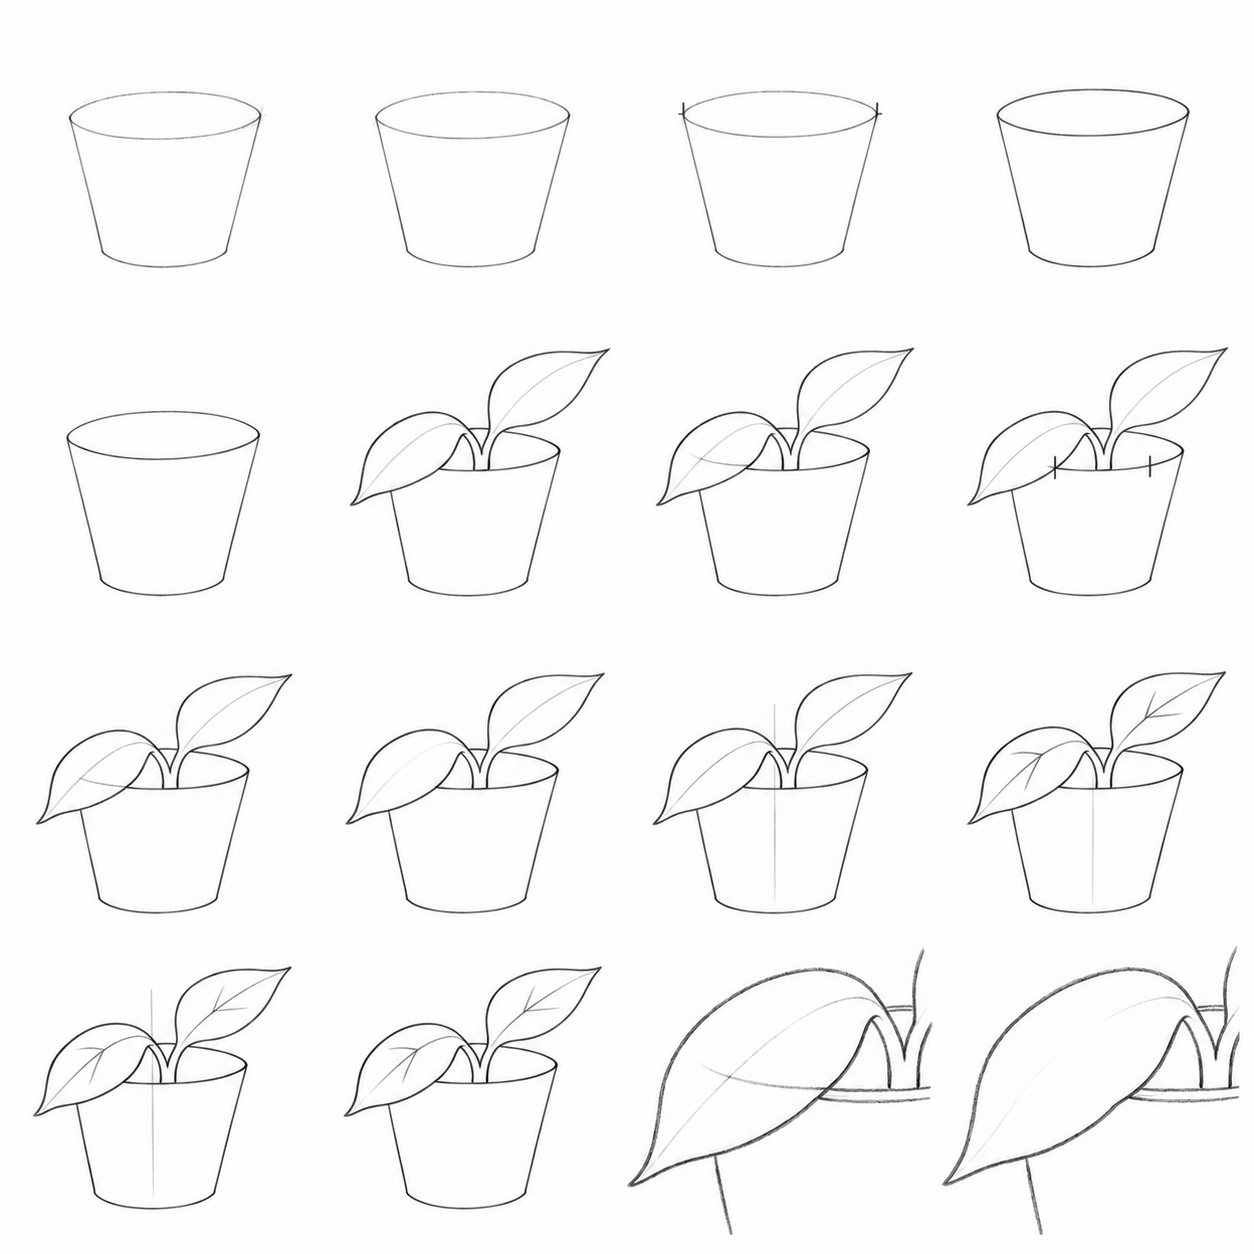 3 levels
How to draw a plant in a pot
A step-by-step lesson to draw a plant in a pot from simple forms: curves, overlap, erasing, warm-up, small repairs, independent tasks and printable A4/Letter PDFs.