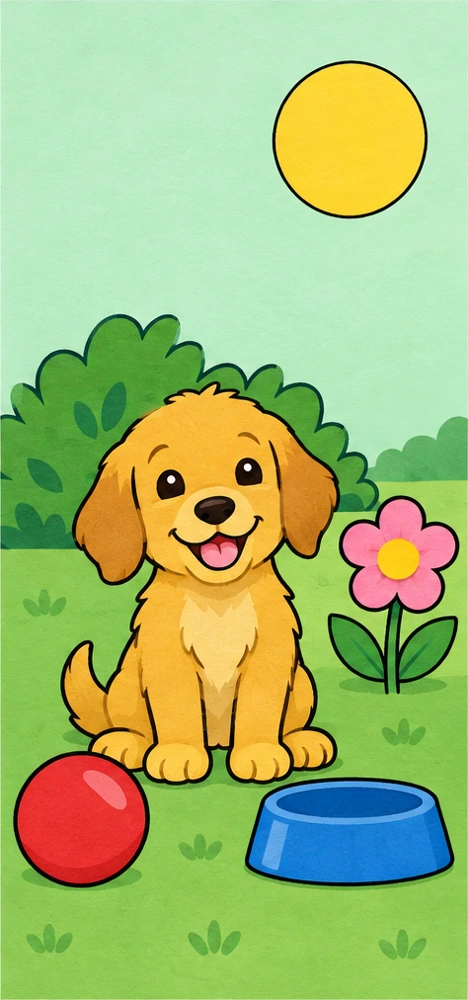
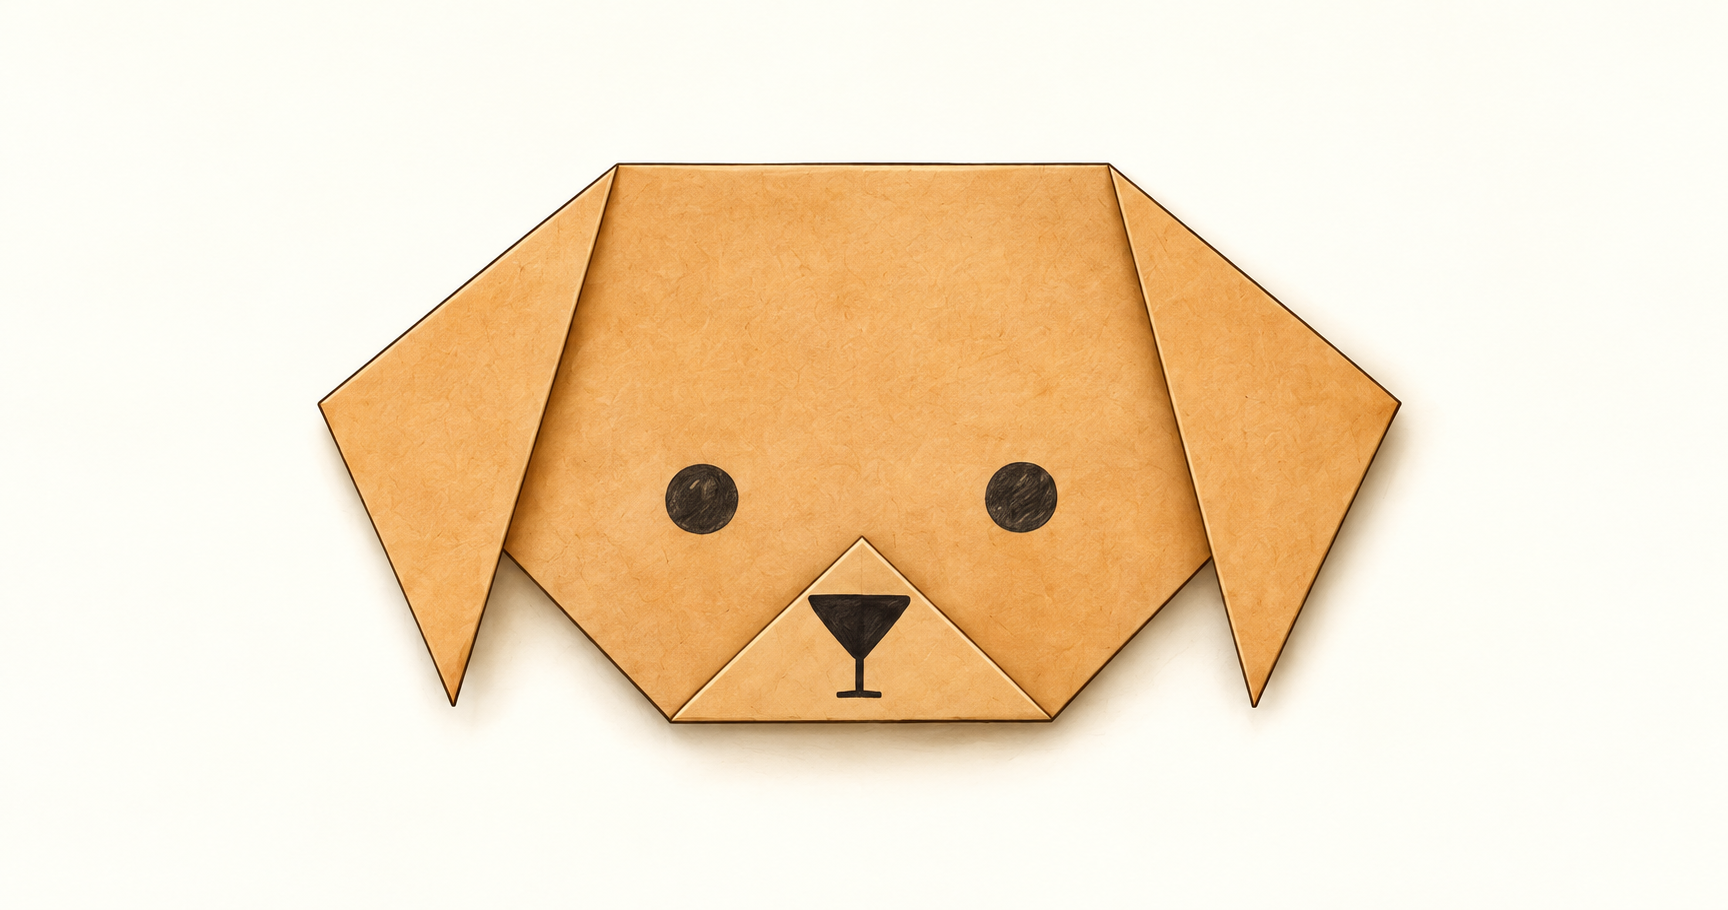
24 original puppy paper projects: 12 black-and-white and 12 full-color designs, plus whole-dog collage sheets. Free A4 and Letter PDFs with assembly examples.
Scissors with a grown-up. Use child scissors with rounded tips and cut while seated at a table. If a child is not ready yet, an adult cuts while the child colors and assembles.
Print
Choose A4 or US Letter. Print at 100%, with scaling off. Ordinary printer paper works.
Cut
Color black-and-white sheets first. Cut outer borders; follow dashed lines on the practice paths.
Make it yours
Arrange pieces before gluing. Try a new arrangement or tell a story about your creation.
Assembly example: The small boxed example shows the finished craft. Do not cut it out.
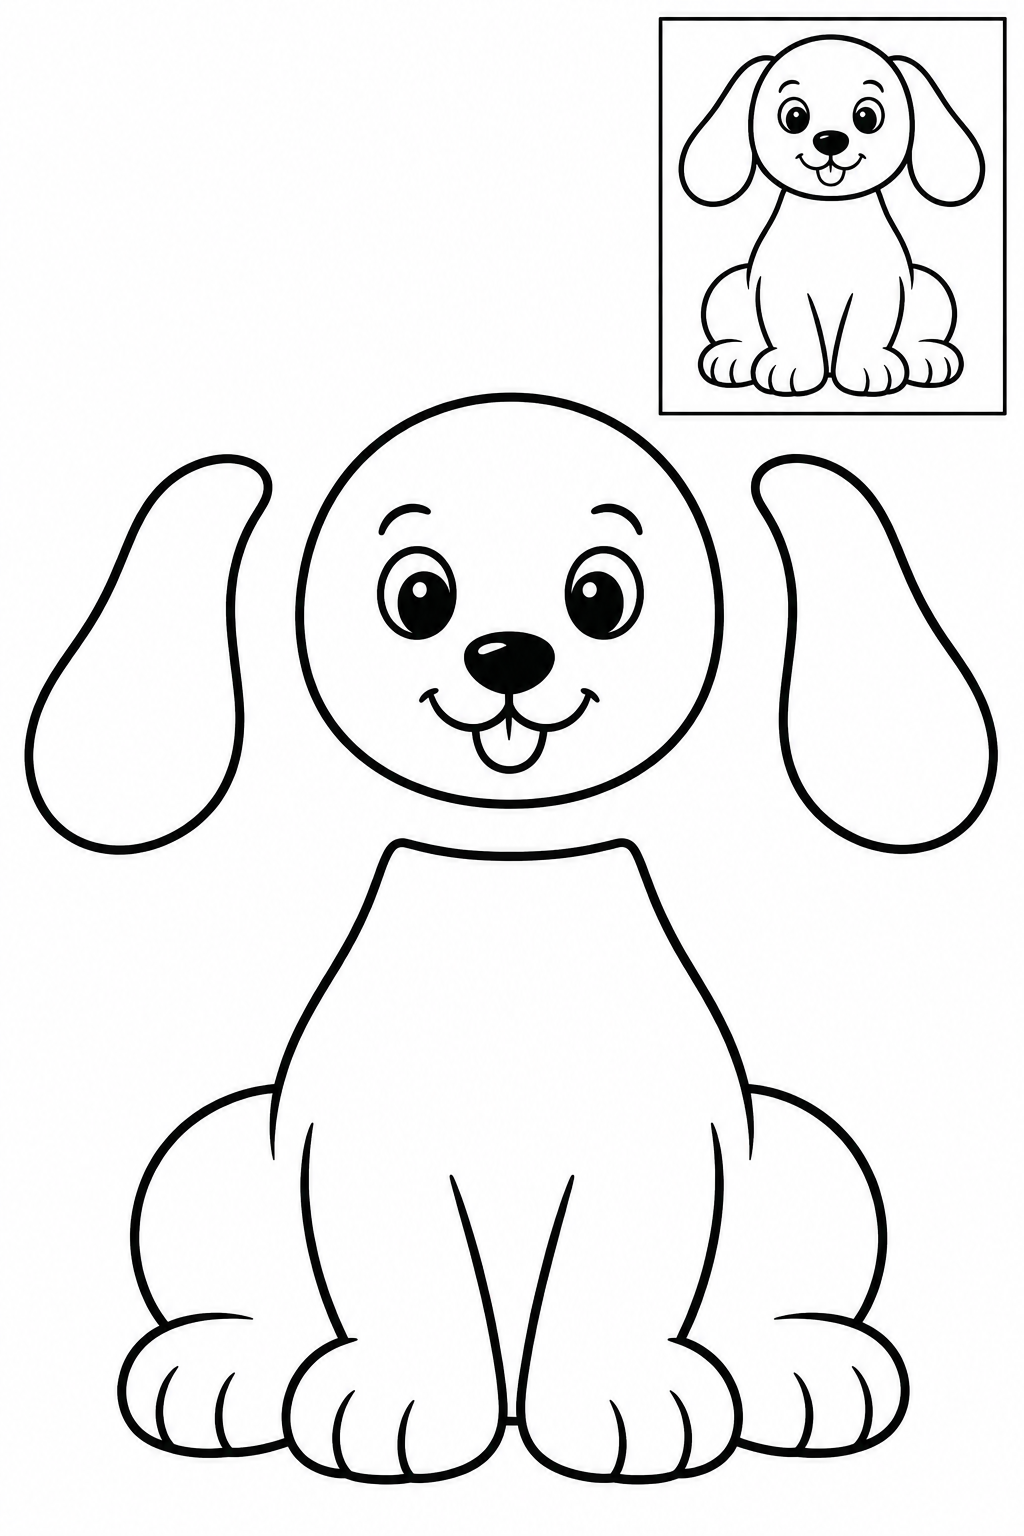
Tuck both ears behind the round head. Overlap the head onto the narrow top of the seated body, keeping all paws visible. Cut only the separate outside silhouettes; leave printed details intact. Try the arrangement against the boxed example before gluing. If a join slips, increase the overlap and press it flat; repair a nicked edge with tape on the back.
Check: Can you guide the scissors comfortably? If it is difficult, an adult can shorten a strip, cut a tricky curve or offer straight paths. Pieces should be fully separated and arranged as intended before gluing.
Assembly example: The small boxed example shows the finished craft. Do not cut it out.
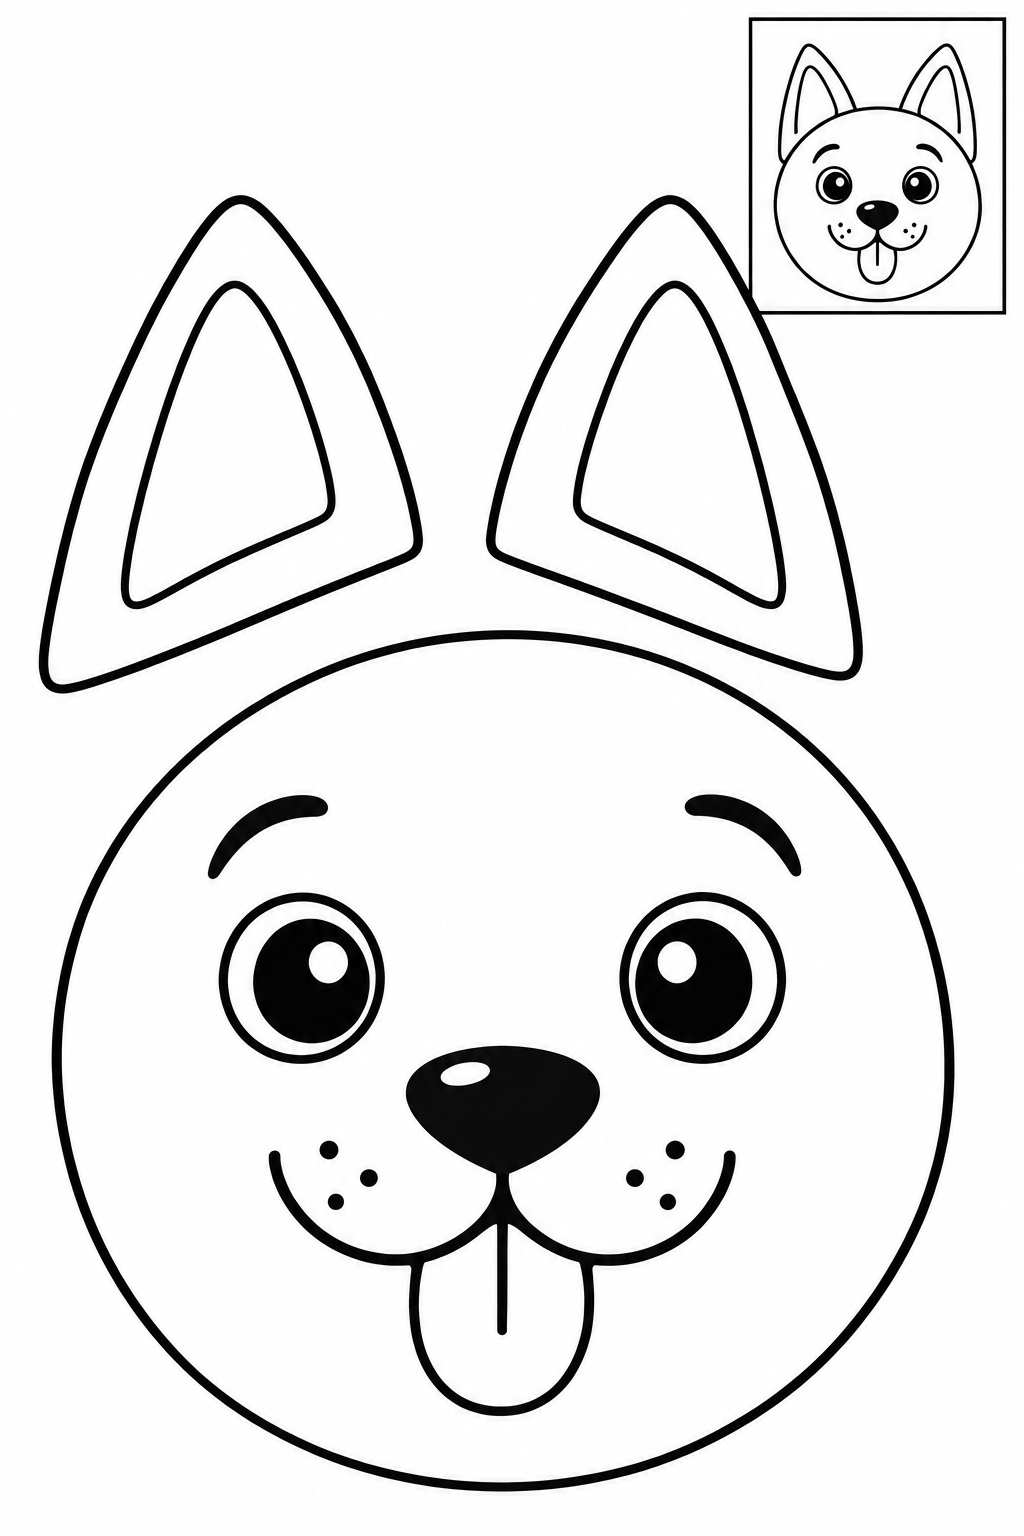
Place the two triangular ears behind the top of the face disk. Keep the inner ear lines intact and align the ear bases before gluing. Cut only the separate outside silhouettes; leave printed details intact. Try the arrangement against the boxed example before gluing. If a join slips, increase the overlap and press it flat; repair a nicked edge with tape on the back.
Check: Can you guide the scissors comfortably? If it is difficult, an adult can shorten a strip, cut a tricky curve or offer straight paths. Pieces should be fully separated and arranged as intended before gluing.
Assembly example: The small boxed example shows the finished craft. Do not cut it out.
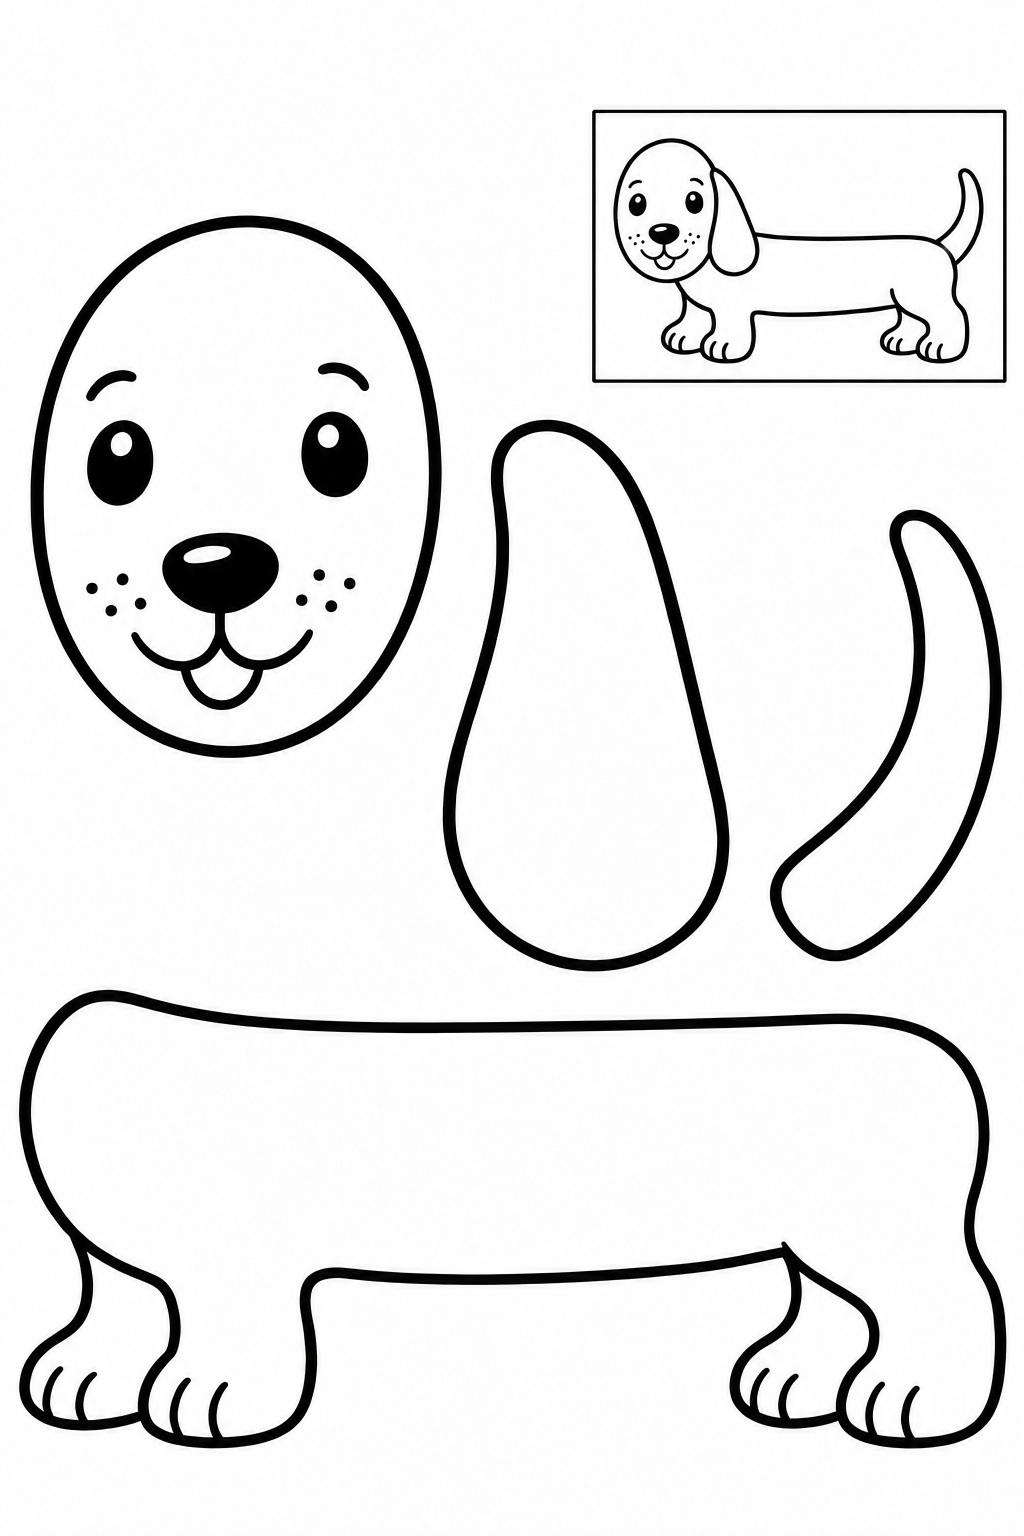
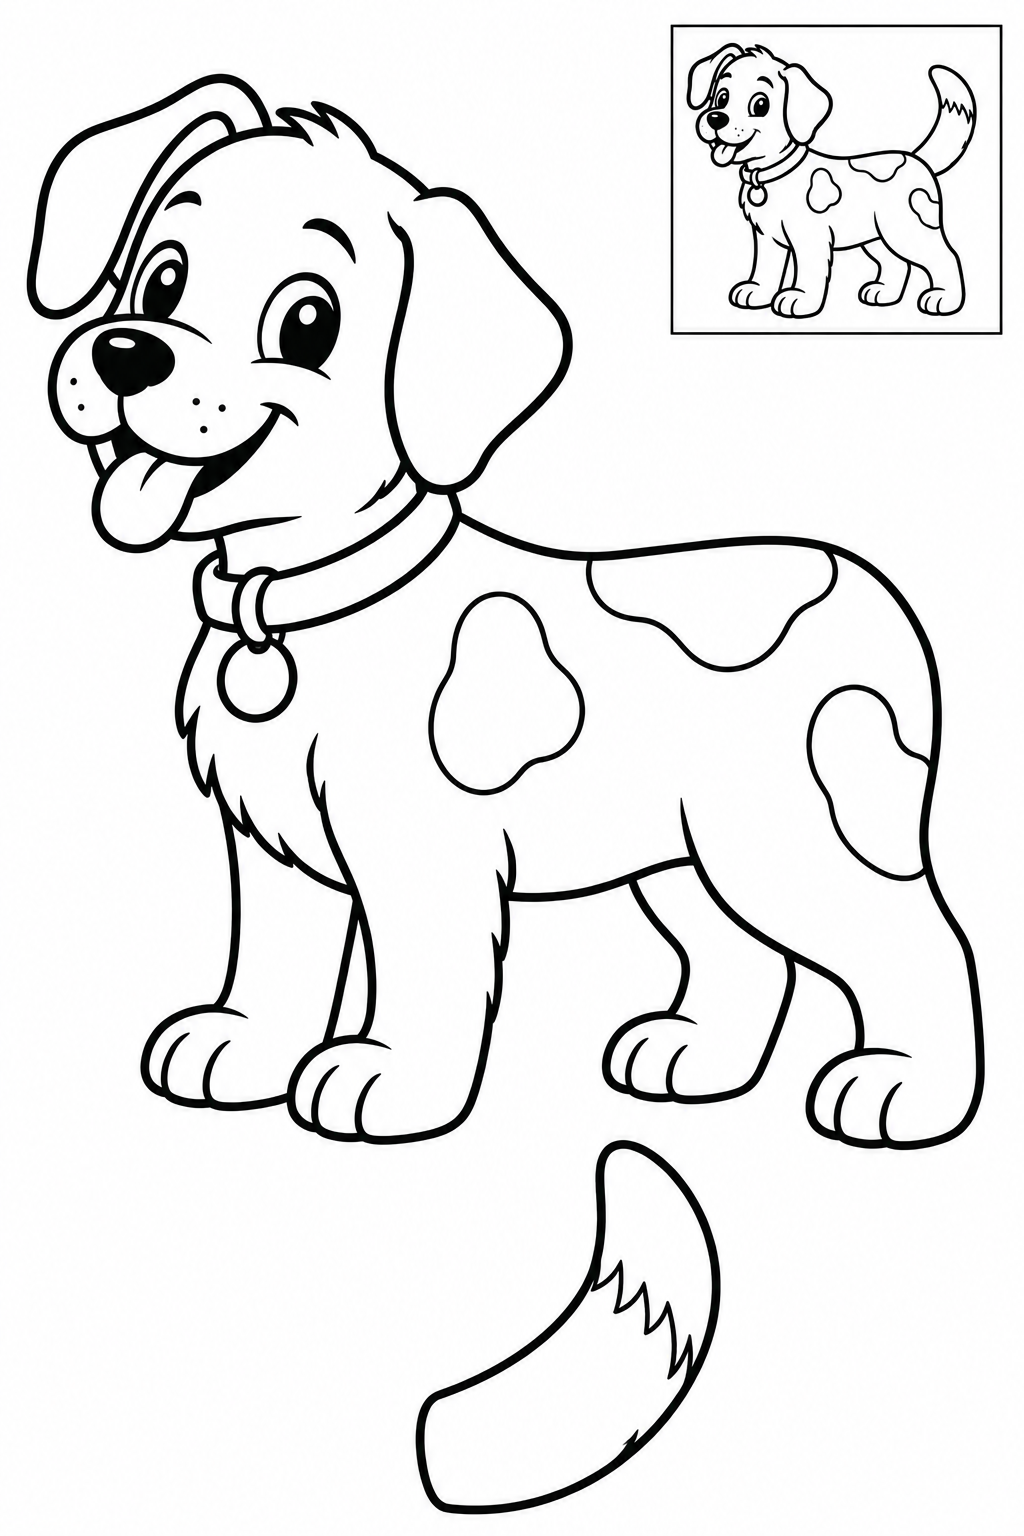
Attach the oval head over the left end of the long body. Overlap the floppy ear onto the side of the head and tuck the tail base behind the right end of the body. All four legs stay attached to the body. Cut only the separate outside silhouettes; leave printed details intact. Try the arrangement against the boxed example before gluing. If a join slips, increase the overlap and press it flat; repair a nicked edge with tape on the back.
Check: Can you guide the scissors comfortably? If it is difficult, an adult can shorten a strip, cut a tricky curve or offer straight paths. Pieces should be fully separated and arranged as intended before gluing.
Assembly example: The small boxed example shows the finished craft. Do not cut it out.
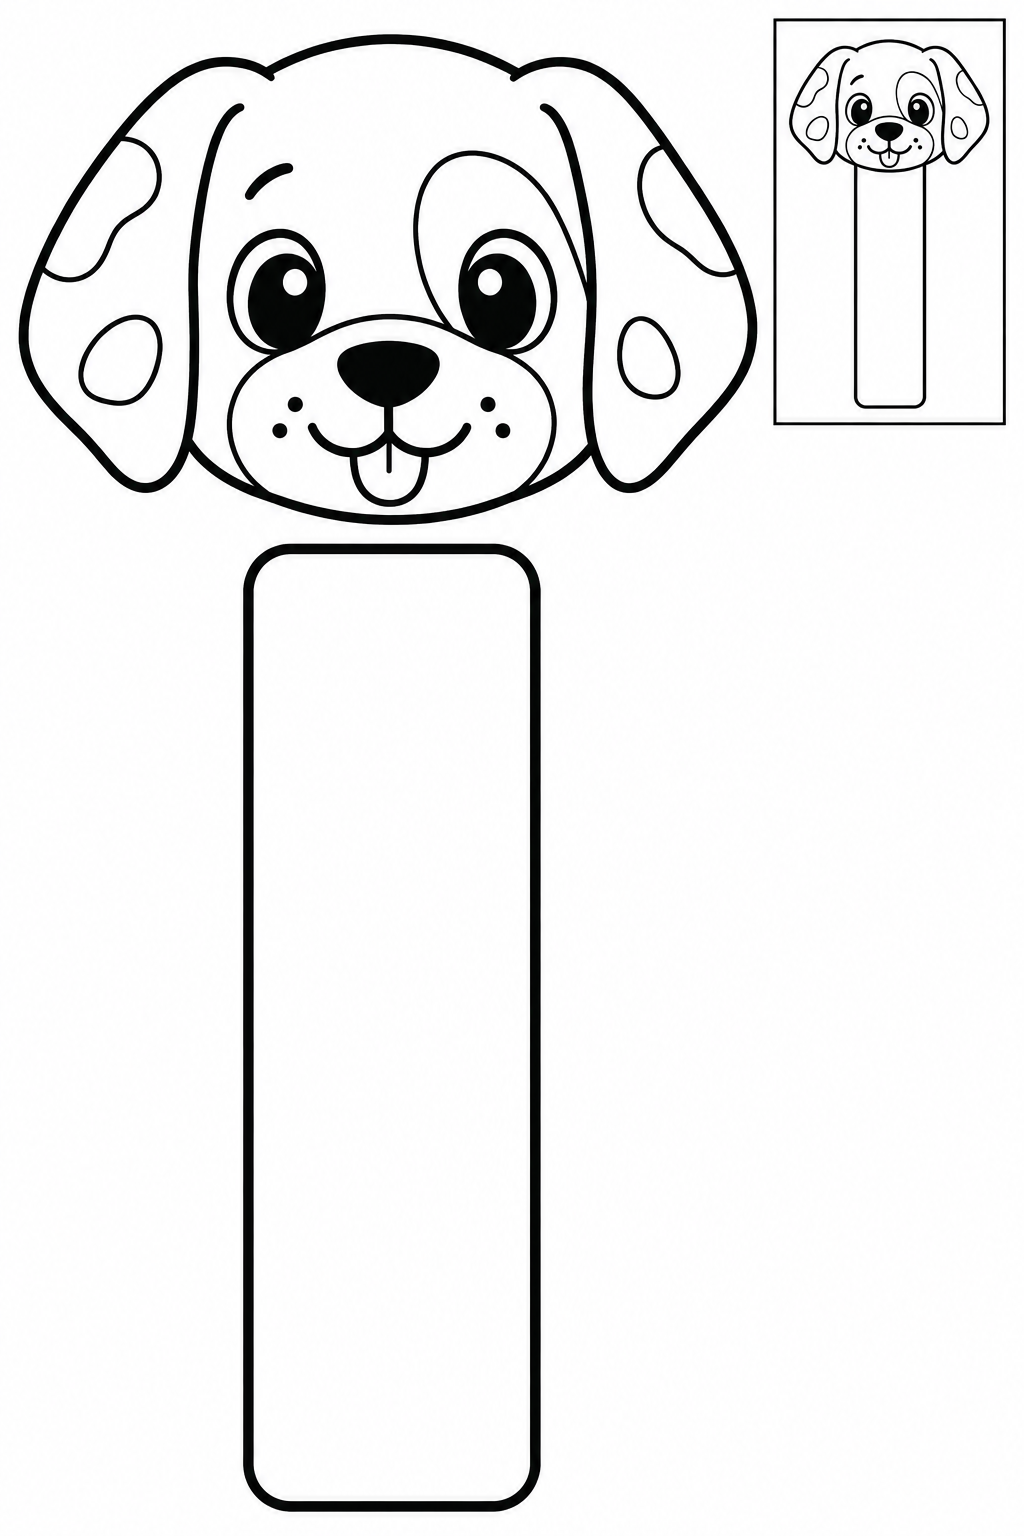
Glue the upper end of the long strip behind the puppy face, leaving the strip below it. Let the glue dry completely before using it in a book. Cut only the separate outside silhouettes; leave printed details intact. Try the arrangement against the boxed example before gluing. If a join slips, increase the overlap and press it flat; repair a nicked edge with tape on the back.
Check: Can you guide the scissors comfortably? If it is difficult, an adult can shorten a strip, cut a tricky curve or offer straight paths. Pieces should be fully separated and arranged as intended before gluing.
Assembly example: The small boxed example shows the finished craft. Do not cut it out.
An adult wraps the flat band loosely around a finger and tapes the ends. Attach the whole puppy outside the ring. Remove and enlarge a tight ring; the puppy's legs and tail stay attached. Cut only the separate outside silhouettes; leave printed details intact. Try the arrangement against the boxed example before gluing. If a join slips, increase the overlap and press it flat; repair a nicked edge with tape on the back.
Check: Can you guide the scissors comfortably? If it is difficult, an adult can shorten a strip, cut a tricky curve or offer straight paths. Pieces should be fully separated and arranged as intended before gluing.
Assembly example: The small boxed example shows the finished craft. Do not cut it out.
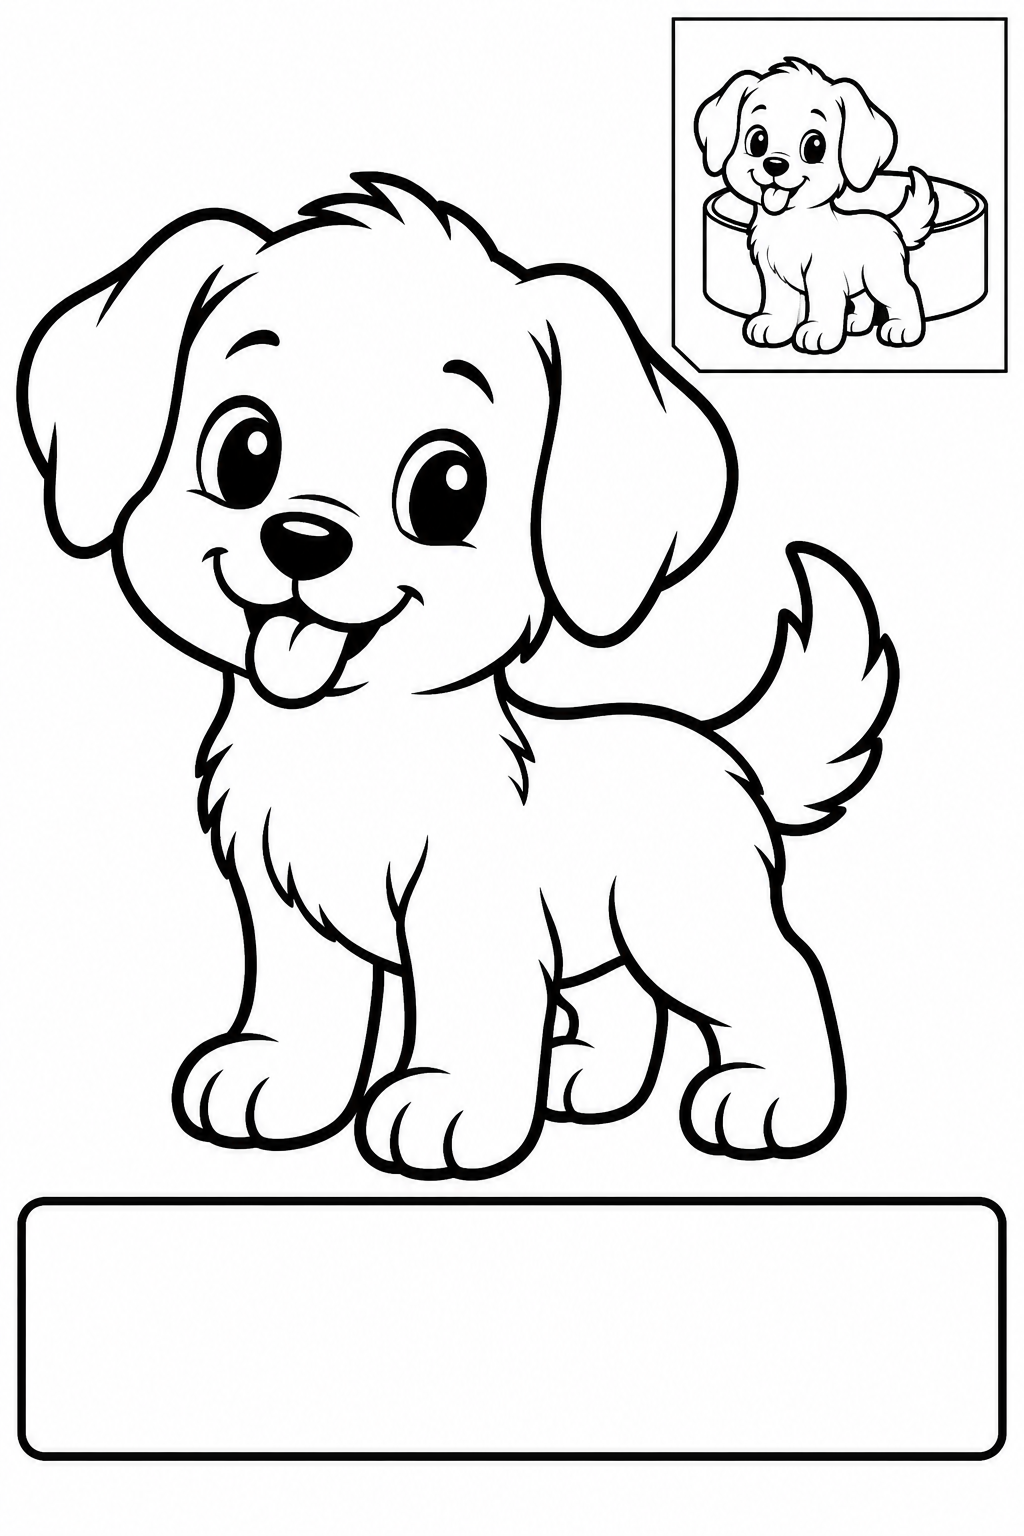
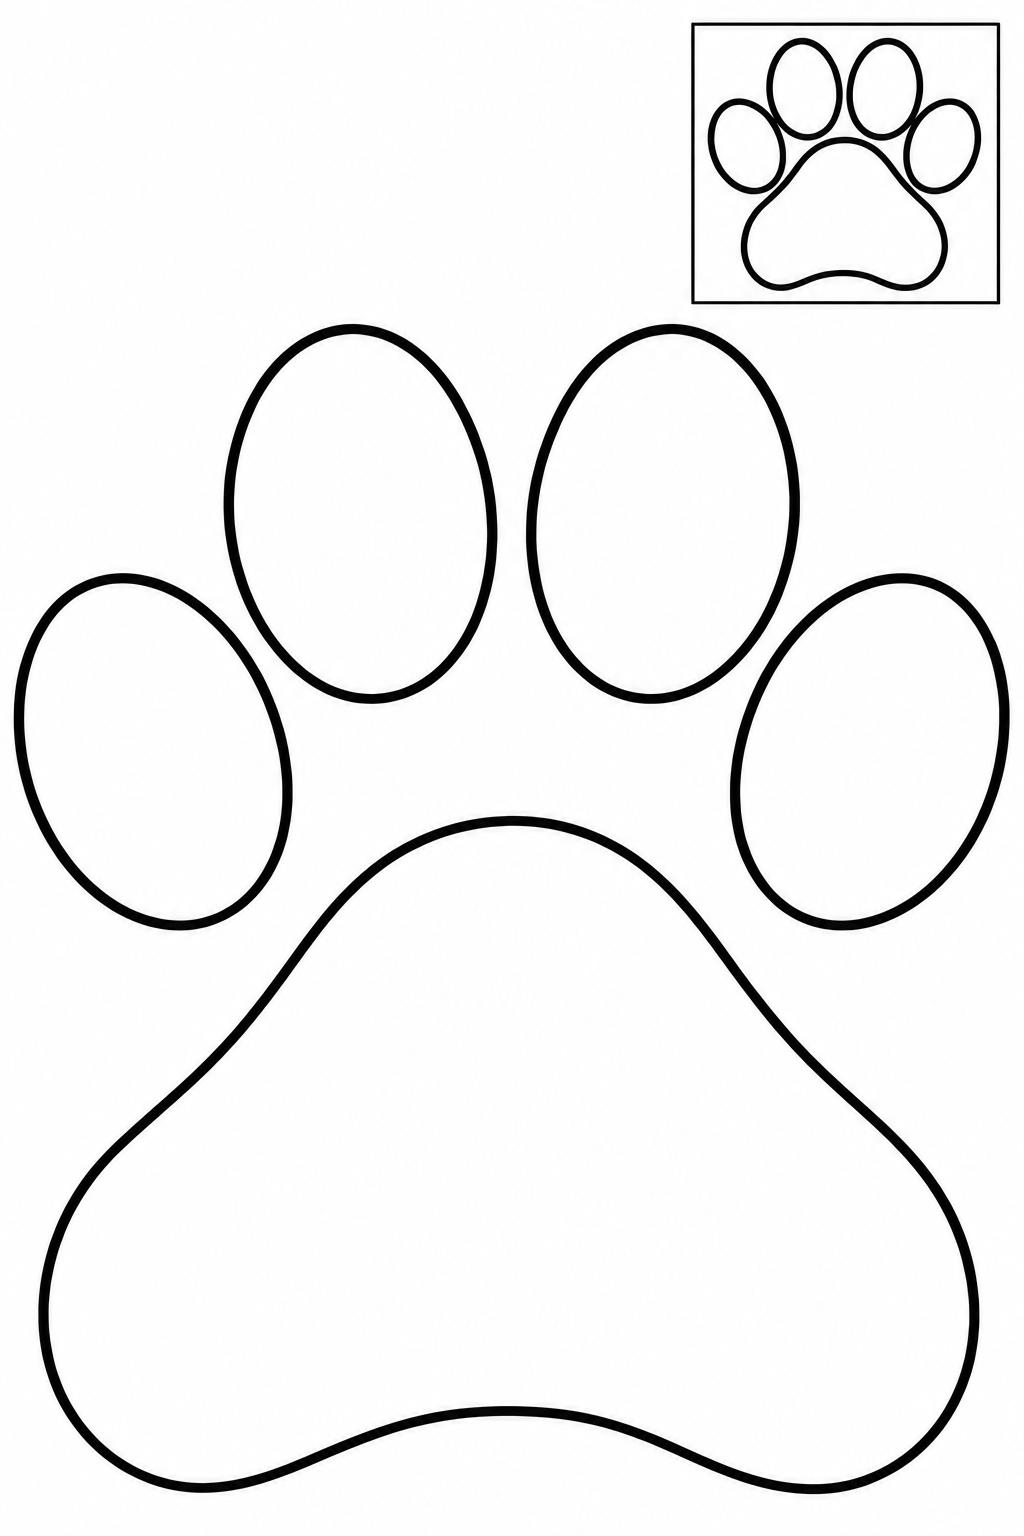
Arrange the large central pad on your own backing paper, then place the four oval toe pads above it in an arch. Leave small gaps between pads. Glue all five pieces directly to the backing sheet; there is no separate paw base to cut. Cut only the separate outside silhouettes; leave printed details intact. Try the arrangement against the boxed example before gluing. If a join slips, increase the overlap and press it flat; repair a nicked edge with tape on the back.
Check: Can you guide the scissors comfortably? If it is difficult, an adult can shorten a strip, cut a tricky curve or offer straight paths. Pieces should be fully separated and arranged as intended before gluing.
Assembly example: The small boxed example shows the finished craft. Do not cut it out.
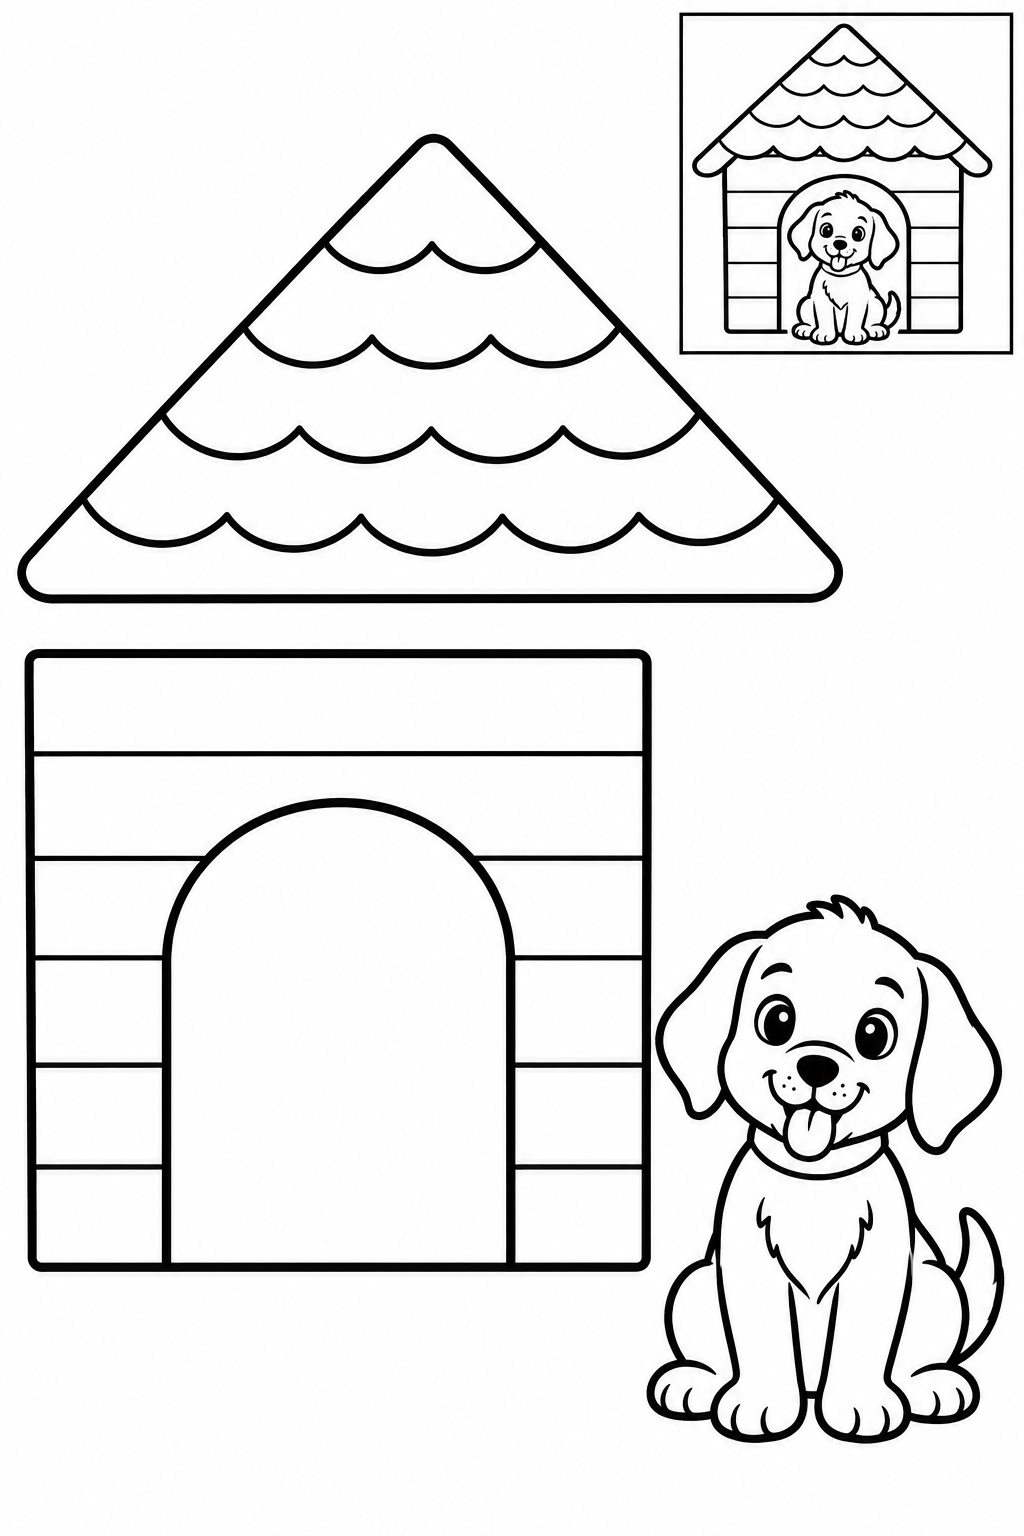
Overlap the triangular roof onto the top of the kennel wall. Place the whole puppy in front of the printed doorway. The doorway is decoration, not a hole to cut. Cut only the separate outside silhouettes; leave printed details intact. Try the arrangement against the boxed example before gluing. If a join slips, increase the overlap and press it flat; repair a nicked edge with tape on the back.
Check: Can you guide the scissors comfortably? If it is difficult, an adult can shorten a strip, cut a tricky curve or offer straight paths. Pieces should be fully separated and arranged as intended before gluing.
Assembly example: The small boxed example shows the finished craft. Do not cut it out.
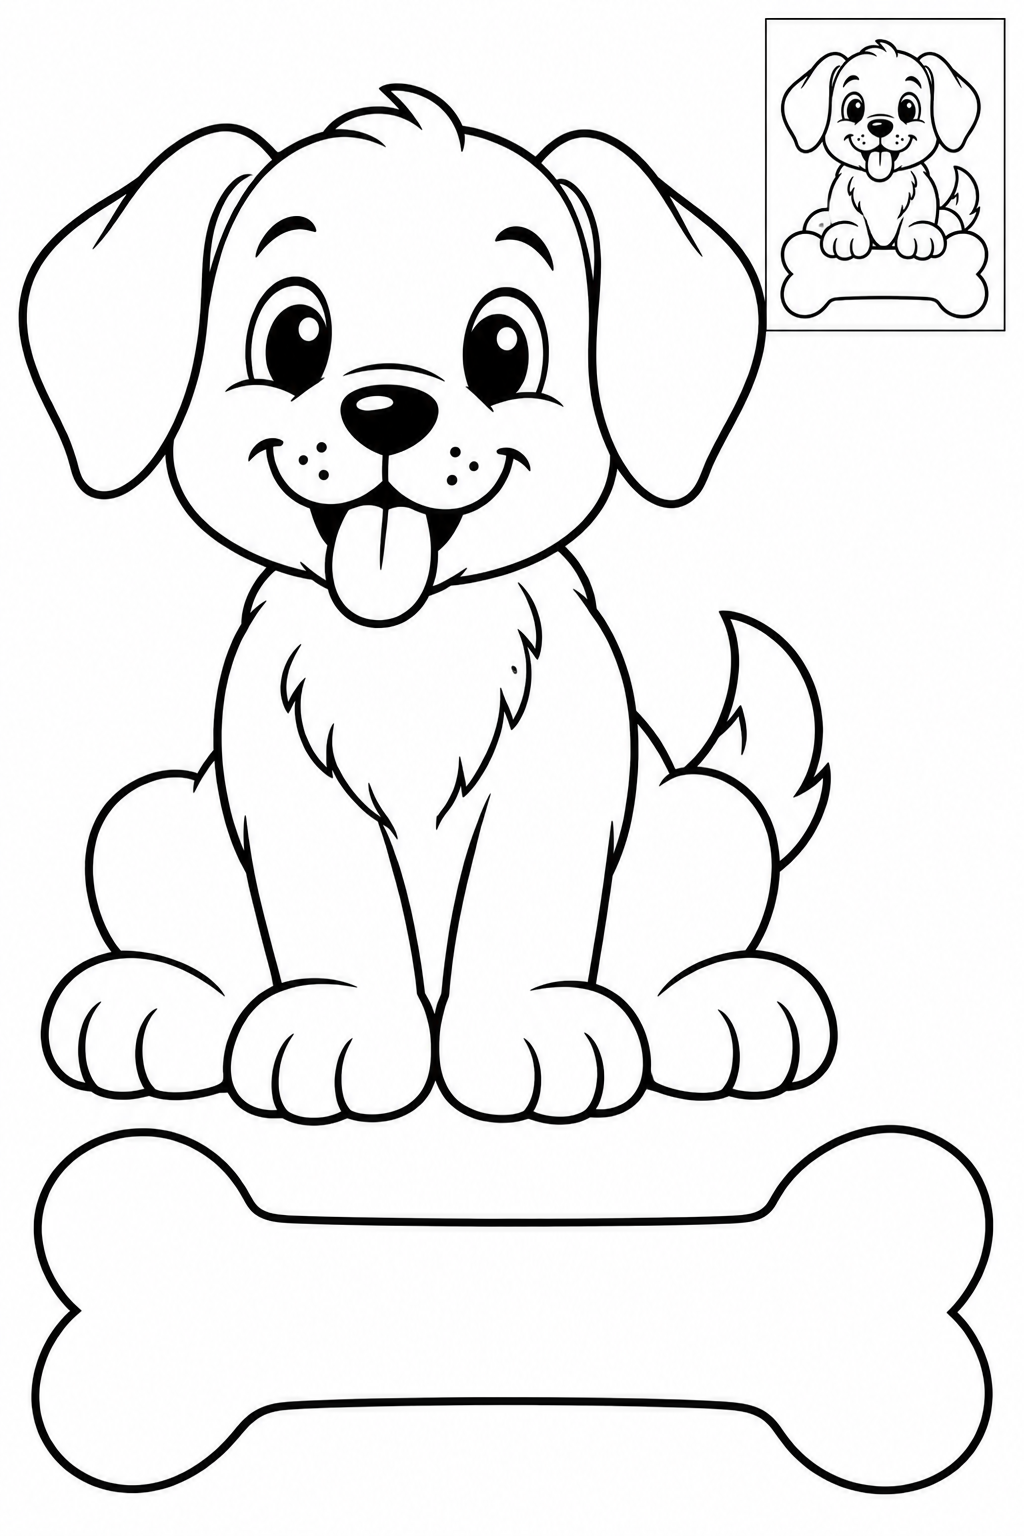
Cut the puppy as one whole figure. Place the broad bone across the bottom of the front paws and glue its center over them. Keep the face, fur and paw lines inside the puppy intact. Cut only the separate outside silhouettes; leave printed details intact. Try the arrangement against the boxed example before gluing. If a join slips, increase the overlap and press it flat; repair a nicked edge with tape on the back.
Check: Can you guide the scissors comfortably? If it is difficult, an adult can shorten a strip, cut a tricky curve or offer straight paths. Pieces should be fully separated and arranged as intended before gluing.
Assembly example: The small boxed example shows the finished craft. Do not cut it out.
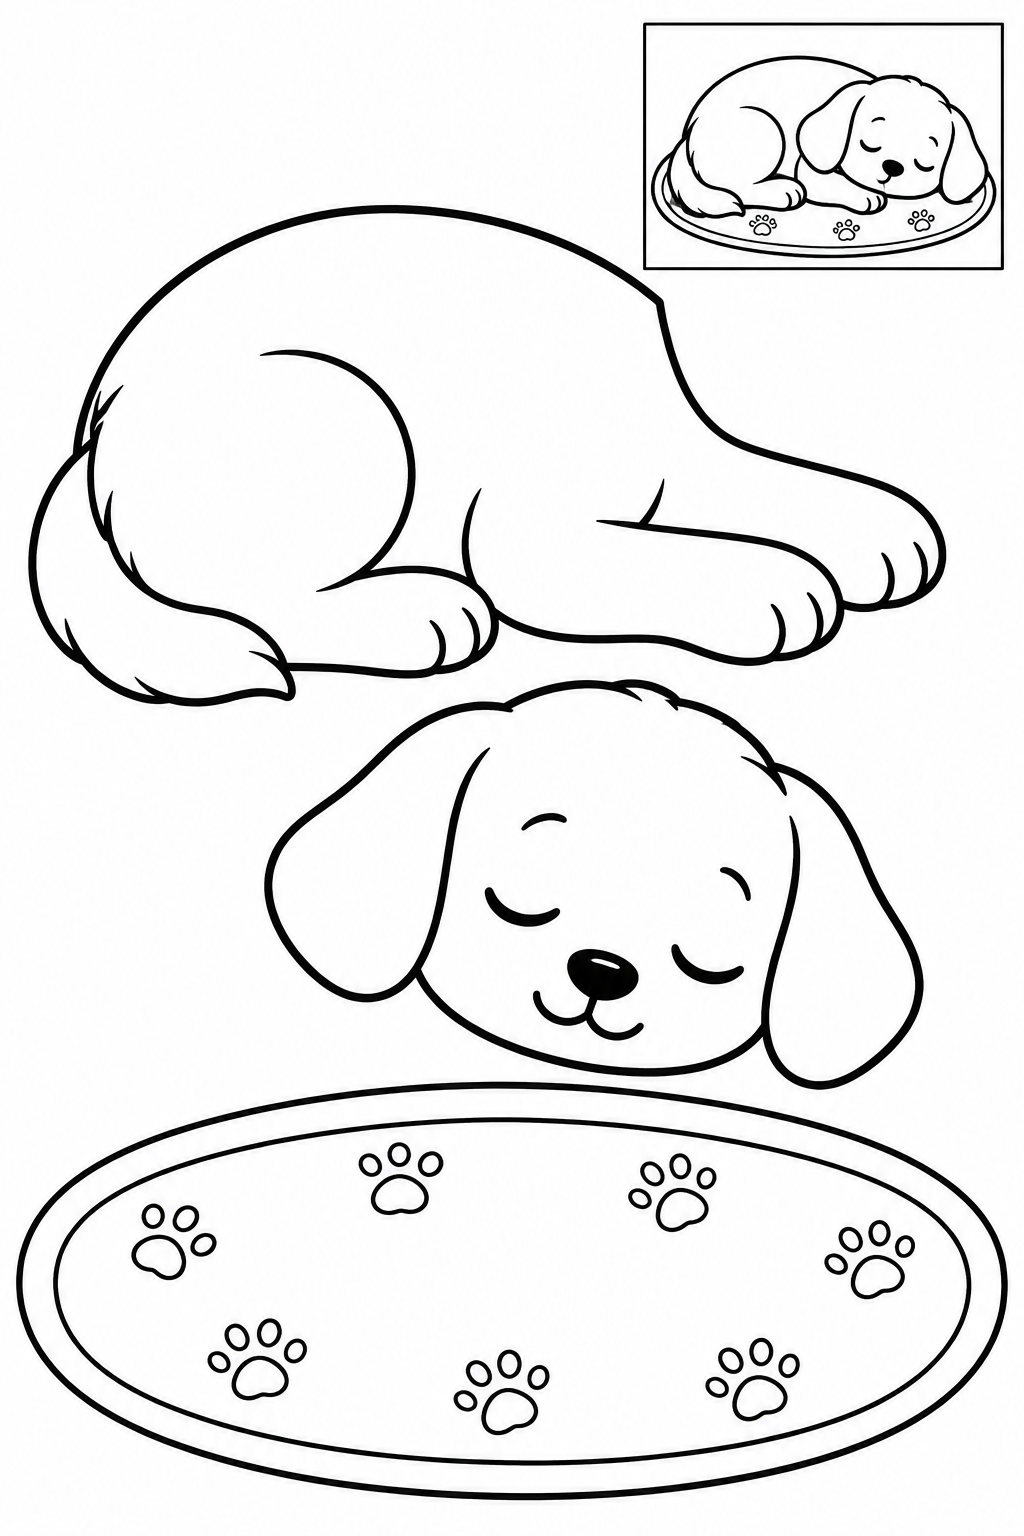
Place the curled body on the oval blanket. Overlap the sleeping head onto the front paws, keeping its ears attached. Glue the body onto the blanket before the head. Cut only the separate outside silhouettes; leave printed details intact. Try the arrangement against the boxed example before gluing. If a join slips, increase the overlap and press it flat; repair a nicked edge with tape on the back.
Check: Can you guide the scissors comfortably? If it is difficult, an adult can shorten a strip, cut a tricky curve or offer straight paths. Pieces should be fully separated and arranged as intended before gluing.
Assembly example: The small boxed example shows the finished craft. Do not cut it out.
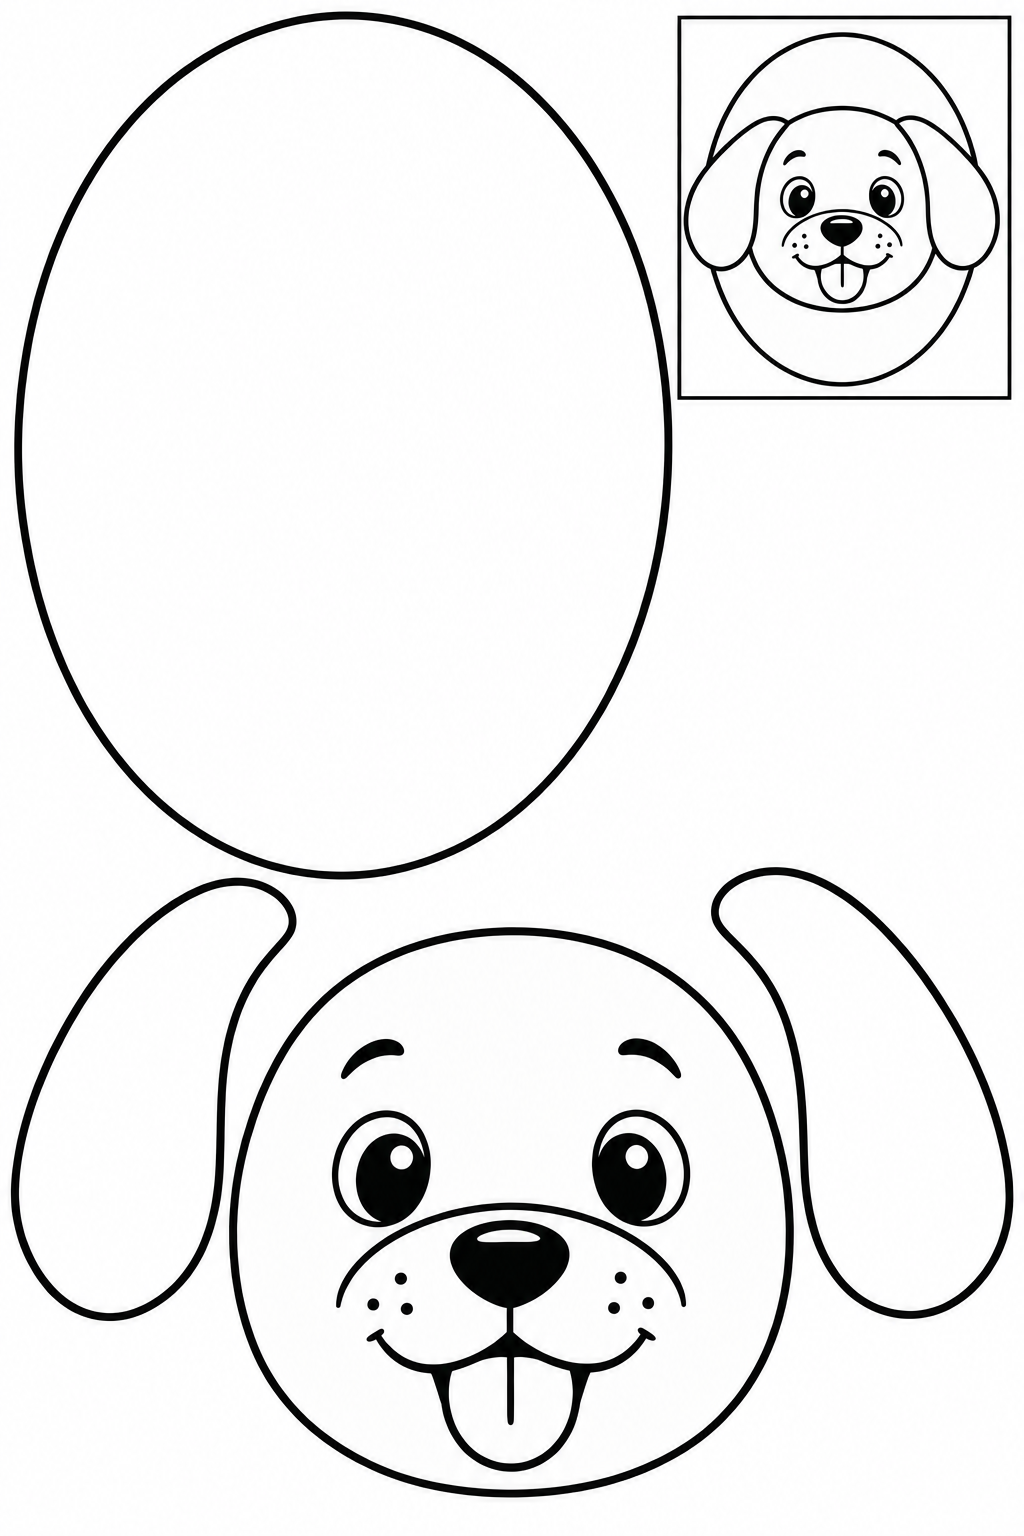
The large oval is a solid backing, not a frame hole. Arrange the two ears behind the face and glue the assembled head onto the oval. Add your own border with pencils. Cut only the separate outside silhouettes; leave printed details intact. Try the arrangement against the boxed example before gluing. If a join slips, increase the overlap and press it flat; repair a nicked edge with tape on the back.
Check: Can you guide the scissors comfortably? If it is difficult, an adult can shorten a strip, cut a tricky curve or offer straight paths. Pieces should be fully separated and arranged as intended before gluing.
Assembly example: The small boxed example shows the finished craft. Do not cut it out.
Cut the standing puppy as one piece, leaving its face and coat patterns inside. Tuck the thick tail base behind the rump and point the tail upward. Check the overlap before gluing. Cut only the separate outside silhouettes; leave printed details intact. Try the arrangement against the boxed example before gluing. If a join slips, increase the overlap and press it flat; repair a nicked edge with tape on the back.
Check: Can you guide the scissors comfortably? If it is difficult, an adult can shorten a strip, cut a tricky curve or offer straight paths. Pieces should be fully separated and arranged as intended before gluing.
Assembly example: The small boxed example shows the finished craft. Do not cut it out.
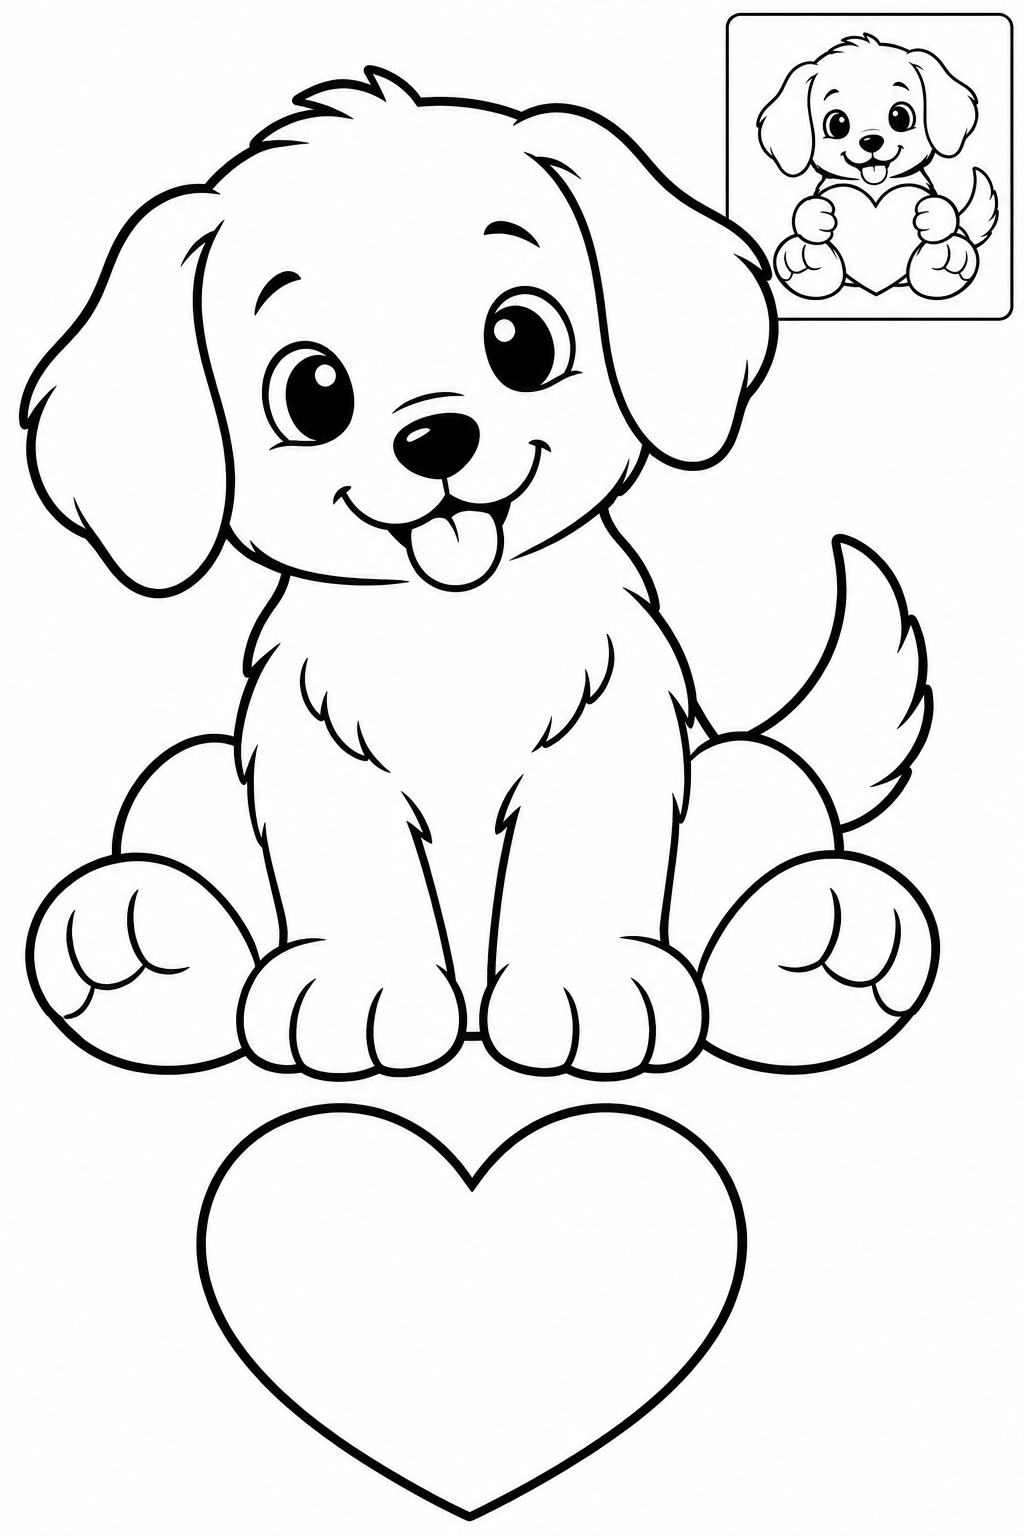
Place the large heart in front of the seated puppy between its front paws. Try its height before gluing so the smile stays visible. The paws are printed inside the whole puppy and do not detach. Cut only the separate outside silhouettes; leave printed details intact. Try the arrangement against the boxed example before gluing. If a join slips, increase the overlap and press it flat; repair a nicked edge with tape on the back.
Check: Can you guide the scissors comfortably? If it is difficult, an adult can shorten a strip, cut a tricky curve or offer straight paths. Pieces should be fully separated and arranged as intended before gluing.
Assembly example: The small boxed example shows the finished craft. Do not cut it out.
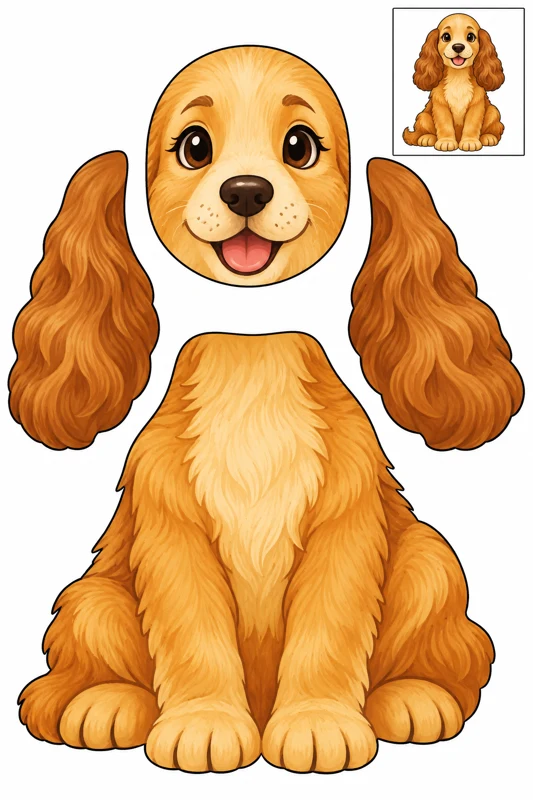
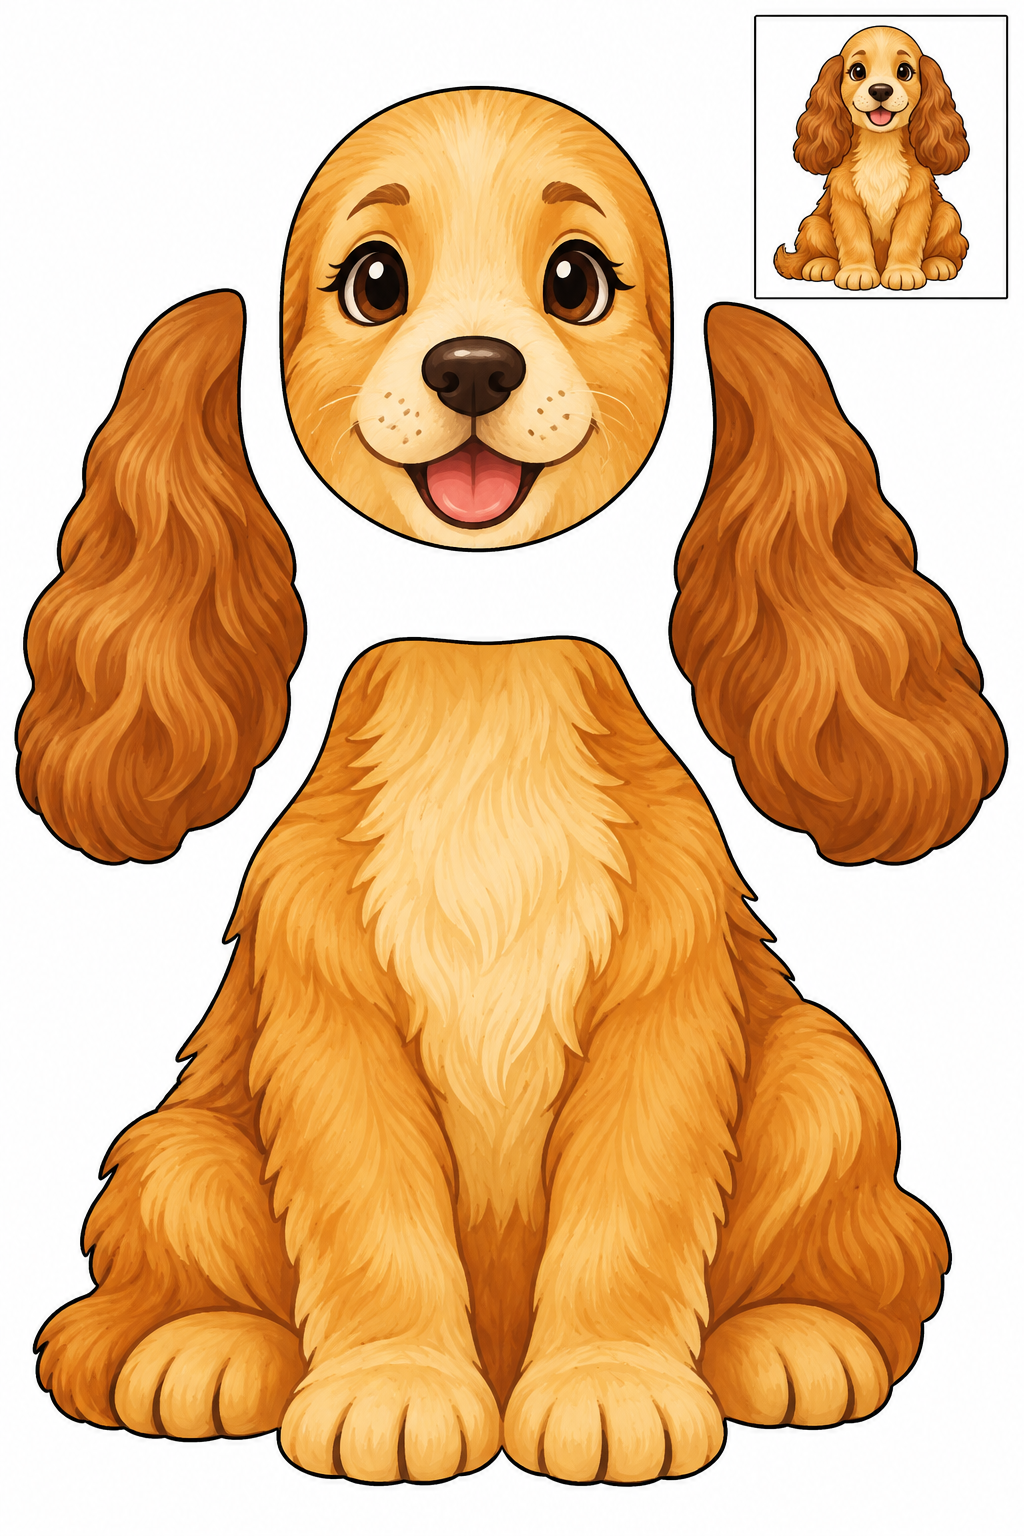
Tuck the two golden-brown ears behind the cream face, then overlap the face onto the seated body. Cut the broad outer lobes of the ears; fine fur marks remain printed inside. Cut only the separate outside silhouettes; leave printed details intact. Try the arrangement against the boxed example before gluing. If a join slips, increase the overlap and press it flat; repair a nicked edge with tape on the back.
Check: Can you guide the scissors comfortably? If it is difficult, an adult can shorten a strip, cut a tricky curve or offer straight paths. Pieces should be fully separated and arranged as intended before gluing.
Assembly example: The small boxed example shows the finished craft. Do not cut it out.
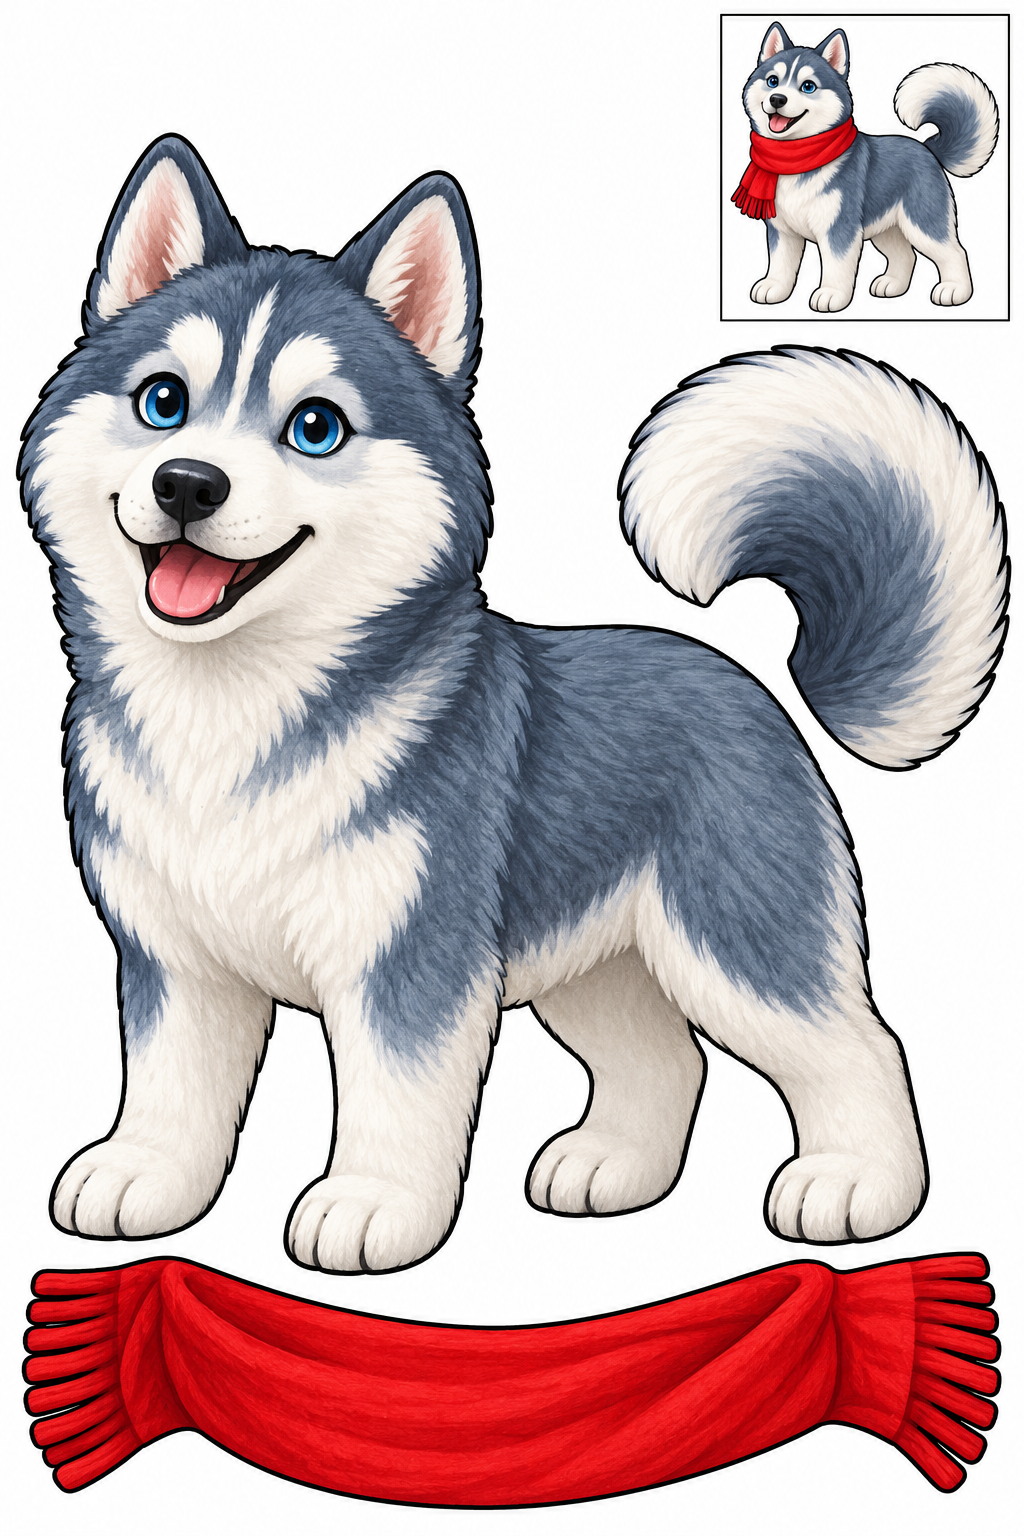
Tuck the curled tail behind the rump of the whole husky. Place the red scarf across its neck with the ends visible. Keep the printed ears, face and legs attached; an adult can help with the scarf's short fringe. Cut only the separate outside silhouettes; leave printed details intact. Try the arrangement against the boxed example before gluing. If a join slips, increase the overlap and press it flat; repair a nicked edge with tape on the back.
Check: Can you guide the scissors comfortably? If it is difficult, an adult can shorten a strip, cut a tricky curve or offer straight paths. Pieces should be fully separated and arranged as intended before gluing.
Assembly example: The small boxed example shows the finished craft. Do not cut it out.
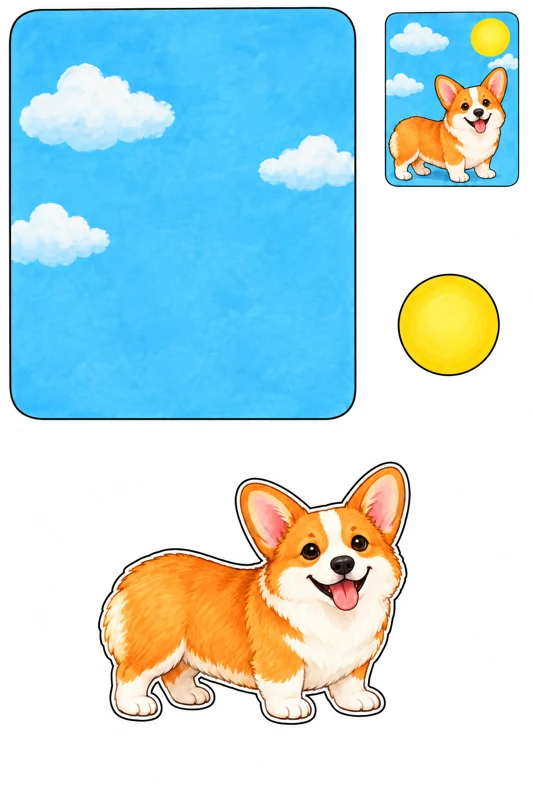
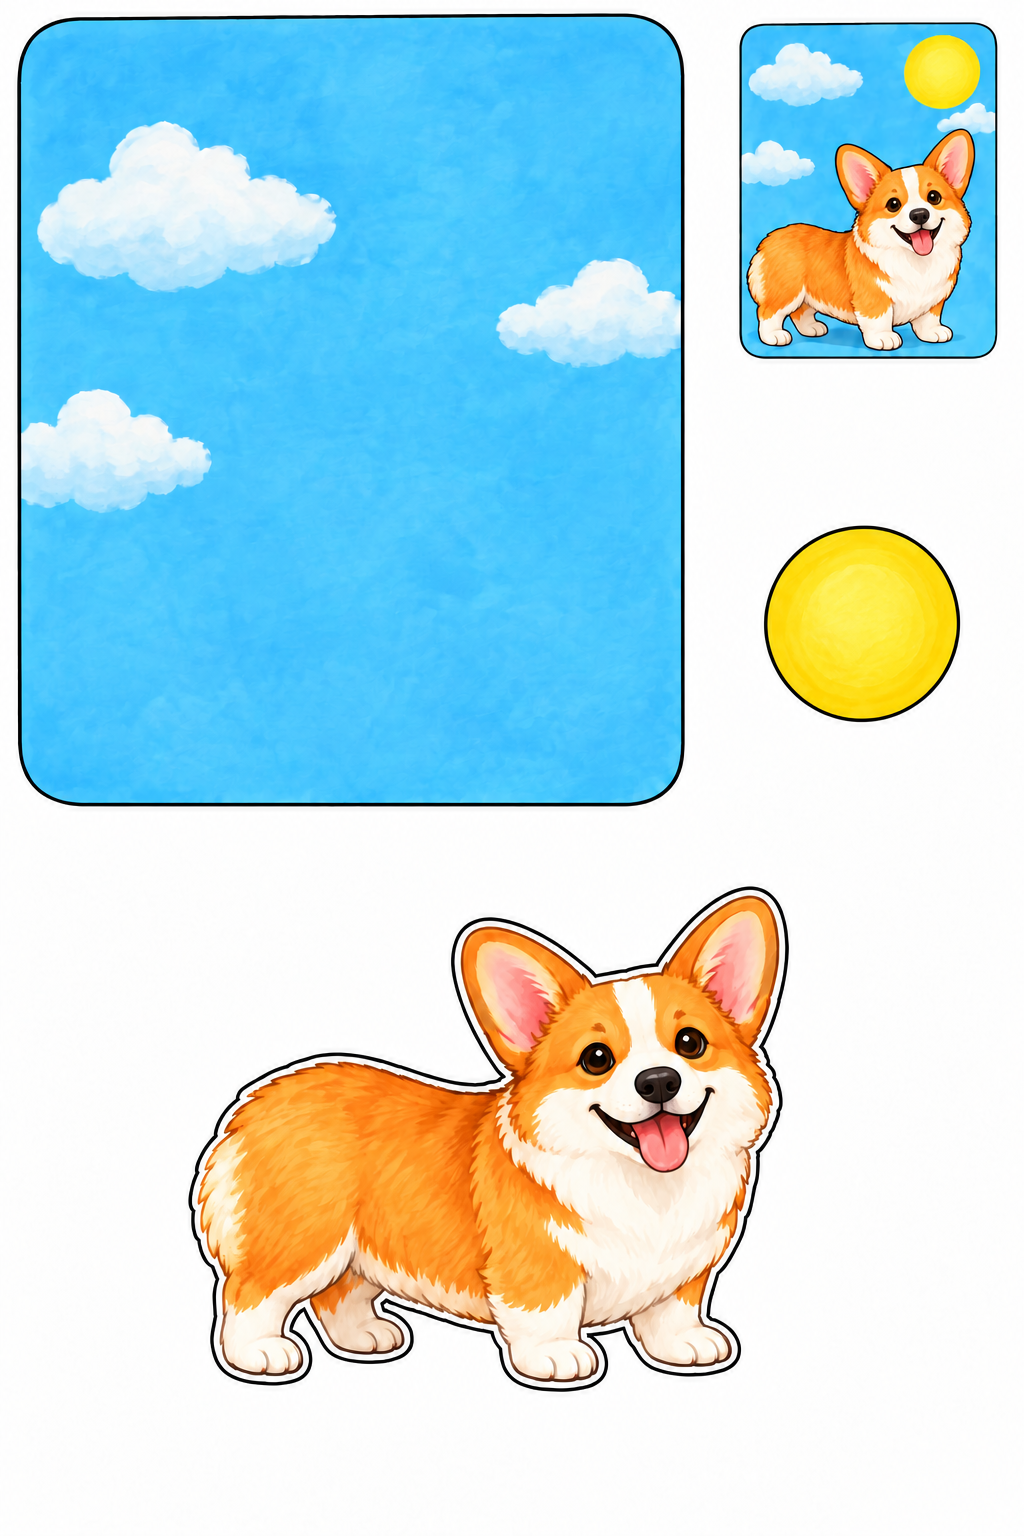
Use the blue rectangle as a solid postcard backing. Place the whole corgi near its lower edge and the yellow sun above it. Keep the puppy's feet on the card and glue each piece separately. Cut only the separate outside silhouettes; leave printed details intact. Try the arrangement against the boxed example before gluing. If a join slips, increase the overlap and press it flat; repair a nicked edge with tape on the back.
Check: Can you guide the scissors comfortably? If it is difficult, an adult can shorten a strip, cut a tricky curve or offer straight paths. Pieces should be fully separated and arranged as intended before gluing.
Assembly example: The small boxed example shows the finished craft. Do not cut it out.
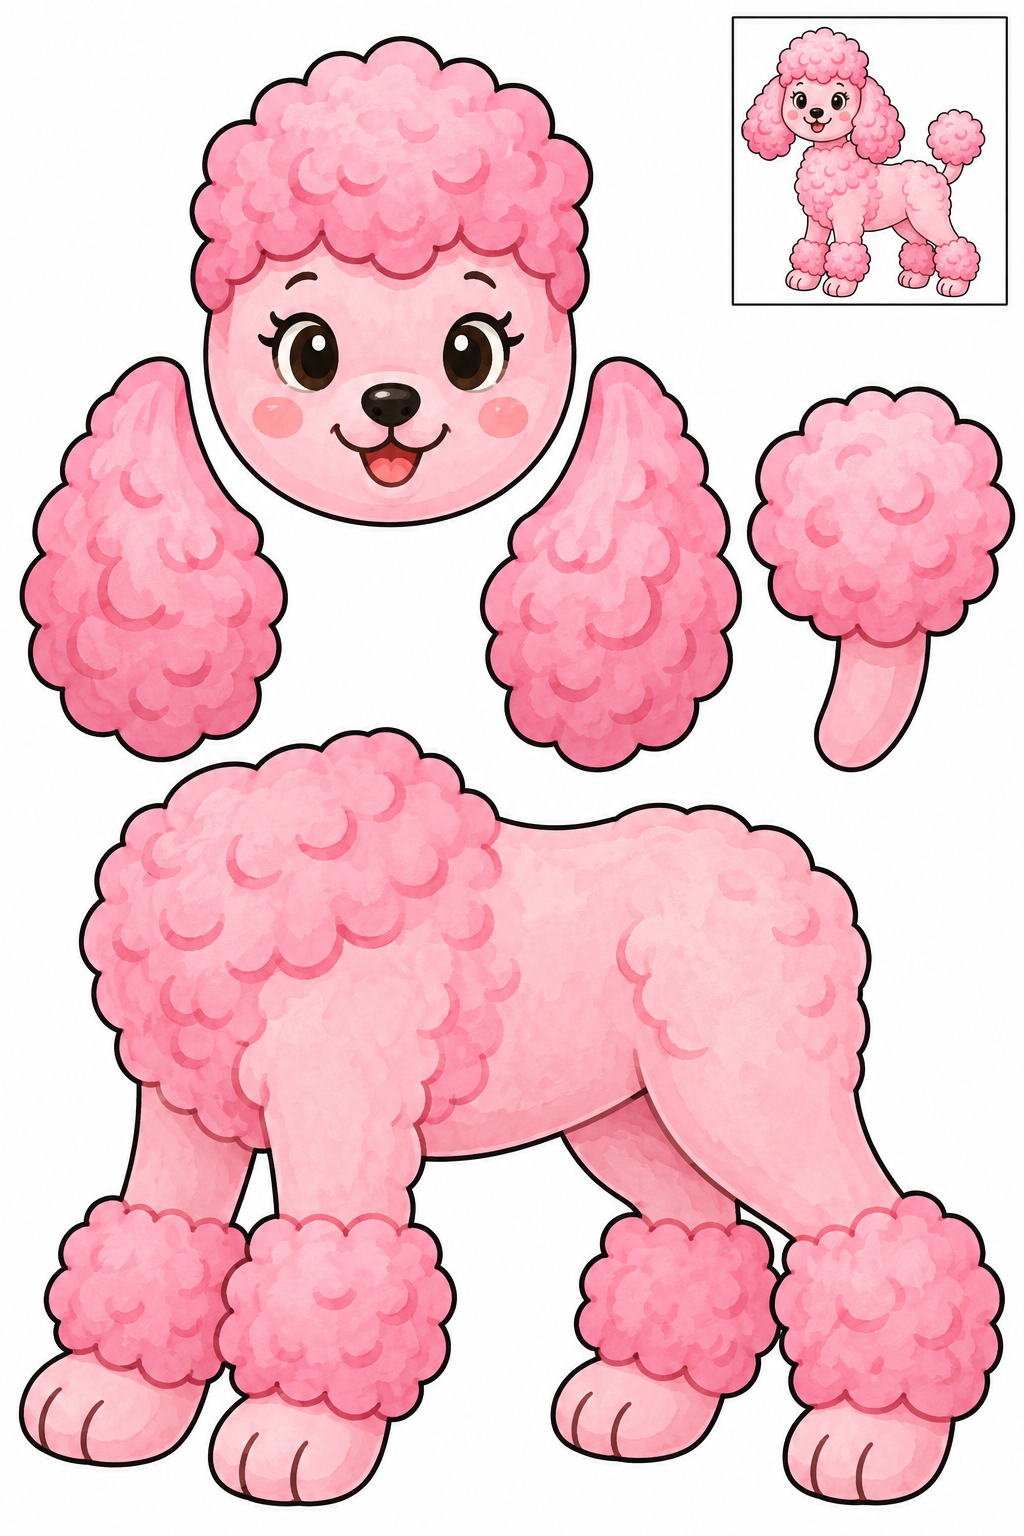
Arrange the scalloped ears behind the round head. Overlap the head onto the body's top and tuck the puff tail behind its side. Turn the paper around the broad rounded lobes rather than cutting printed fur marks. Cut only the separate outside silhouettes; leave printed details intact. Try the arrangement against the boxed example before gluing. If a join slips, increase the overlap and press it flat; repair a nicked edge with tape on the back.
Check: Can you guide the scissors comfortably? If it is difficult, an adult can shorten a strip, cut a tricky curve or offer straight paths. Pieces should be fully separated and arranged as intended before gluing.
Assembly example: The small boxed example shows the finished craft. Do not cut it out.
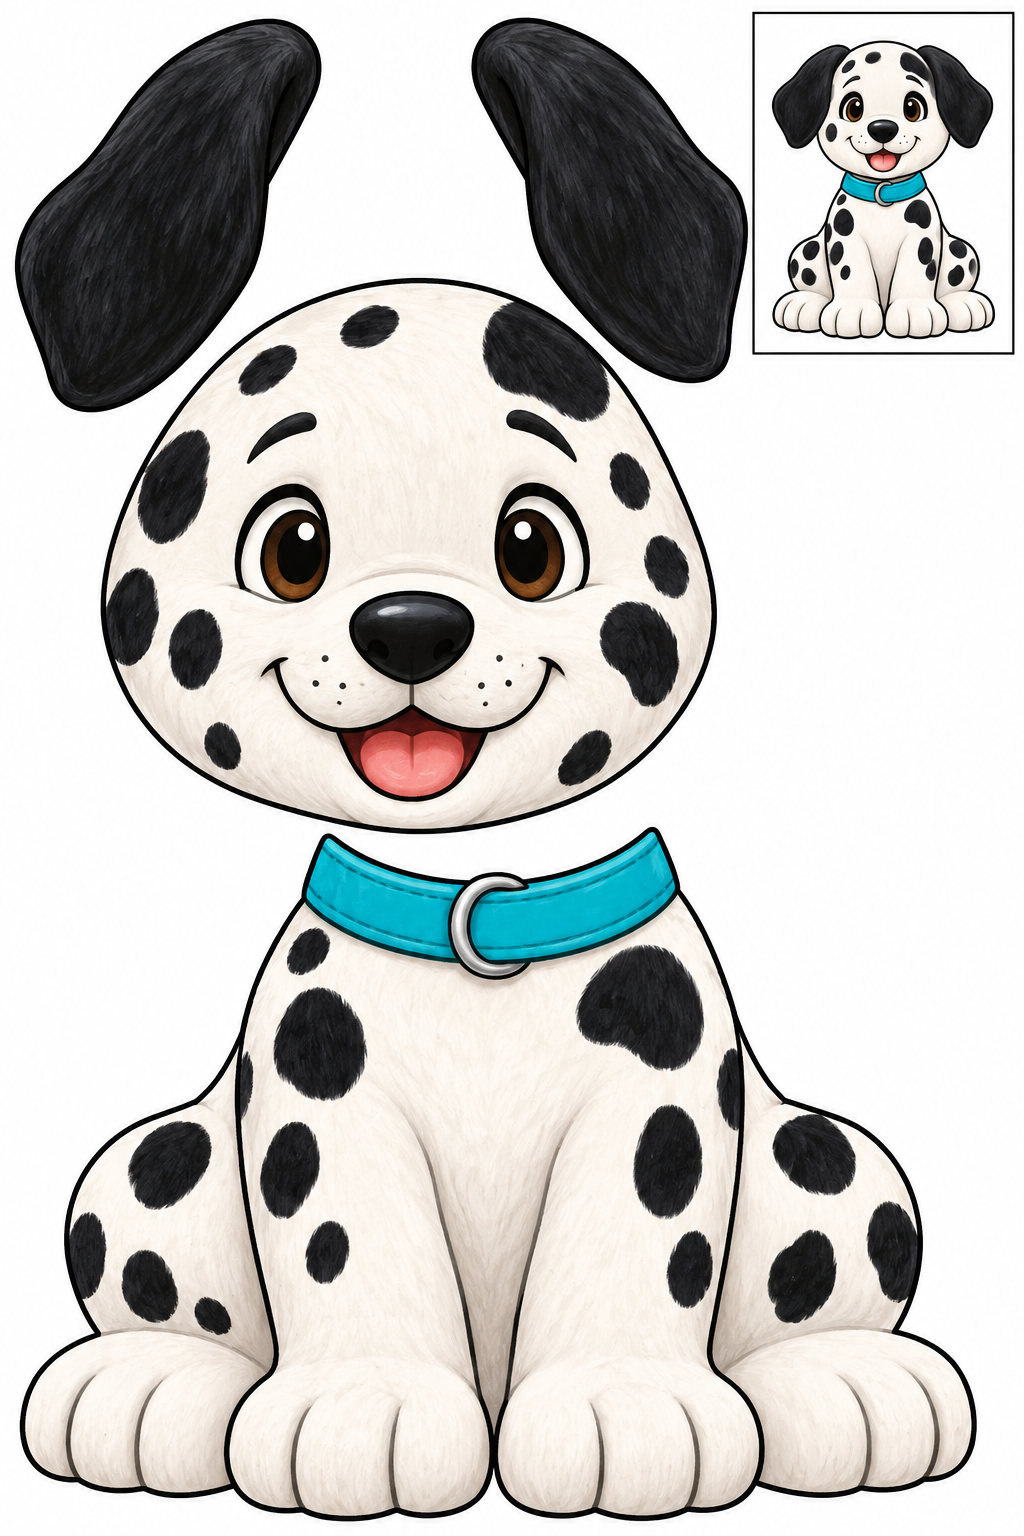
Tuck the two black ears behind the spotted head. Place the head above the printed collar on the seated body. All spots stay inside the pieces; match the ear height before gluing. Cut only the separate outside silhouettes; leave printed details intact. Try the arrangement against the boxed example before gluing. If a join slips, increase the overlap and press it flat; repair a nicked edge with tape on the back.
Check: Can you guide the scissors comfortably? If it is difficult, an adult can shorten a strip, cut a tricky curve or offer straight paths. Pieces should be fully separated and arranged as intended before gluing.
Assembly example: The small boxed example shows the finished craft. Do not cut it out.
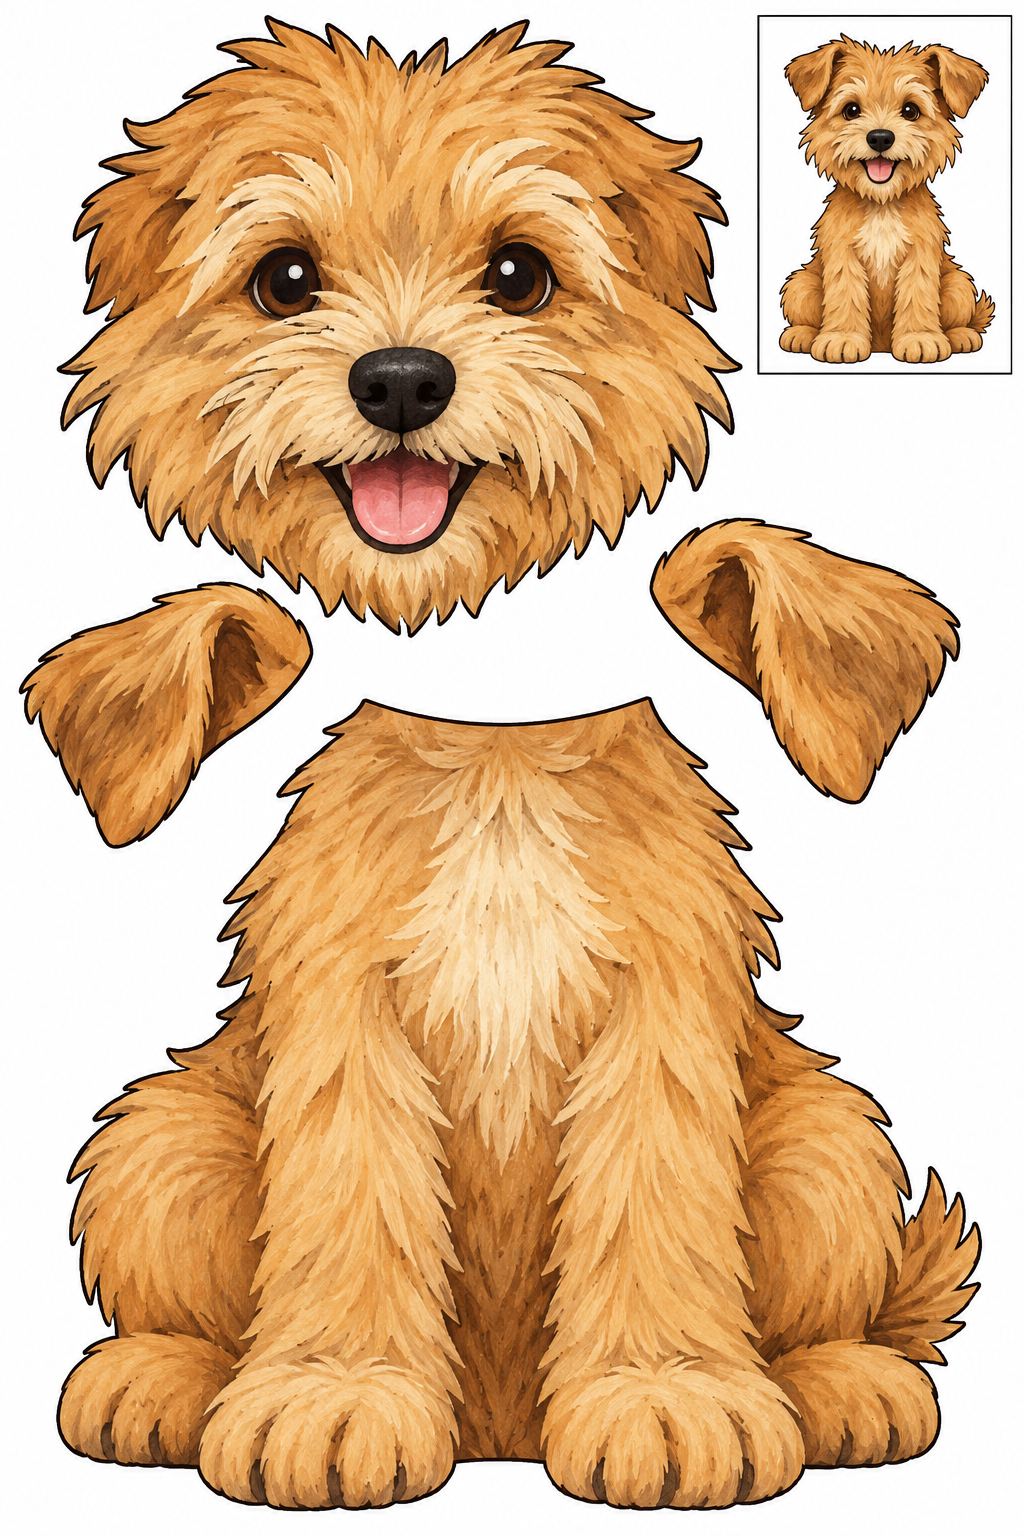
Place the folded ears behind the upper corners of the shaggy face. Overlap the face onto the top of the seated body. Follow the broad outside tufts and leave interior fur strokes intact. Cut only the separate outside silhouettes; leave printed details intact. Try the arrangement against the boxed example before gluing. If a join slips, increase the overlap and press it flat; repair a nicked edge with tape on the back.
Check: Can you guide the scissors comfortably? If it is difficult, an adult can shorten a strip, cut a tricky curve or offer straight paths. Pieces should be fully separated and arranged as intended before gluing.
Assembly example: The small boxed example shows the finished craft. Do not cut it out.
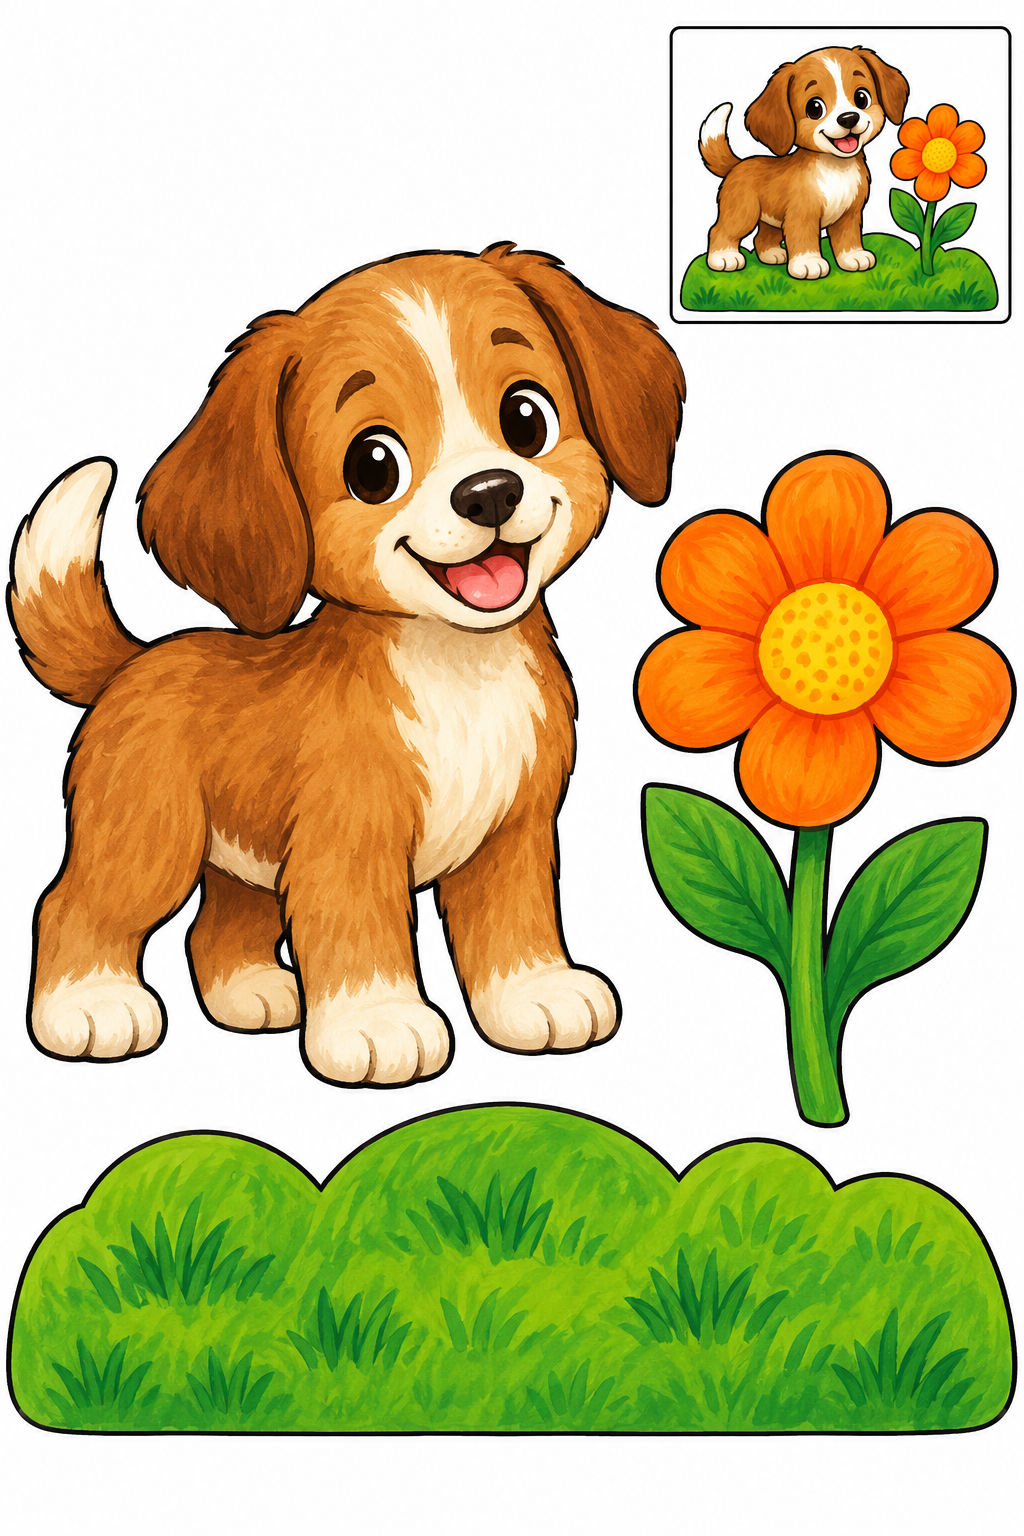
Glue the grass base onto your backing paper first. Place the puppy's paws over its upper edge and stand the flower beside the puppy. Keep the flower and its stem together as one piece. Cut only the separate outside silhouettes; leave printed details intact. Try the arrangement against the boxed example before gluing. If a join slips, increase the overlap and press it flat; repair a nicked edge with tape on the back.
Check: Can you guide the scissors comfortably? If it is difficult, an adult can shorten a strip, cut a tricky curve or offer straight paths. Pieces should be fully separated and arranged as intended before gluing.
Assembly example: The small boxed example shows the finished craft. Do not cut it out.
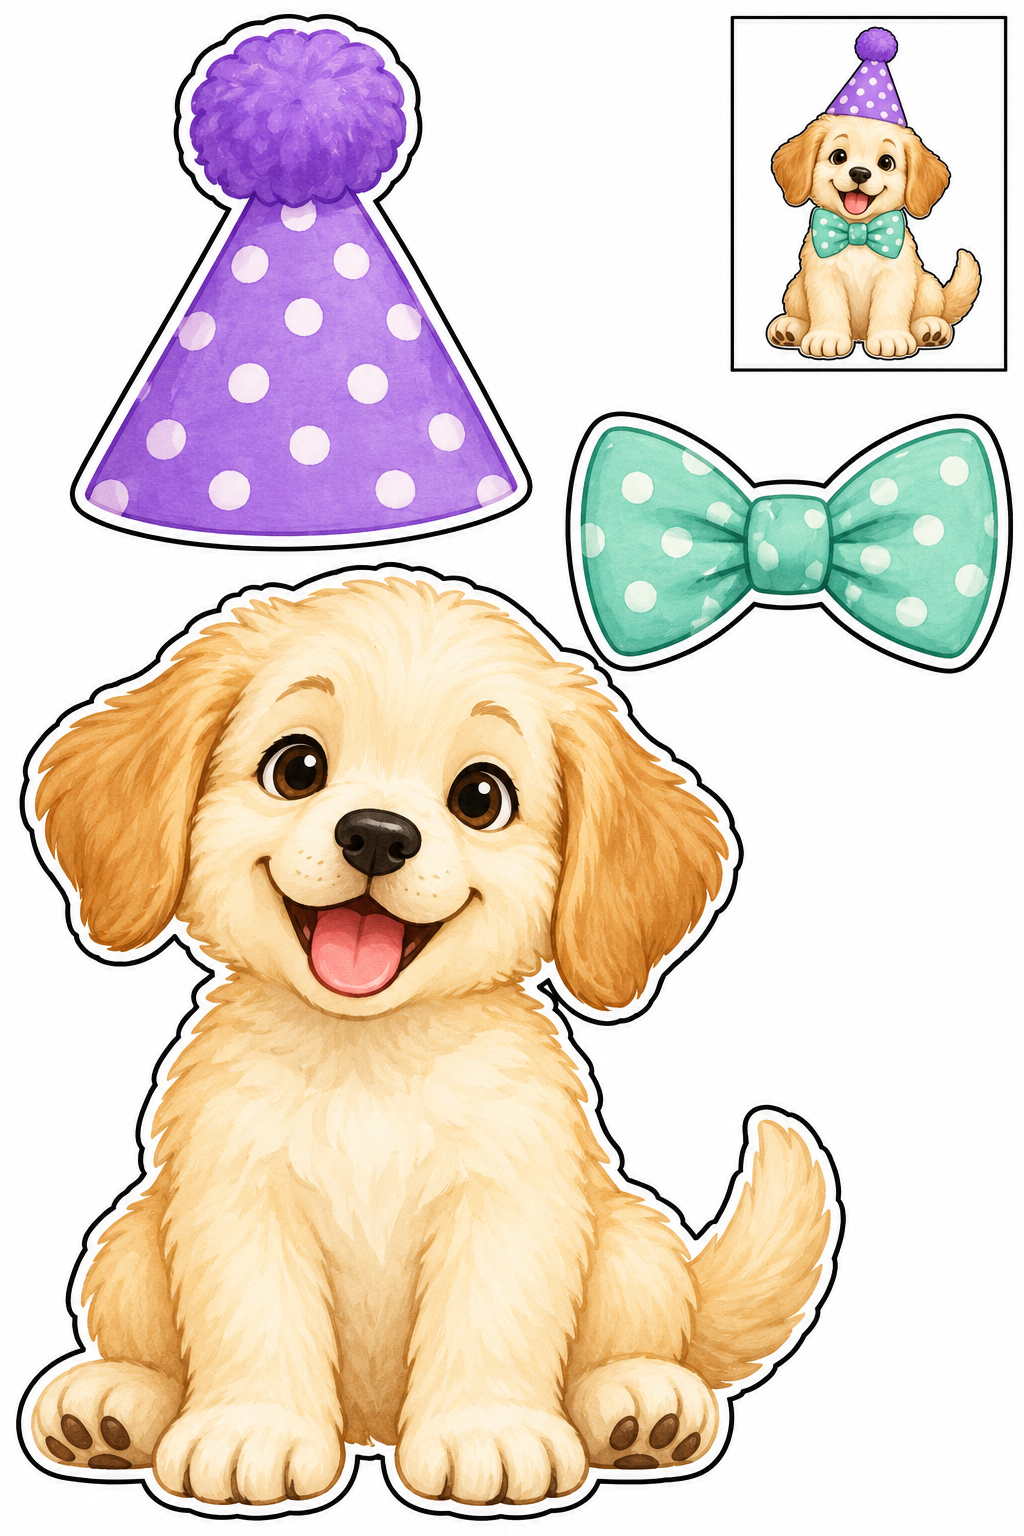
Place the violet hat over the puppy's forehead and the mint bowtie across its neck. Keep the hat's pompom attached. Check that the eyes stay visible, then glue the accessories onto the whole puppy. Cut only the separate outside silhouettes; leave printed details intact. Try the arrangement against the boxed example before gluing. If a join slips, increase the overlap and press it flat; repair a nicked edge with tape on the back.
Check: Can you guide the scissors comfortably? If it is difficult, an adult can shorten a strip, cut a tricky curve or offer straight paths. Pieces should be fully separated and arranged as intended before gluing.
Assembly example: The small boxed example shows the finished craft. Do not cut it out.
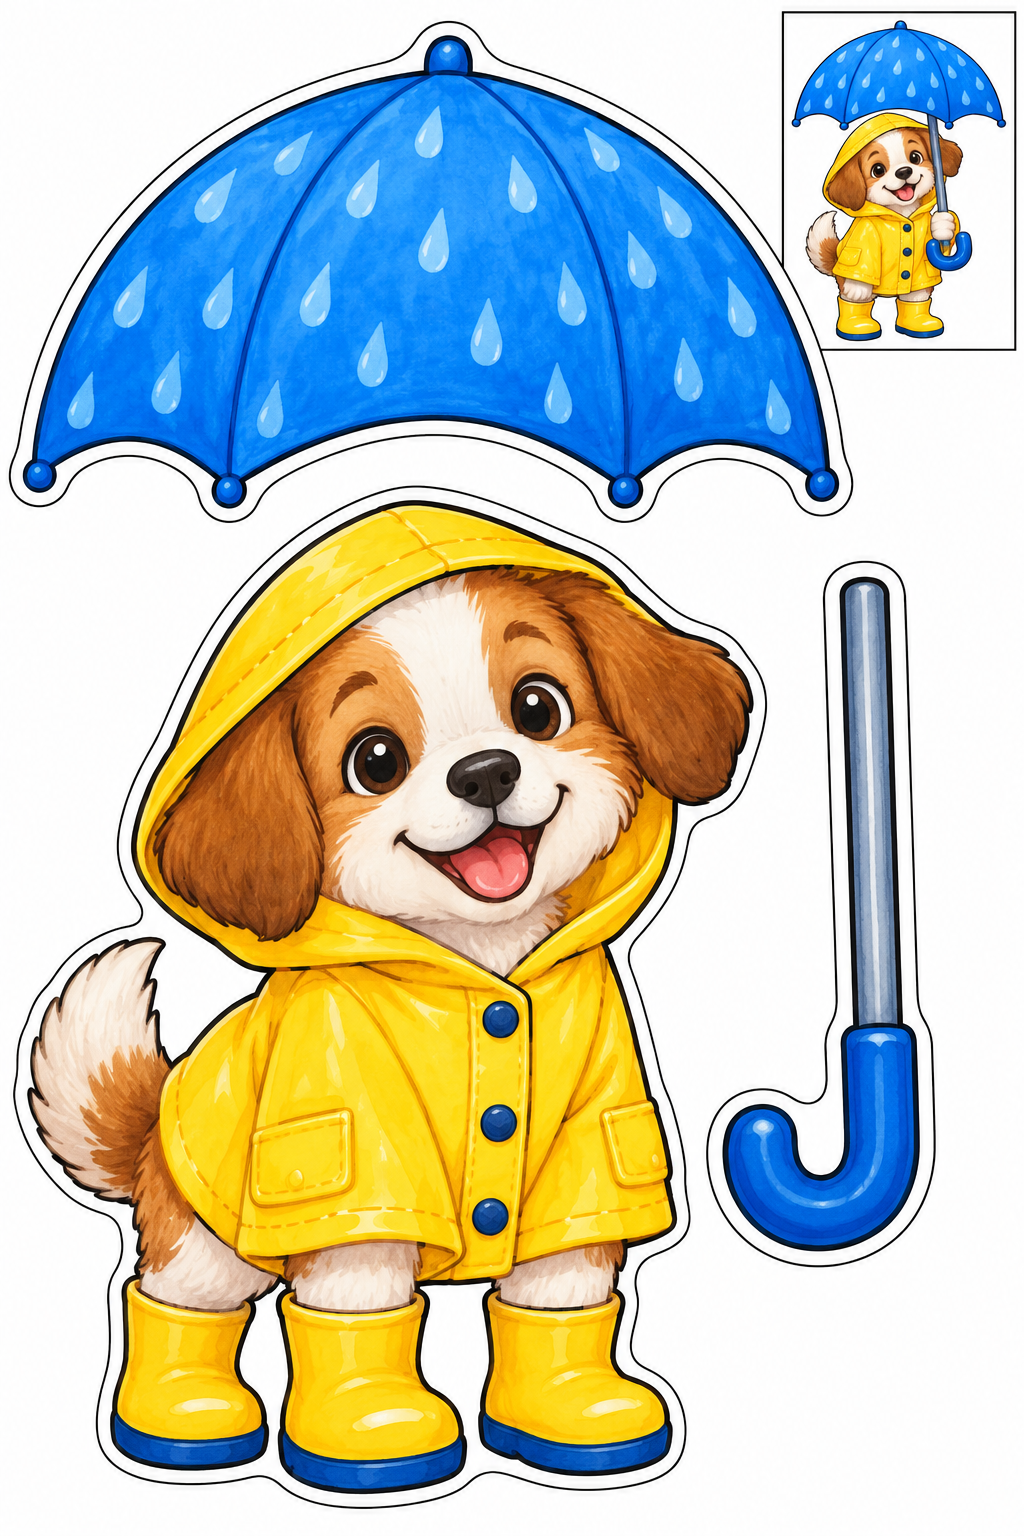
Overlap the thick handle behind the blue umbrella canopy. Arrange the umbrella beside the whole raincoat puppy, with the handle near its paw. Glue the scene to backing paper so the umbrella is supported. Cut only the separate outside silhouettes; leave printed details intact. Try the arrangement against the boxed example before gluing. If a join slips, increase the overlap and press it flat; repair a nicked edge with tape on the back.
Check: Can you guide the scissors comfortably? If it is difficult, an adult can shorten a strip, cut a tricky curve or offer straight paths. Pieces should be fully separated and arranged as intended before gluing.
Assembly example: The small boxed example shows the finished craft. Do not cut it out.
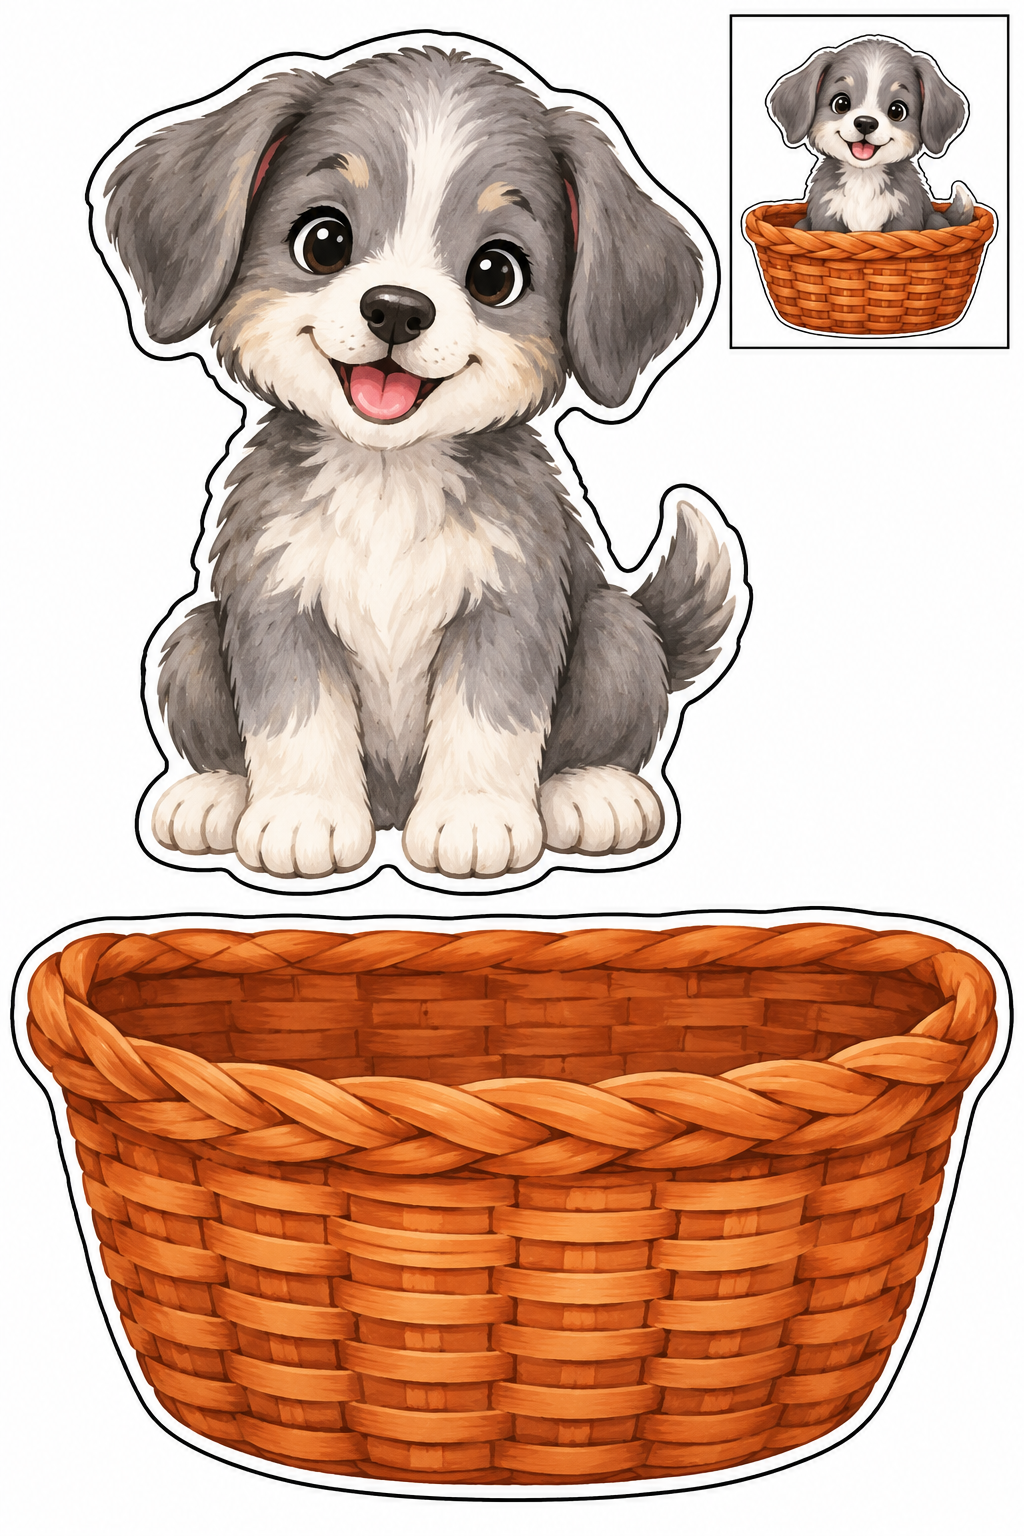
Place the whole puppy behind the basket front so its head appears above the rim. Glue the overlapping lower body and basket onto backing paper. The woven lines are decoration, not cutting lines. Cut only the separate outside silhouettes; leave printed details intact. Try the arrangement against the boxed example before gluing. If a join slips, increase the overlap and press it flat; repair a nicked edge with tape on the back.
Check: Can you guide the scissors comfortably? If it is difficult, an adult can shorten a strip, cut a tricky curve or offer straight paths. Pieces should be fully separated and arranged as intended before gluing.
Assembly example: The small boxed example shows the finished craft. Do not cut it out.
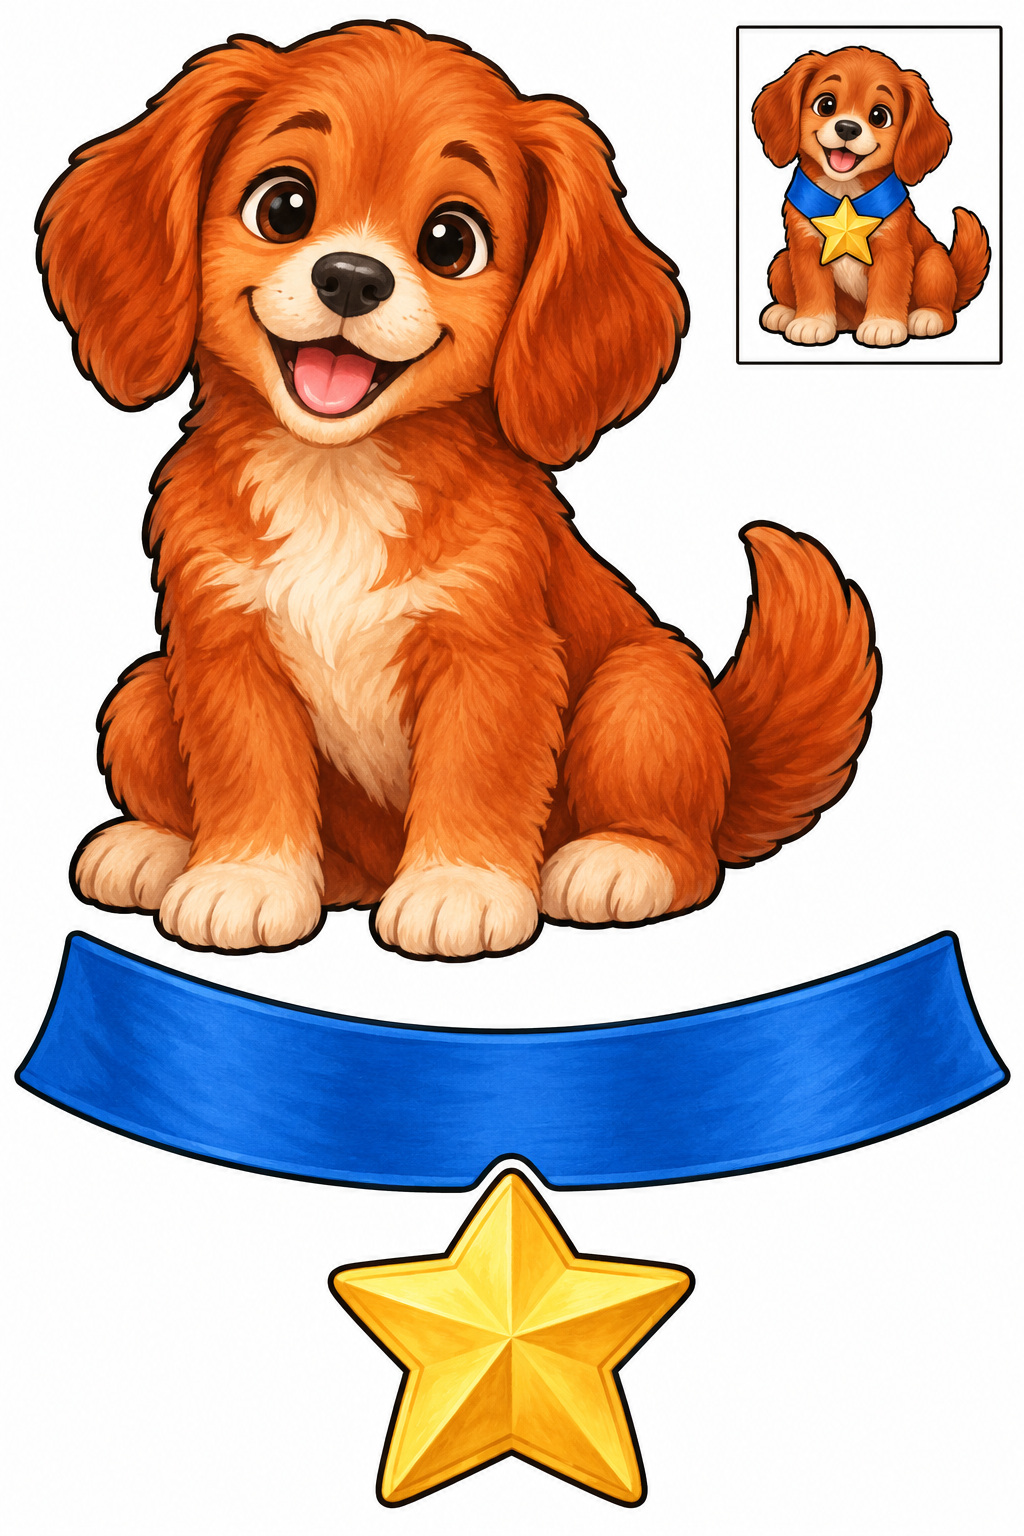
Lay the blue ribbon across the puppy's chest and place the gold star over its center. Check that the face and front paws remain visible, then glue the ribbon before the star. Cut only the separate outside silhouettes; leave printed details intact. Try the arrangement against the boxed example before gluing. If a join slips, increase the overlap and press it flat; repair a nicked edge with tape on the back.
Check: Can you guide the scissors comfortably? If it is difficult, an adult can shorten a strip, cut a tricky curve or offer straight paths. Pieces should be fully separated and arranged as intended before gluing.
Assembly example: The small boxed example shows the finished craft. Do not cut it out.
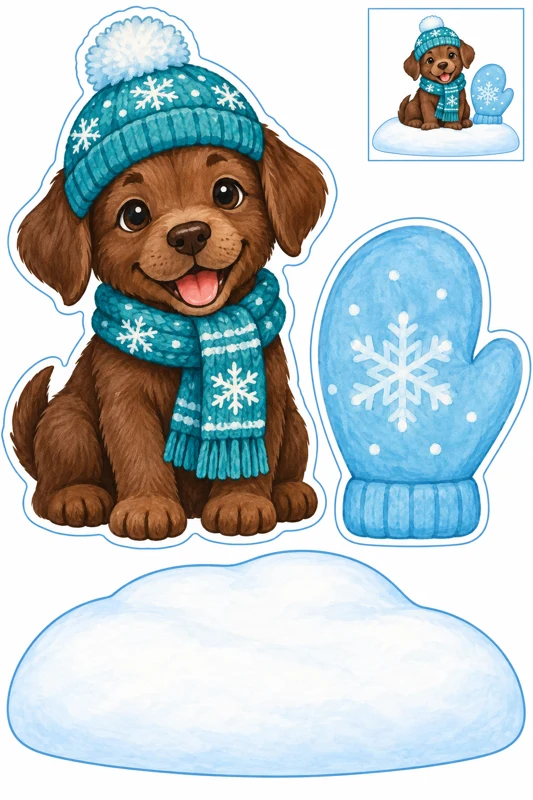
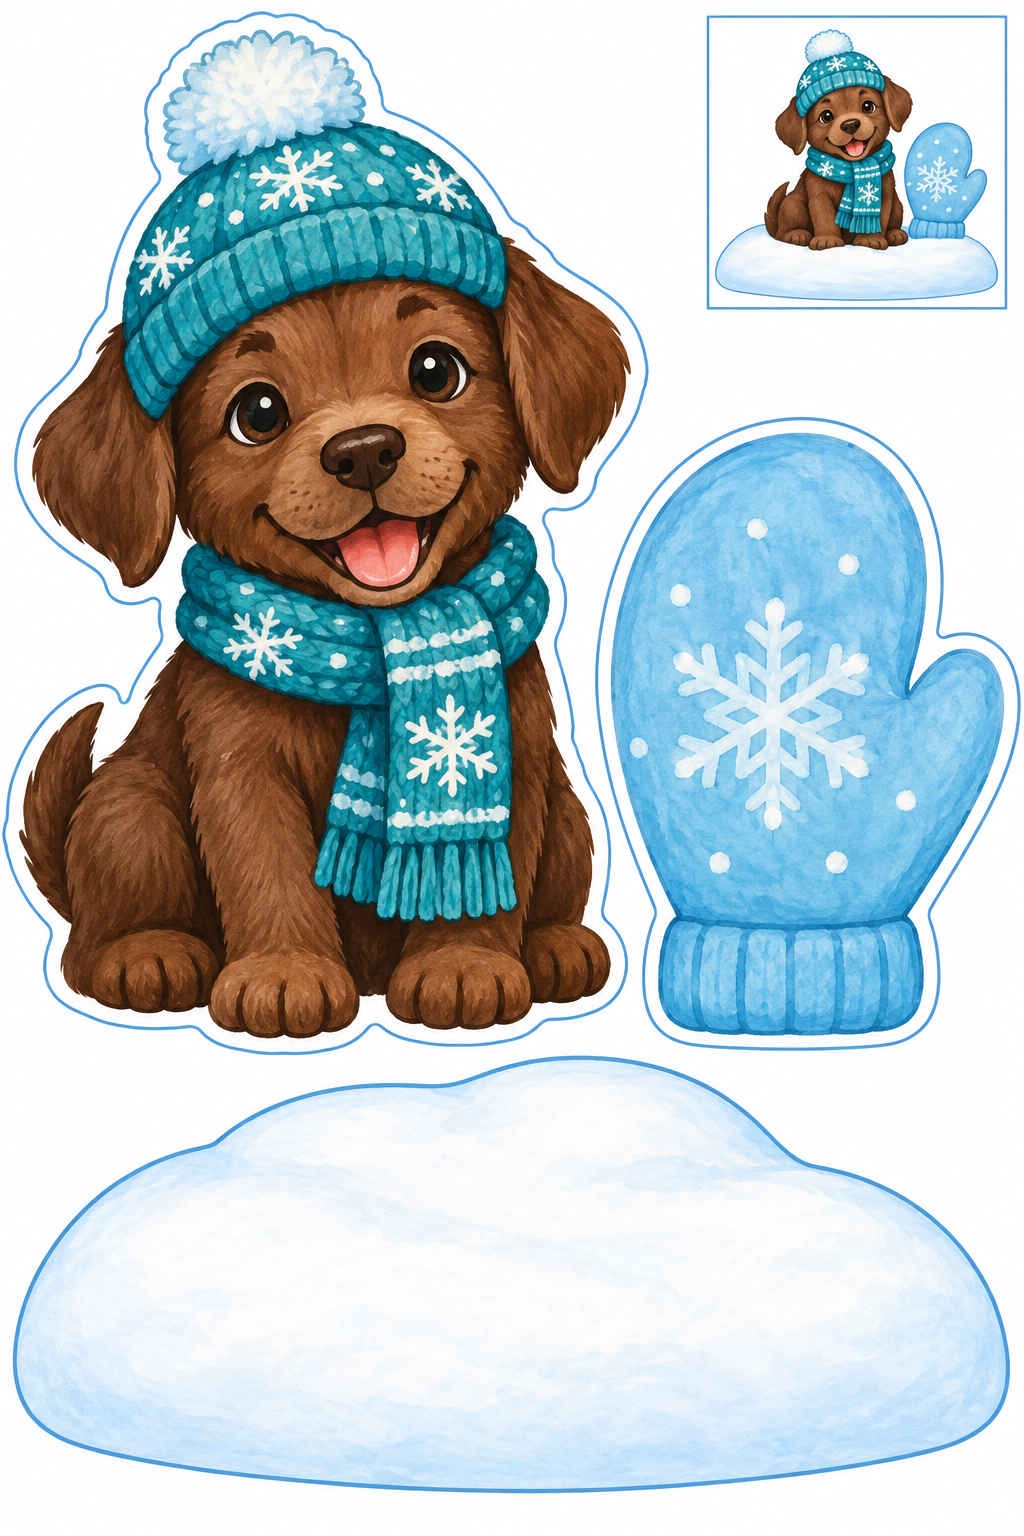
Place the whole winter puppy onto the broad snowbank and position the blue mitten beside it. The hat and scarf are printed inside the puppy, not separate pieces. Glue the snowbank first, then the puppy and mitten. Cut only the separate outside silhouettes; leave printed details intact. Try the arrangement against the boxed example before gluing. If a join slips, increase the overlap and press it flat; repair a nicked edge with tape on the back.
Check: Can you guide the scissors comfortably? If it is difficult, an adult can shorten a strip, cut a tricky curve or offer straight paths. Pieces should be fully separated and arranged as intended before gluing.
How to make a paper puppy
Choose one project for the first session. The collection has 24 different ideas: 12 black-and-white designs and 12 full-color designs. You can assemble puppies from separate parts, make a bookmark or finger puppet, arrange a paw collage, or build a little scene. A colored sheet lets you concentrate on scissors and assembly. A black-and-white sheet leaves room to invent coat colors and markings. The two groups contain different projects rather than recolored copies.
Prepare the paper and workspace
Download the PDF that matches your printer paper: A4 or US Letter. Print the single page at 100% with automatic scaling turned off. Ordinary 80–120 gsm paper works for a collage; slightly heavier paper can help a bookmark if your printer accepts it. Check the settings on one sheet first. Avoid laminating before cutting, since a stiff slippery surface is harder to hold. Set out a glue stick, pencils and child scissors with rounded tips. Keep an adult nearby throughout the activity.
Separate the page and guide the scissors
Color a black-and-white sheet while the pieces are still attached to the page. An adult can separate large areas around the pieces so the child has less paper to turn. Cut only each piece’s outside edge: eyes, noses, spots and paw lines stay inside. The small puppy in the box is an assembly reference, so leave it on the sheet. Use short cuts around a rounded ear and turn the paper with the supporting hand. Pause before a corner. If an edge crumples, start from a wider area or ask an adult to finish the tight turn.
Try the arrangement before gluing
Place the pieces on another sheet and compare them with the reference. On an assembled puppy, ears usually tuck behind the head and the head overlaps the top of the body. Overlapping joins hold better than trying to glue two edges together. Apply glue only to the overlapping areas, press gently and let the joins dry. Check that the face is visible and every part is attached. Move an ear that sits too low before the glue dries. Repair a nicked edge with tape on the back. For the paw collage, arrange the four small toe pads above the large central pad first.
Use the finished craft
For the bookmark, let the strip extend below the head and wait for the glue to dry before placing it in a book. For the finger puppet, an adult wraps the band loosely around a finger and secures the ends, then attaches the puppy outside. Remove and enlarge a tight ring. Place the basket puppy behind the basket’s front panel before gluing. For the garden scene, arrange the grass first, then the puppy and flower. Invent a new setting for your character: draw a path, bowl or home, name the puppy and tell a story about someone it meets. Three whole figures from the additional sheets can become a shared story; you do not need to cut all nine at once.
Should we cut out the eyes and spots?
No. Printed facial features and patterns stay inside each piece. Separate only the large independent parts shown on the sheet.
How do whole figures differ from assembly projects?
On the additional sheets, cut each puppy as one piece along the dashed outline. Main projects join separate parts using the reference; follow the actual outside edges shown on your chosen sheet.
These projects are intended roughly for ages 4–8 with adult help. Start with straight paths and squares. Once a straight cut feels comfortable, try corners, then circles and gentle curves. Age is a guide: choose a manageable task and take breaks.
You need paper, child scissors, coloring pencils and a glue stick for assembly crafts. Keep fingers away from the blades and cut while seated at a table. If a child is not ready for scissors, an adult can cut while the child colors and arranges.
Printing and activity questions
Are the templates really free?
Yes. All templates are downloadable without an account or email address. Use them at home or in class; do not resell the files.
Should I choose A4 or Letter?
Match your printer paper: A4 is 210 × 297 mm; US Letter is 8.5 × 11 inches. Print at 100%. Each PDF contains one page.
Which lines should we cut?
On practice paths, cut dashed lines from the edge or starting dot. On crafts, cut the solid outer border of each piece. Do not cut out the small boxed assembly example.
What if the paper keeps tearing?
Ask an adult to check that the scissors cut the paper. Try a shorter strip and smaller motions. Stop before a corner and turn the paper with the supporting hand.
Whole puppies for a collage
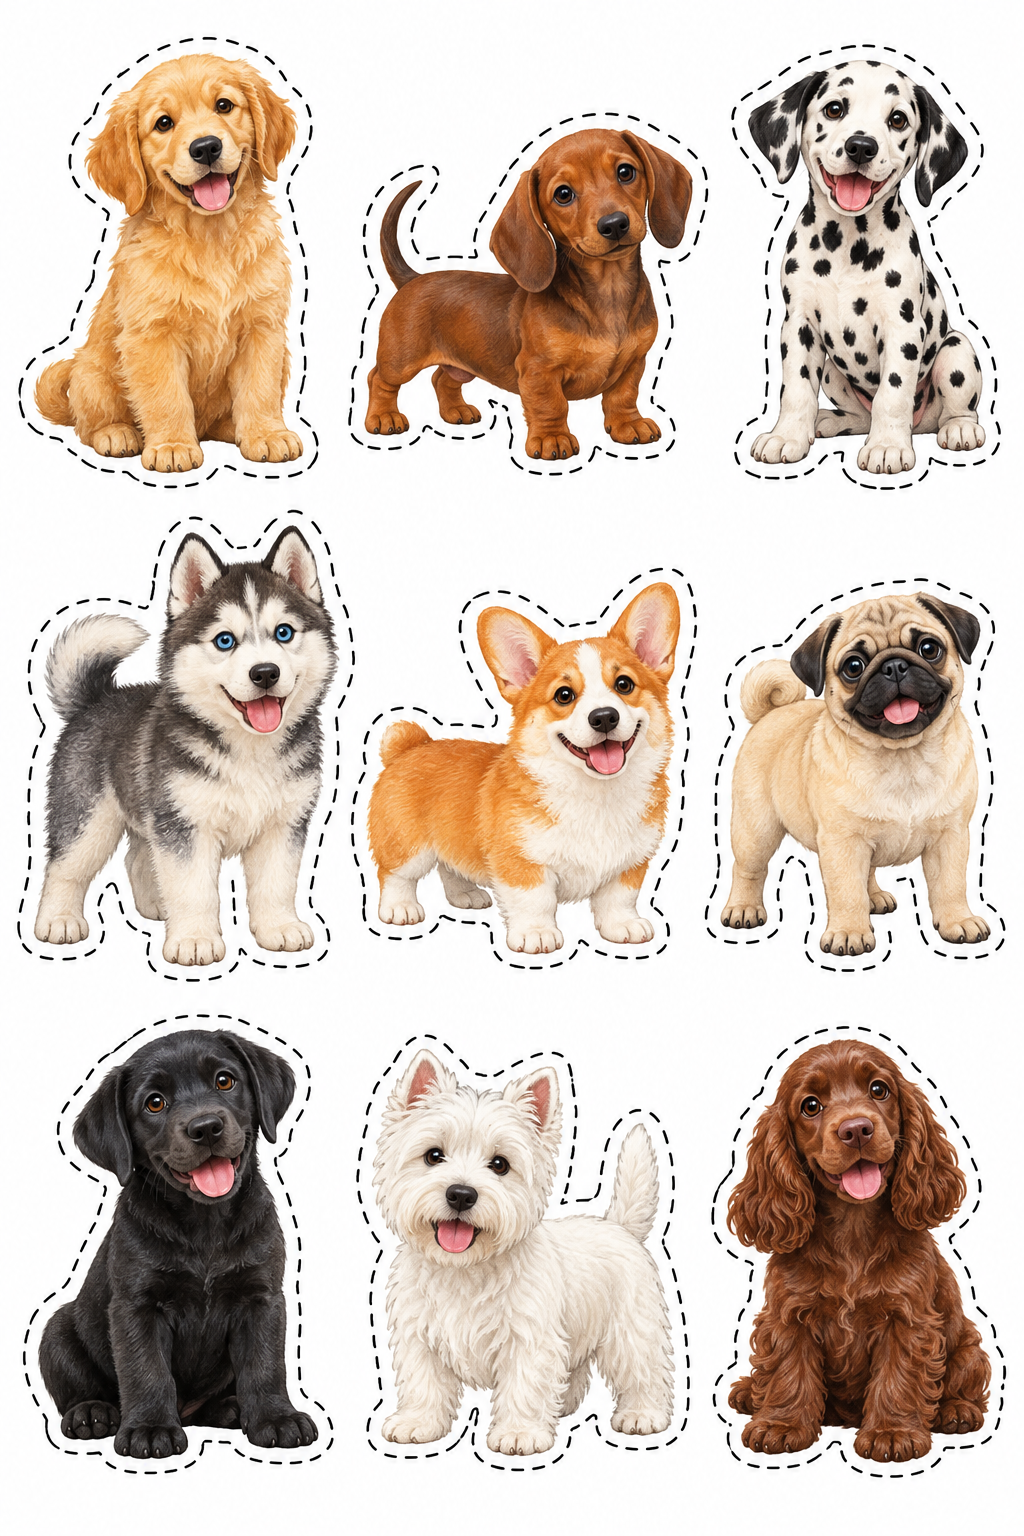
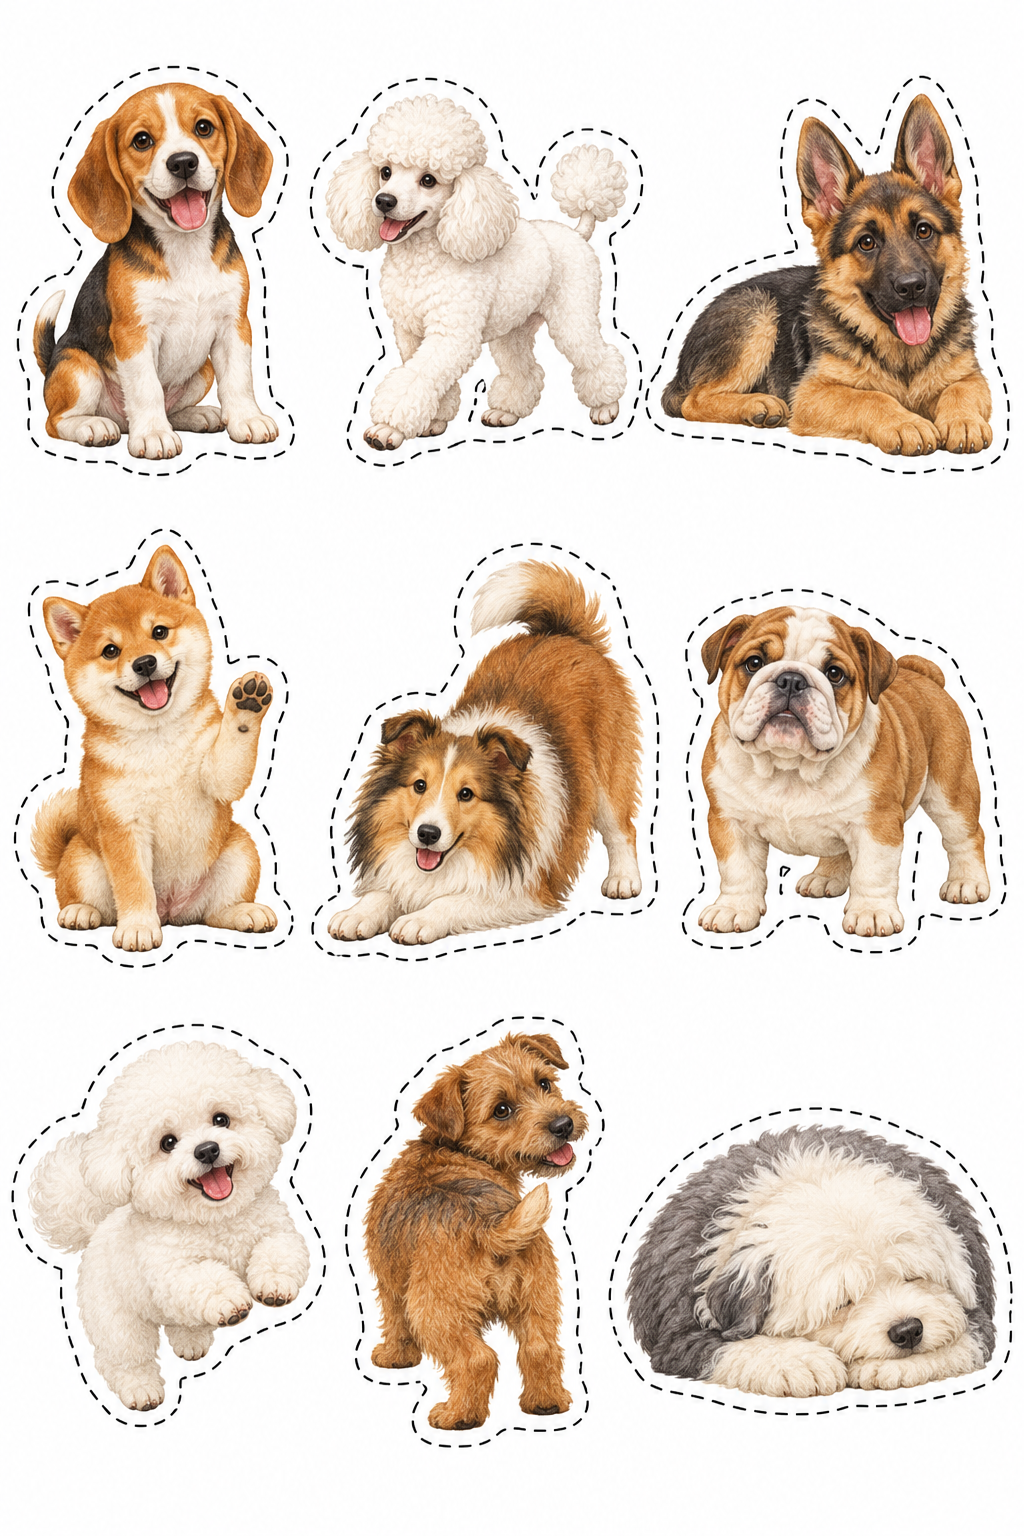
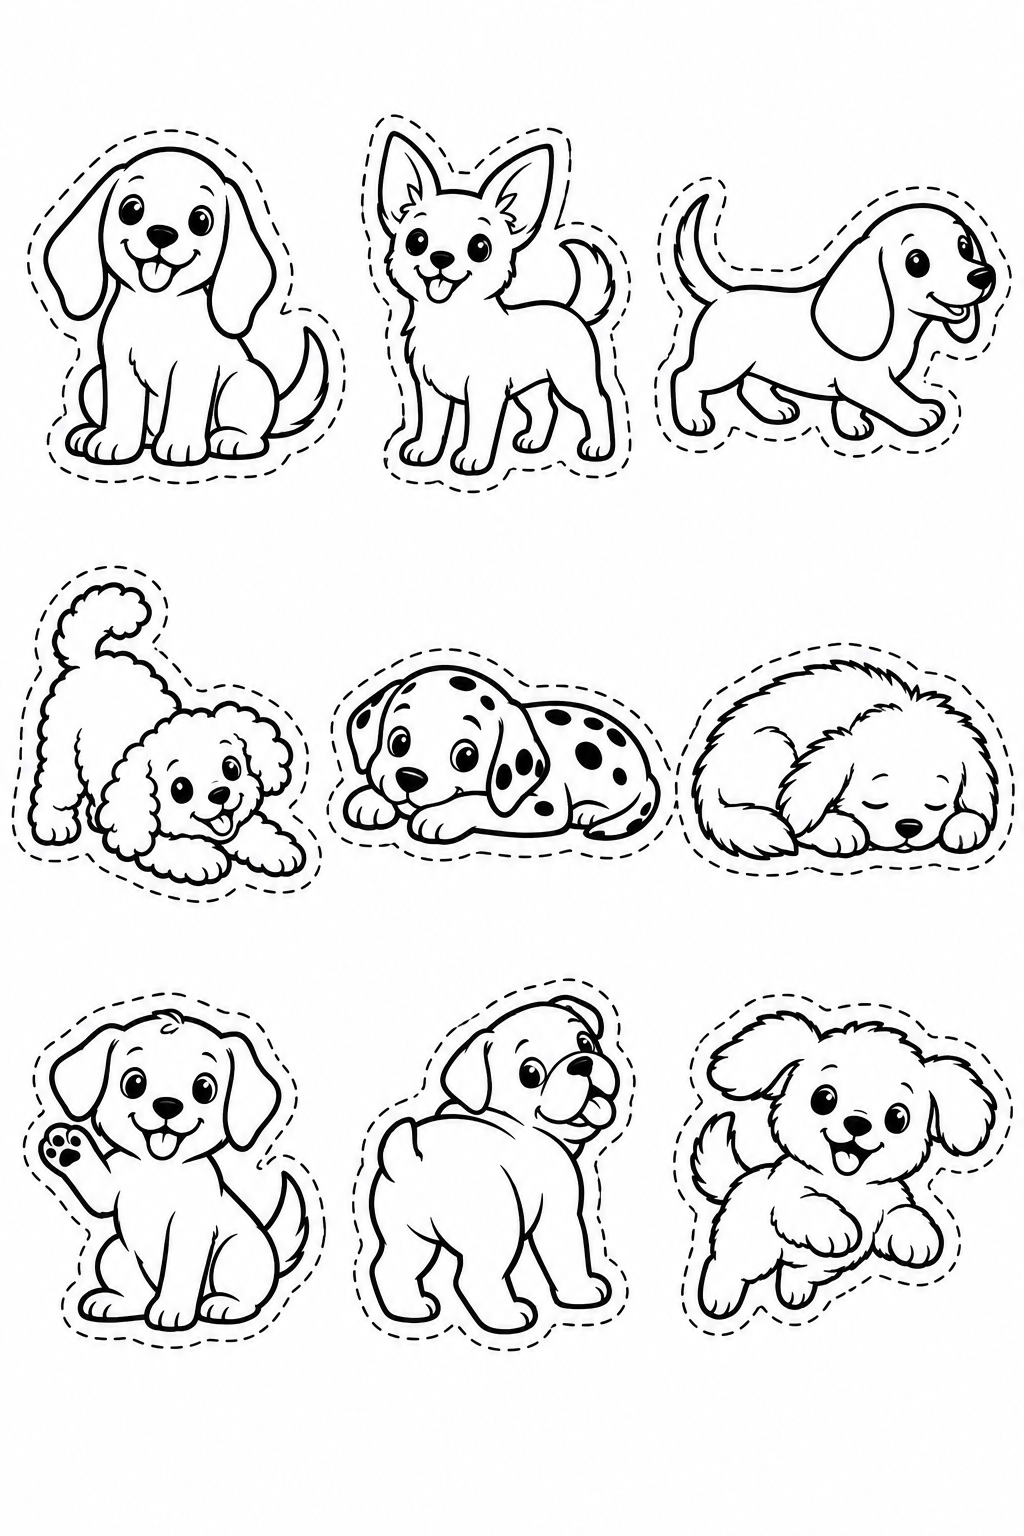
Three additional sheets with nine different puppies each: two full-color sets and one black-and-white set. Cut each character in one piece along its own outer dashed outline. There are no separate ears or paws to assemble; these sheets supplement the 24 main projects.
Color before cutting. An adult can separate the sheet into nine areas. Keep eyes, collars and fur details inside each figure; pause the scissors before turning the paper. Repair a nicked tail with tape on the back. Arrange the puppies on another sheet, leaving room for an imaginary park or home. Check that every face is visible before gluing the bodies. For a short activity, choose three figures and invent how they meet.
Nine different whole puppies. Cut along each outer dashed contour, keeping facial features and paws inside. Arrange the characters on your own sheet before gluing. Stop and turn the paper at tight curves; repair a nicked tail with tape on the back.
Nine different whole puppies. Cut along each outer dashed contour, keeping facial features and paws inside. Arrange the characters on your own sheet before gluing. Stop and turn the paper at tight curves; repair a nicked tail with tape on the back.
Nine different whole puppies. Color before cutting. Cut along each outer dashed contour, keeping facial features and paws inside. Arrange the characters on your own sheet before gluing. Stop and turn the paper at tight curves; repair a nicked tail with tape on the back.
 kiduverse