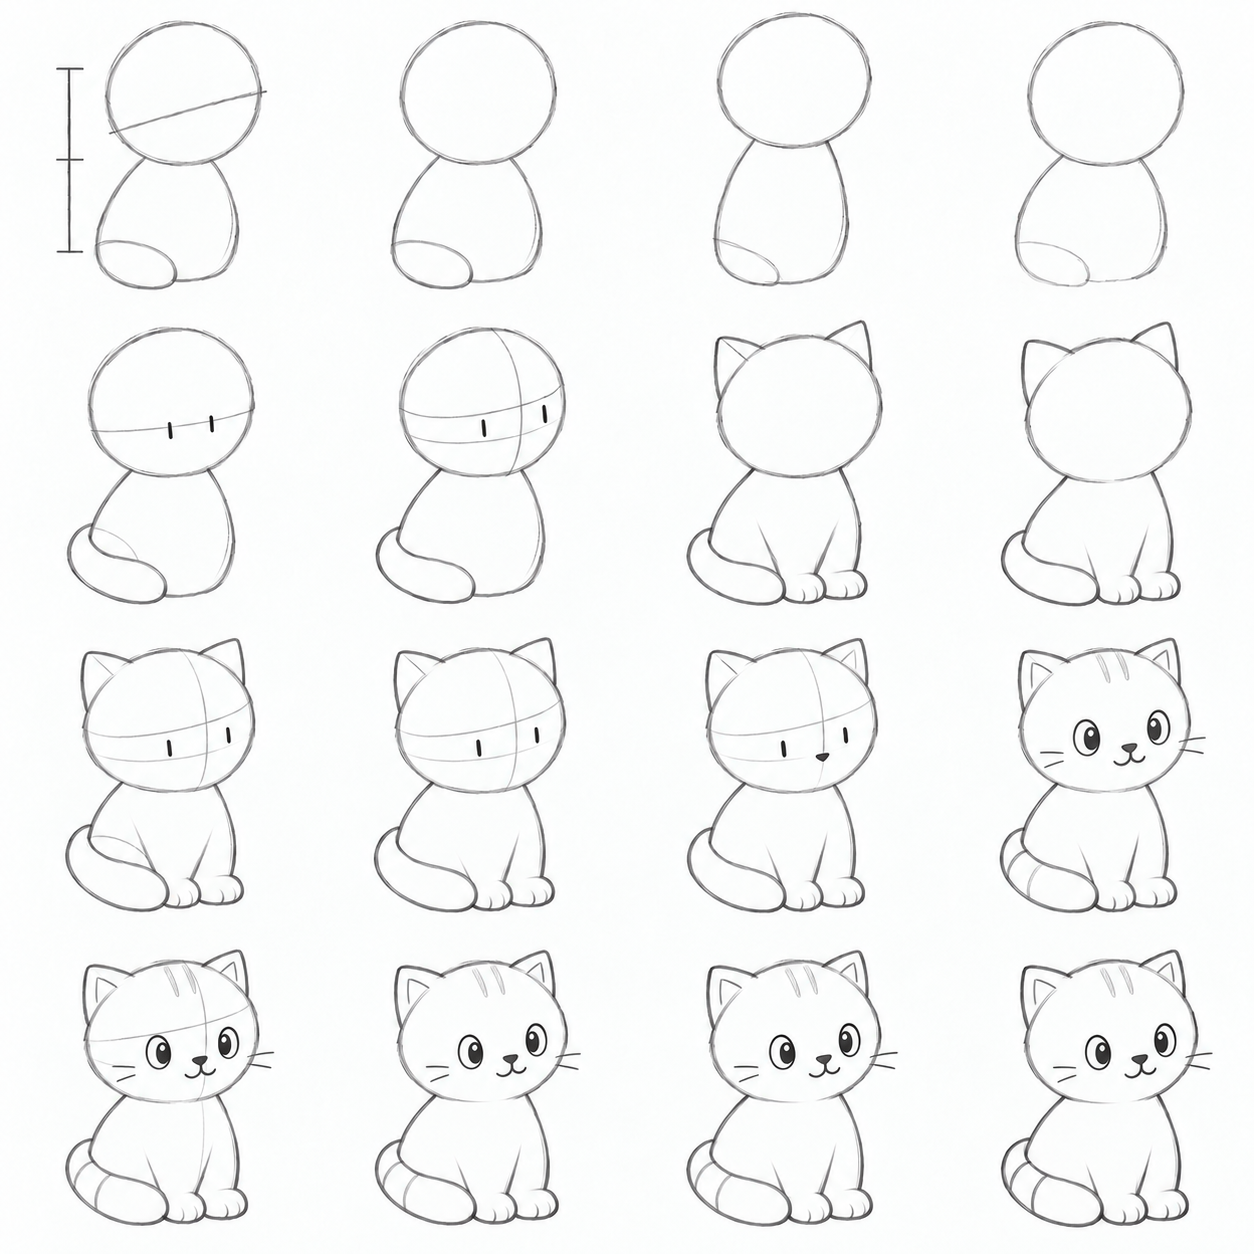
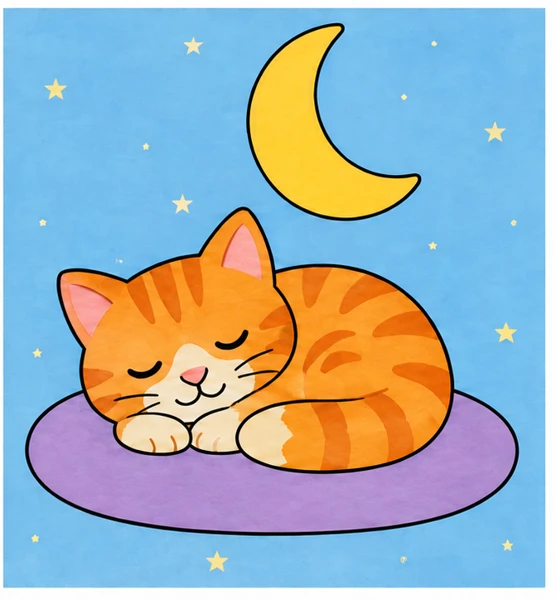
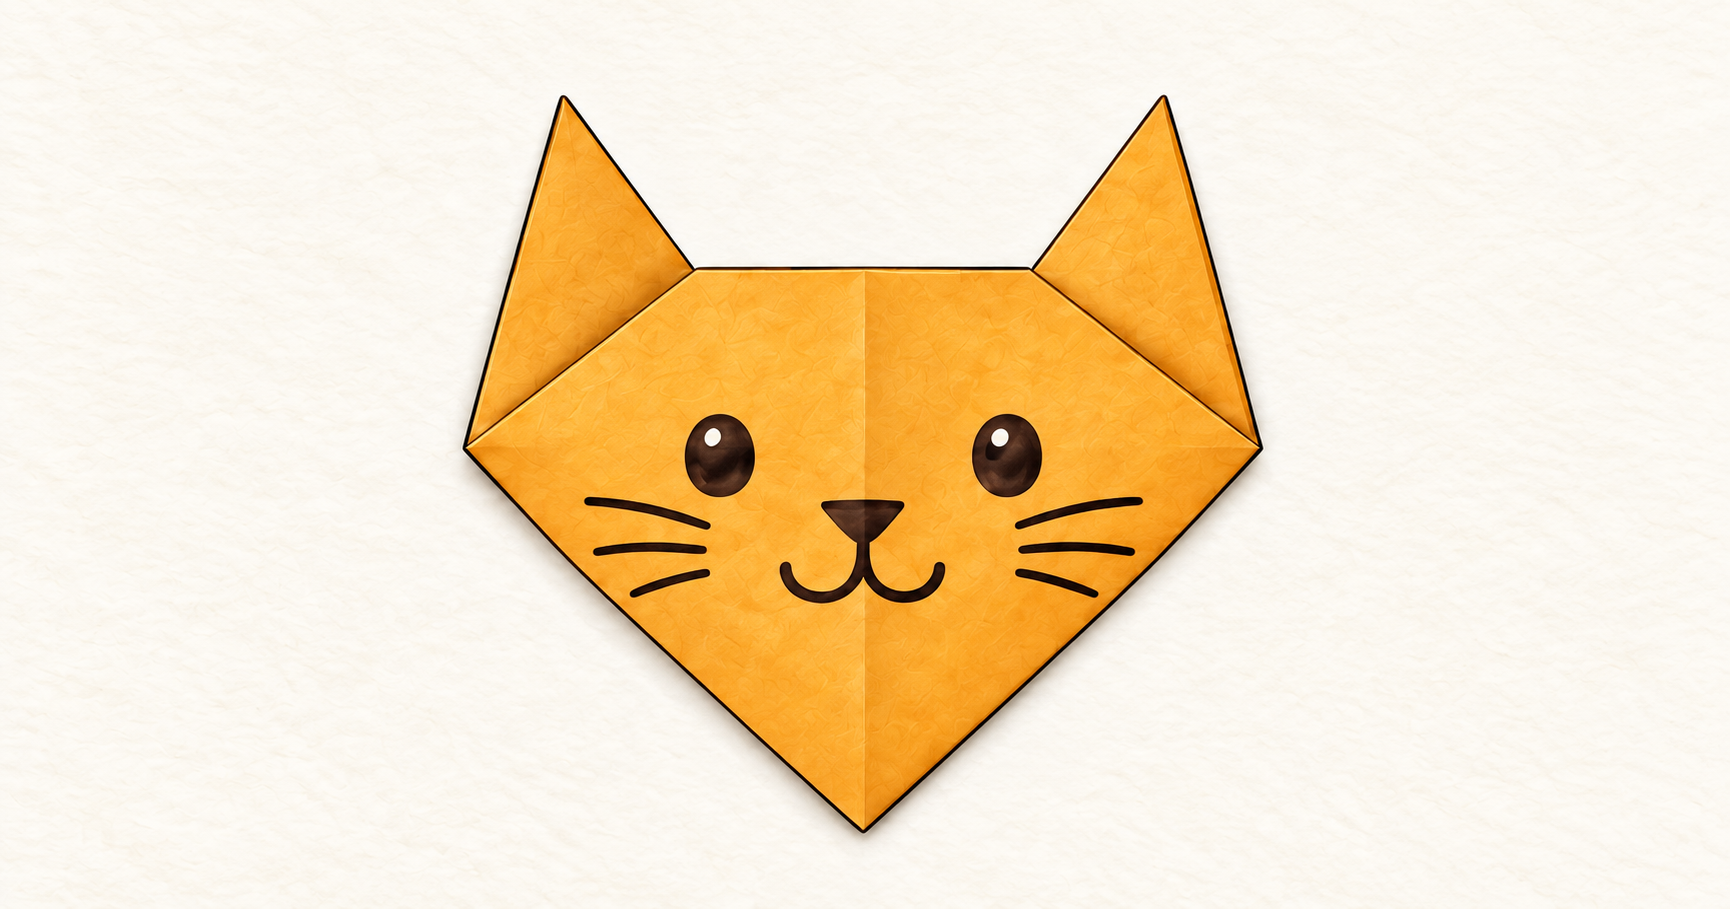
24 different cat crafts: 12 black-and-white and 12 colorful projects, plus three whole-kitten sheets. Free EN/RU A4 and Letter PDFs with assembly examples.
Scissors with a grown-up. Use child scissors with rounded tips and cut while seated at a table. If a child is not ready yet, an adult cuts while the child colors and assembles.
Print
Choose A4 or US Letter. Print at 100%, with scaling off. Ordinary printer paper works.
Cut
Color black-and-white sheets first. Cut outer borders; follow dashed lines on the practice paths.
Make it yours
Arrange pieces before gluing. Try a new arrangement or tell a story about your creation.
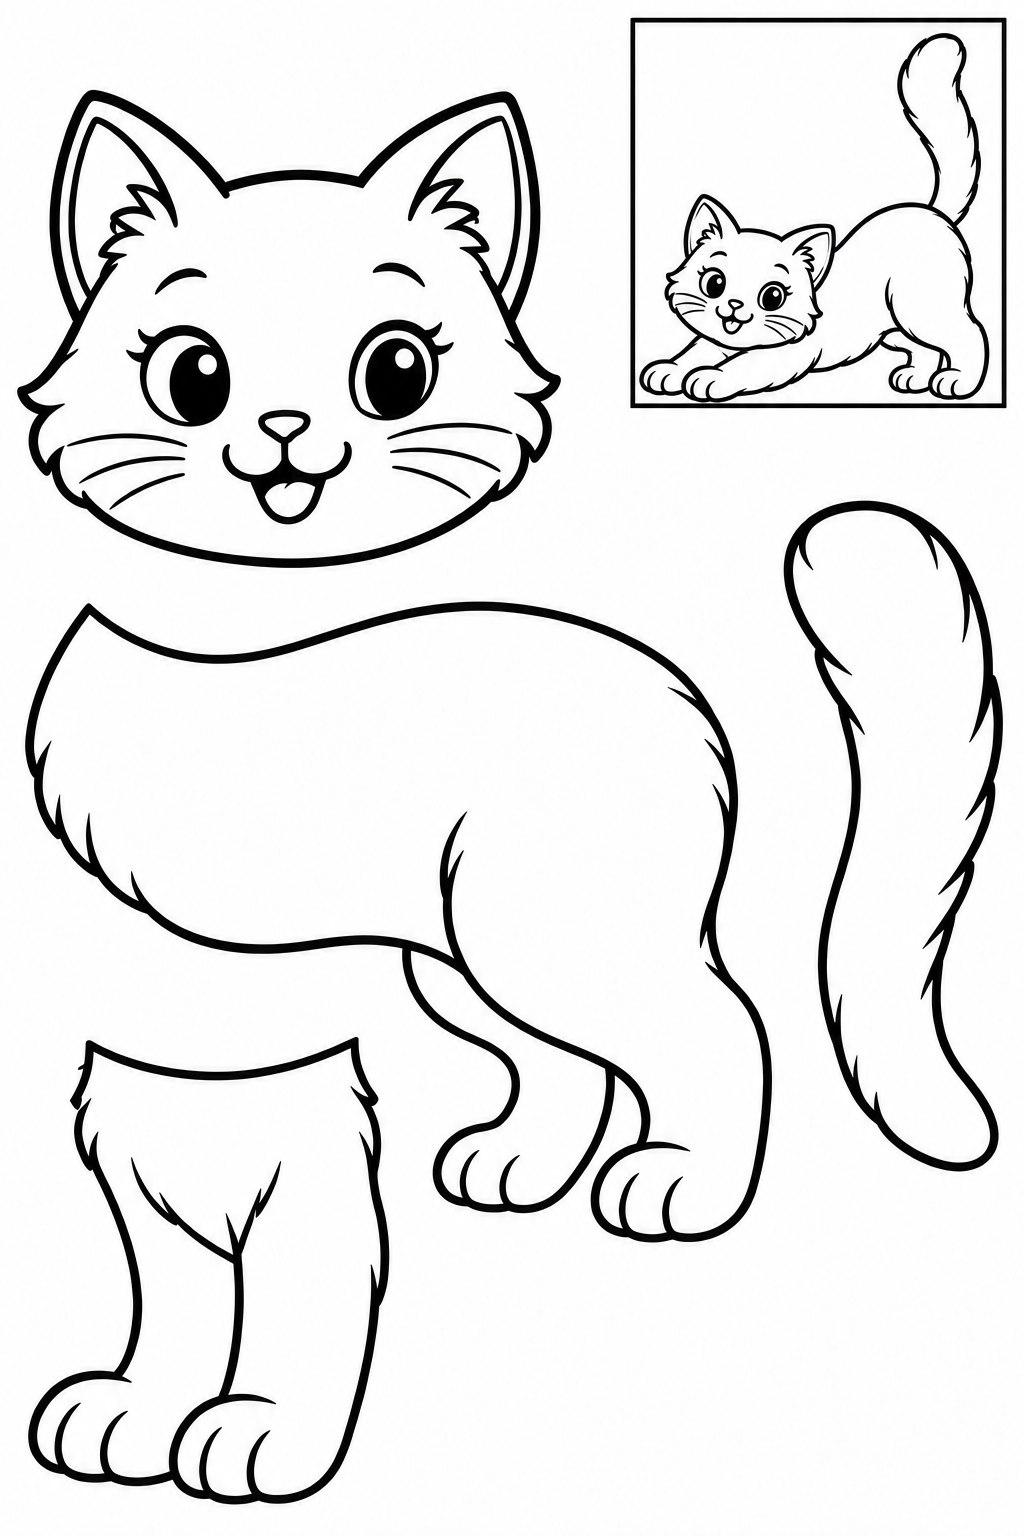
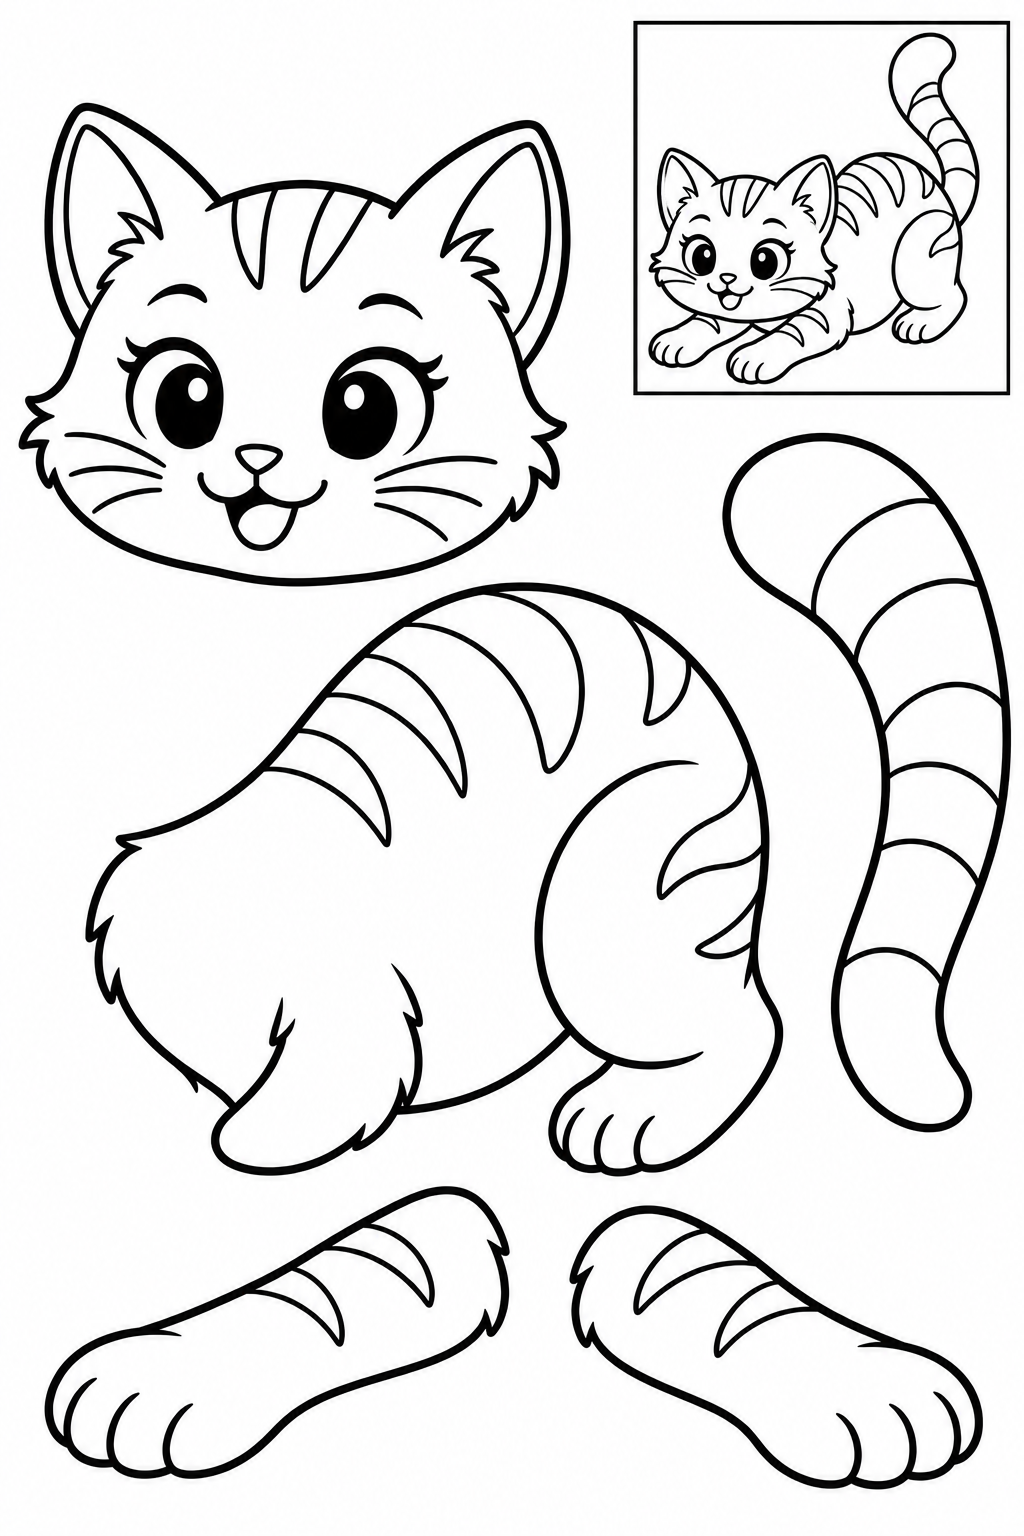
Assembly example: The small boxed example shows the finished craft. Do not cut it out.
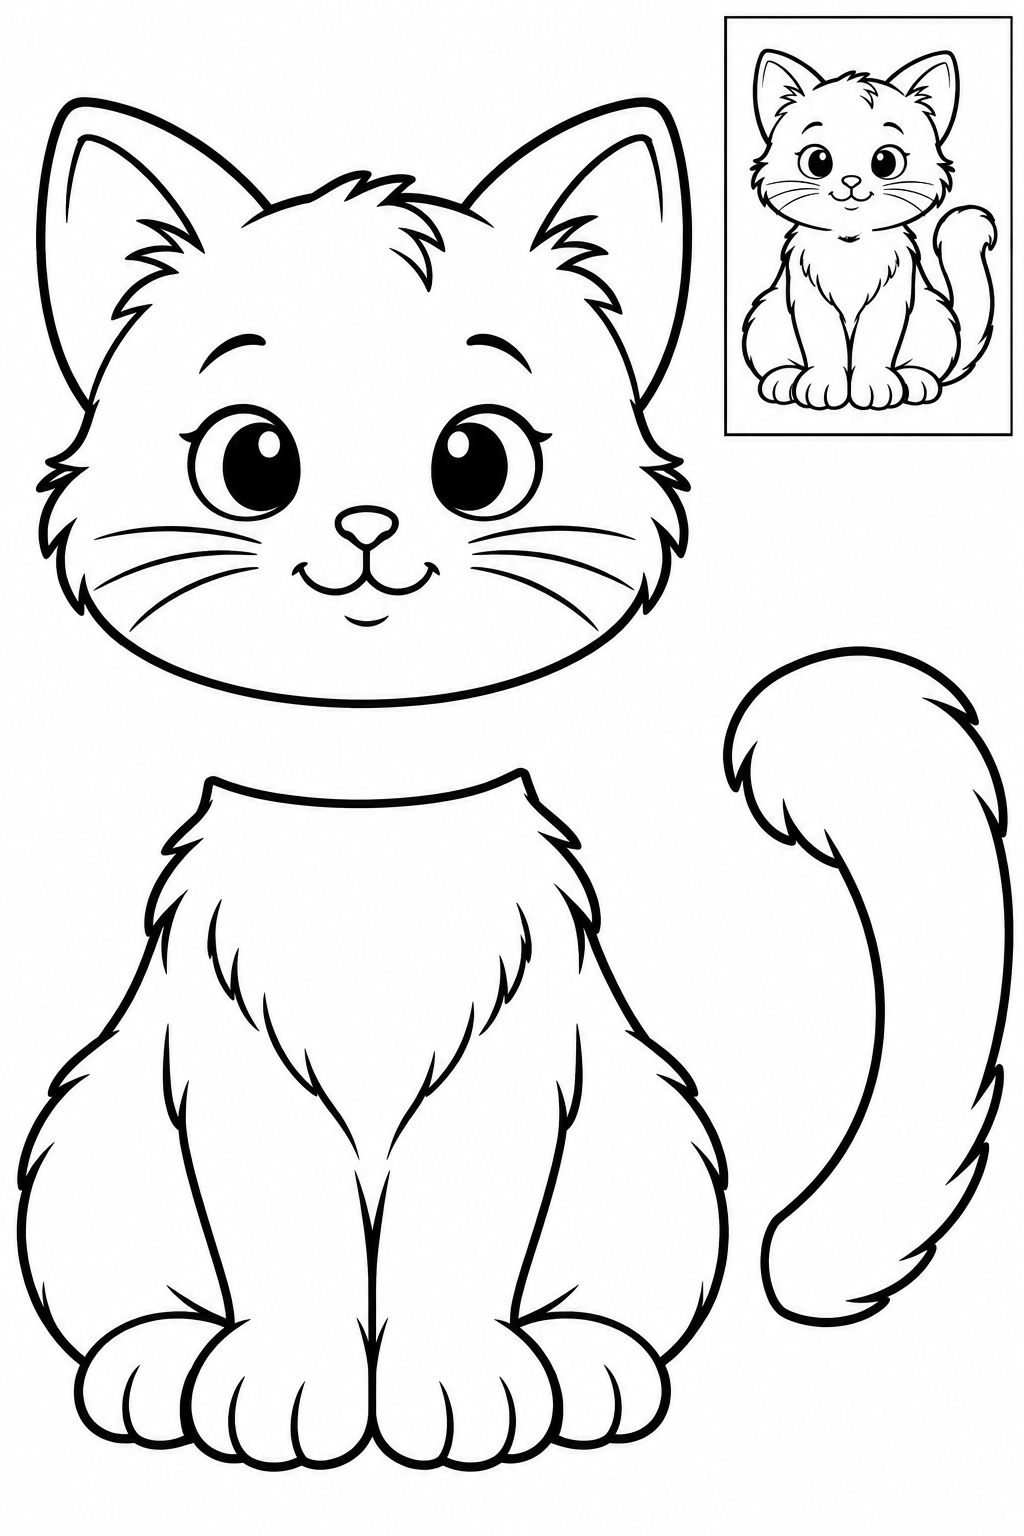
Place head over body top; tuck tail behind body right side. Keep internal details intact. Compare with the small boxed example before gluing. If a joint is loose, increase the overlap or reinforce it with tape behind the craft.
Check: Can you guide the scissors comfortably? If it is difficult, an adult can shorten a strip, cut a tricky curve or offer straight paths. Pieces should be fully separated and arranged as intended before gluing.
Assembly example: The small boxed example shows the finished craft. Do not cut it out.
Rotate the front-leg pair forward to make the stretch. Attach front paws beneath chest, head at its front and tail behind the raised rump. Keep internal details intact. Compare with the small boxed example before gluing. If a joint is loose, increase the overlap or reinforce it with tape behind the craft.
Check: Can you guide the scissors comfortably? If it is difficult, an adult can shorten a strip, cut a tricky curve or offer straight paths. Pieces should be fully separated and arranged as intended before gluing.
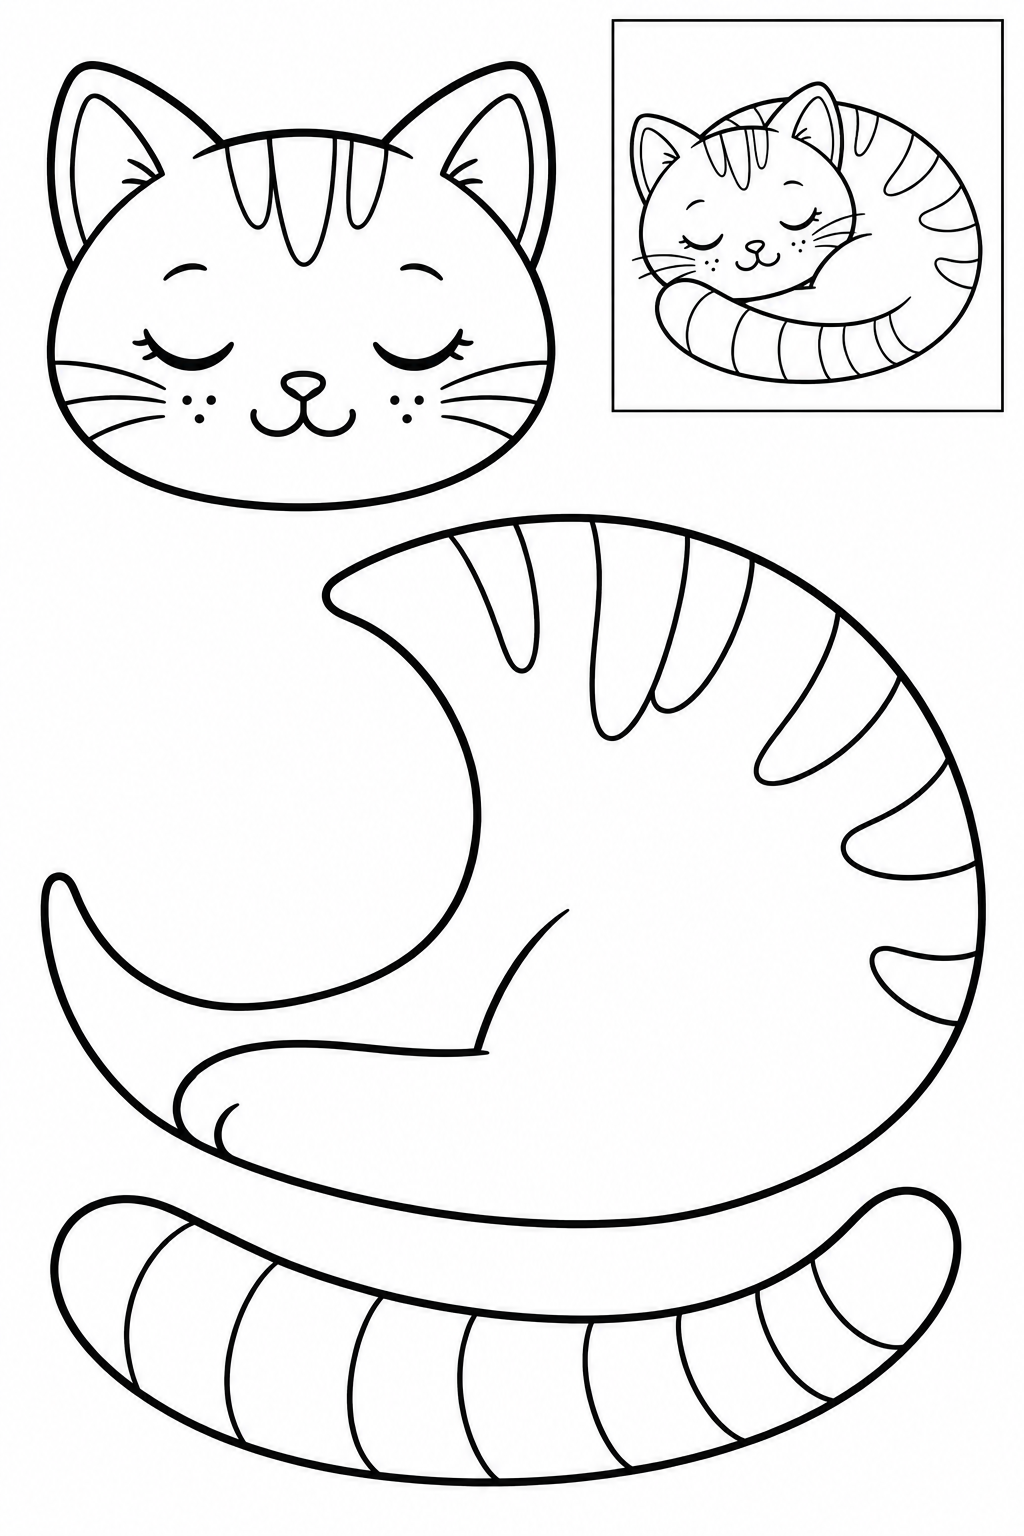
Assembly example: The small boxed example shows the finished craft. Do not cut it out.
Nest head in body hollow; overlap tail along lower body edge. Keep internal details intact. Compare with the small boxed example before gluing. If a joint is loose, increase the overlap or reinforce it with tape behind the craft.
Check: Can you guide the scissors comfortably? If it is difficult, an adult can shorten a strip, cut a tricky curve or offer straight paths. Pieces should be fully separated and arranged as intended before gluing.
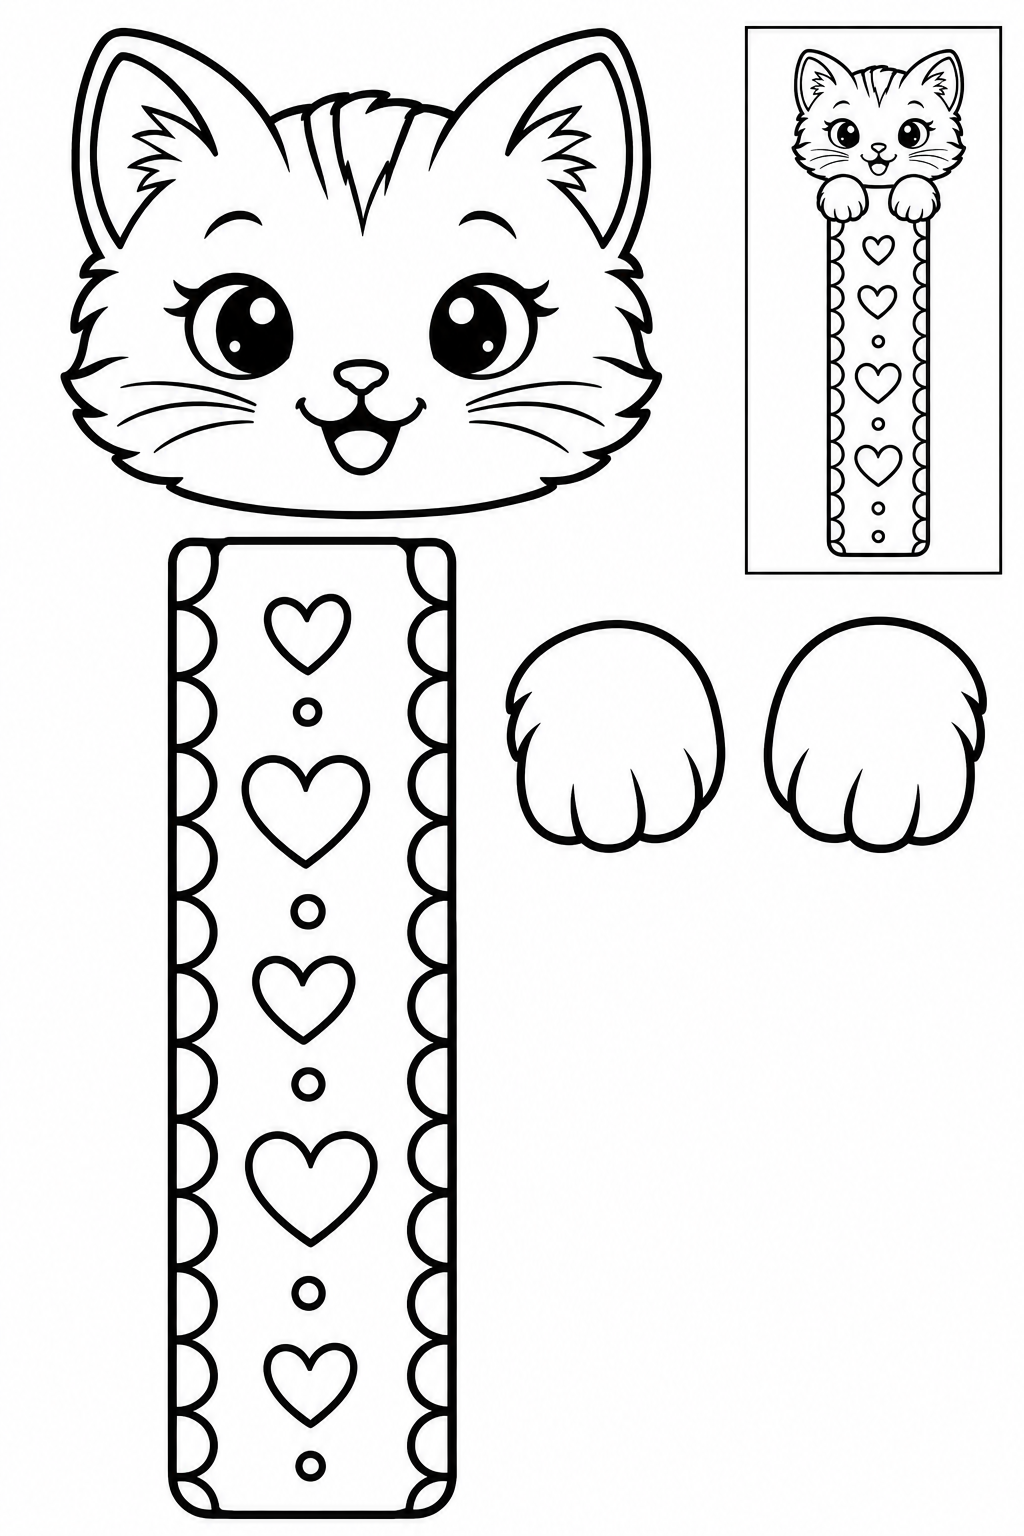
Assembly example: The small boxed example shows the finished craft. Do not cut it out.
Glue strip top behind head and paws onto the upper strip. Let dry before putting in a book. Keep internal details intact. Compare with the small boxed example before gluing. If a joint is loose, increase the overlap or reinforce it with tape behind the craft.
Check: Can you guide the scissors comfortably? If it is difficult, an adult can shorten a strip, cut a tricky curve or offer straight paths. Pieces should be fully separated and arranged as intended before gluing.
Assembly example: The small boxed example shows the finished craft. Do not cut it out.
Adult loosely fits band around finger and tapes ends; glue cat outside band. Enlarge if tight. Keep internal details intact. Compare with the small boxed example before gluing. If a joint is loose, increase the overlap or reinforce it with tape behind the craft.
Check: Can you guide the scissors comfortably? If it is difficult, an adult can shorten a strip, cut a tricky curve or offer straight paths. Pieces should be fully separated and arranged as intended before gluing.
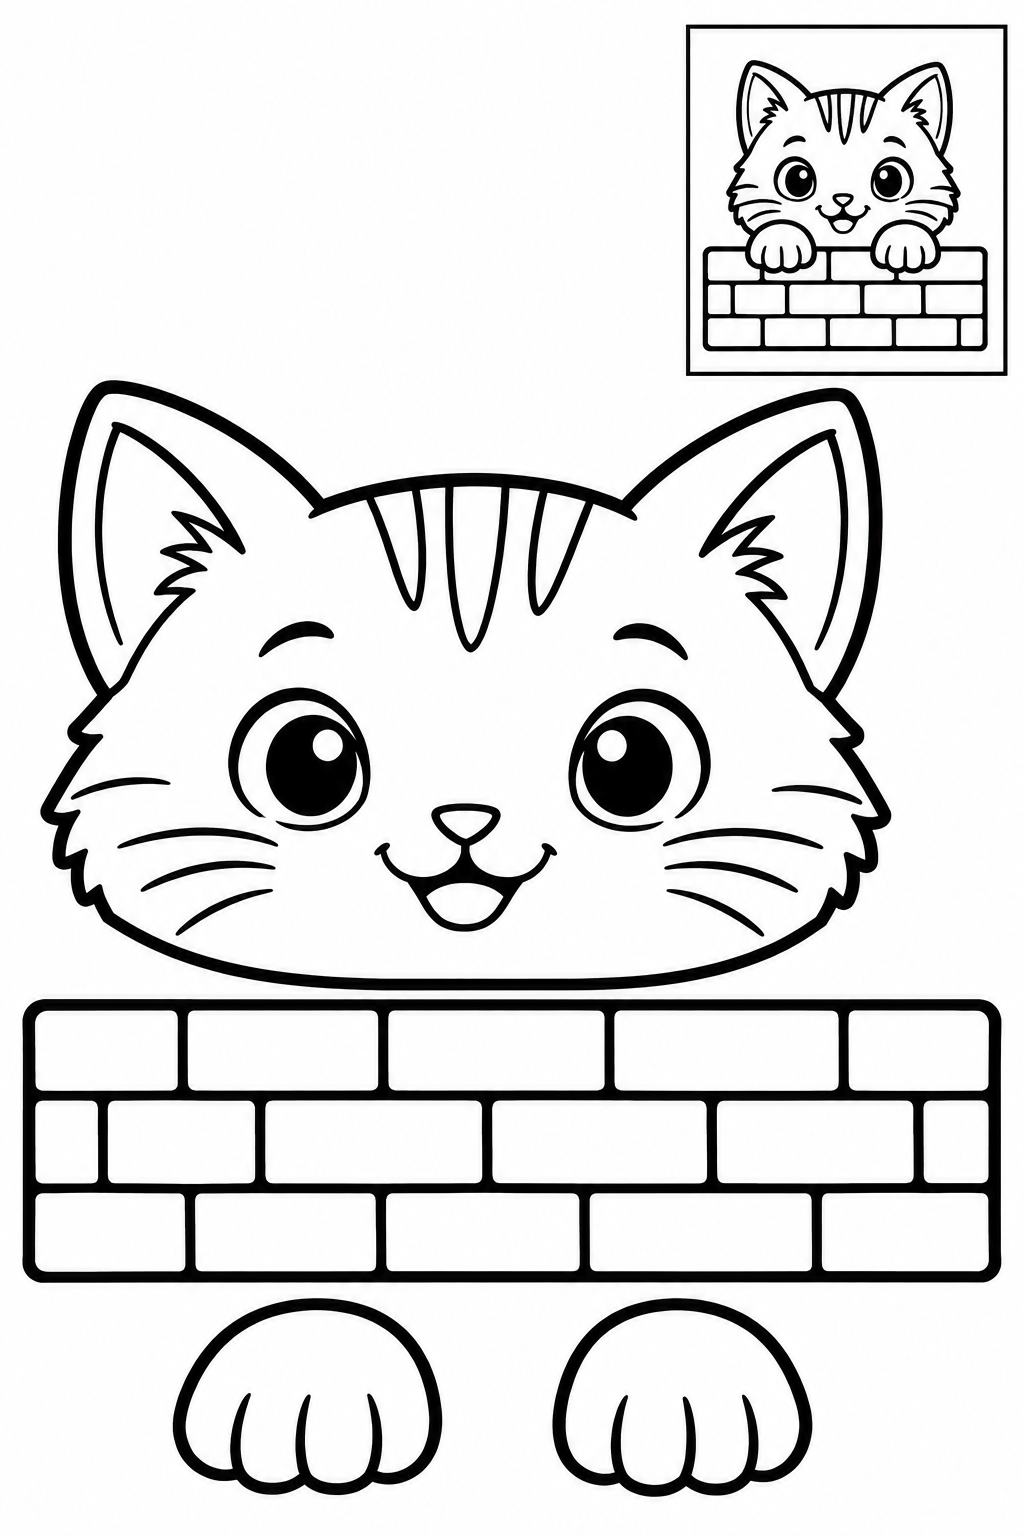
Assembly example: The small boxed example shows the finished craft. Do not cut it out.
Glue head behind wall top; paws overlap the wall front as if peeking over. Keep internal details intact. Compare with the small boxed example before gluing. If a joint is loose, increase the overlap or reinforce it with tape behind the craft.
Check: Can you guide the scissors comfortably? If it is difficult, an adult can shorten a strip, cut a tricky curve or offer straight paths. Pieces should be fully separated and arranged as intended before gluing.
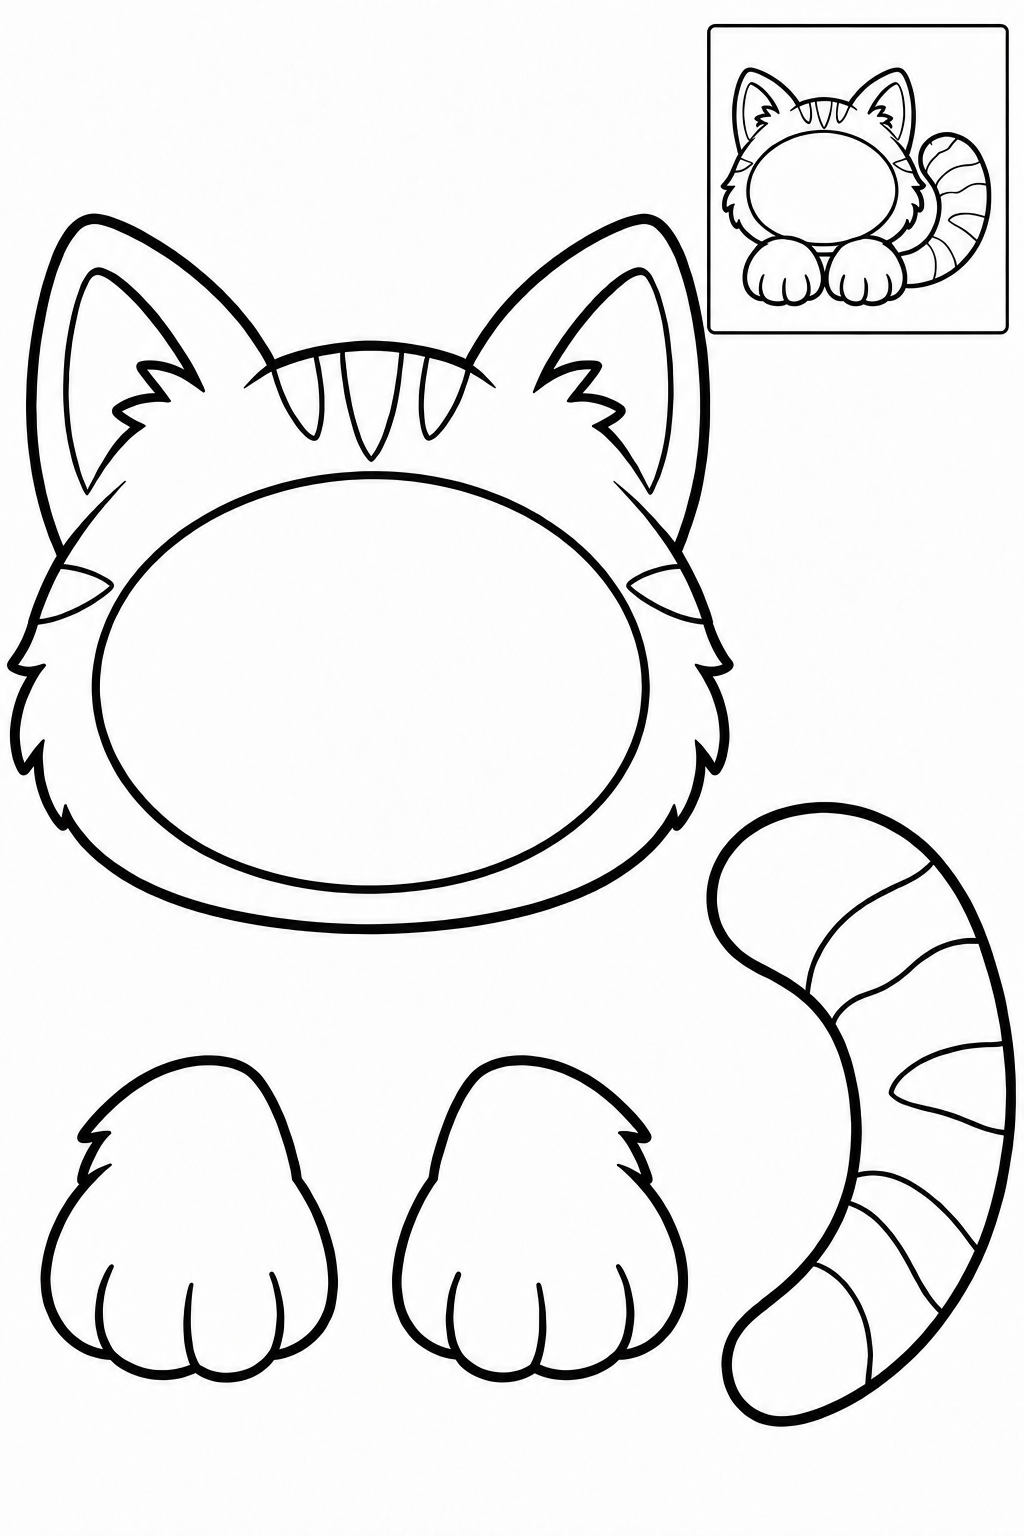
Assembly example: The small boxed example shows the finished craft. Do not cut it out.
Draw a face inside oval, without cutting a hole. Put paws below head and tail on its side. Keep internal details intact. Compare with the small boxed example before gluing. If a joint is loose, increase the overlap or reinforce it with tape behind the craft.
Check: Can you guide the scissors comfortably? If it is difficult, an adult can shorten a strip, cut a tricky curve or offer straight paths. Pieces should be fully separated and arranged as intended before gluing.
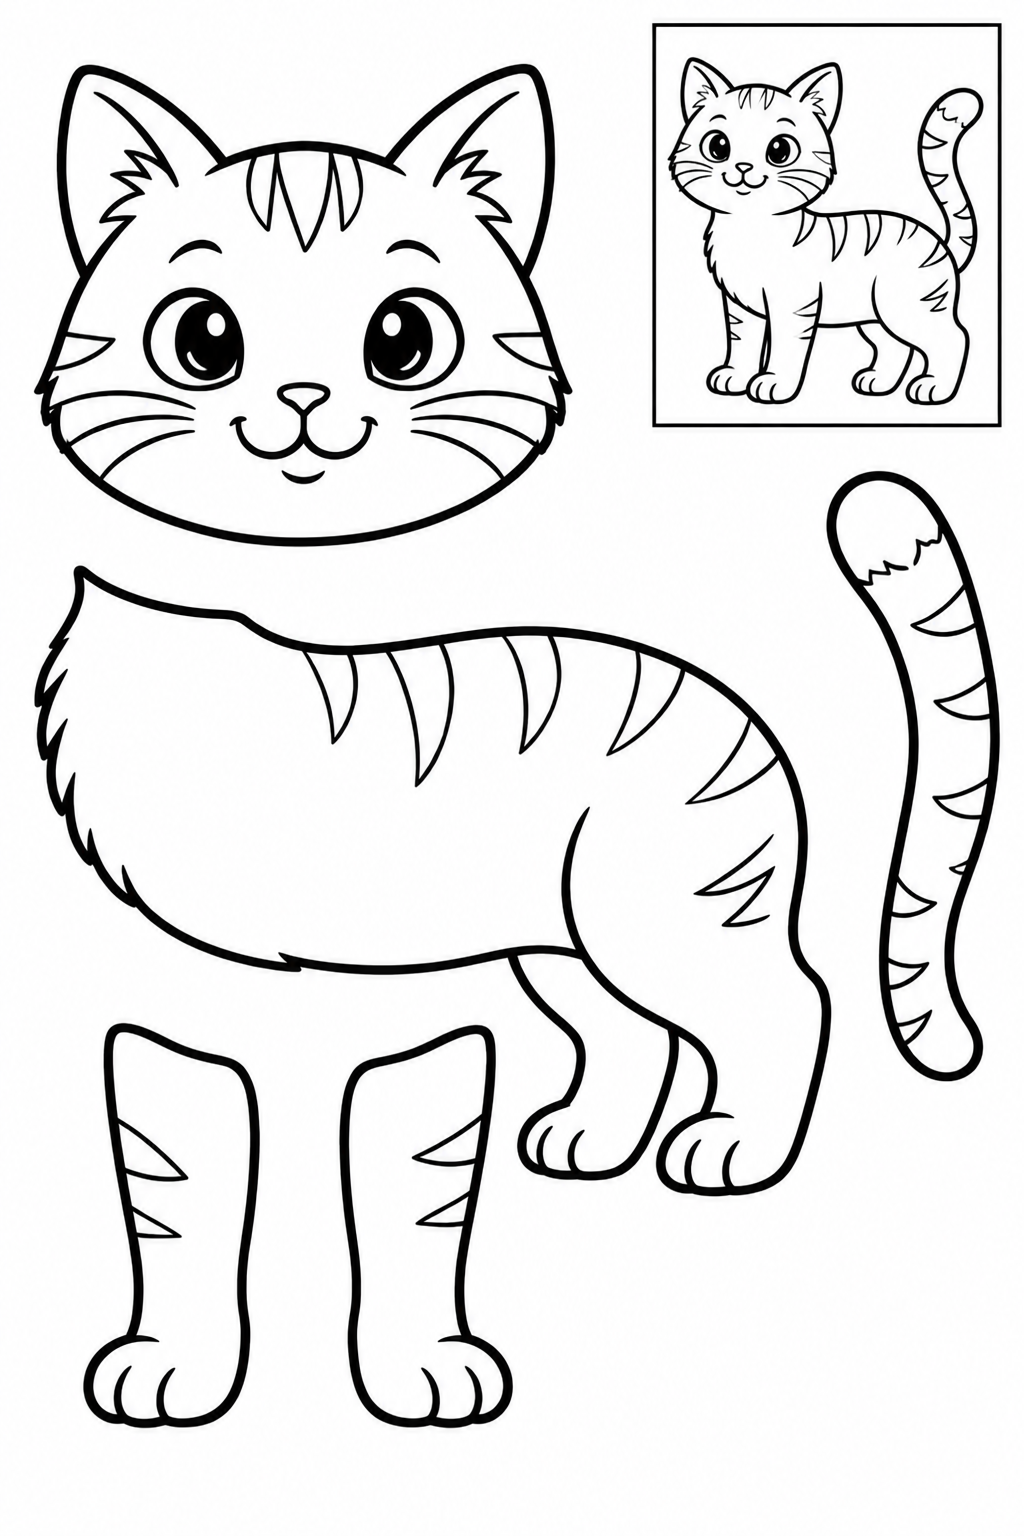
Assembly example: The small boxed example shows the finished craft. Do not cut it out.
Place legs beneath torso front, head above chest, tail behind rump; keep feet level. Keep internal details intact. Compare with the small boxed example before gluing. If a joint is loose, increase the overlap or reinforce it with tape behind the craft.
Check: Can you guide the scissors comfortably? If it is difficult, an adult can shorten a strip, cut a tricky curve or offer straight paths. Pieces should be fully separated and arranged as intended before gluing.
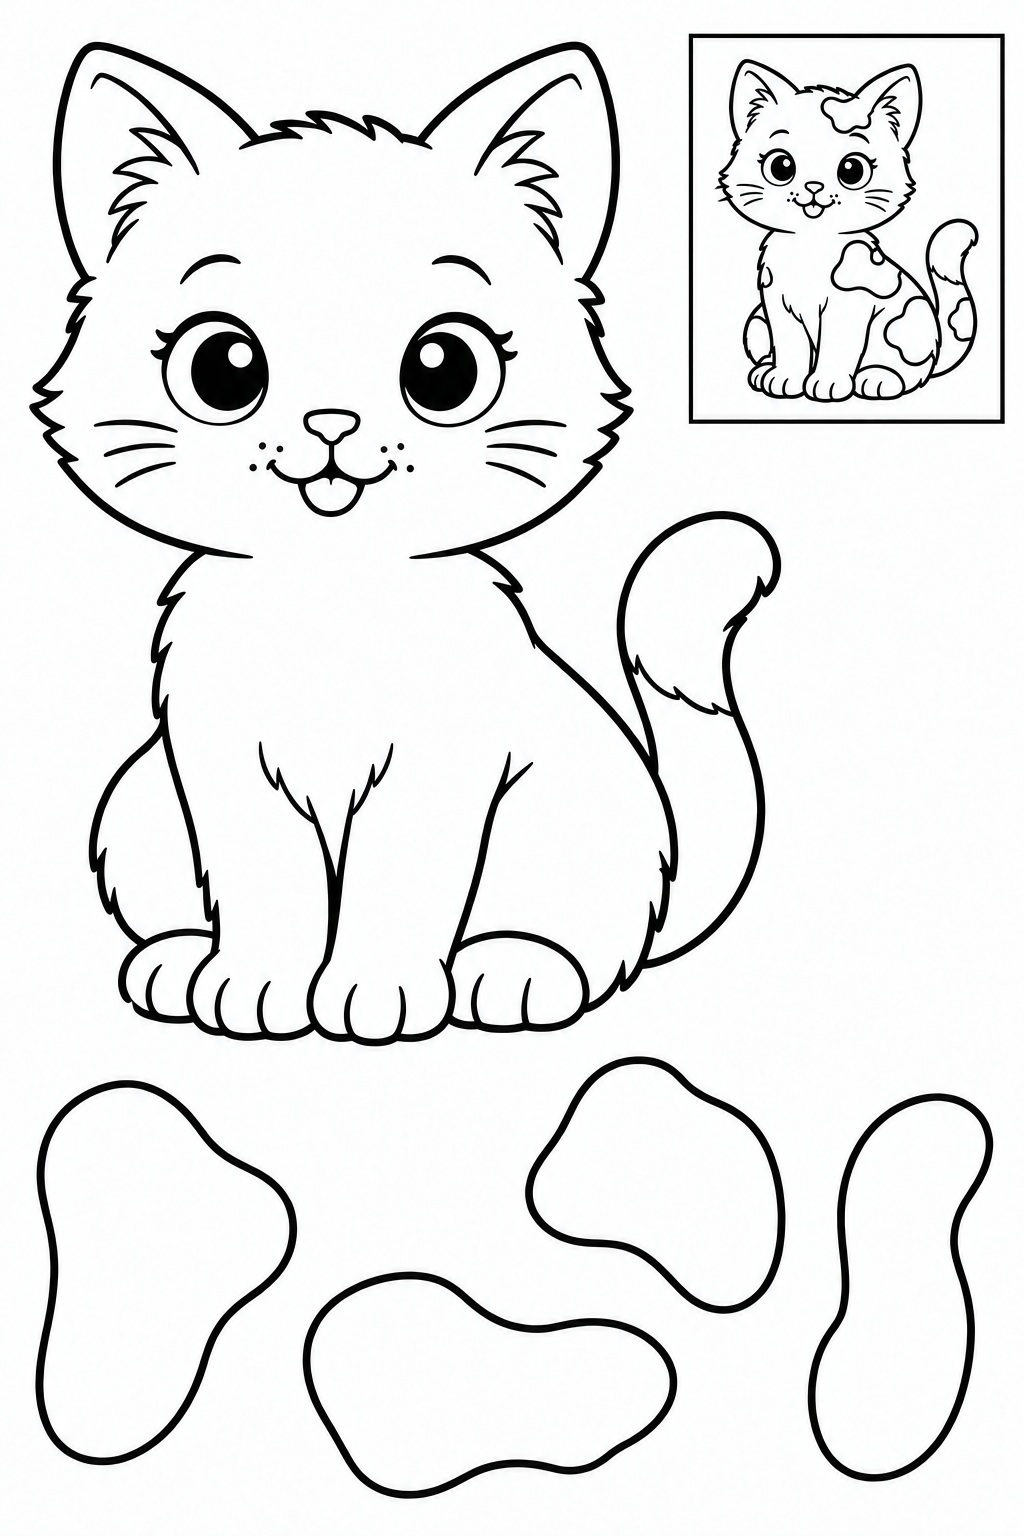
Assembly example: The small boxed example shows the finished craft. Do not cut it out.
Try four patches on belly and sides; keep face clear, then glue. Keep internal details intact. Compare with the small boxed example before gluing. If a joint is loose, increase the overlap or reinforce it with tape behind the craft.
Check: Can you guide the scissors comfortably? If it is difficult, an adult can shorten a strip, cut a tricky curve or offer straight paths. Pieces should be fully separated and arranged as intended before gluing.
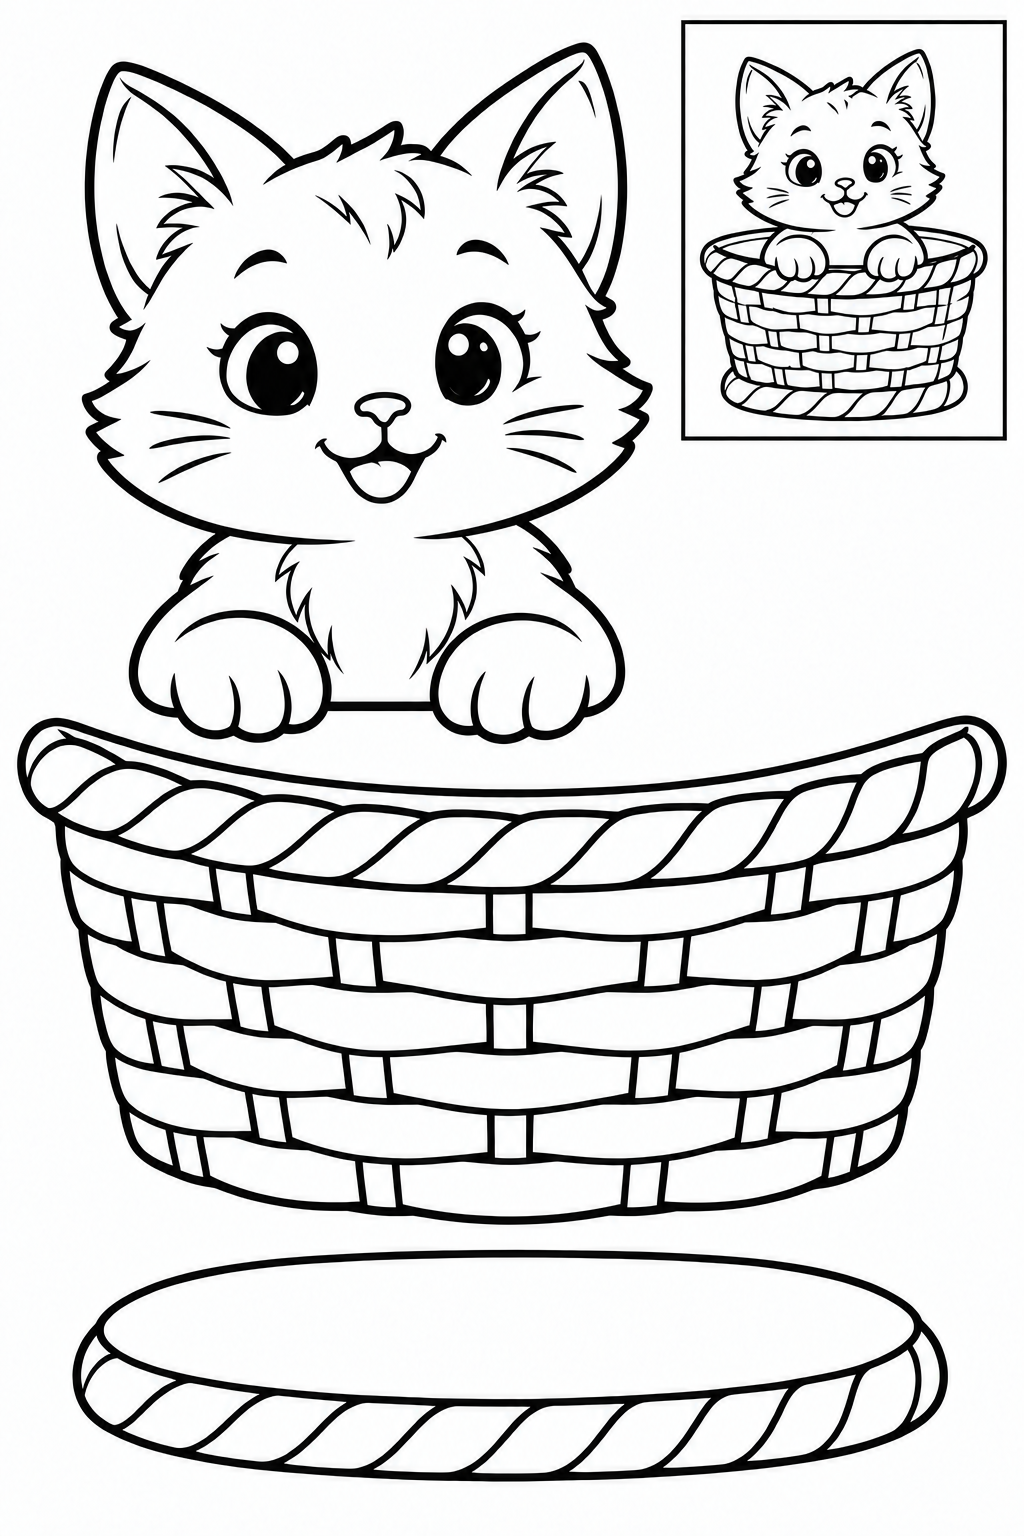
Assembly example: The small boxed example shows the finished craft. Do not cut it out.
Glue kitten behind basket rim; basket base overlaps lower edge. No handle. Keep internal details intact. Compare with the small boxed example before gluing. If a joint is loose, increase the overlap or reinforce it with tape behind the craft.
Check: Can you guide the scissors comfortably? If it is difficult, an adult can shorten a strip, cut a tricky curve or offer straight paths. Pieces should be fully separated and arranged as intended before gluing.
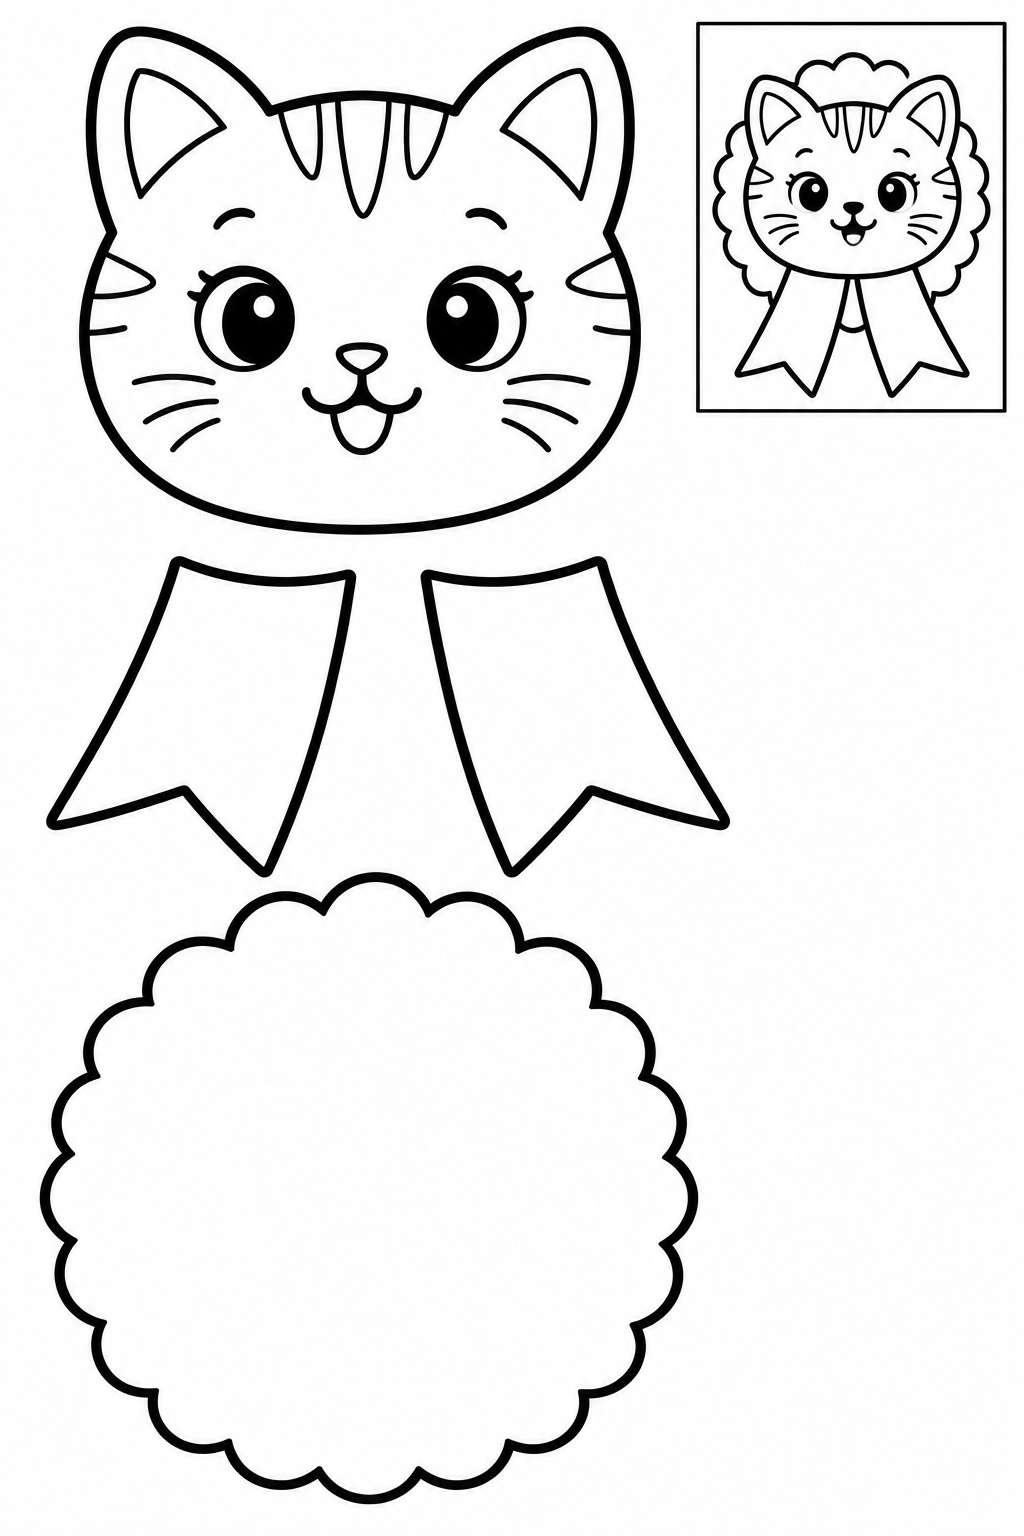
Assembly example: The small boxed example shows the finished craft. Do not cut it out.
Place ribbon tops on disk lower half and glue face over their bases. Keep internal details intact. Compare with the small boxed example before gluing. If a joint is loose, increase the overlap or reinforce it with tape behind the craft.
Check: Can you guide the scissors comfortably? If it is difficult, an adult can shorten a strip, cut a tricky curve or offer straight paths. Pieces should be fully separated and arranged as intended before gluing.
Assembly example: The small boxed example shows the finished craft. Do not cut it out.
Angle head toward paws, attach paws behind chest and tail behind rump; test overlaps before gluing. Keep internal details intact. Compare with the small boxed example before gluing. If a joint is loose, increase the overlap or reinforce it with tape behind the craft.
Check: Can you guide the scissors comfortably? If it is difficult, an adult can shorten a strip, cut a tricky curve or offer straight paths. Pieces should be fully separated and arranged as intended before gluing.
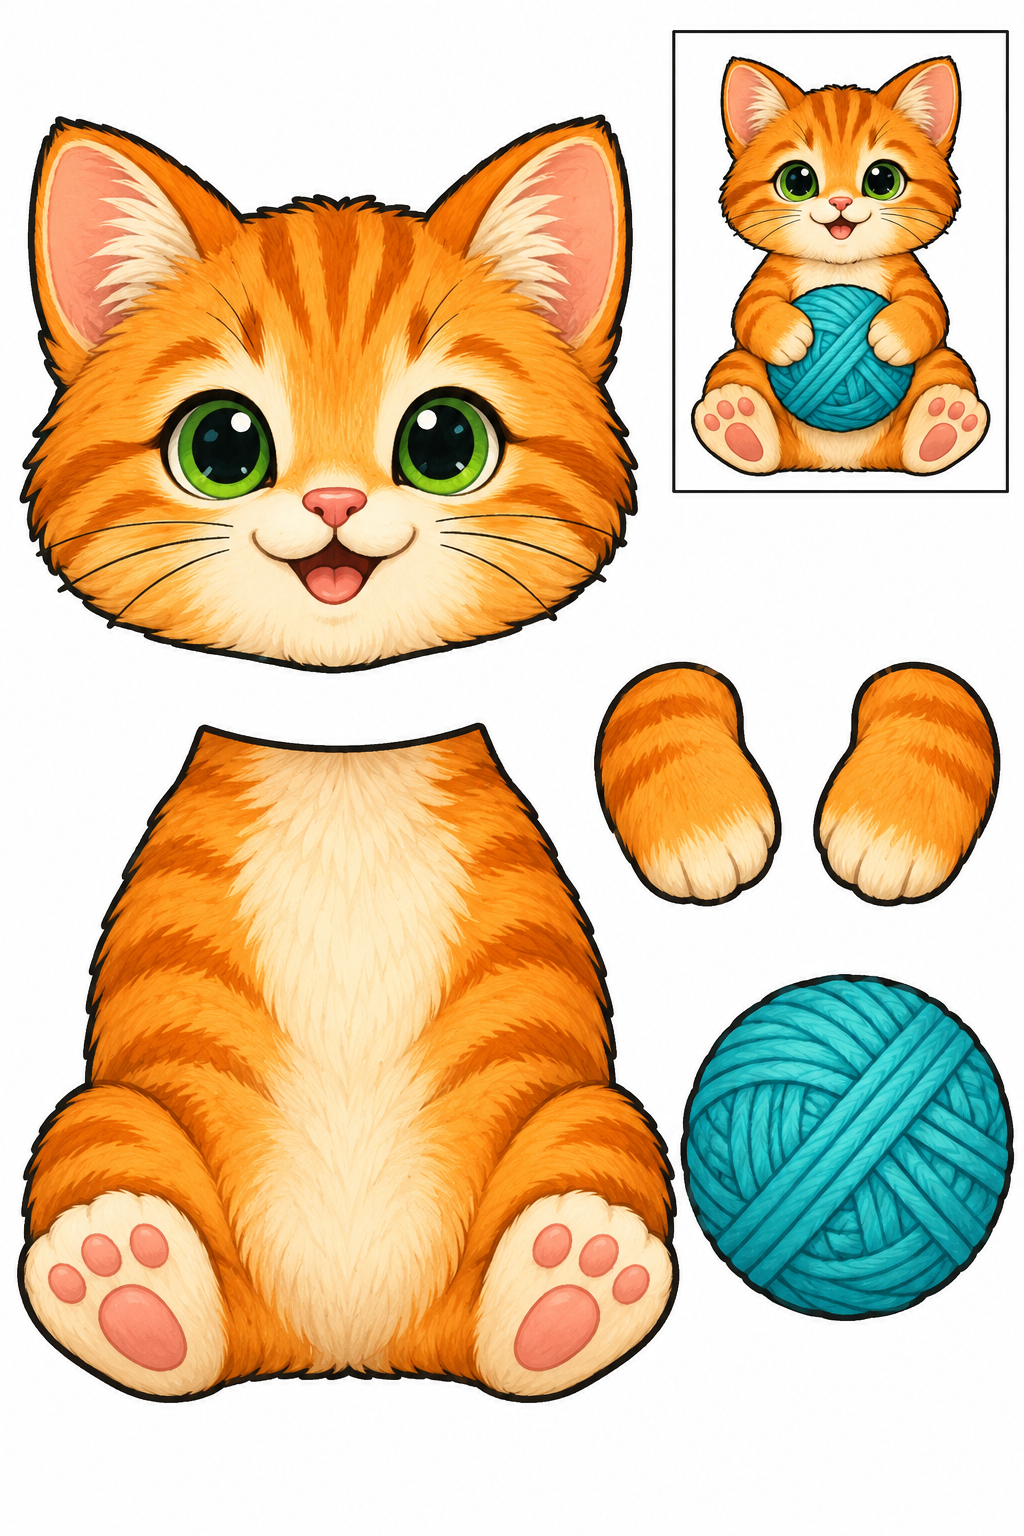
Assembly example: The small boxed example shows the finished craft. Do not cut it out.
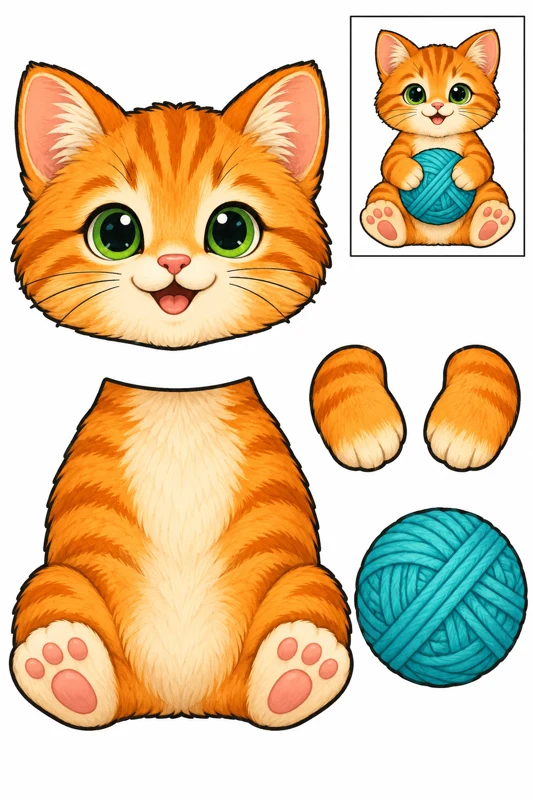
Glue head over body, set yarn ball on belly and overlap front paws at its sides. Keep internal details intact. Compare with the small boxed example before gluing. If a joint is loose, increase the overlap or reinforce it with tape behind the craft.
Check: Can you guide the scissors comfortably? If it is difficult, an adult can shorten a strip, cut a tricky curve or offer straight paths. Pieces should be fully separated and arranged as intended before gluing.
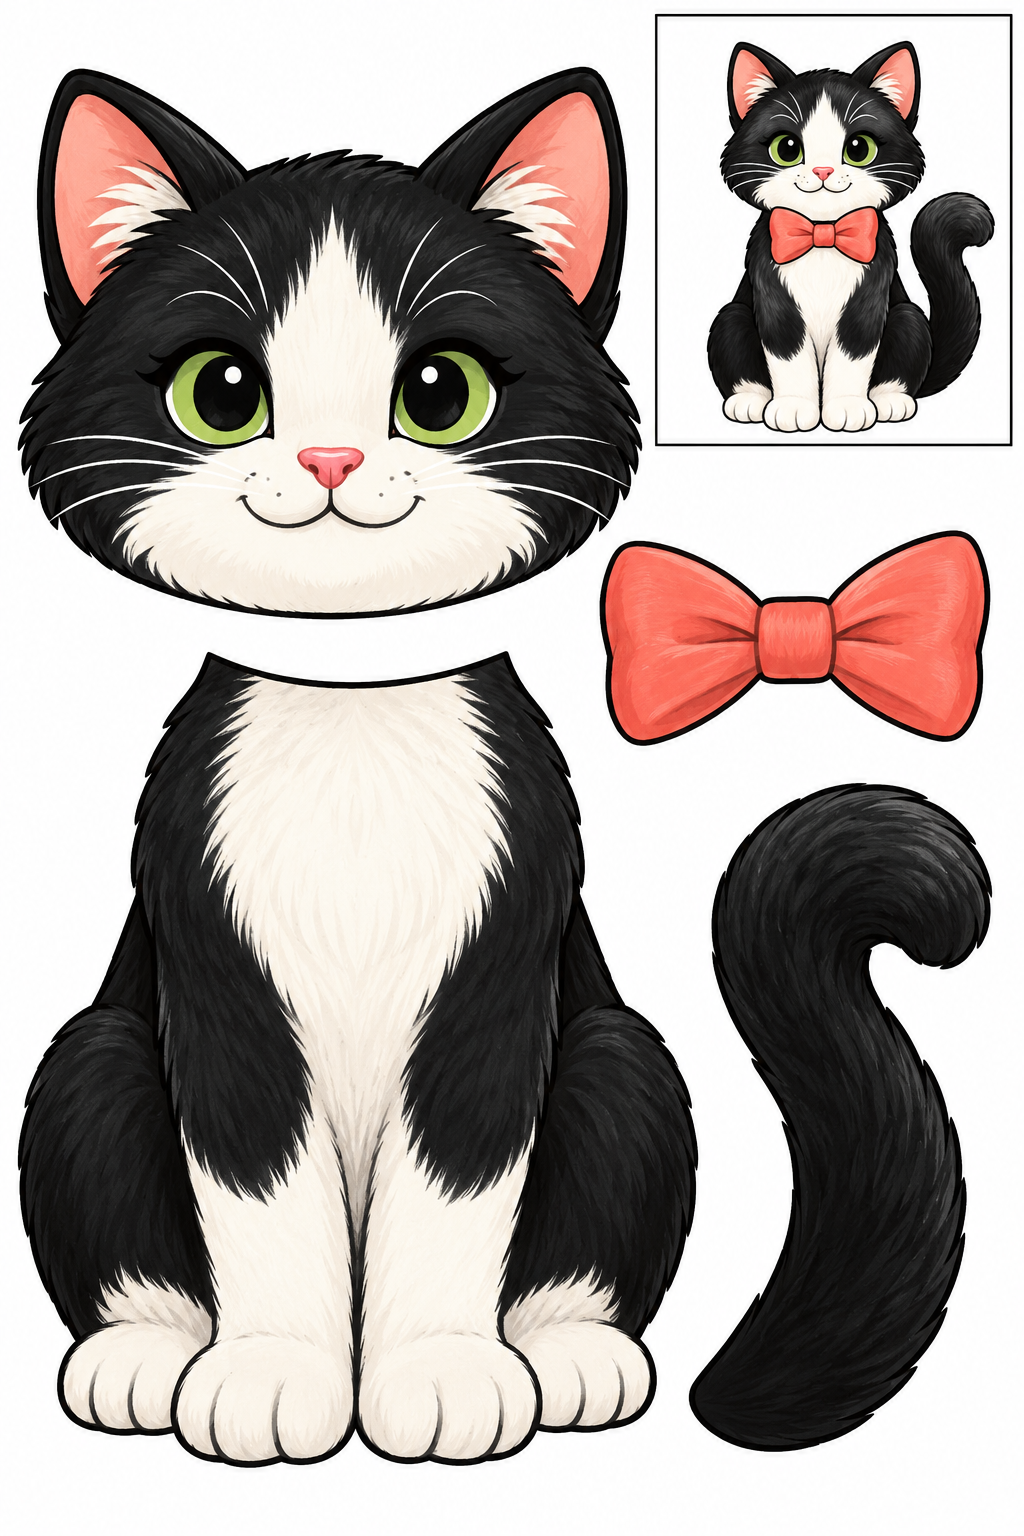
Assembly example: The small boxed example shows the finished craft. Do not cut it out.
Head overlaps body; glue bow below chin and tuck tail behind side. Keep internal details intact. Compare with the small boxed example before gluing. If a joint is loose, increase the overlap or reinforce it with tape behind the craft.
Check: Can you guide the scissors comfortably? If it is difficult, an adult can shorten a strip, cut a tricky curve or offer straight paths. Pieces should be fully separated and arranged as intended before gluing.
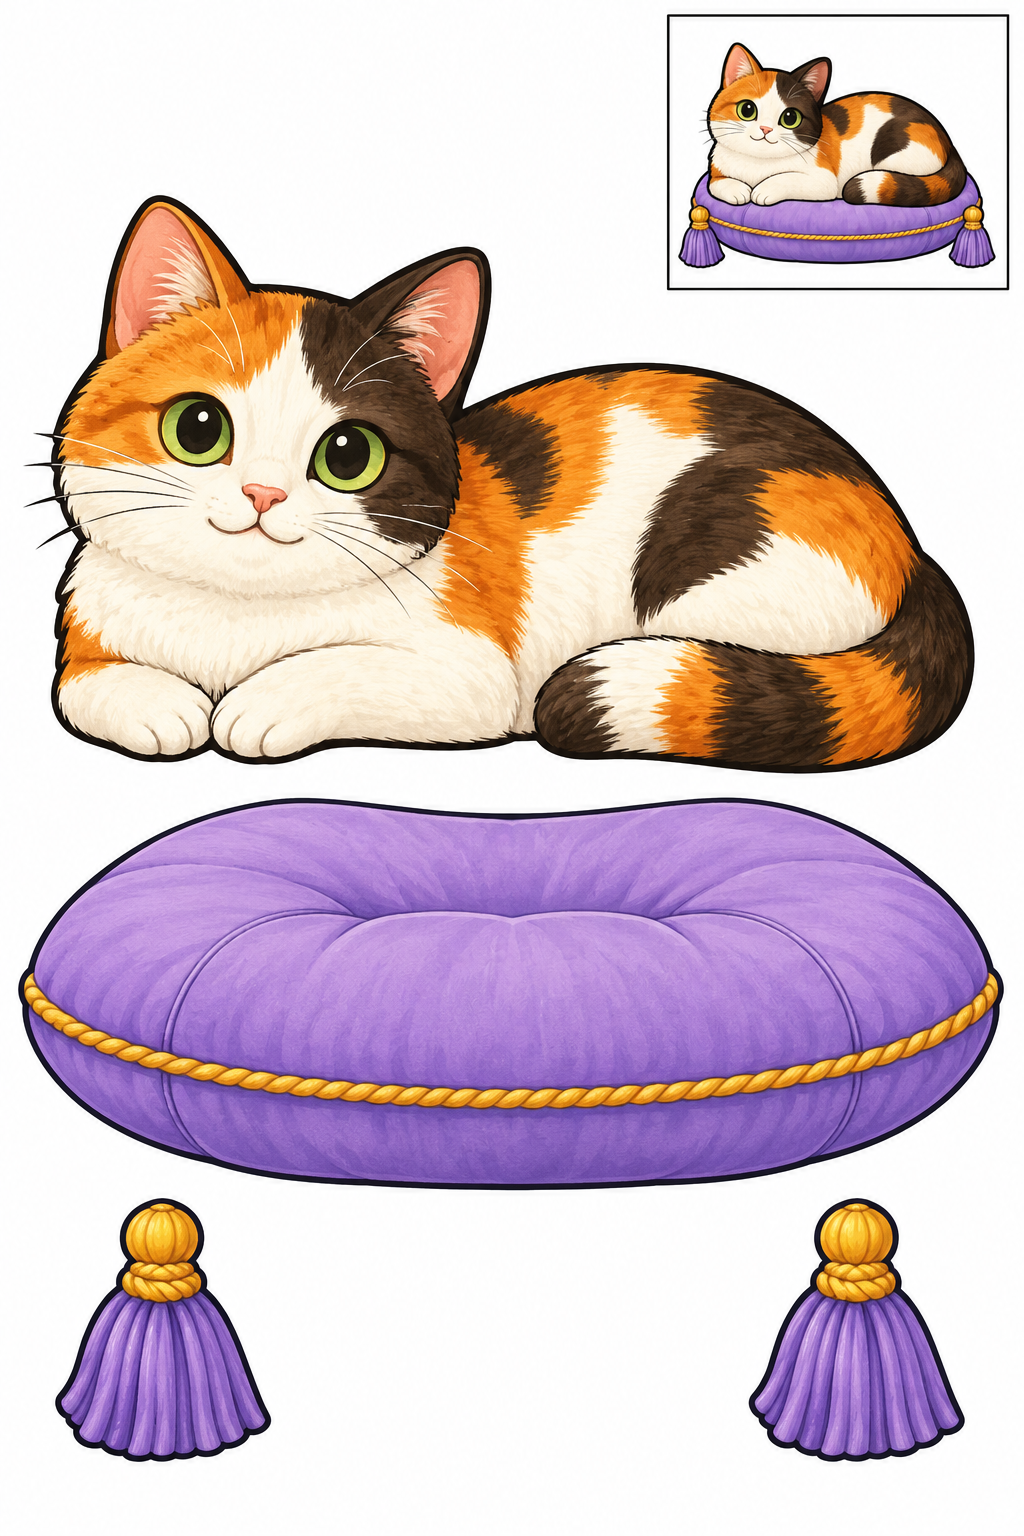
Assembly example: The small boxed example shows the finished craft. Do not cut it out.
Place tassels behind cushion corners; glue reclining cat on upper cushion. Keep internal details intact. Compare with the small boxed example before gluing. If a joint is loose, increase the overlap or reinforce it with tape behind the craft.
Check: Can you guide the scissors comfortably? If it is difficult, an adult can shorten a strip, cut a tricky curve or offer straight paths. Pieces should be fully separated and arranged as intended before gluing.
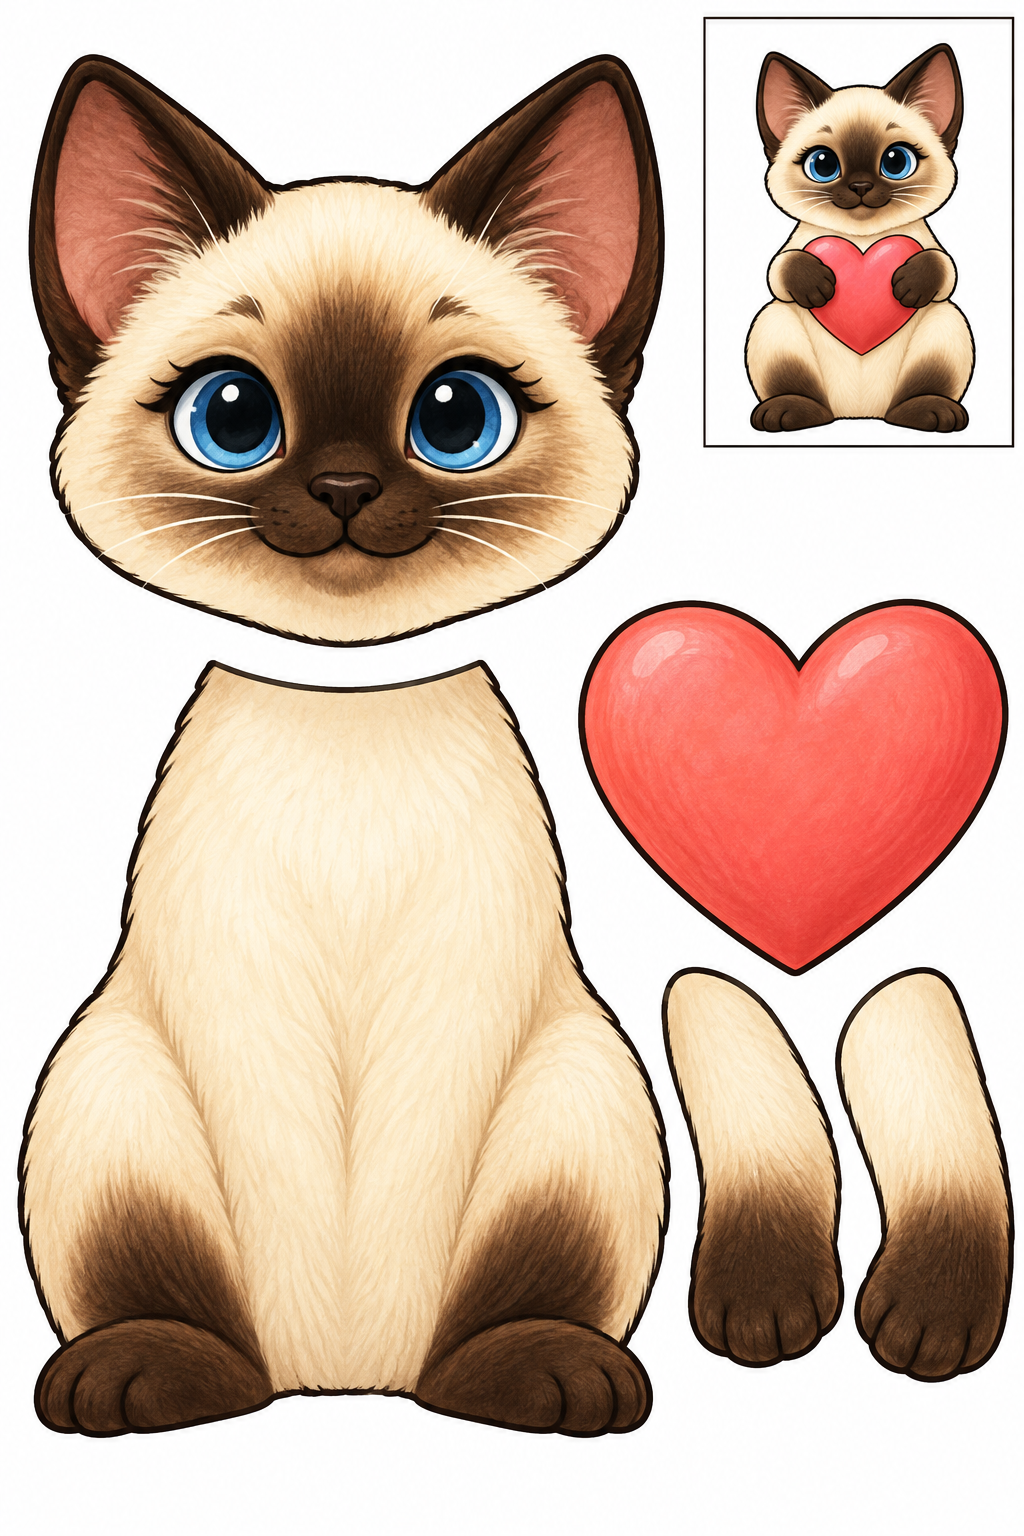
Assembly example: The small boxed example shows the finished craft. Do not cut it out.
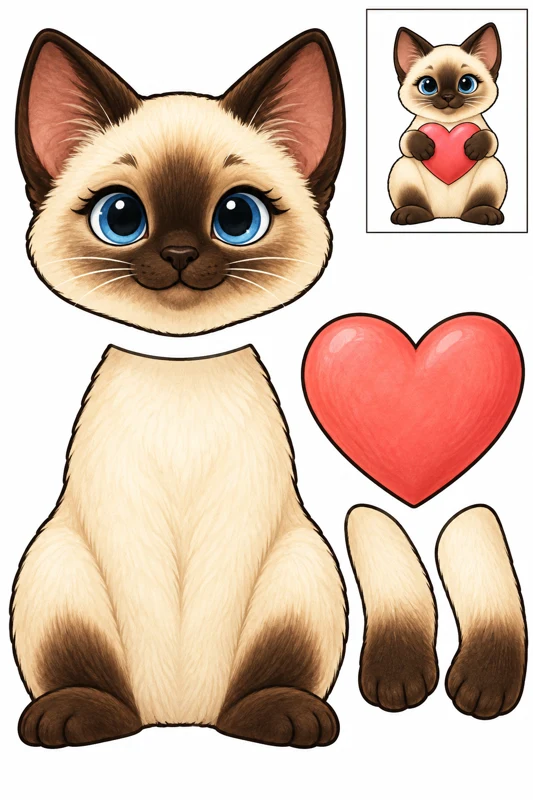
Place heart over chest; paws overlap heart sides; head overlaps torso top. Keep internal details intact. Compare with the small boxed example before gluing. If a joint is loose, increase the overlap or reinforce it with tape behind the craft.
Check: Can you guide the scissors comfortably? If it is difficult, an adult can shorten a strip, cut a tricky curve or offer straight paths. Pieces should be fully separated and arranged as intended before gluing.
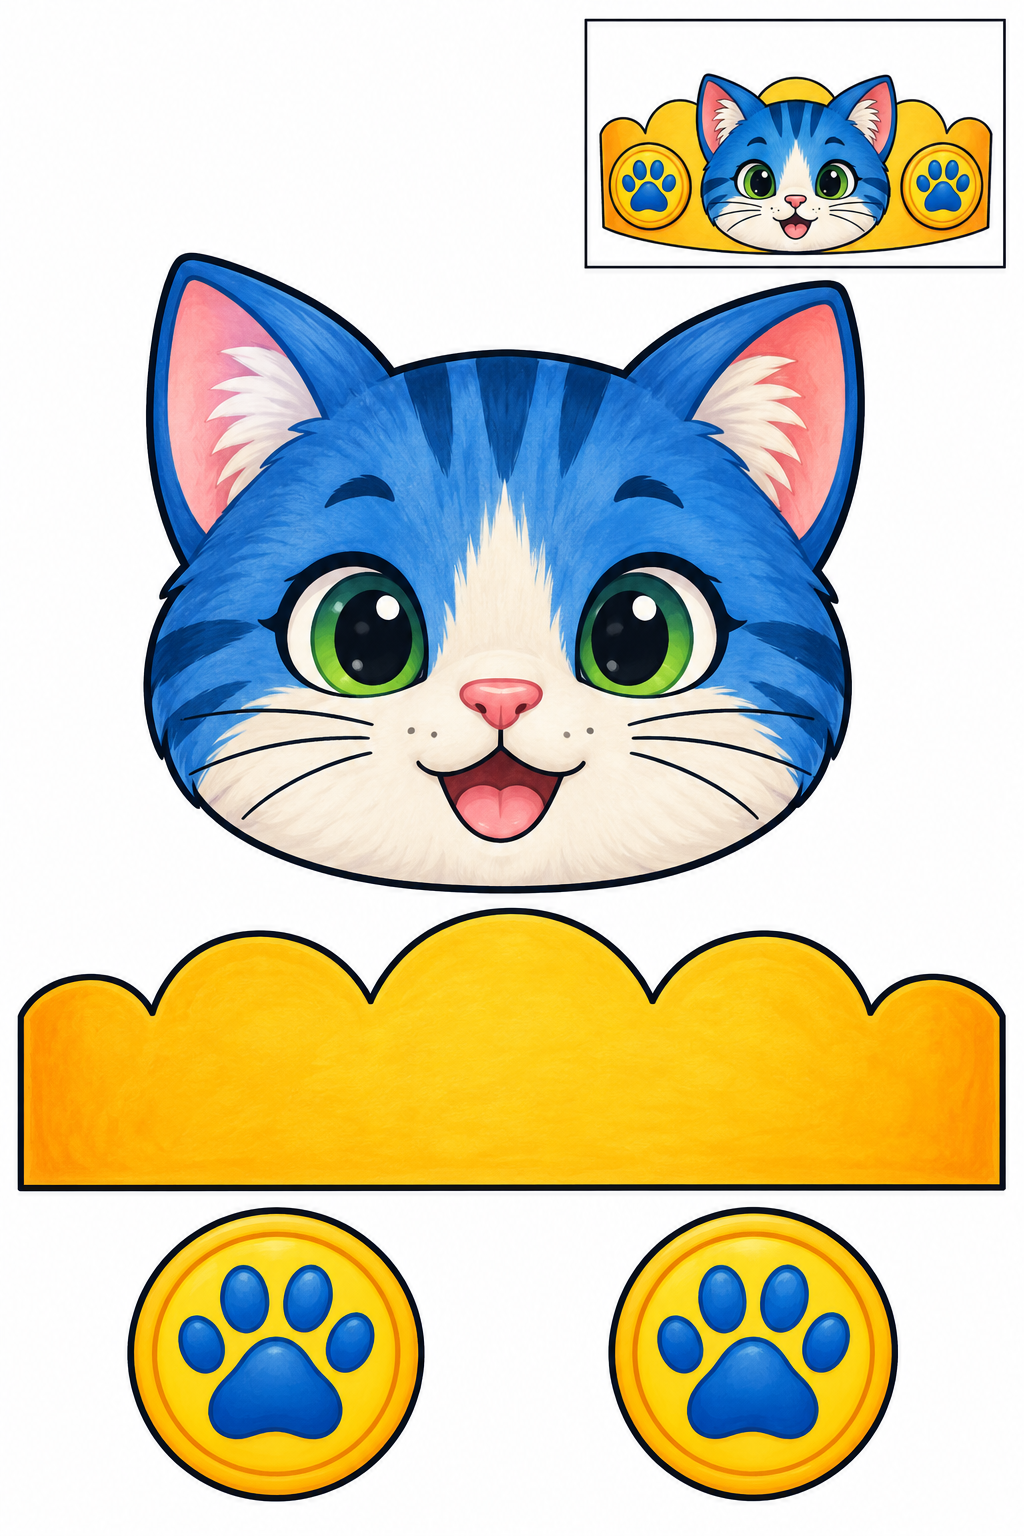
Assembly example: The small boxed example shows the finished craft. Do not cut it out.
Glue face onto panel middle, badges either side; use as flat crown picture. Wearable band not included. Keep internal details intact. Compare with the small boxed example before gluing. If a joint is loose, increase the overlap or reinforce it with tape behind the craft.
Check: Can you guide the scissors comfortably? If it is difficult, an adult can shorten a strip, cut a tricky curve or offer straight paths. Pieces should be fully separated and arranged as intended before gluing.
Assembly example: The small boxed example shows the finished craft. Do not cut it out.
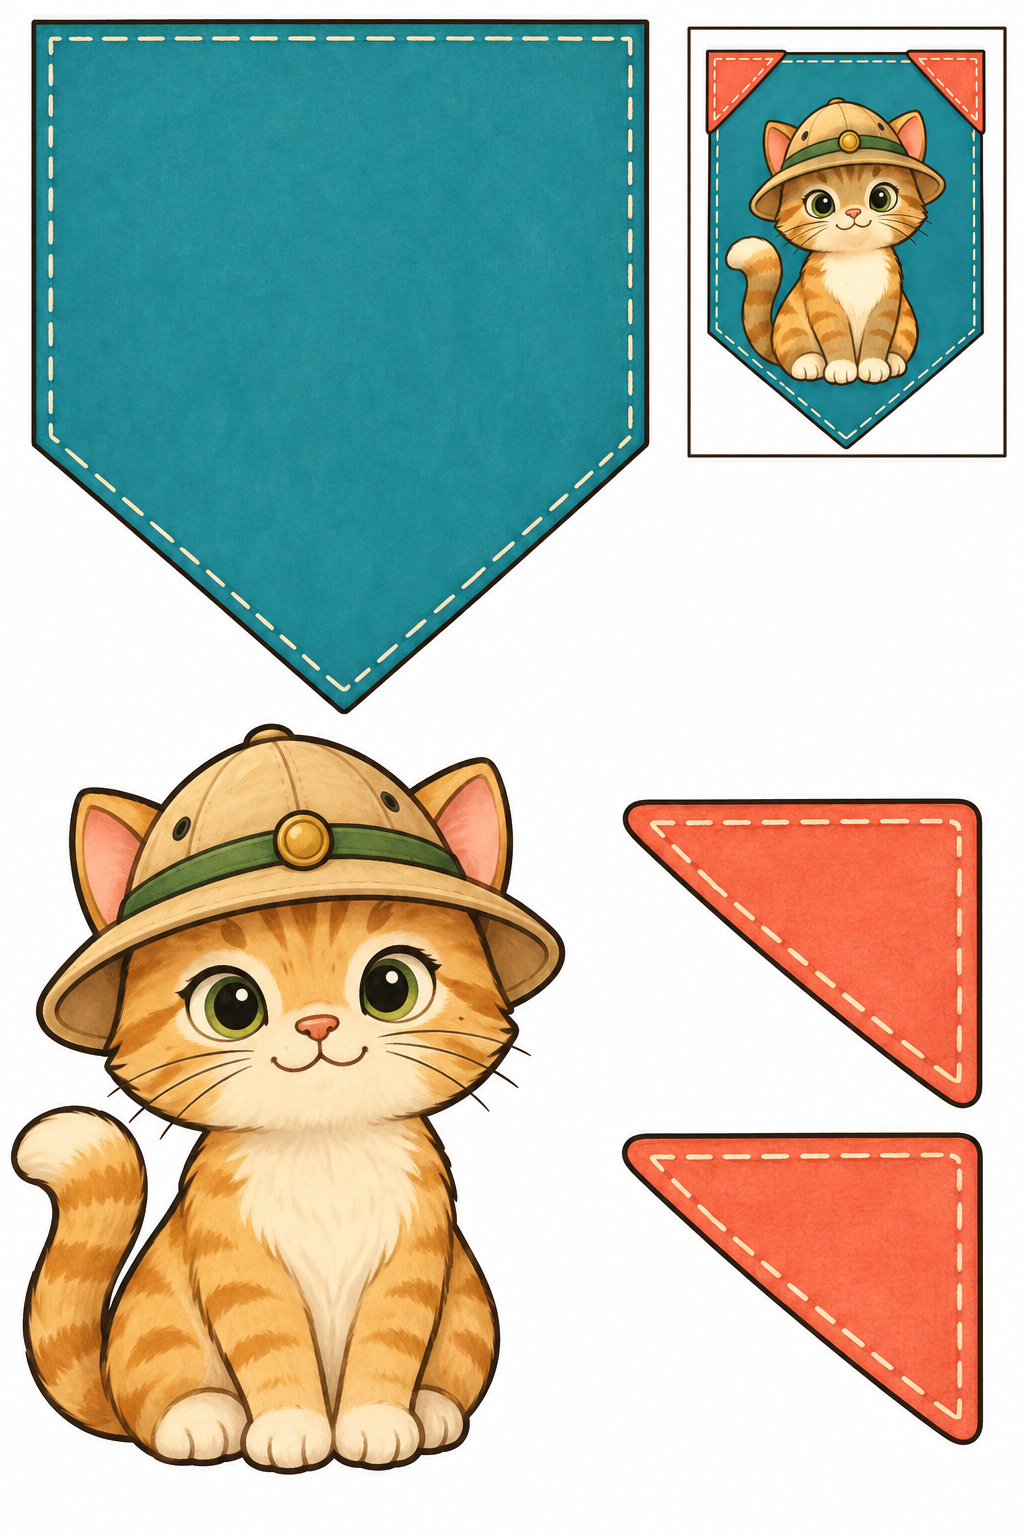
Glue cat in panel center and patches on top corners; keep bottom point clear. Keep internal details intact. Compare with the small boxed example before gluing. If a joint is loose, increase the overlap or reinforce it with tape behind the craft. The dashed stitches are decoration: cut the solid outside border.
Check: Can you guide the scissors comfortably? If it is difficult, an adult can shorten a strip, cut a tricky curve or offer straight paths. Pieces should be fully separated and arranged as intended before gluing.
Assembly example: The small boxed example shows the finished craft. Do not cut it out.
Glue cat behind frosting; frosting overlaps wrapper top, with paws visible above. Keep internal details intact. Compare with the small boxed example before gluing. If a joint is loose, increase the overlap or reinforce it with tape behind the craft.
Check: Can you guide the scissors comfortably? If it is difficult, an adult can shorten a strip, cut a tricky curve or offer straight paths. Pieces should be fully separated and arranged as intended before gluing.
Assembly example: The small boxed example shows the finished craft. Do not cut it out.
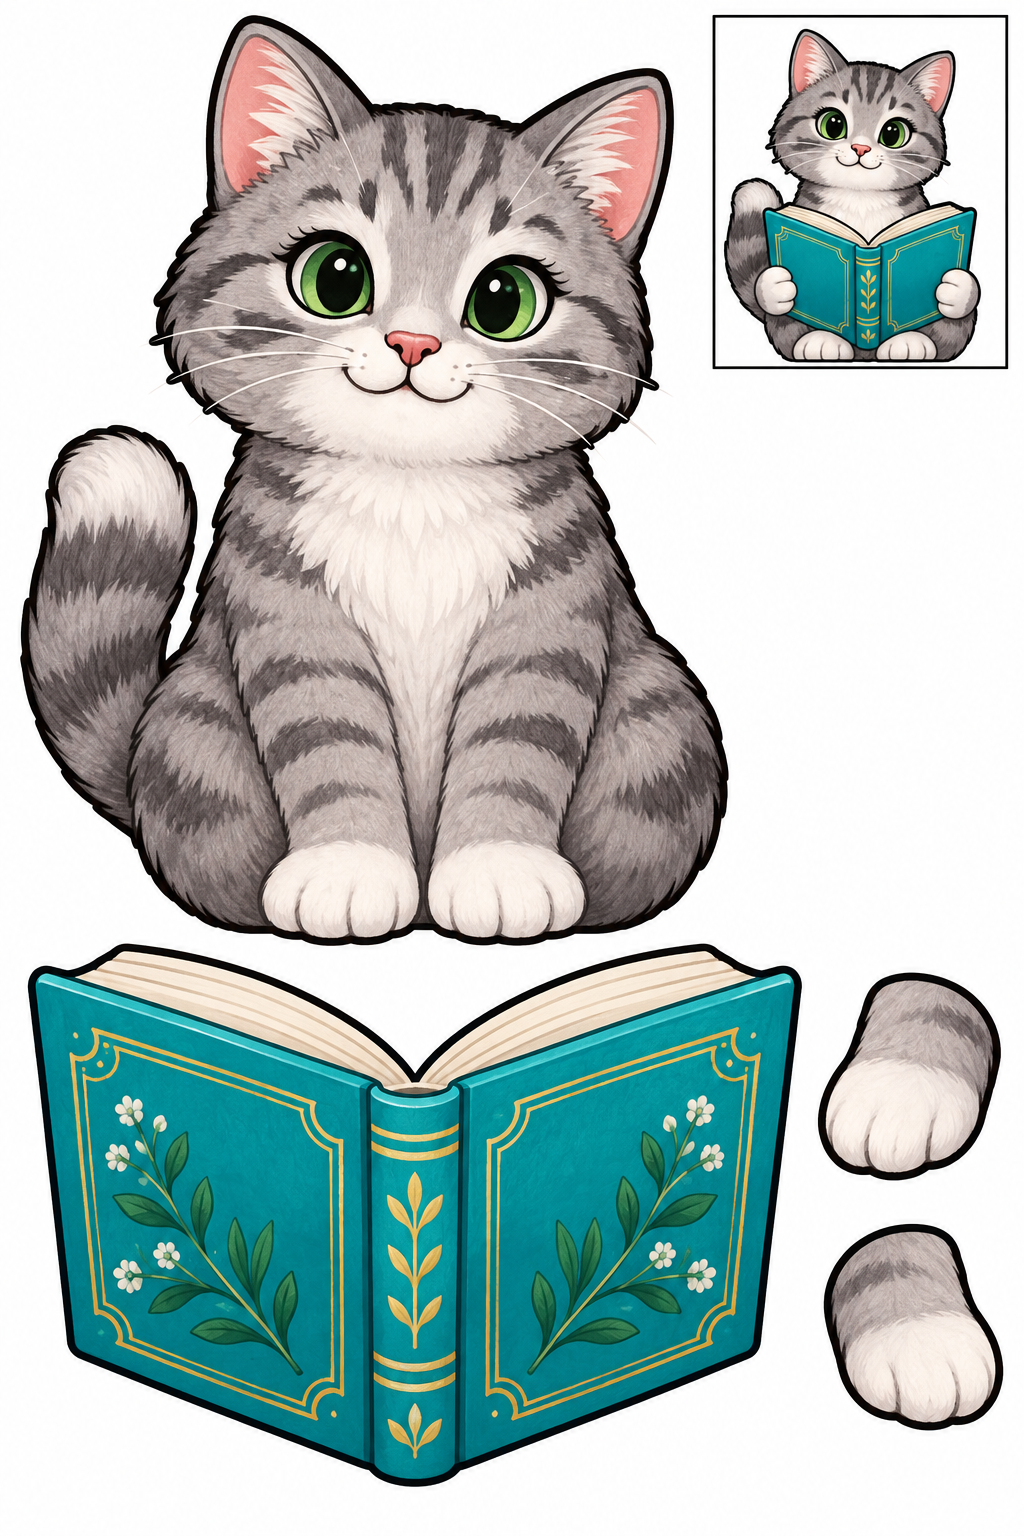
Place open book over lap; paws overlap book lower corners. Keep internal details intact. Compare with the small boxed example before gluing. If a joint is loose, increase the overlap or reinforce it with tape behind the craft.
Check: Can you guide the scissors comfortably? If it is difficult, an adult can shorten a strip, cut a tricky curve or offer straight paths. Pieces should be fully separated and arranged as intended before gluing.
Assembly example: The small boxed example shows the finished craft. Do not cut it out.
Tuck leaves behind flower at bottom sides; glue head at flower center. Keep internal details intact. Compare with the small boxed example before gluing. If a joint is loose, increase the overlap or reinforce it with tape behind the craft.
Check: Can you guide the scissors comfortably? If it is difficult, an adult can shorten a strip, cut a tricky curve or offer straight paths. Pieces should be fully separated and arranged as intended before gluing.
Assembly example: The small boxed example shows the finished craft. Do not cut it out.
Place kitten in badge center and stars on either side; keep face visible. Keep internal details intact. Compare with the small boxed example before gluing. If a joint is loose, increase the overlap or reinforce it with tape behind the craft.
Check: Can you guide the scissors comfortably? If it is difficult, an adult can shorten a strip, cut a tricky curve or offer straight paths. Pieces should be fully separated and arranged as intended before gluing.
Assembly example: The small boxed example shows the finished craft. Do not cut it out.
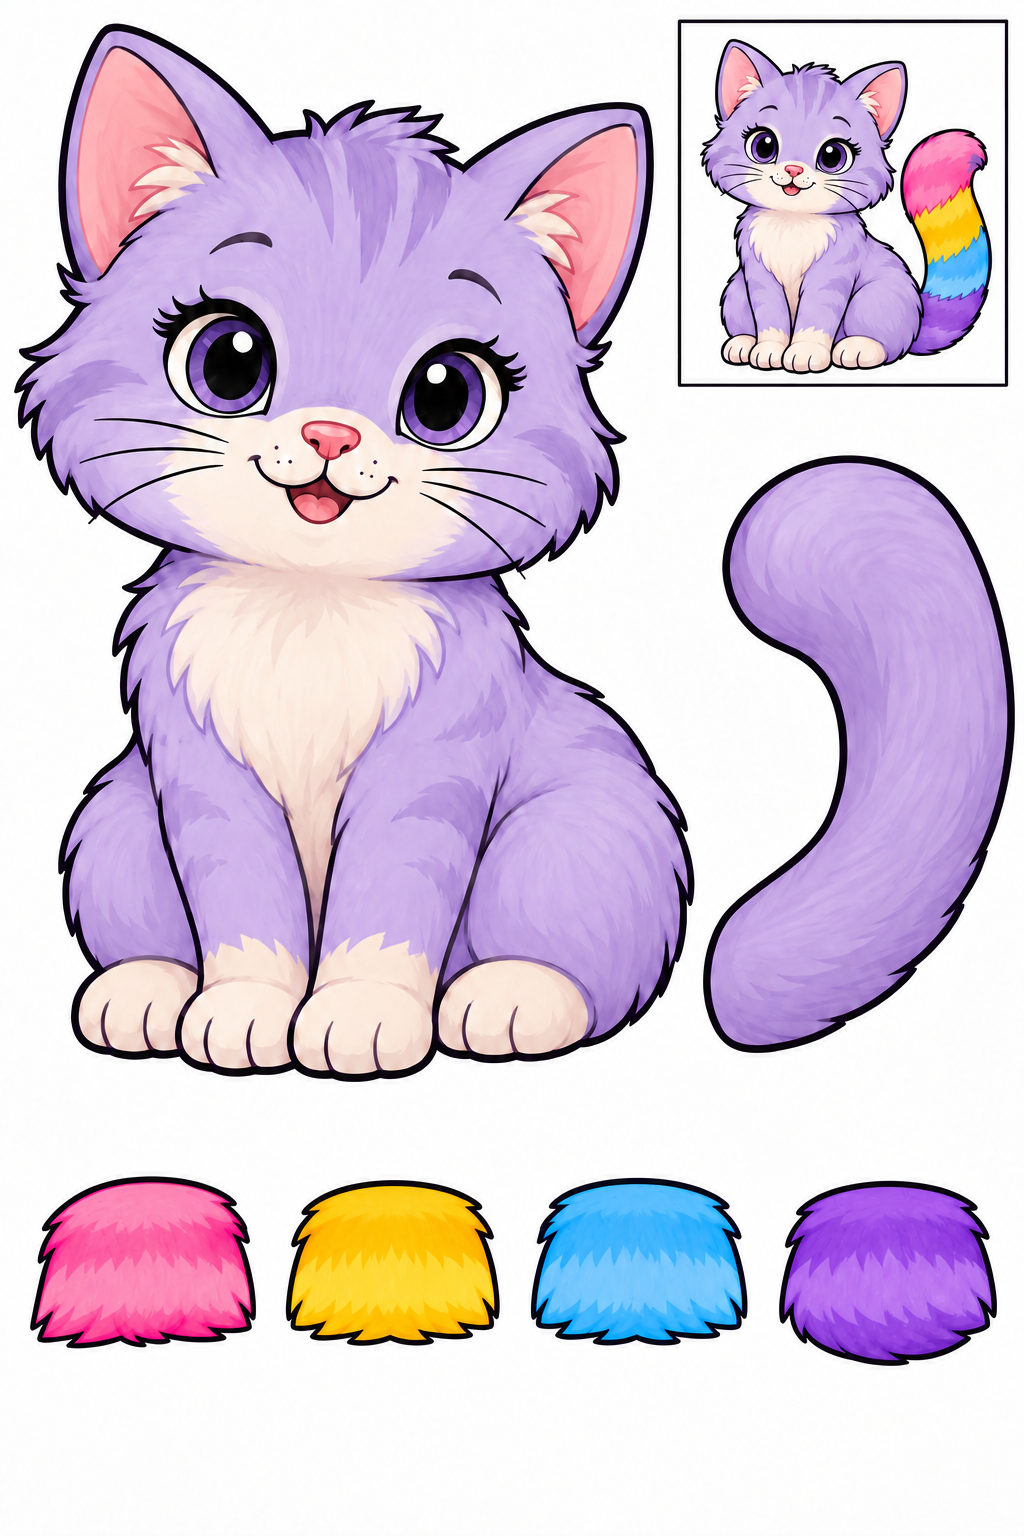
Arrange pink, yellow, blue and purple patches from tail tip to base with a little overlap. Glue onto the separate tail backing; an adult trims any overhang to the backing outline. Then tuck the tail base behind the kitten. Keep printed details intact; the boxed kitten is a reference, not a cutting piece.
Check: Can you guide the scissors comfortably? If it is difficult, an adult can shorten a strip, cut a tricky curve or offer straight paths. Pieces should be fully separated and arranged as intended before gluing.
Assembly example: The small boxed example shows the finished craft. Do not cut it out.
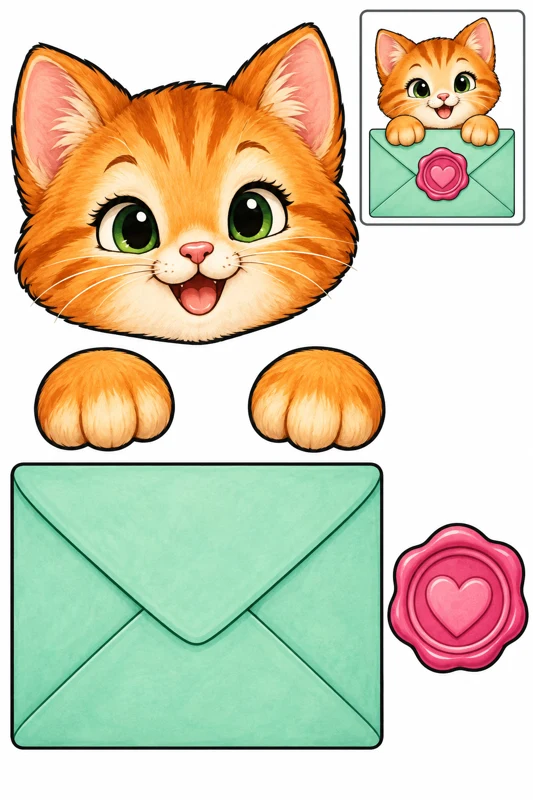
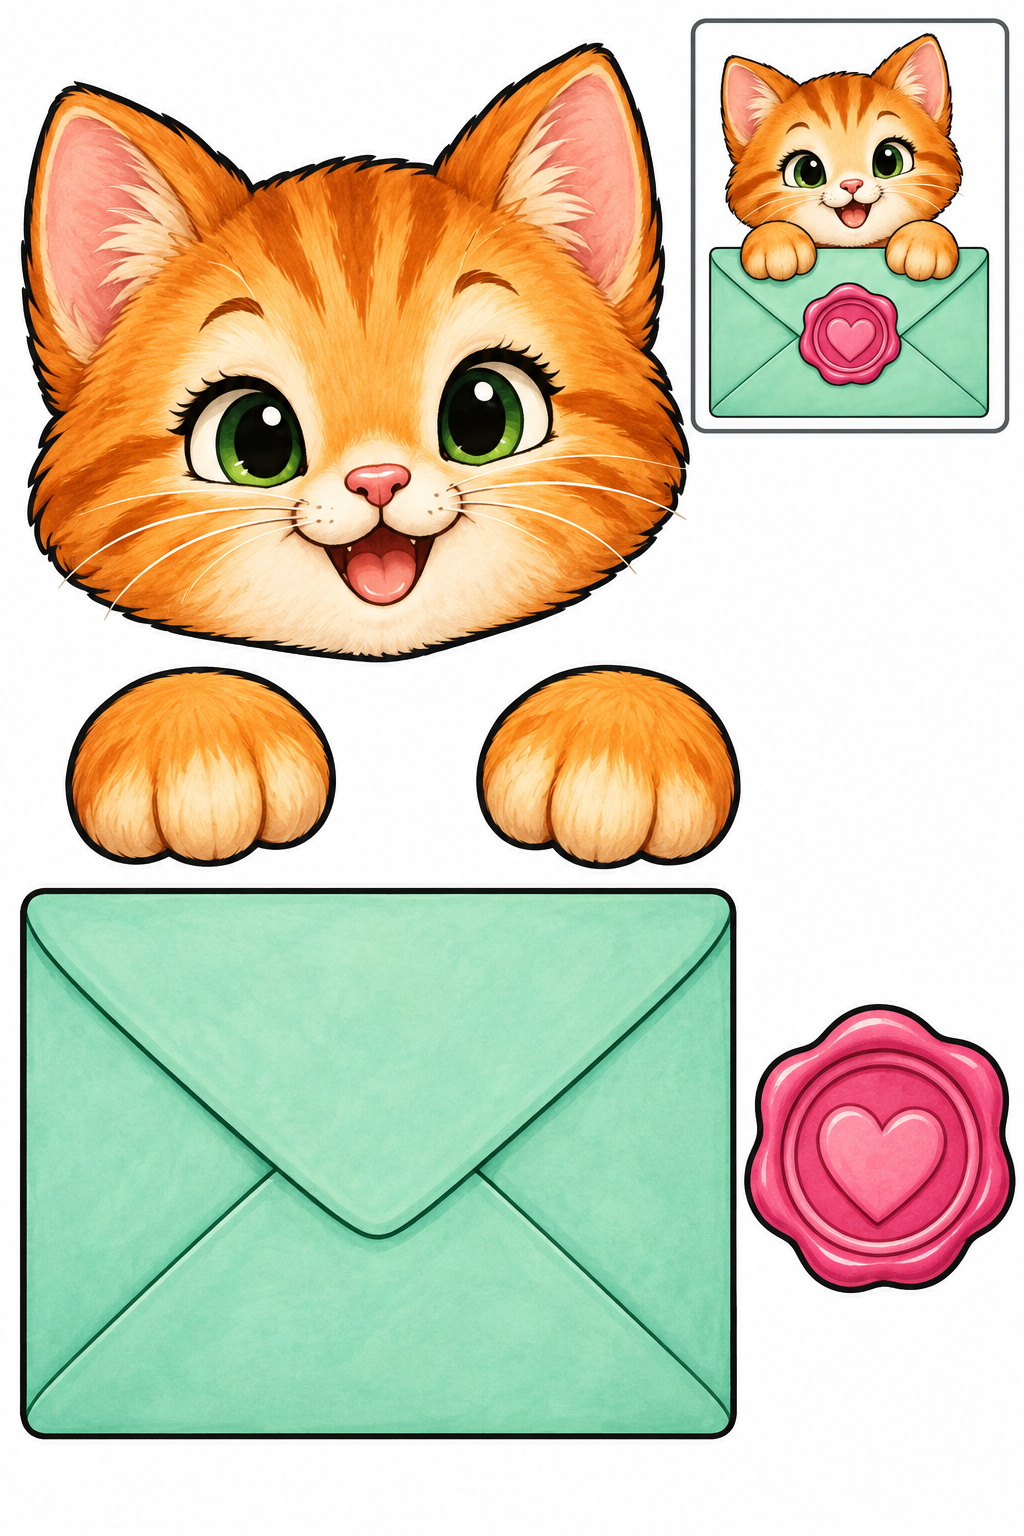
Glue head behind envelope top, paws across rim and seal on front. No folding required. Keep internal details intact. Compare with the small boxed example before gluing. If a joint is loose, increase the overlap or reinforce it with tape behind the craft.
Check: Can you guide the scissors comfortably? If it is difficult, an adult can shorten a strip, cut a tricky curve or offer straight paths. Pieces should be fully separated and arranged as intended before gluing.
How to make your paper cats
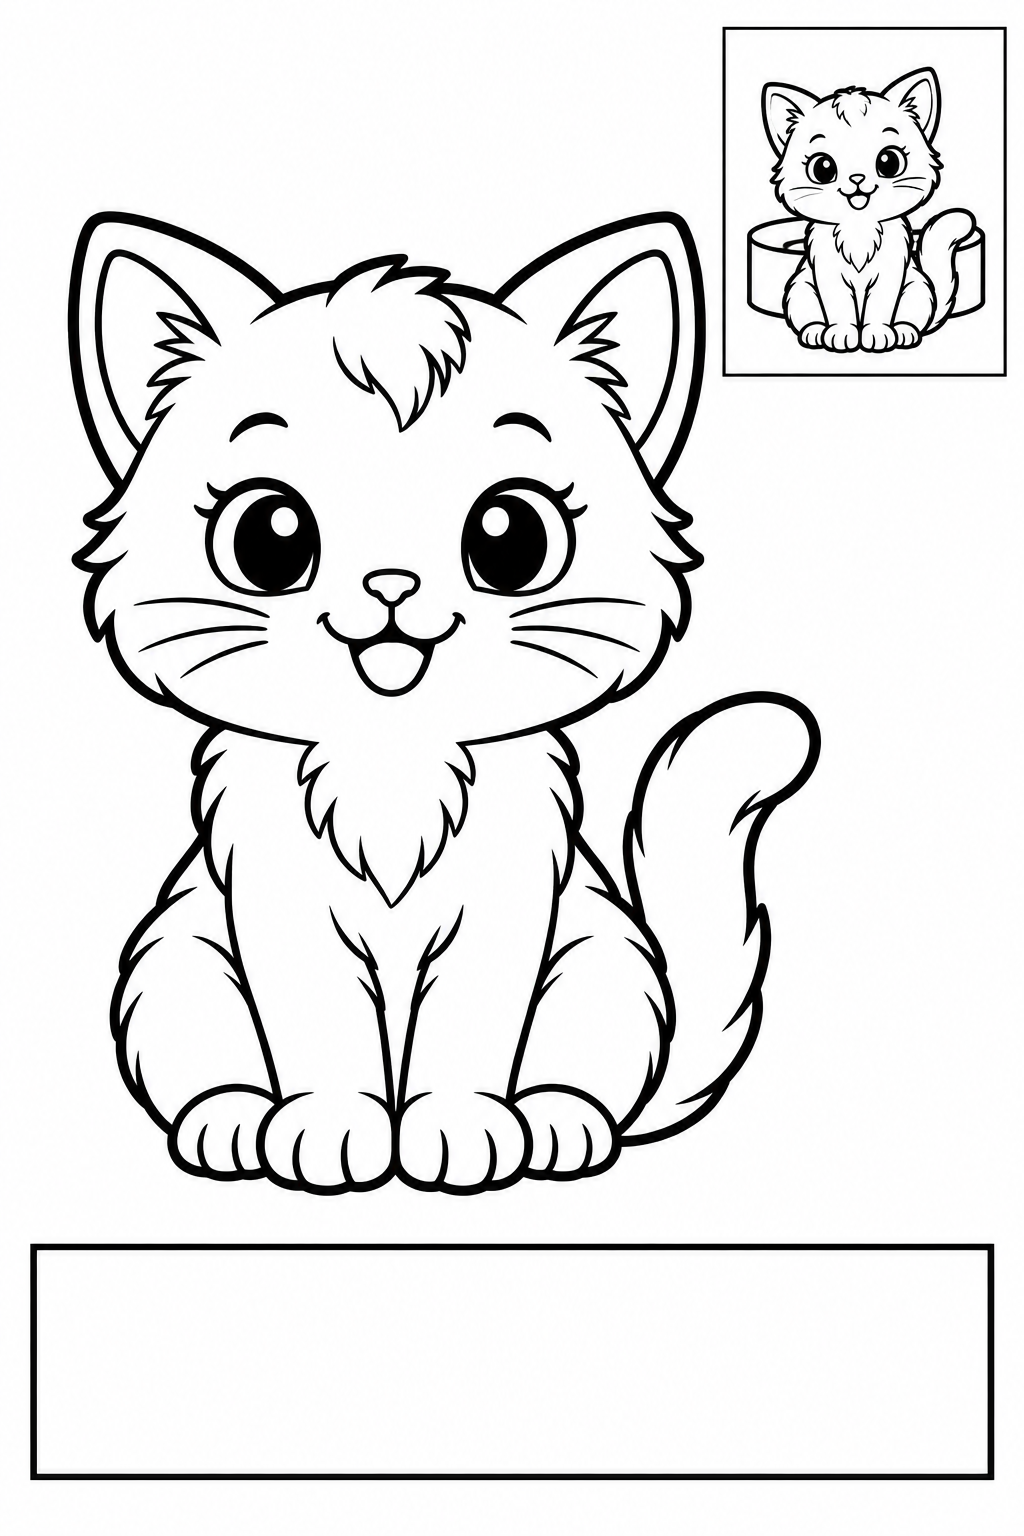
The main collection has 24 different projects: 12 black-and-white and 12 full-color designs. The colorful cats have their own constructions, rather than repeating the outline sheets in another palette. Begin with the seated kitten or sleeping crescent cat: three large pieces are easier to hold and arrange. The bookmark, basket and reading kitten introduce overlaps, while patchwork and rainbow-tail projects invite children to position several decorative pieces. The little boxed picture shows the assembled craft and must stay on the sheet.
Prepare paper and a comfortable workspace
Choose the PDF that matches your printer paper: A4 or US Letter. Print at 100% with scaling off. Ordinary paper works for a first try; slightly heavier paper can support a bookmark or theatre character if your printer accepts it. Gather pencils, child scissors with rounded tips, a glue stick and a separate sheet for the finished scene. Color outline templates before cutting, because small loose pieces are harder to hold. Keep the outside contour visible when coloring near an edge.
Move from broad edges to turns
An adult can first separate the areas around the pieces. A small paper section is easier to rotate than a whole page. Follow each solid outside border, leaving eyes, paw lines and whiskers inside the artwork. Pause before an ear corner and turn the paper with the supporting hand. Use short, relaxed cuts around a tail rather than pulling its narrow part. Repair an accidental nick with a small piece of tape on the back. When a turn is too difficult, an adult can finish that section and return a broad edge to the child.
Try the arrangement before using glue
Lay out the pieces beside the reference. A kitten's head overlaps the upper body, and the tail base sits behind its side. For the heart and yarn projects, front paws overlap the object. The reading kitten's book sits across its lap, with paws on the lower corners. This order keeps faces visible and creates reliable joins. Apply a little glue only to the overlapping areas. Check that each part touches where it should; if a tail looks detached, increase its overlap while the glue is still wet.
Give each format the right finishing step
Let a bookmark dry fully before putting it in a book, since damp glue can mark a page. An adult fits the finger-puppet band loosely, tapes its ends and enlarges it if needed; it should never squeeze the finger. Draw your own cat face inside the portrait frame's blank oval instead of cutting a hole. The crown and envelope are flat collage pictures, so no hidden pieces or complicated folding are required. On the extra whole-kitten sheets below, follow the outer dashed border and keep each character in one piece.
Invent a scene of your own
Choose two assembled cats and decide what they are doing: reading, playing or giving a gift. Try two arrangements on another sheet before gluing. Add large surroundings from paper scraps and tell a story with a beginning and an ending. One project is enough for a short session; save the rest for another day. Follow the child's hand confidence and interest rather than aiming for speed. These templates have been reviewed visually; a physical trial with children is still pending.
Should we cut out whiskers and eyes?
No. They are printed inside the head. Cut only the large outside silhouette and keep the face intact.
Which cat should we try first?
Try the seated or sleeping kitten: each uses three large pieces. An adult can help with ears and the tail.
Why are whole kittens separate?
They are extra collage figures that need no assembly. They supplement the 24 distinct main projects.
Choose by skill, not just age
These projects are intended roughly for ages 4–8 with adult help. Start with straight paths and squares. Once a straight cut feels comfortable, try corners, then circles and gentle curves. Age is a guide: choose a manageable task and take breaks.
You need paper, child scissors, coloring pencils and a glue stick for assembly crafts. Keep fingers away from the blades and cut while seated at a table. If a child is not ready for scissors, an adult can cut while the child colors and arranges.
Printing and activity questions
Are the templates really free?
Yes. All templates are downloadable without an account or email address. Use them at home or in class; do not resell the files.
Should I choose A4 or Letter?
Match your printer paper: A4 is 210 × 297 mm; US Letter is 8.5 × 11 inches. Print at 100%. Each PDF contains one page.
Which lines should we cut?
On practice paths, cut dashed lines from the edge or starting dot. On crafts, cut the solid outer border of each piece. Do not cut out the small boxed assembly example.
What if the paper keeps tearing?
Ask an adult to check that the scissors cut the paper. Try a shorter strip and smaller motions. Stop before a corner and turn the paper with the supporting hand.
Whole kittens for a collage
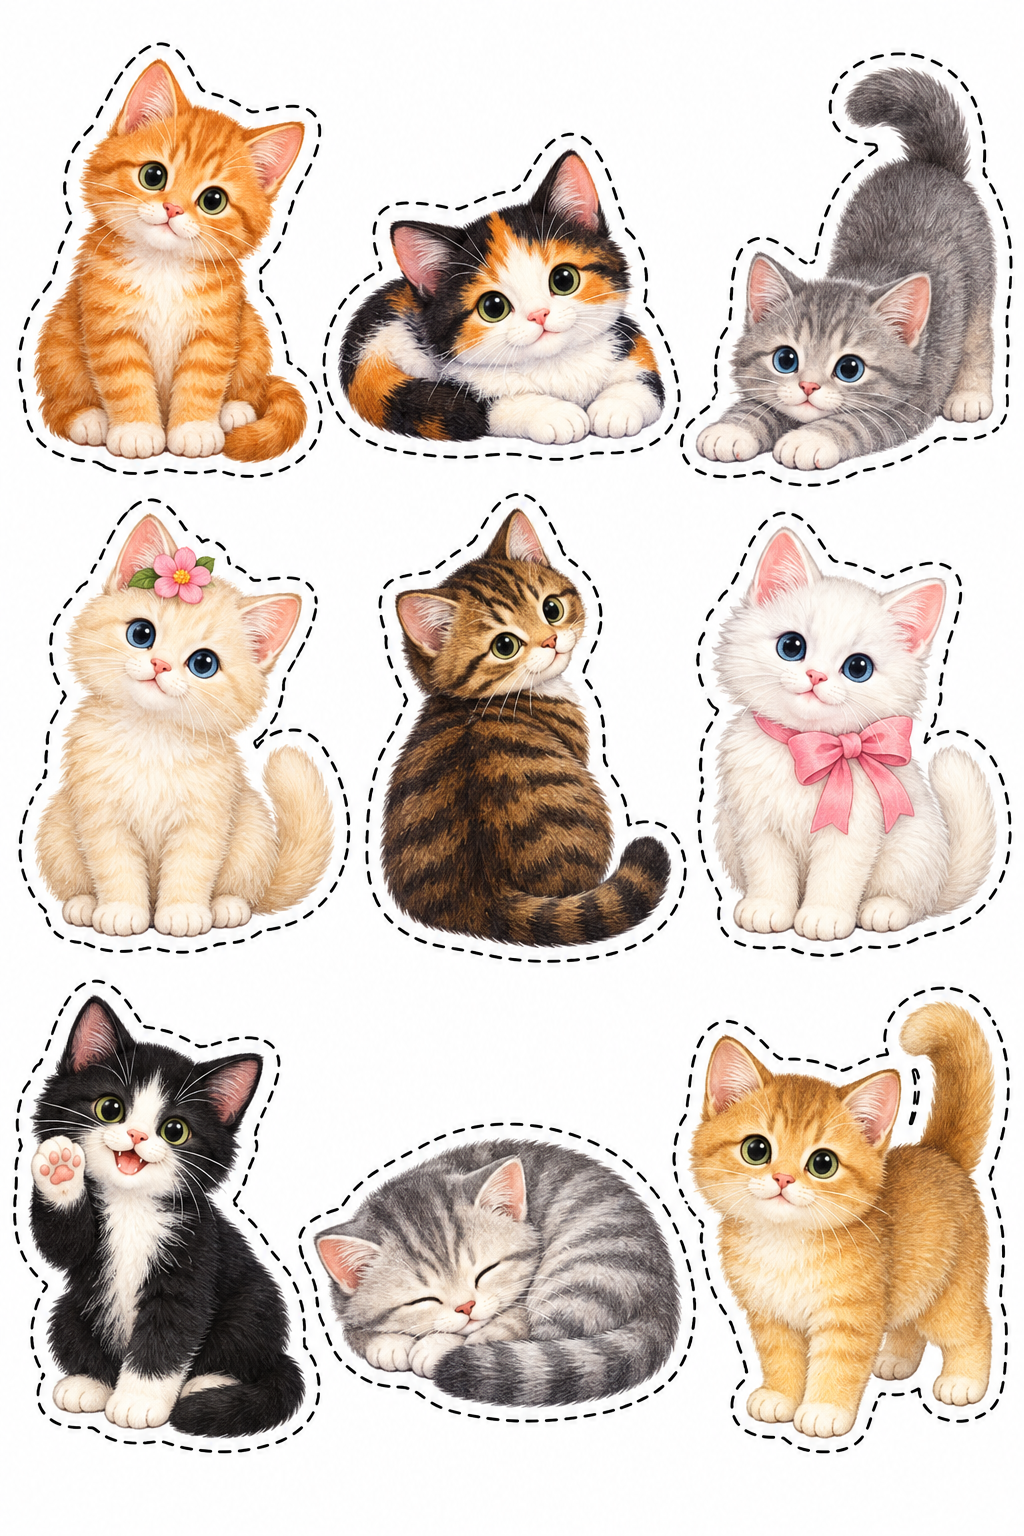
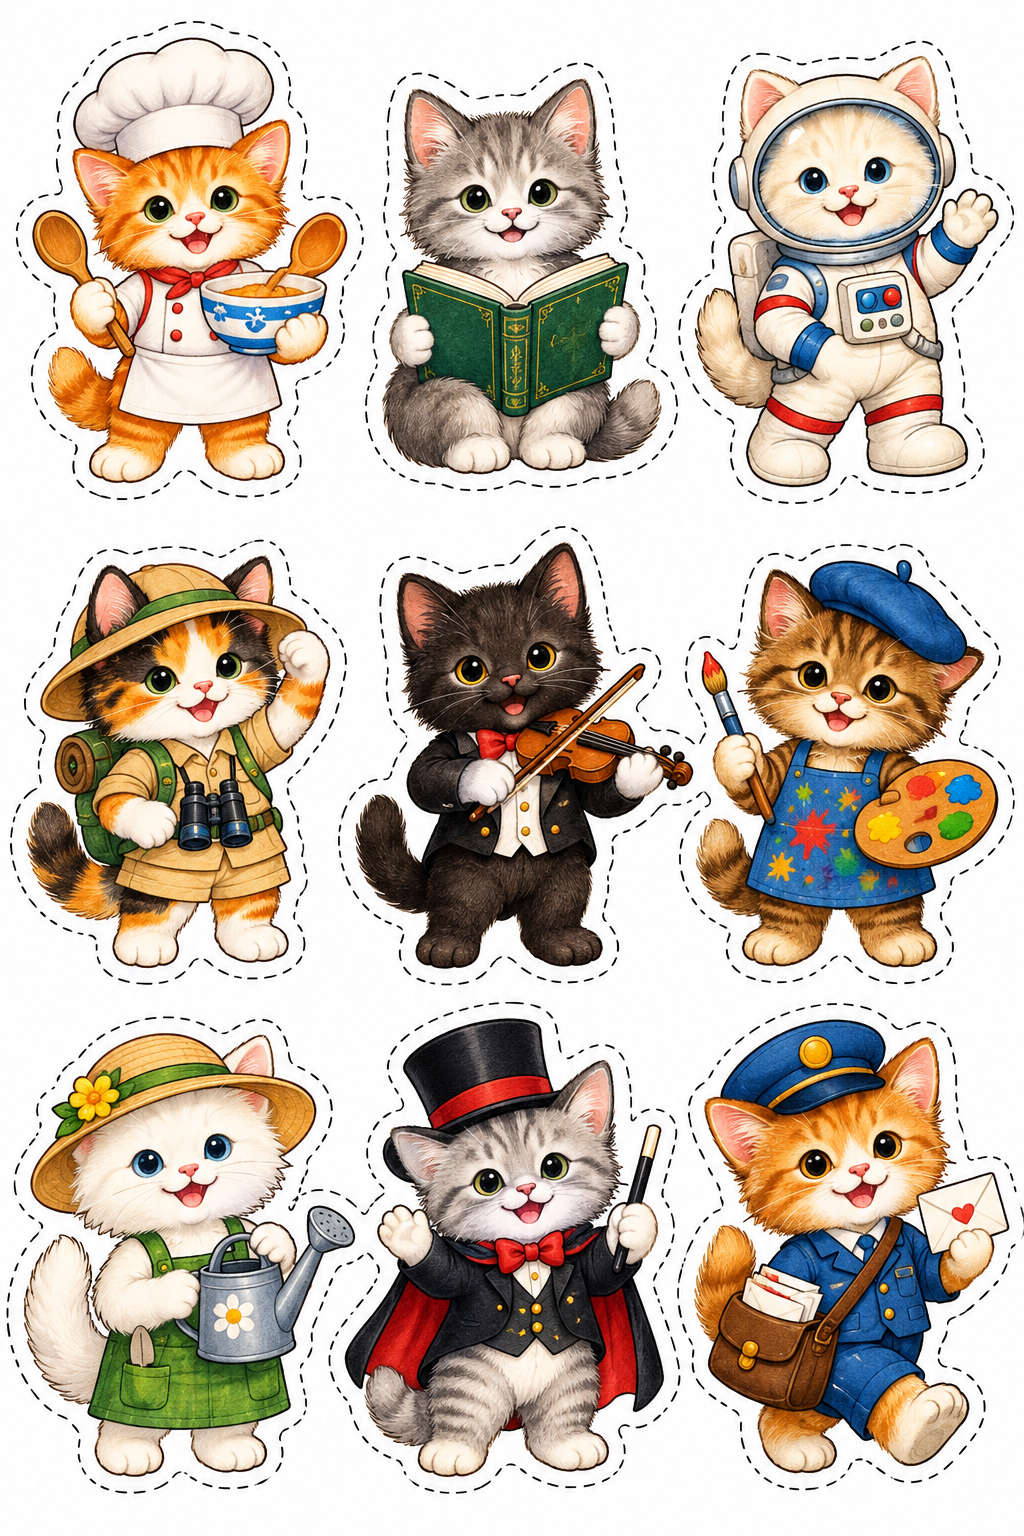
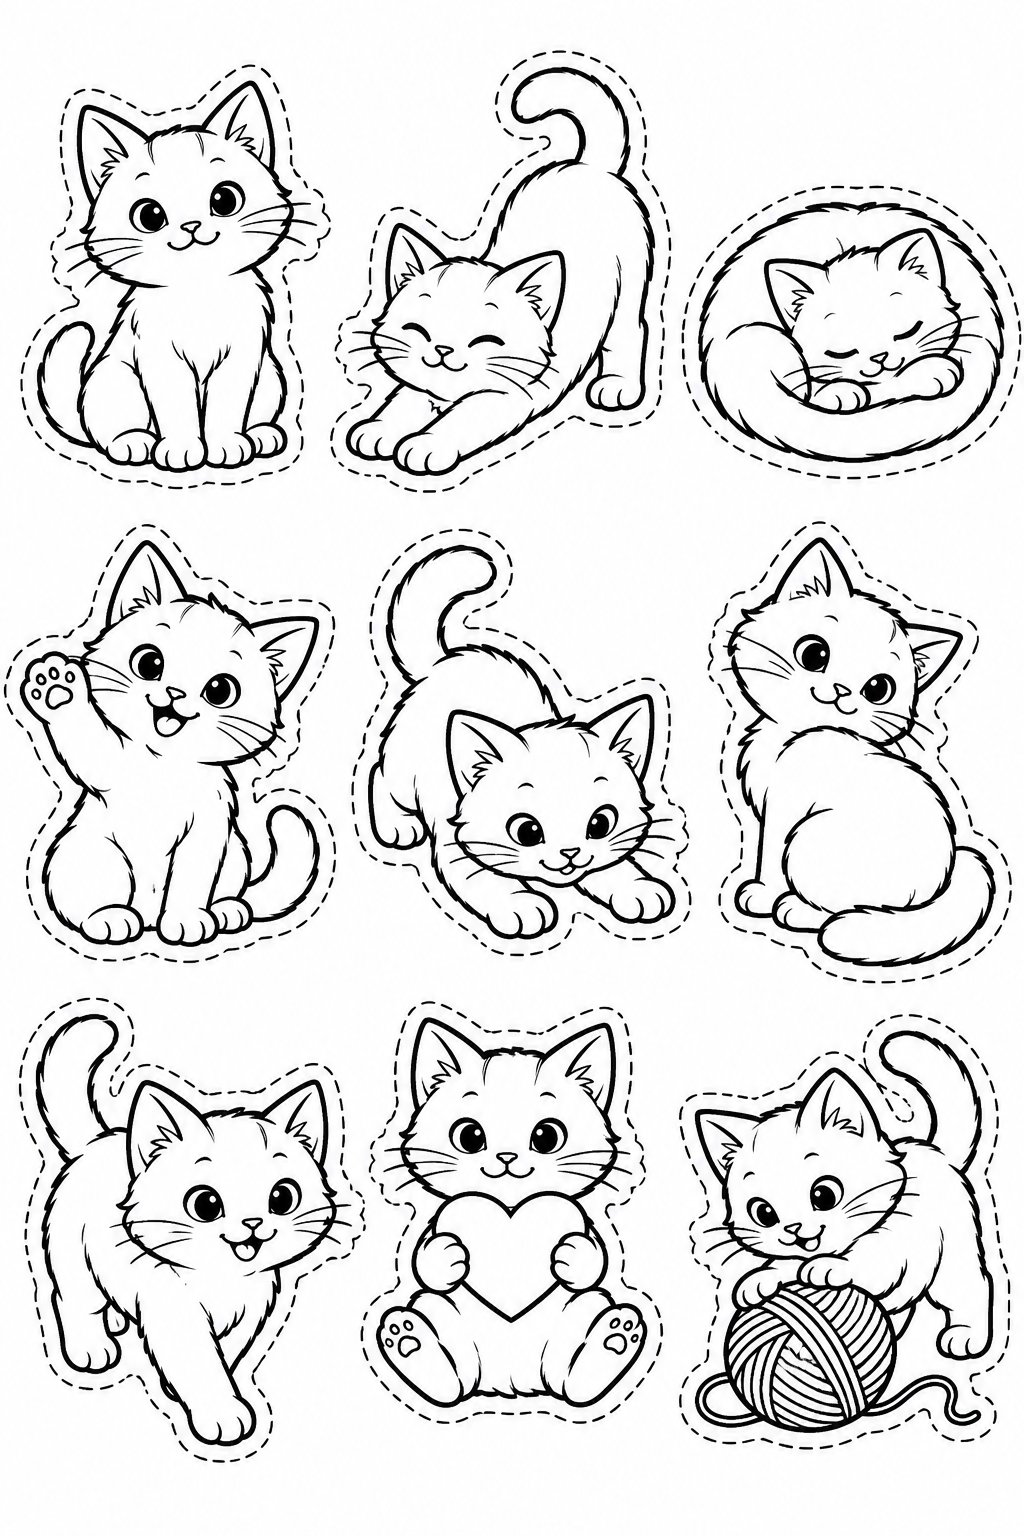
Three extra sheets with nine different kittens each: two colorful sets and one to color. They supplement the 24 assembly projects. Cut each cat in one piece along the outside dashed line; there are no loose eyes or paws.
Color the outline sheet first. An adult can separate the page into nine areas to make turning easier. Keep whiskers and tails inside the dashed border. Repair a nick with tape on the back. Before gluing, arrange kittens on another sheet with all faces visible. Invent a courtyard, reading corner or cat theatre; choose three figures for a short activity.
Nine whole kittens. Cut only the closed outside dashed border, keeping faces, paws and tails intact. Arrange a scene before gluing; repair any nick with tape on the back.
Nine whole kittens. Cut only the closed outside dashed border, keeping faces, paws and tails intact. Arrange a scene before gluing; repair any nick with tape on the back.
Nine whole kittens. Cut only the closed outside dashed border, keeping faces, paws and tails intact. Arrange a scene before gluing; repair any nick with tape on the back.
 kiduverse