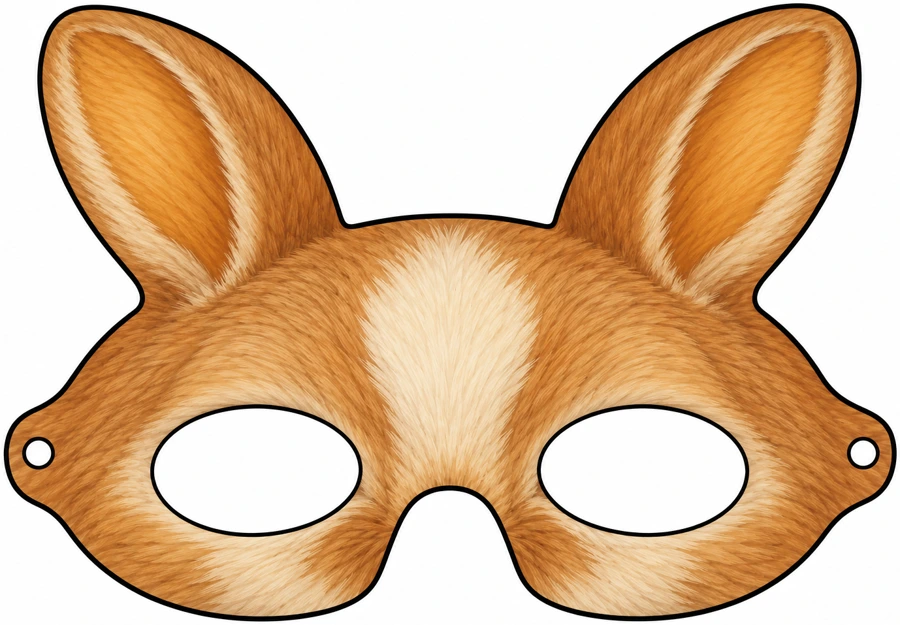
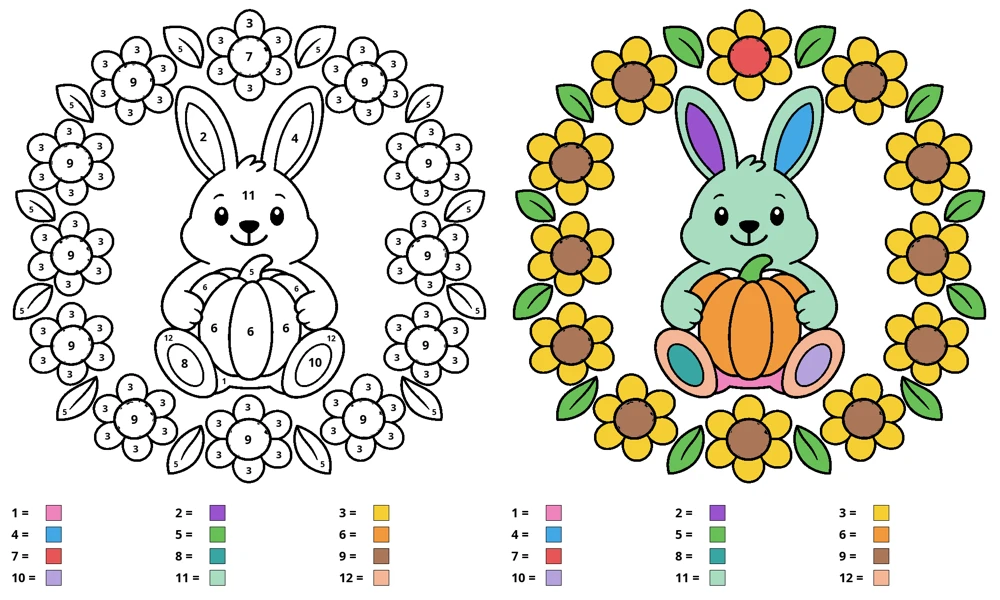
Scissors with a grown-up. Use child scissors with rounded tips and cut while seated at a table. If a child is not ready yet, an adult cuts while the child colors and assembles.
Print
Print the PDF on A4 paper (210 × 297 mm) at 100%, with scaling off.
Cut
Color black-and-white sheets first. Cut outer borders; follow dashed lines on the practice paths.
Make it yours
Arrange pieces before gluing. Try a new arrangement or tell a story about your creation.
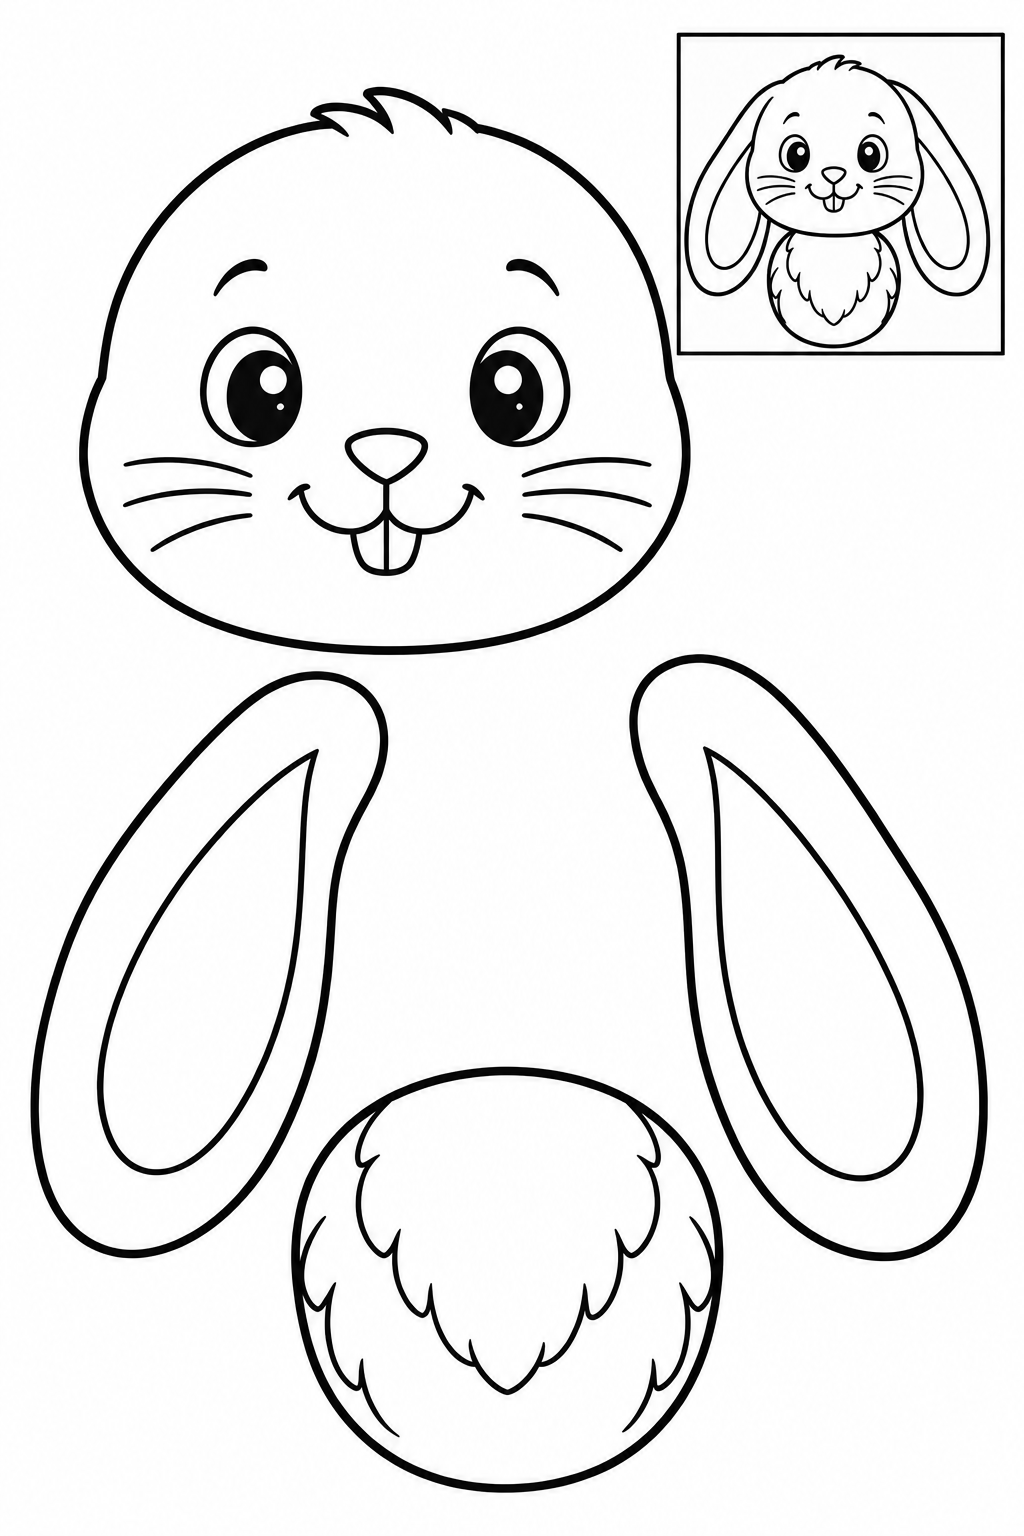
Assembly example: The small boxed example shows the finished craft. Do not cut it out.
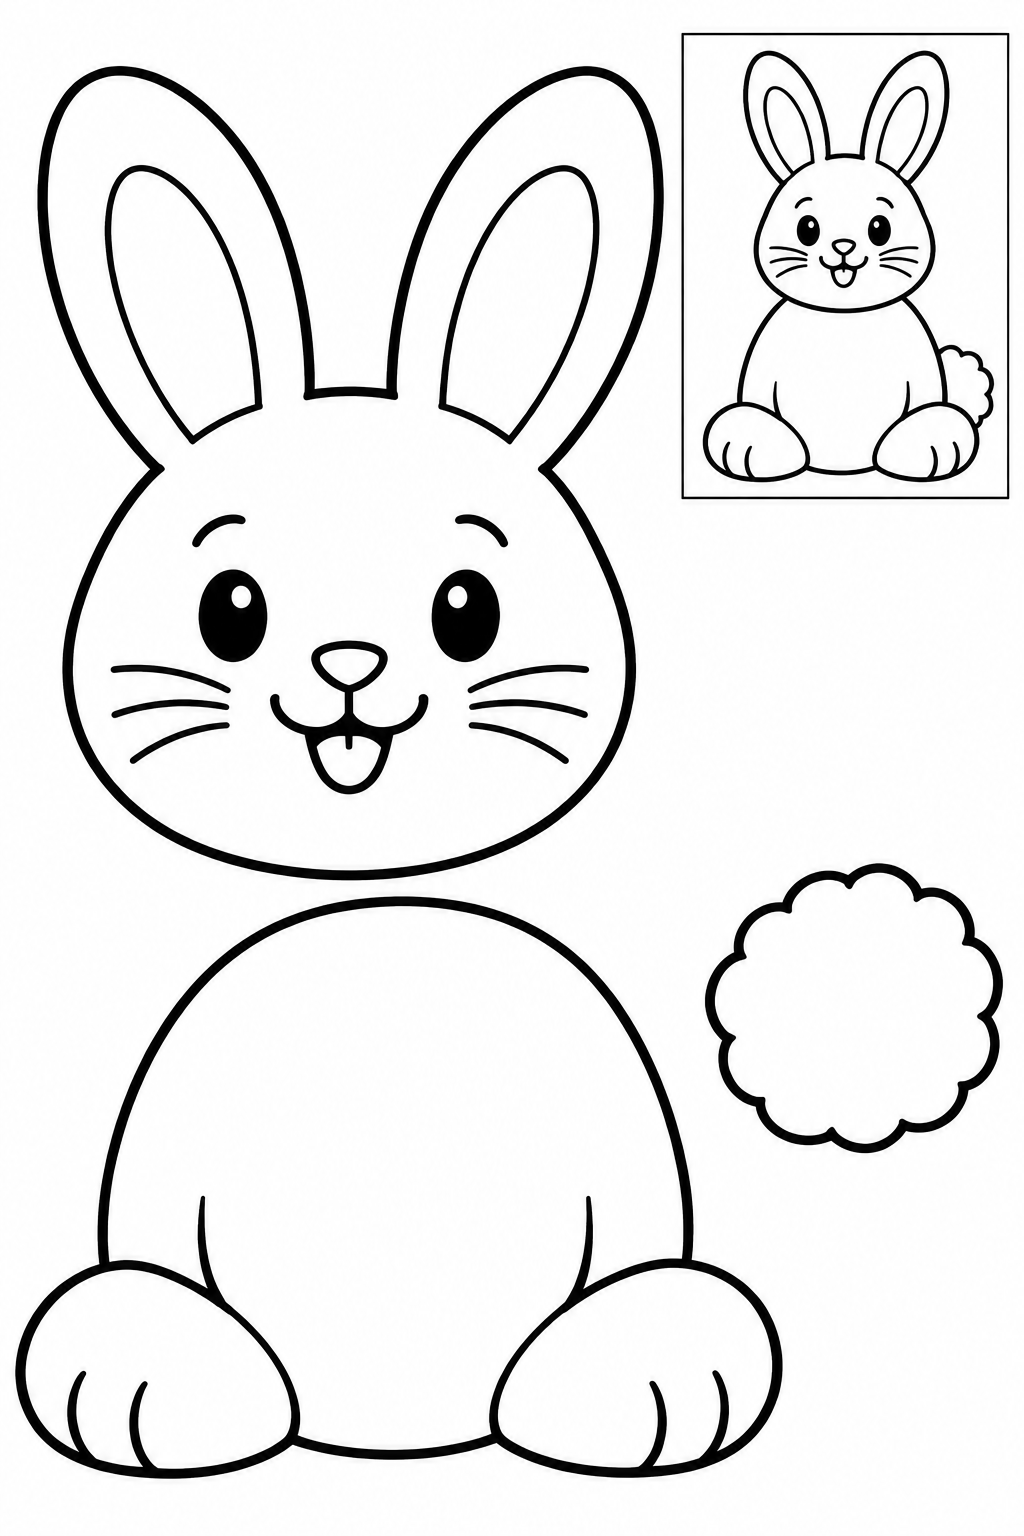
Cut outside edges; leave boxed reference on sheet. Overlap head at top of torso and tail behind its side. Keep printed details intact. Check joins before glue dries; increase overlap if loose.
Check: Can you guide the scissors comfortably? If it is difficult, an adult can shorten a strip, cut a tricky curve or offer straight paths. Pieces should be fully separated and arranged as intended before gluing.
Assembly example: The small boxed example shows the finished craft. Do not cut it out.
Cut outside edges; leave boxed reference on sheet. Attach both ears behind head sides, then bib below chin. Keep printed details intact. Check joins before glue dries; increase overlap if loose.
Check: Can you guide the scissors comfortably? If it is difficult, an adult can shorten a strip, cut a tricky curve or offer straight paths. Pieces should be fully separated and arranged as intended before gluing.
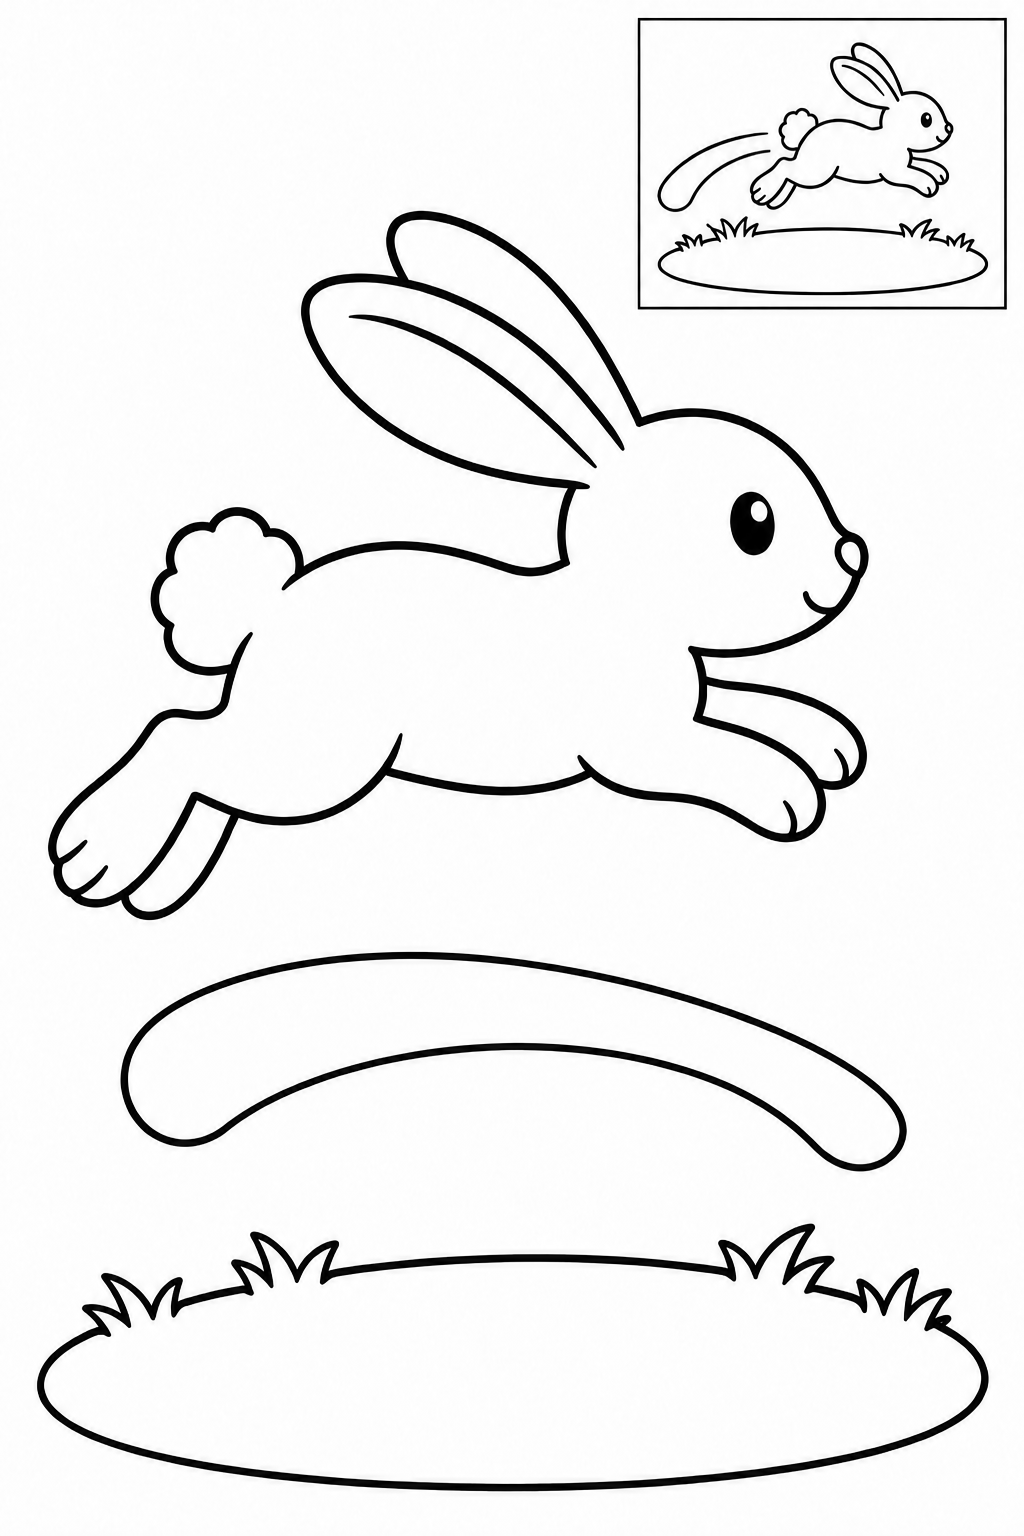
Assembly example: The small boxed example shows the finished craft. Do not cut it out.
Cut the three outside contours; leave boxed reference on sheet. Glue grass to backing, bunny above it and curved speed swoosh behind the tail. Keep the bunny whole. Check the face is clear; move swoosh if it covers a paw.
Check: Can you guide the scissors comfortably? If it is difficult, an adult can shorten a strip, cut a tricky curve or offer straight paths. Pieces should be fully separated and arranged as intended before gluing.
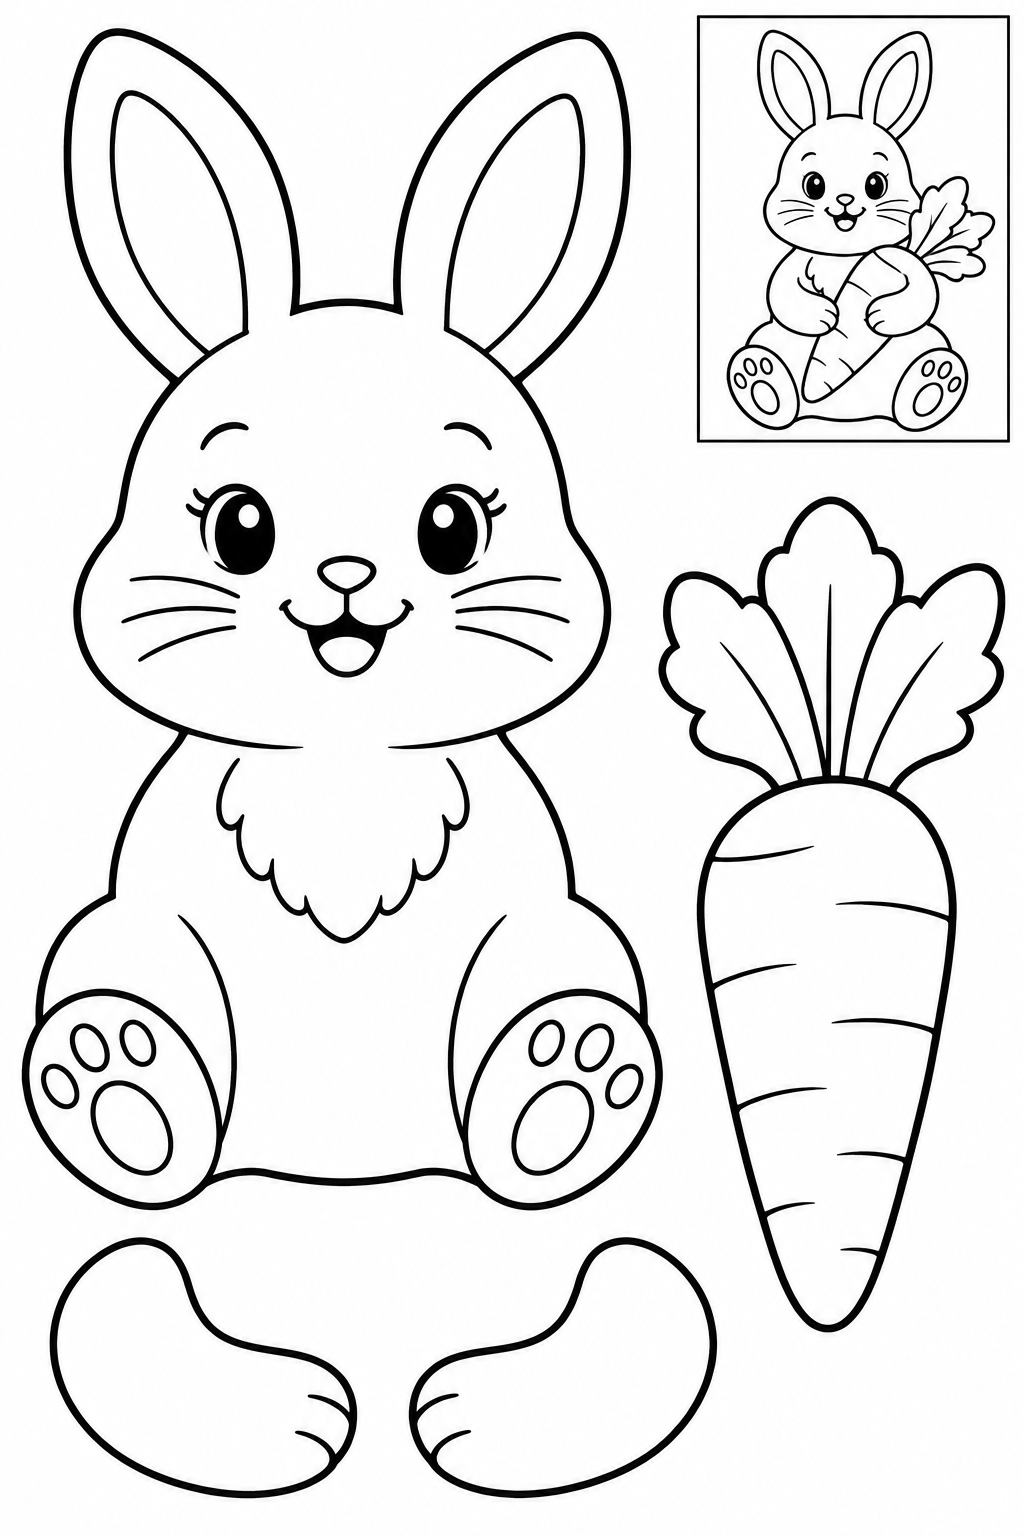
Assembly example: The small boxed example shows the finished craft. Do not cut it out.
Cut outside edges; leave boxed reference on sheet. Lay carrot on belly and overlap arm patches over its sides. Keep printed details intact. Check joins before glue dries; increase overlap if loose.
Check: Can you guide the scissors comfortably? If it is difficult, an adult can shorten a strip, cut a tricky curve or offer straight paths. Pieces should be fully separated and arranged as intended before gluing.
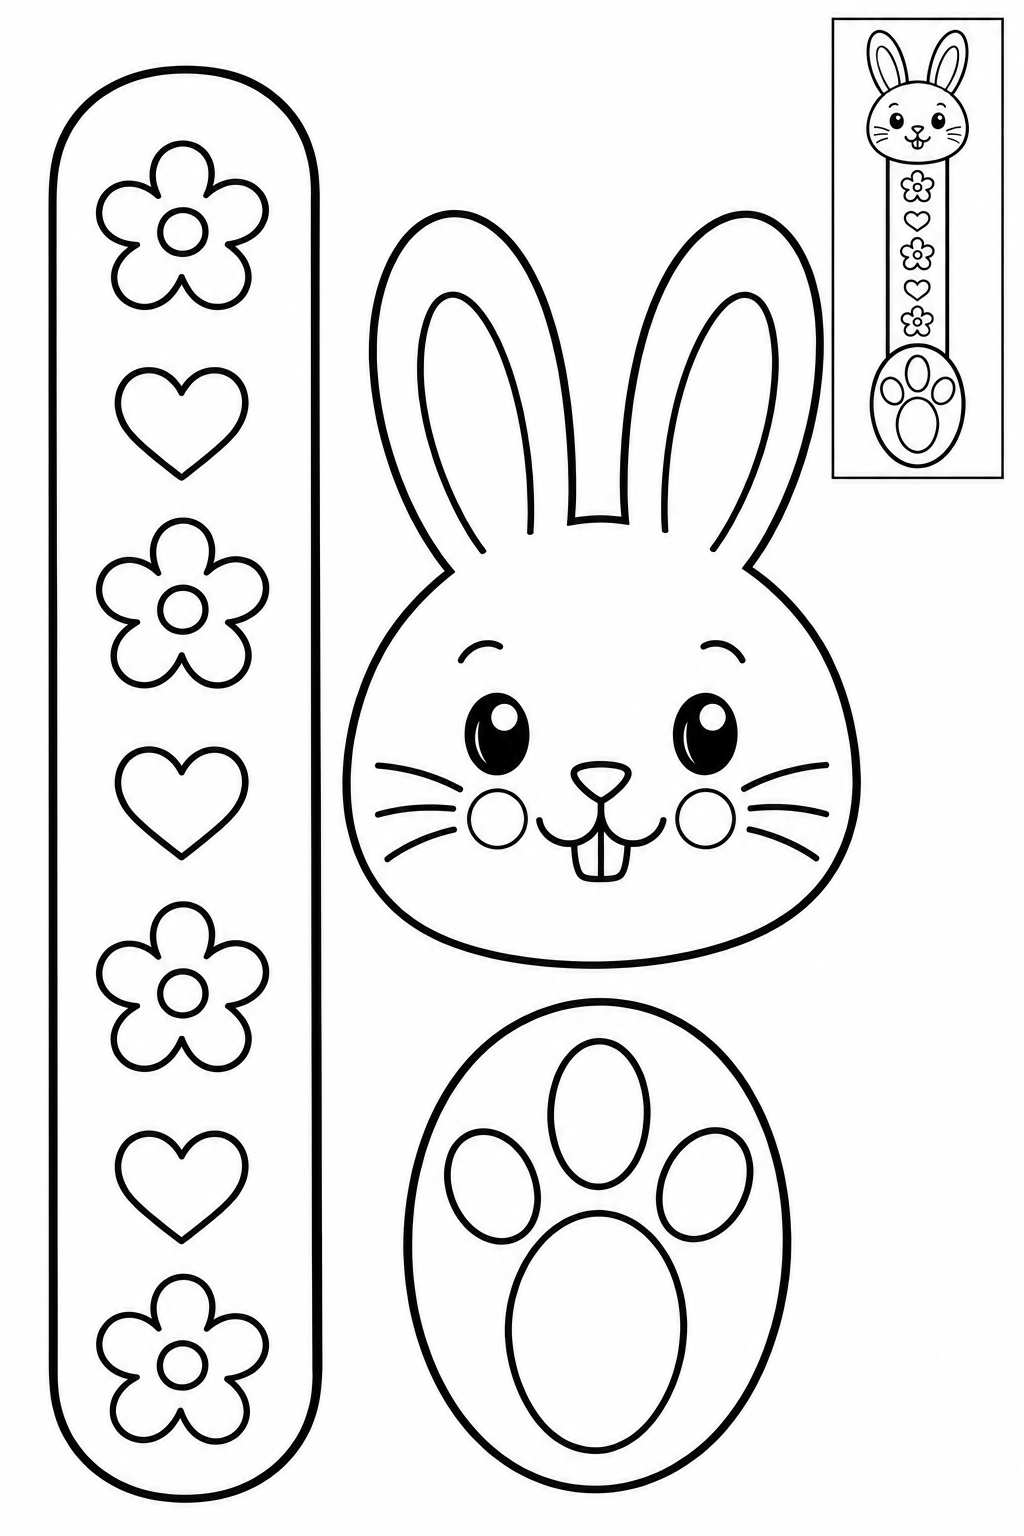
Assembly example: The small boxed example shows the finished craft. Do not cut it out.
Cut outside edges; leave boxed reference on sheet. Glue head at strip top, paw below; leave lower strip flat. Keep printed details intact. Check joins before glue dries; increase overlap if loose.
Check: Can you guide the scissors comfortably? If it is difficult, an adult can shorten a strip, cut a tricky curve or offer straight paths. Pieces should be fully separated and arranged as intended before gluing.
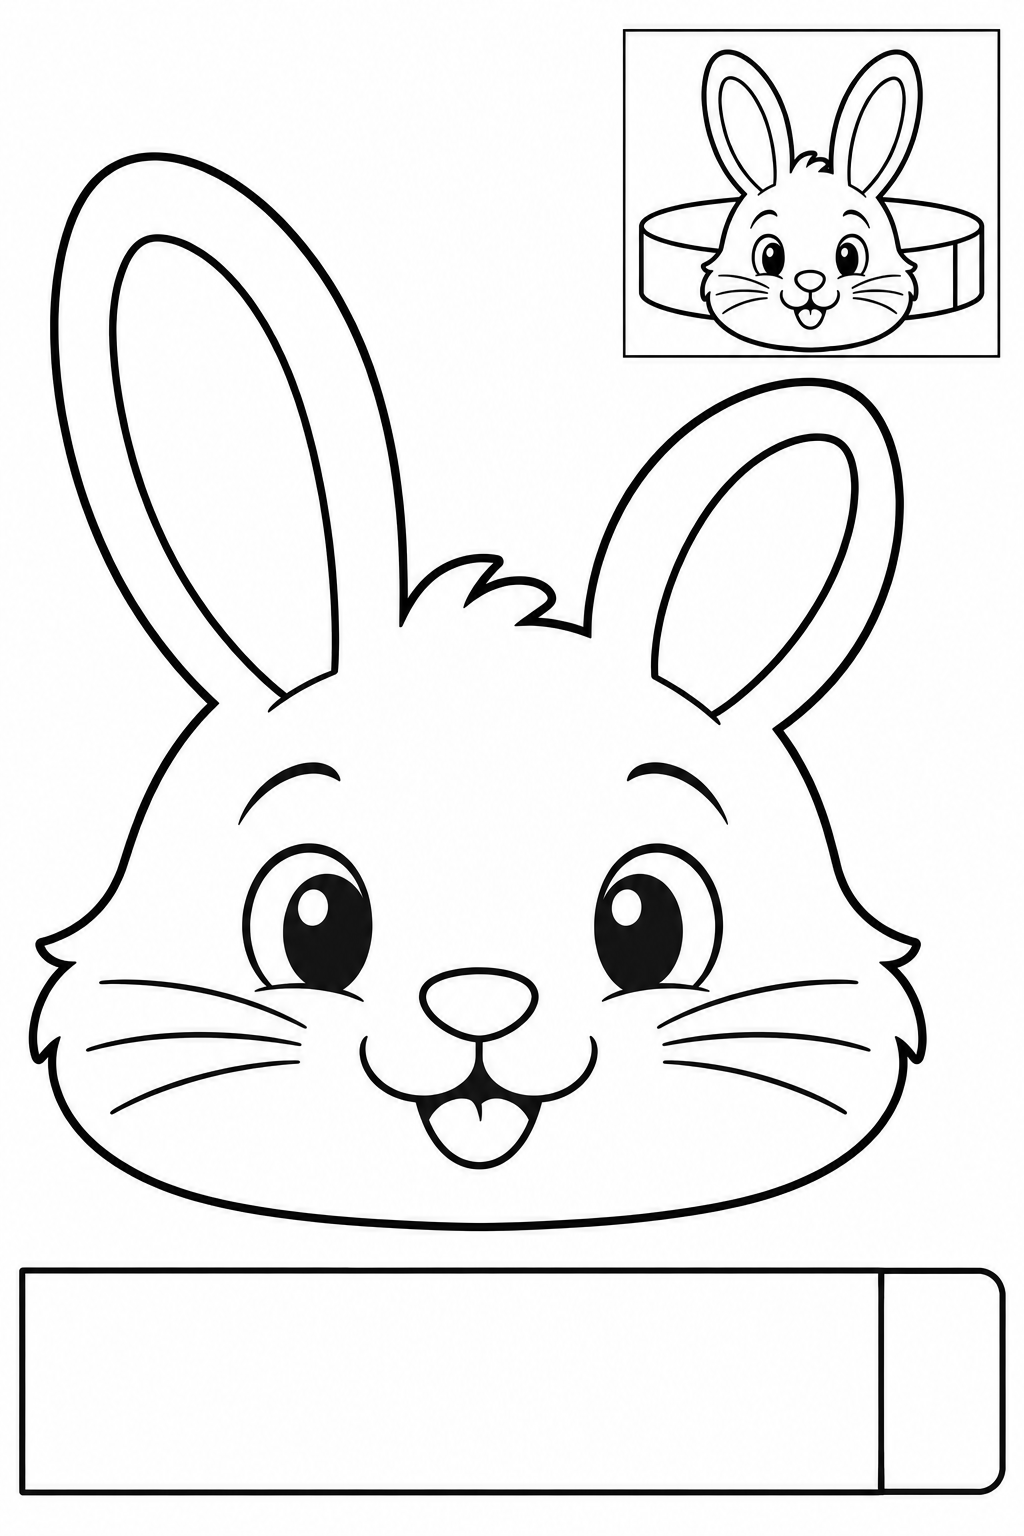
Assembly example: The small boxed example shows the finished craft. Do not cut it out.
Cut outside edges; leave boxed reference on sheet. An adult trims the band to fit, wraps band loosely around finger and joins ends; glue head outside join. Keep printed details intact. Check joins before glue dries; increase overlap if loose.
Check: Can you guide the scissors comfortably? If it is difficult, an adult can shorten a strip, cut a tricky curve or offer straight paths. Pieces should be fully separated and arranged as intended before gluing.
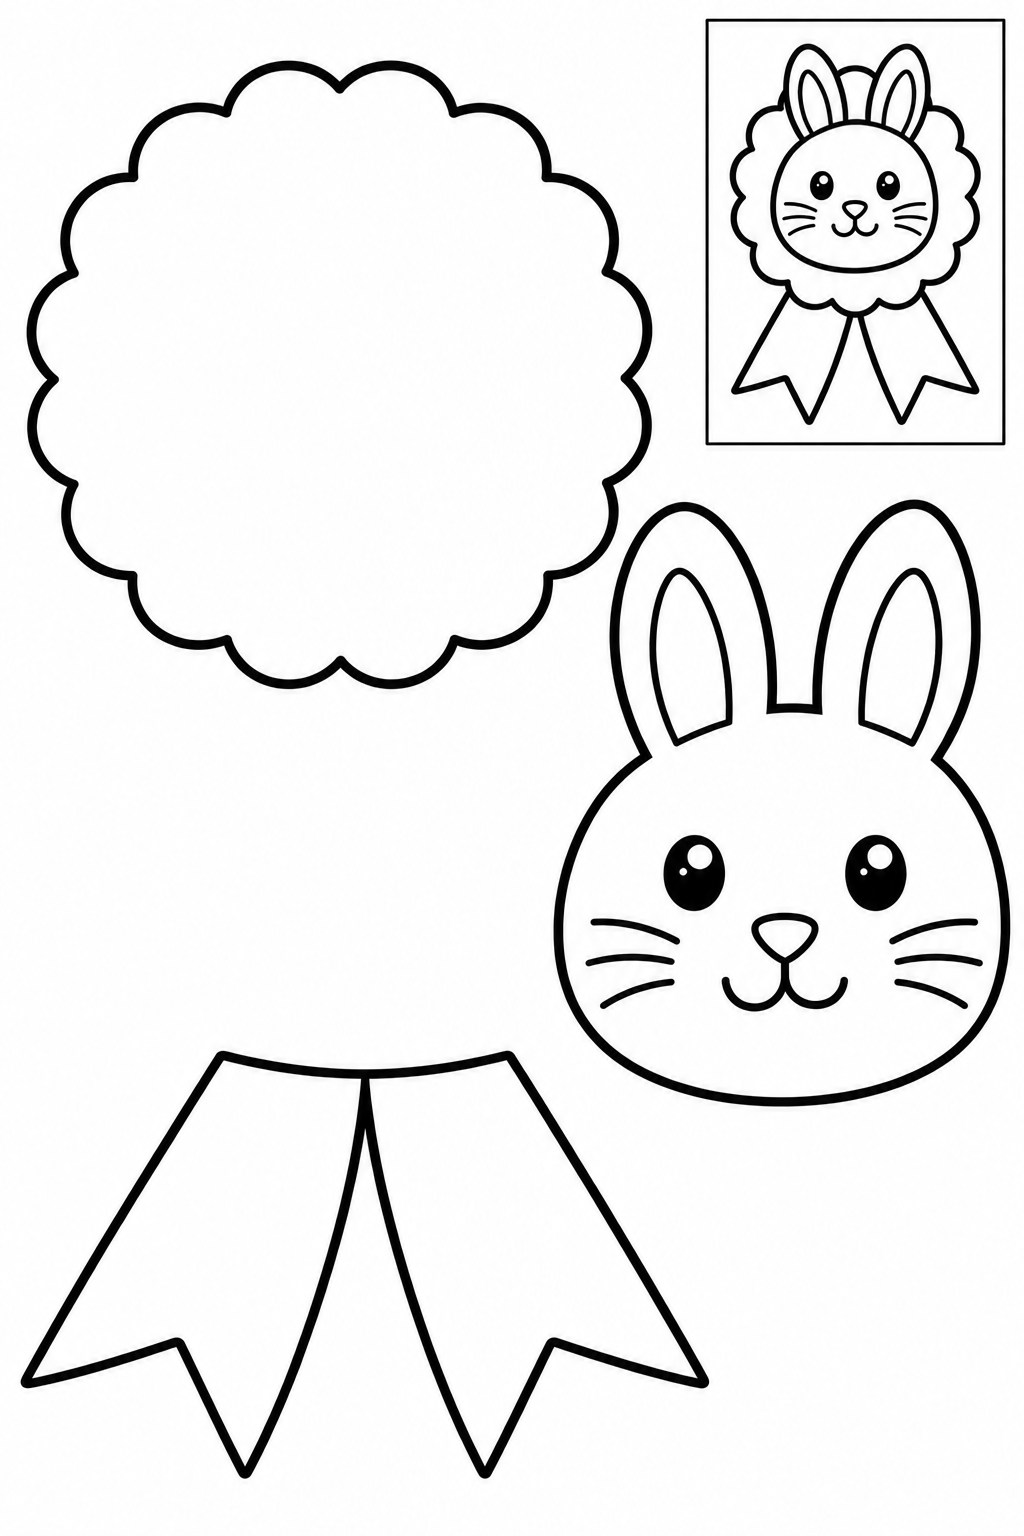
Assembly example: The small boxed example shows the finished craft. Do not cut it out.
Cut outside edges; leave boxed reference on sheet. Center face on disk; attach joined ribbon tails behind lower edge. Keep printed details intact. Check joins before glue dries; increase overlap if loose.
Check: Can you guide the scissors comfortably? If it is difficult, an adult can shorten a strip, cut a tricky curve or offer straight paths. Pieces should be fully separated and arranged as intended before gluing.
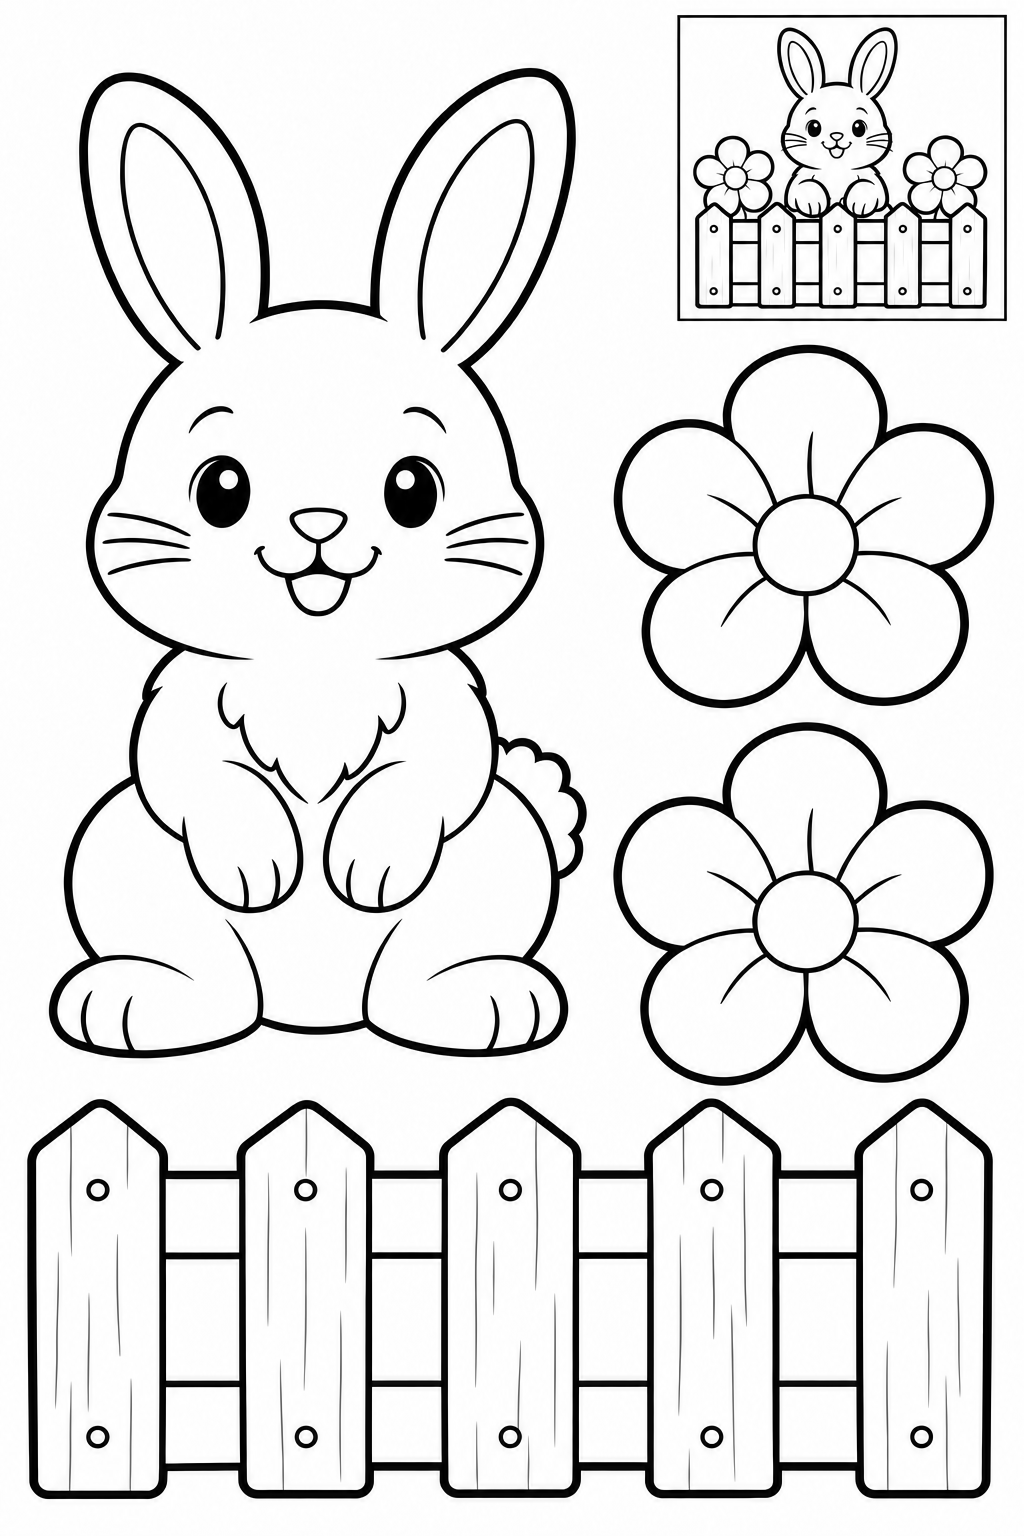
Assembly example: The small boxed example shows the finished craft. Do not cut it out.
Cut outside edges; leave boxed reference on sheet. Place bunny behind fence and flowers at its two lower corners. Keep printed details intact. Check joins before glue dries; increase overlap if loose.
Check: Can you guide the scissors comfortably? If it is difficult, an adult can shorten a strip, cut a tricky curve or offer straight paths. Pieces should be fully separated and arranged as intended before gluing.
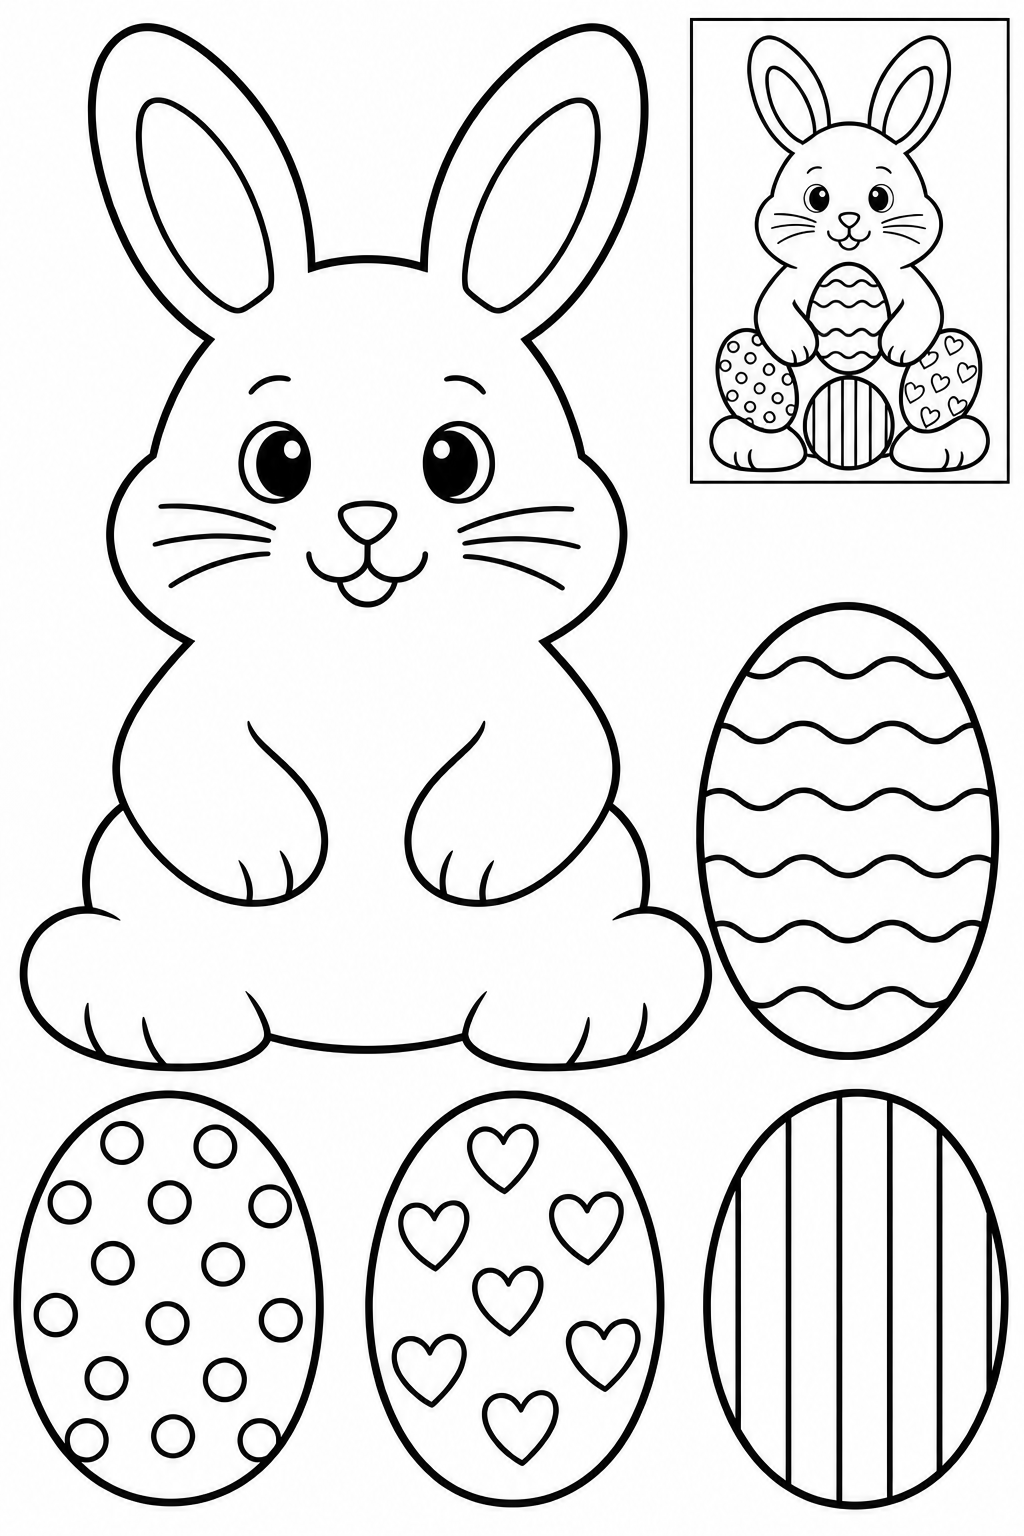
Assembly example: The small boxed example shows the finished craft. Do not cut it out.
Cut outside edges; leave boxed reference on sheet. Arrange four patches inside body without hiding face; overlap patches if needed. Keep printed details intact. Check joins before glue dries; increase overlap if loose.
Check: Can you guide the scissors comfortably? If it is difficult, an adult can shorten a strip, cut a tricky curve or offer straight paths. Pieces should be fully separated and arranged as intended before gluing.
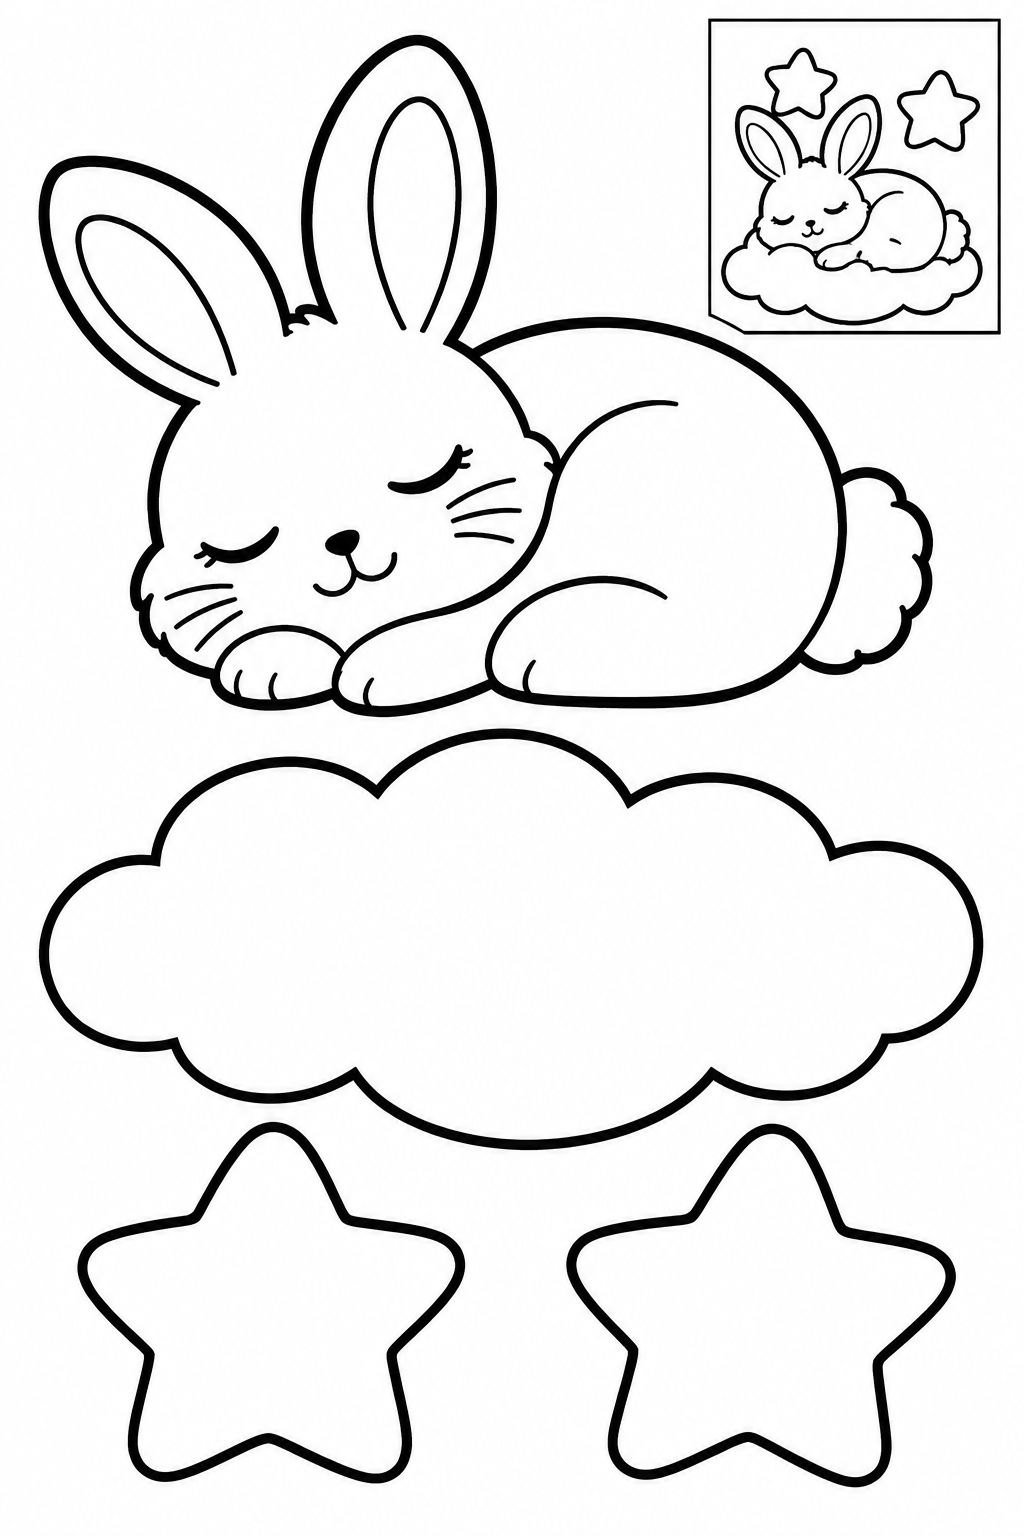
Assembly example: The small boxed example shows the finished craft. Do not cut it out.
Cut outside edges; leave boxed reference on sheet. Glue bunny across cloud front, stars on backing above both ends; adult adds paper strips for hanging. Keep printed details intact. Check joins before glue dries; increase overlap if loose.
Check: Can you guide the scissors comfortably? If it is difficult, an adult can shorten a strip, cut a tricky curve or offer straight paths. Pieces should be fully separated and arranged as intended before gluing.
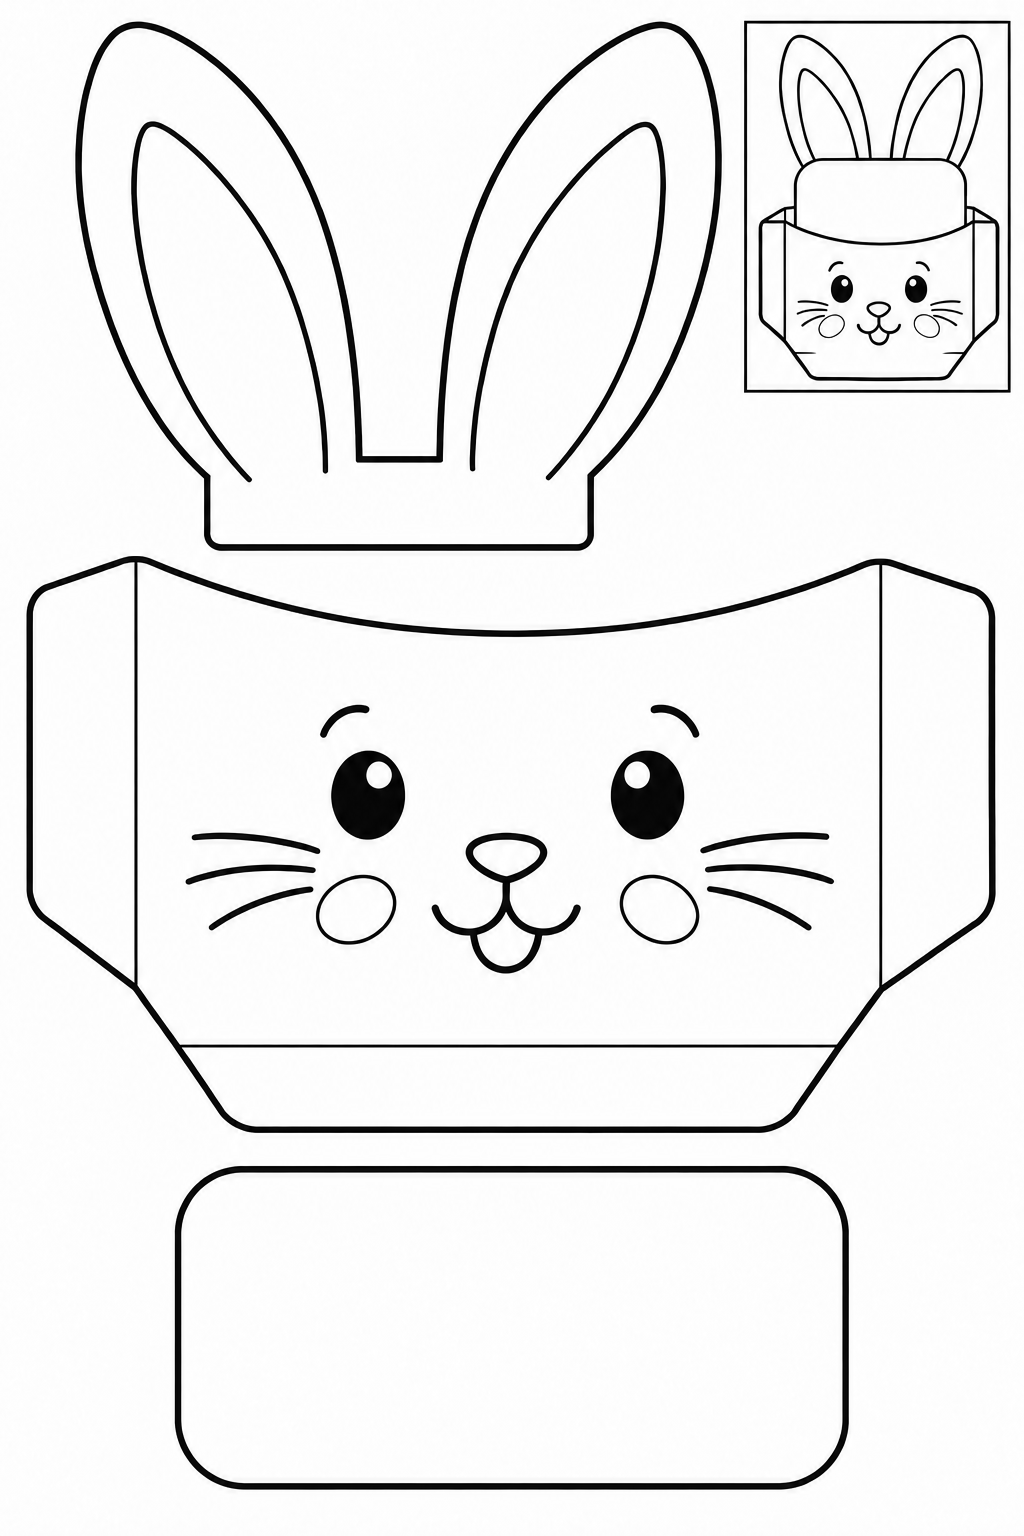
Assembly example: The small boxed example shows the finished craft. Do not cut it out.
Cut outside edges; leave boxed reference on sheet. Fold tabs back and glue only tabs to backing; attach ears behind top, slide card into open pocket. Keep printed details intact. Check joins before glue dries; increase overlap if loose.
Check: Can you guide the scissors comfortably? If it is difficult, an adult can shorten a strip, cut a tricky curve or offer straight paths. Pieces should be fully separated and arranged as intended before gluing.
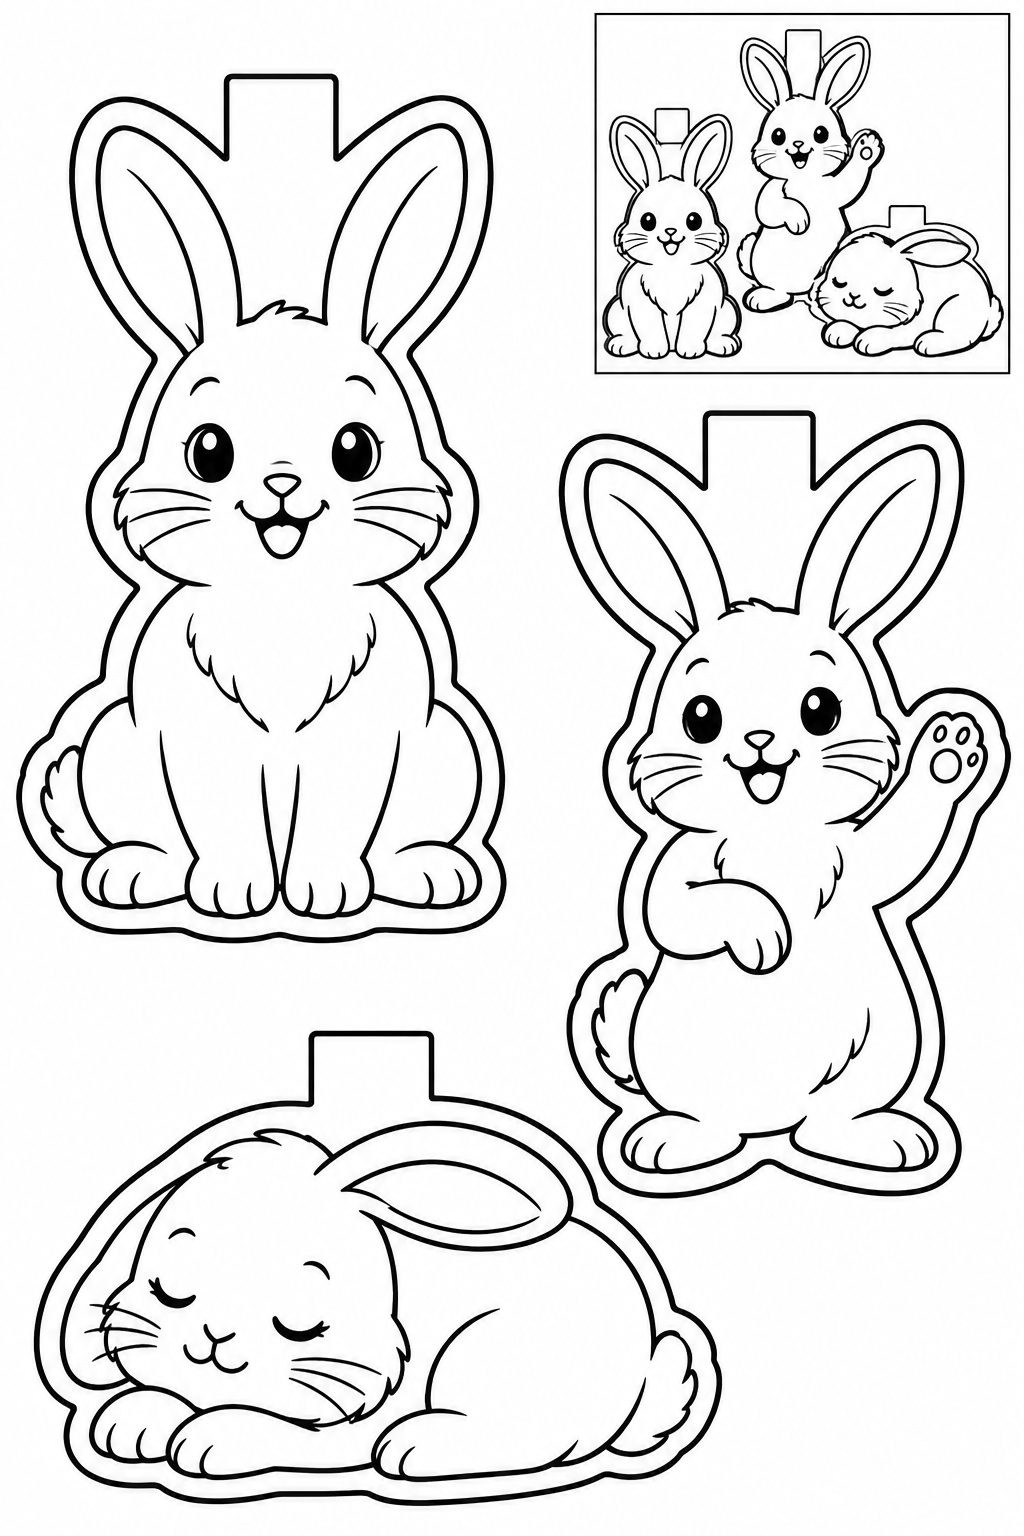
Assembly example: The small boxed example shows the finished craft. Do not cut it out.
Cut outside edges; leave boxed reference on sheet. Glue top tabs over a separate paper ribbon; space figures apart. Keep printed details intact. Check joins before glue dries; increase overlap if loose.
Check: Can you guide the scissors comfortably? If it is difficult, an adult can shorten a strip, cut a tricky curve or offer straight paths. Pieces should be fully separated and arranged as intended before gluing.
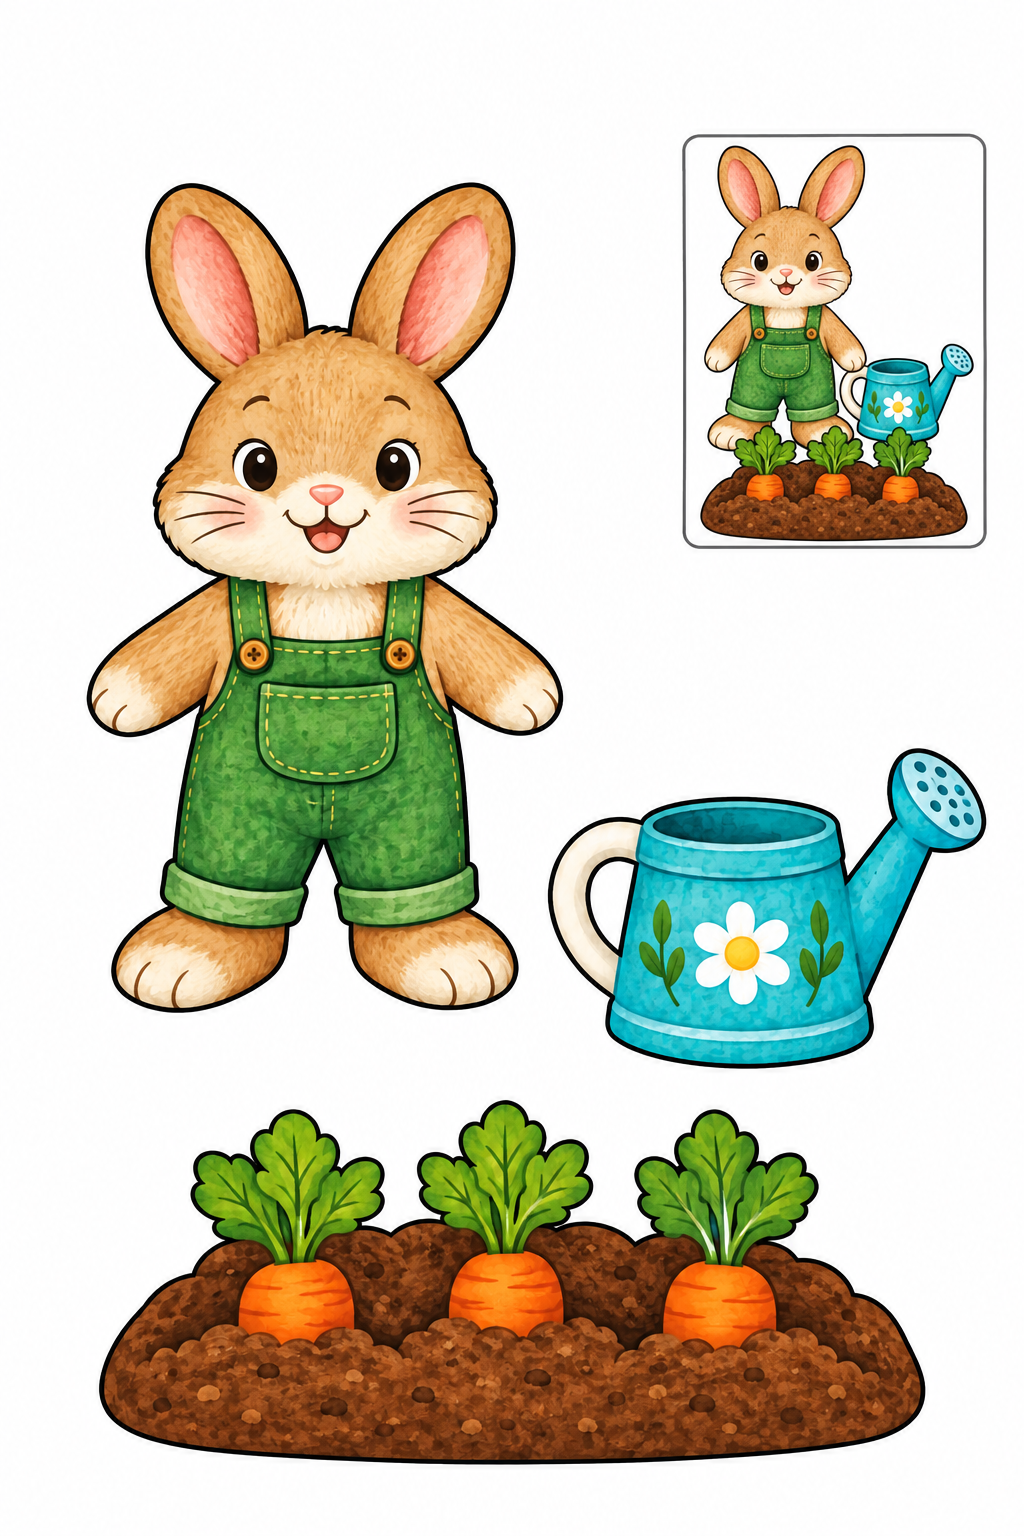
Assembly example: The small boxed example shows the finished craft. Do not cut it out.
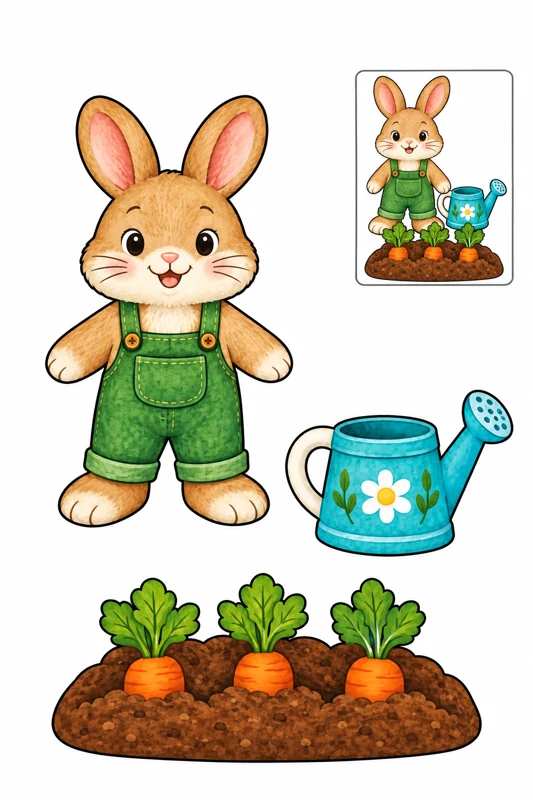
Cut outside edges; leave boxed reference on sheet. Place bunny and watering can above garden bed; keep can beside paws and leaves visible. Keep printed details intact. Check joins before glue dries; increase overlap if loose.
Check: Can you guide the scissors comfortably? If it is difficult, an adult can shorten a strip, cut a tricky curve or offer straight paths. Pieces should be fully separated and arranged as intended before gluing.
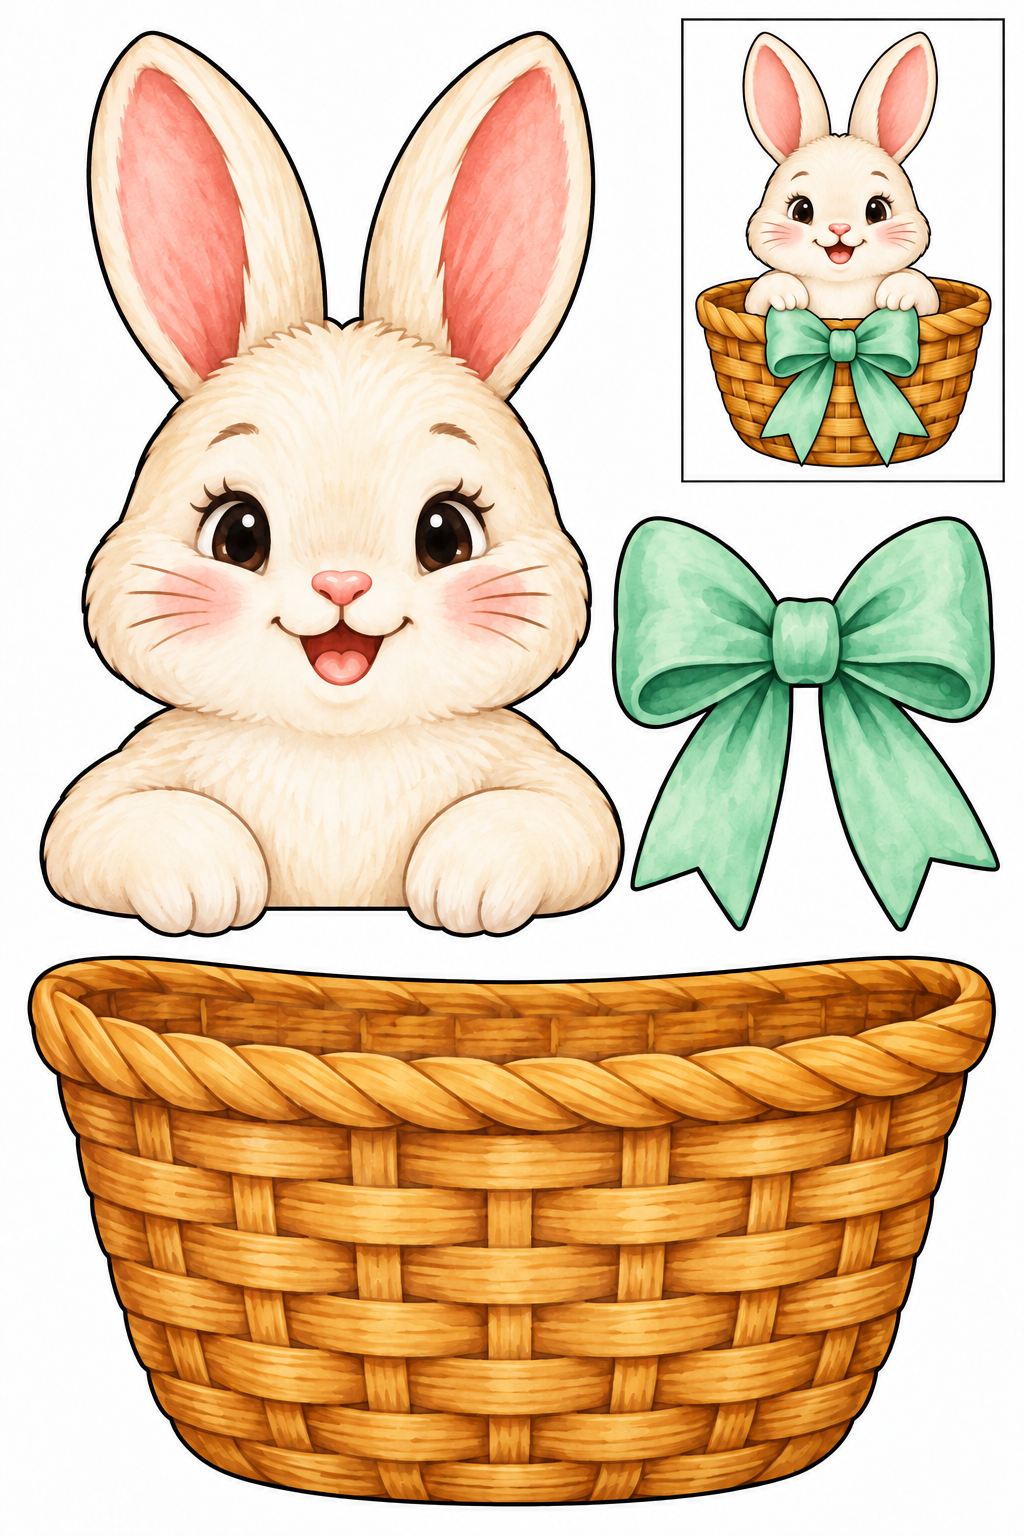
Assembly example: The small boxed example shows the finished craft. Do not cut it out.
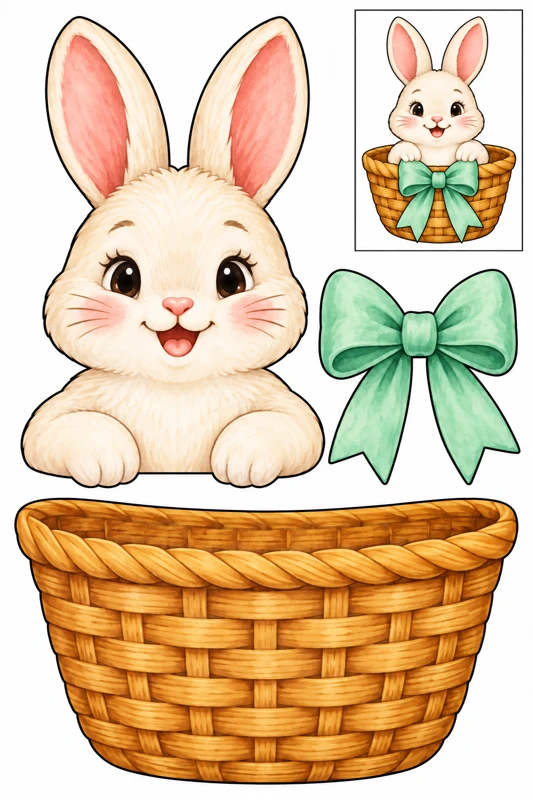
Cut outside edges; leave boxed reference on sheet. Hide lower body behind basket rim; glue bow at basket center. Keep printed details intact. Check joins before glue dries; increase overlap if loose.
Check: Can you guide the scissors comfortably? If it is difficult, an adult can shorten a strip, cut a tricky curve or offer straight paths. Pieces should be fully separated and arranged as intended before gluing.
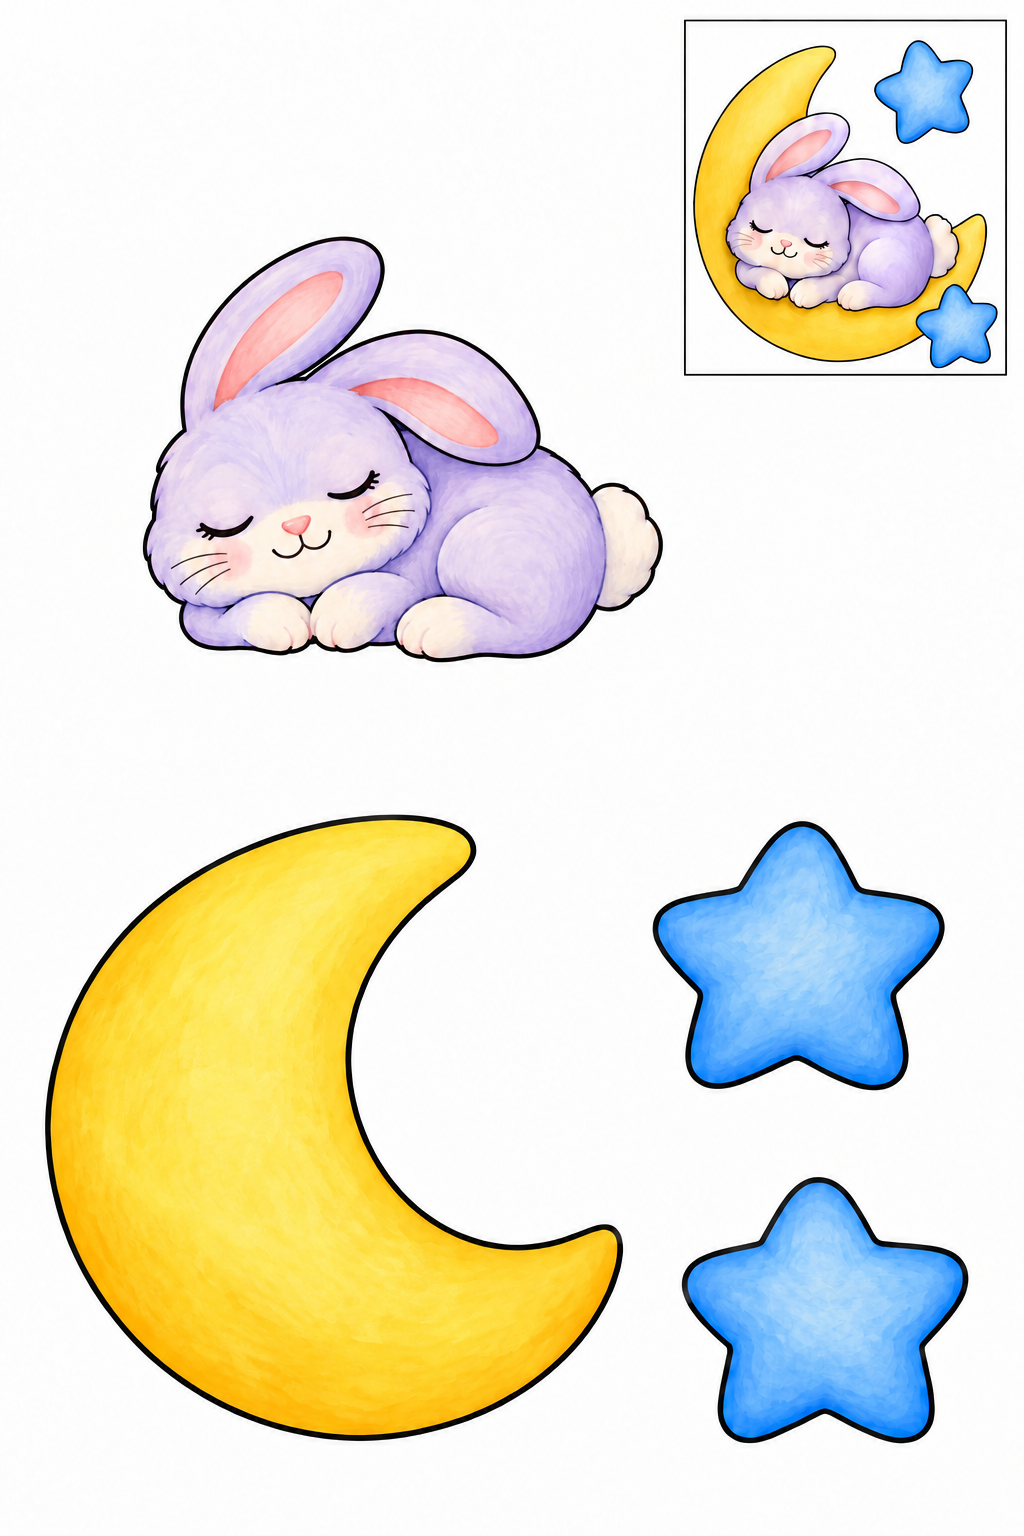
Assembly example: The small boxed example shows the finished craft. Do not cut it out.
Cut outside edges; leave boxed reference on sheet. Rest bunny across lower crescent; arrange stars above moon on backing. Keep printed details intact. Check joins before glue dries; increase overlap if loose.
Check: Can you guide the scissors comfortably? If it is difficult, an adult can shorten a strip, cut a tricky curve or offer straight paths. Pieces should be fully separated and arranged as intended before gluing.
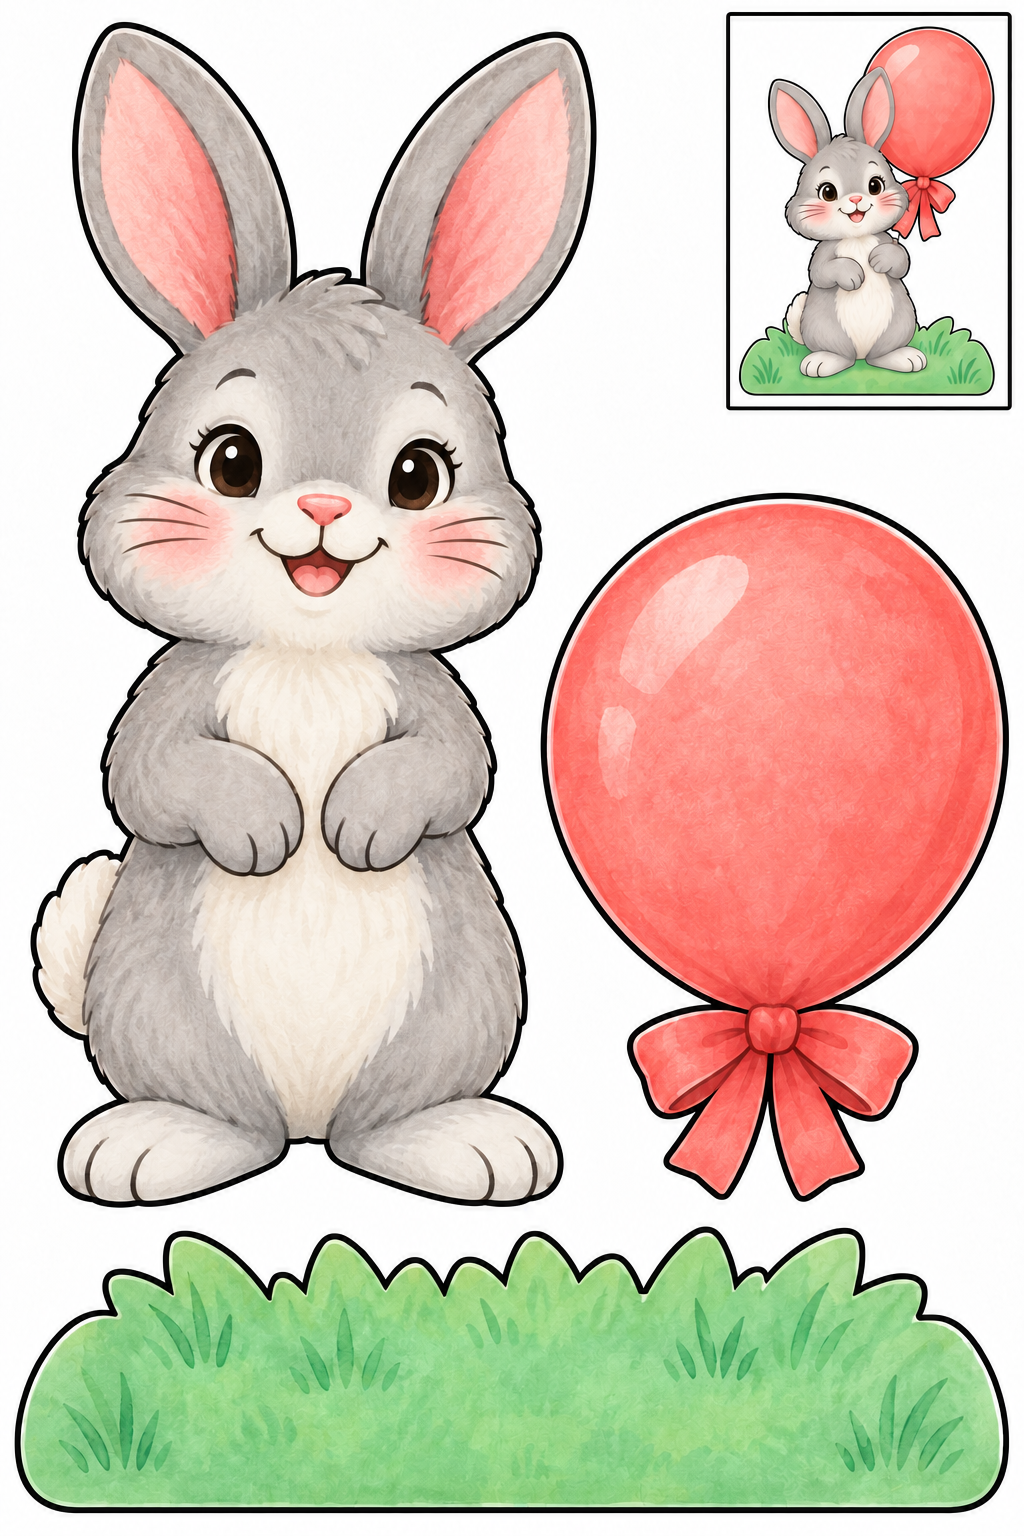
Assembly example: The small boxed example shows the finished craft. Do not cut it out.
Cut outside edges; leave boxed reference on sheet. Place bunny on grass; overlap balloon ribbon at raised paw. Keep printed details intact. Check joins before glue dries; increase overlap if loose.
Check: Can you guide the scissors comfortably? If it is difficult, an adult can shorten a strip, cut a tricky curve or offer straight paths. Pieces should be fully separated and arranged as intended before gluing.
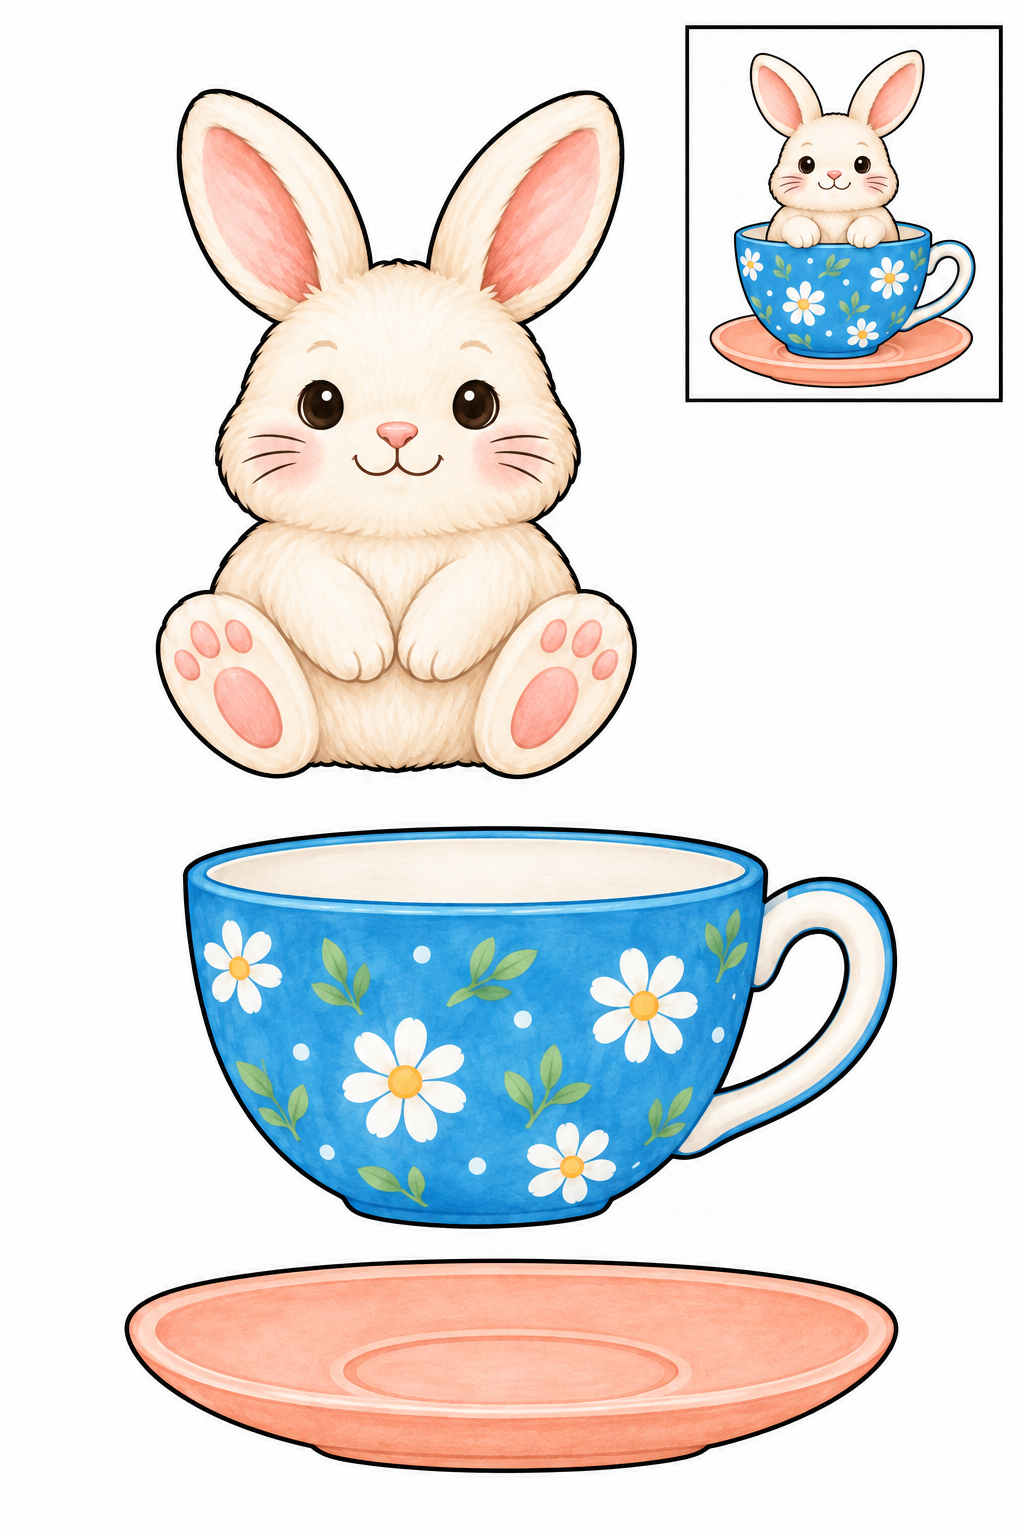
Assembly example: The small boxed example shows the finished craft. Do not cut it out.
Cut outside edges; leave boxed reference on sheet. Place bunny behind cup rim and saucer below cup; leave handle center intact. Keep printed details intact. Check joins before glue dries; increase overlap if loose.
Check: Can you guide the scissors comfortably? If it is difficult, an adult can shorten a strip, cut a tricky curve or offer straight paths. Pieces should be fully separated and arranged as intended before gluing.
Assembly example: The small boxed example shows the finished craft. Do not cut it out.
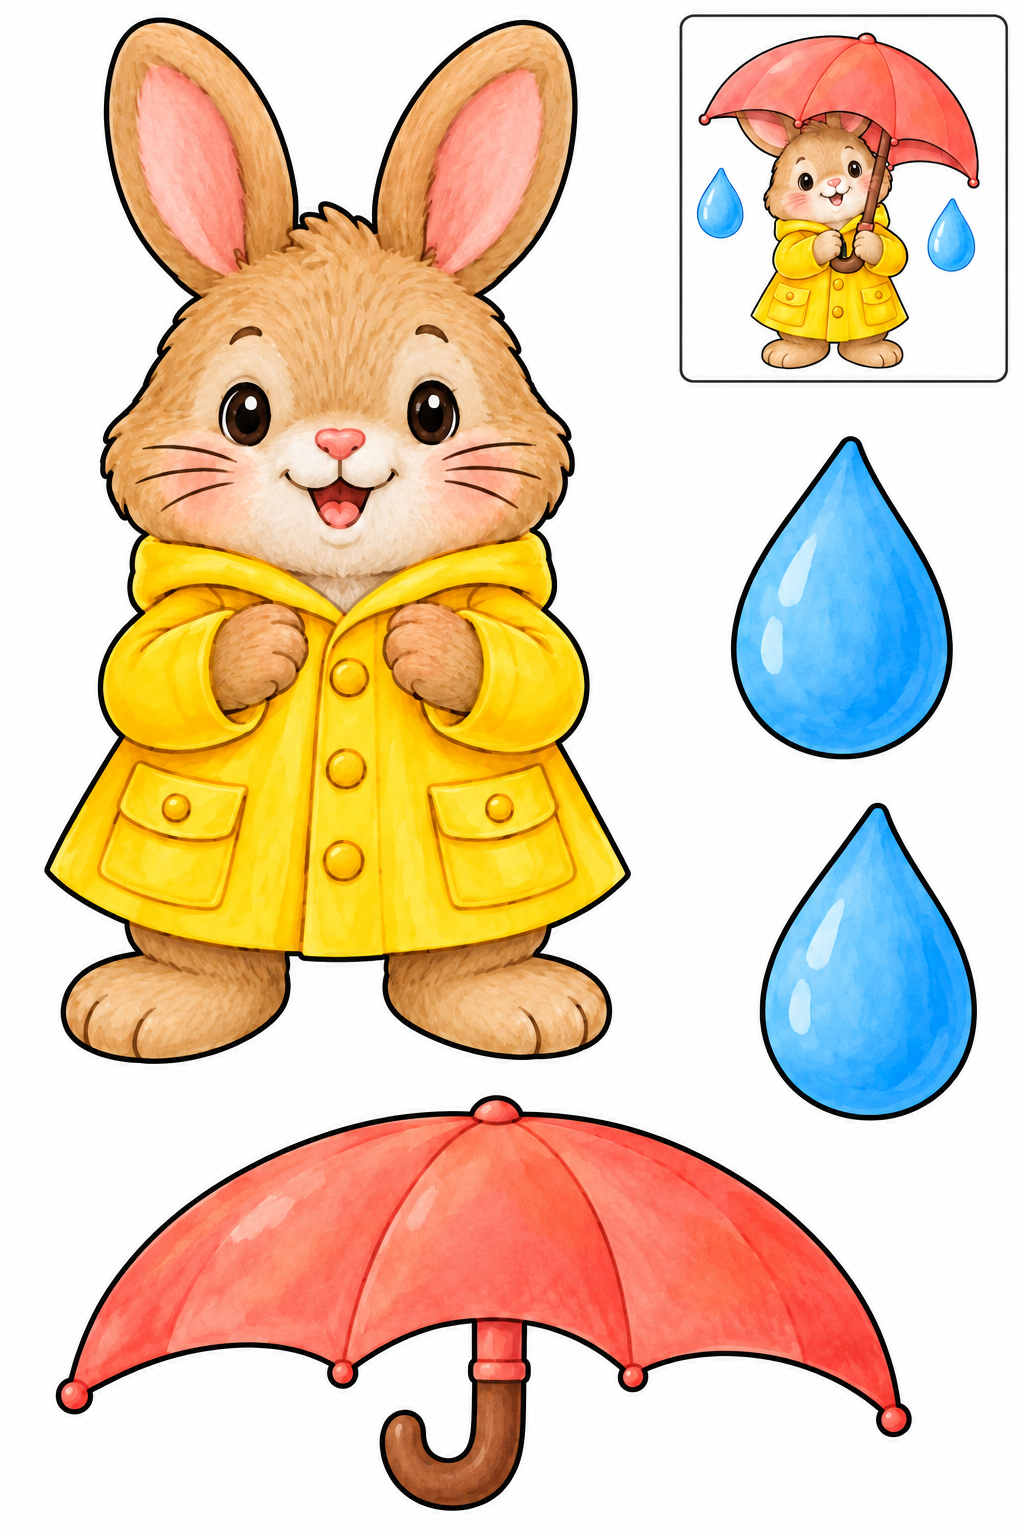
Cut outside edges; leave boxed reference on sheet. Overlap umbrella handle at paw, place drops beside canopy on backing. Keep printed details intact. Check joins before glue dries; increase overlap if loose.
Check: Can you guide the scissors comfortably? If it is difficult, an adult can shorten a strip, cut a tricky curve or offer straight paths. Pieces should be fully separated and arranged as intended before gluing.
Assembly example: The small boxed example shows the finished craft. Do not cut it out.
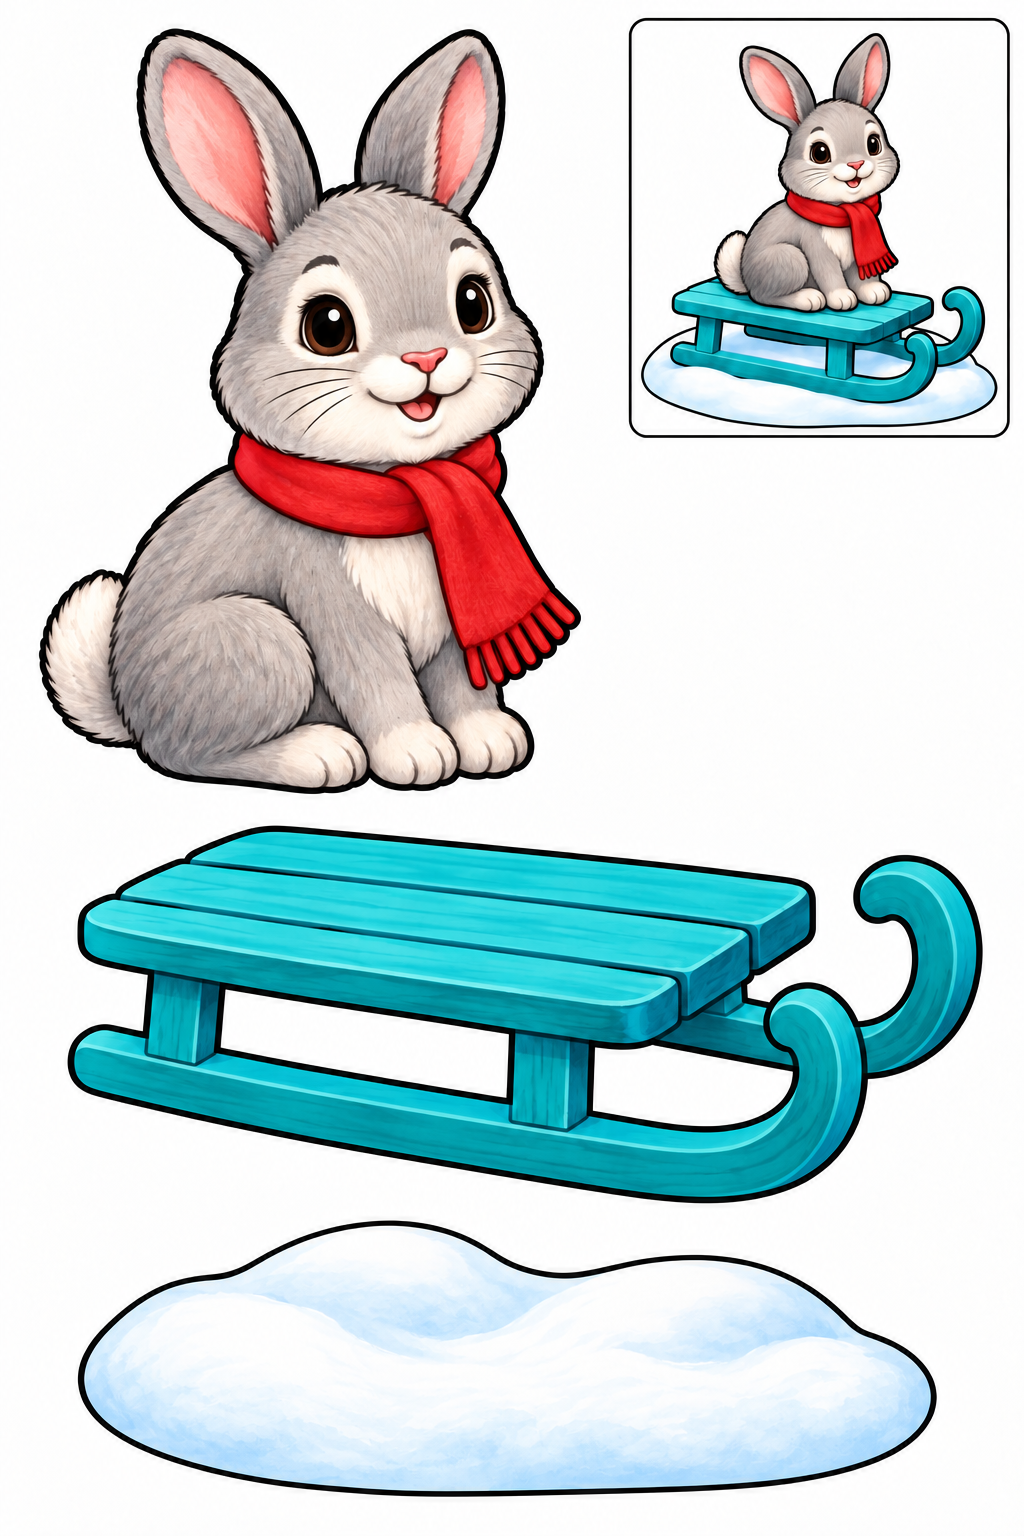
Cut outside edges; leave boxed reference on sheet. Place sled on snow and bunny above sled seat; keep scarf visible. Keep printed details intact. Check joins before glue dries; increase overlap if loose.
Check: Can you guide the scissors comfortably? If it is difficult, an adult can shorten a strip, cut a tricky curve or offer straight paths. Pieces should be fully separated and arranged as intended before gluing.
Assembly example: The small boxed example shows the finished craft. Do not cut it out.
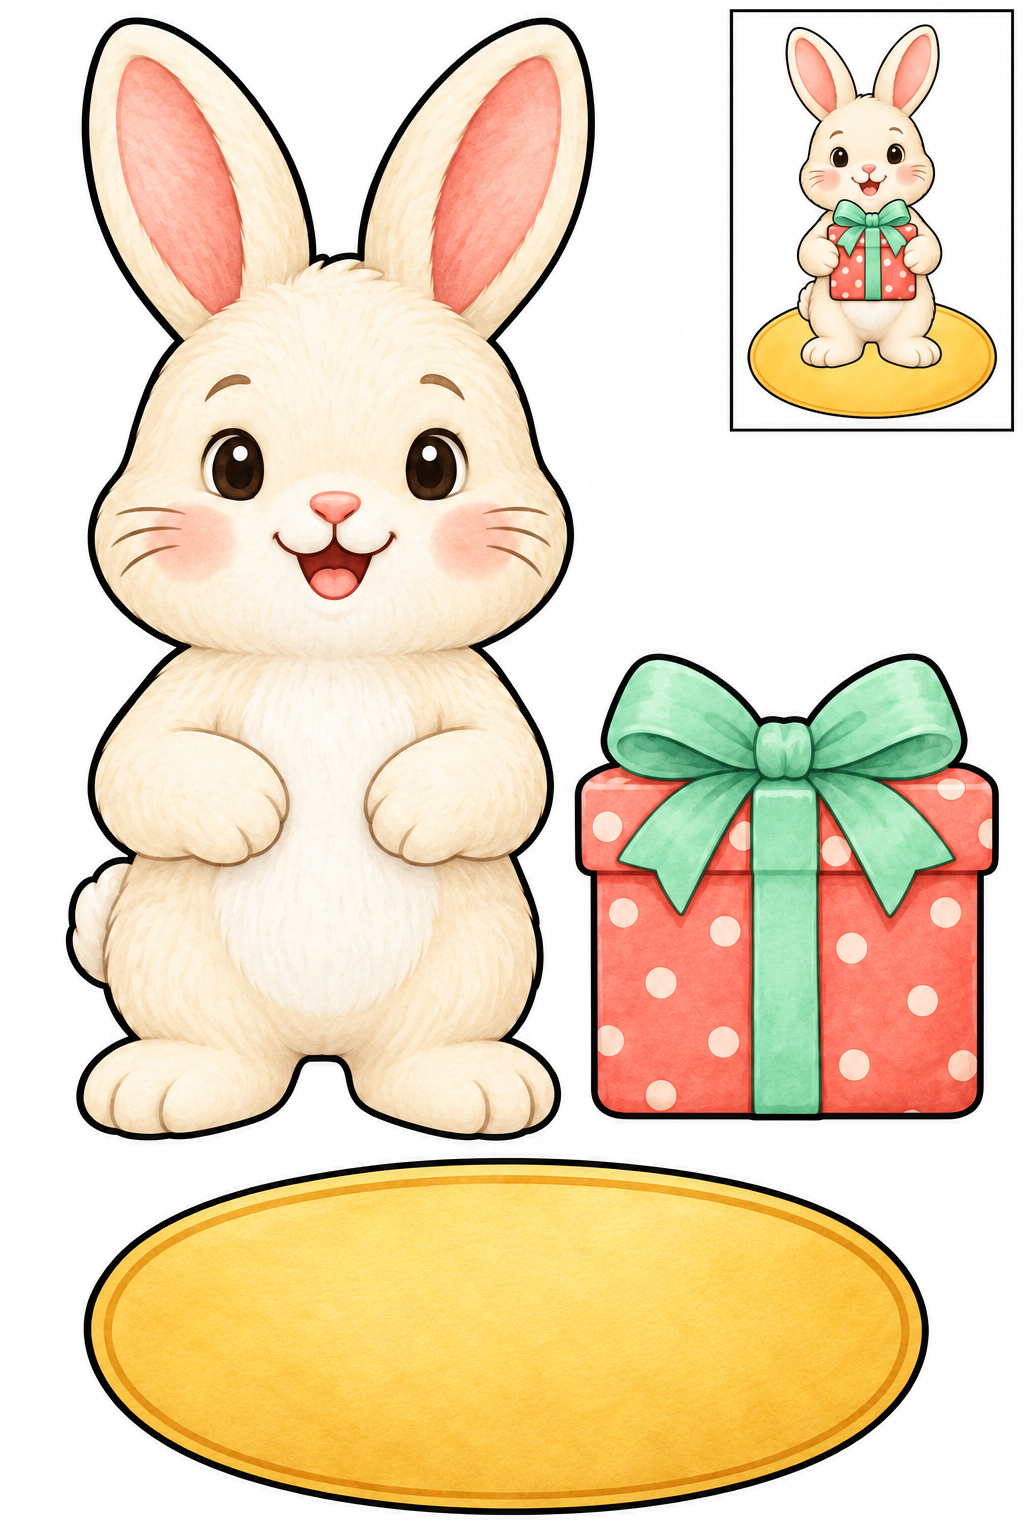
Cut outside edges; leave boxed reference on sheet. Place gift below paws and label below bunny on backing; add greeting to label. Keep printed details intact. Check joins before glue dries; increase overlap if loose.
Check: Can you guide the scissors comfortably? If it is difficult, an adult can shorten a strip, cut a tricky curve or offer straight paths. Pieces should be fully separated and arranged as intended before gluing.
Assembly example: The small boxed example shows the finished craft. Do not cut it out.
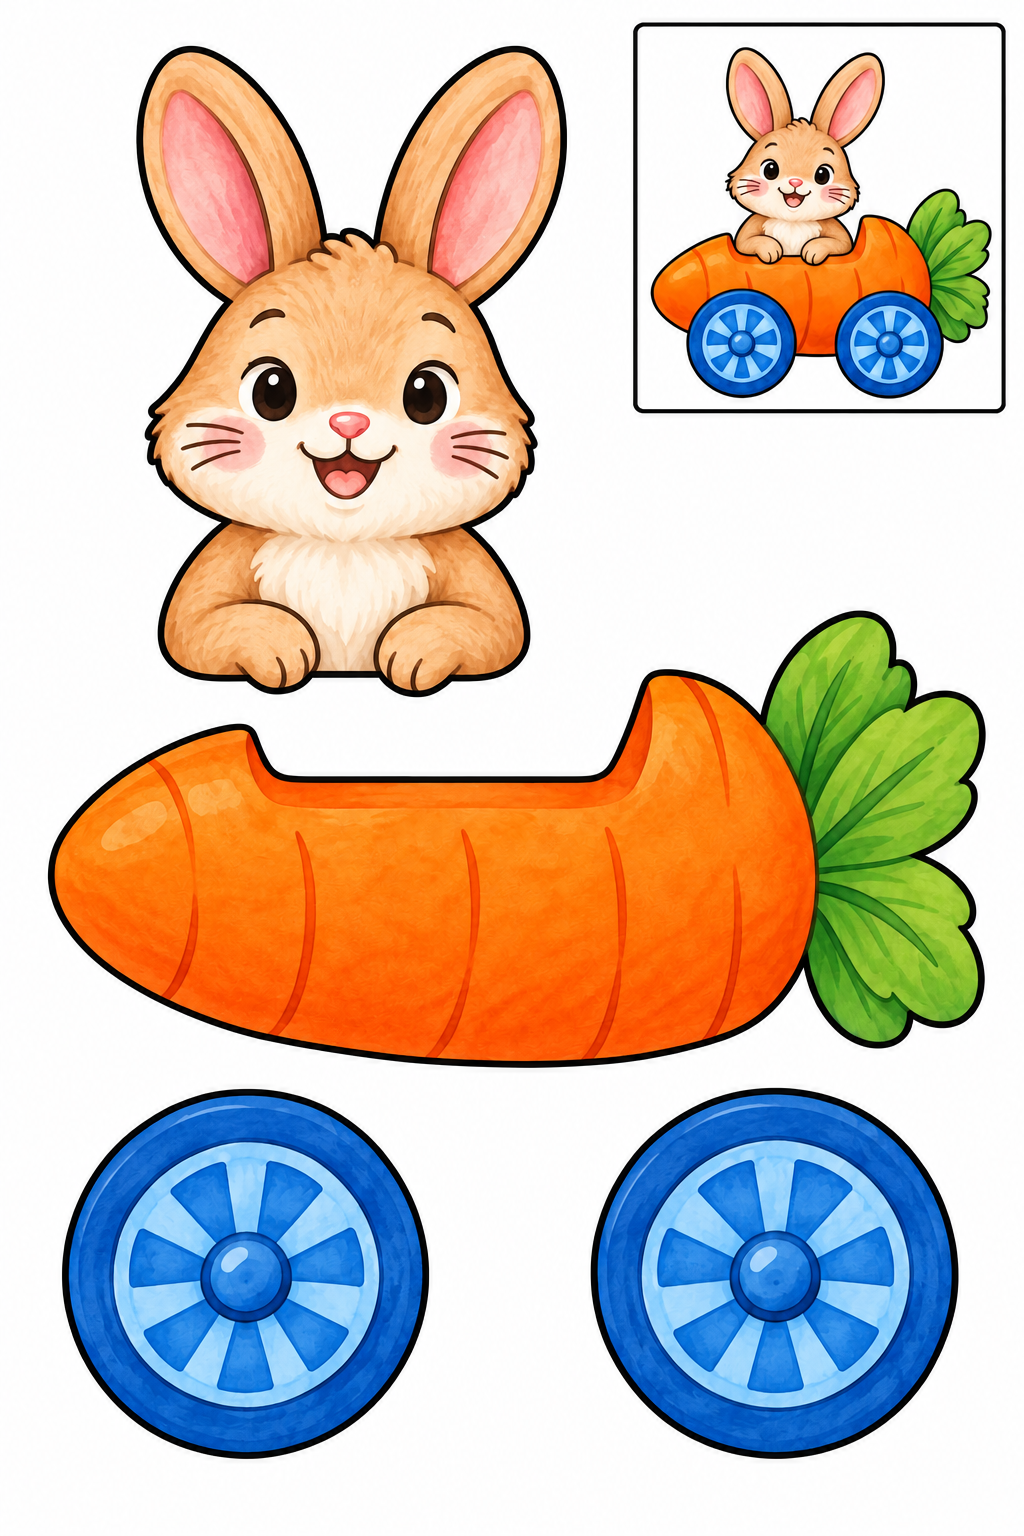
Cut outside edges; leave boxed reference on sheet. Glue bunny behind carriage top and wheels over two lower corners. Keep printed details intact. Check joins before glue dries; increase overlap if loose.
Check: Can you guide the scissors comfortably? If it is difficult, an adult can shorten a strip, cut a tricky curve or offer straight paths. Pieces should be fully separated and arranged as intended before gluing.
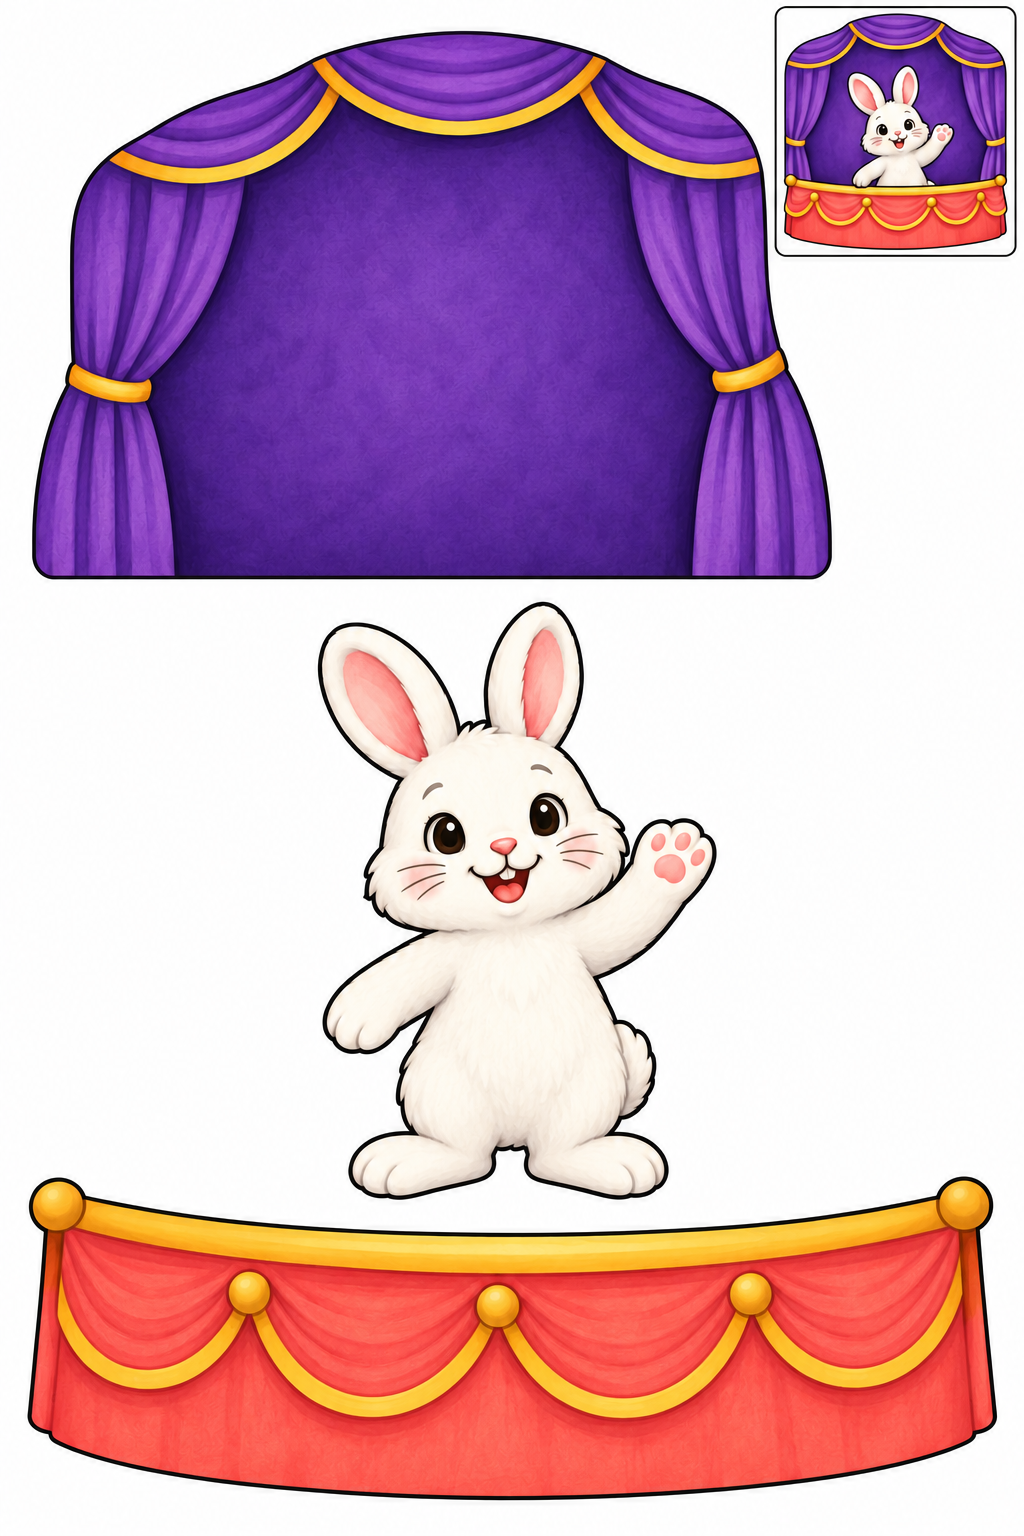
Assembly example: The small boxed example shows the finished craft. Do not cut it out.
Cut outside edges; leave boxed reference on sheet. Place bunny on solid backdrop, attach stage front over lower feet. Keep printed details intact. Check joins before glue dries; increase overlap if loose.
Check: Can you guide the scissors comfortably? If it is difficult, an adult can shorten a strip, cut a tricky curve or offer straight paths. Pieces should be fully separated and arranged as intended before gluing.
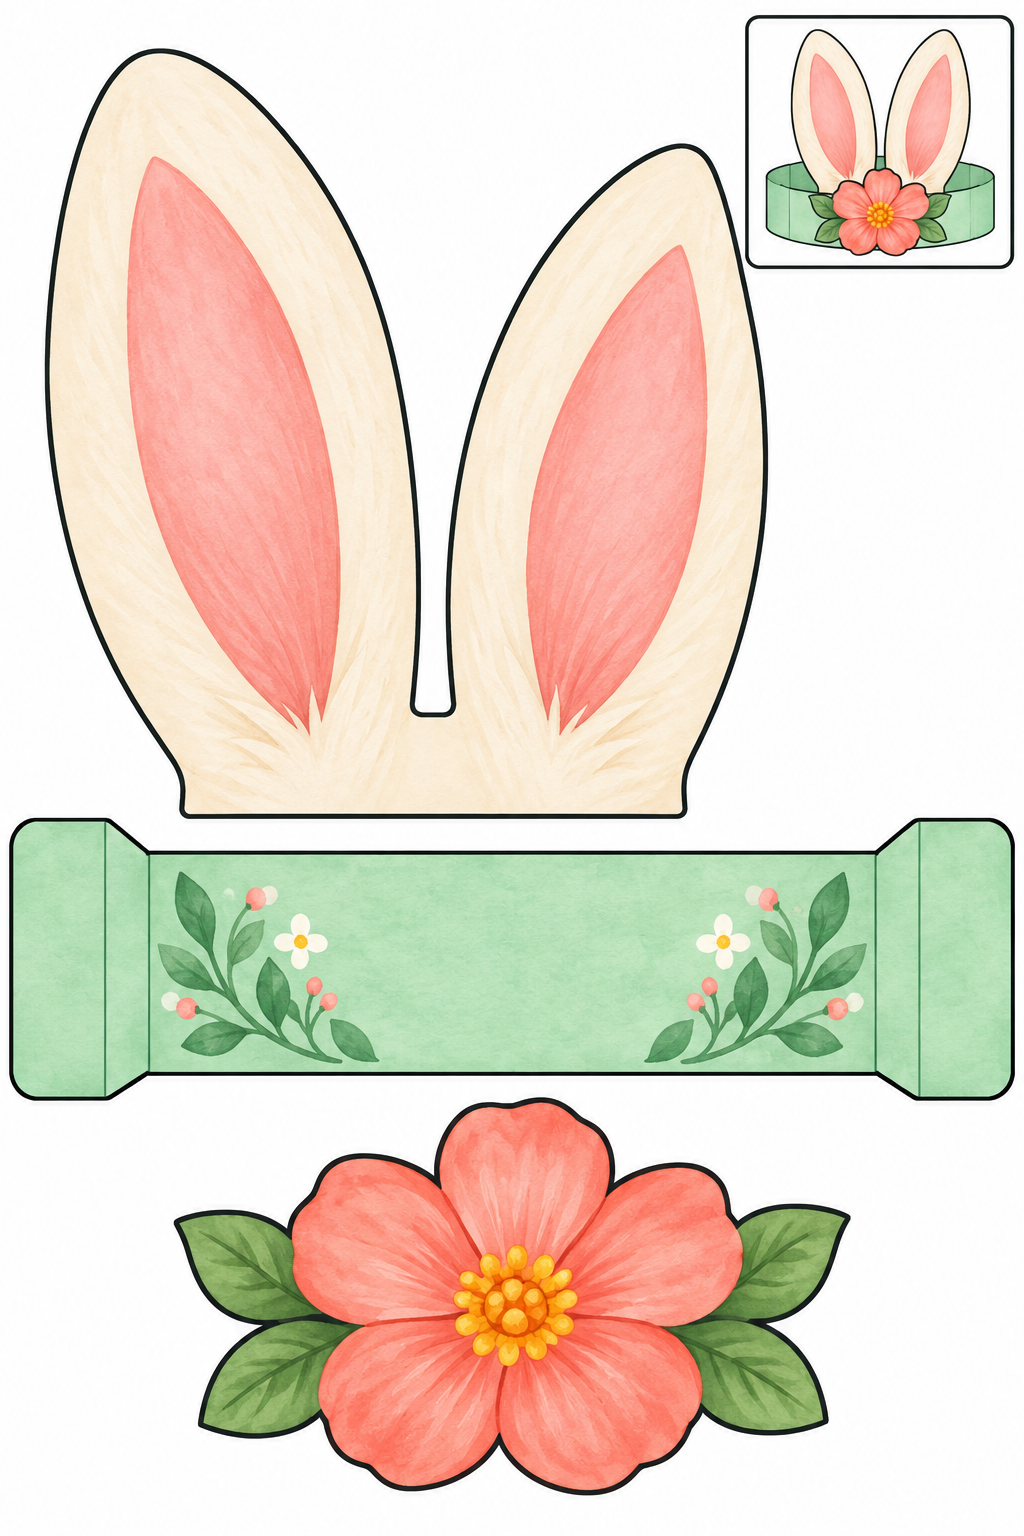
Assembly example: The small boxed example shows the finished craft. Do not cut it out.
Cut outside edges; leave boxed reference on sheet. Glue joined ears above strip and flower at center; adult adds paper extension for loose fit. Keep printed details intact. Check joins before glue dries; increase overlap if loose.
Check: Can you guide the scissors comfortably? If it is difficult, an adult can shorten a strip, cut a tricky curve or offer straight paths. Pieces should be fully separated and arranged as intended before gluing.
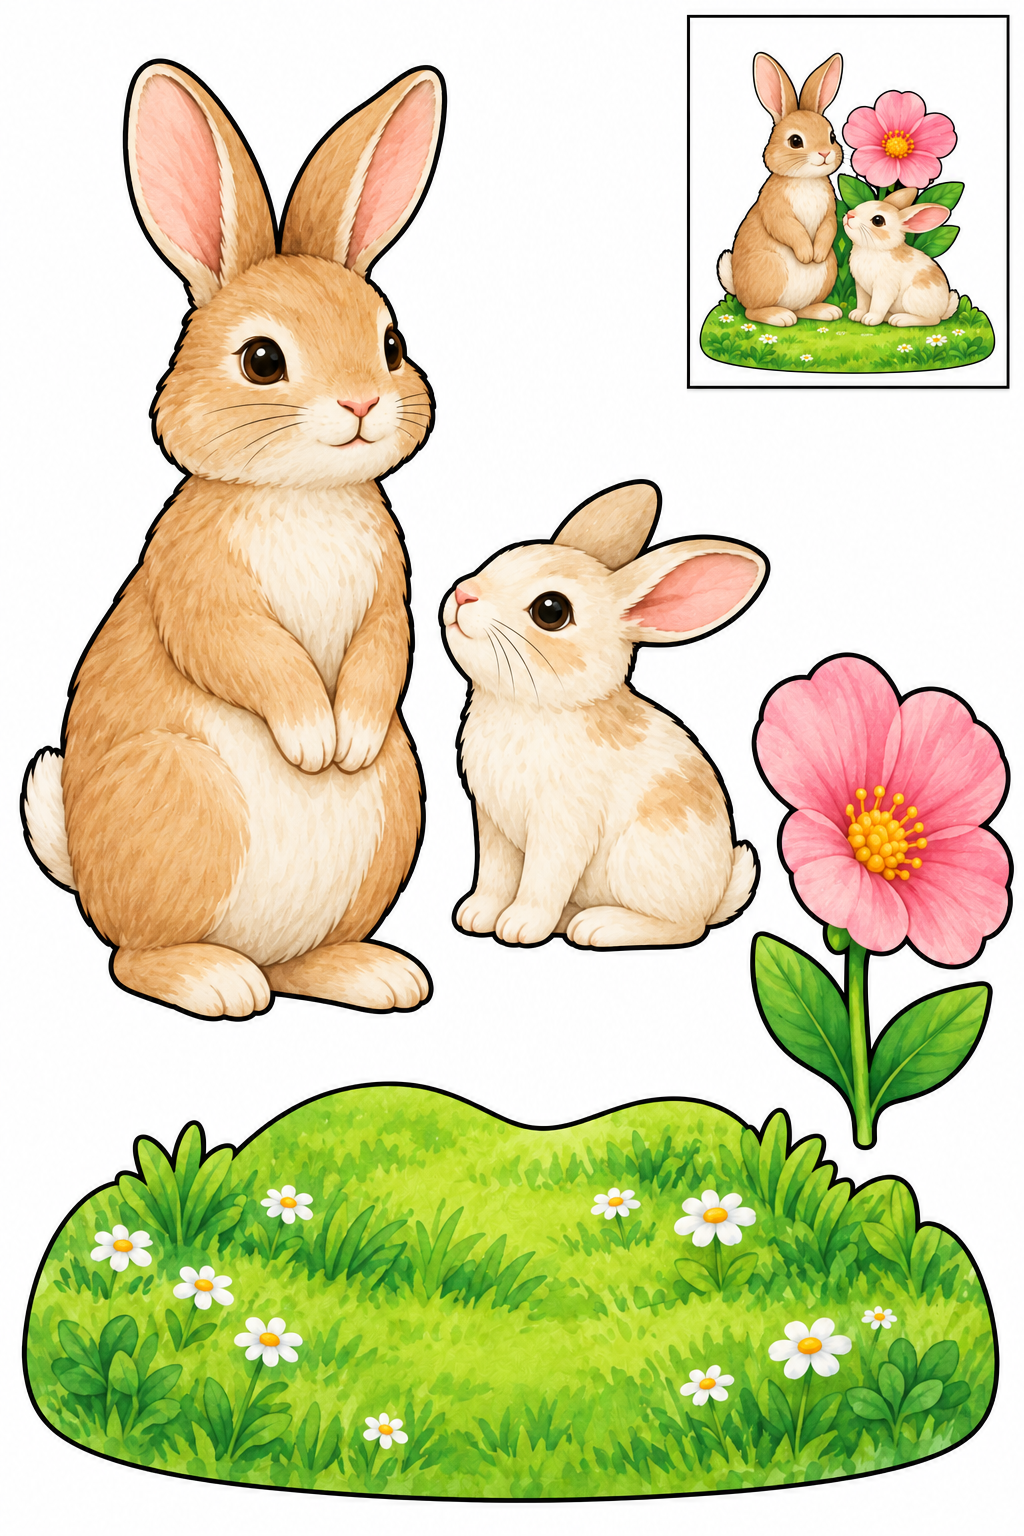
Assembly example: The small boxed example shows the finished craft. Do not cut it out.
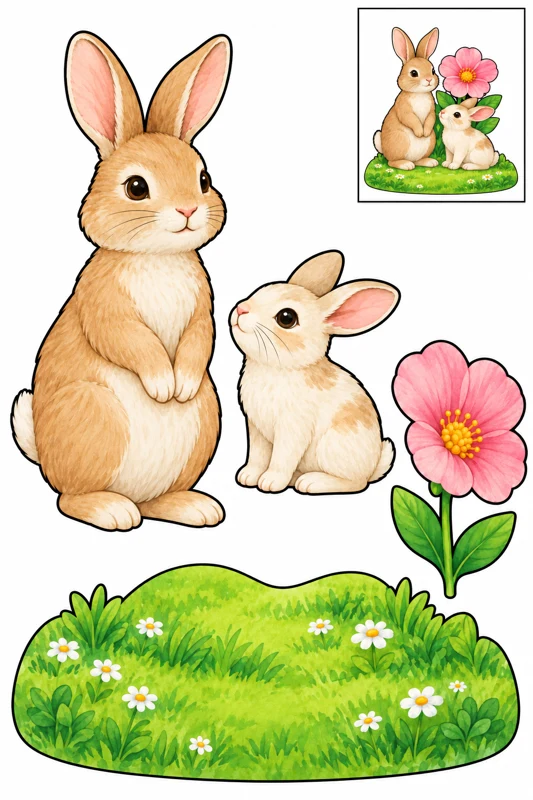
Cut outside edges; leave boxed reference on sheet. Stand both rabbits on meadow and flower beside small bunny; keep faces clear. Keep printed details intact. Check joins before glue dries; increase overlap if loose.
Check: Can you guide the scissors comfortably? If it is difficult, an adult can shorten a strip, cut a tricky curve or offer straight paths. Pieces should be fully separated and arranged as intended before gluing.
How to make paper rabbits
Start with the seated rabbit: its head, torso and tail join at three broad areas. The lop-eared portrait has separate ears, so you can test their position first. The patchwork rabbit offers four patterned overlays; arrange them before adding glue and keep the face visible. Outline and color sheets contain different projects. Choose by the pieces you feel comfortable cutting. One craft is enough for a short session, and the remaining projects can wait for another day.
Paper and printing
Gather A4 paper, child scissors, pencils, a glue stick and a backing sheet. Download the PDF in your chosen language and print at 100%, with scaling off. Check that ears, lower pieces and the footer all printed completely. Ordinary paper is easier to turn; heavier paper can suit the bookmark if your scissors cut it comfortably. Color before cutting while the page is easy to hold. Let wet paint dry because damp paper can tear in the dip between the ears.
Outside contours and printed details
An adult can divide the page into areas containing separate pieces. Make short cuts and turn the paper with your free hand near a curve. Stop in the dip between the ears and change the page direction instead of forcing one long cut. Eyes, whiskers, fur marks and patterns stay inside the silhouette. Keep the white areas in cup and watering-can handles, fence gaps and sled runners intact: those are solid pieces. Leave the small boxed assembly reference on the page.
Try the arrangement before glue
Arrange the pieces beside the reference. The seated rabbit’s head overlaps the torso top and its tail tucks behind the side. For the basket, hide the rabbit’s lower body behind the basket front and place the bow on top. On the carrot carriage, try the passenger behind its upper edge, then position both wheels at the lower corners. Apply glue to a broad overlap and press on a flat surface. Check each join before it dries. Increase a slipping piece’s overlap, or reinforce a nicked ear with tape on the back.
Pockets, bands and your own story
Fold the pocket’s side and bottom tabs back, glue only those tabs and leave the top open. Insert its card after drying. An adult trims the finger-puppet band to fit and joins it loosely; remove and enlarge any tight ring. Extend the party headband with a plain paper strip. For an independent scene, choose two whole rabbits and invent a meeting place. Try two arrangements: the characters can face each other or travel along a path. Explain your choice before gluing. Draw a home and add names to continue the story.
Should I cut individual whiskers?
No. Whiskers and eyes are printed details. Follow the whole outside contour, or the outer dashed border with its white halo on extra sheets.
Why will the card not enter the pocket?
Check whether the pocket front was glued to the backing. Only tabs need glue. An adult can trim the card sides slightly if needed.
Which project is a simple start?
The seated rabbit joins three broad pieces. For a session without assembly, choose one whole figure from an extra sheet and save the rest for later.
These projects are intended roughly for ages 4–8 with adult help. Start with straight paths and squares. Once a straight cut feels comfortable, try corners, then circles and gentle curves. Age is a guide: choose a manageable task and take breaks.
You need paper, child scissors, coloring pencils and a glue stick for assembly crafts. Keep fingers away from the blades and cut while seated at a table. If a child is not ready for scissors, an adult can cut while the child colors and arranges.
Printing and activity questions
Are the templates really free?
Yes. All templates are downloadable without an account or email address. Use them at home or in class; do not resell the files.
How should I print the sheets?
Every download on this page is a one-page A4 PDF, 210 × 297 mm. Print at 100%, with scaling off.
Which lines should we cut?
On practice paths, cut dashed lines from the edge or starting dot. On crafts, cut the solid outer border of each piece. Do not cut out the small boxed assembly example.
What if the paper keeps tearing?
Ask an adult to check that the scissors cut the paper. Try a shorter strip and smaller motions. Stop before a corner and turn the paper with the supporting hand.
Whole rabbits for story scenes
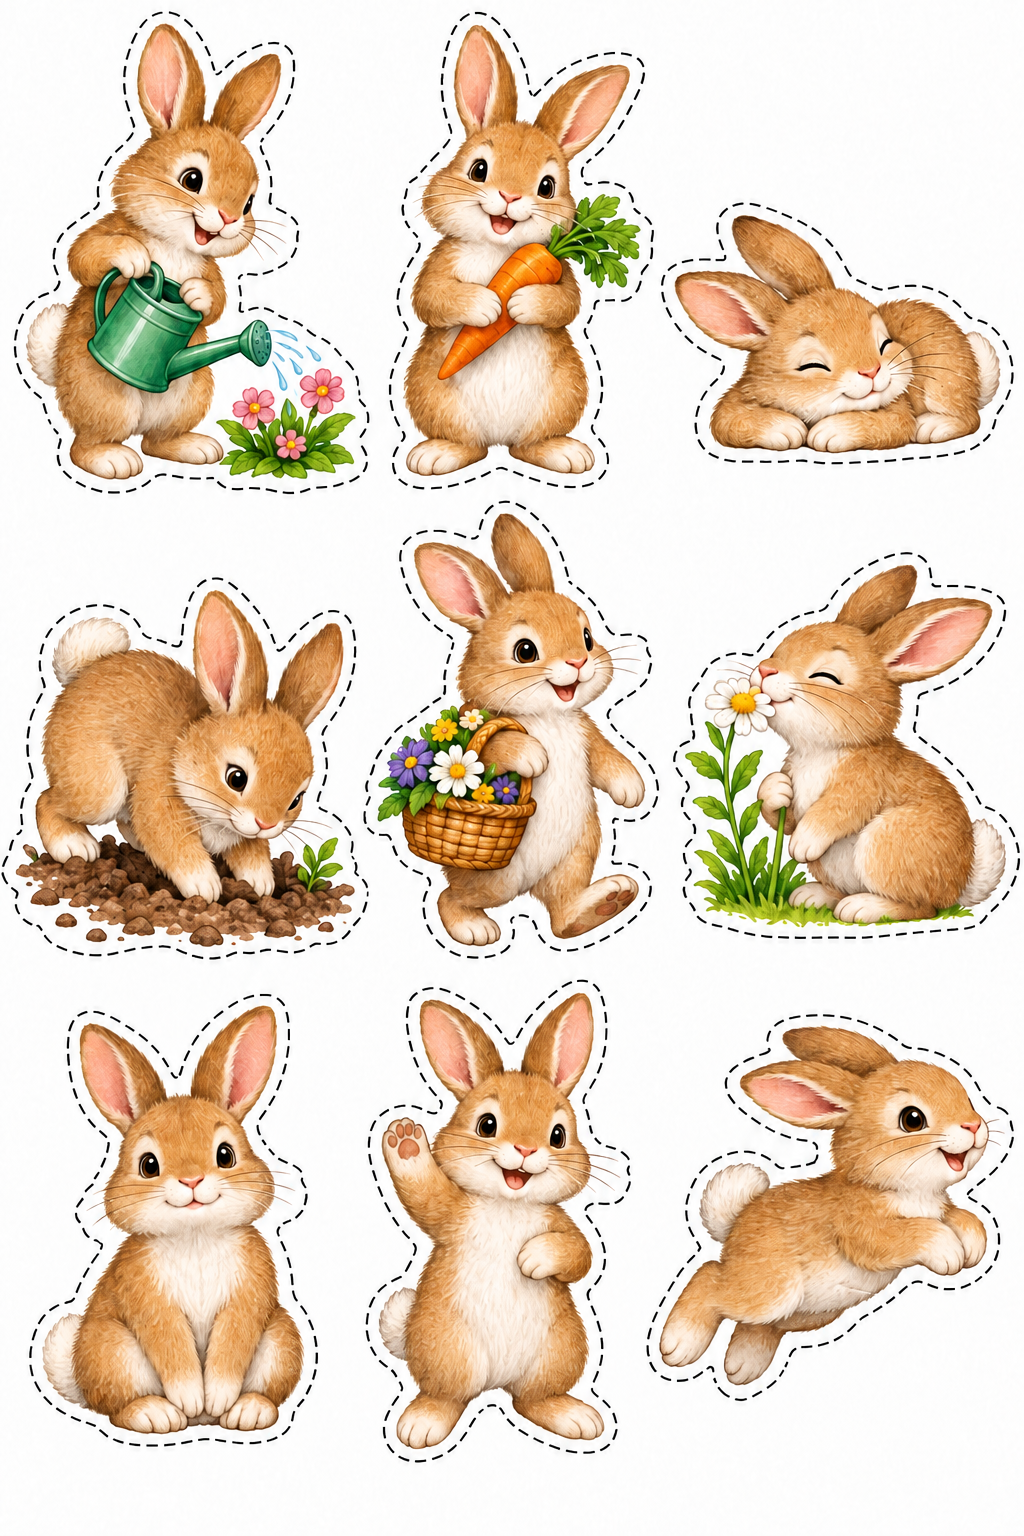
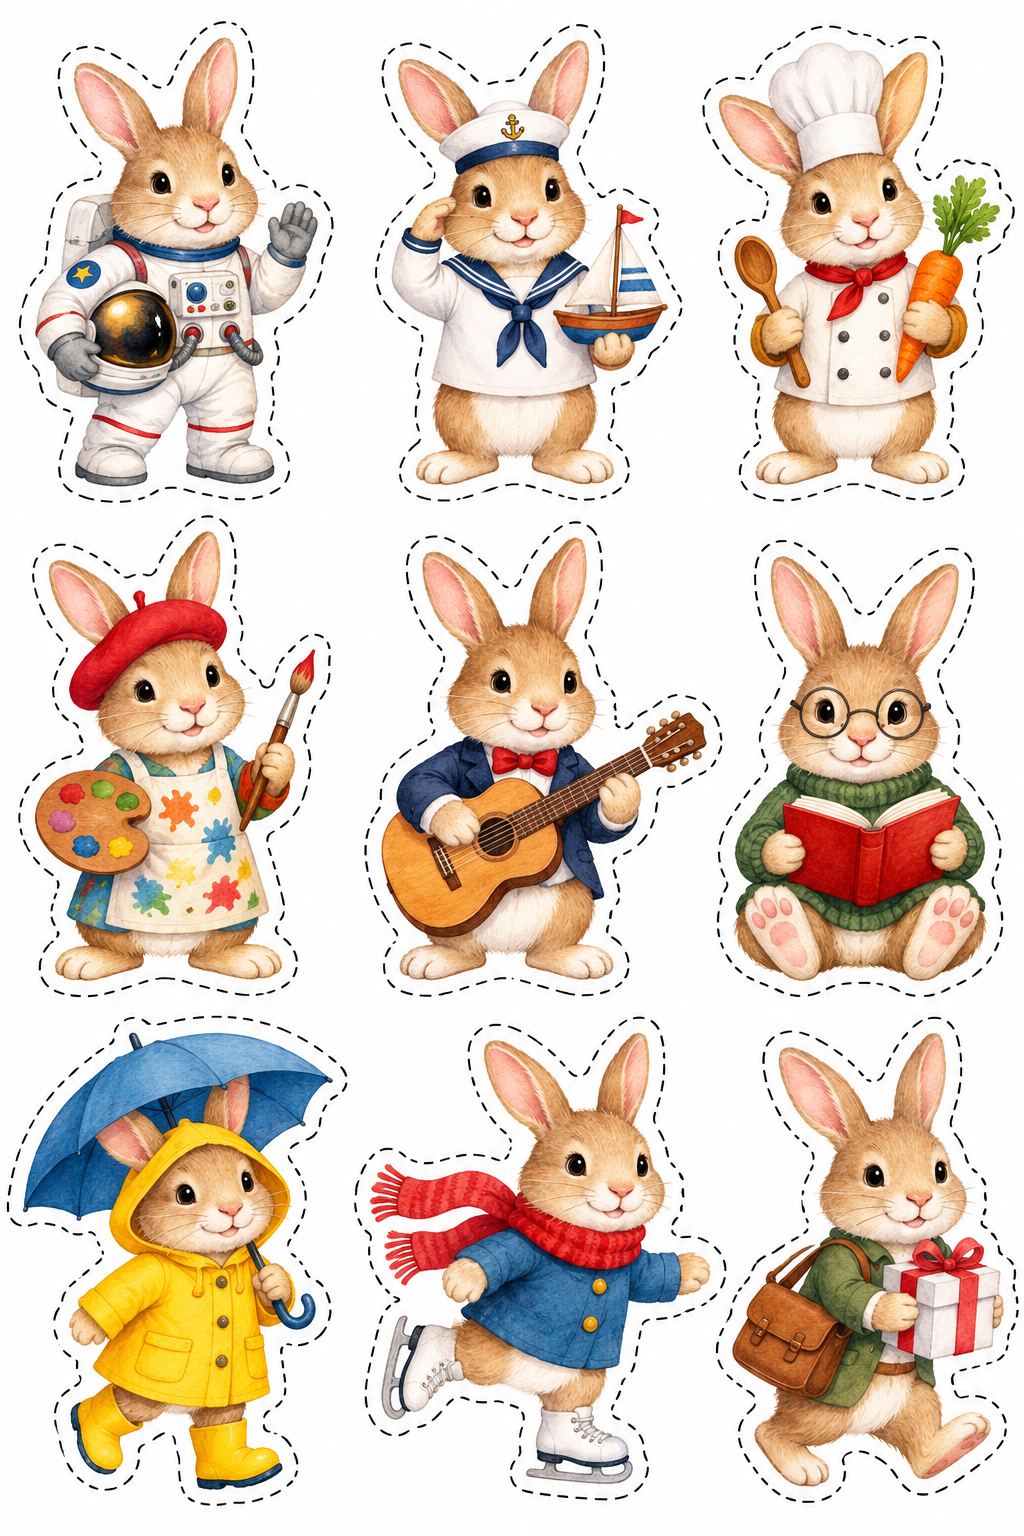
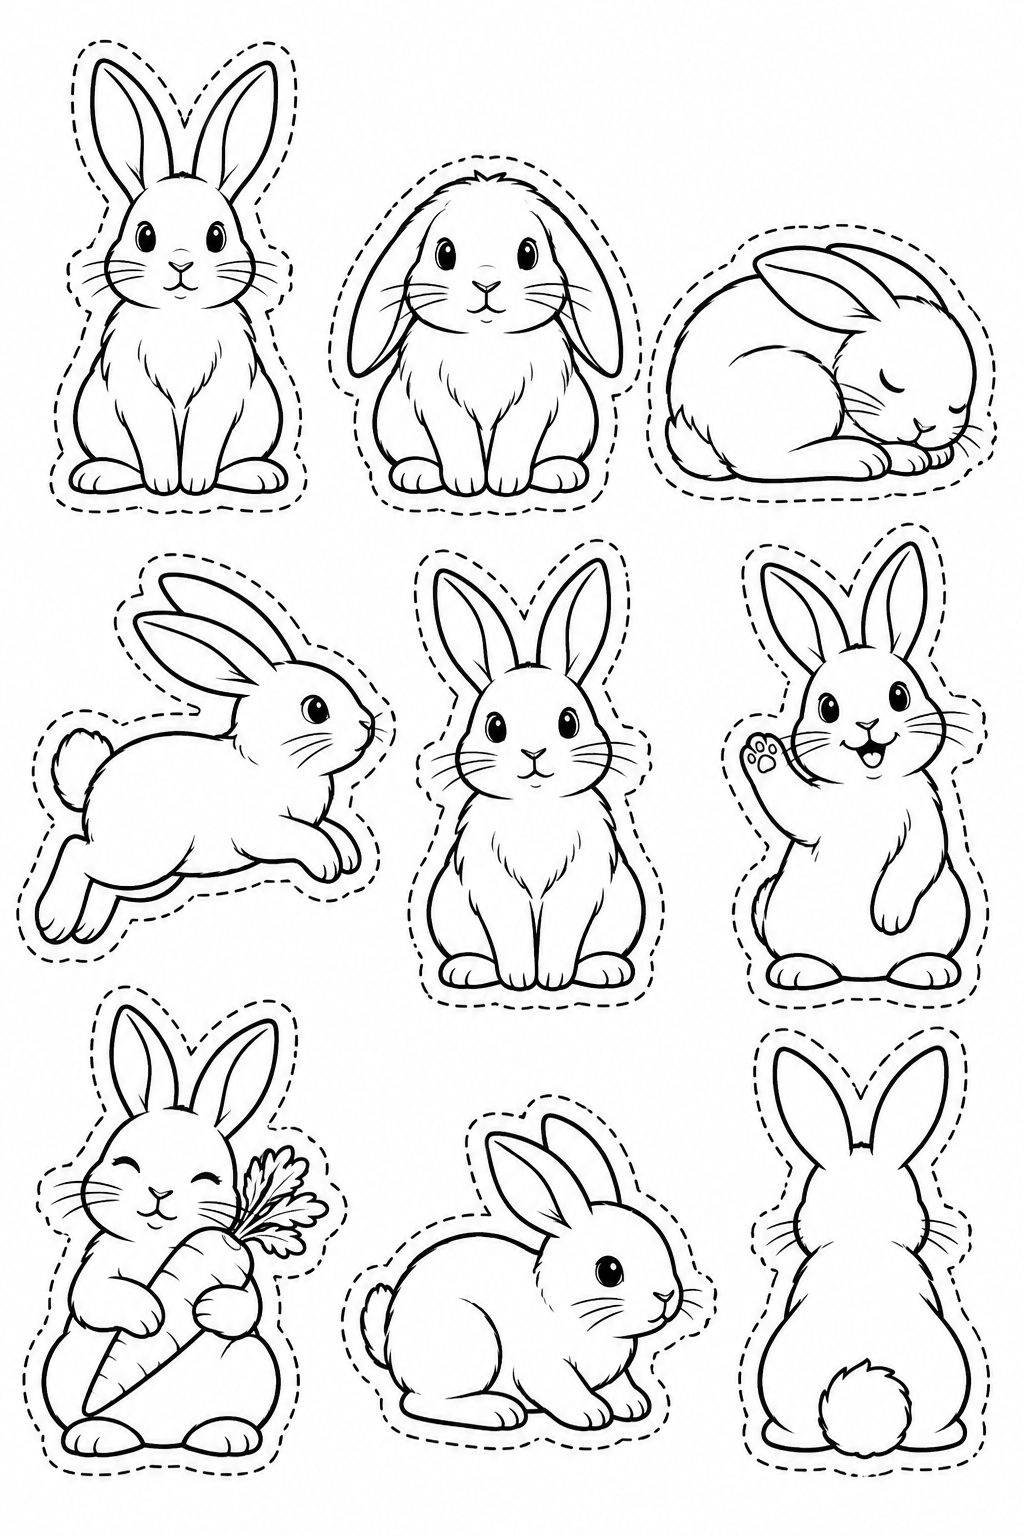
Three extra sheets each contain nine different figures: garden rabbits, adventure characters and outlines to color. Cut each bunny whole, keeping its ears and props together. These supplement the main 24 projects and have no loose parts or assembly example.
Color the outline page before cutting. An adult can divide the sheet into nine areas. Follow the outer dashed border and keep its white halo. Choose two or three figures for a short session. Arrange the scene on backing before gluing and check that ears and faces do not hide each other. Reinforce a nick with tape on the back.
Color before cutting on the outline sheet. Cut each whole bunny along its outside dashed outline, keeping ears and props together. Try a meadow or story arrangement on backing before gluing. Move any figure that hides another face.
Color before cutting on the outline sheet. Cut each whole bunny along its outside dashed outline, keeping ears and props together. Try a meadow or story arrangement on backing before gluing. Move any figure that hides another face.
Color before cutting on the outline sheet. Cut each whole bunny along its outside dashed outline, keeping ears and props together. Try a meadow or story arrangement on backing before gluing. Move any figure that hides another face.
 kiduverse