Scissors with a grown-up. Use child scissors with rounded tips and cut while seated at a table. If a child is not ready yet, an adult cuts while the child colors and assembles.
Print
Print the PDF on A4 paper (210 × 297 mm) at 100%, with scaling off.
Cut
Color black-and-white sheets first. Cut outer borders; follow dashed lines on the practice paths.
Make it yours
Arrange pieces before gluing. Try a new arrangement or tell a story about your creation.
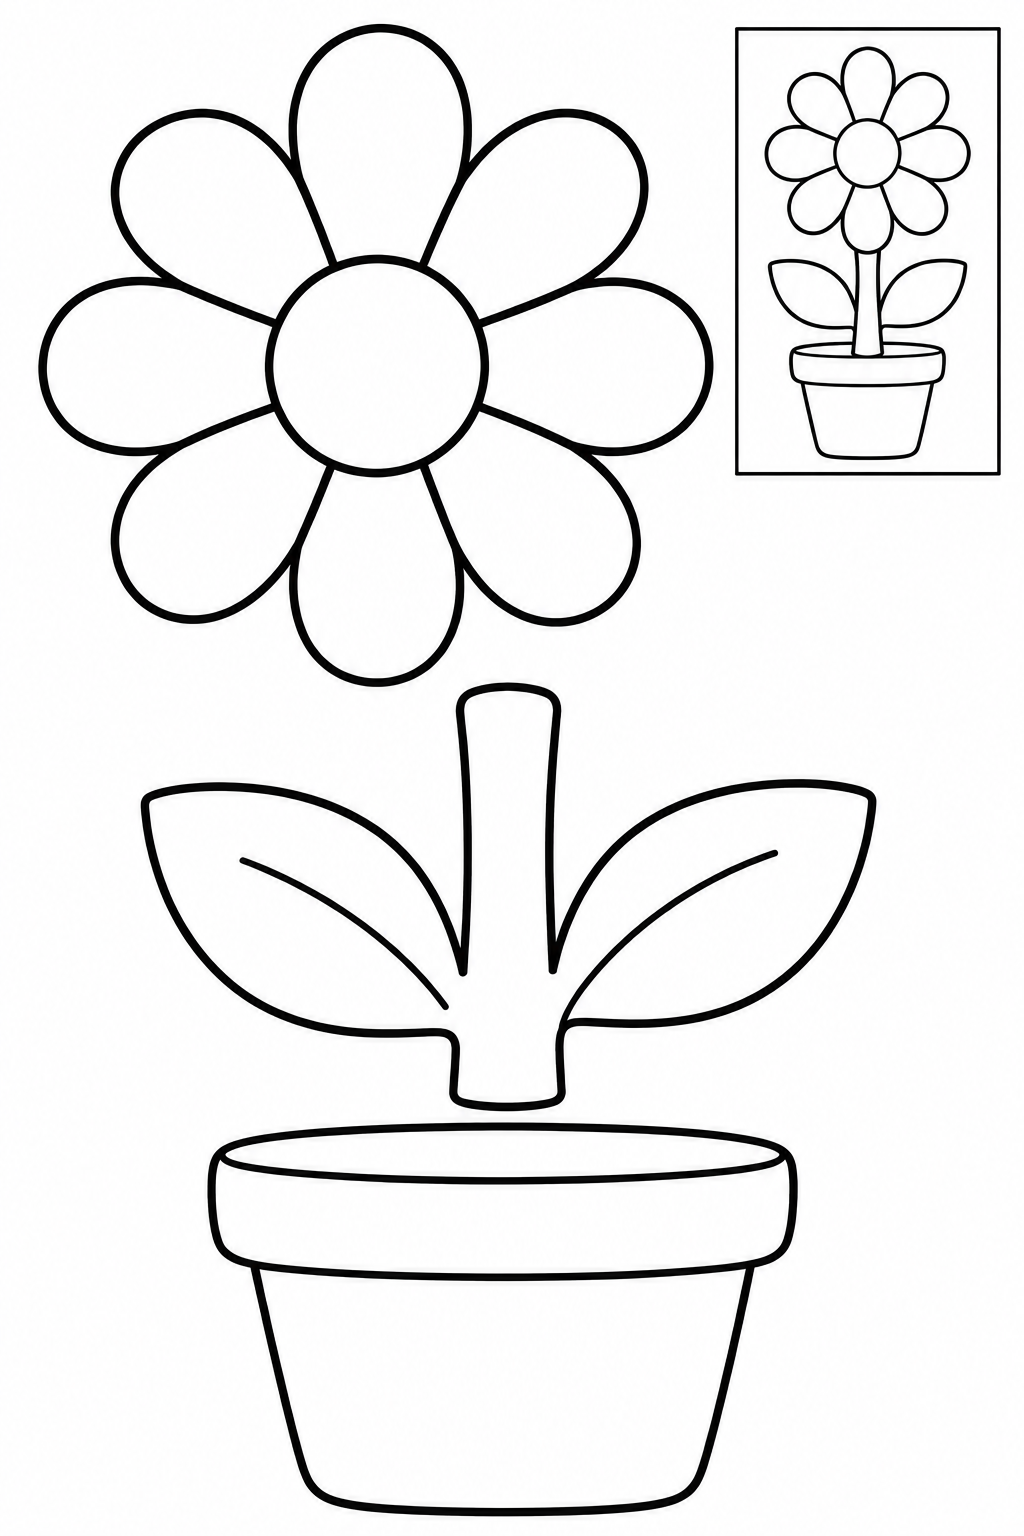
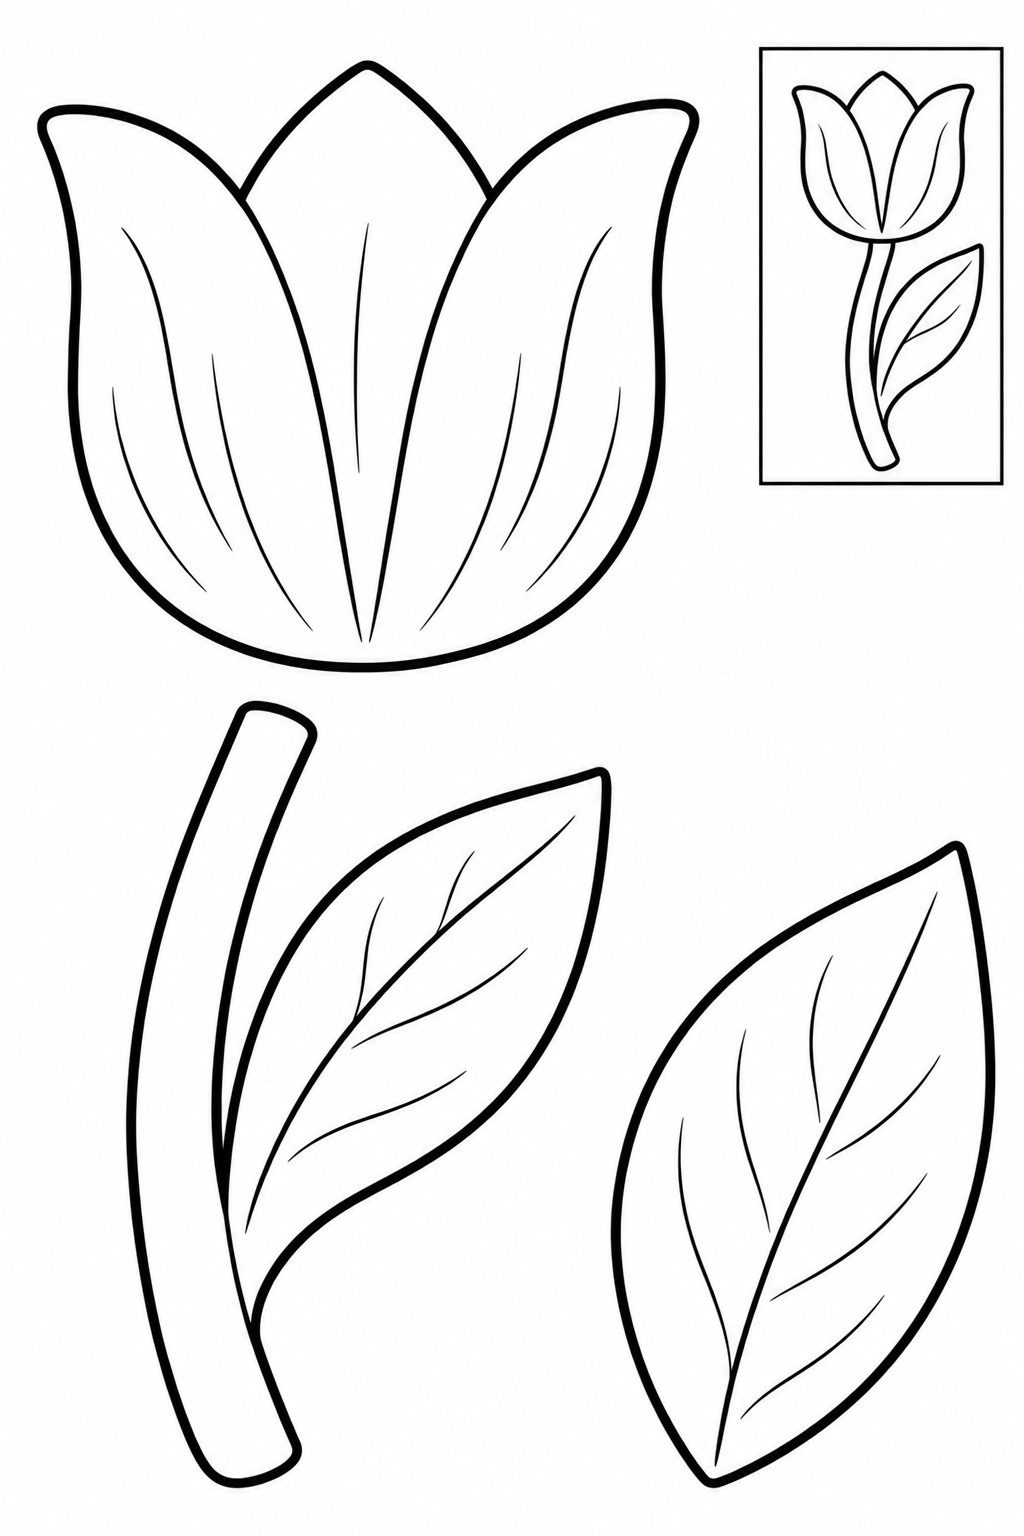
Assembly example: The small boxed example shows the finished craft. Do not cut it out.
Cut the outside edges; leave the boxed example on the sheet. Place the stem behind the pot rim, then overlap the blossom at its top. Keep the two leaves visible. Check every join before the glue dries. If a piece slips, increase its overlap and press again.
Check: Can you guide the scissors comfortably? If it is difficult, an adult can shorten a strip, cut a tricky curve or offer straight paths. Pieces should be fully separated and arranged as intended before gluing.
Assembly example: The small boxed example shows the finished craft. Do not cut it out.
Cut the outside edges; leave the boxed example on the sheet. Join the blossom to the stem and tuck the separate leaf behind its lower half. Leave space around the flower for a greeting. Check every join before the glue dries. If a piece slips, increase its overlap and press again.
Check: Can you guide the scissors comfortably? If it is difficult, an adult can shorten a strip, cut a tricky curve or offer straight paths. Pieces should be fully separated and arranged as intended before gluing.
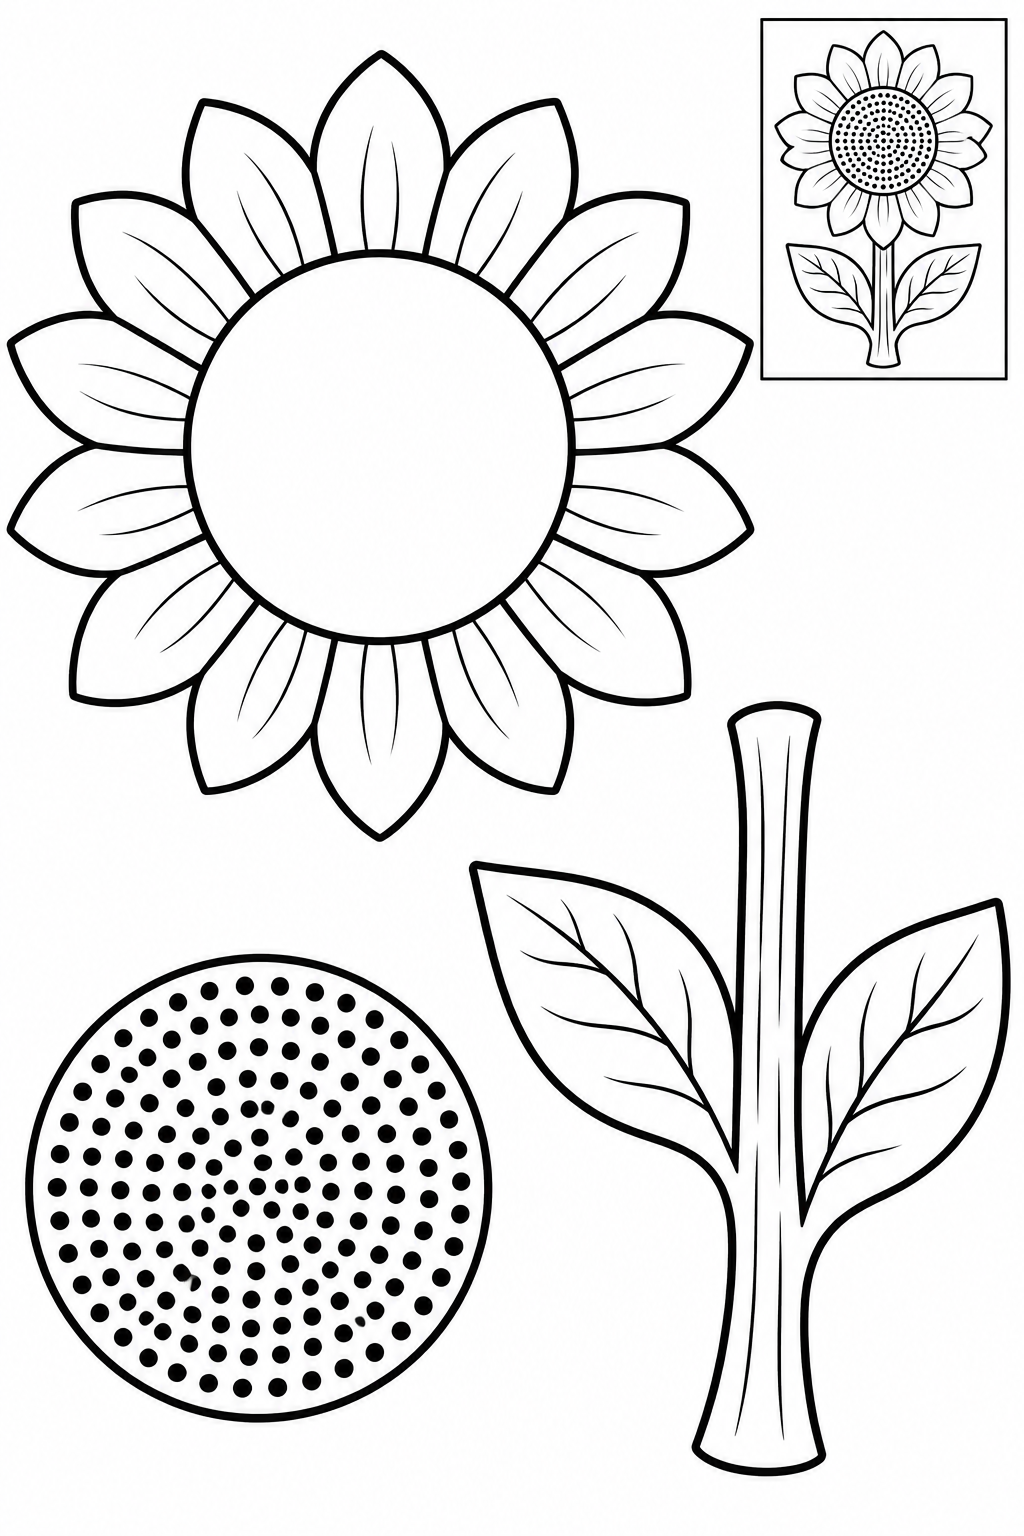
Assembly example: The small boxed example shows the finished craft. Do not cut it out.
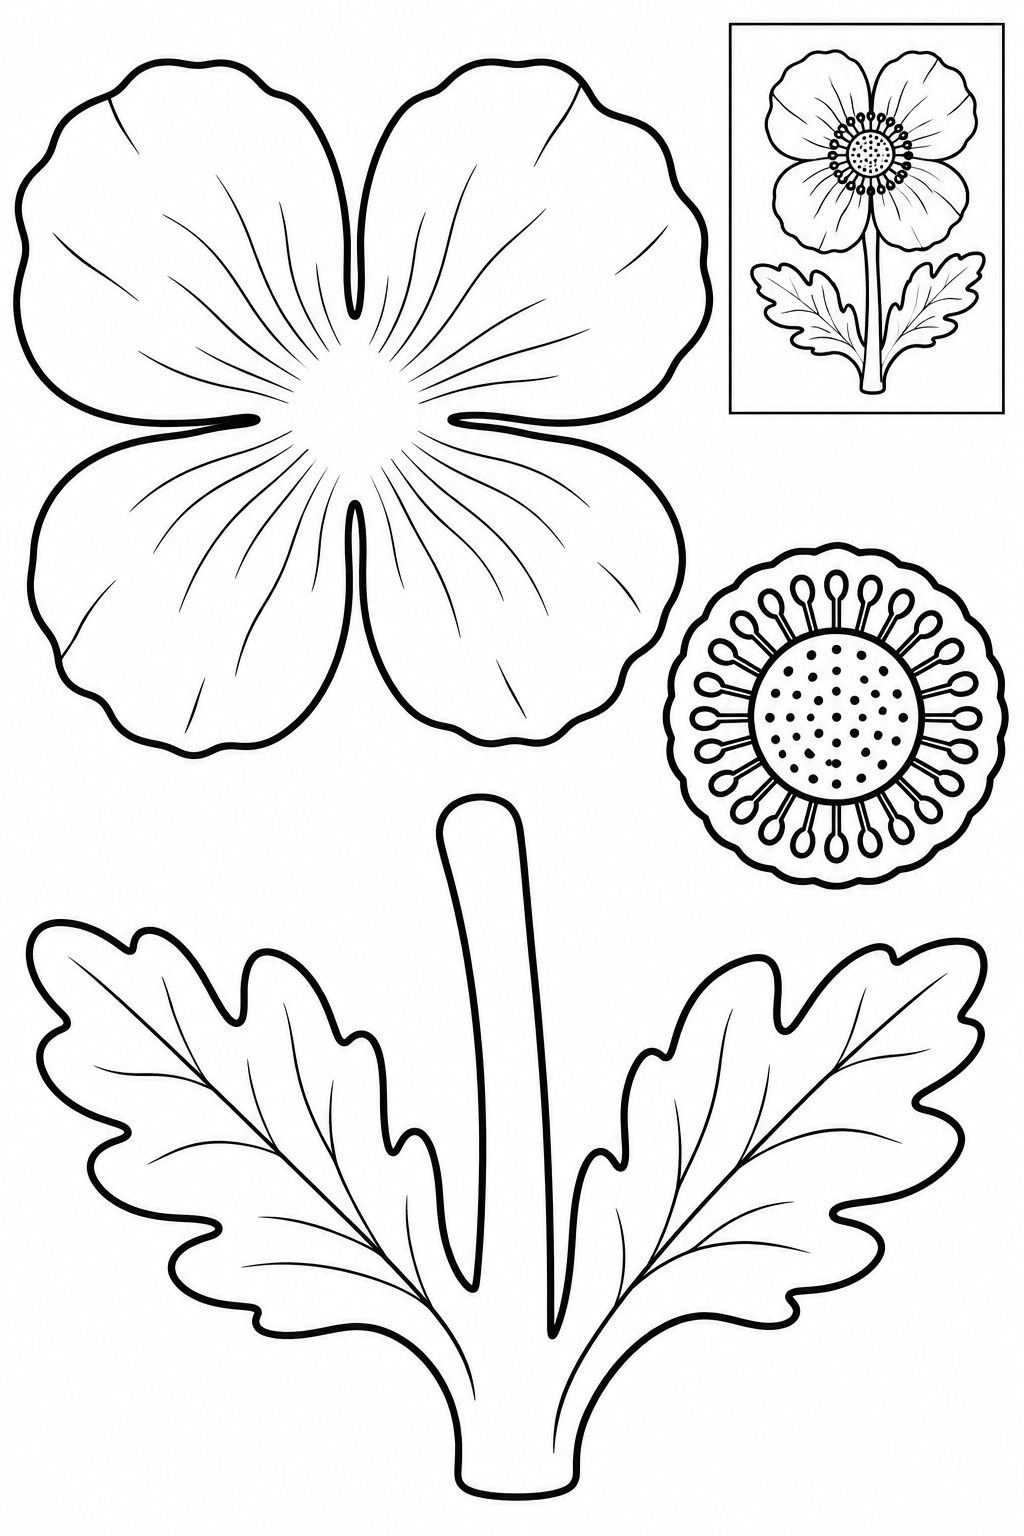
Cut the outside edges; leave the boxed example on the sheet. Lay the seed center over the petal ring. Attach the stalk behind the blossom so its leaves point outwards. Check every join before the glue dries. If a piece slips, increase its overlap and press again.
Check: Can you guide the scissors comfortably? If it is difficult, an adult can shorten a strip, cut a tricky curve or offer straight paths. Pieces should be fully separated and arranged as intended before gluing.
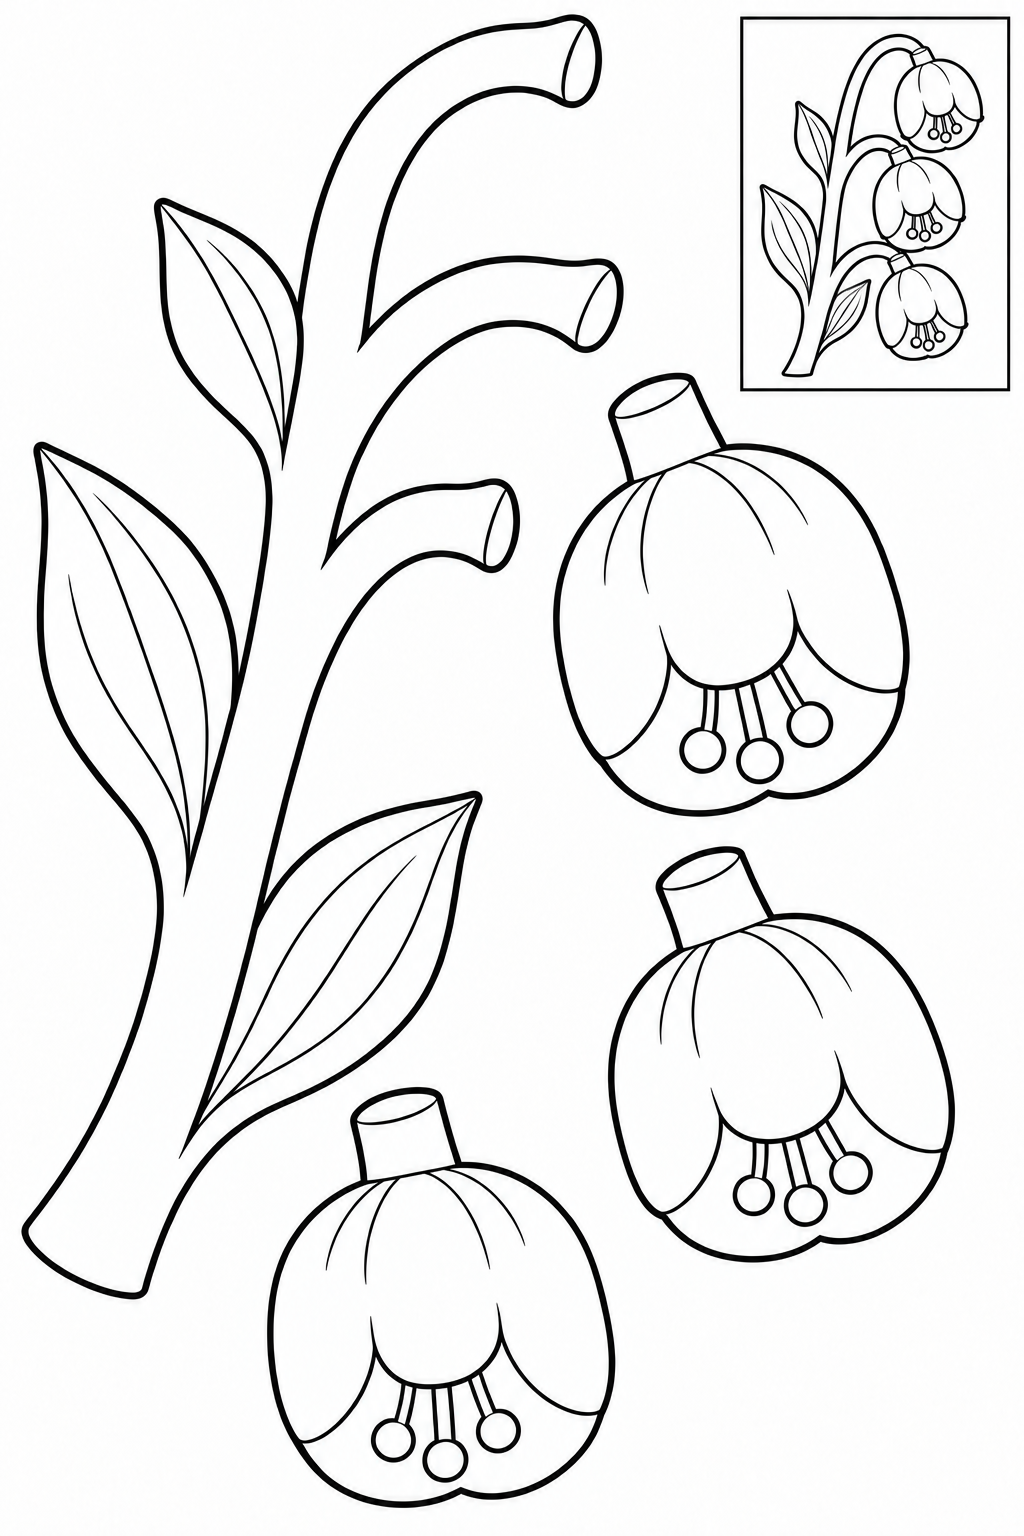
Assembly example: The small boxed example shows the finished craft. Do not cut it out.
Cut the outside edges; leave the boxed example on the sheet. Place one bell at each branch tip, with the open end facing down. Overlap each top with the branch. Check every join before the glue dries. If a piece slips, increase its overlap and press again.
Check: Can you guide the scissors comfortably? If it is difficult, an adult can shorten a strip, cut a tricky curve or offer straight paths. Pieces should be fully separated and arranged as intended before gluing.
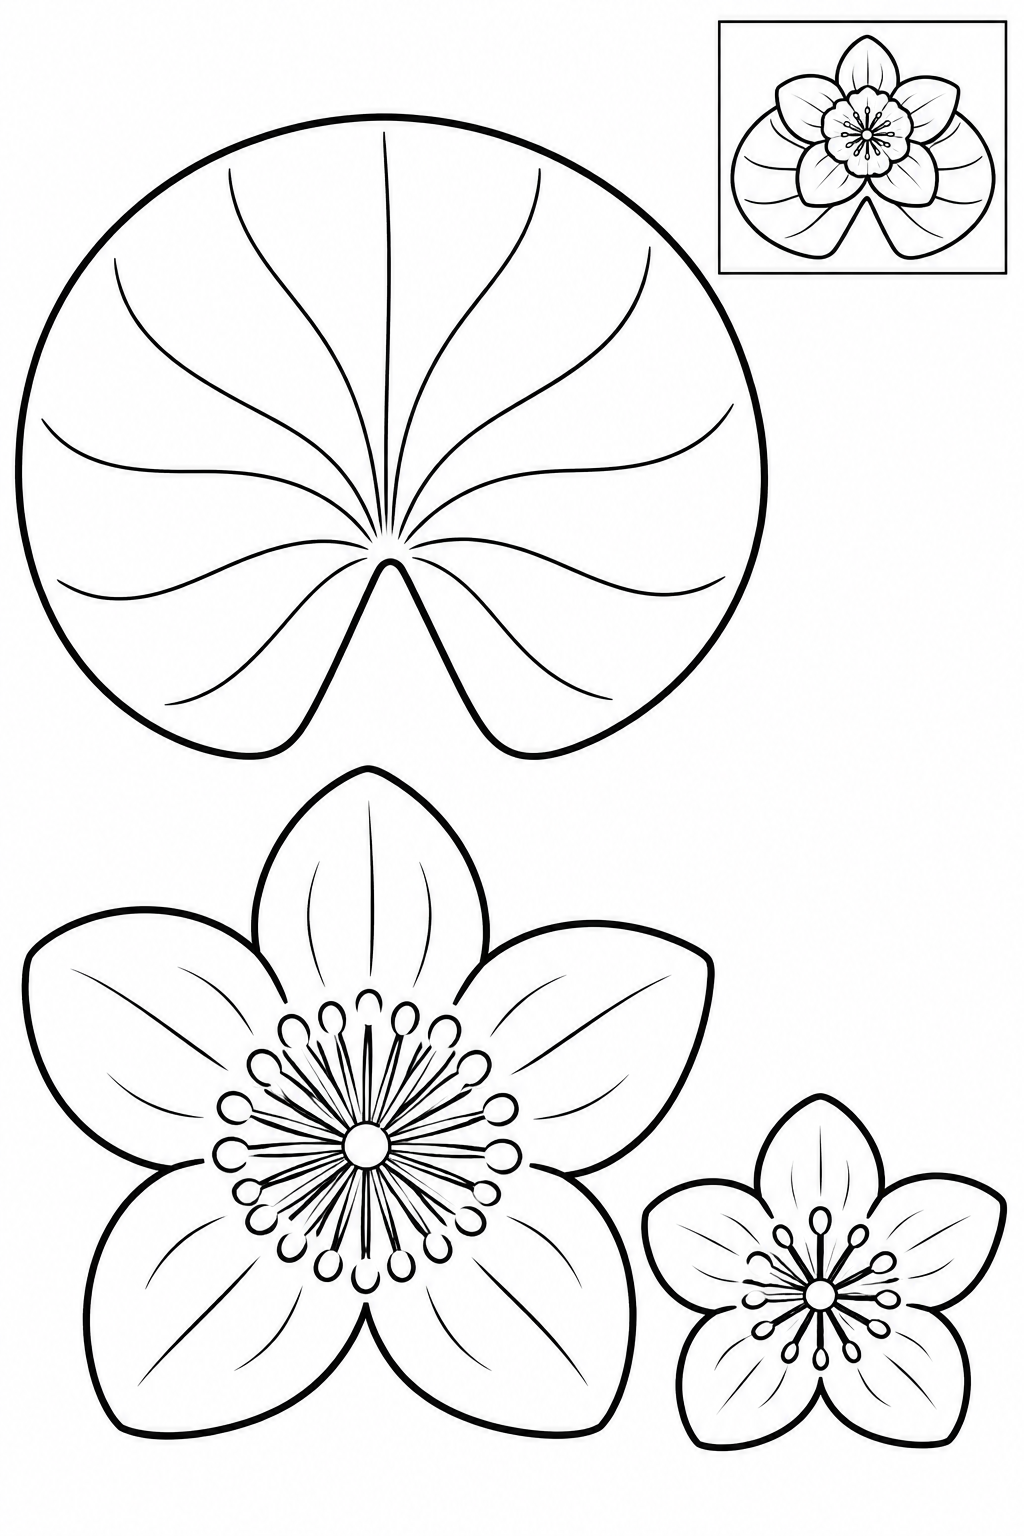
Assembly example: The small boxed example shows the finished craft. Do not cut it out.
Cut the outside edges; leave the boxed example on the sheet. Layer the smaller blossom on the larger one with offset petals. Glue the flower beside the pad notch. Check every join before the glue dries. If a piece slips, increase its overlap and press again.
Check: Can you guide the scissors comfortably? If it is difficult, an adult can shorten a strip, cut a tricky curve or offer straight paths. Pieces should be fully separated and arranged as intended before gluing.
Assembly example: The small boxed example shows the finished craft. Do not cut it out.
Cut the outside edges; leave the boxed example on the sheet. Glue the center disk inside the blossom. Attach the stalk behind the lower petal, leaving the center uncovered. Check every join before the glue dries. If a piece slips, increase its overlap and press again.
Check: Can you guide the scissors comfortably? If it is difficult, an adult can shorten a strip, cut a tricky curve or offer straight paths. Pieces should be fully separated and arranged as intended before gluing.
Assembly example: The small boxed example shows the finished craft. Do not cut it out.
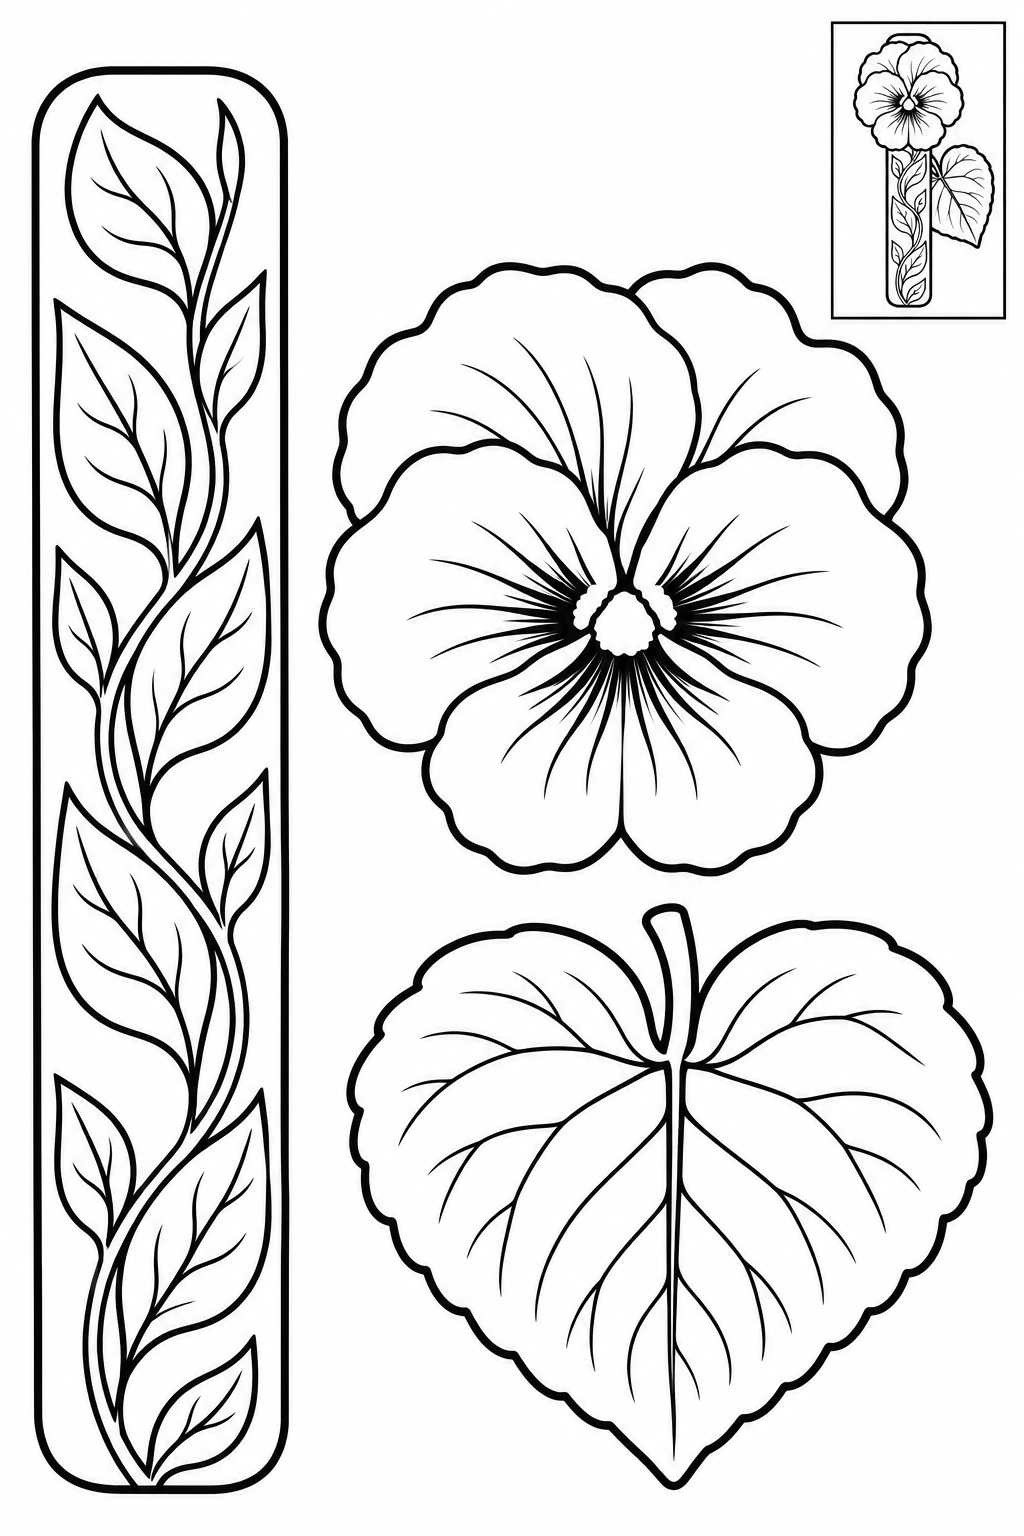
Cut the outside edges; leave the boxed example on the sheet. Attach the pansy at the top of the strip and the heart leaf below it. Keep the lower strip flat for the book. Check every join before the glue dries. If a piece slips, increase its overlap and press again.
Check: Can you guide the scissors comfortably? If it is difficult, an adult can shorten a strip, cut a tricky curve or offer straight paths. Pieces should be fully separated and arranged as intended before gluing.
Assembly example: The small boxed example shows the finished craft. Do not cut it out.
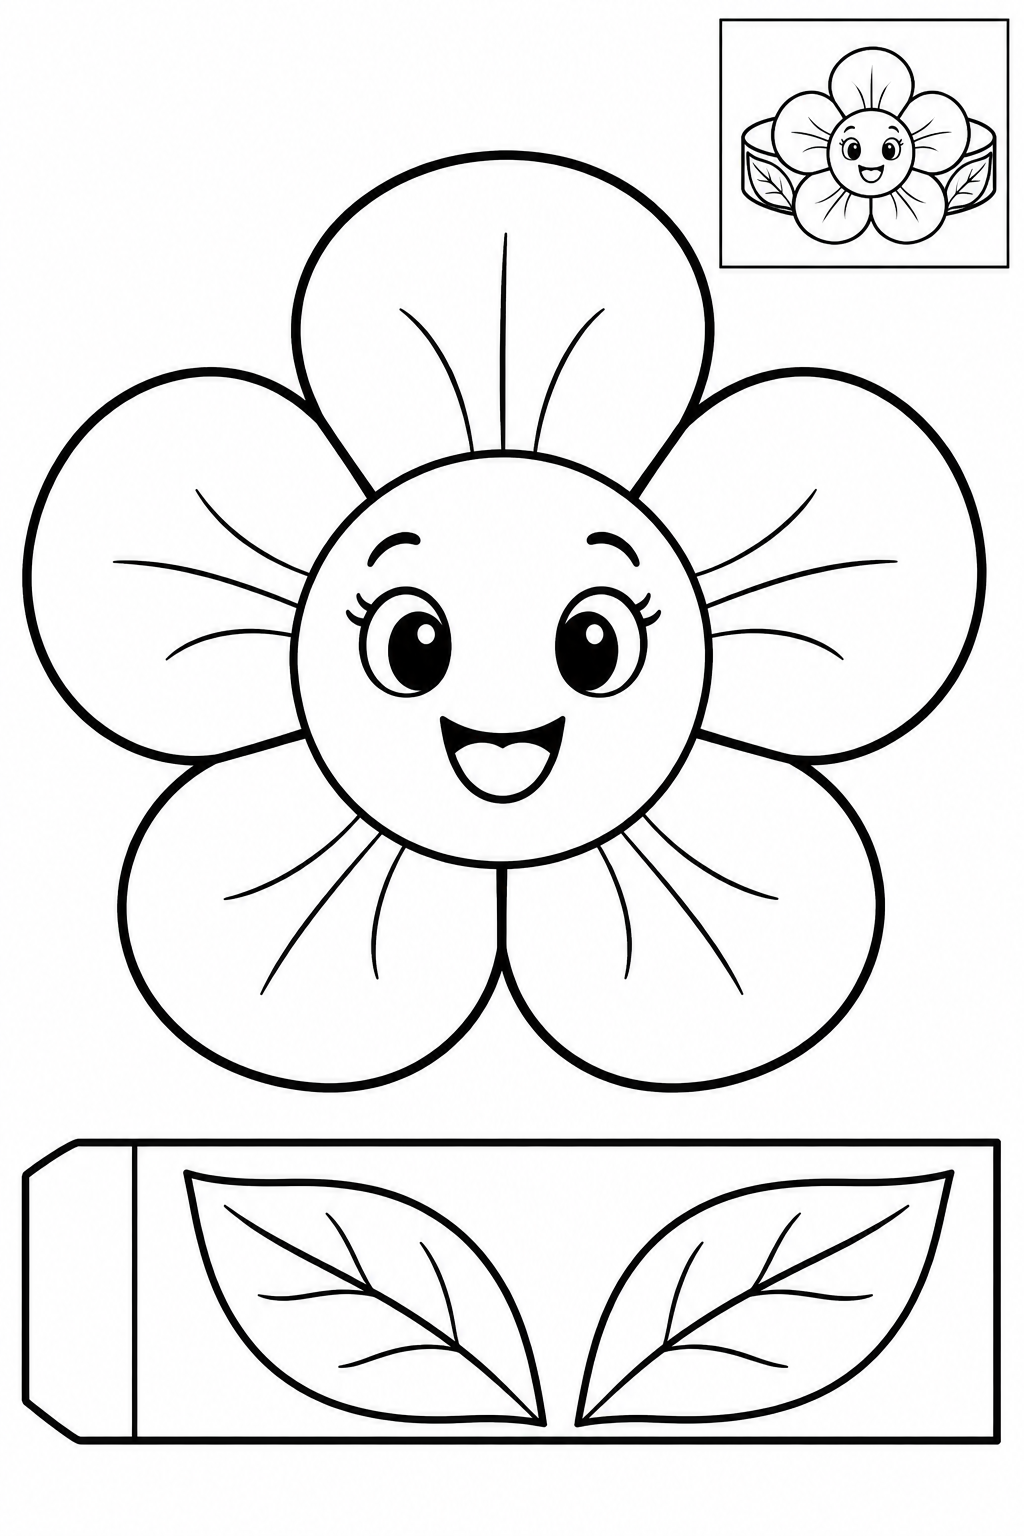
Cut the outside edges; leave the boxed example on the sheet. An adult fits the flat band loosely around a finger and glues only the overlapping ends. Attach the flower face outside the join. Check every join before the glue dries. If a piece slips, increase its overlap and press again.
Check: Can you guide the scissors comfortably? If it is difficult, an adult can shorten a strip, cut a tricky curve or offer straight paths. Pieces should be fully separated and arranged as intended before gluing.
Assembly example: The small boxed example shows the finished craft. Do not cut it out.
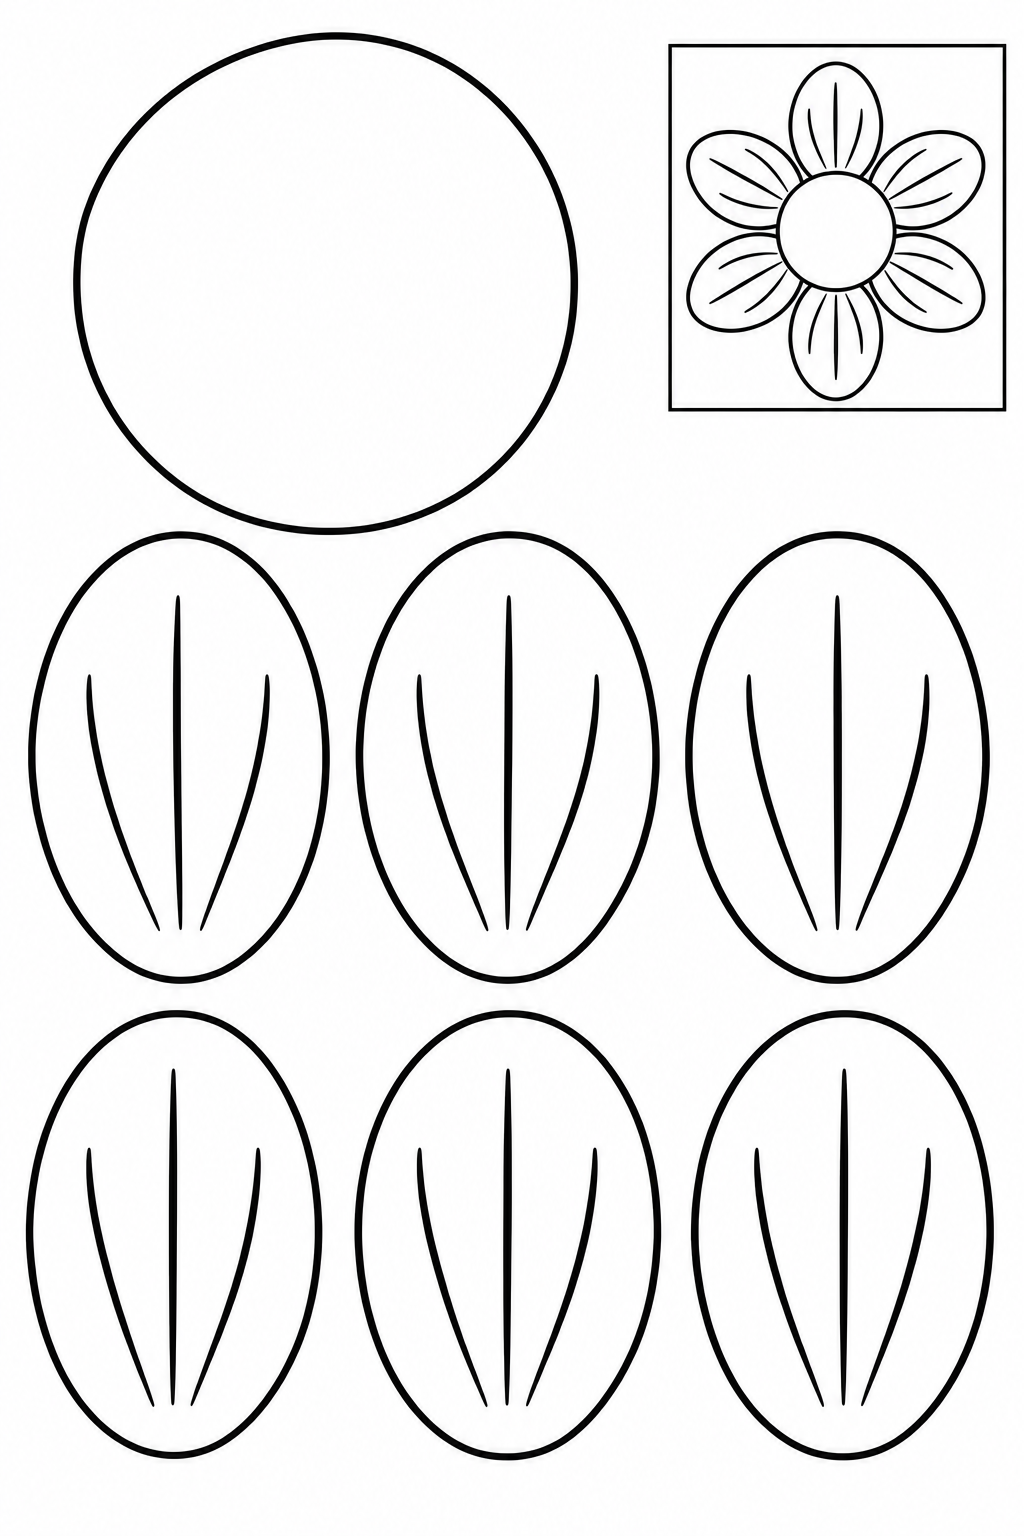
Cut the outside edges; leave the boxed example on the sheet. Arrange six oval petals around the base, overlapping their inner ends. Leave the middle visible as the flower center. Check every join before the glue dries. If a piece slips, increase its overlap and press again.
Check: Can you guide the scissors comfortably? If it is difficult, an adult can shorten a strip, cut a tricky curve or offer straight paths. Pieces should be fully separated and arranged as intended before gluing.
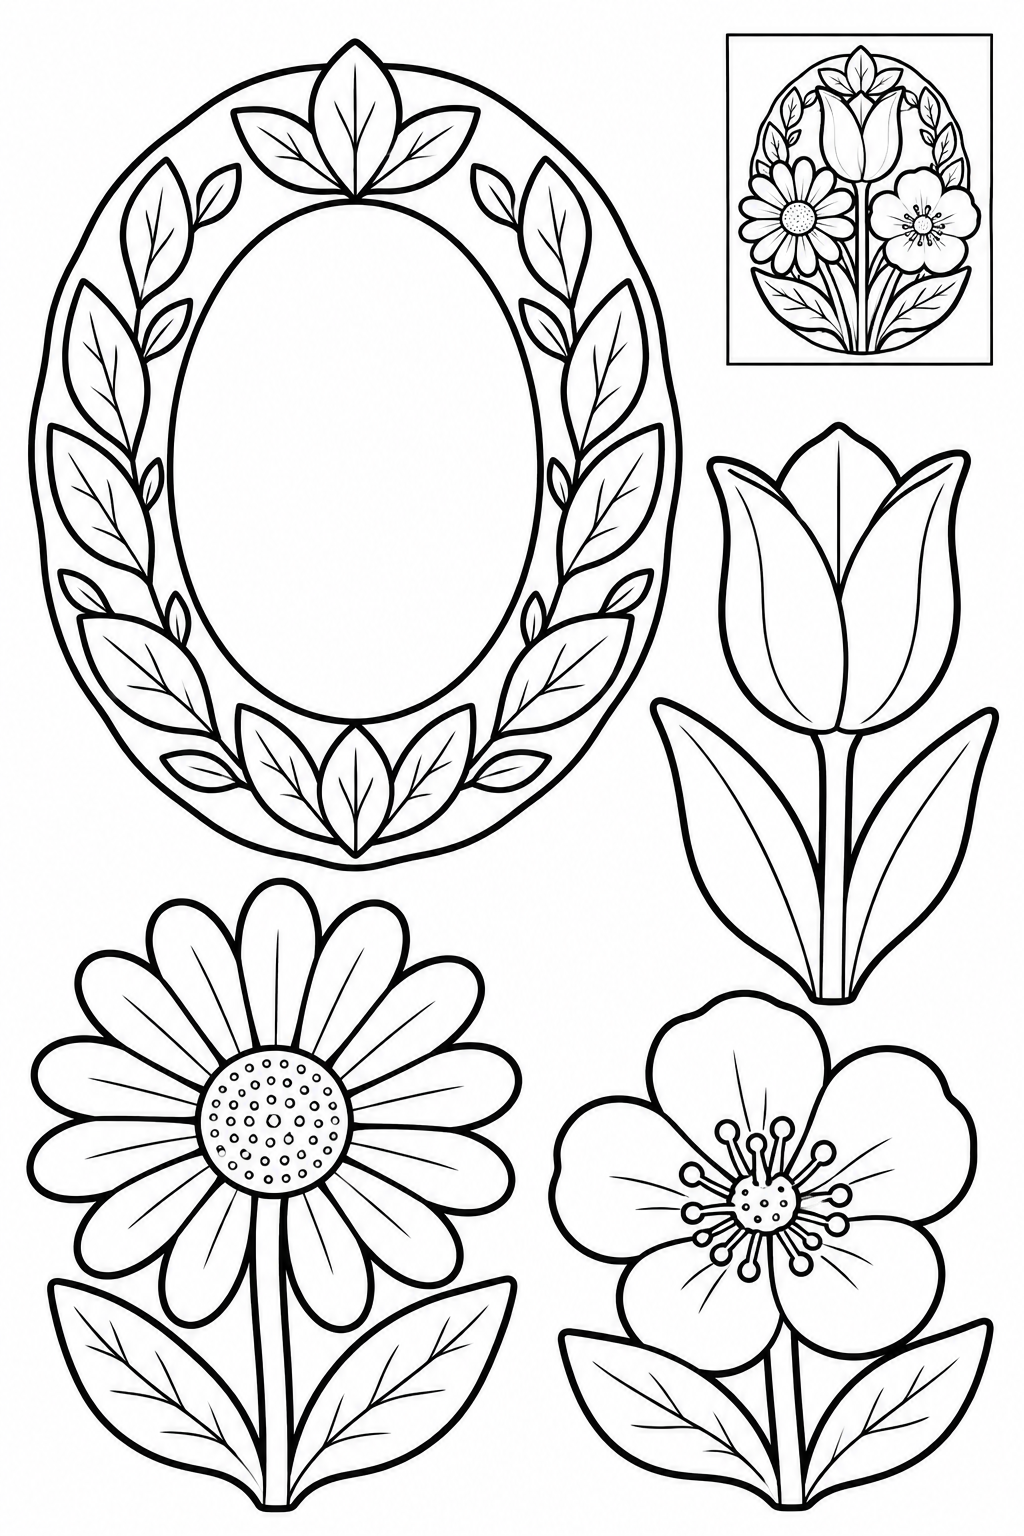
Assembly example: The small boxed example shows the finished craft. Do not cut it out.
Cut the outside edges; leave the boxed example on the sheet. Place the three flowers around the lower half of the leafy oval. The printed inner oval stays intact; there is no inside cut. Check every join before the glue dries. If a piece slips, increase its overlap and press again.
Check: Can you guide the scissors comfortably? If it is difficult, an adult can shorten a strip, cut a tricky curve or offer straight paths. Pieces should be fully separated and arranged as intended before gluing.
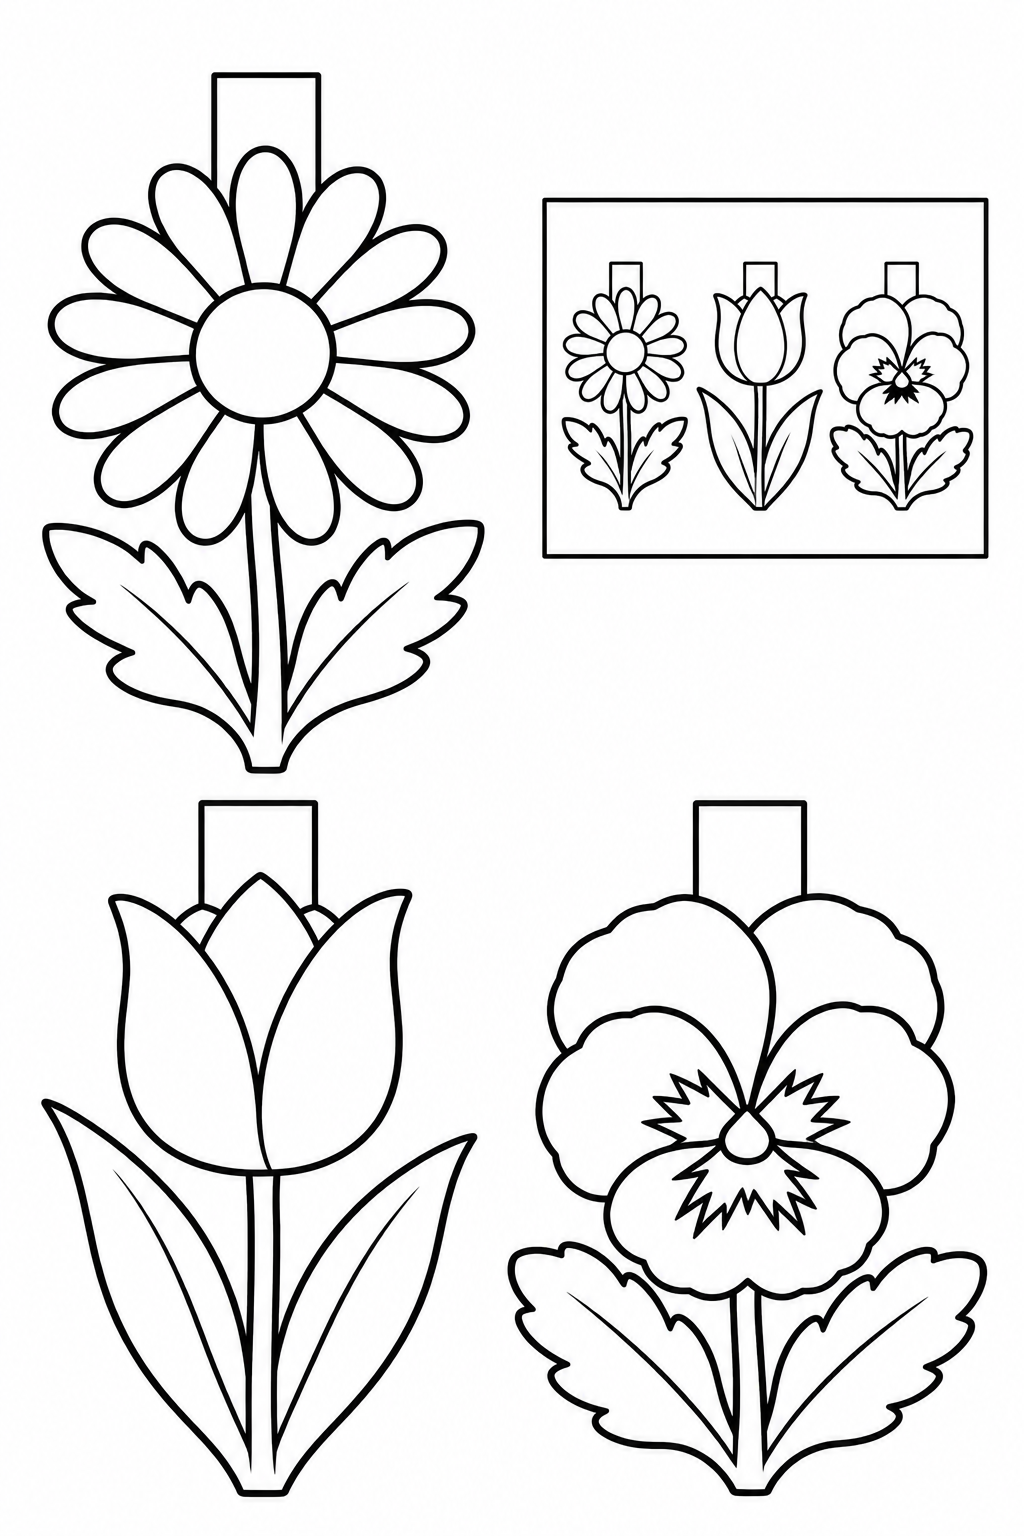
Assembly example: The small boxed example shows the finished craft. Do not cut it out.
Cut the outside edges; leave the boxed example on the sheet. Glue each broad top tab over a paper ribbon. Space the flowers so their edges do not overlap. Check every join before the glue dries. If a piece slips, increase its overlap and press again.
Check: Can you guide the scissors comfortably? If it is difficult, an adult can shorten a strip, cut a tricky curve or offer straight paths. Pieces should be fully separated and arranged as intended before gluing.
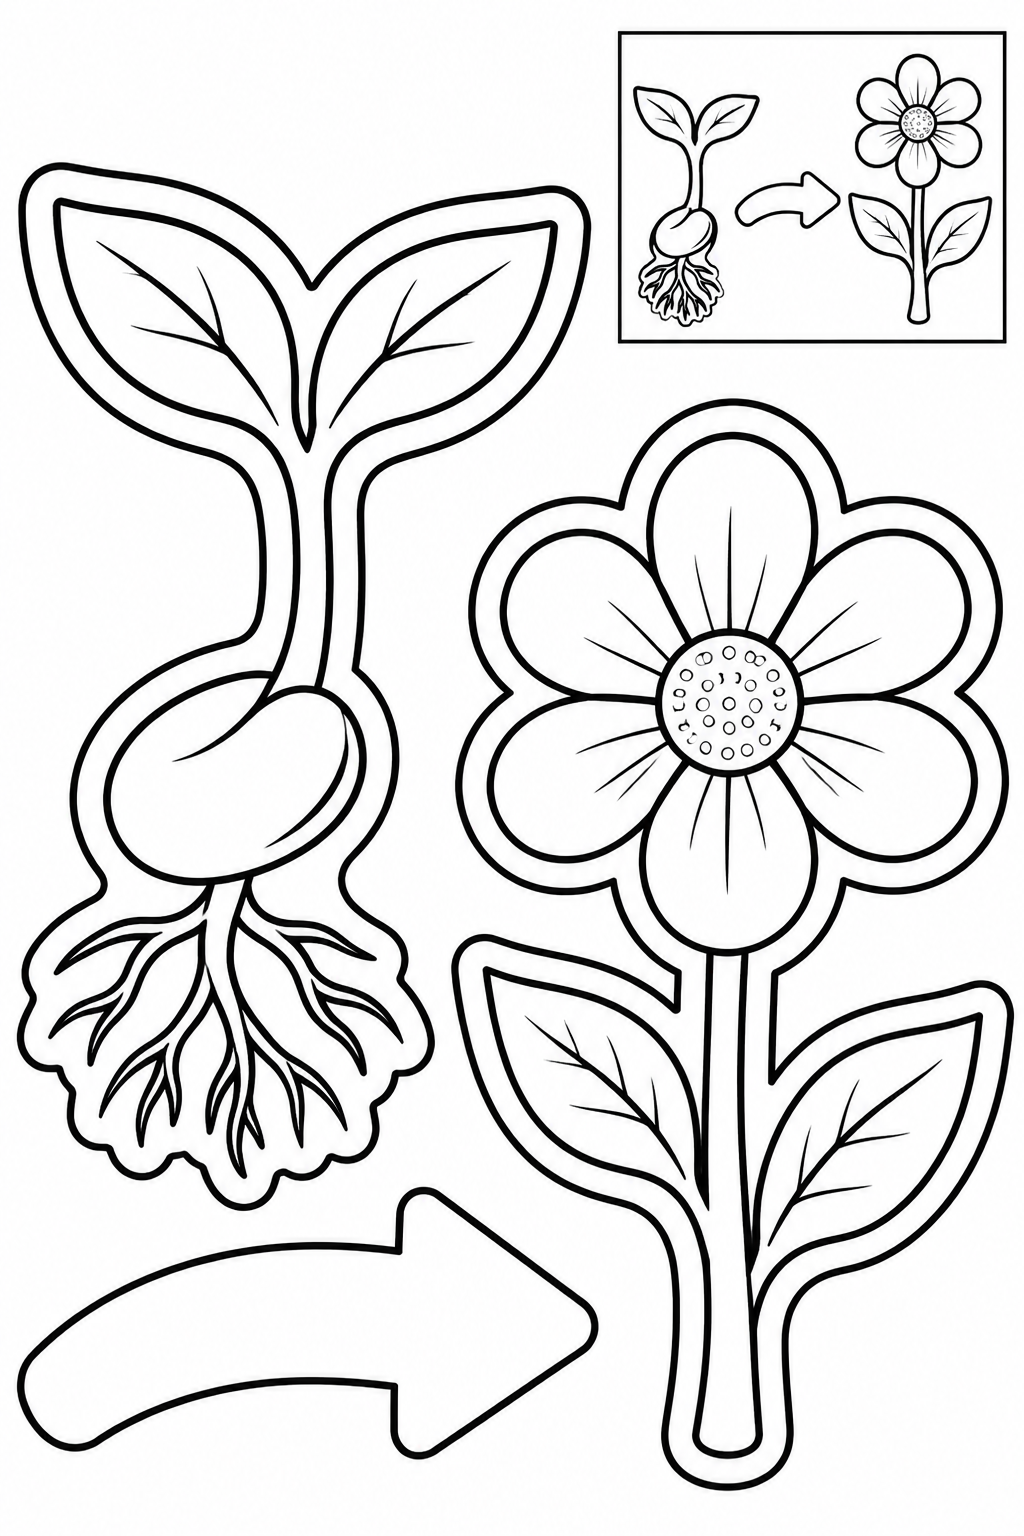
Assembly example: The small boxed example shows the finished craft. Do not cut it out.
Cut the outside edges; leave the boxed example on the sheet. Place the sprout on the left and flower on the right. Glue the arrow between them, pointing toward the bloom. Check every join before the glue dries. If a piece slips, increase its overlap and press again.
Check: Can you guide the scissors comfortably? If it is difficult, an adult can shorten a strip, cut a tricky curve or offer straight paths. Pieces should be fully separated and arranged as intended before gluing.
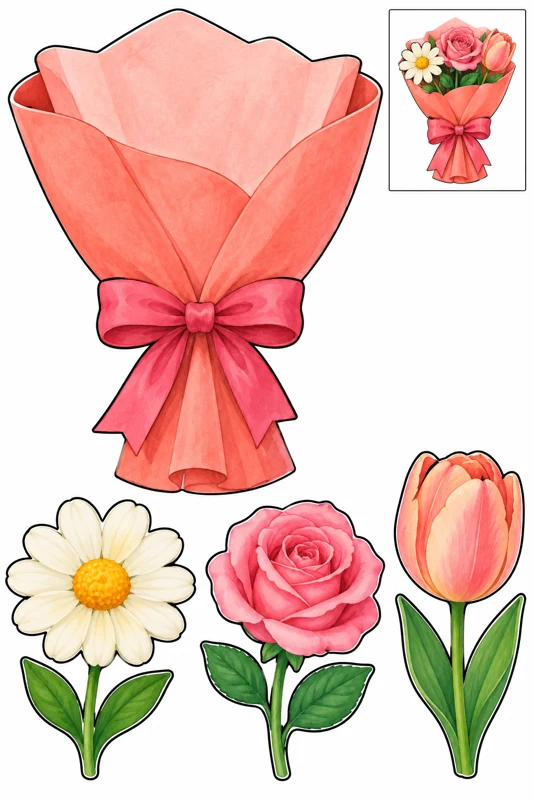
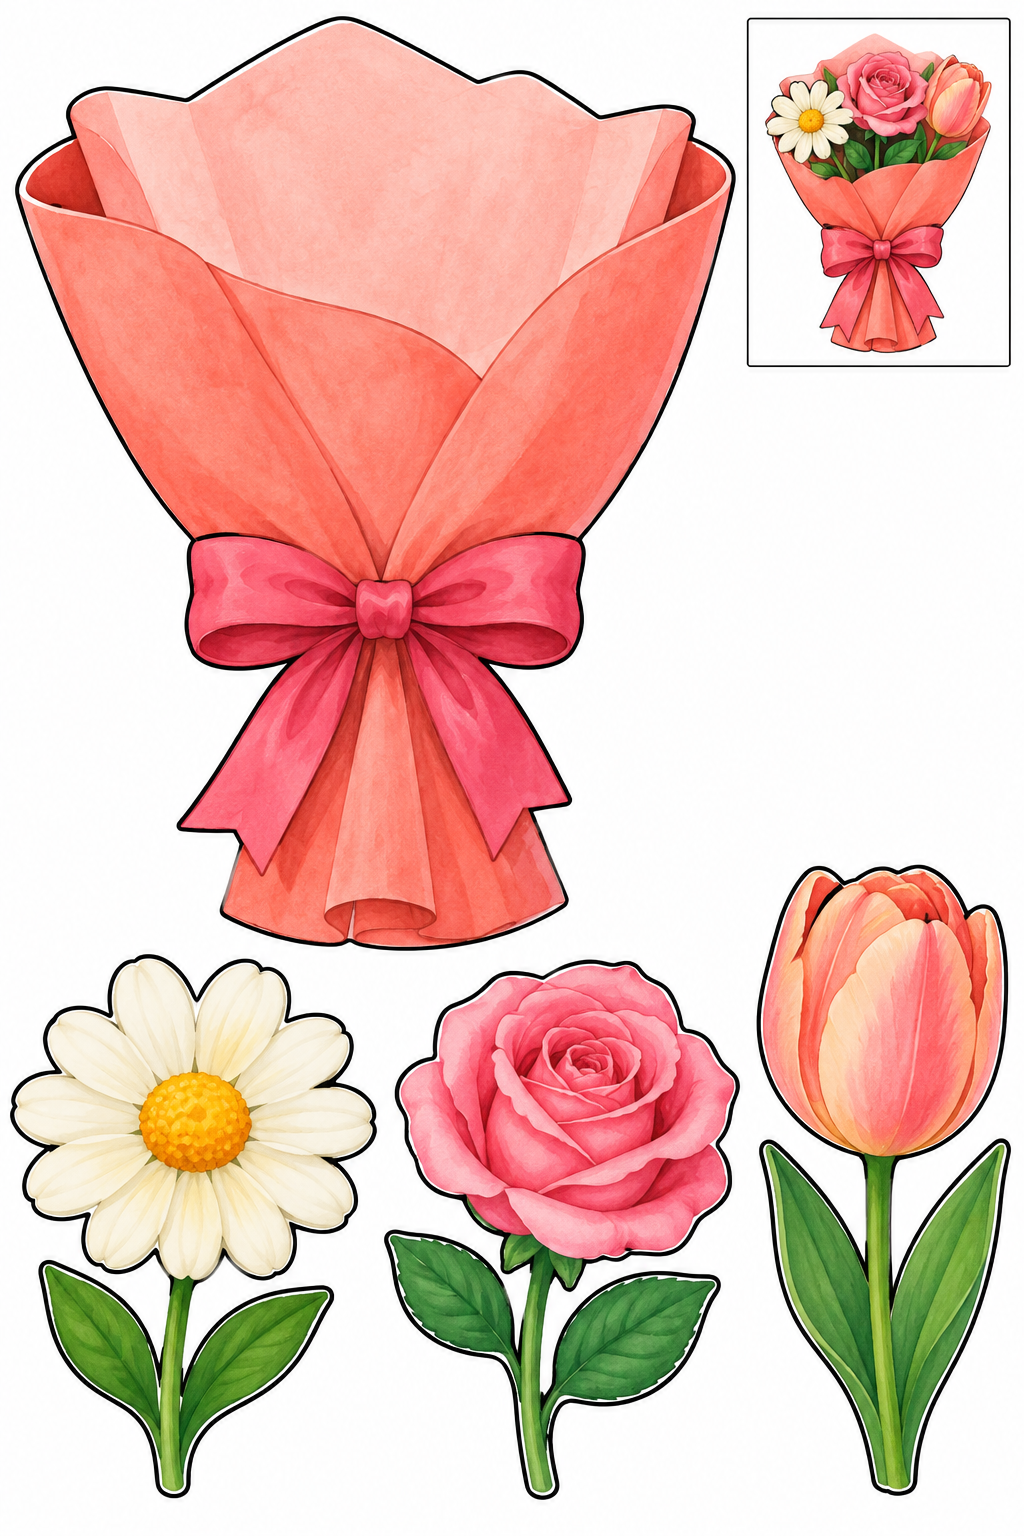
Assembly example: The small boxed example shows the finished craft. Do not cut it out.
Cut the outside edges; leave the boxed example on the sheet. Arrange the three short stems behind the wrapper, with all blossoms above the rim. Glue the wrapper over their lower ends. Check every join before the glue dries. If a piece slips, increase its overlap and press again.
Check: Can you guide the scissors comfortably? If it is difficult, an adult can shorten a strip, cut a tricky curve or offer straight paths. Pieces should be fully separated and arranged as intended before gluing.
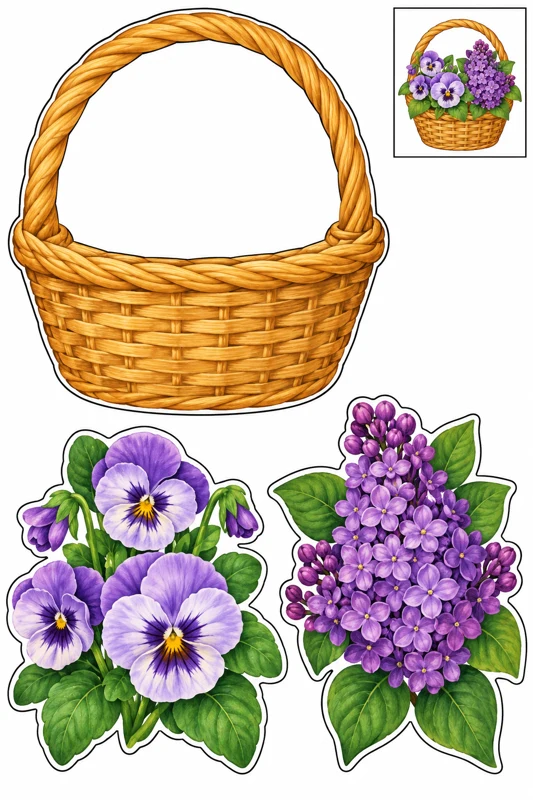
Assembly example: The small boxed example shows the finished craft. Do not cut it out.
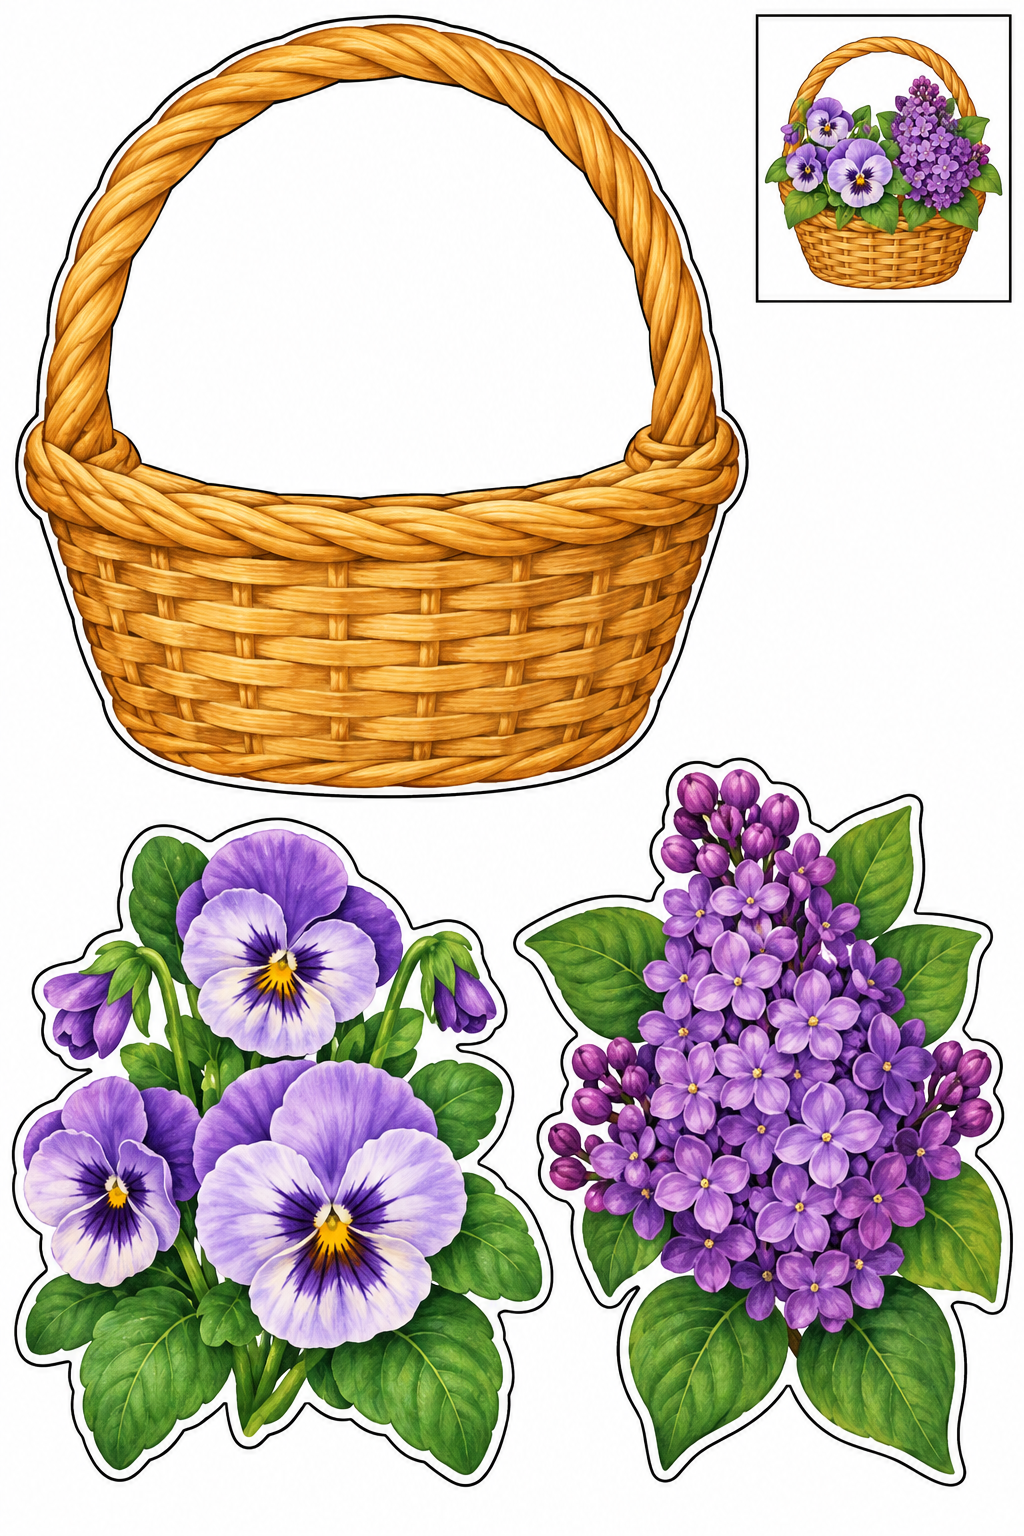
Cut the outside edges; leave the boxed example on the sheet. Arrange the two clusters above the basket rim and under the printed handle. Glue their broad bases behind the basket. Check every join before the glue dries. If a piece slips, increase its overlap and press again.
Check: Can you guide the scissors comfortably? If it is difficult, an adult can shorten a strip, cut a tricky curve or offer straight paths. Pieces should be fully separated and arranged as intended before gluing.
Assembly example: The small boxed example shows the finished craft. Do not cut it out.
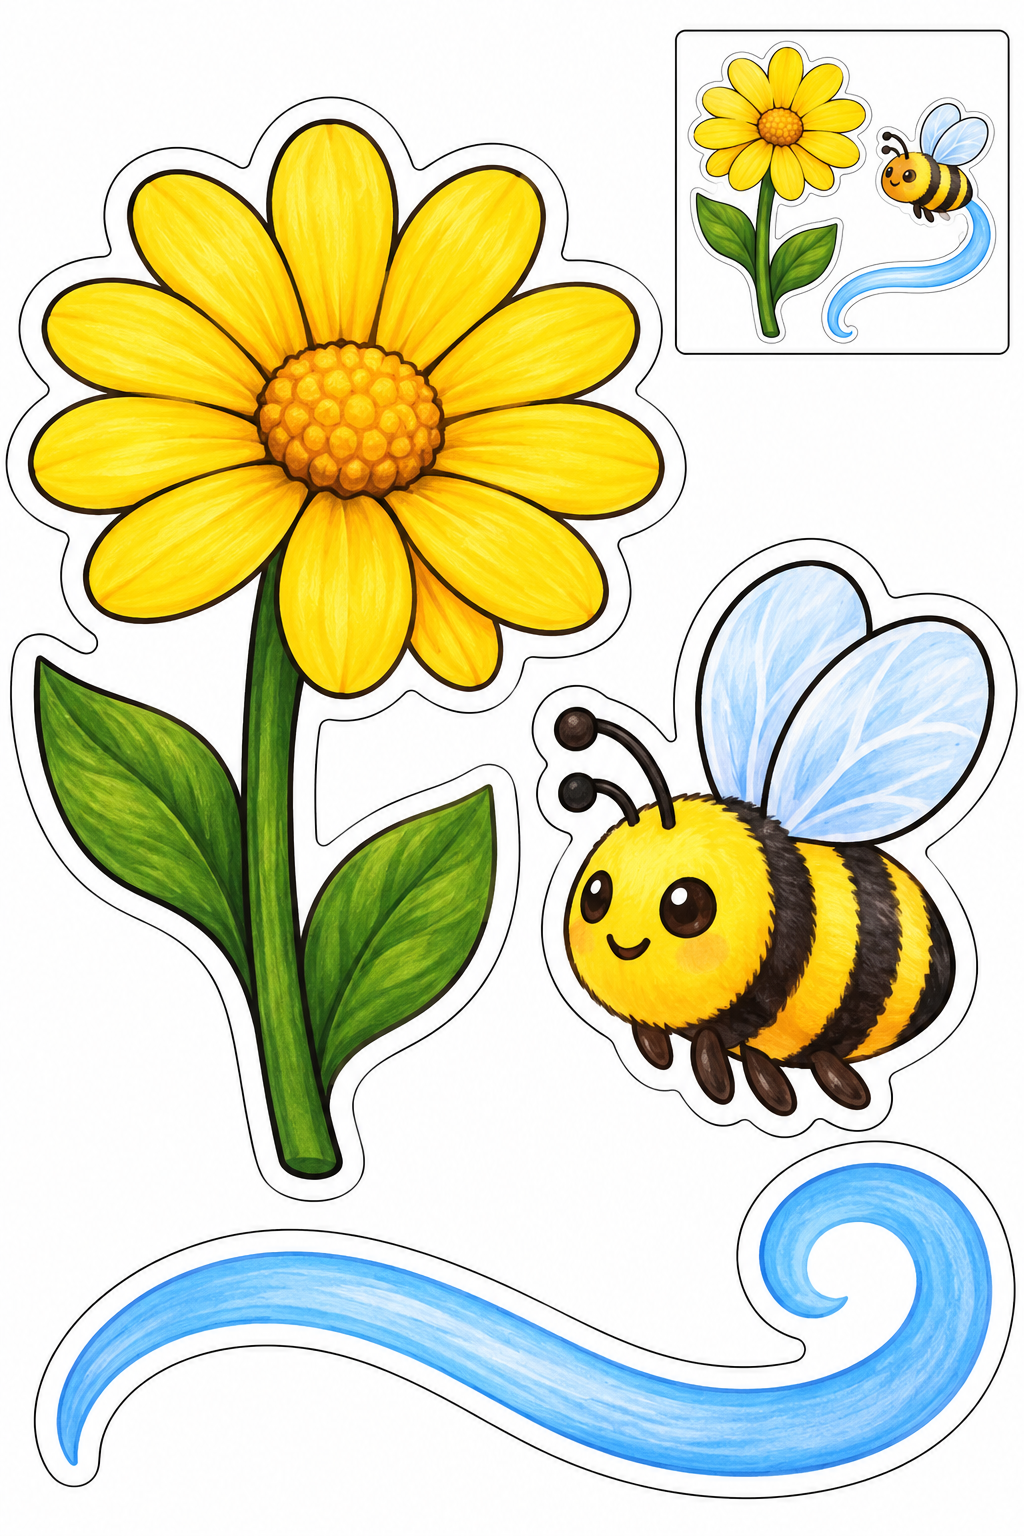
Cut the outside edges; leave the boxed example on the sheet. Glue the bee beside the blossom and the flight swoosh behind it on backing paper. Keep the wings clear of petals. Check every join before the glue dries. If a piece slips, increase its overlap and press again.
Check: Can you guide the scissors comfortably? If it is difficult, an adult can shorten a strip, cut a tricky curve or offer straight paths. Pieces should be fully separated and arranged as intended before gluing.
Assembly example: The small boxed example shows the finished craft. Do not cut it out.
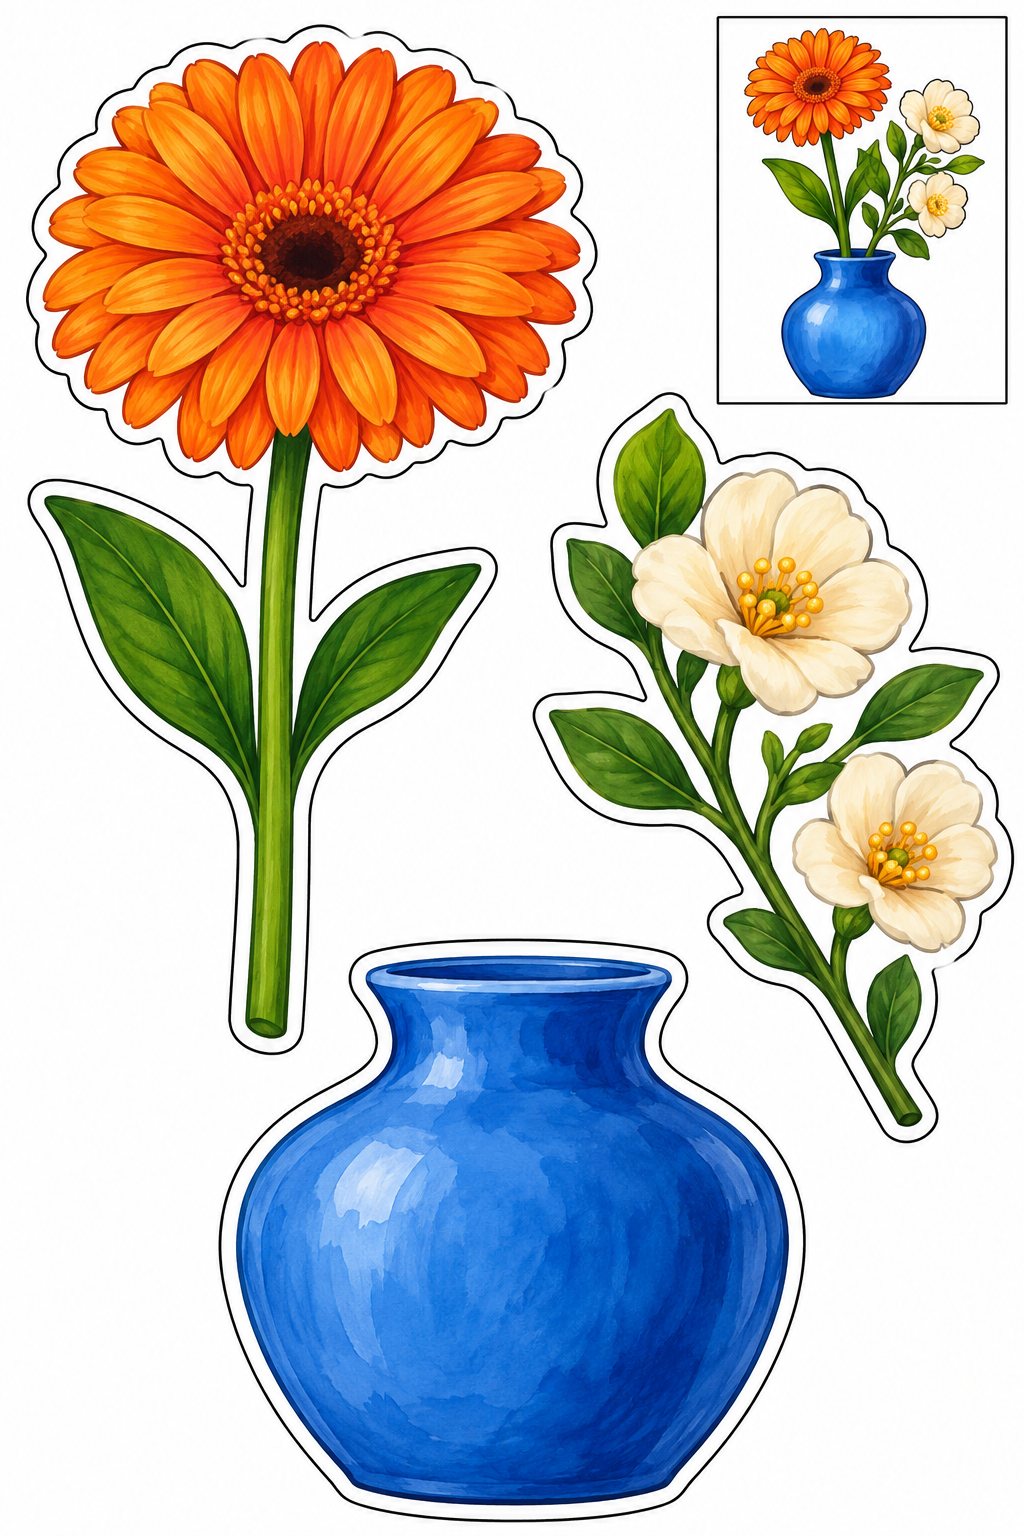
Cut the outside edges; leave the boxed example on the sheet. Try both stems above the vase, one slightly higher. Glue their ends behind the vase neck. Check every join before the glue dries. If a piece slips, increase its overlap and press again.
Check: Can you guide the scissors comfortably? If it is difficult, an adult can shorten a strip, cut a tricky curve or offer straight paths. Pieces should be fully separated and arranged as intended before gluing.
Assembly example: The small boxed example shows the finished craft. Do not cut it out.
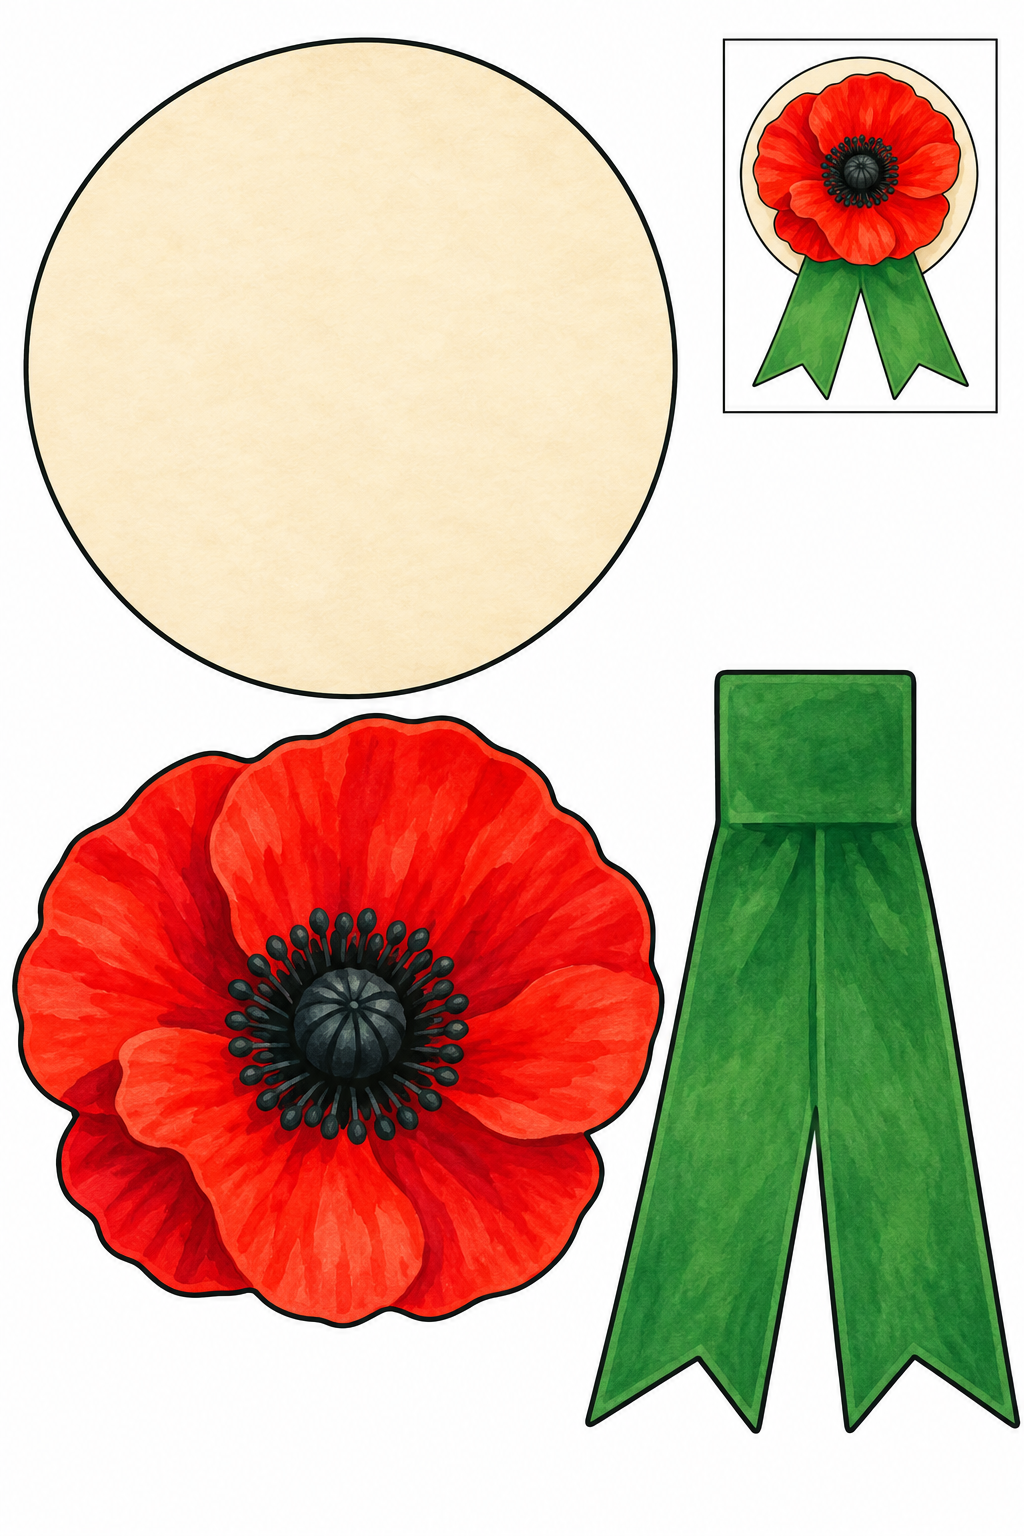
Cut the outside edges; leave the boxed example on the sheet. Place the poppy in the middle of the badge. Attach the joined ribbon tails behind its lower edge. Check every join before the glue dries. If a piece slips, increase its overlap and press again.
Check: Can you guide the scissors comfortably? If it is difficult, an adult can shorten a strip, cut a tricky curve or offer straight paths. Pieces should be fully separated and arranged as intended before gluing.
Assembly example: The small boxed example shows the finished craft. Do not cut it out.
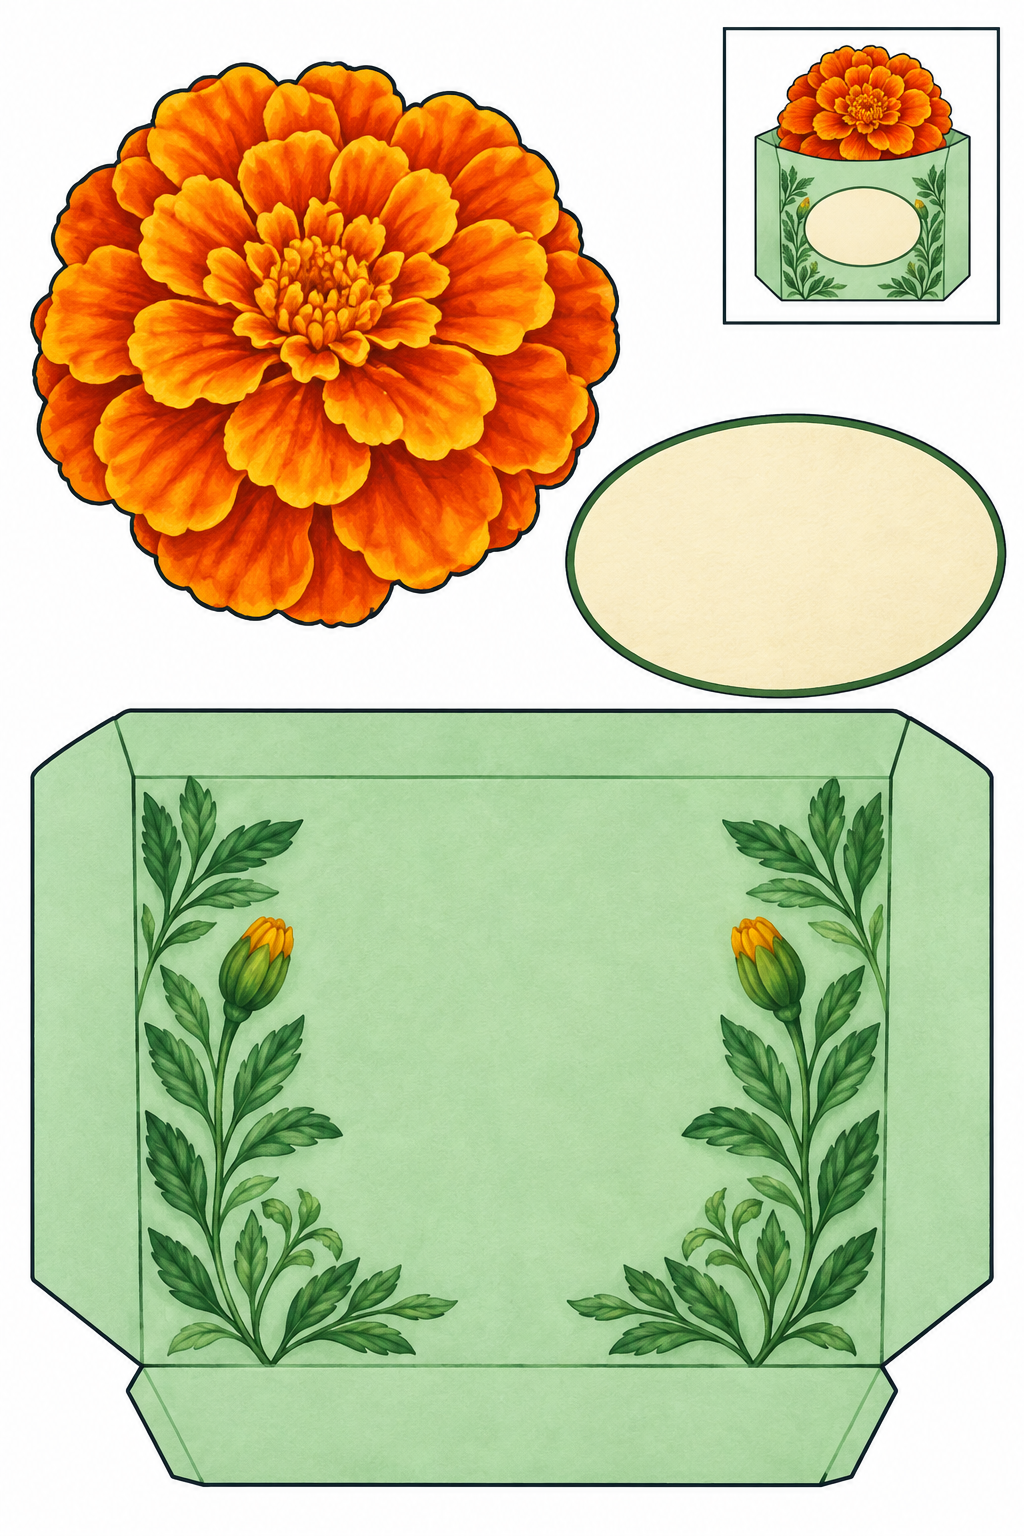
Cut the outside edges; leave the boxed example on the sheet. An adult folds the wide tabs back. Glue only tabs to backing paper, leaving the top open. Add the marigold and blank label to the front. Check every join before the glue dries. If a piece slips, increase its overlap and press again.
Check: Can you guide the scissors comfortably? If it is difficult, an adult can shorten a strip, cut a tricky curve or offer straight paths. Pieces should be fully separated and arranged as intended before gluing.
Assembly example: The small boxed example shows the finished craft. Do not cut it out.
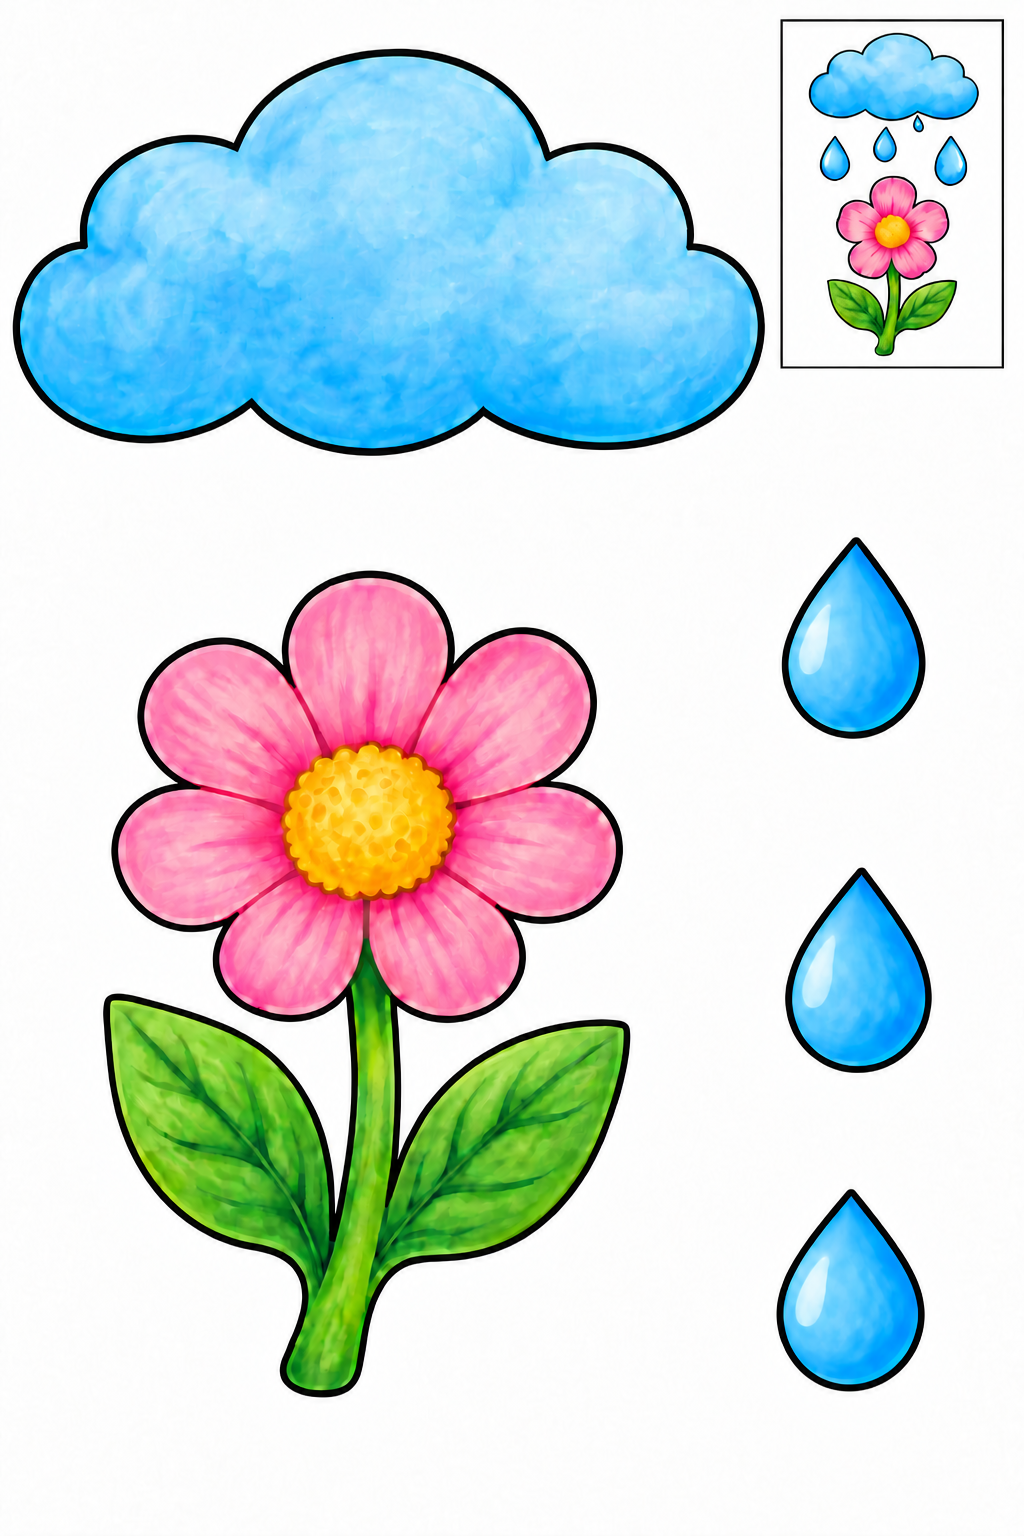
Cut the outside edges; leave the boxed example on the sheet. Arrange the cloud above the flower and three drops between them. Glue each piece to backing paper without covering the blossom. Check every join before the glue dries. If a piece slips, increase its overlap and press again.
Check: Can you guide the scissors comfortably? If it is difficult, an adult can shorten a strip, cut a tricky curve or offer straight paths. Pieces should be fully separated and arranged as intended before gluing.
Assembly example: The small boxed example shows the finished craft. Do not cut it out.
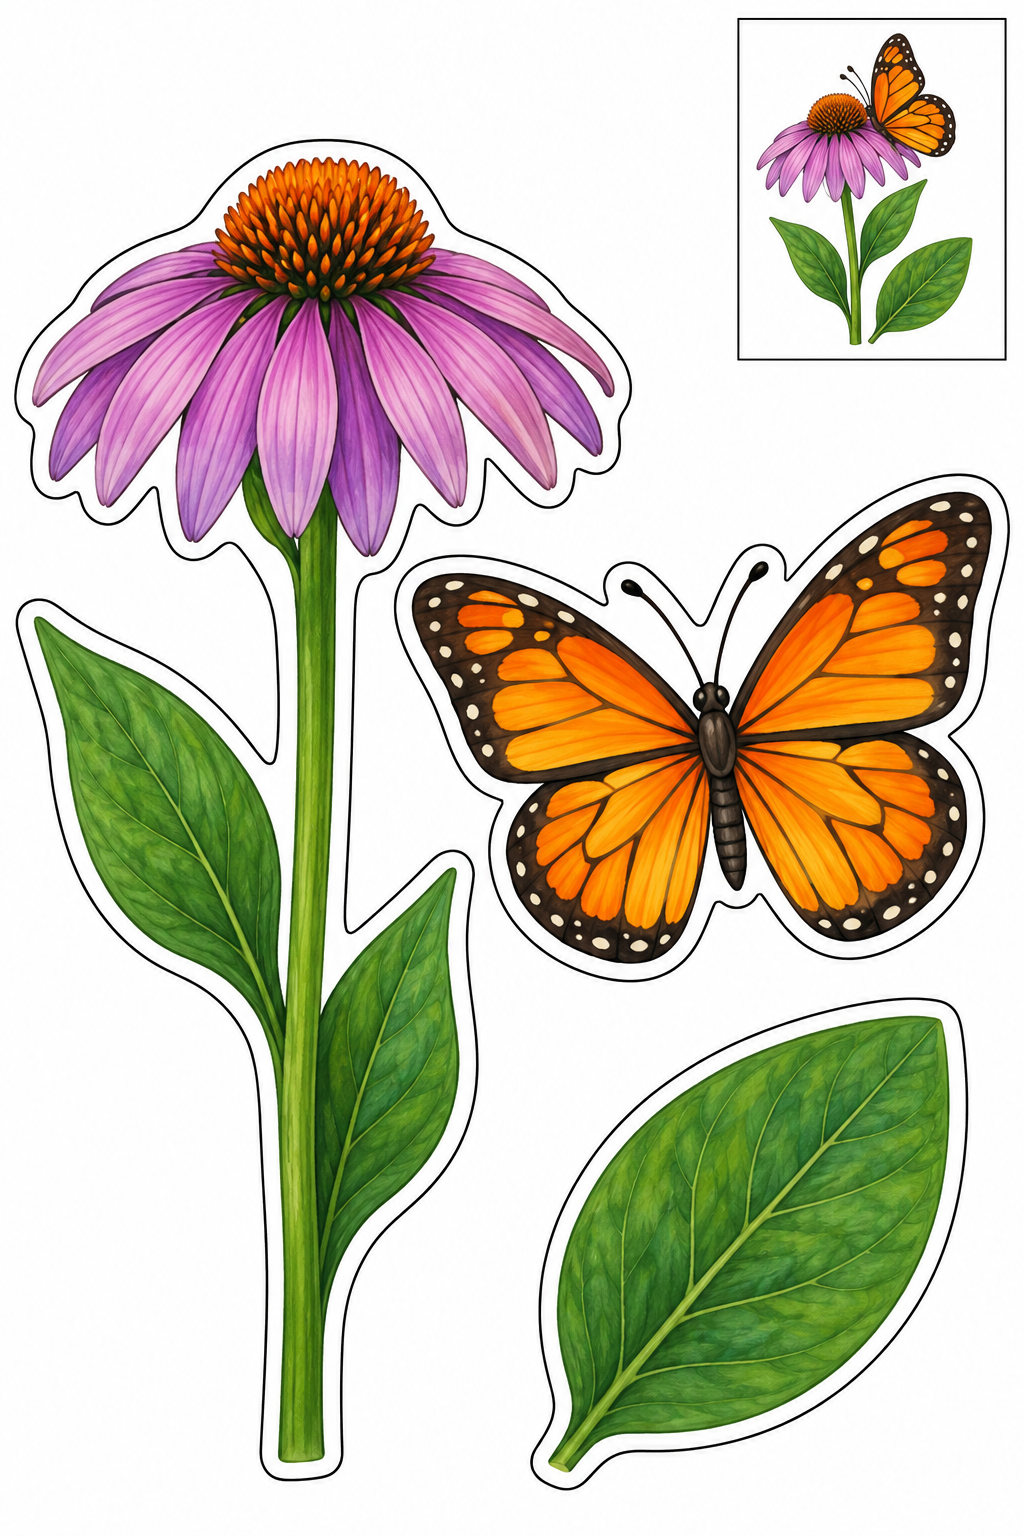
Cut the outside edges; leave the boxed example on the sheet. Place the butterfly just above the flower center. Add the separate leaf to the lower stalk, keeping its pointed end outside. Check every join before the glue dries. If a piece slips, increase its overlap and press again.
Check: Can you guide the scissors comfortably? If it is difficult, an adult can shorten a strip, cut a tricky curve or offer straight paths. Pieces should be fully separated and arranged as intended before gluing.
Assembly example: The small boxed example shows the finished craft. Do not cut it out.
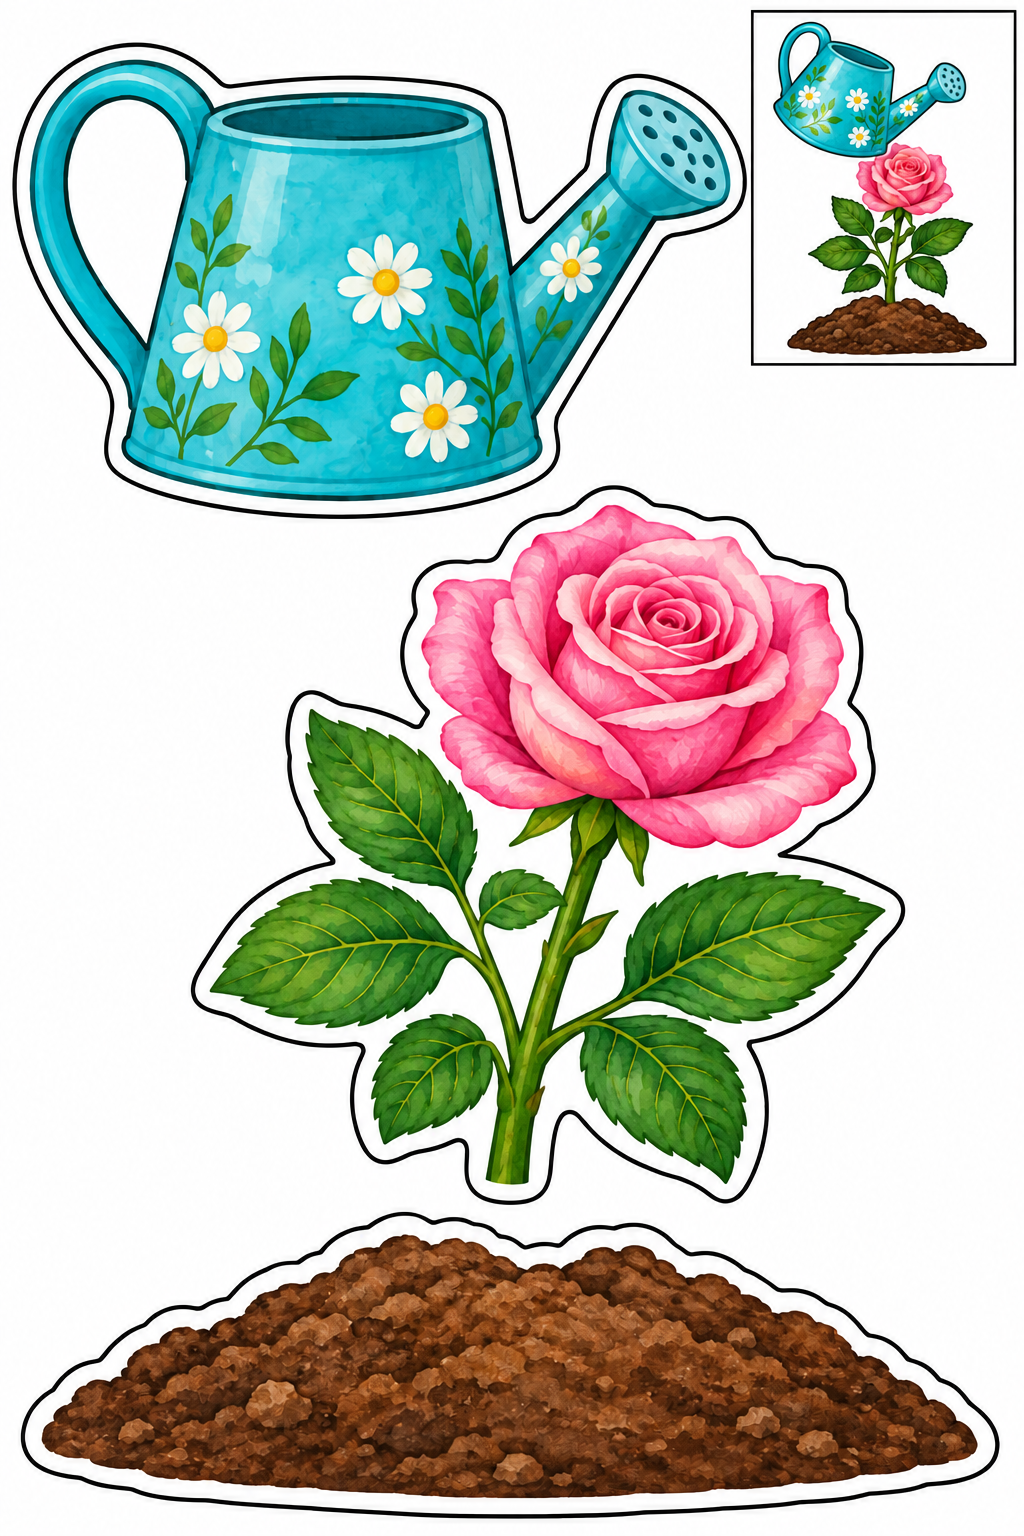
Cut the outside edges; leave the boxed example on the sheet. Glue the rose behind the soil mound. Put the can beside it with the spout facing the plant. Leave the handle center uncut. Check every join before the glue dries. If a piece slips, increase its overlap and press again.
Check: Can you guide the scissors comfortably? If it is difficult, an adult can shorten a strip, cut a tricky curve or offer straight paths. Pieces should be fully separated and arranged as intended before gluing.
Assembly example: The small boxed example shows the finished craft. Do not cut it out.
Cut the outside edges; leave the boxed example on the sheet. Place both plants over the printed lower panes. Glue their stems behind the window box, then attach the box to the window base. Check every join before the glue dries. If a piece slips, increase its overlap and press again.
Check: Can you guide the scissors comfortably? If it is difficult, an adult can shorten a strip, cut a tricky curve or offer straight paths. Pieces should be fully separated and arranged as intended before gluing.
Assembly example: The small boxed example shows the finished craft. Do not cut it out.
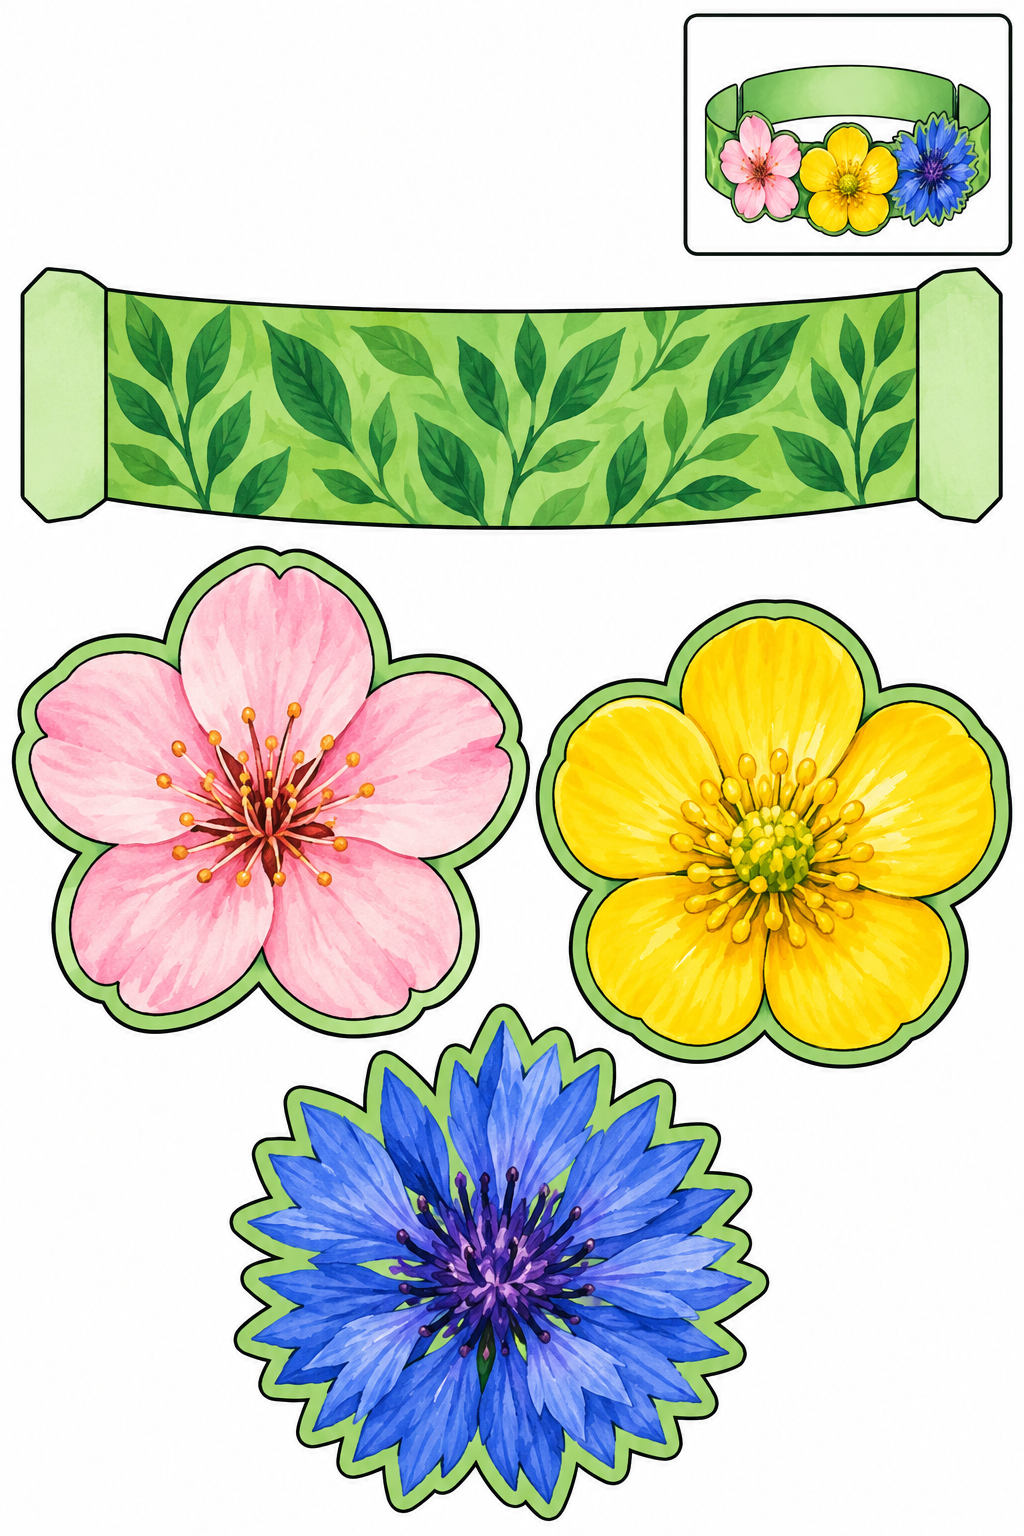
Cut the outside edges; leave the boxed example on the sheet. Arrange the three blossoms along the flat strip. An adult adds a plain paper extension to fit loosely before joining the band ends. Check every join before the glue dries. If a piece slips, increase its overlap and press again.
Check: Can you guide the scissors comfortably? If it is difficult, an adult can shorten a strip, cut a tricky curve or offer straight paths. Pieces should be fully separated and arranged as intended before gluing.
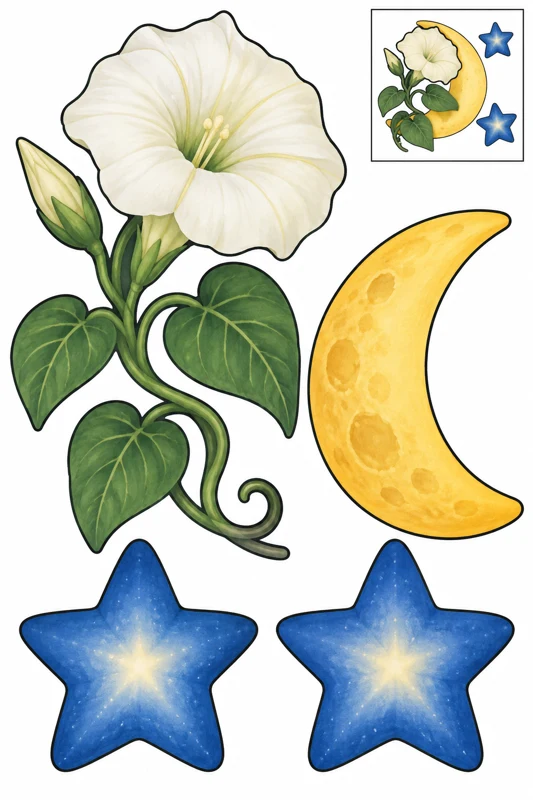
Assembly example: The small boxed example shows the finished craft. Do not cut it out.
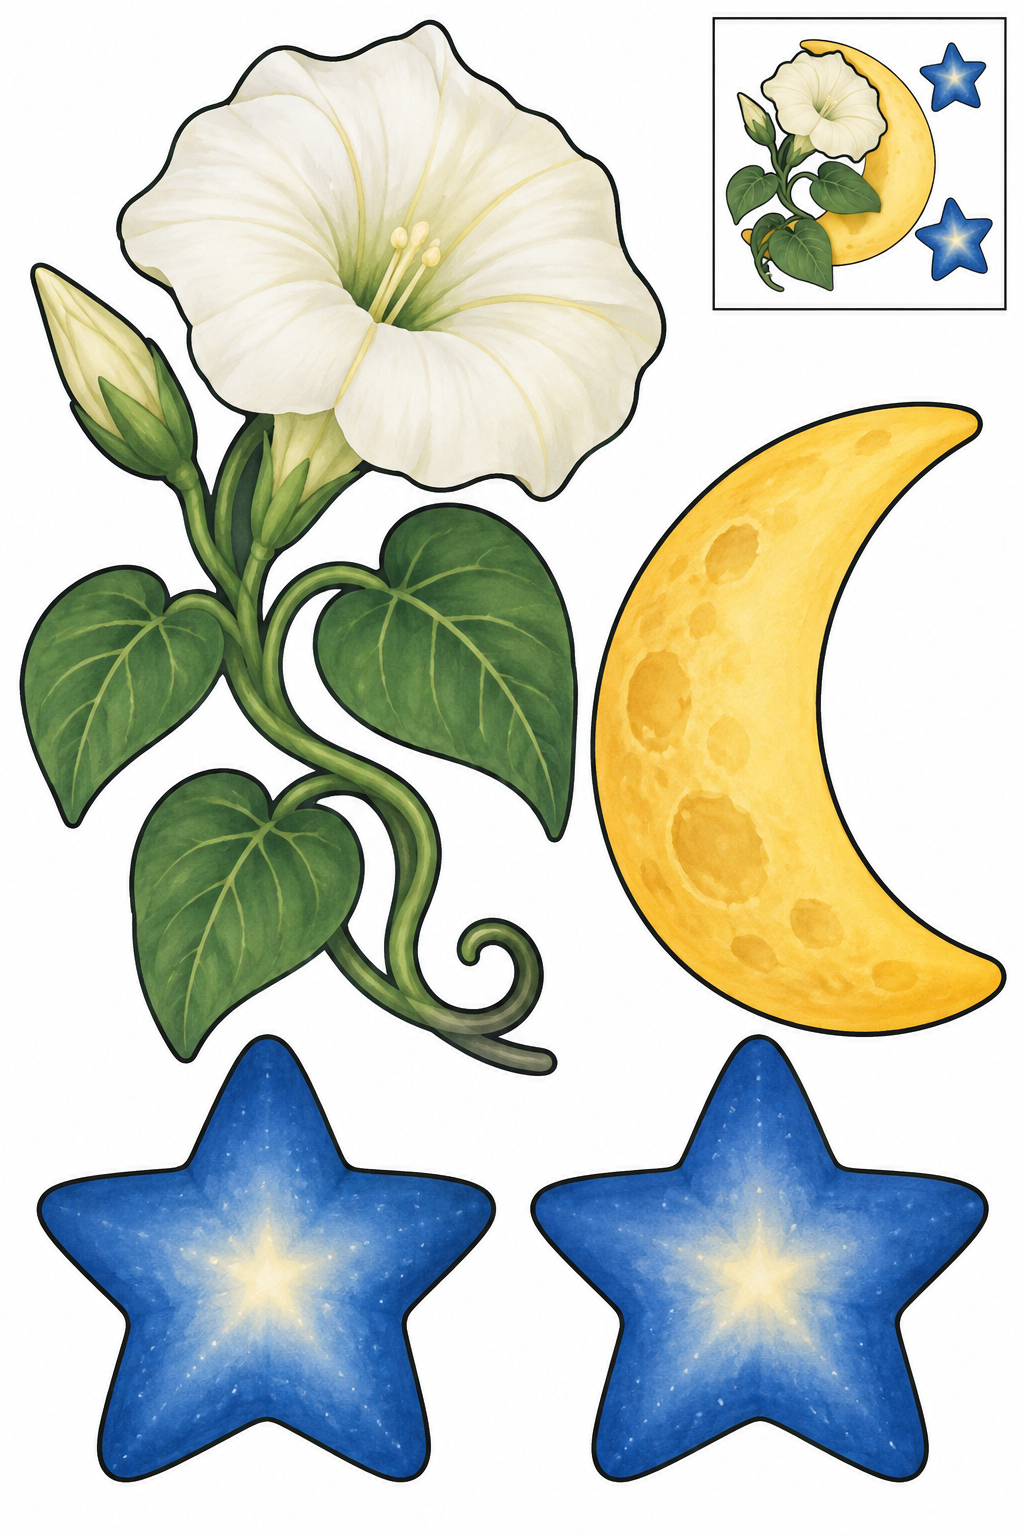
Cut the outside edges; leave the boxed example on the sheet. Arrange the moon and two stars above the vine on backing paper. Keep the ivory blossom clear so its shape is easy to see. Check every join before the glue dries. If a piece slips, increase its overlap and press again.
Check: Can you guide the scissors comfortably? If it is difficult, an adult can shorten a strip, cut a tricky curve or offer straight paths. Pieces should be fully separated and arranged as intended before gluing.
How to build a paper flower garden
Choose by construction: the potted daisy joins three large pieces, while the mosaic asks you to arrange six separate petals first. Start with the daisy or tulip. When turning the paper feels comfortable, try the branching bells or layered water lily. Outline projects can use remembered flower colors or invented ones; full-color sheets suit a session focused on cutting and assembly. These are different constructions, rather than two color versions of the same flower.
Prepare the paper and workspace
Gather A4 paper, child scissors, pencils, a glue stick and a separate backing sheet. Ordinary printer paper is easy to turn for early curves; slightly heavier paper can suit the bookmark if the scissors cut it comfortably. Print the PDF at 100%, with scaling off. Color before cutting: a whole sheet is easier to hold, and pencils will not crumple loose petal edges. Check that every piece and the footer are inside the printed area.
Turn the paper around petals
An adult can first divide the sheet into areas containing separate pieces. Support the paper with the free hand and point scissors away from fingers. Use short cuts along the solid outside line. Stop before the dip between petals, turn the paper and continue. Keep printed veins, seeds and decoration intact. The wreath center and the basket and watering-can handles stay filled: those are printed areas, rather than holes to cut.
Try the layers before adding glue
The small boxed picture is an assembly reference; leave it on the sheet. Arrange the large pieces to match it and find the broad joining areas. On the sunflower, the center sits over the petal ring and the stalk goes behind. In the bouquet, stem ends tuck behind the wrapper. Apply glue only to the overlapping area and press on a flat surface. Check that leaves remain visible and a blossom is not hanging from a single narrow tip.
Repair a join and invent a layout
If a stalk falls over, increase its overlap behind the blossom before the glue dries. An adult can reinforce a torn edge with a small piece of tape on the back. For the pocket, glue only the folded tabs and leave its top open; an adult extends the crown with plain paper for a loose fit. After one craft, try an independent arrangement: make a garden with a tall flower behind a short one. Test two layouts and explain your choice before gluing. Paper scraps can become a path or a name sign for your invented garden.
Do I cut every petal separately?
Only the mosaic has loose petals. On the other sheets, keep petals together inside the flower’s outer contour. Do not cut internal printed lines.
How does the pocket stay open?
Fold the side and bottom tabs back. Glue only those tabs to the backing, rather than the entire front. Leave the top edge free.
Can we make a whole bouquet?
Yes: use the wrapped bouquet project or the extra whole flowers. Bring stems together at the bottom and spread the blossoms so each remains visible before gluing.
These projects are intended roughly for ages 4–8 with adult help. Start with straight paths and squares. Once a straight cut feels comfortable, try corners, then circles and gentle curves. Age is a guide: choose a manageable task and take breaks.
You need paper, child scissors, coloring pencils and a glue stick for assembly crafts. Keep fingers away from the blades and cut while seated at a table. If a child is not ready for scissors, an adult can cut while the child colors and arranges.
Printing and activity questions
Are the templates really free?
Yes. All templates are downloadable without an account or email address. Use them at home or in class; do not resell the files.
How should I print the sheets?
Every download on this page is a one-page A4 PDF, 210 × 297 mm. Print at 100%, with scaling off.
Which lines should we cut?
On practice paths, cut dashed lines from the edge or starting dot. On crafts, cut the solid outer border of each piece. Do not cut out the small boxed assembly example.
What if the paper keeps tearing?
Ask an adult to check that the scissors cut the paper. Try a shorter strip and smaller motions. Stop before a corner and turn the paper with the supporting hand.
Whole flowers for your own garden
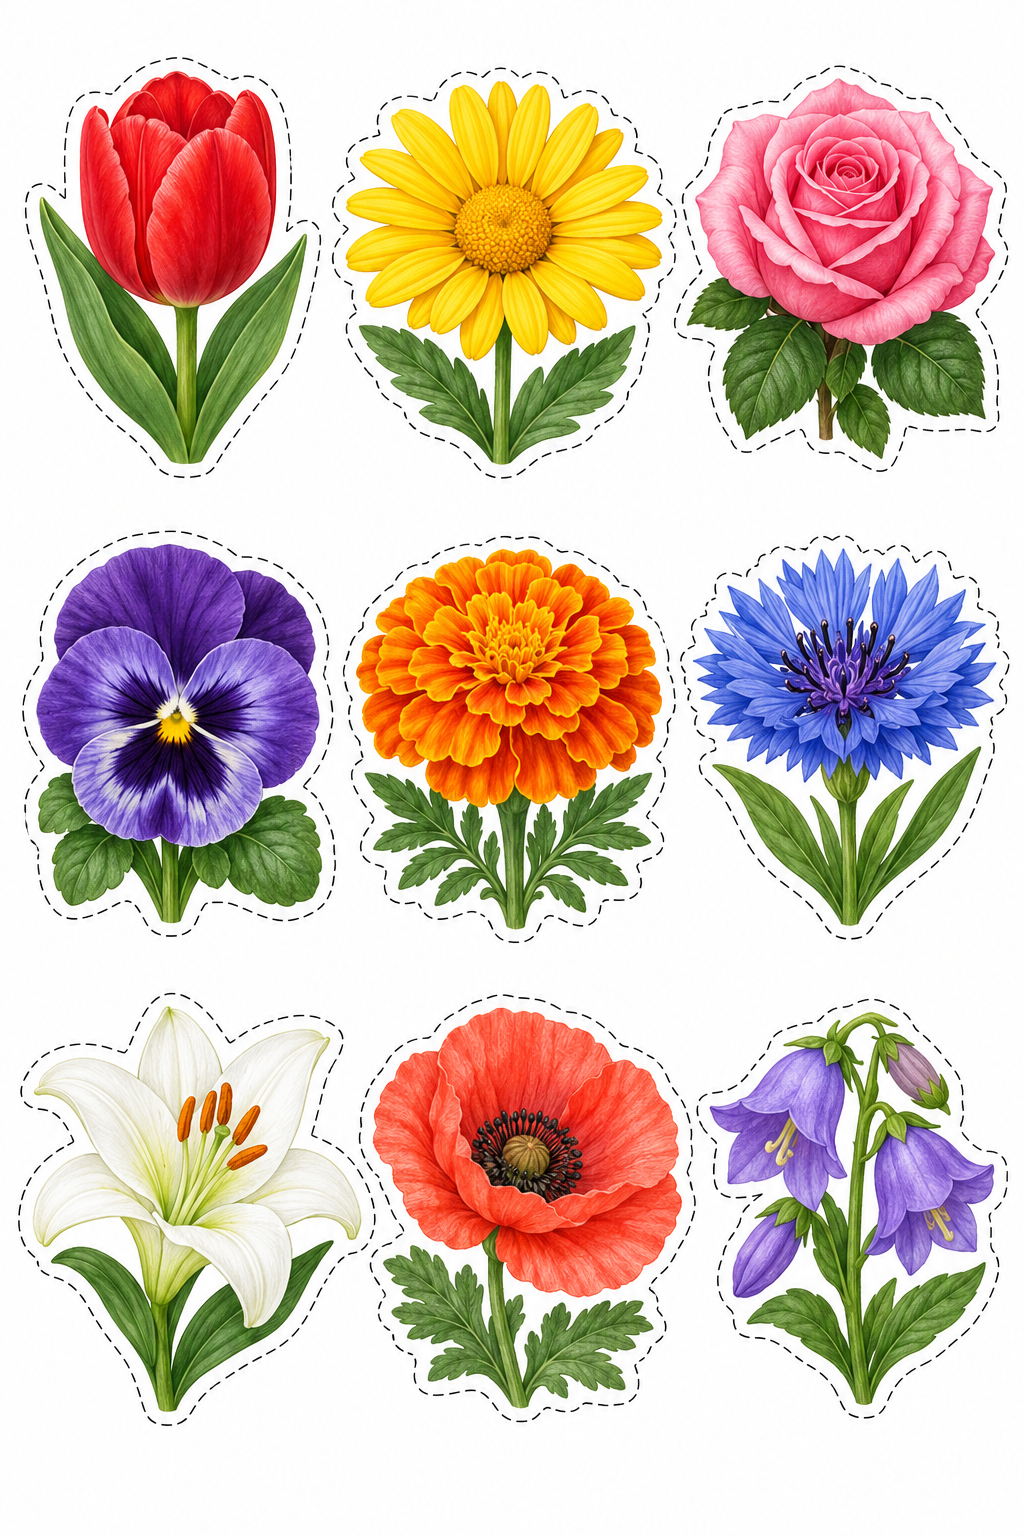
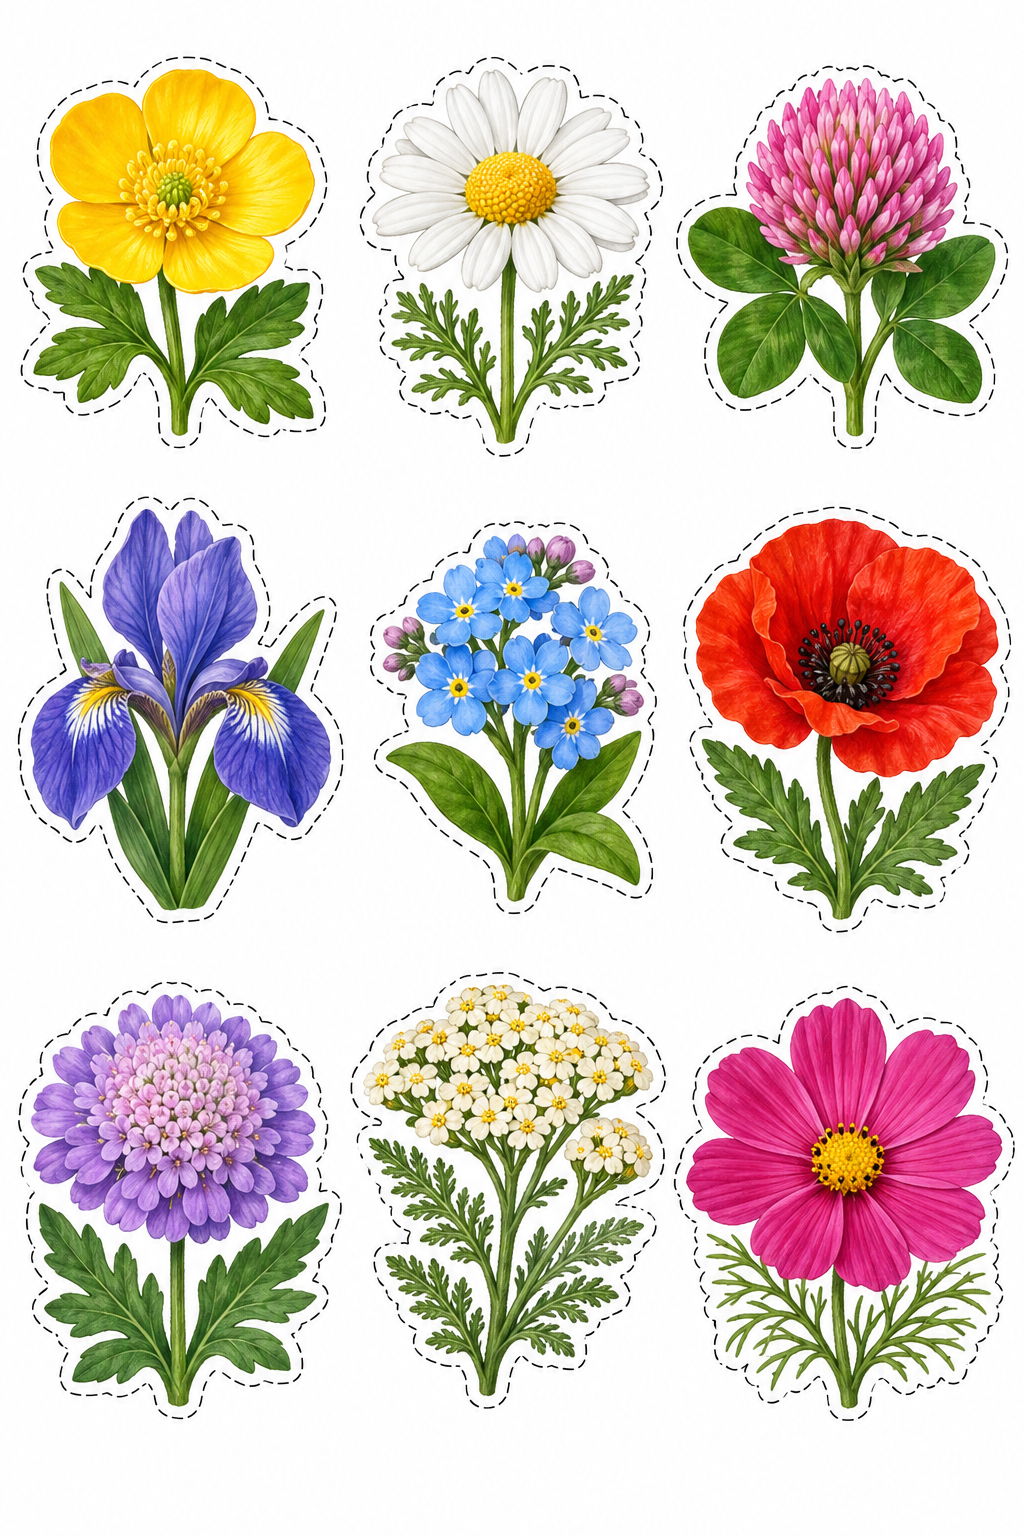
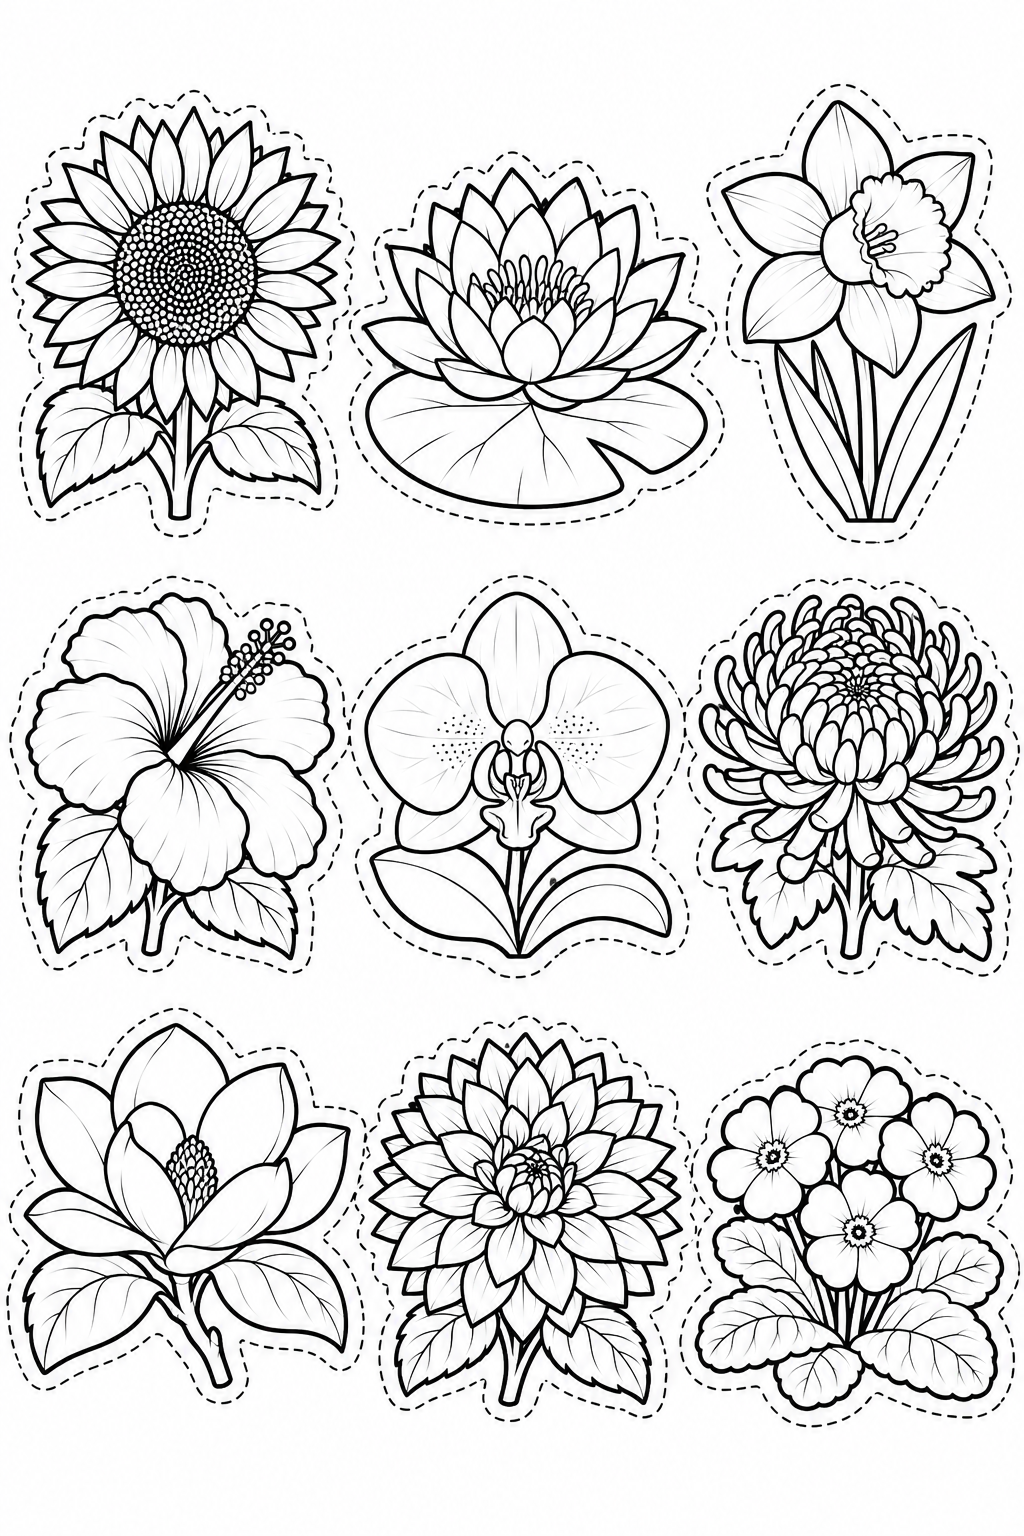
Three extra sheets each contain nine different flowers: colorful garden blooms, colorful meadow blooms and outlines to color. There are no loose petals or assembly examples: cut each flower as one whole figure. These sheets supplement the main 24 projects.
Color the outline sheet first. An adult can divide the page into nine areas. Cut the outer dashed border, keeping a white halo around petals and leaves. Reinforce an accidental nick with tape on the back. Try two layouts before gluing: a flowerbed with space between blooms, or a bouquet with overlapping stems. Choose three flowers for a short session and save the rest.
Color the outline sheet before cutting. Cut each whole flower along its outside dashed outline; keep petals and leaves together. Arrange a garden on backing paper before gluing. Leave space between blossoms; move any overlapping flower before the glue dries.
Color the outline sheet before cutting. Cut each whole flower along its outside dashed outline; keep petals and leaves together. Arrange a garden on backing paper before gluing. Leave space between blossoms; move any overlapping flower before the glue dries.
Color the outline sheet before cutting. Cut each whole flower along its outside dashed outline; keep petals and leaves together. Arrange a garden on backing paper before gluing. Leave space between blossoms; move any overlapping flower before the glue dries.
 kiduverse