Scissors with a grown-up. Use child scissors with rounded tips and cut while seated at a table. If a child is not ready yet, an adult cuts while the child colors and assembles.
Print
Choose A4 or US Letter. Print at 100%, with scaling off. Ordinary printer paper works.
Cut
Color black-and-white sheets first. Cut outer borders; follow dashed lines on the practice paths.
Make it yours
Arrange pieces before gluing. Try a new arrangement or tell a story about your creation.
Assembly example: The small boxed example shows the finished craft. Do not cut it out.
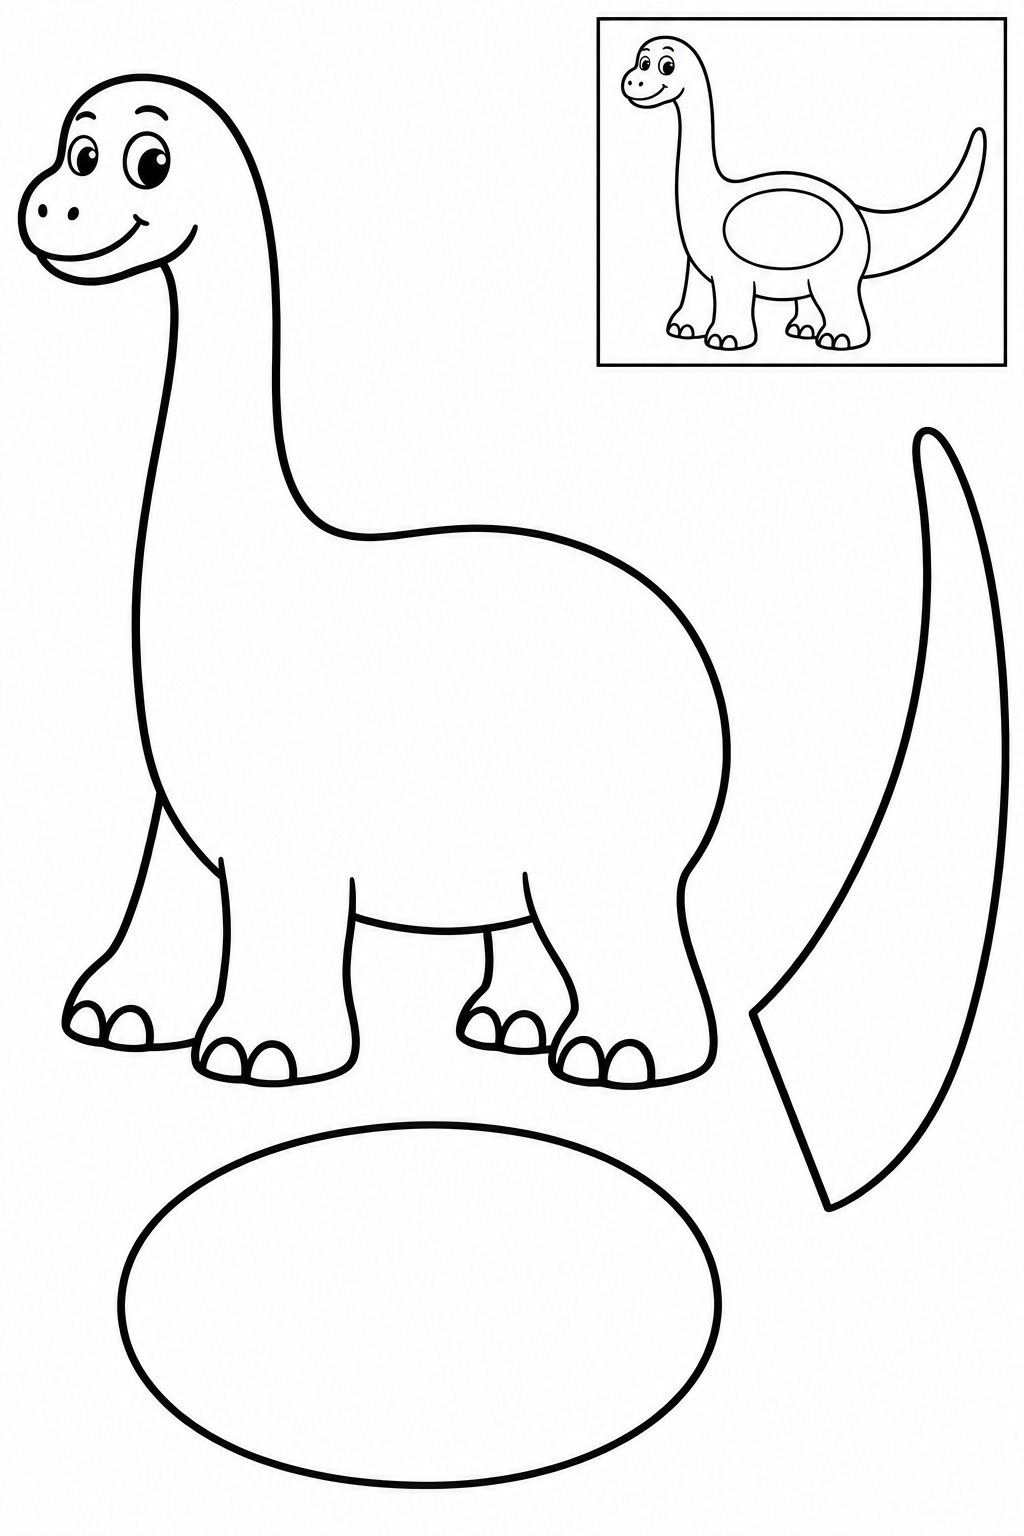
Cut the outer contours; leave the boxed reference on the page. Tuck the wide root of the tail behind the rump. Place the oval patch on the side of the body. Keep all four feet visible. Check that each join holds and all parts are visible. Increase overlap or reposition a part before the glue dries if needed.
Check: Can you guide the scissors comfortably? If it is difficult, an adult can shorten a strip, cut a tricky curve or offer straight paths. Pieces should be fully separated and arranged as intended before gluing.
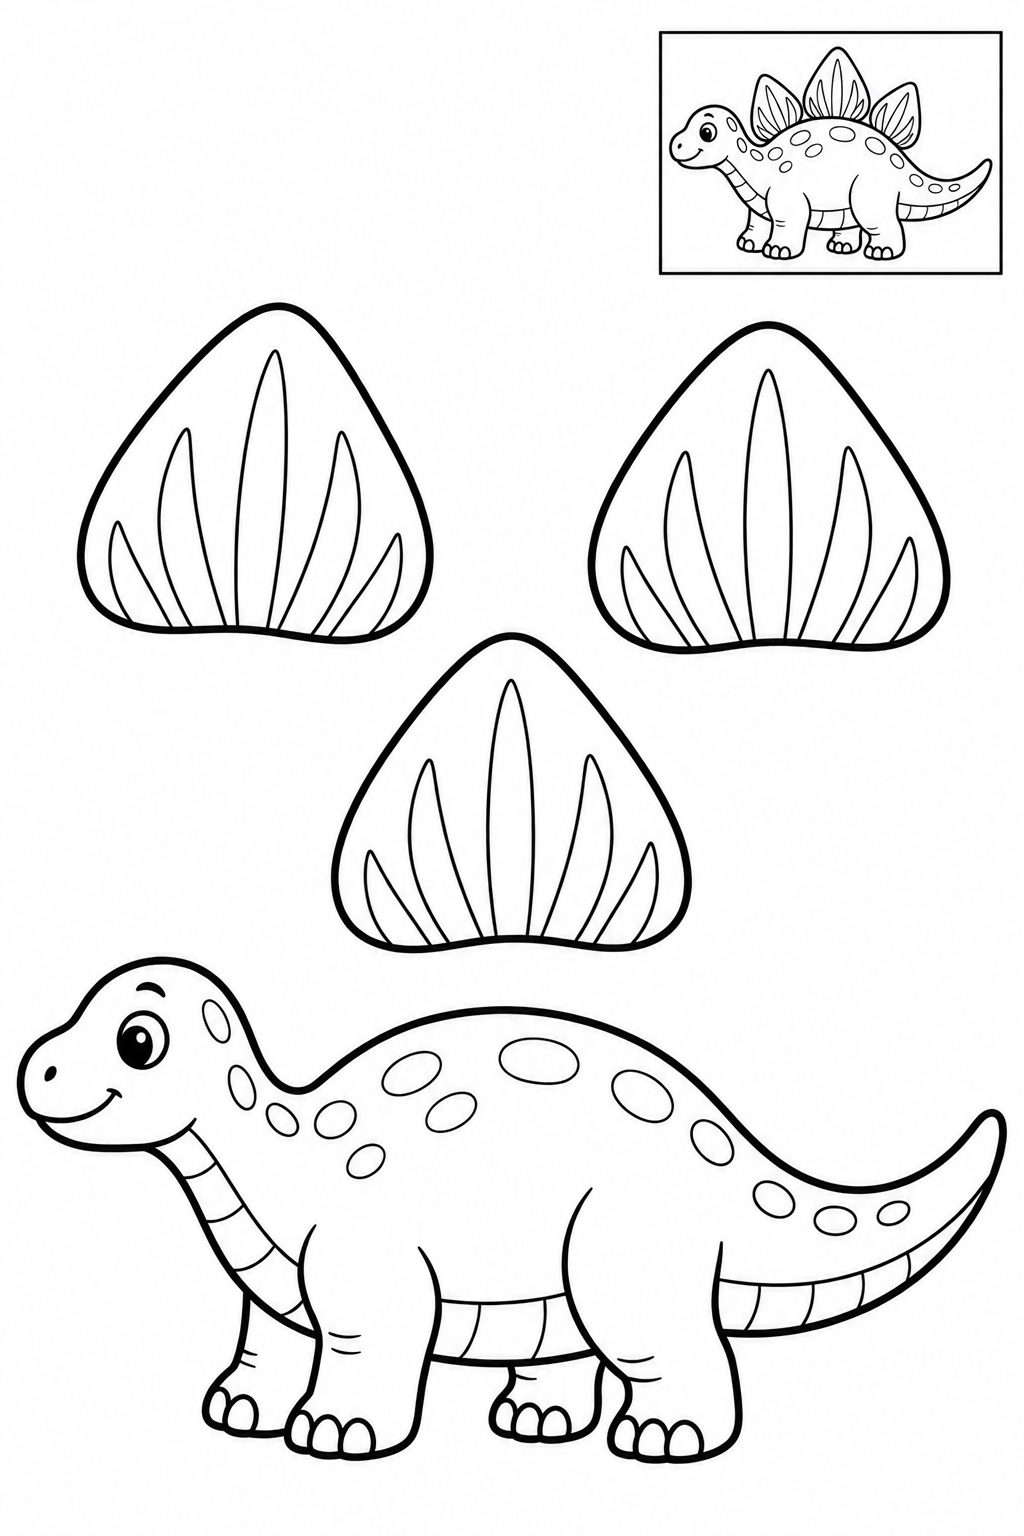
Assembly example: The small boxed example shows the finished craft. Do not cut it out.
Cut the outer contours; leave the boxed reference on the page. Arrange the three plates along the back, tallest in the middle. Glue their broad bases behind the body; keep the tail clear. Check that each join holds and all parts are visible. Increase overlap or reposition a part before the glue dries if needed.
Check: Can you guide the scissors comfortably? If it is difficult, an adult can shorten a strip, cut a tricky curve or offer straight paths. Pieces should be fully separated and arranged as intended before gluing.
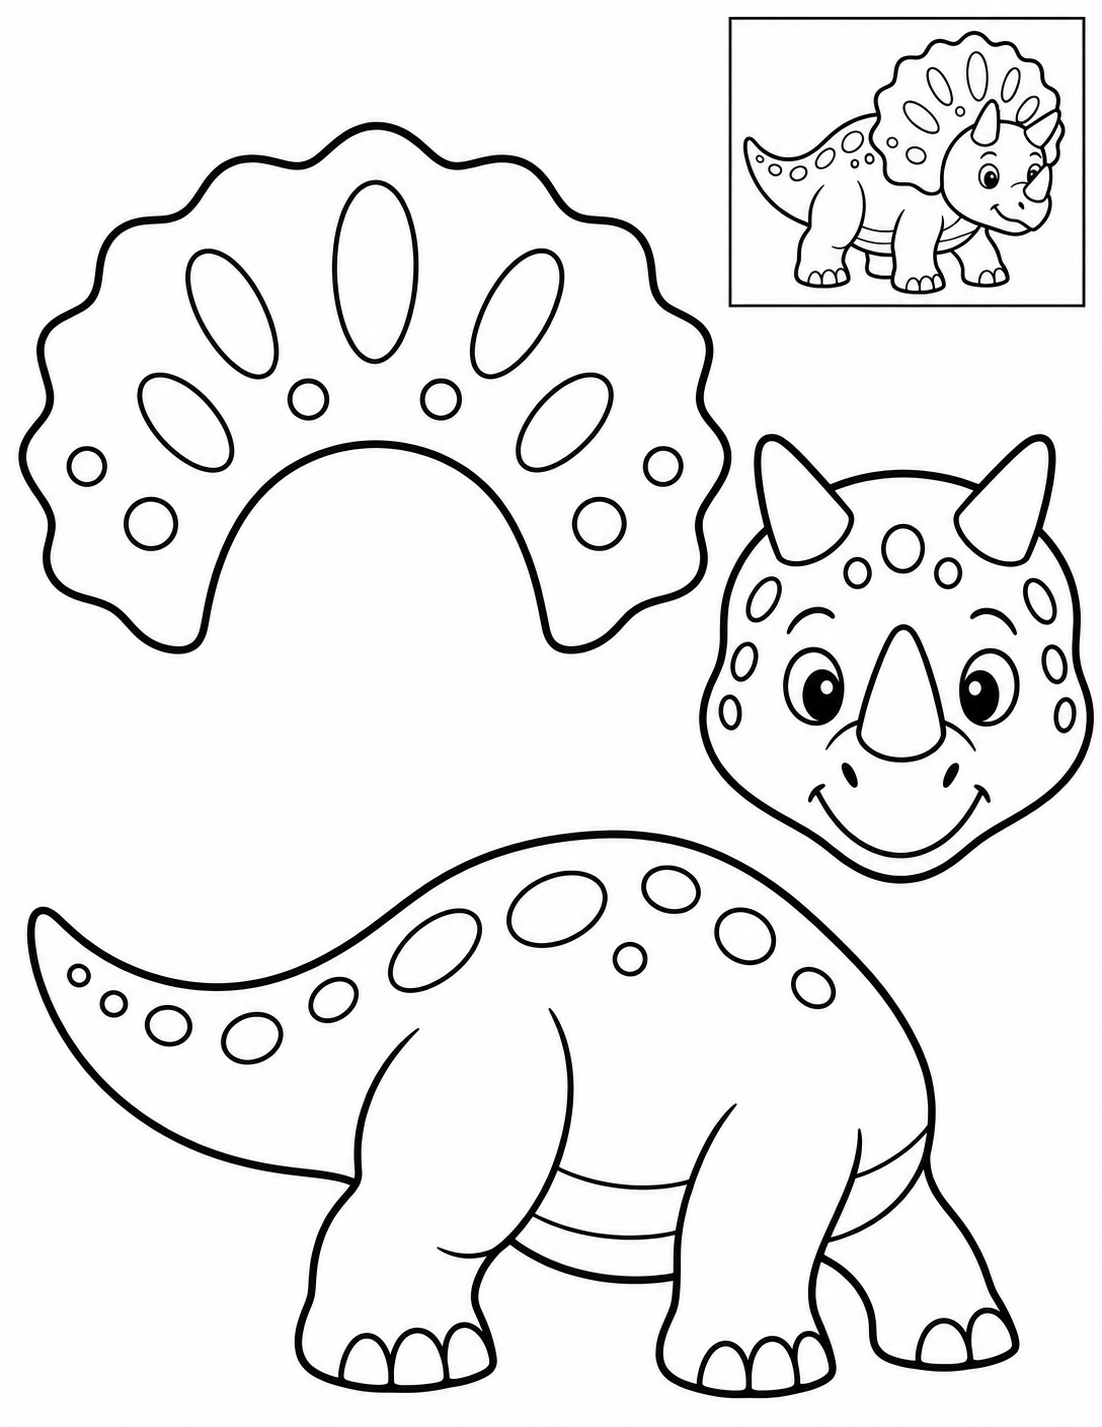
Assembly example: The small boxed example shows the finished craft. Do not cut it out.
Cut the outer contours; leave the boxed reference on the page. Place the head over the open center of the frill. Join both to the front of the body. The horns remain attached to the head. Check that each join holds and all parts are visible. Increase overlap or reposition a part before the glue dries if needed.
Check: Can you guide the scissors comfortably? If it is difficult, an adult can shorten a strip, cut a tricky curve or offer straight paths. Pieces should be fully separated and arranged as intended before gluing.
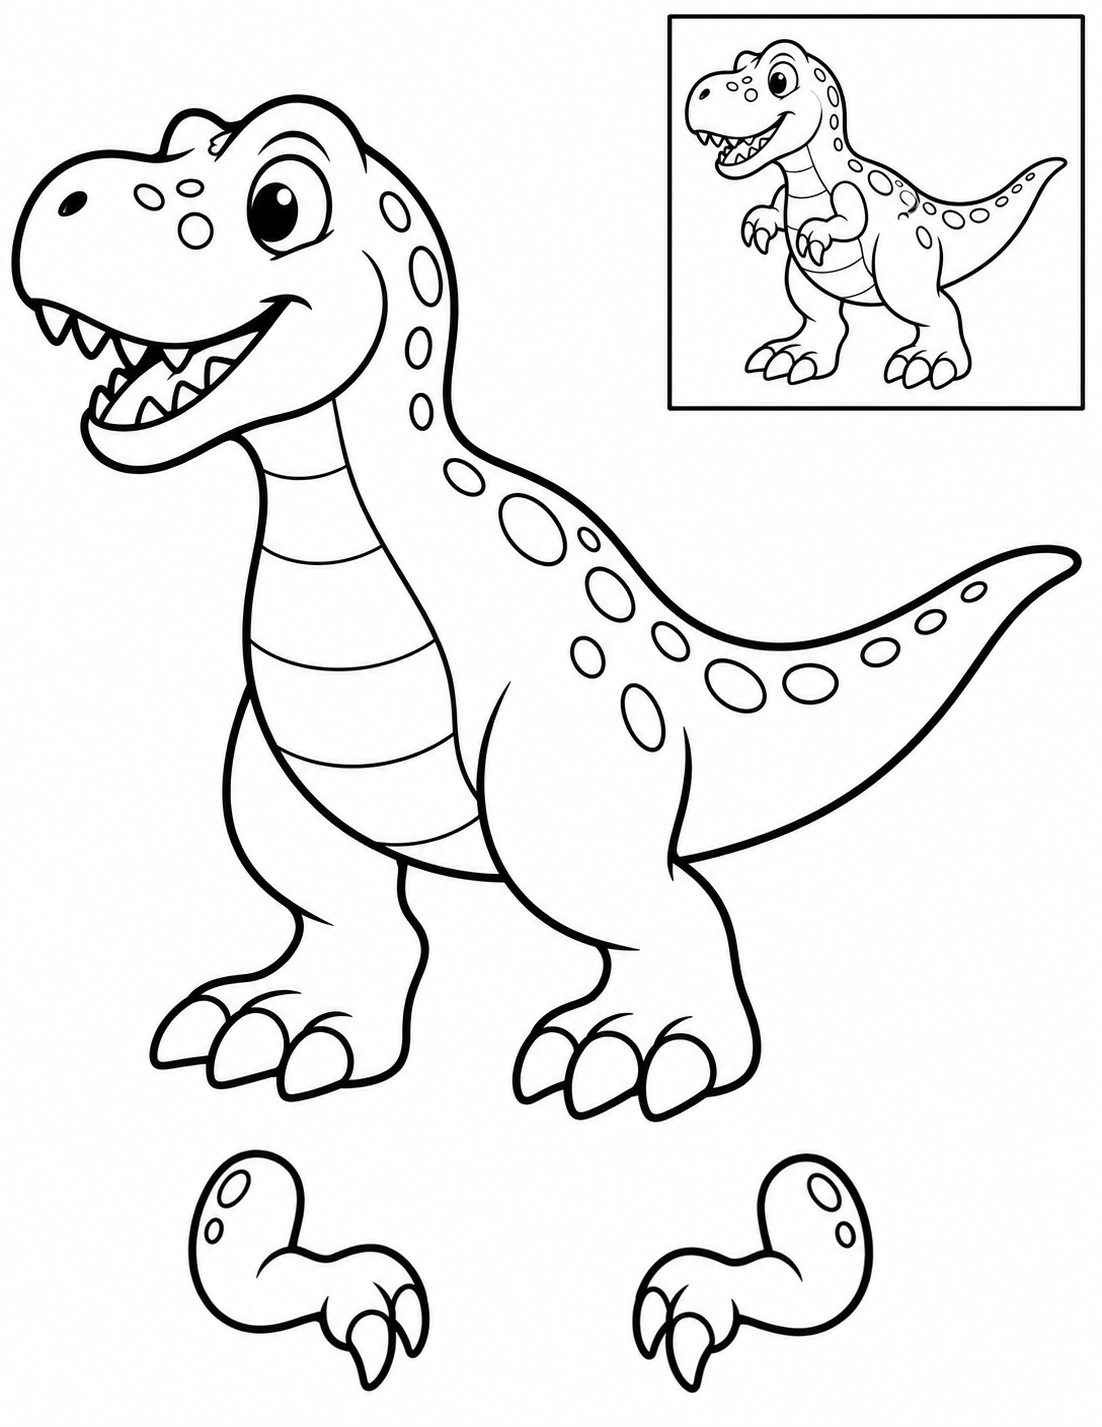
Assembly example: The small boxed example shows the finished craft. Do not cut it out.
Cut the outer contours; leave the boxed reference on the page. Place the two arms on the chest, pointing their hands forward. Glue the broad upper ends to the body; keep the mouth and feet clear. Check that each join holds and all parts are visible. Increase overlap or reposition a part before the glue dries if needed.
Check: Can you guide the scissors comfortably? If it is difficult, an adult can shorten a strip, cut a tricky curve or offer straight paths. Pieces should be fully separated and arranged as intended before gluing.
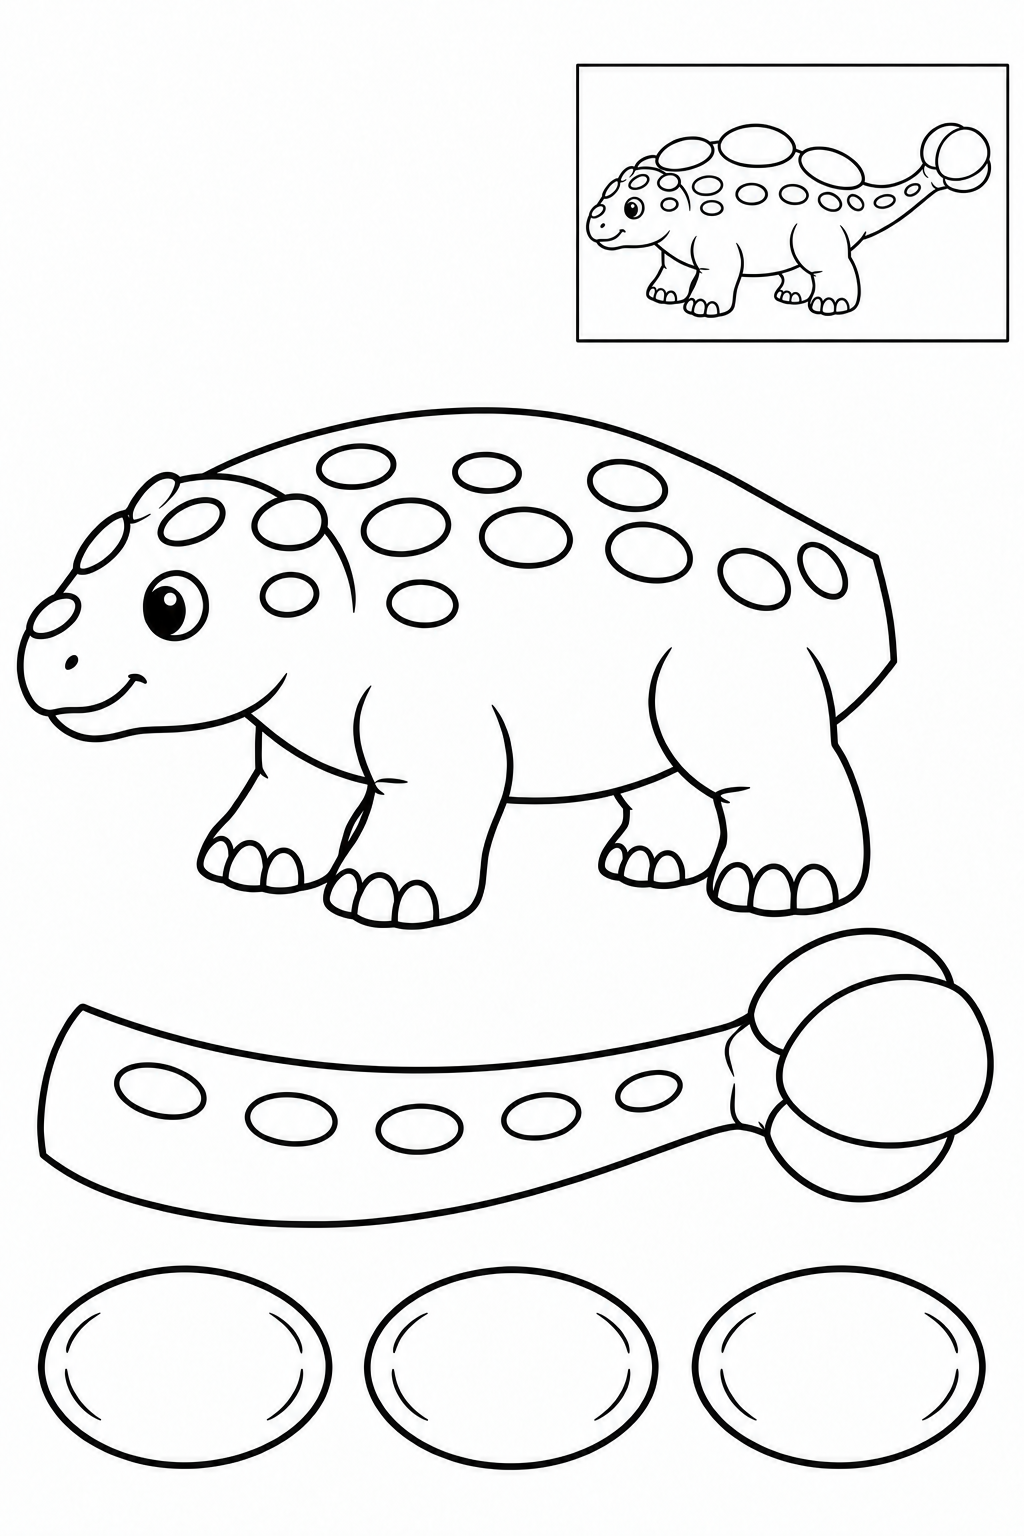
Assembly example: The small boxed example shows the finished craft. Do not cut it out.
Cut the outer contours; leave the boxed reference on the page. Join the club tail behind the rump. Arrange the three armor patches on the back, with space between them. Check that each join holds and all parts are visible. Increase overlap or reposition a part before the glue dries if needed.
Check: Can you guide the scissors comfortably? If it is difficult, an adult can shorten a strip, cut a tricky curve or offer straight paths. Pieces should be fully separated and arranged as intended before gluing.
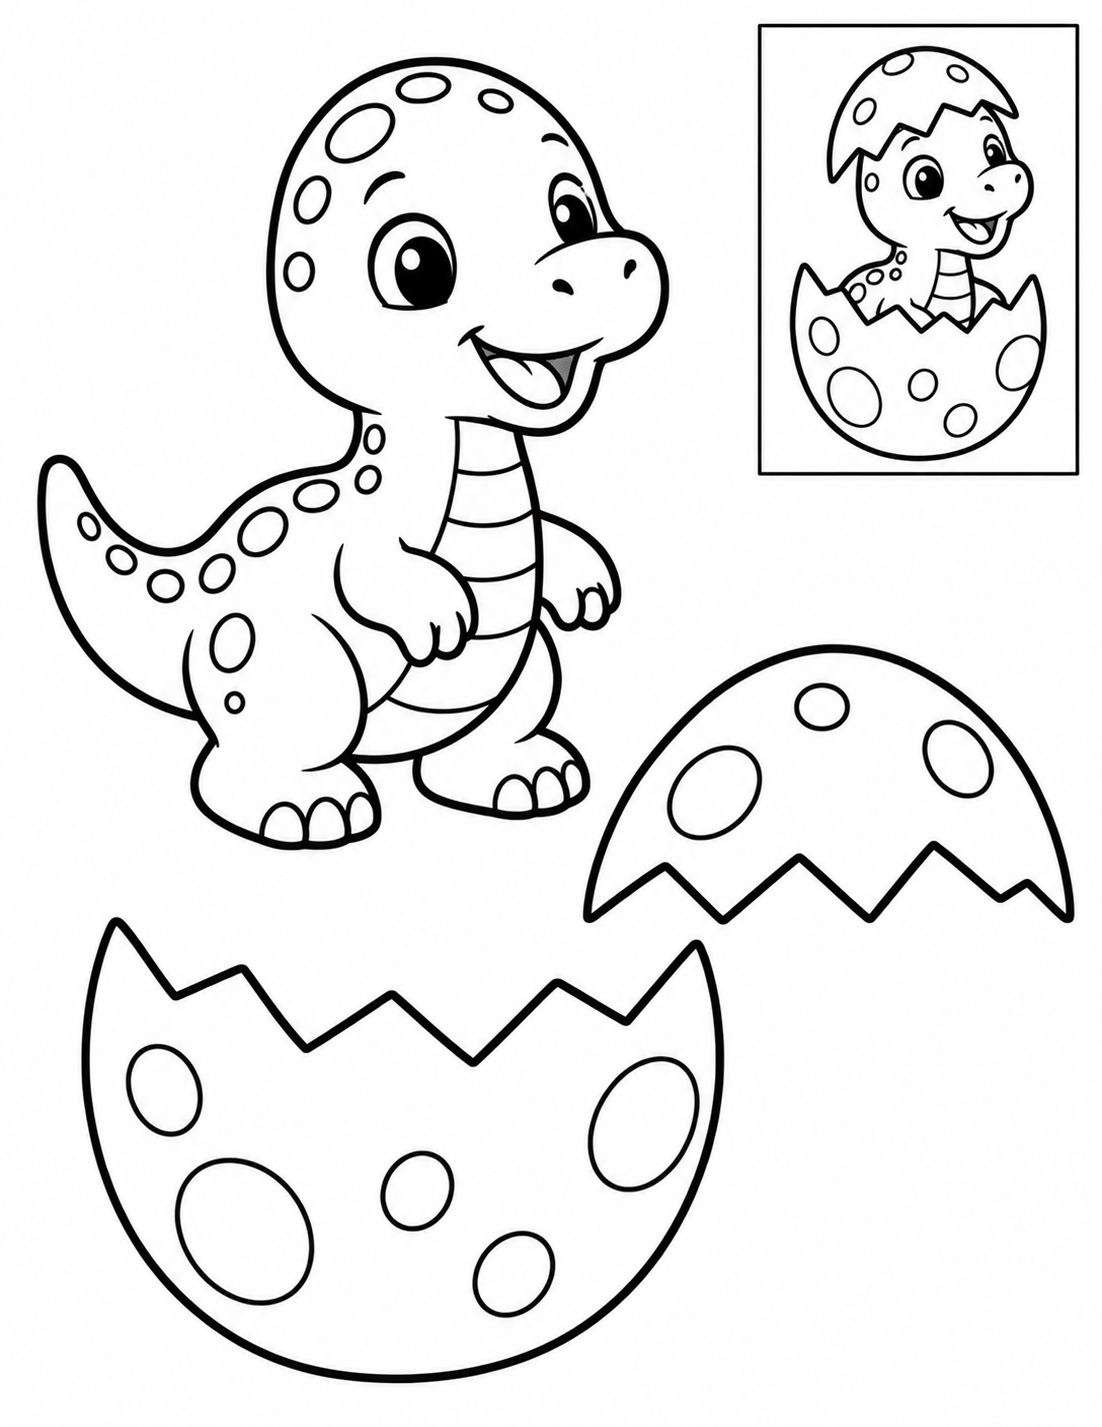
Assembly example: The small boxed example shows the finished craft. Do not cut it out.
Cut the outer contours; leave the boxed reference on the page. Put the baby behind the lower shell so its face peeks out. Place the upper cap on the head as in the reference, leaving the eyes clear. Check that each join holds and all parts are visible. Increase overlap or reposition a part before the glue dries if needed.
Check: Can you guide the scissors comfortably? If it is difficult, an adult can shorten a strip, cut a tricky curve or offer straight paths. Pieces should be fully separated and arranged as intended before gluing.
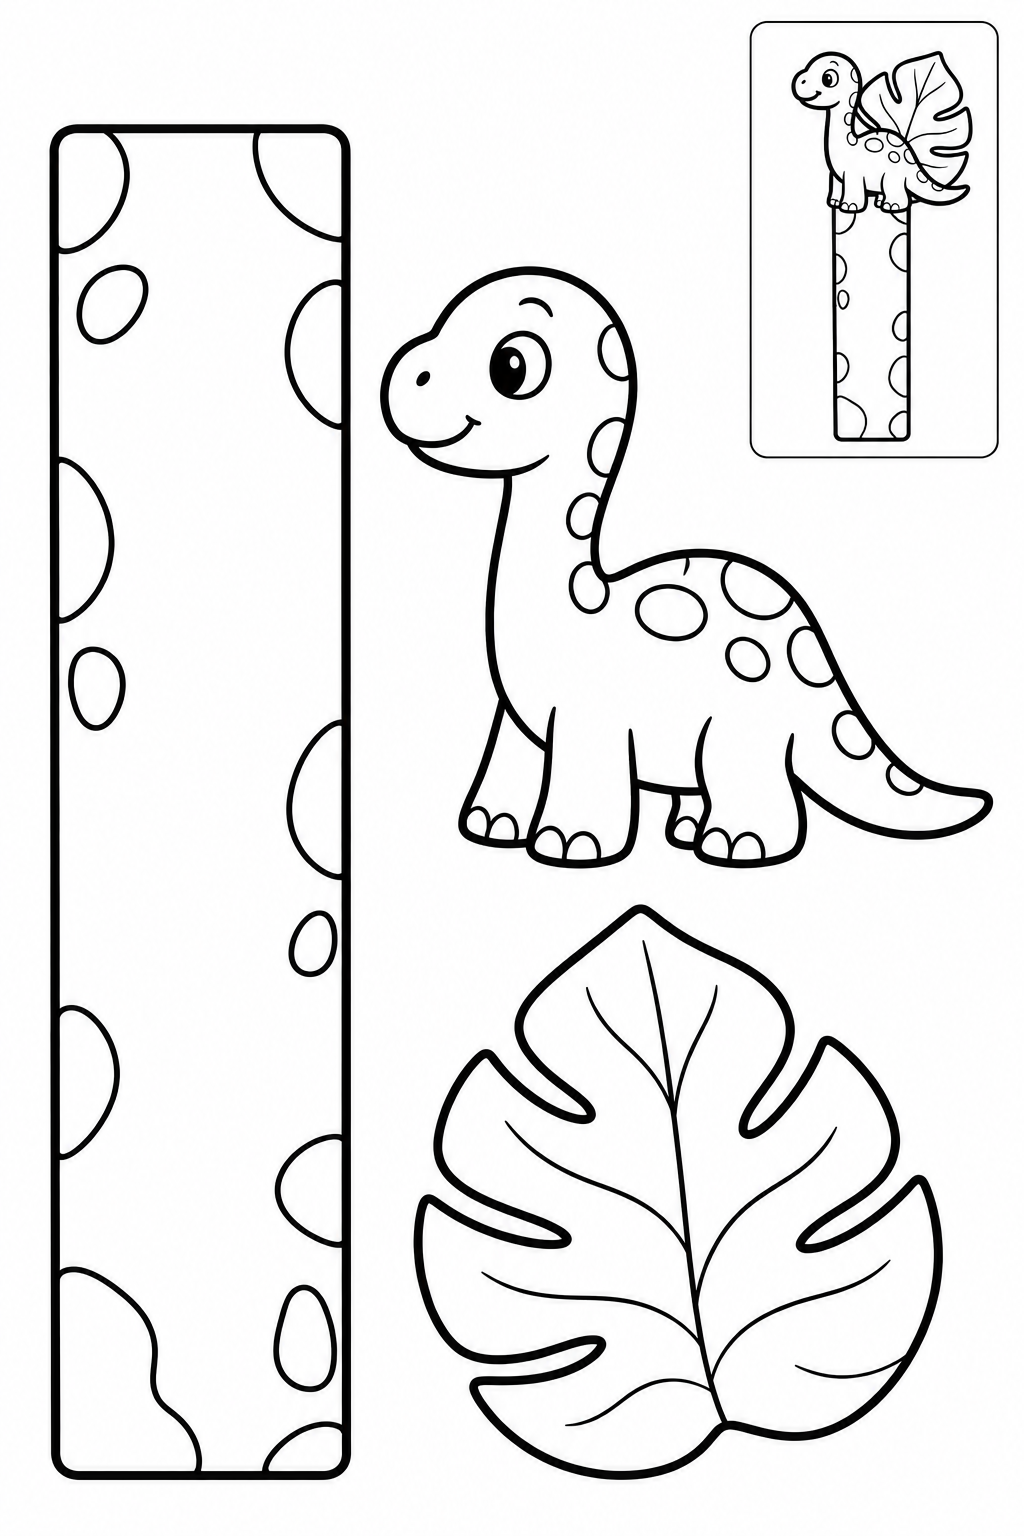
Assembly example: The small boxed example shows the finished craft. Do not cut it out.
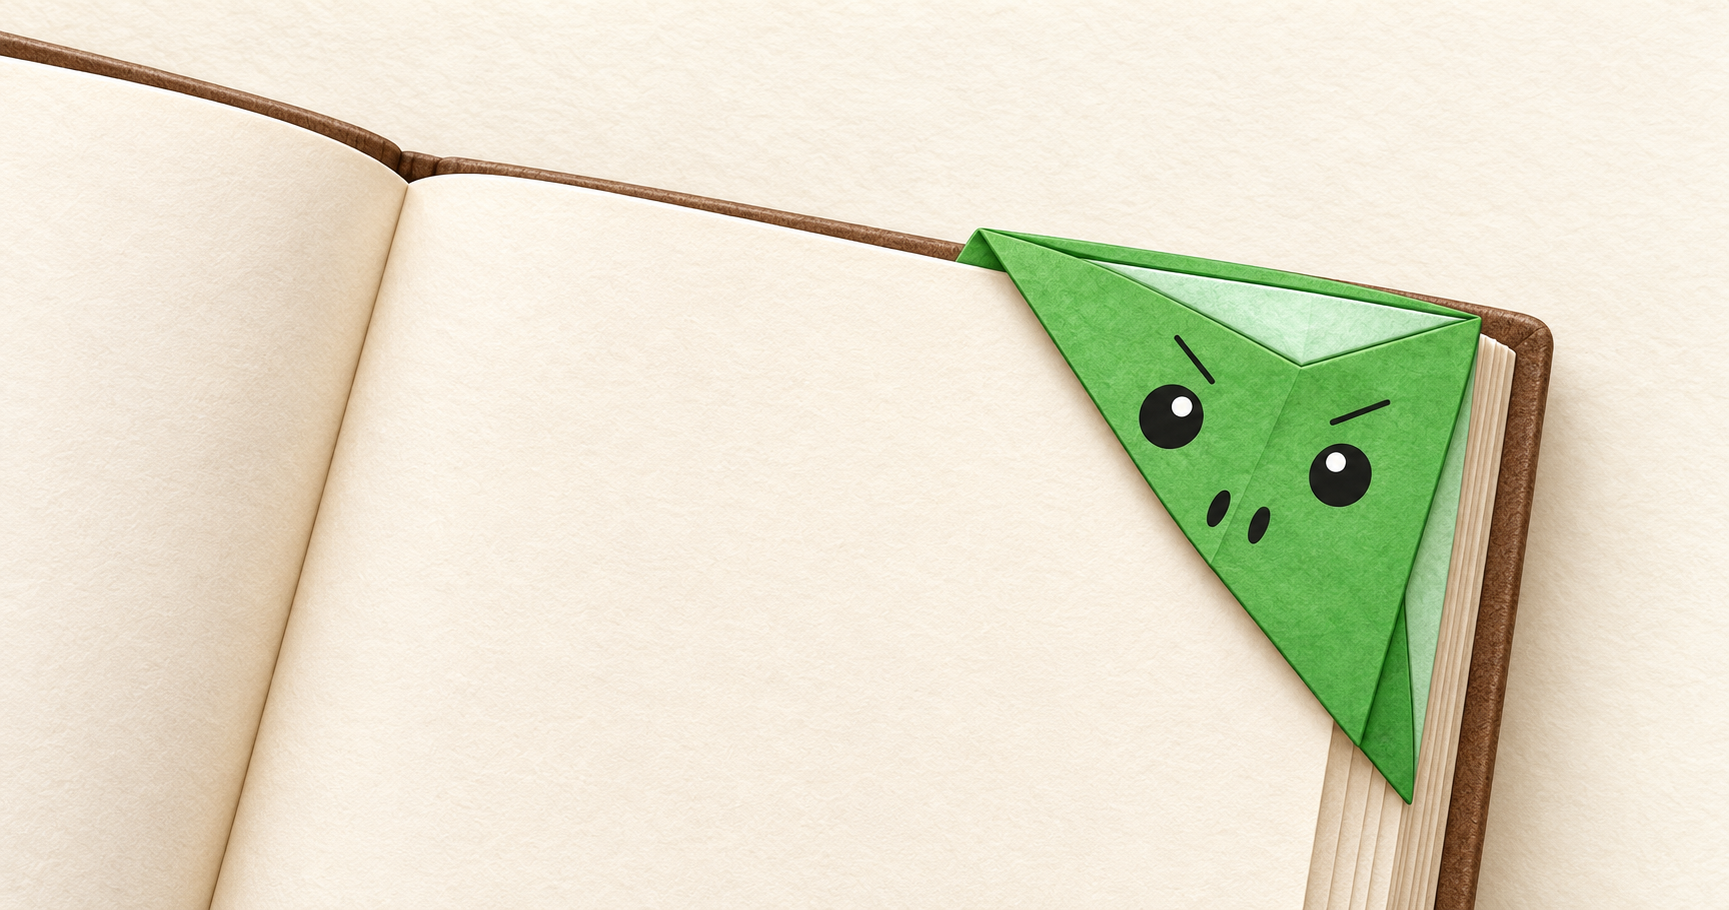
Cut the outer contours; leave the boxed reference on the page. Glue the dinosaur to the top of the bookmark strip by its lower body. Tuck the leaf behind the dinosaur’s back as in the reference. Leave the lower end flat to slide between pages. Check that each join holds and all parts are visible. Increase overlap or reposition a part before the glue dries if needed.
Check: Can you guide the scissors comfortably? If it is difficult, an adult can shorten a strip, cut a tricky curve or offer straight paths. Pieces should be fully separated and arranged as intended before gluing.
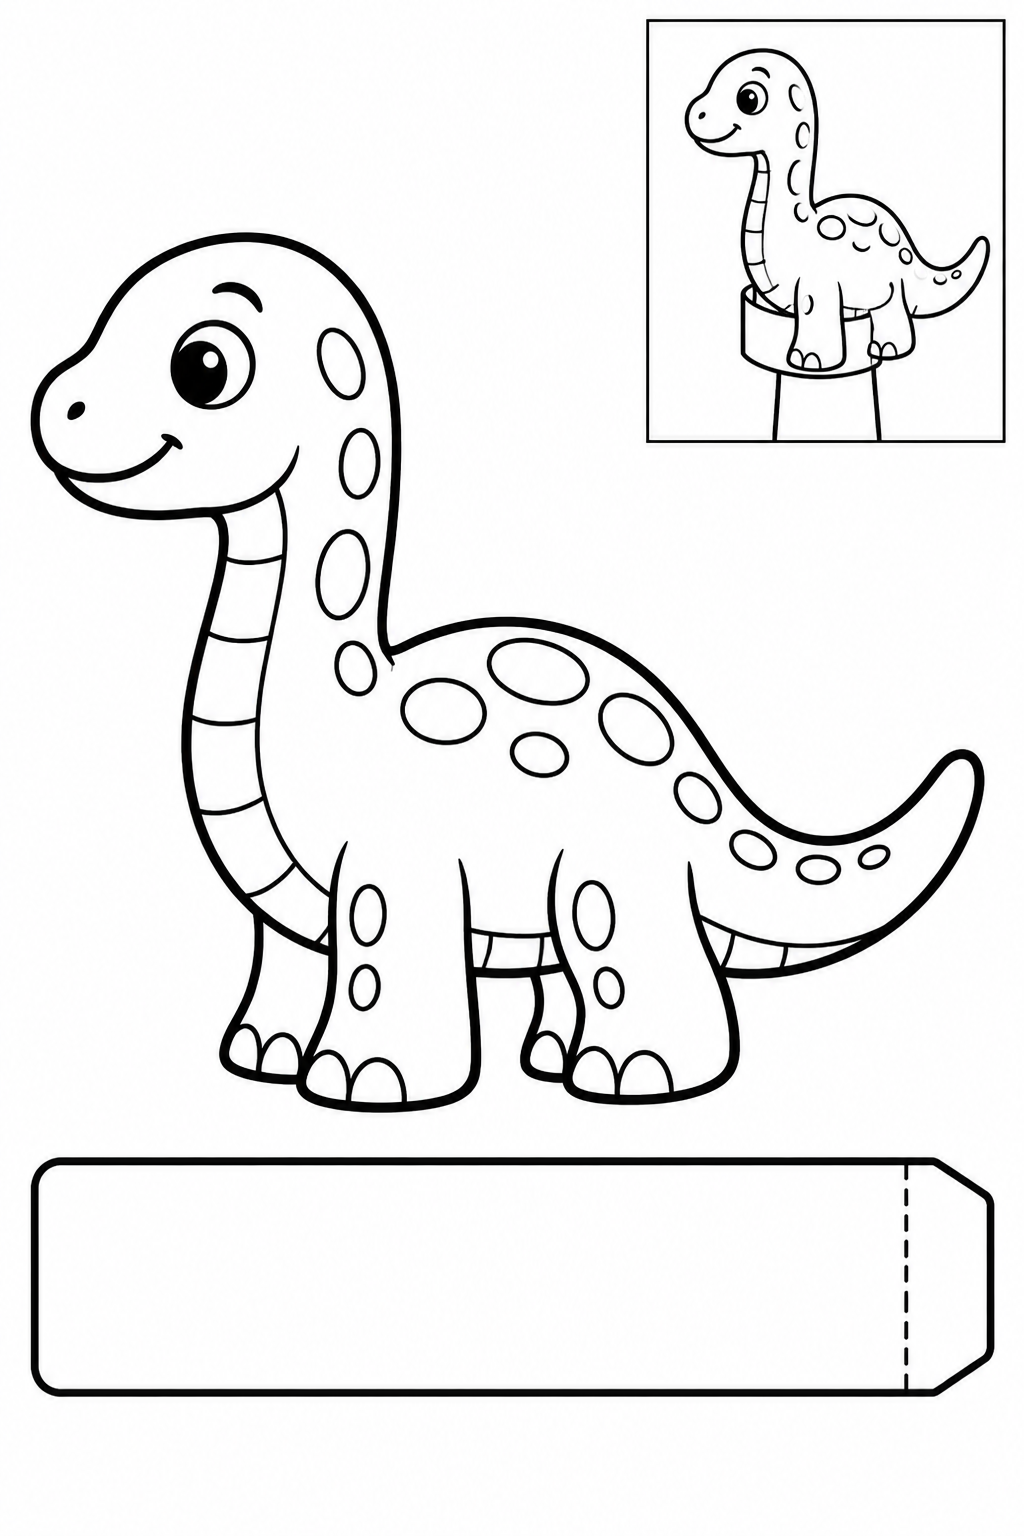
Assembly example: The small boxed example shows the finished craft. Do not cut it out.
Cut the outer contours; leave the boxed reference on the page. An adult helps curl the flat band into a loose ring around a finger. Glue its ends together, then attach the dinosaur to the front. Let it dry before playing. Check that each join holds and all parts are visible. Increase overlap or reposition a part before the glue dries if needed.
Check: Can you guide the scissors comfortably? If it is difficult, an adult can shorten a strip, cut a tricky curve or offer straight paths. Pieces should be fully separated and arranged as intended before gluing.
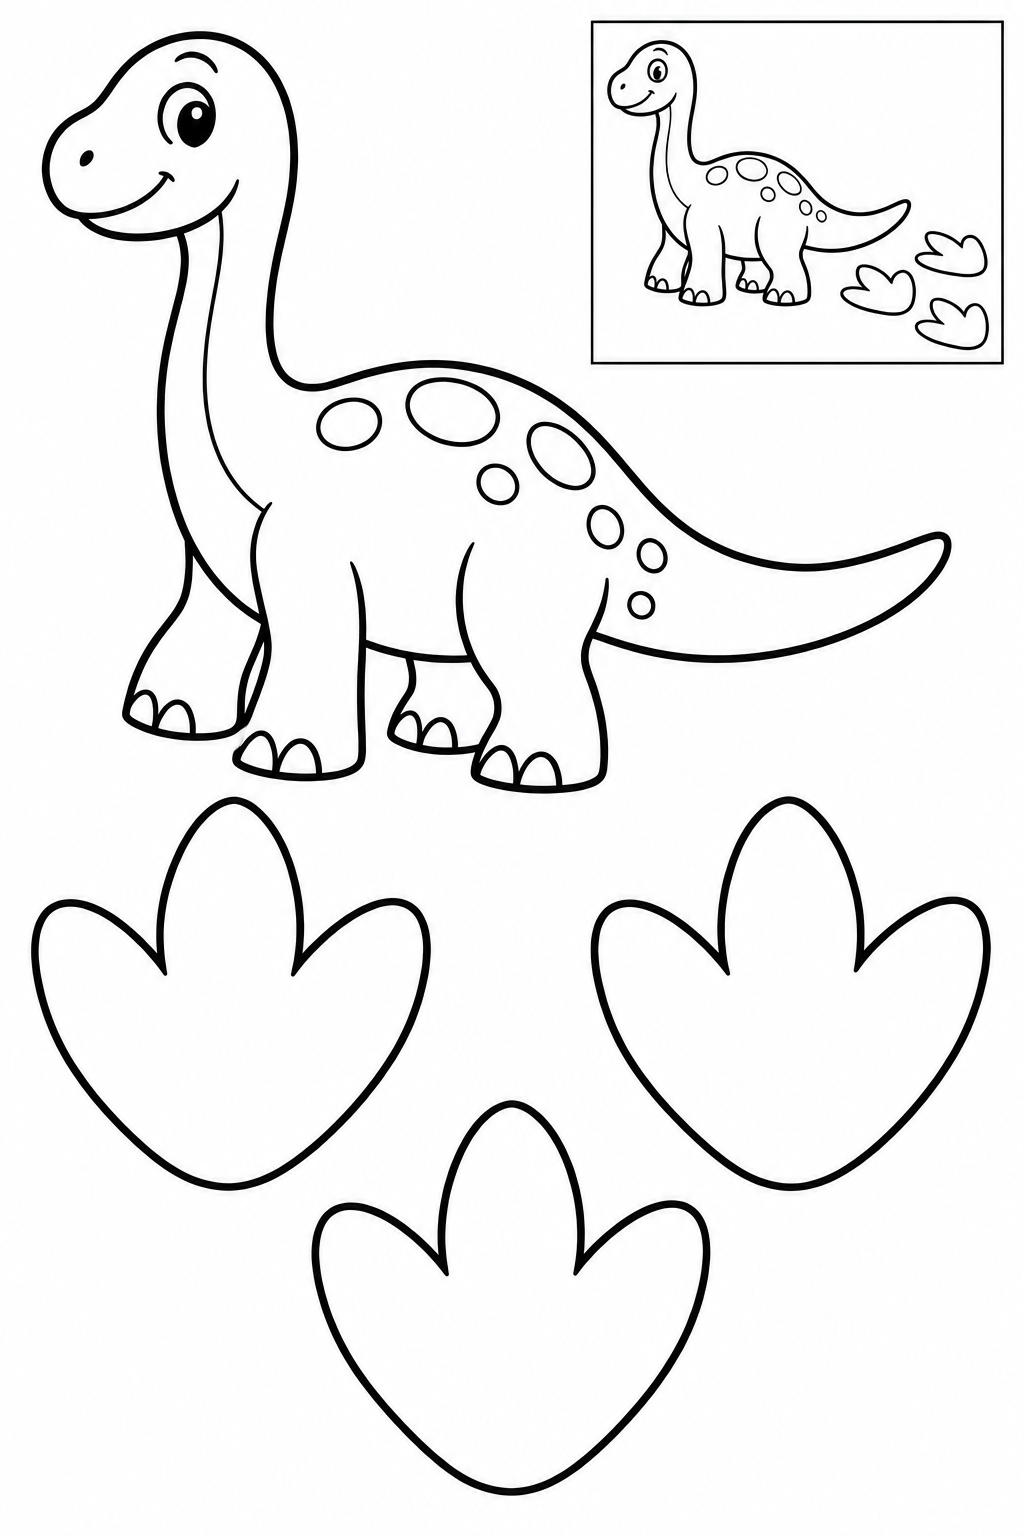
Assembly example: The small boxed example shows the finished craft. Do not cut it out.
Cut the outer contours; leave the boxed reference on the page. Place the dinosaur at one end of the three-footprint trail. Try changing the spacing to show short or long steps. Check that each join holds and all parts are visible. Increase overlap or reposition a part before the glue dries if needed.
Check: Can you guide the scissors comfortably? If it is difficult, an adult can shorten a strip, cut a tricky curve or offer straight paths. Pieces should be fully separated and arranged as intended before gluing.
Assembly example: The small boxed example shows the finished craft. Do not cut it out.
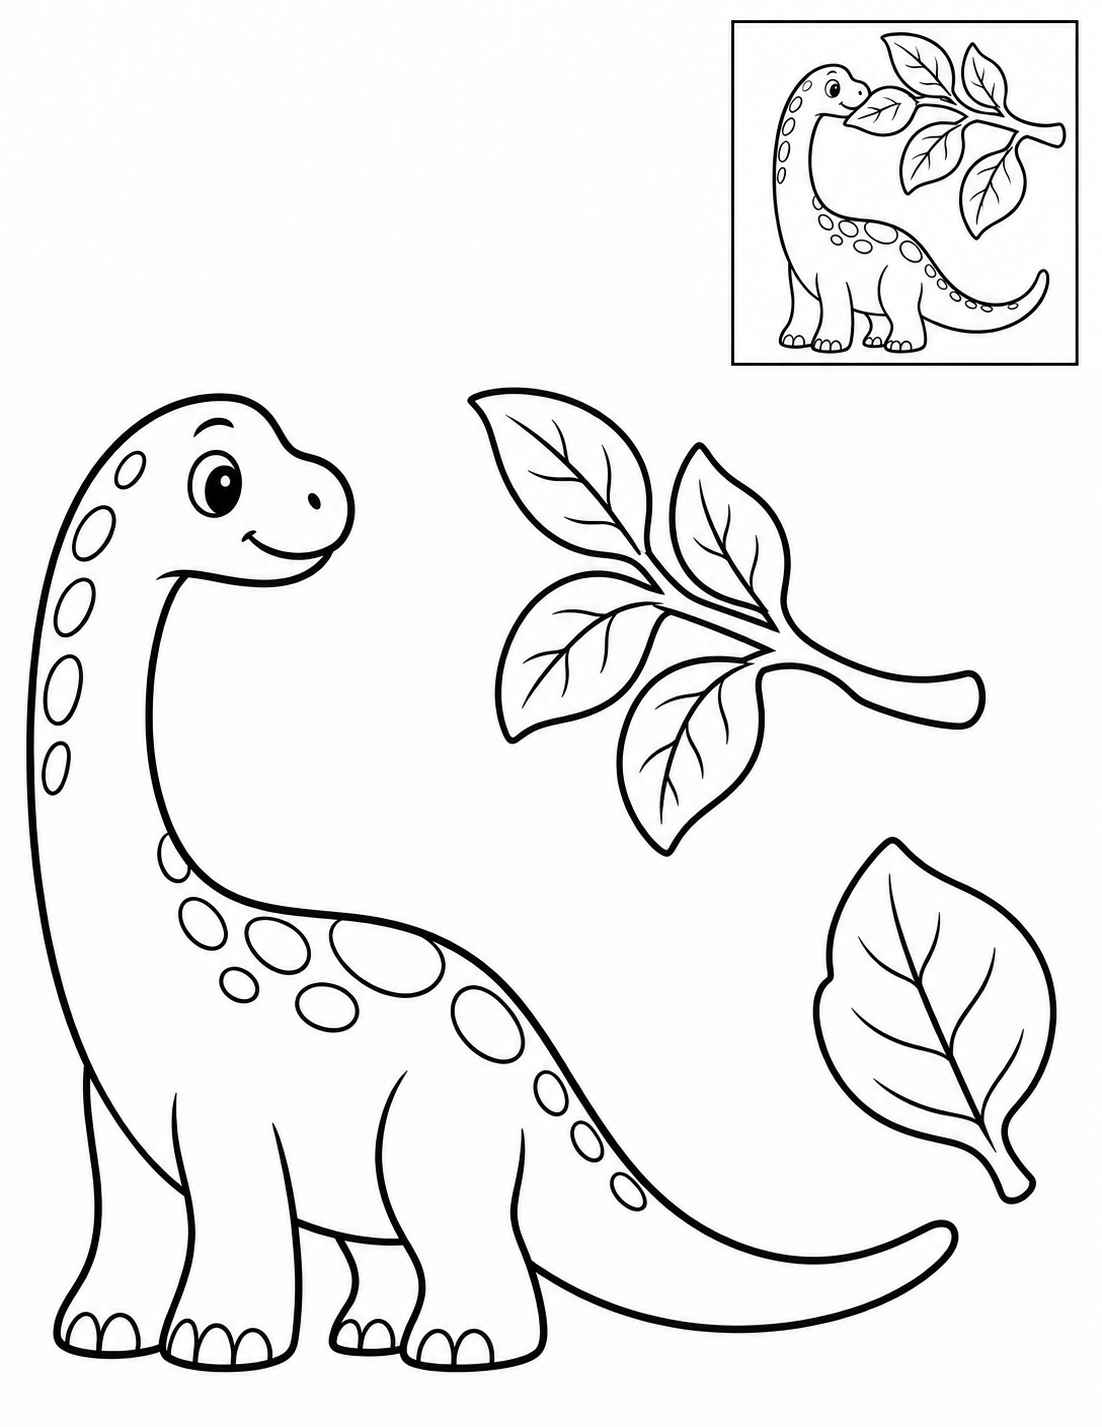
Cut the outer contours; leave the boxed reference on the page. Place the leafy branch beside the dinosaur and the loose leaf near its mouth. Keep the printed face visible. Check that each join holds and all parts are visible. Increase overlap or reposition a part before the glue dries if needed.
Check: Can you guide the scissors comfortably? If it is difficult, an adult can shorten a strip, cut a tricky curve or offer straight paths. Pieces should be fully separated and arranged as intended before gluing.
Assembly example: The small boxed example shows the finished craft. Do not cut it out.
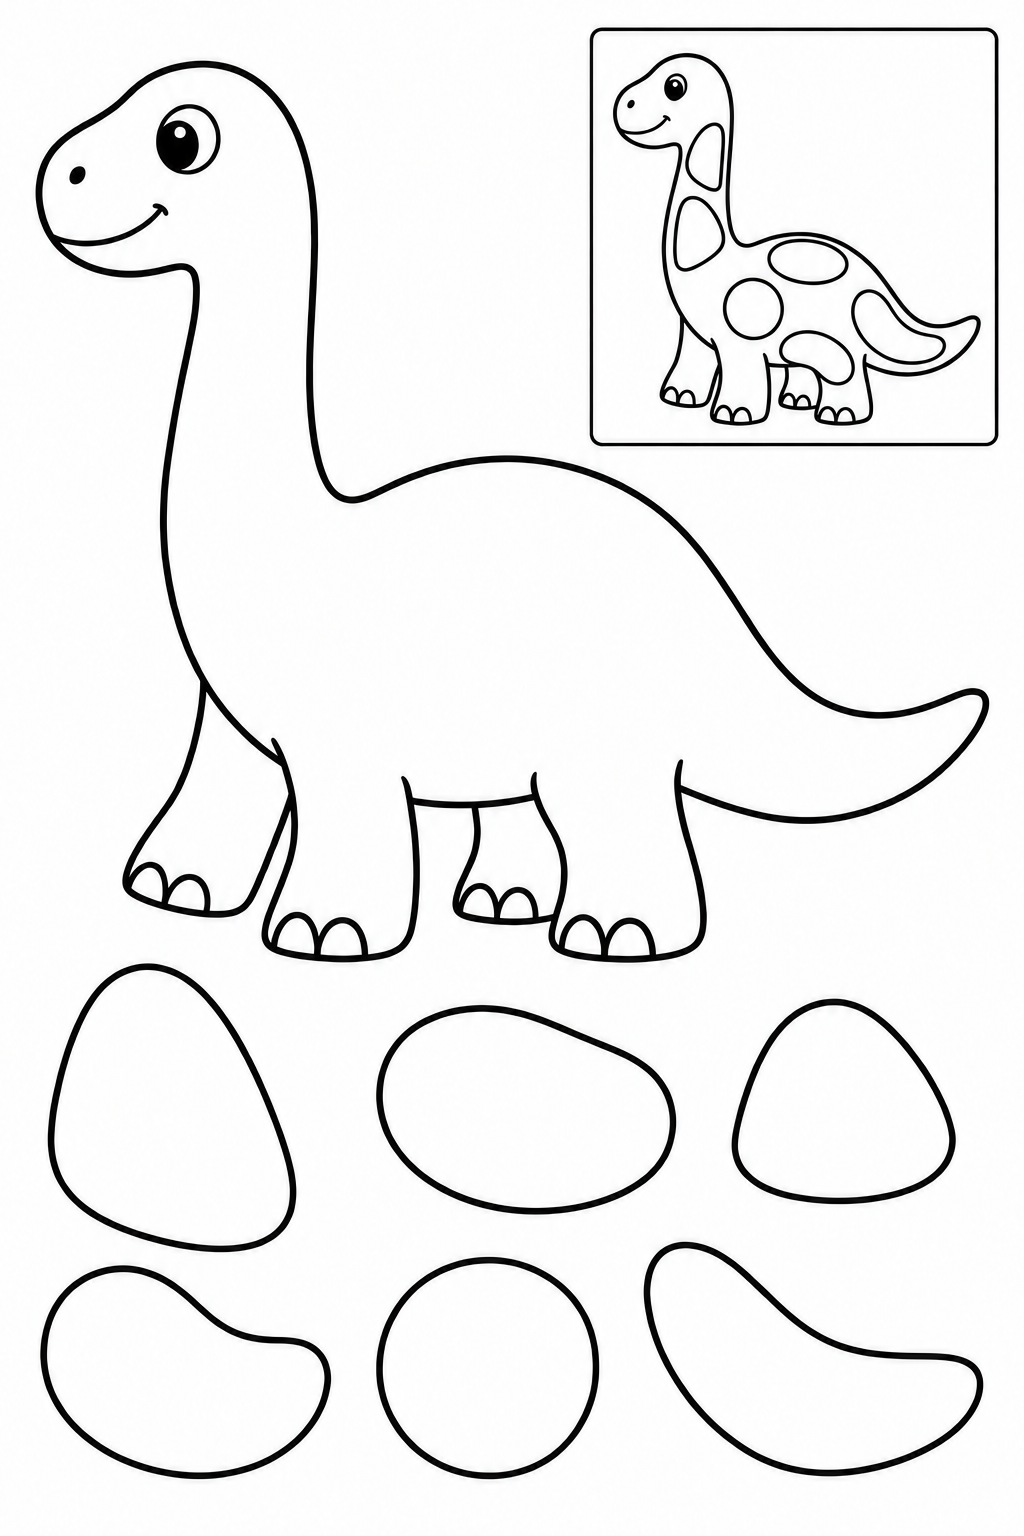
Cut the outer contours; leave the boxed reference on the page. Arrange the six large tiles on the dinosaur base before gluing. Leave the face and feet clear; choose your own spacing for the pattern. Check that each join holds and all parts are visible. Increase overlap or reposition a part before the glue dries if needed.
Check: Can you guide the scissors comfortably? If it is difficult, an adult can shorten a strip, cut a tricky curve or offer straight paths. Pieces should be fully separated and arranged as intended before gluing.
Assembly example: The small boxed example shows the finished craft. Do not cut it out.
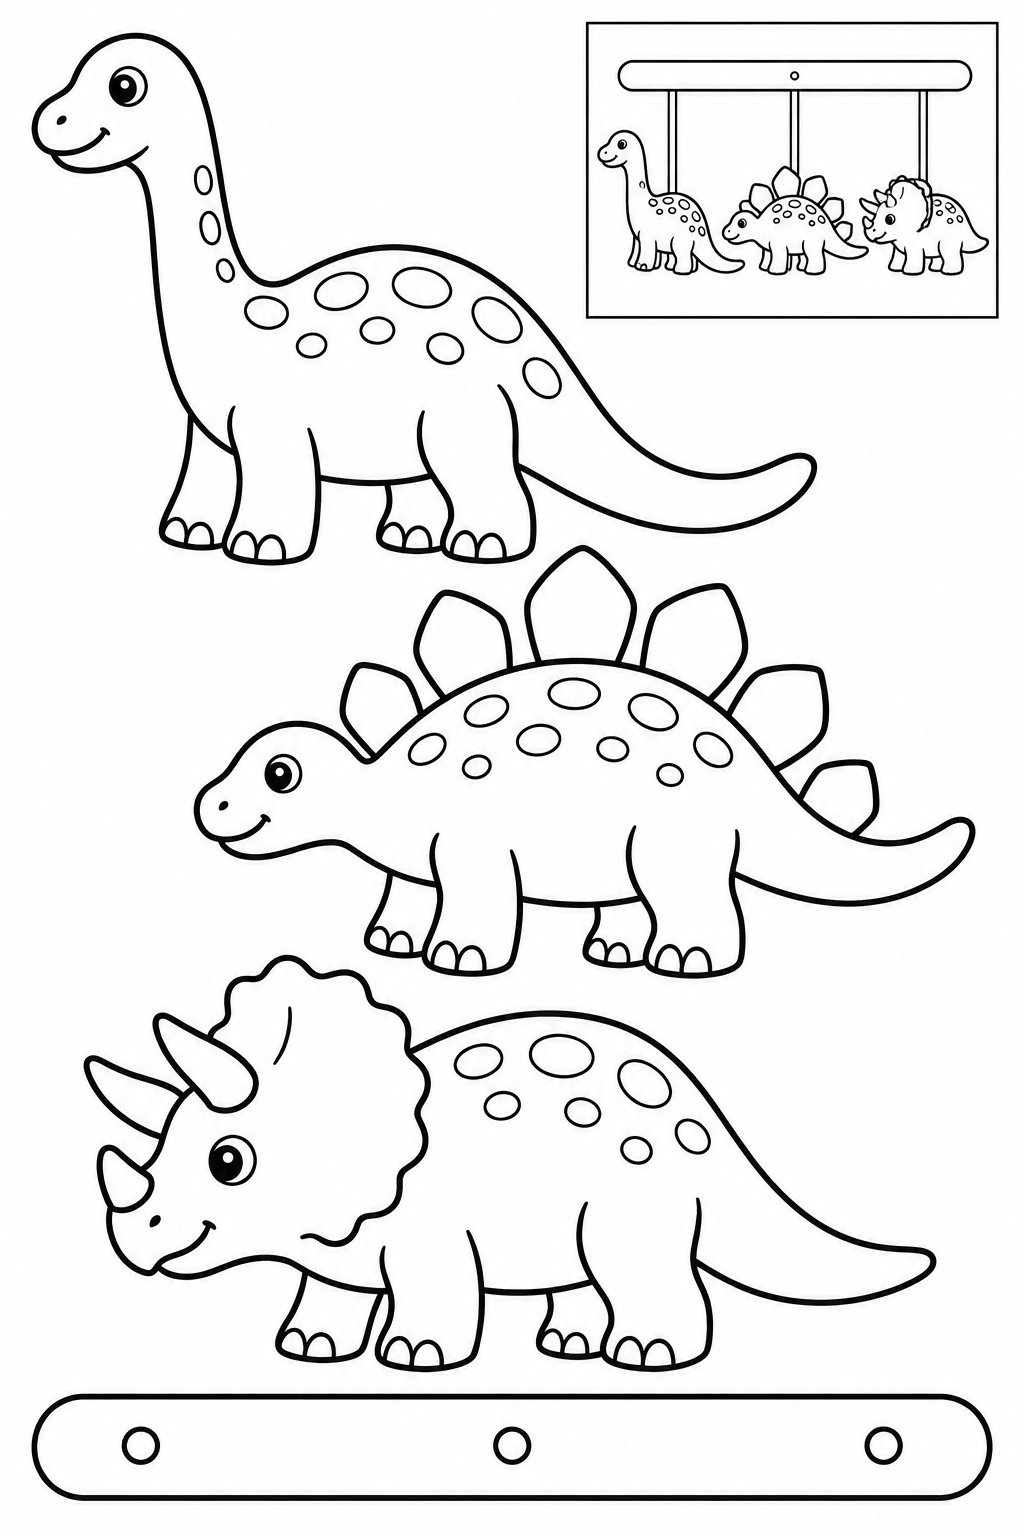
Cut the outer contours; leave the boxed reference on the page. An adult attaches thread to the broad bar and the backs of the three dinosaurs. Try different hanging heights and check the balance before lifting the mobile. Check that each join holds and all parts are visible. Increase overlap or reposition a part before the glue dries if needed.
Check: Can you guide the scissors comfortably? If it is difficult, an adult can shorten a strip, cut a tricky curve or offer straight paths. Pieces should be fully separated and arranged as intended before gluing.
Assembly example: The small boxed example shows the finished craft. Do not cut it out.
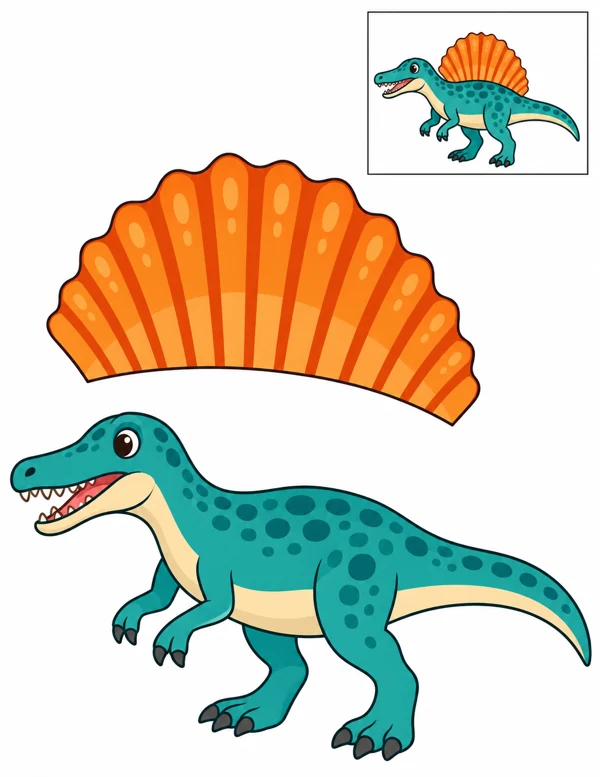
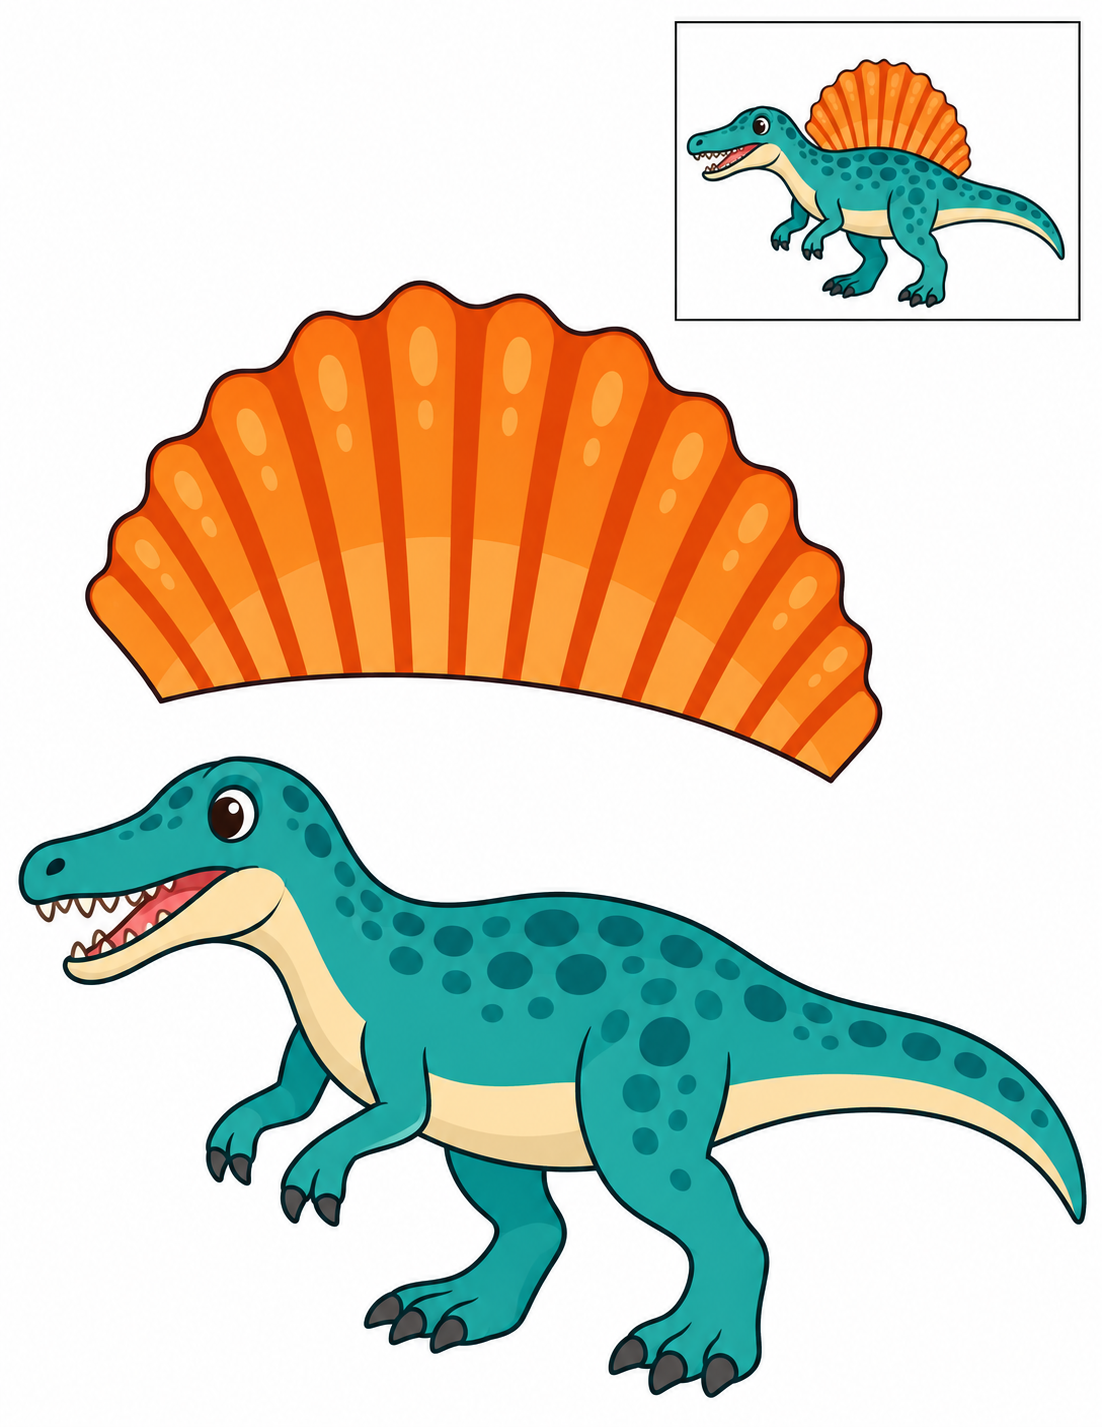
Cut the outer contours; leave the boxed reference on the page. Tuck the orange sail’s wide base behind the dinosaur’s back. Glue only the overlap so the fan remains visible above the body. Check that each join holds and all parts are visible. Increase overlap or reposition a part before the glue dries if needed.
Check: Can you guide the scissors comfortably? If it is difficult, an adult can shorten a strip, cut a tricky curve or offer straight paths. Pieces should be fully separated and arranged as intended before gluing.
Assembly example: The small boxed example shows the finished craft. Do not cut it out.
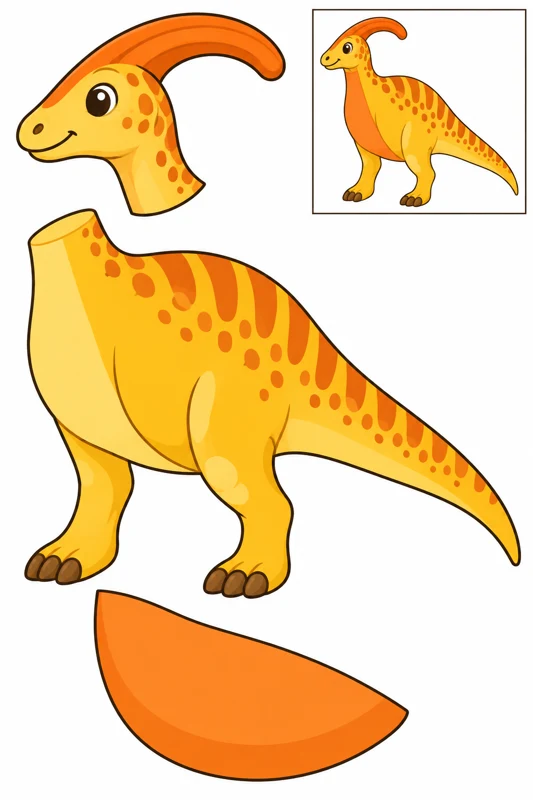
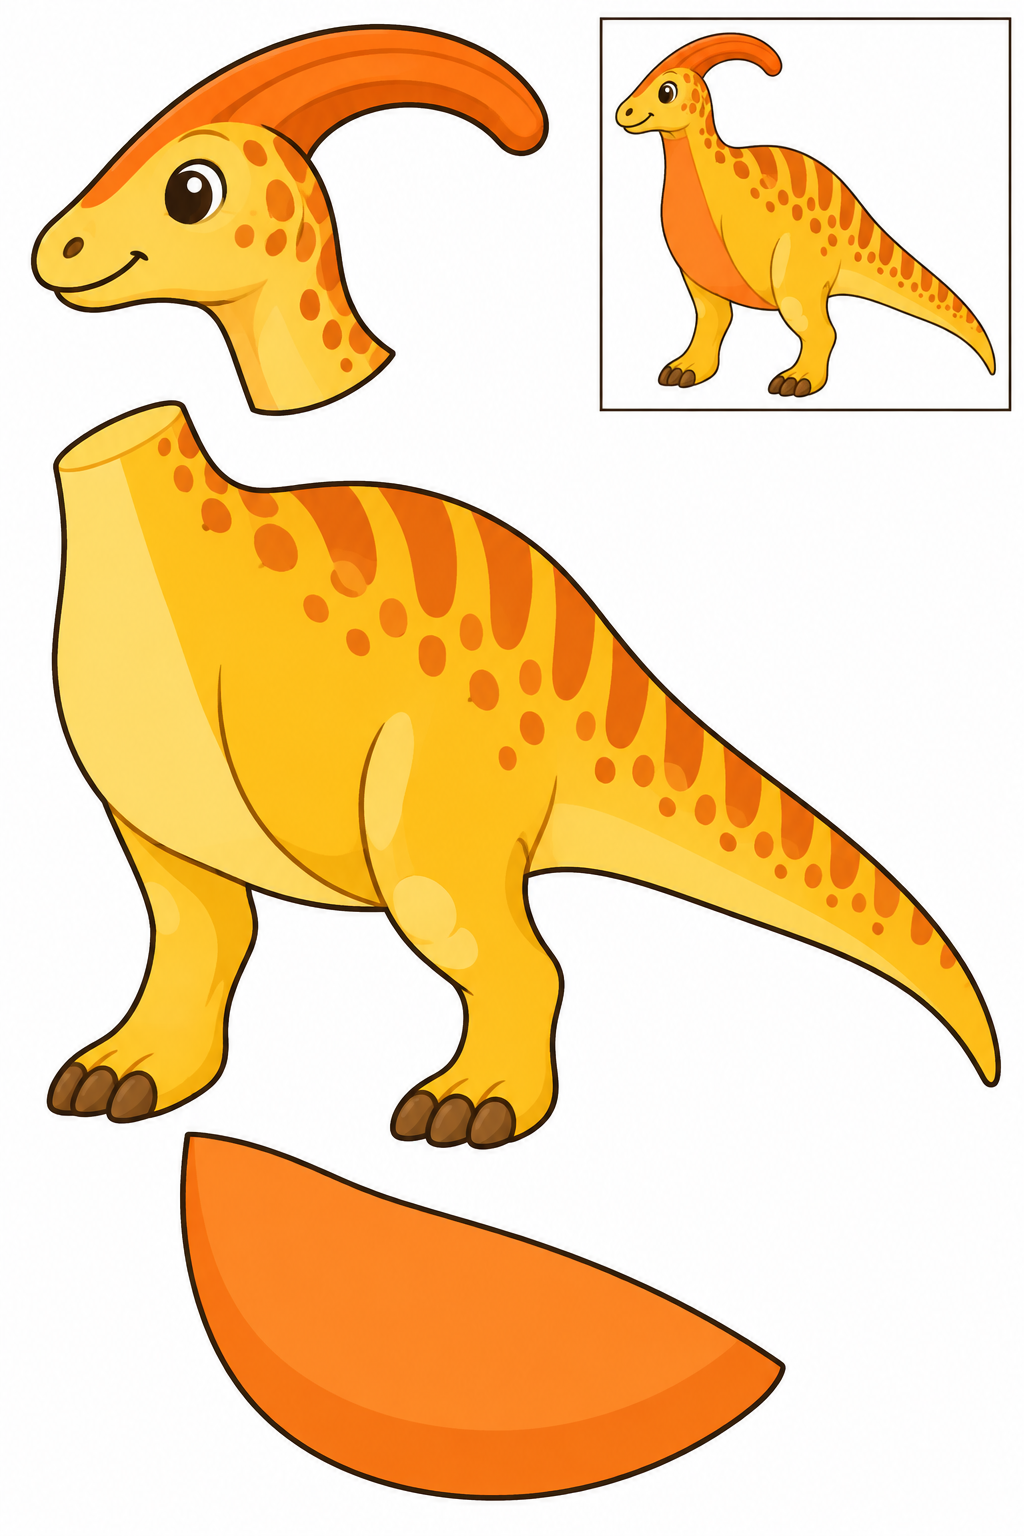
Cut the outer contours; leave the boxed reference on the page. Overlap the head’s neck with the front of the body. Add the orange belly patch on top, keeping the feet and face clear. Check that each join holds and all parts are visible. Increase overlap or reposition a part before the glue dries if needed.
Check: Can you guide the scissors comfortably? If it is difficult, an adult can shorten a strip, cut a tricky curve or offer straight paths. Pieces should be fully separated and arranged as intended before gluing.
Assembly example: The small boxed example shows the finished craft. Do not cut it out.
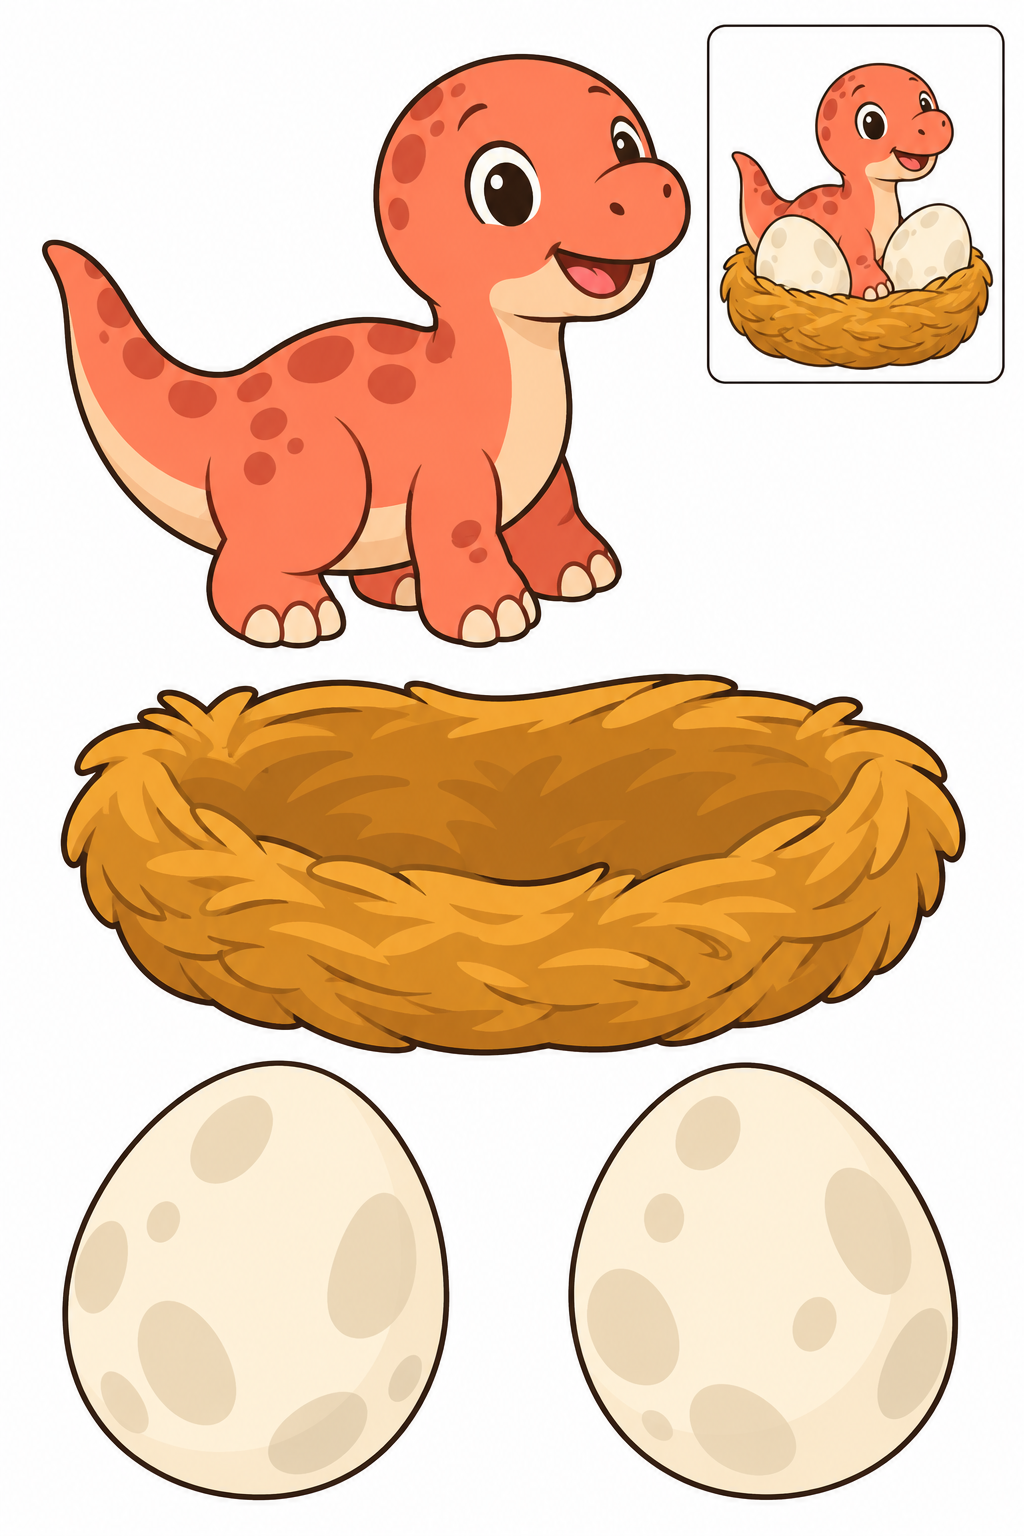
Cut the outer contours; leave the boxed reference on the page. Arrange the dinosaur and two eggs on the broad nest. Put the nest’s front edge over their lower edges if you want them to look tucked inside. Check that each join holds and all parts are visible. Increase overlap or reposition a part before the glue dries if needed.
Check: Can you guide the scissors comfortably? If it is difficult, an adult can shorten a strip, cut a tricky curve or offer straight paths. Pieces should be fully separated and arranged as intended before gluing.
Assembly example: The small boxed example shows the finished craft. Do not cut it out.
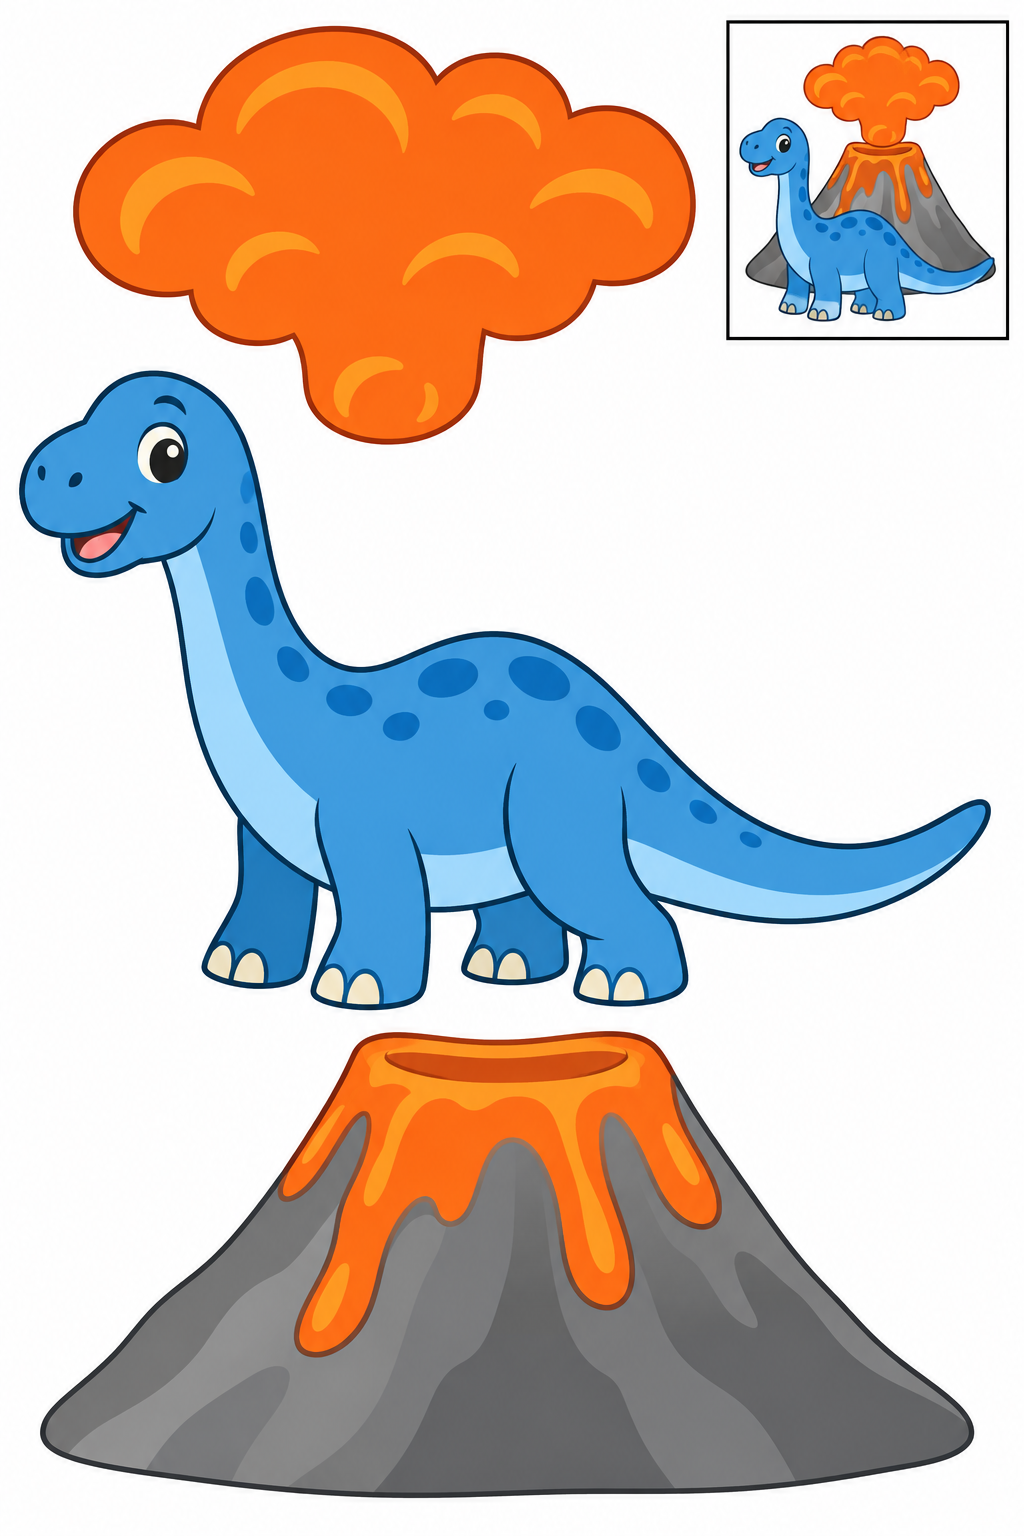
Cut the outer contours; leave the boxed reference on the page. Place the orange lava cloud over the top of the volcano. Put the dinosaur beside it with clear space around its feet. Check that each join holds and all parts are visible. Increase overlap or reposition a part before the glue dries if needed.
Check: Can you guide the scissors comfortably? If it is difficult, an adult can shorten a strip, cut a tricky curve or offer straight paths. Pieces should be fully separated and arranged as intended before gluing.
Assembly example: The small boxed example shows the finished craft. Do not cut it out.
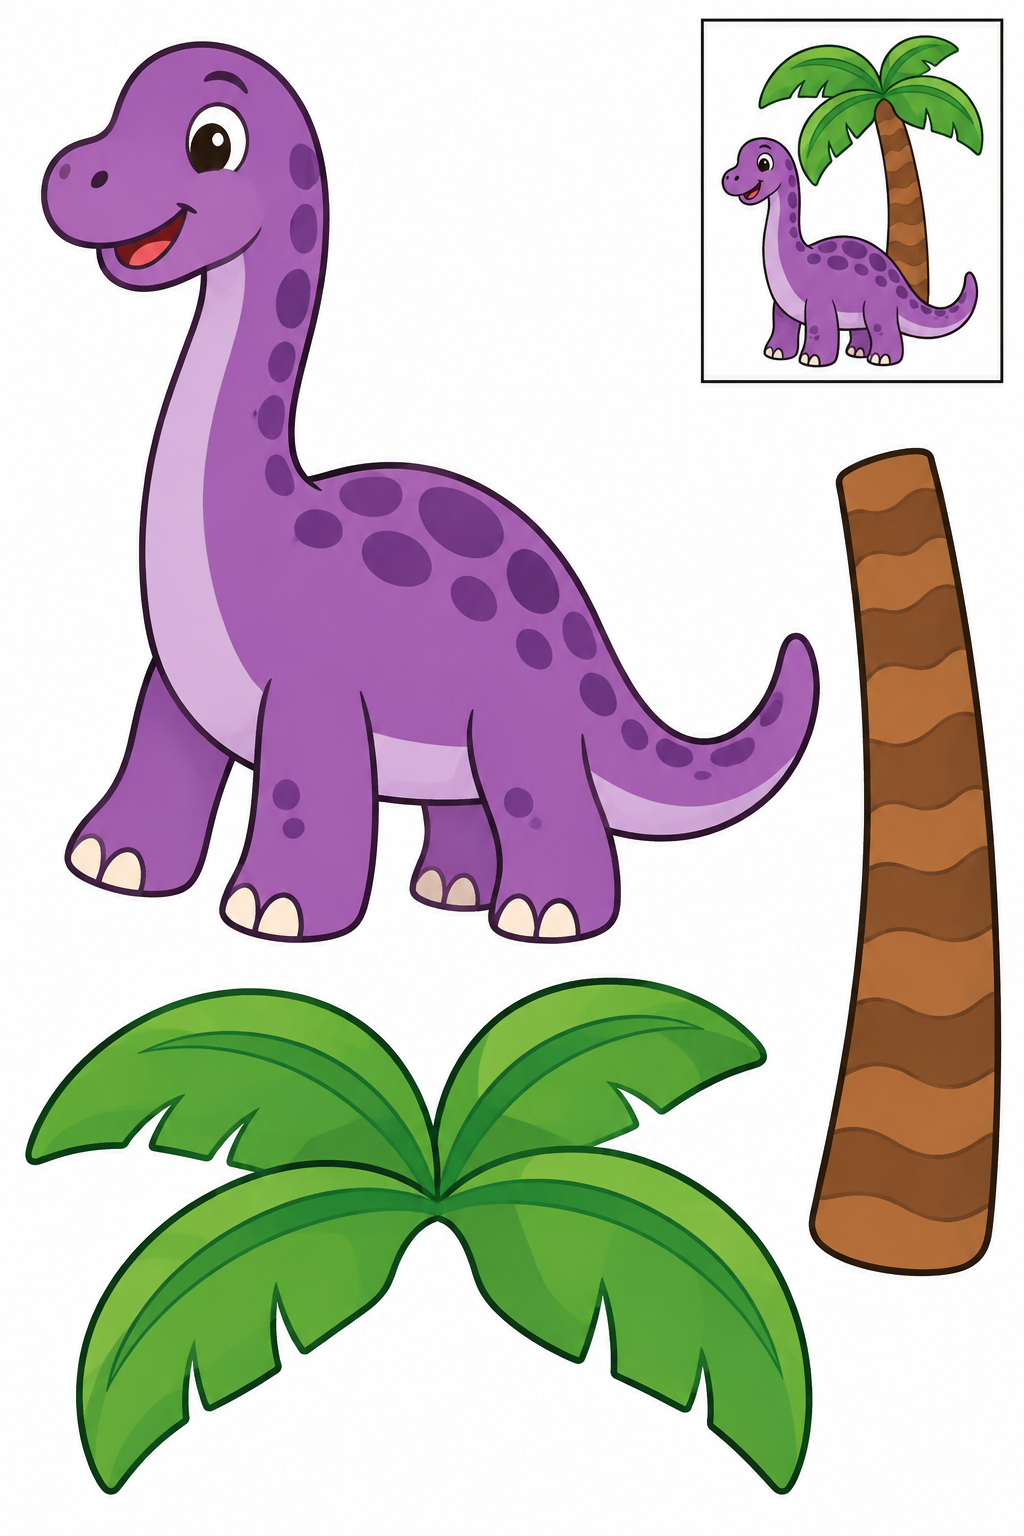
Cut the outer contours; leave the boxed reference on the page. Overlap the green palm crown over the top of the brown trunk. Put the dinosaur beside the tree, keeping the crown away from its face. Check that each join holds and all parts are visible. Increase overlap or reposition a part before the glue dries if needed.
Check: Can you guide the scissors comfortably? If it is difficult, an adult can shorten a strip, cut a tricky curve or offer straight paths. Pieces should be fully separated and arranged as intended before gluing.
Assembly example: The small boxed example shows the finished craft. Do not cut it out.
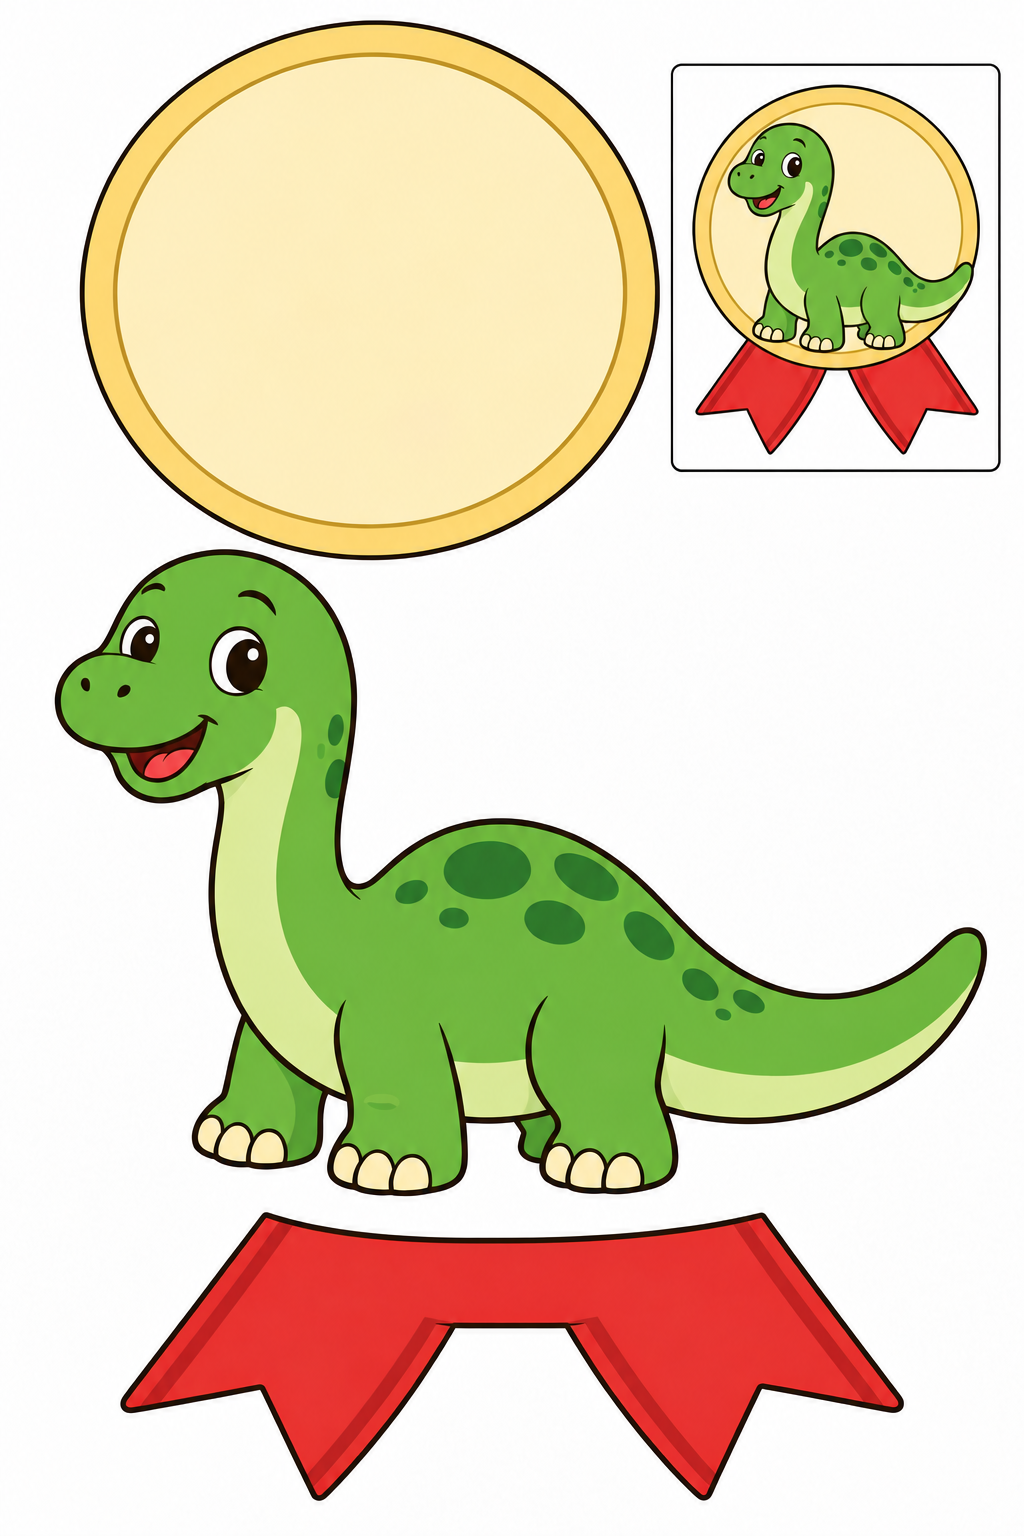
Cut the outer contours; leave the boxed reference on the page. Glue the joined ribbon pair behind the bottom of the round badge. Place the dinosaur in the center on top. Check that each join holds and all parts are visible. Increase overlap or reposition a part before the glue dries if needed.
Check: Can you guide the scissors comfortably? If it is difficult, an adult can shorten a strip, cut a tricky curve or offer straight paths. Pieces should be fully separated and arranged as intended before gluing.
Assembly example: The small boxed example shows the finished craft. Do not cut it out.
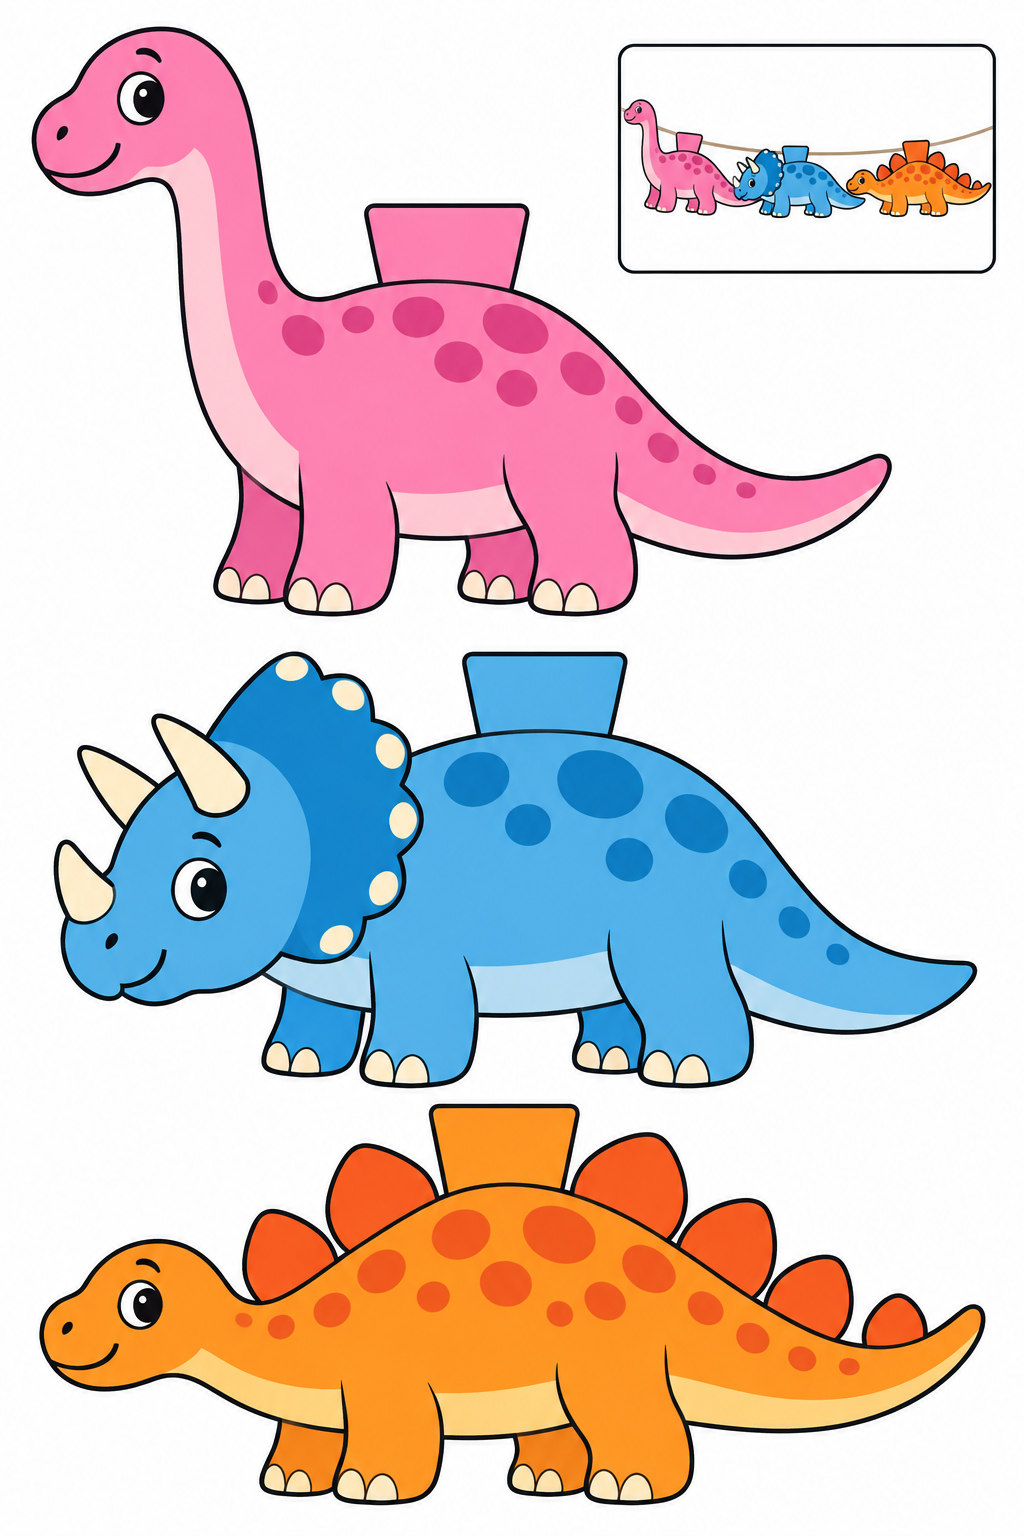
Cut the outer contours; leave the boxed reference on the page. An adult helps fold the broad top tabs over a cord and glue each tab to its own back. Keep a gap between the three figures; let the glue dry before hanging. Check that each join holds and all parts are visible. Increase overlap or reposition a part before the glue dries if needed.
Check: Can you guide the scissors comfortably? If it is difficult, an adult can shorten a strip, cut a tricky curve or offer straight paths. Pieces should be fully separated and arranged as intended before gluing.
Assembly example: The small boxed example shows the finished craft. Do not cut it out.
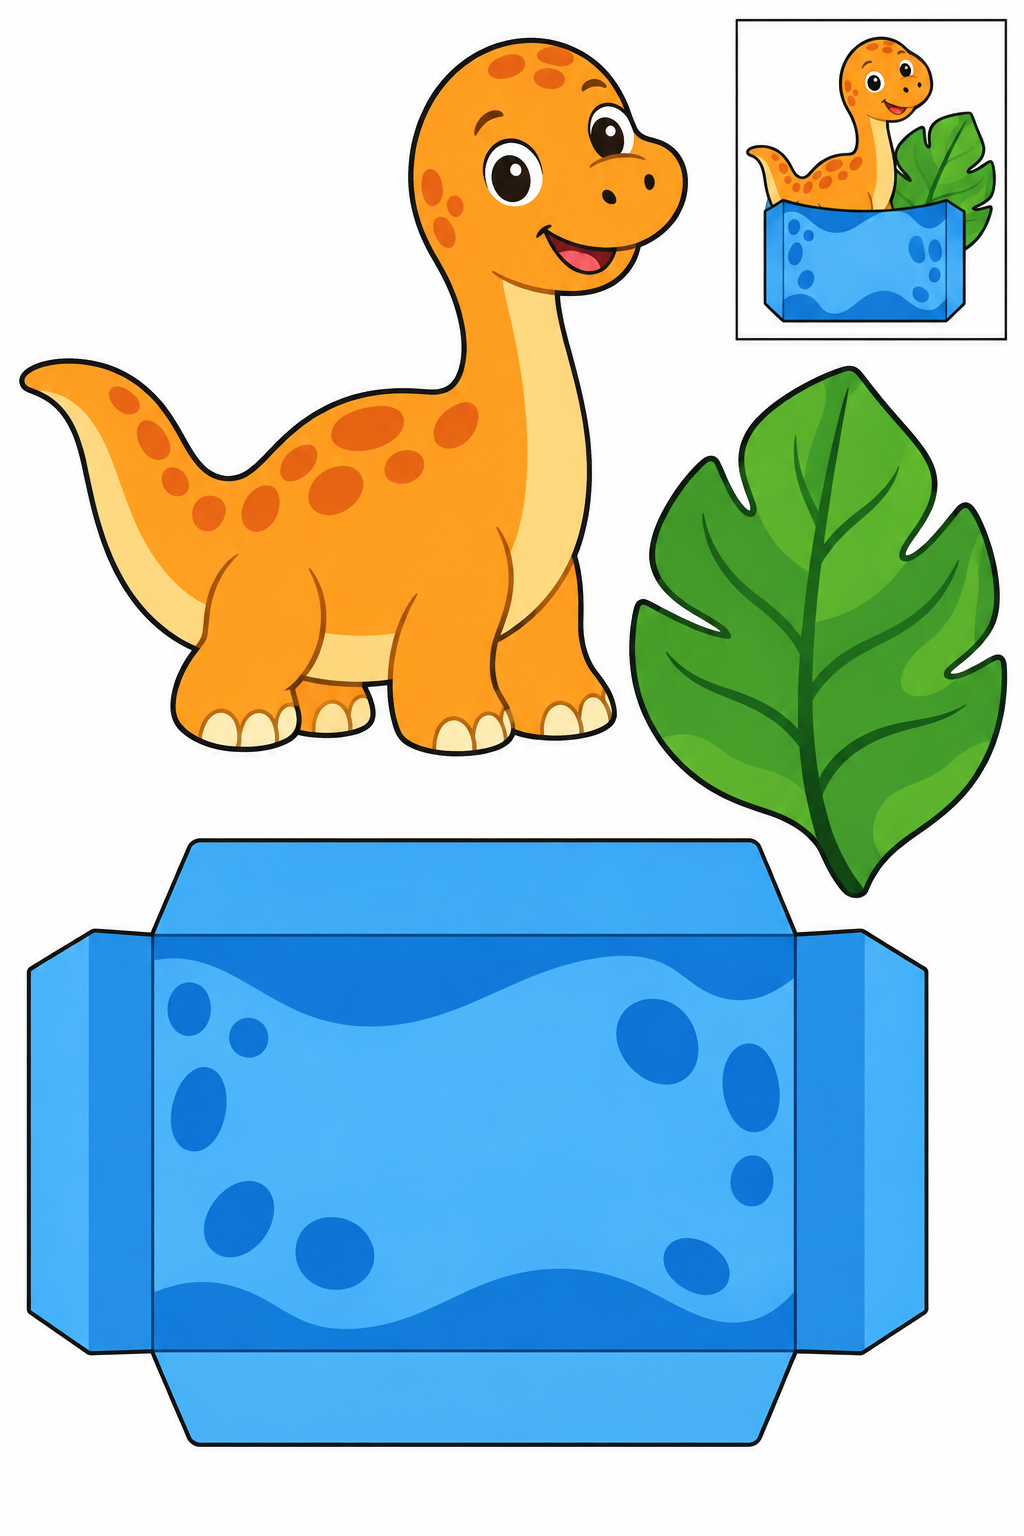
Cut the outer contours; leave the boxed reference on the page. Fold the broad pocket tabs backward. Glue the side and bottom tabs to backing paper, leaving the top open. Tuck the lower part of the dinosaur behind the open top and add the leaf beside it, as in the reference. The top tab folds back without glue; internal straight lines are folds. Check that each join holds and all parts are visible. Increase overlap or reposition a part before the glue dries if needed.
Check: Can you guide the scissors comfortably? If it is difficult, an adult can shorten a strip, cut a tricky curve or offer straight paths. Pieces should be fully separated and arranged as intended before gluing.
Assembly example: The small boxed example shows the finished craft. Do not cut it out.
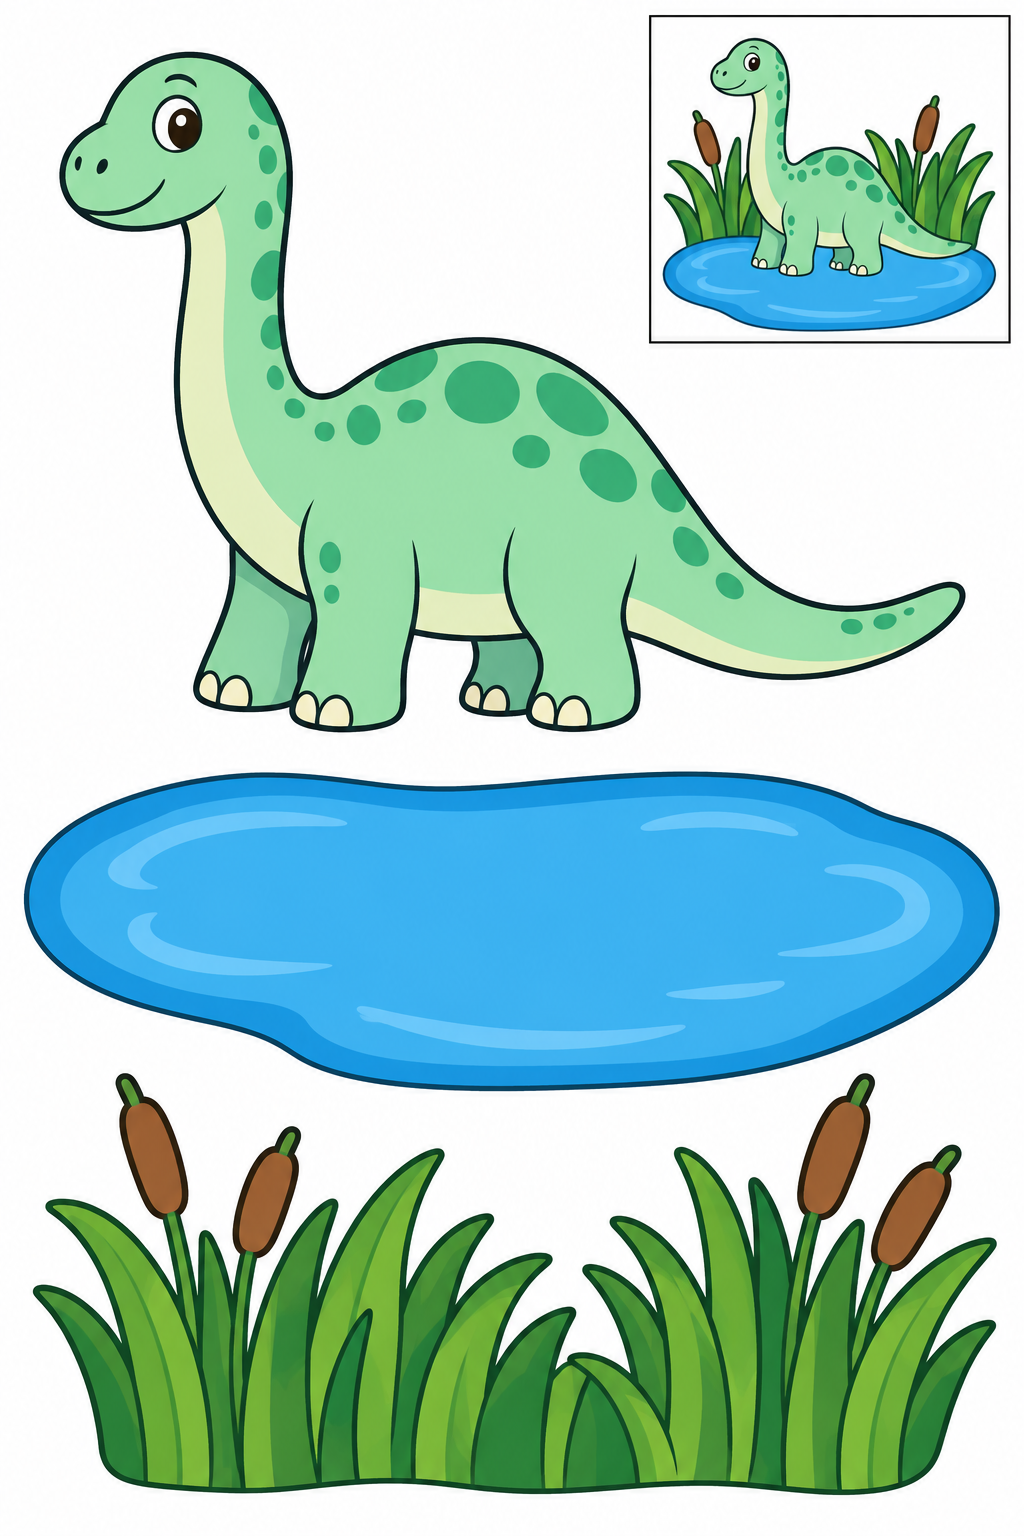
Cut the outer contours; leave the boxed reference on the page. Arrange the reeds along one edge of the oval pond. Put the dinosaur on the bank, leaving part of the water visible. Check that each join holds and all parts are visible. Increase overlap or reposition a part before the glue dries if needed.
Check: Can you guide the scissors comfortably? If it is difficult, an adult can shorten a strip, cut a tricky curve or offer straight paths. Pieces should be fully separated and arranged as intended before gluing.
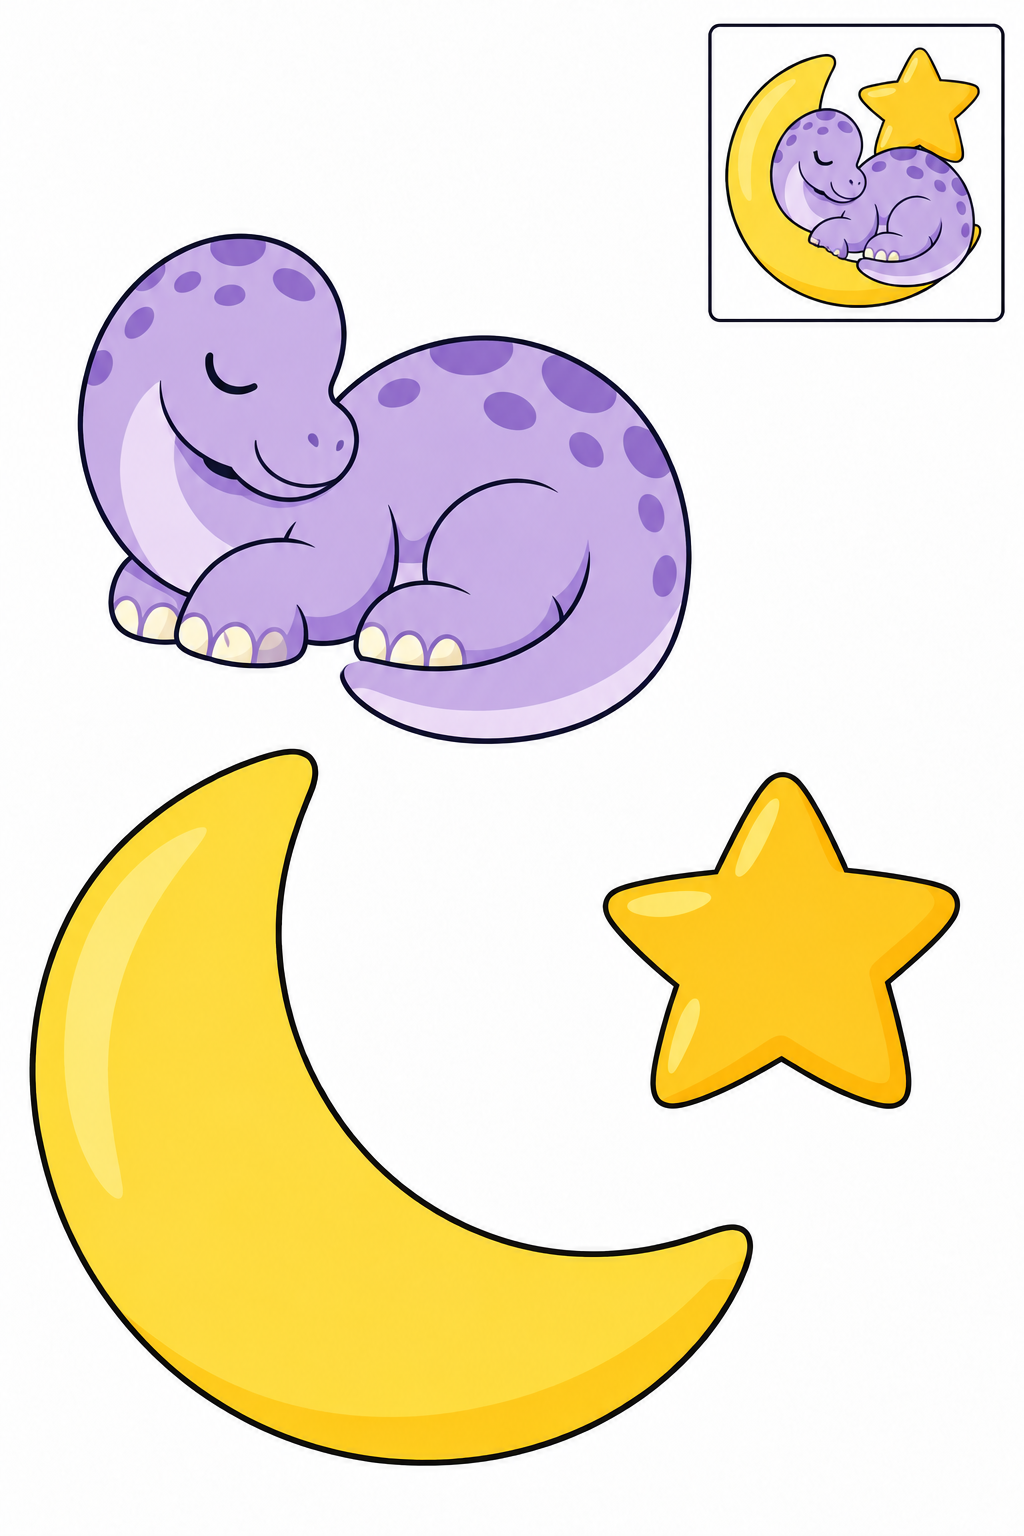
Assembly example: The small boxed example shows the finished craft. Do not cut it out.
Cut the outer contours; leave the boxed reference on the page. Place the sleeping dinosaur over the lower curve of the crescent moon. Add the large star nearby without covering the face. Check that each join holds and all parts are visible. Increase overlap or reposition a part before the glue dries if needed.
Check: Can you guide the scissors comfortably? If it is difficult, an adult can shorten a strip, cut a tricky curve or offer straight paths. Pieces should be fully separated and arranged as intended before gluing.
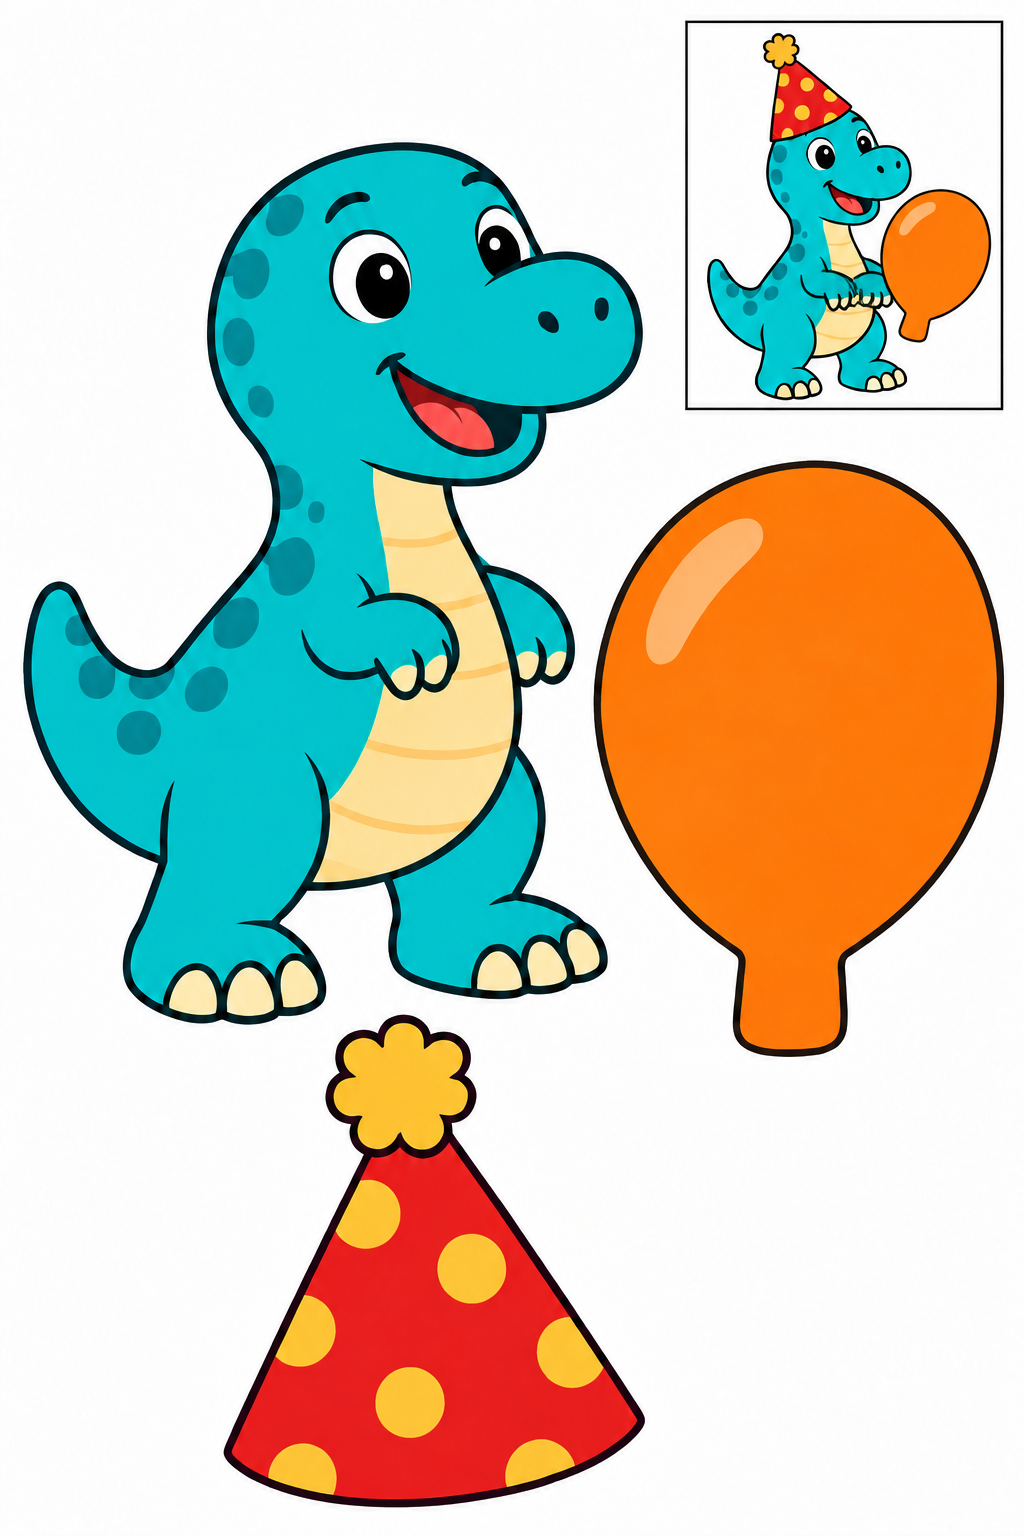
Assembly example: The small boxed example shows the finished craft. Do not cut it out.
Cut the outer contours; leave the boxed reference on the page. Glue the hat over the dinosaur’s head with a small overlap. Put the balloon beside its hand; the broad balloon stem stays integral. Check that each join holds and all parts are visible. Increase overlap or reposition a part before the glue dries if needed.
Check: Can you guide the scissors comfortably? If it is difficult, an adult can shorten a strip, cut a tricky curve or offer straight paths. Pieces should be fully separated and arranged as intended before gluing.
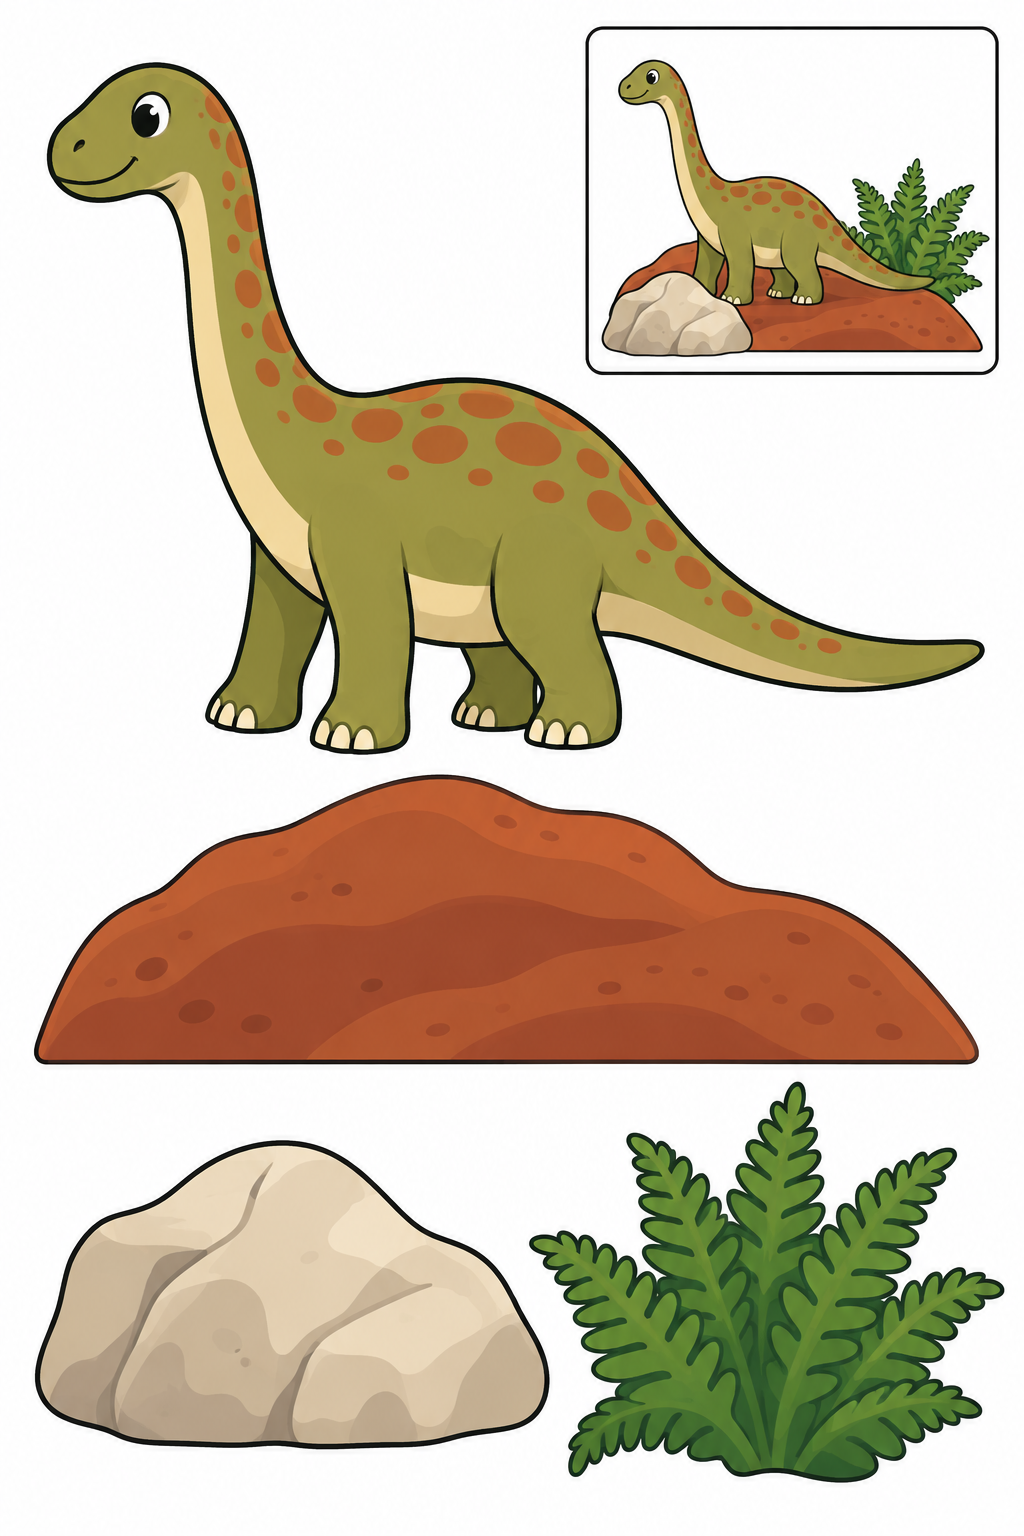
Assembly example: The small boxed example shows the finished craft. Do not cut it out.
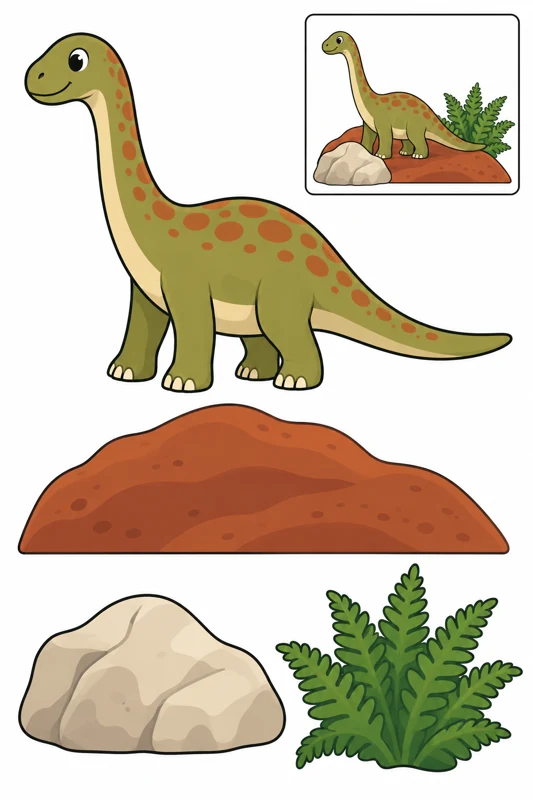
Cut the outer contours; leave the boxed reference on the page. Arrange the hill behind the dinosaur. Add the rock and fern beside its feet, leaving the face and tail visible. Check that each join holds and all parts are visible. Increase overlap or reposition a part before the glue dries if needed.
Check: Can you guide the scissors comfortably? If it is difficult, an adult can shorten a strip, cut a tricky curve or offer straight paths. Pieces should be fully separated and arranged as intended before gluing.
How to build a paper dinosaur
Choose one construction
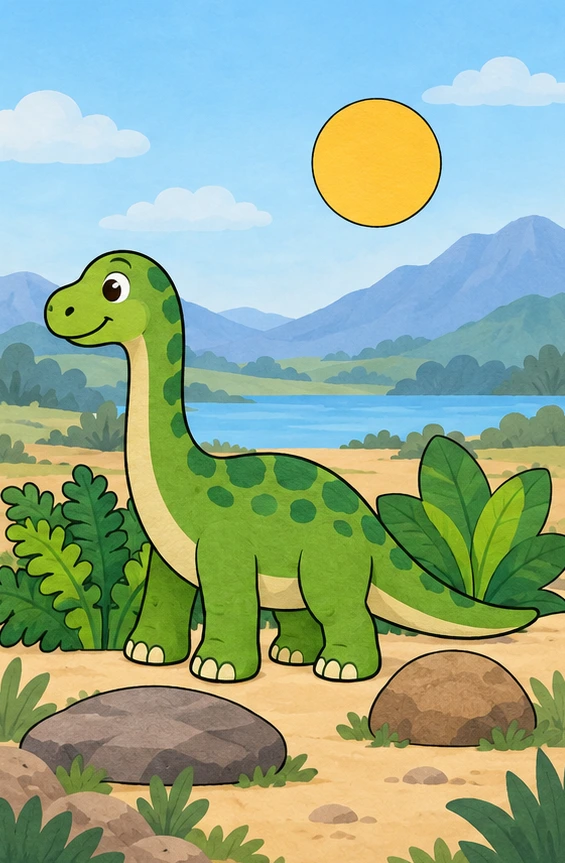
Begin with the long-neck dinosaur: its large base already includes the head and legs, and the child adds a tail and an oval patch. The stegosaurus has separate plates to arrange along its back. For the frilled dinosaur, join the head to the frill before placing both on the body. These offer different cutting and assembly tasks. Choose a bookmark or finger puppet if you want to use the result in play. Pick one sheet according to the child’s confidence with scissors. Two or three pieces are enough for a first session; save other projects for another day.
Prepare paper and colors
Gather printer paper, child scissors, pencils, a glue stick and a separate backing sheet. Download the PDF that matches your printer paper: A4 or US Letter. Print at 100% and check that the margins and footer are fully visible. Color black-and-white sheets before cutting; the intact page makes legs and tails easier to hold. Full-color projects are ready for scissors. Their colors are imaginative and their figures simplified: these are craft illustrations rather than scientific reconstructions of dinosaur appearance. For a bookmark, you can glue the printed strip onto thin card.
Turn the paper around curves
An adult can first separate the page into large areas. Use short cuts along each piece’s outer contour. Eyes, spots and lines inside armor remain printed decoration. Before the tail curves, stop and turn the paper with the supporting hand so the scissors keep pointing forward. Approach gaps between legs from the outside instead of trying to cut the whole notch in one motion. If a section feels too narrow, leave a little white border or ask an adult for help. The small boxed picture explains assembly; it stays on the page and is not an extra cut piece.
Test the joins before gluing
Lay the pieces beside the reference. A tail’s broad root should overlap behind the body, while back plates attach by their bases behind the spine. Decorative patches sit on top and leave the face clear. Check the arrangement without glue: can you see each part, and is there enough overlap to hold the join? Apply a thin layer of glue to the overlap and press through clean scrap paper. If the tail lifts, increase the overlap. If a plate disappears, move it upward before the glue dries. Repair a nick with a little tape on the back. Fold a pocket’s broad tabs first, and fit a puppet band loosely around a finger.
Invent a prehistoric story
For an independent scene, choose one dinosaur and two broad elements: a leaf, rock, hill or pond. Try two arrangements before gluing. Your character might walk toward water or peek over a hill; keep its face and legs visible. Draw a background on separate backing paper and tell what happens in this invented story. The additional whole-character sheets work well for a shared picture, with each participant choosing one figure. Next time, change the construction: after joining a tail, try back plates or a mosaic. There is no need to cut the entire collection in one session.
Which glue should we use?
A glue stick works for a flat collage. Apply it to broad joins rather than the tips of tails or horns. For the pocket, check that glue stays on the tabs and the top remains open. An adult assembles the mobile with thread; a hole punch and thread are extra supplies rather than printed pieces.
Choose by skill, not just age
These projects are intended roughly for ages 4–8 with adult help. Start with straight paths and squares. Once a straight cut feels comfortable, try corners, then circles and gentle curves. Age is a guide: choose a manageable task and take breaks.
You need paper, child scissors, coloring pencils and a glue stick for assembly crafts. Keep fingers away from the blades and cut while seated at a table. If a child is not ready for scissors, an adult can cut while the child colors and arranges.
Printing and activity questions
Are the templates really free?
Yes. All templates are downloadable without an account or email address. Use them at home or in class; do not resell the files.
Should I choose A4 or Letter?
Match your printer paper: A4 is 210 × 297 mm; US Letter is 8.5 × 11 inches. Print at 100%. Each PDF contains one page.
Which lines should we cut?
On practice paths, cut dashed lines from the edge or starting dot. On crafts, cut the solid outer border of each piece. Do not cut out the small boxed assembly example.
What if the paper keeps tearing?
Ask an adult to check that the scissors cut the paper. Try a shorter strip and smaller motions. Stop before a corner and turn the paper with the supporting hand.
Whole dinosaurs for a collage
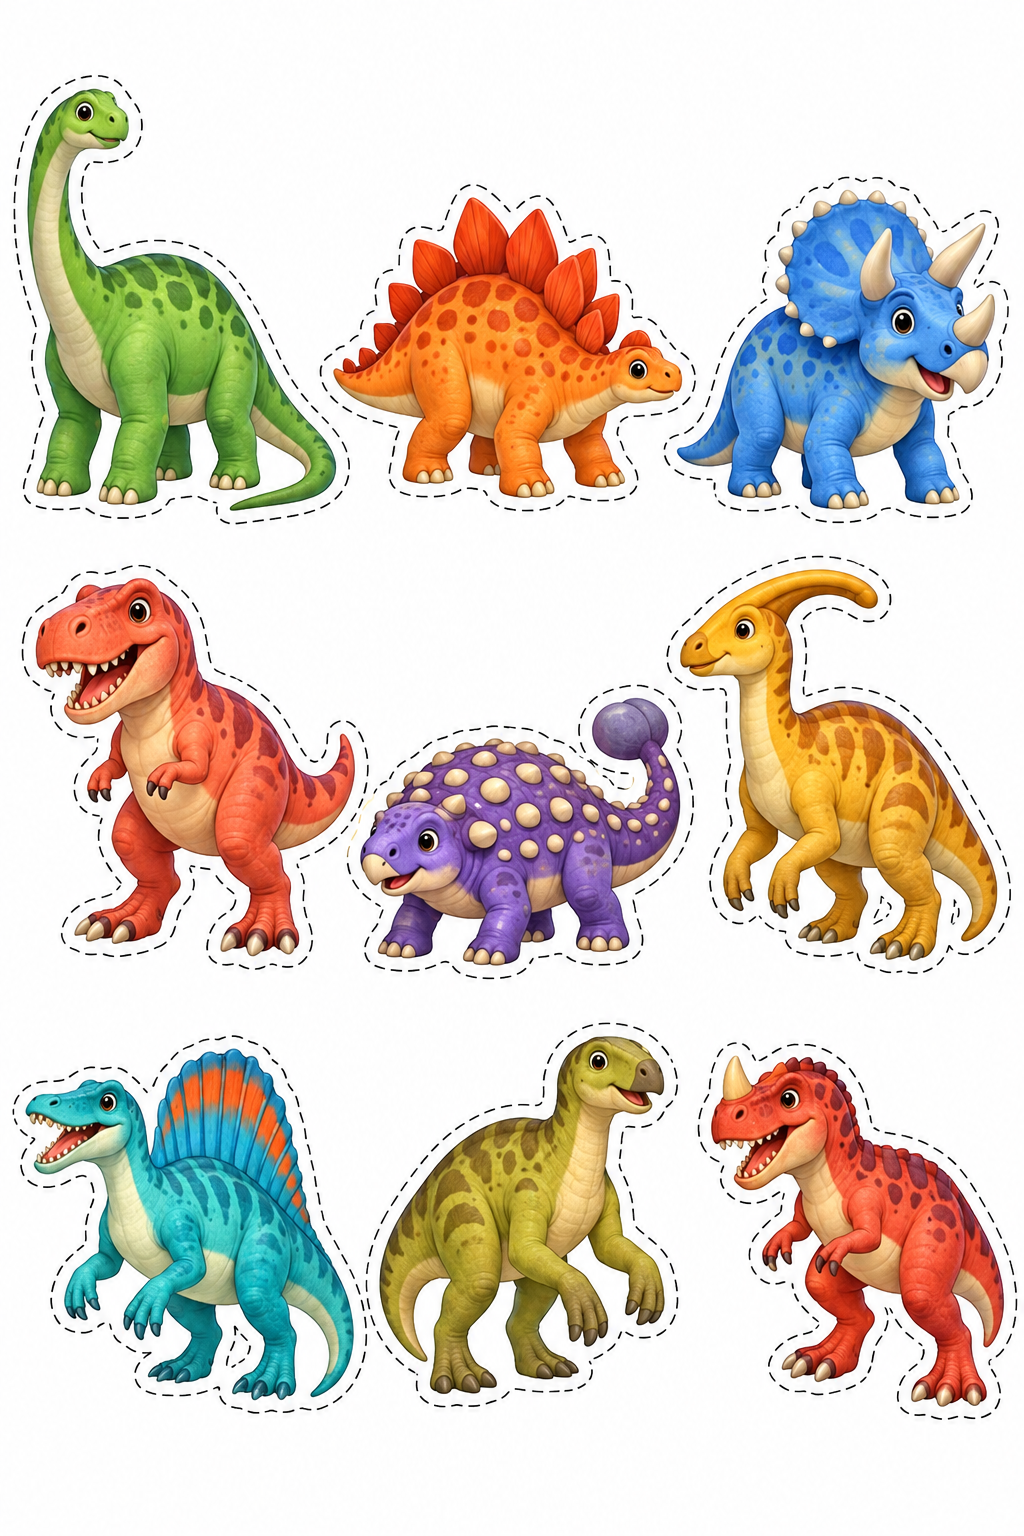
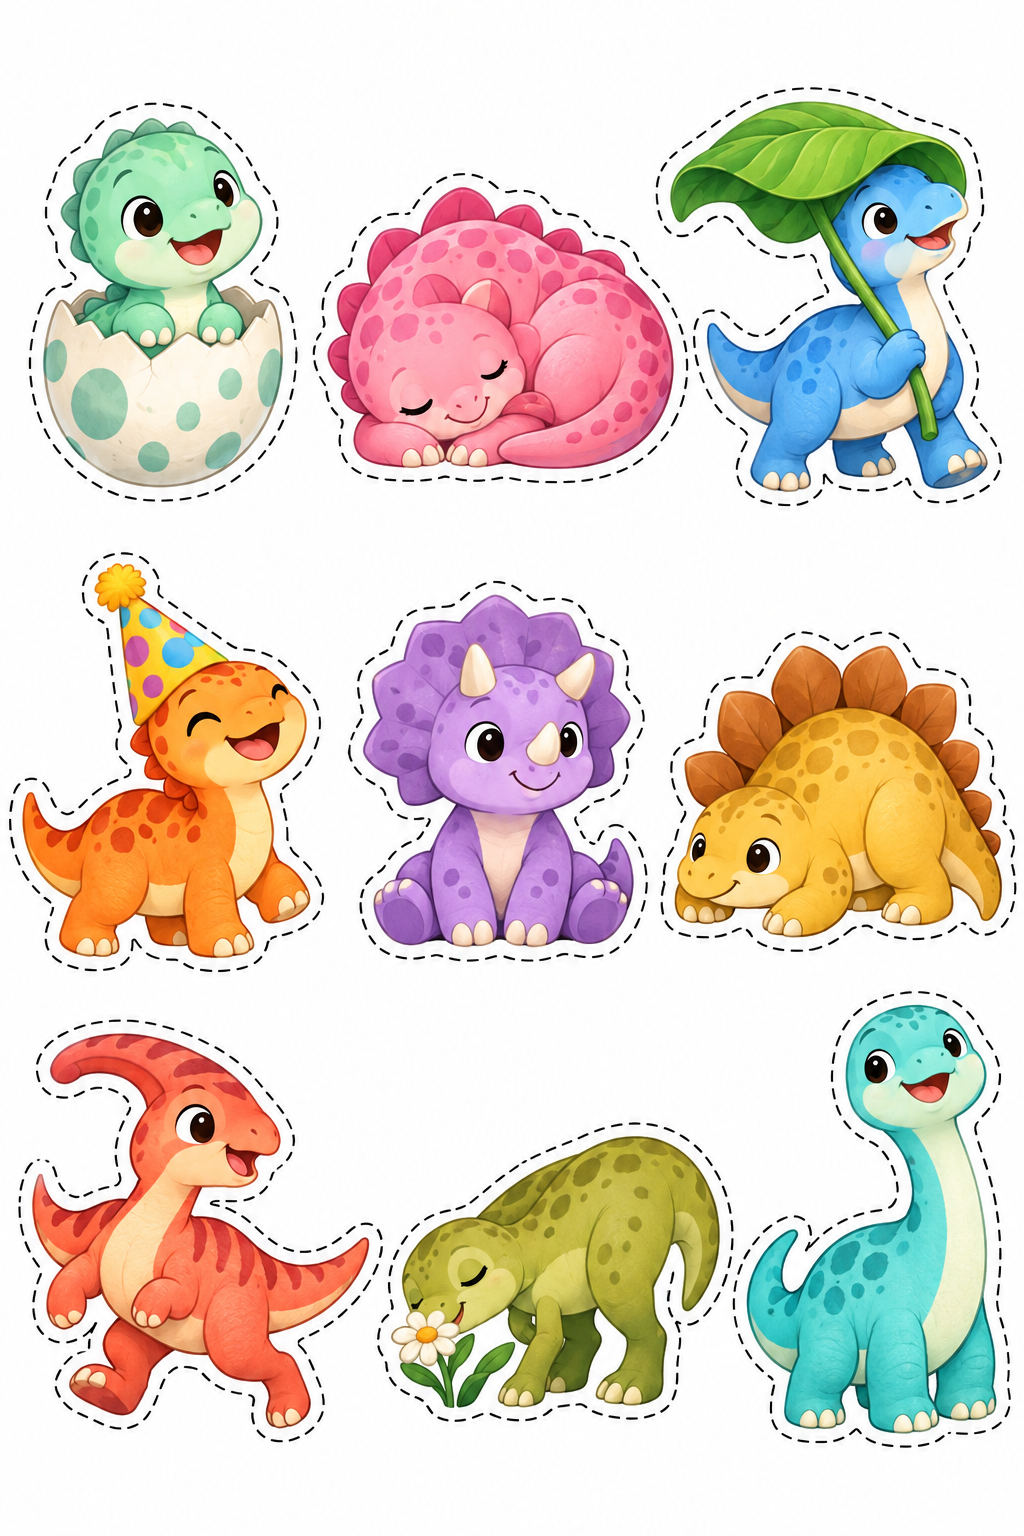
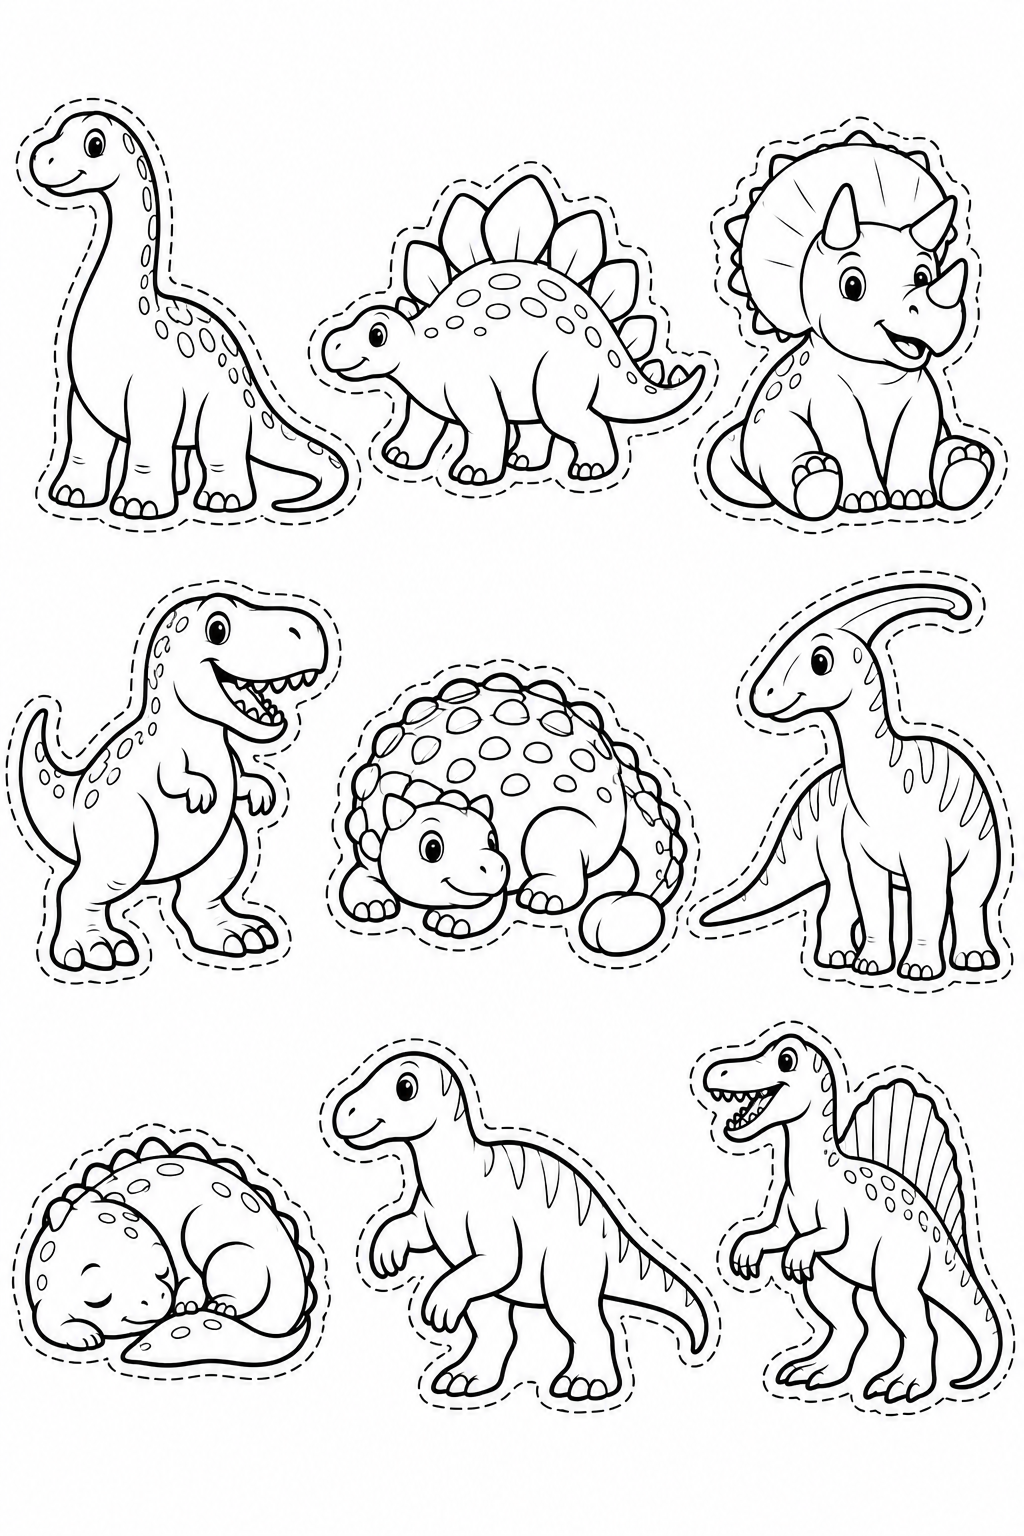
Three additional sheets each contain nine different figures: colorful giants, little explorers and black-and-white characters to color. These are whole figures with no separate tails, legs or assembly examples. They supplement the main 24 projects.
Color the black-and-white sheet before using scissors. An adult can separate the page into nine areas. Cut the outer dashed borders, retaining the white halo around tails and plates. Try two arrangements on backing paper before gluing, keeping neighboring faces visible. Reinforce an accidental nick in a foot with tape on the back. Choose just three figures for a short session.
Color the black-and-white figures before cutting. Cut nine whole characters along their own outside dashed borders, retaining the white halo around tails and plates. An adult can separate the sheet into nine areas first. Try two arrangements on backing paper before gluing; keep faces visible. Reinforce a nick with tape on the back.
Color the black-and-white figures before cutting. Cut nine whole characters along their own outside dashed borders, retaining the white halo around tails and plates. An adult can separate the sheet into nine areas first. Try two arrangements on backing paper before gluing; keep faces visible. Reinforce a nick with tape on the back.
Color the black-and-white figures before cutting. Cut nine whole characters along their own outside dashed borders, retaining the white halo around tails and plates. An adult can separate the sheet into nine areas first. Try two arrangements on backing paper before gluing; keep faces visible. Reinforce a nick with tape on the back.
 kiduverse