Scissors with a grown-up. Use child scissors with rounded tips and cut while seated at a table. If a child is not ready yet, an adult cuts while the child colors and assembles.
Print
Choose A4 or US Letter. Print at 100%, with scaling off. Ordinary printer paper works.
Cut
Color black-and-white sheets first. Cut outer borders; follow dashed lines on the practice paths.
Make it yours
Arrange pieces before gluing. Try a new arrangement or tell a story about your creation.
Assembly example: The small boxed example shows the finished craft. Do not cut it out.
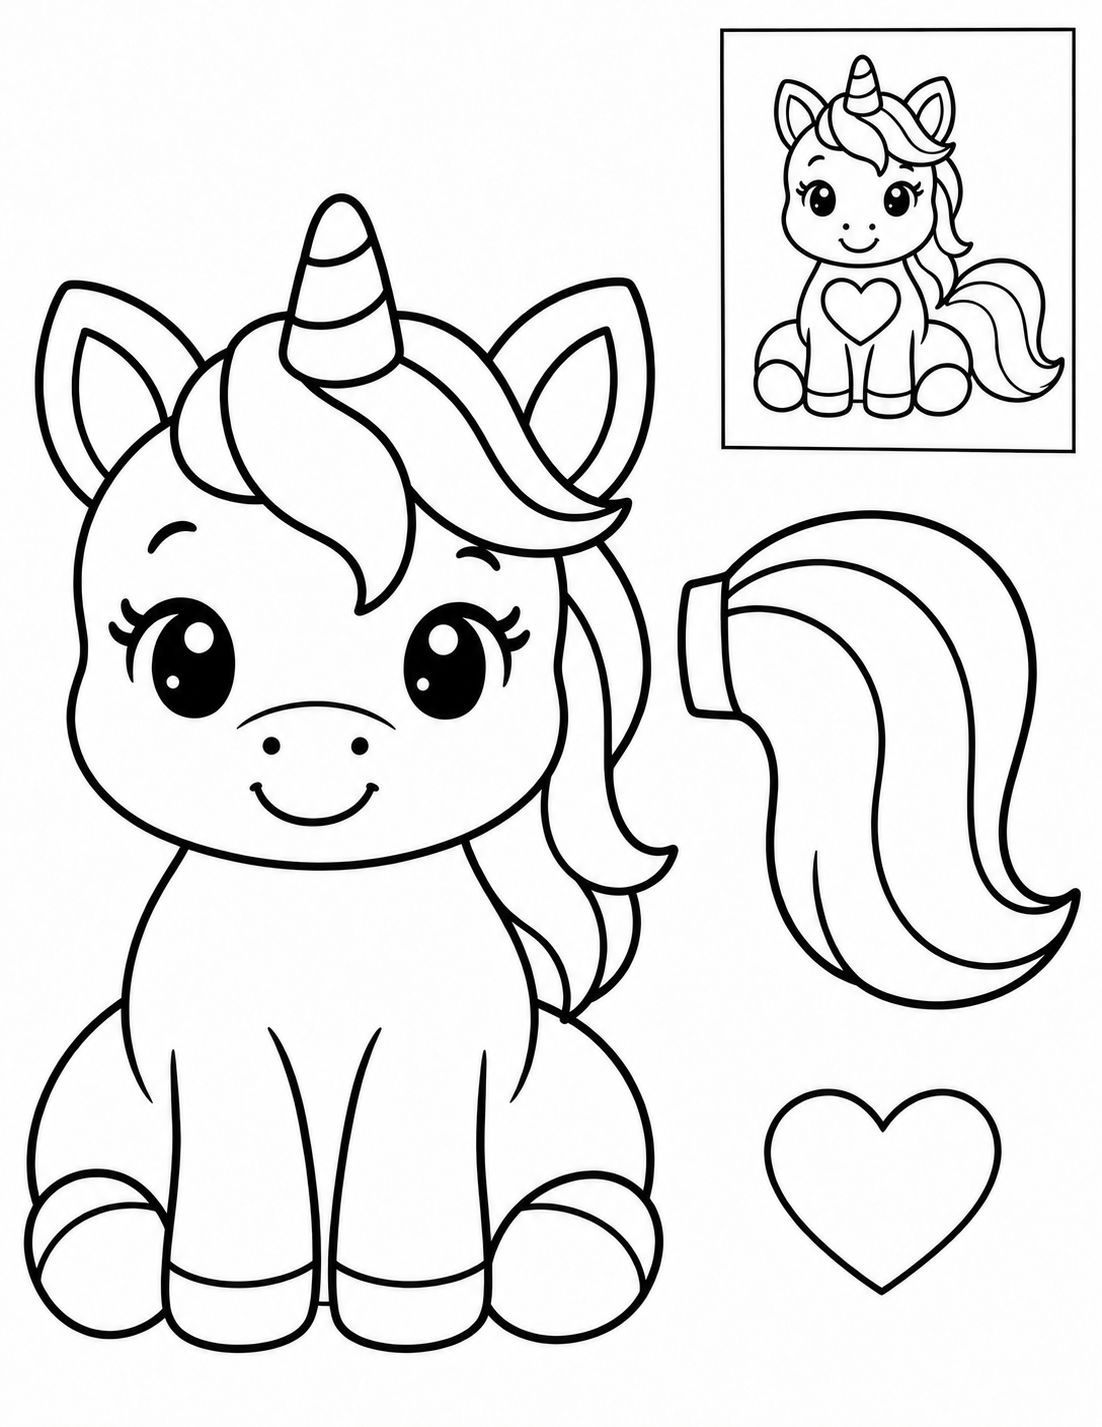
Cut the three large pieces along their outer borders. Keep face and internal decoration intact; the small boxed example stays on the sheet. Arrange tail behind the body; heart on the chest. Try the overlaps before applying glue to their backs. Check that the face is visible and the joins hold; lift and reposition a piece before the glue dries if it hides another part.
Check: Can you guide the scissors comfortably? If it is difficult, an adult can shorten a strip, cut a tricky curve or offer straight paths. Pieces should be fully separated and arranged as intended before gluing.
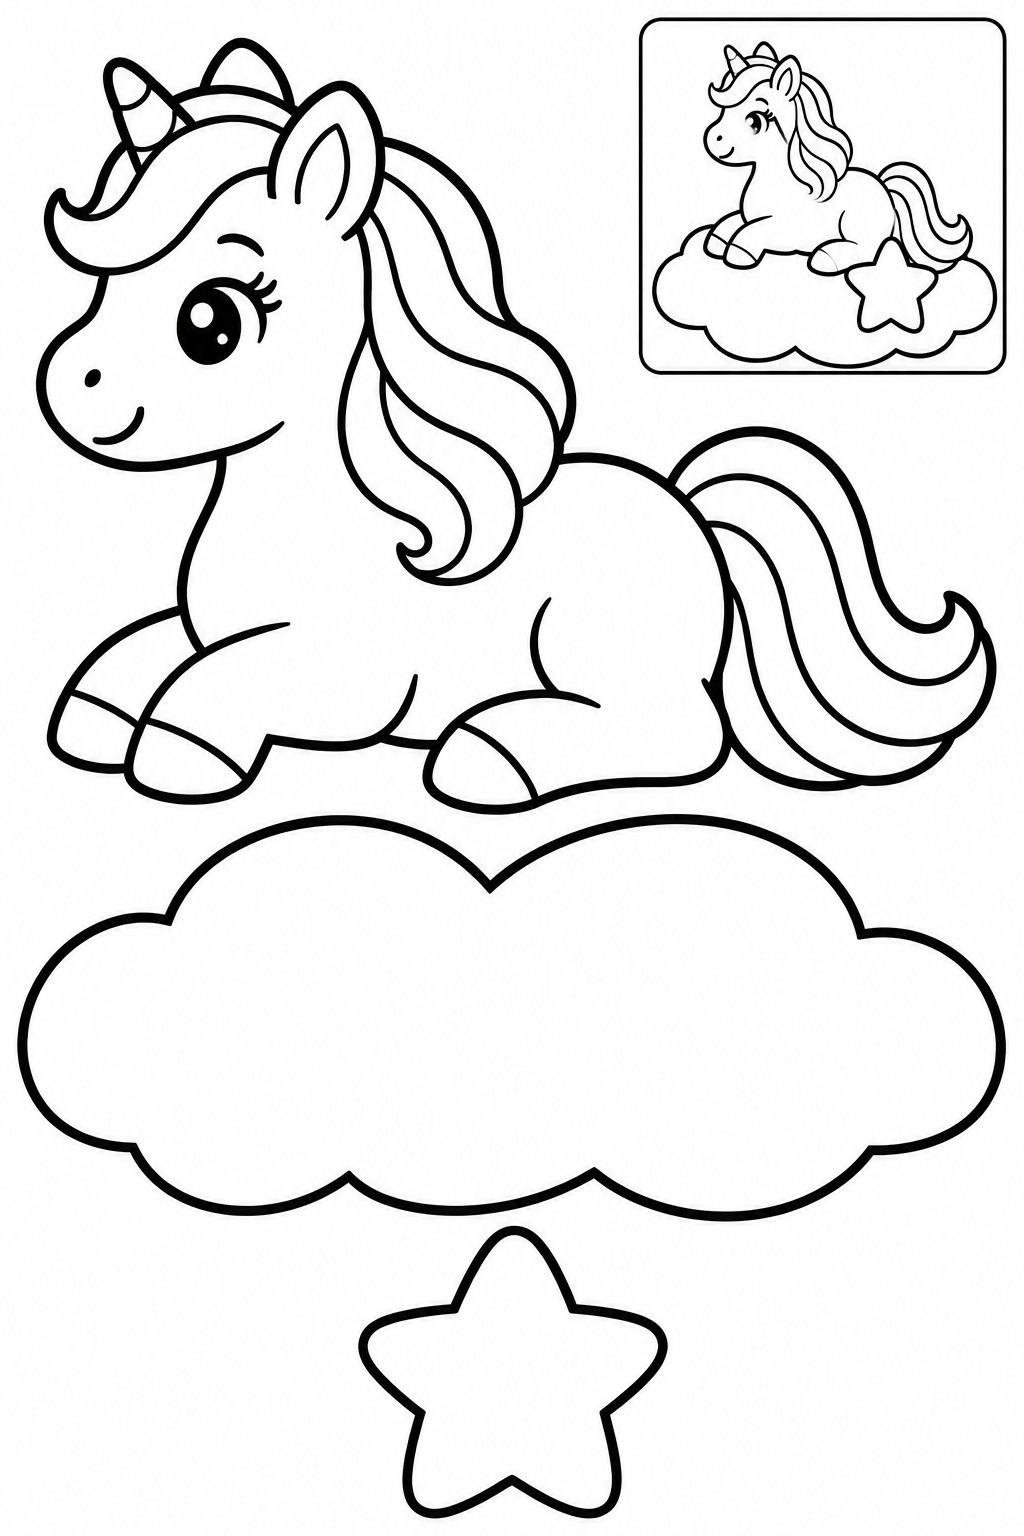
Assembly example: The small boxed example shows the finished craft. Do not cut it out.
Cut the three large pieces along their outer borders. Keep face and internal decoration intact; the small boxed example stays on the sheet. Arrange body on the cloud; star on the cloud. Try the overlaps before applying glue to their backs. Check that the face is visible and the joins hold; lift and reposition a piece before the glue dries if it hides another part.
Check: Can you guide the scissors comfortably? If it is difficult, an adult can shorten a strip, cut a tricky curve or offer straight paths. Pieces should be fully separated and arranged as intended before gluing.
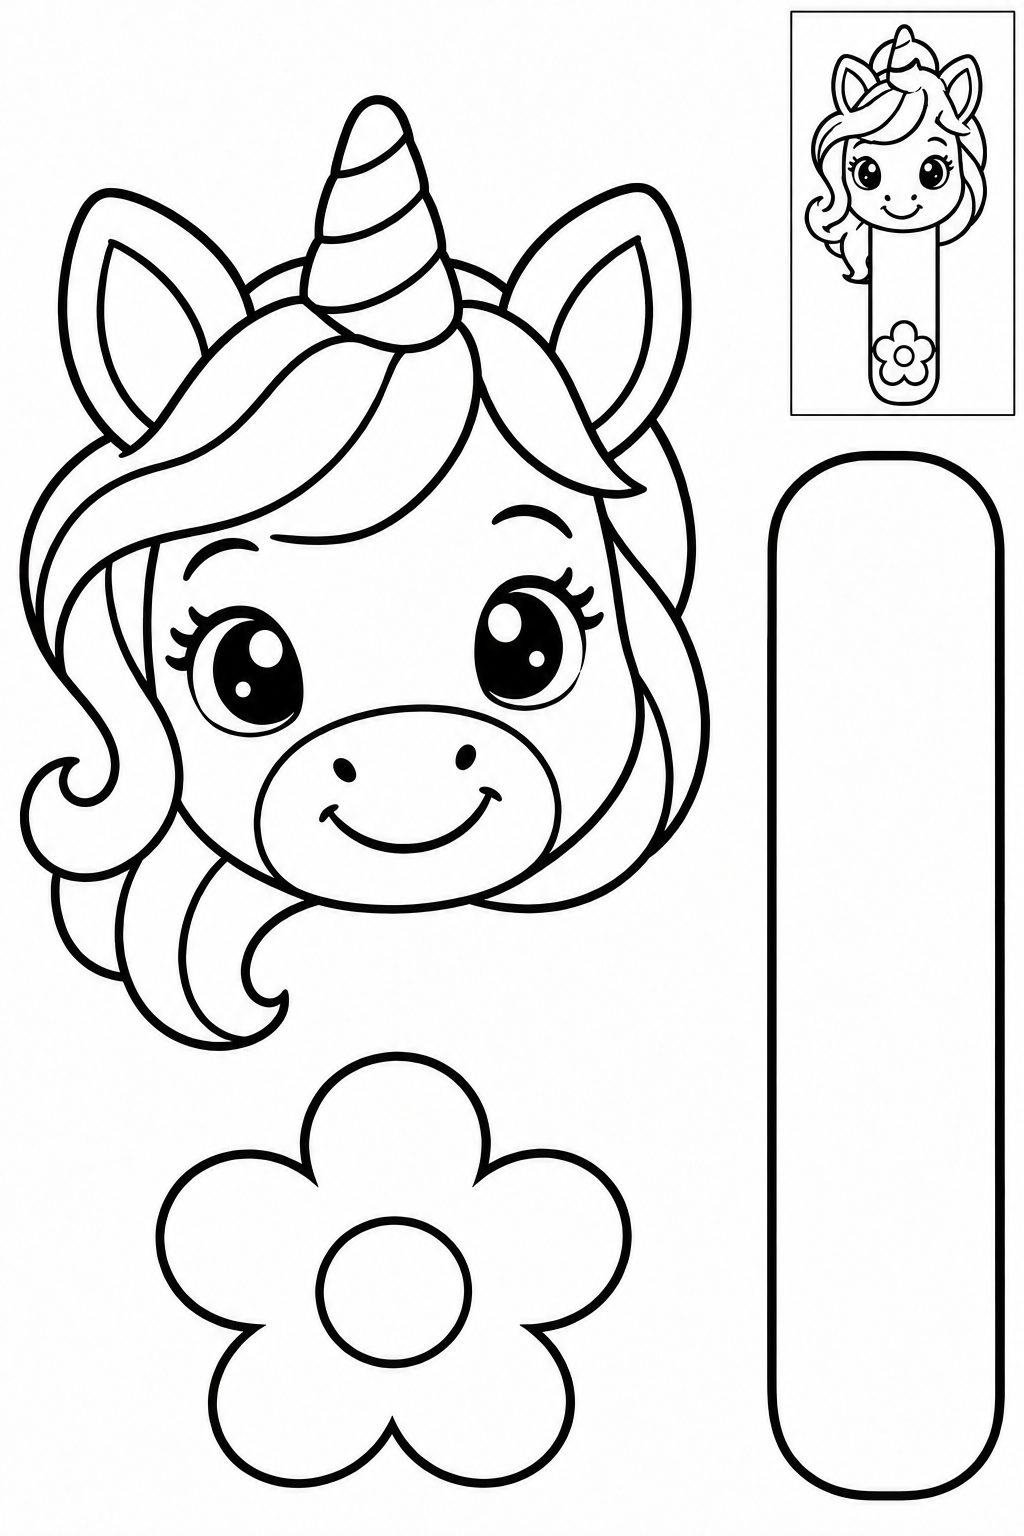
Assembly example: The small boxed example shows the finished craft. Do not cut it out.
Cut the three large pieces along their outer borders. Keep face and internal decoration intact; the small boxed example stays on the sheet. Arrange strip behind the head extending below; flower on the strip. Try the overlaps before applying glue to their backs. Check that the face is visible and the joins hold; lift and reposition a piece before the glue dries if it hides another part.
Check: Can you guide the scissors comfortably? If it is difficult, an adult can shorten a strip, cut a tricky curve or offer straight paths. Pieces should be fully separated and arranged as intended before gluing.
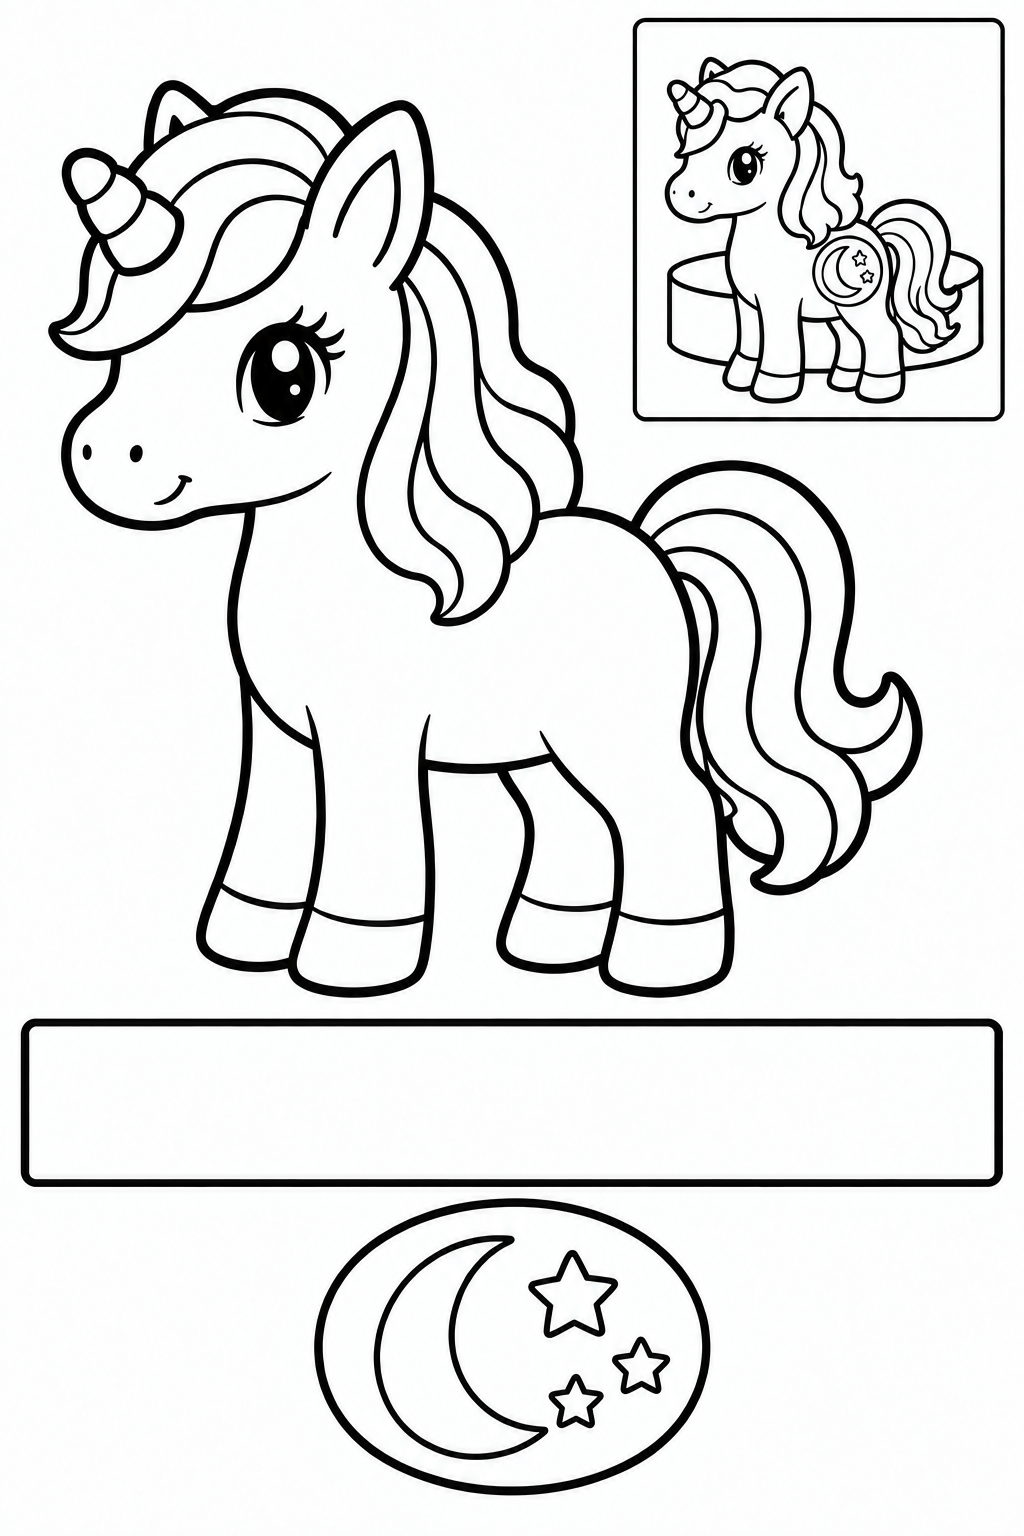
Assembly example: The small boxed example shows the finished craft. Do not cut it out.
Cut the three large pieces along their outer borders. Keep face and internal decoration intact; the small boxed example stays on the sheet. Arrange unicorn on a loop made from the band; moon on the body; draw band FLAT as a cut piece. Try the overlaps before applying glue to their backs. Check that the face is visible and the joins hold; lift and reposition a piece before the glue dries if it hides another part. An adult fits the band loosely around a finger and tapes the ends. Remove and enlarge a tight loop.
Check: Can you guide the scissors comfortably? If it is difficult, an adult can shorten a strip, cut a tricky curve or offer straight paths. Pieces should be fully separated and arranged as intended before gluing.
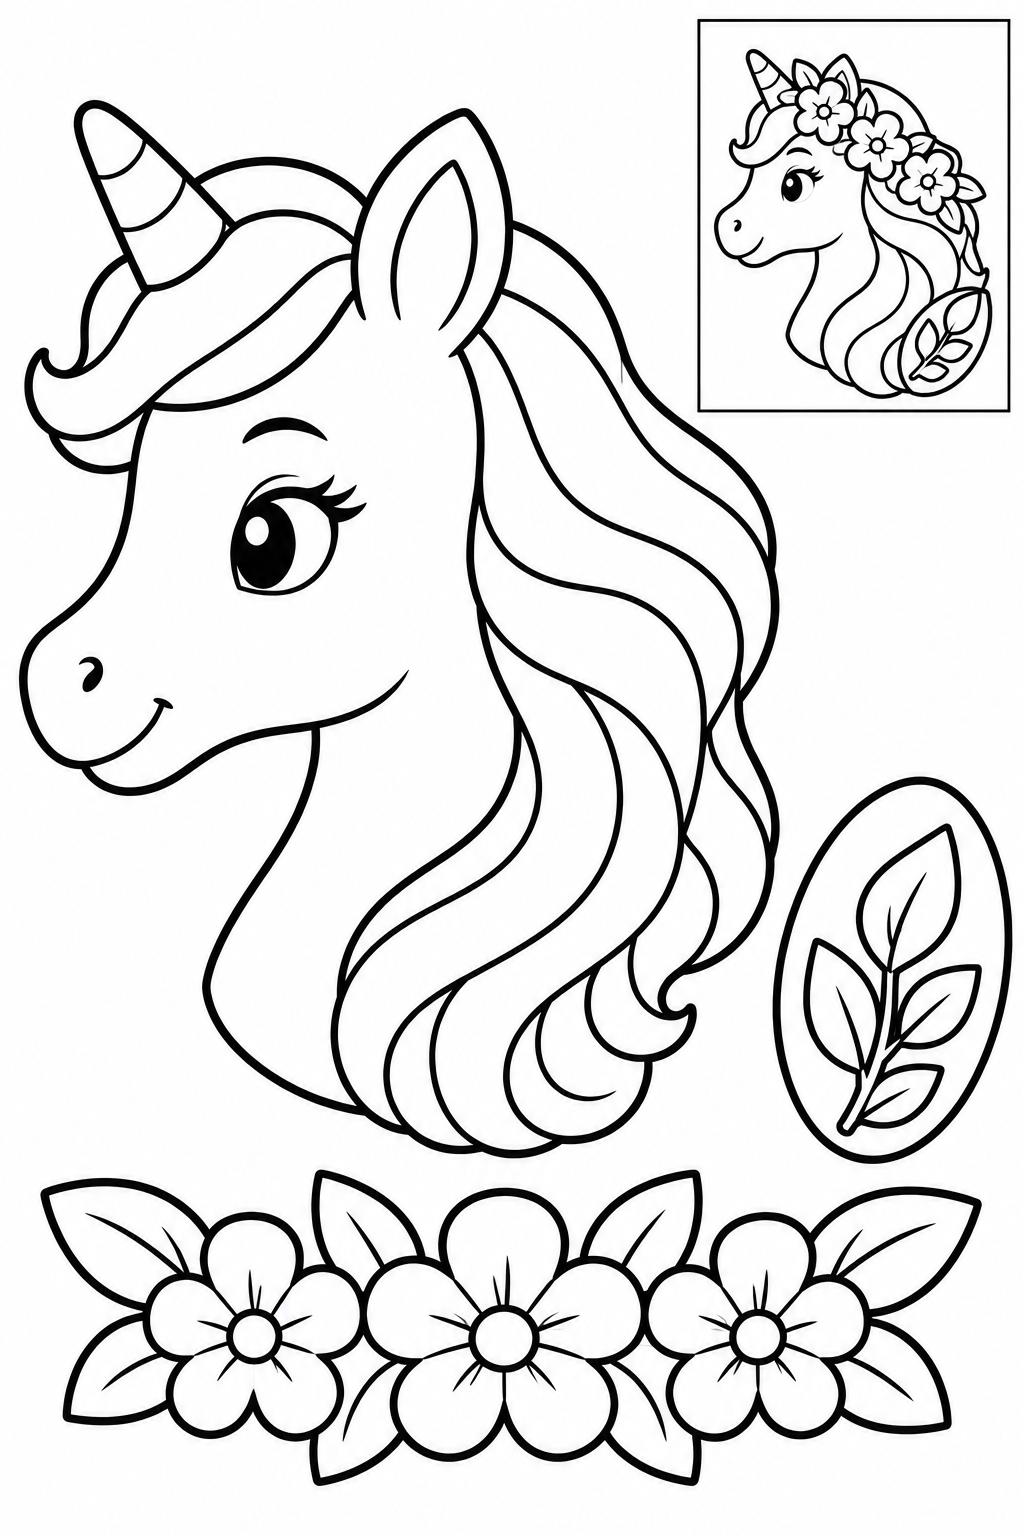
Assembly example: The small boxed example shows the finished craft. Do not cut it out.
Cut the three large pieces along their outer borders. Keep face and internal decoration intact; the small boxed example stays on the sheet. Arrange garland along the mane; leaf at its lower end. Try the overlaps before applying glue to their backs. Check that the face is visible and the joins hold; lift and reposition a piece before the glue dries if it hides another part.
Check: Can you guide the scissors comfortably? If it is difficult, an adult can shorten a strip, cut a tricky curve or offer straight paths. Pieces should be fully separated and arranged as intended before gluing.
Assembly example: The small boxed example shows the finished craft. Do not cut it out.
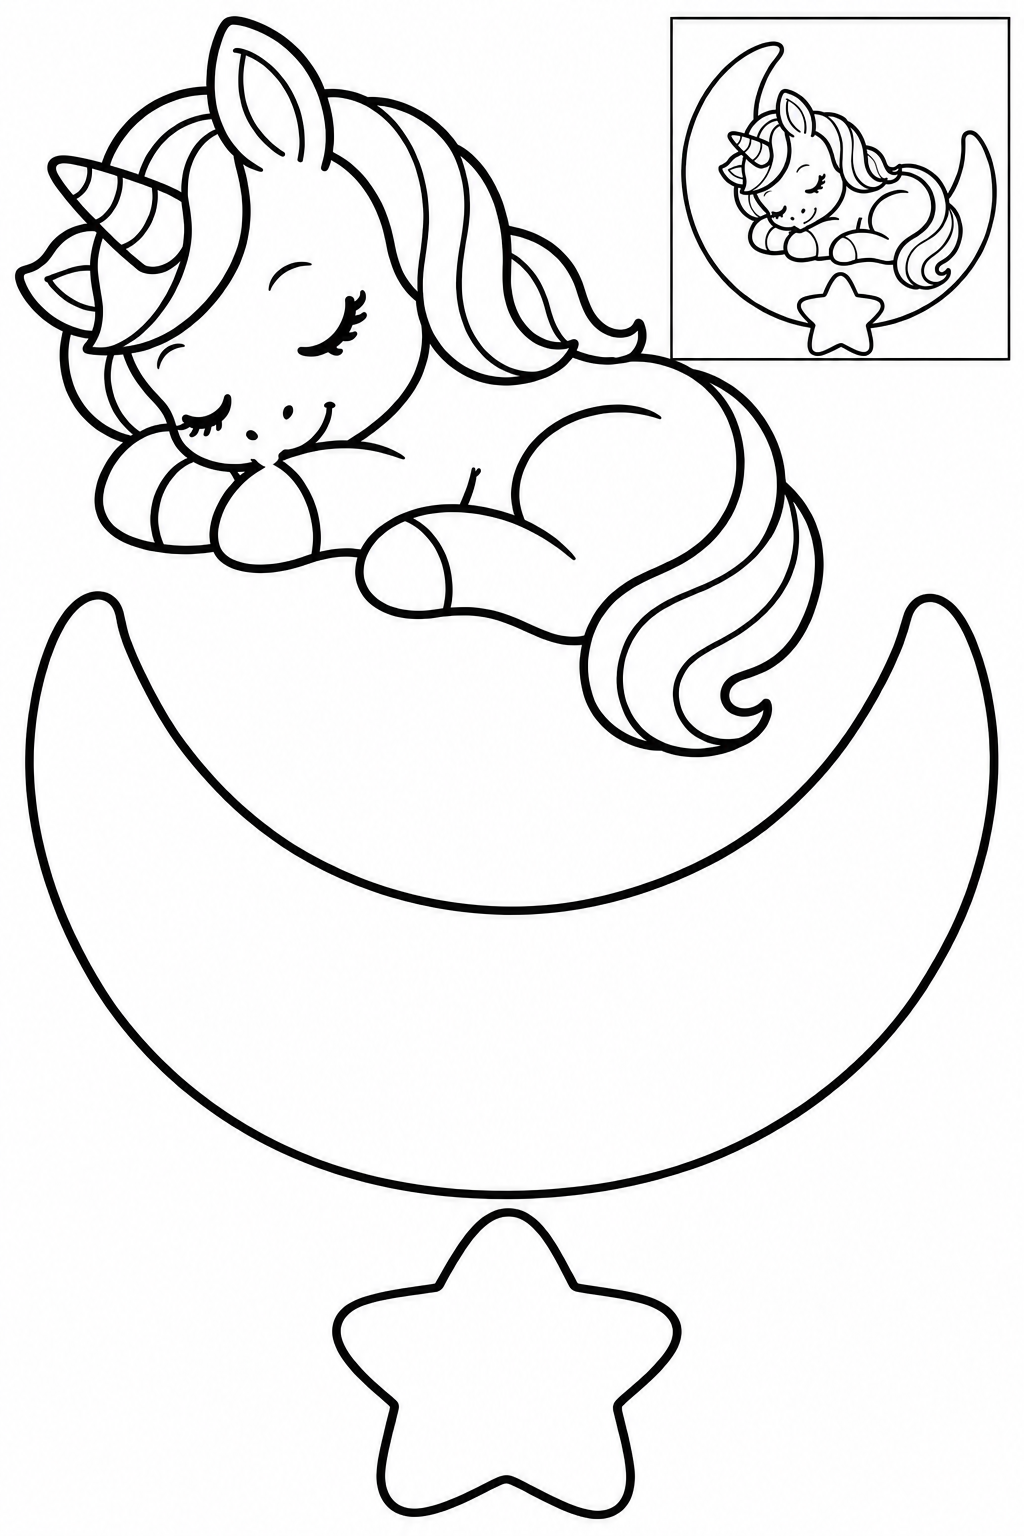
Cut the three large pieces along their outer borders. Keep face and internal decoration intact; the small boxed example stays on the sheet. Arrange unicorn nested in the moon cradle; star at the bottom. Try the overlaps before applying glue to their backs. Check that the face is visible and the joins hold; lift and reposition a piece before the glue dries if it hides another part.
Check: Can you guide the scissors comfortably? If it is difficult, an adult can shorten a strip, cut a tricky curve or offer straight paths. Pieces should be fully separated and arranged as intended before gluing.
Assembly example: The small boxed example shows the finished craft. Do not cut it out.
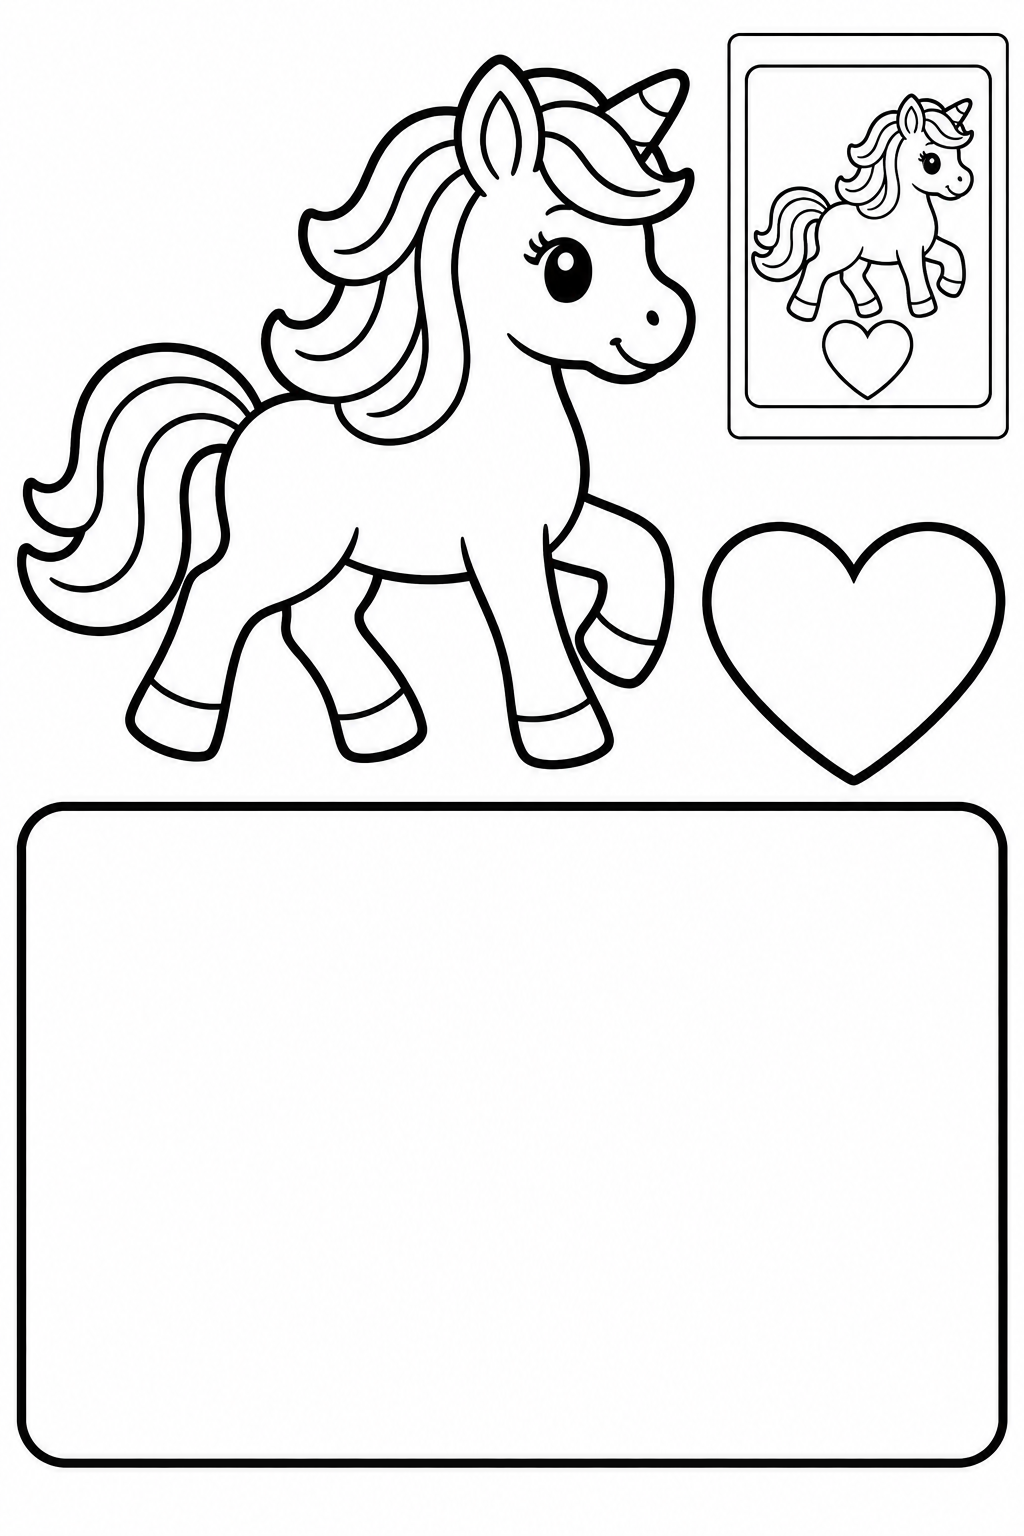
Cut the three large pieces along their outer borders. Keep face and internal decoration intact; the small boxed example stays on the sheet. Arrange unicorn centered on backing; heart beneath unicorn; flat greeting collage with no folds. Try the overlaps before applying glue to their backs. Check that the face is visible and the joins hold; lift and reposition a piece before the glue dries if it hides another part.
Check: Can you guide the scissors comfortably? If it is difficult, an adult can shorten a strip, cut a tricky curve or offer straight paths. Pieces should be fully separated and arranged as intended before gluing.
Assembly example: The small boxed example shows the finished craft. Do not cut it out.
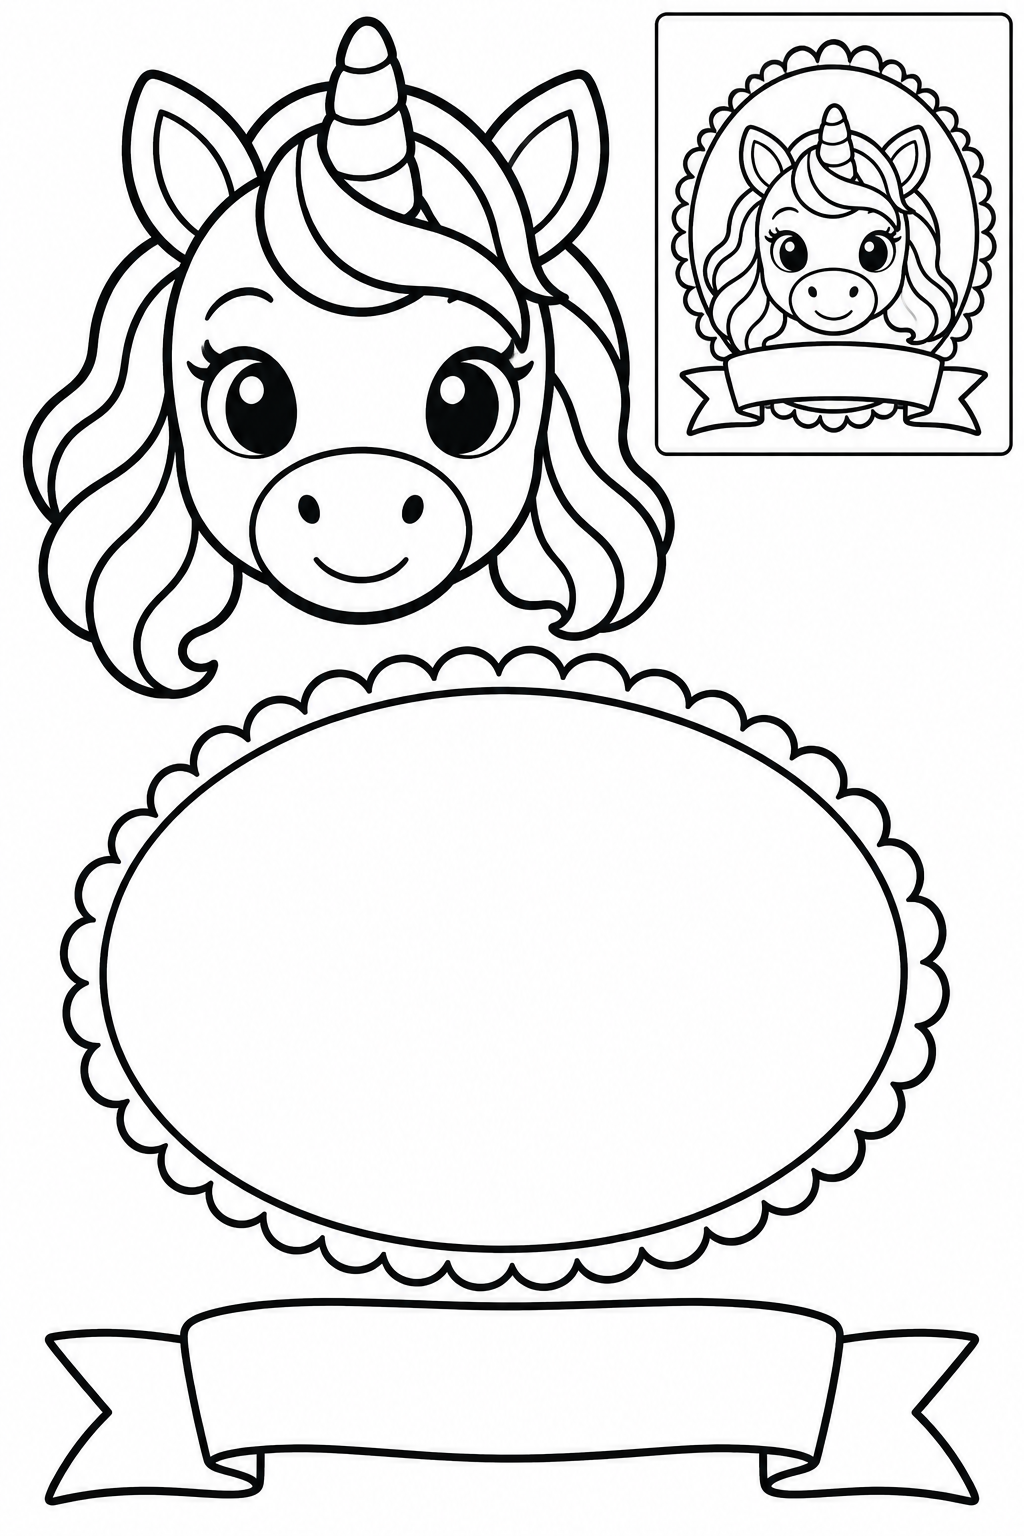
Cut the three large pieces along their outer borders. Keep face and internal decoration intact; the small boxed example stays on the sheet. Arrange head on the solid oval backing; ribbon along the lower edge. Try the overlaps before applying glue to their backs. Check that the face is visible and the joins hold; lift and reposition a piece before the glue dries if it hides another part.
Check: Can you guide the scissors comfortably? If it is difficult, an adult can shorten a strip, cut a tricky curve or offer straight paths. Pieces should be fully separated and arranged as intended before gluing.
Assembly example: The small boxed example shows the finished craft. Do not cut it out.
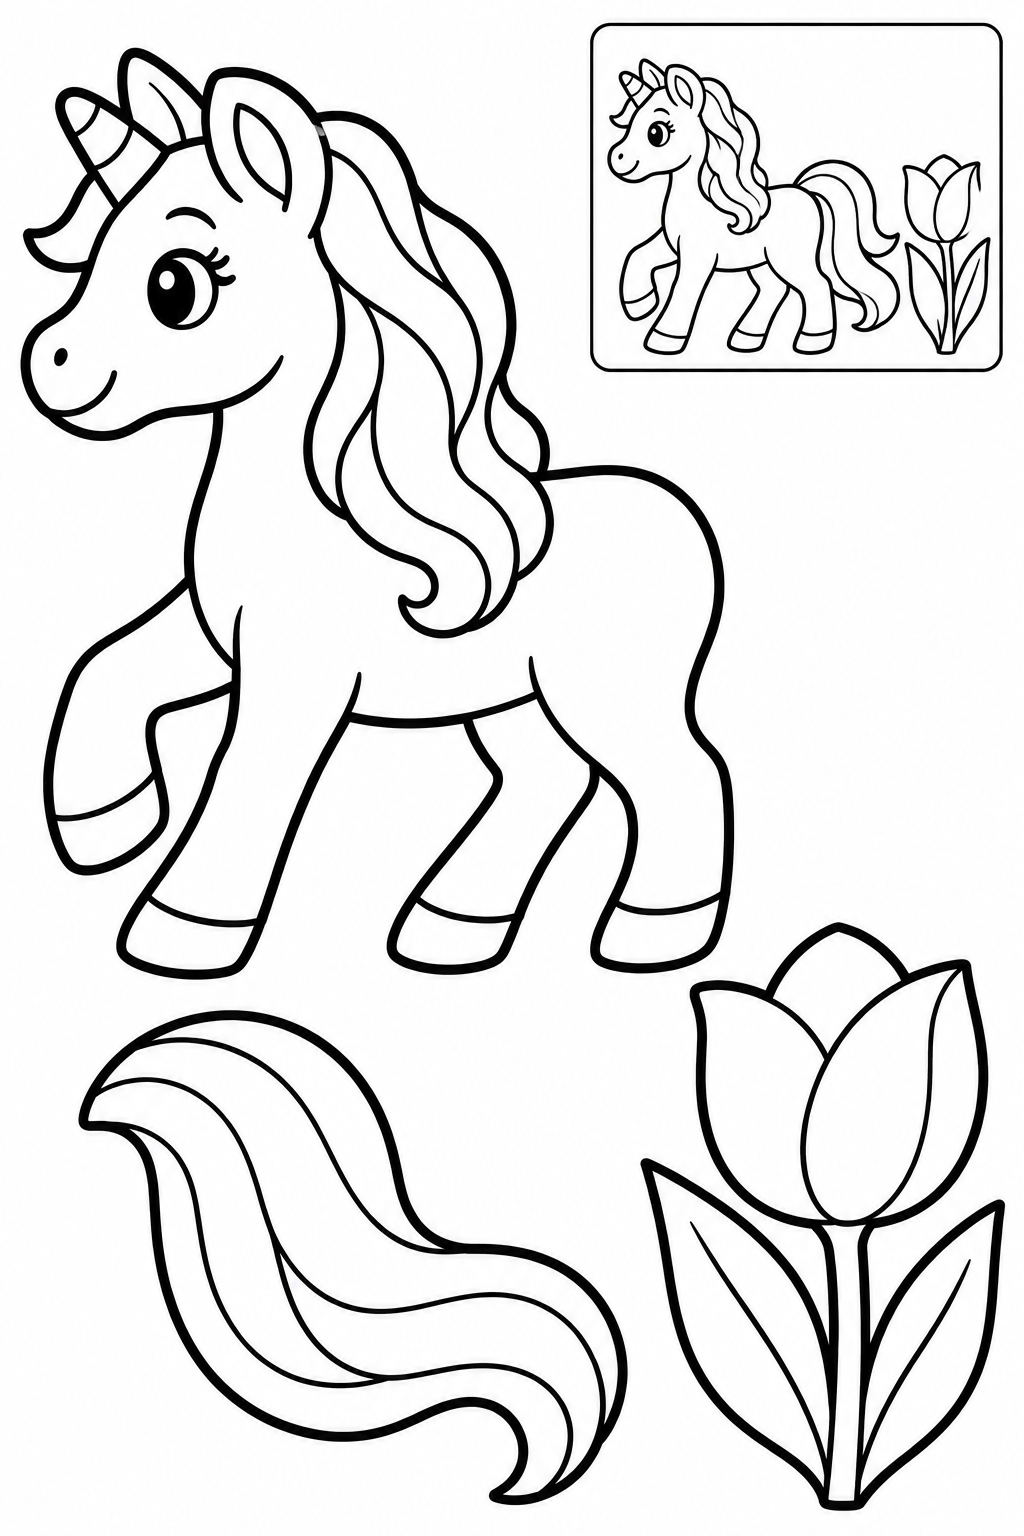
Cut the three large pieces along their outer borders. Keep face and internal decoration intact; the small boxed example stays on the sheet. Arrange tail behind rump; tulip beside the unicorn on backing paper. Try the overlaps before applying glue to their backs. Check that the face is visible and the joins hold; lift and reposition a piece before the glue dries if it hides another part.
Check: Can you guide the scissors comfortably? If it is difficult, an adult can shorten a strip, cut a tricky curve or offer straight paths. Pieces should be fully separated and arranged as intended before gluing.
Assembly example: The small boxed example shows the finished craft. Do not cut it out.
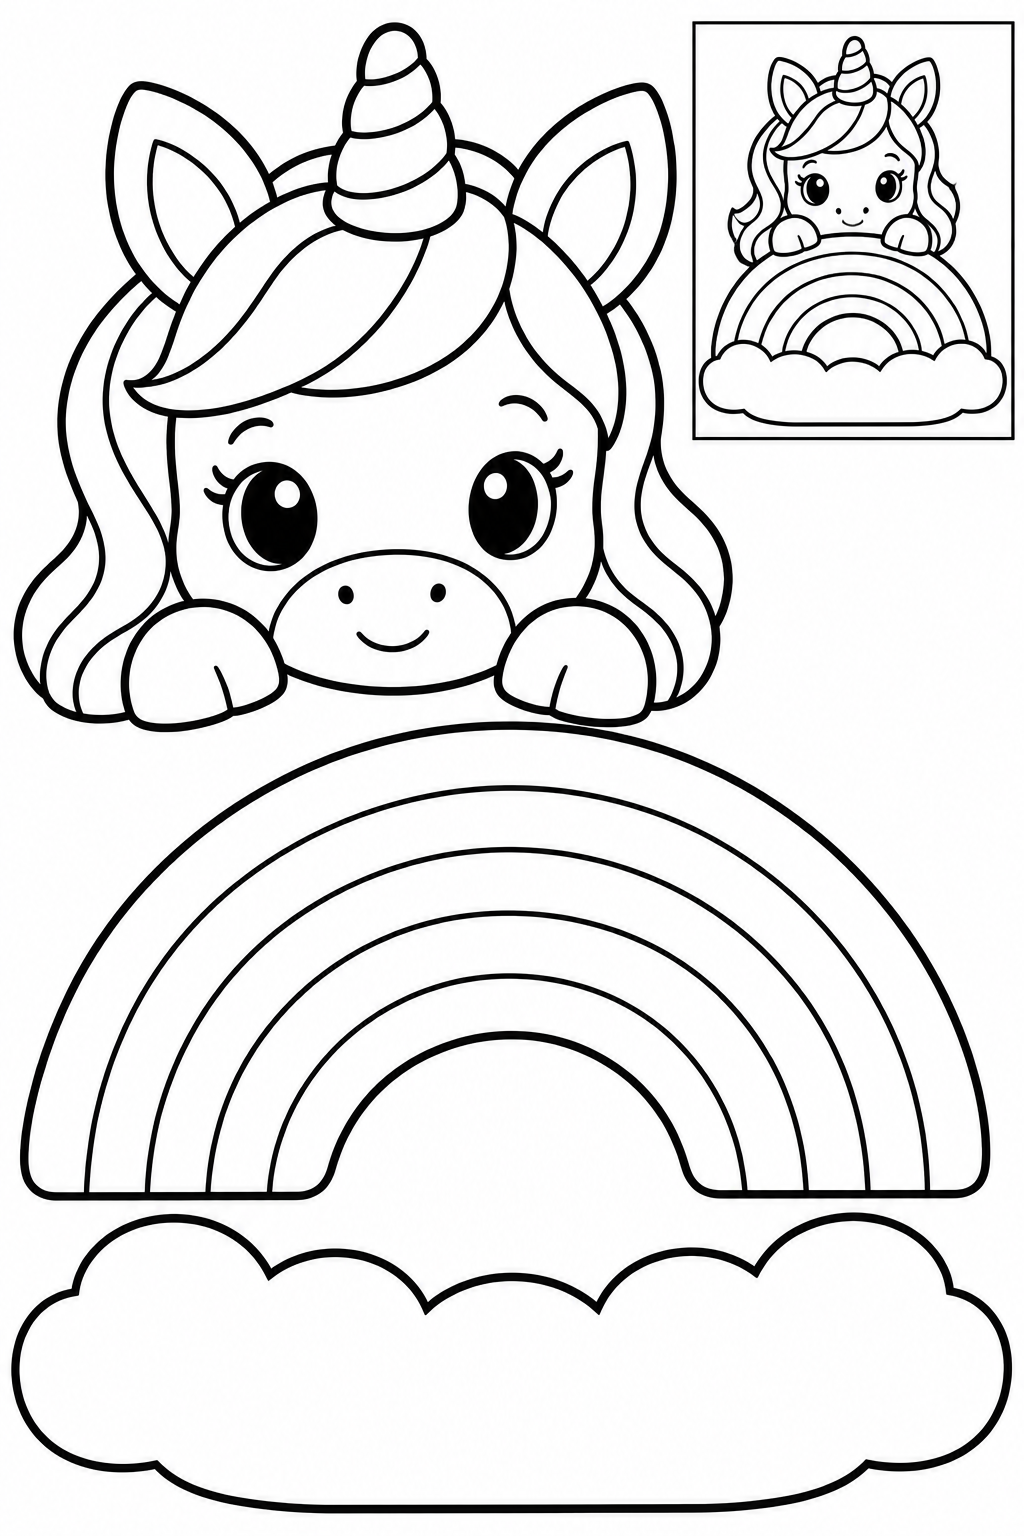
Cut the three large pieces along their outer borders. Keep face and internal decoration intact; the small boxed example stays on the sheet. Arrange head behind top of rainbow; rainbow on cloud base. Try the overlaps before applying glue to their backs. Check that the face is visible and the joins hold; lift and reposition a piece before the glue dries if it hides another part.
Check: Can you guide the scissors comfortably? If it is difficult, an adult can shorten a strip, cut a tricky curve or offer straight paths. Pieces should be fully separated and arranged as intended before gluing.
Assembly example: The small boxed example shows the finished craft. Do not cut it out.
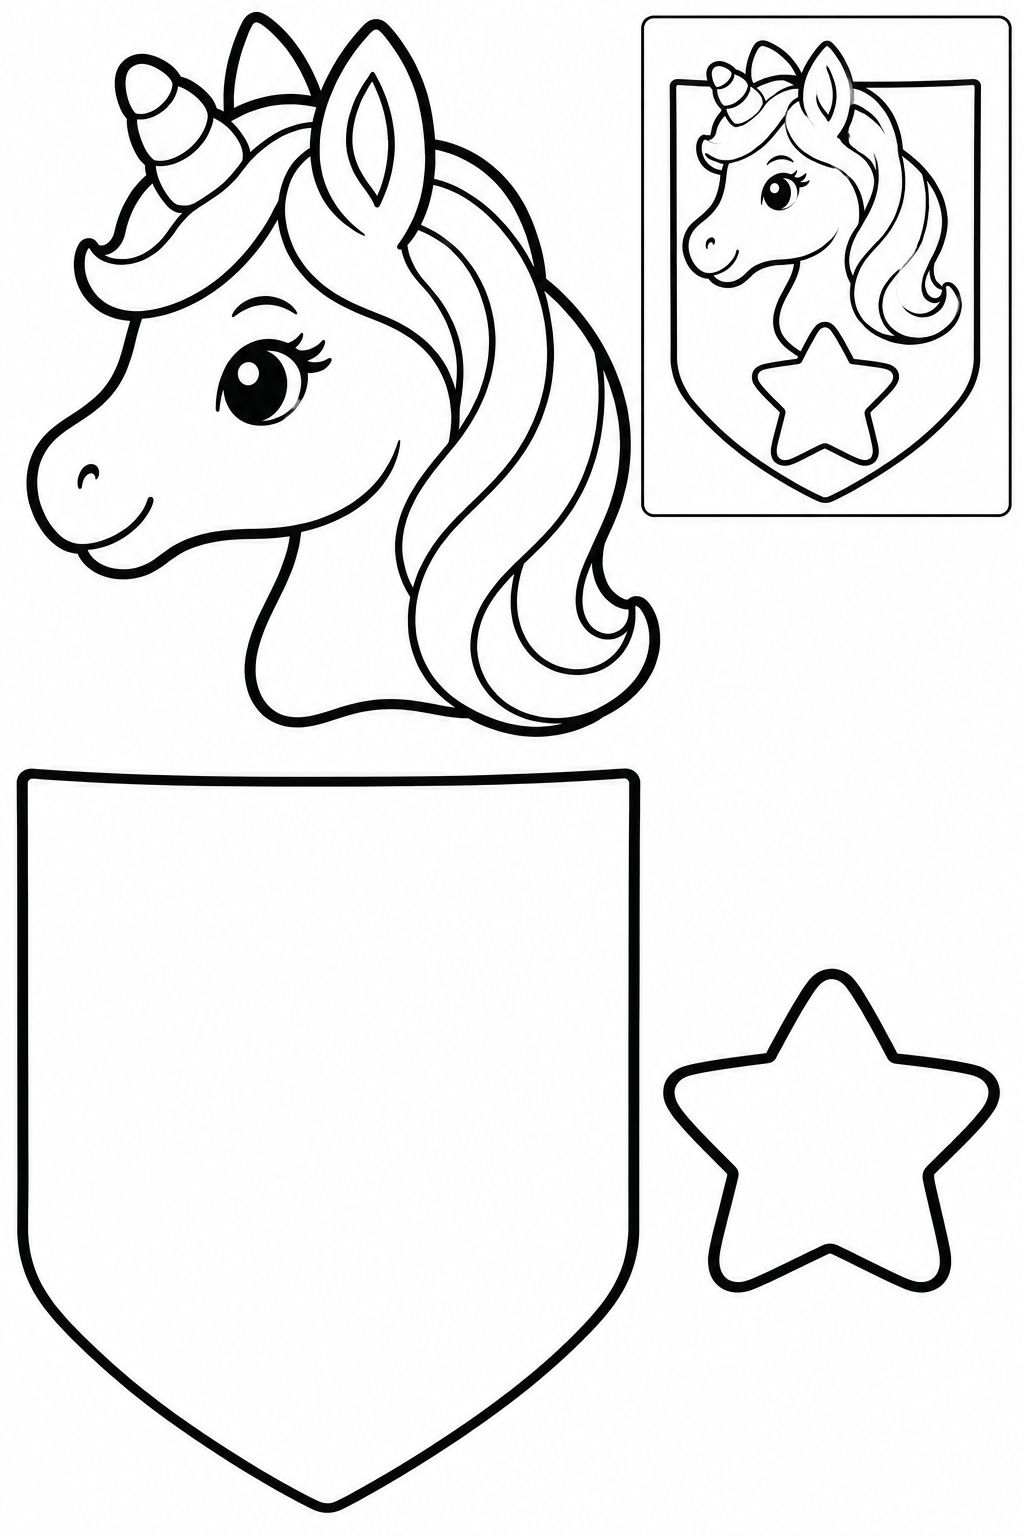
Cut the three large pieces along their outer borders. Keep face and internal decoration intact; the small boxed example stays on the sheet. Arrange head in upper half of pennant; star below; no string or holes. Try the overlaps before applying glue to their backs. Check that the face is visible and the joins hold; lift and reposition a piece before the glue dries if it hides another part.
Check: Can you guide the scissors comfortably? If it is difficult, an adult can shorten a strip, cut a tricky curve or offer straight paths. Pieces should be fully separated and arranged as intended before gluing.
Assembly example: The small boxed example shows the finished craft. Do not cut it out.
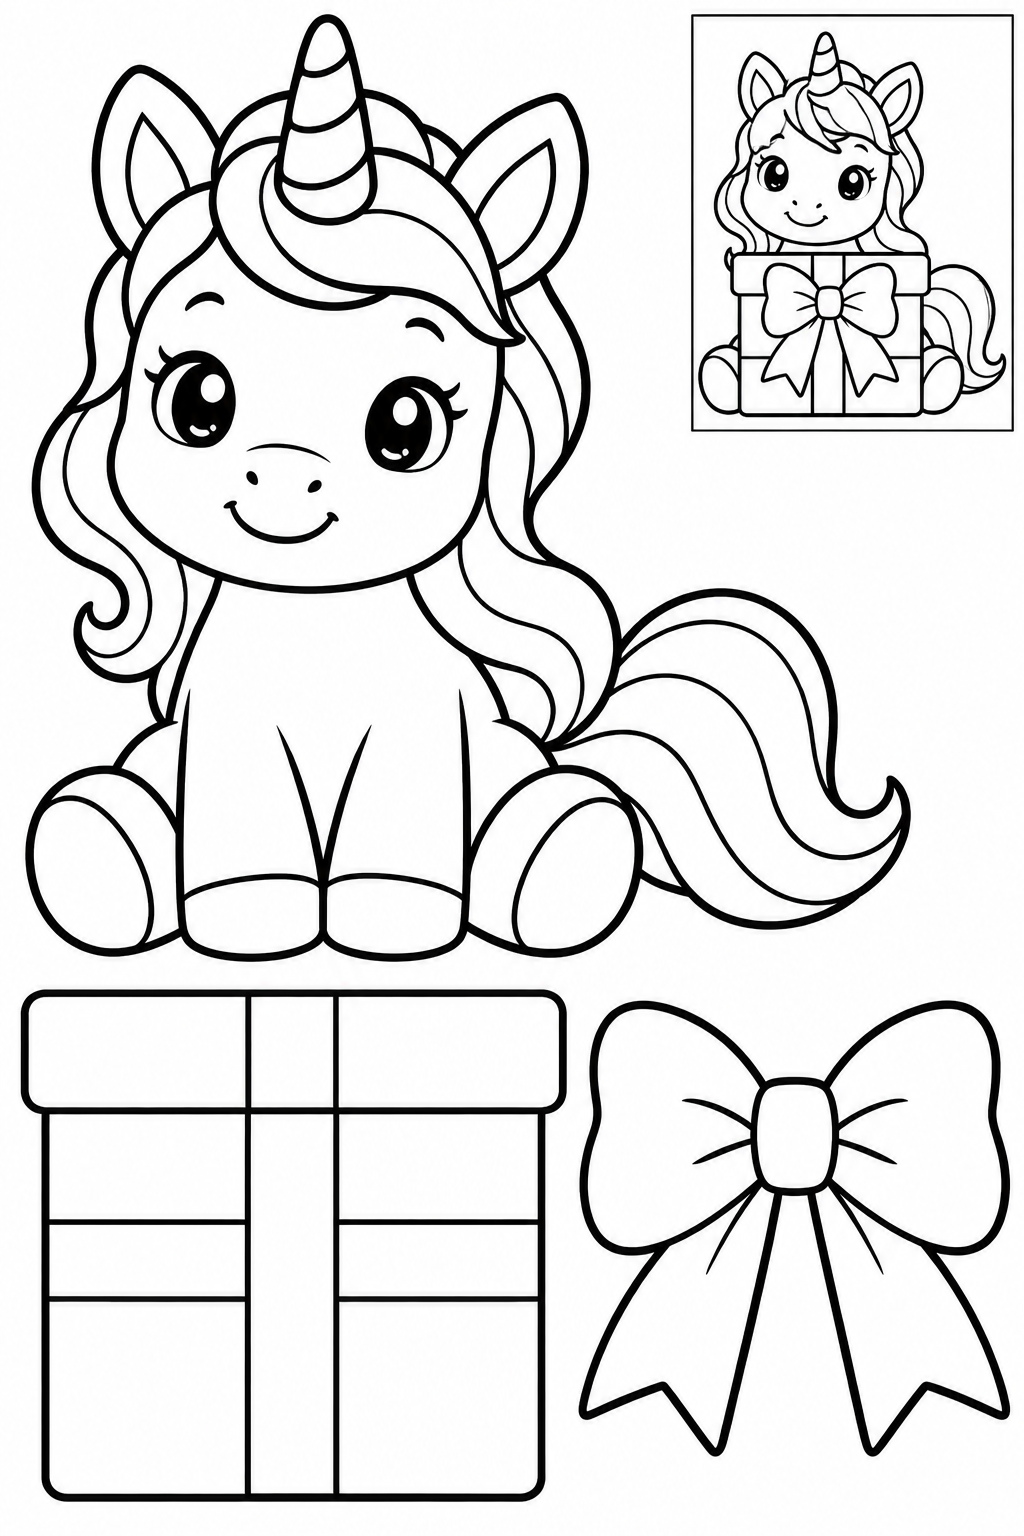
Cut the three large pieces along their outer borders. Keep face and internal decoration intact; the small boxed example stays on the sheet. Arrange box panel over lower body; bow on front; flat collage, no actual pocket. Try the overlaps before applying glue to their backs. Check that the face is visible and the joins hold; lift and reposition a piece before the glue dries if it hides another part.
Check: Can you guide the scissors comfortably? If it is difficult, an adult can shorten a strip, cut a tricky curve or offer straight paths. Pieces should be fully separated and arranged as intended before gluing.
Assembly example: The small boxed example shows the finished craft. Do not cut it out.
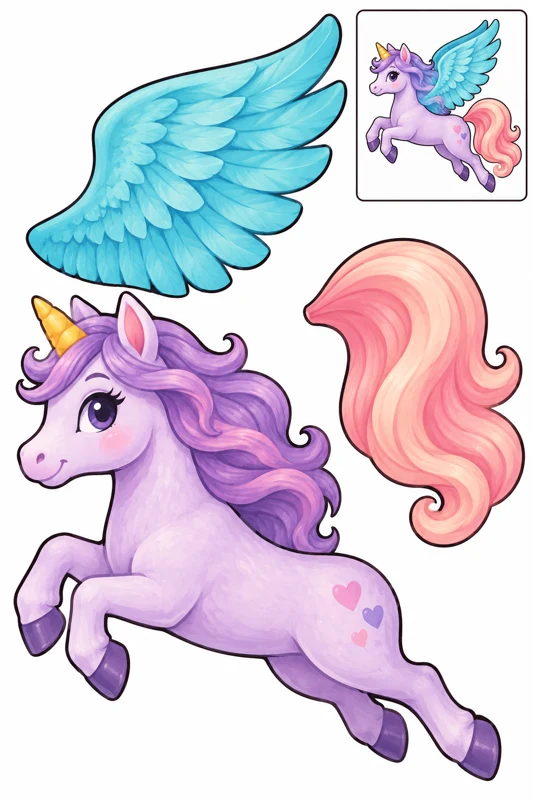
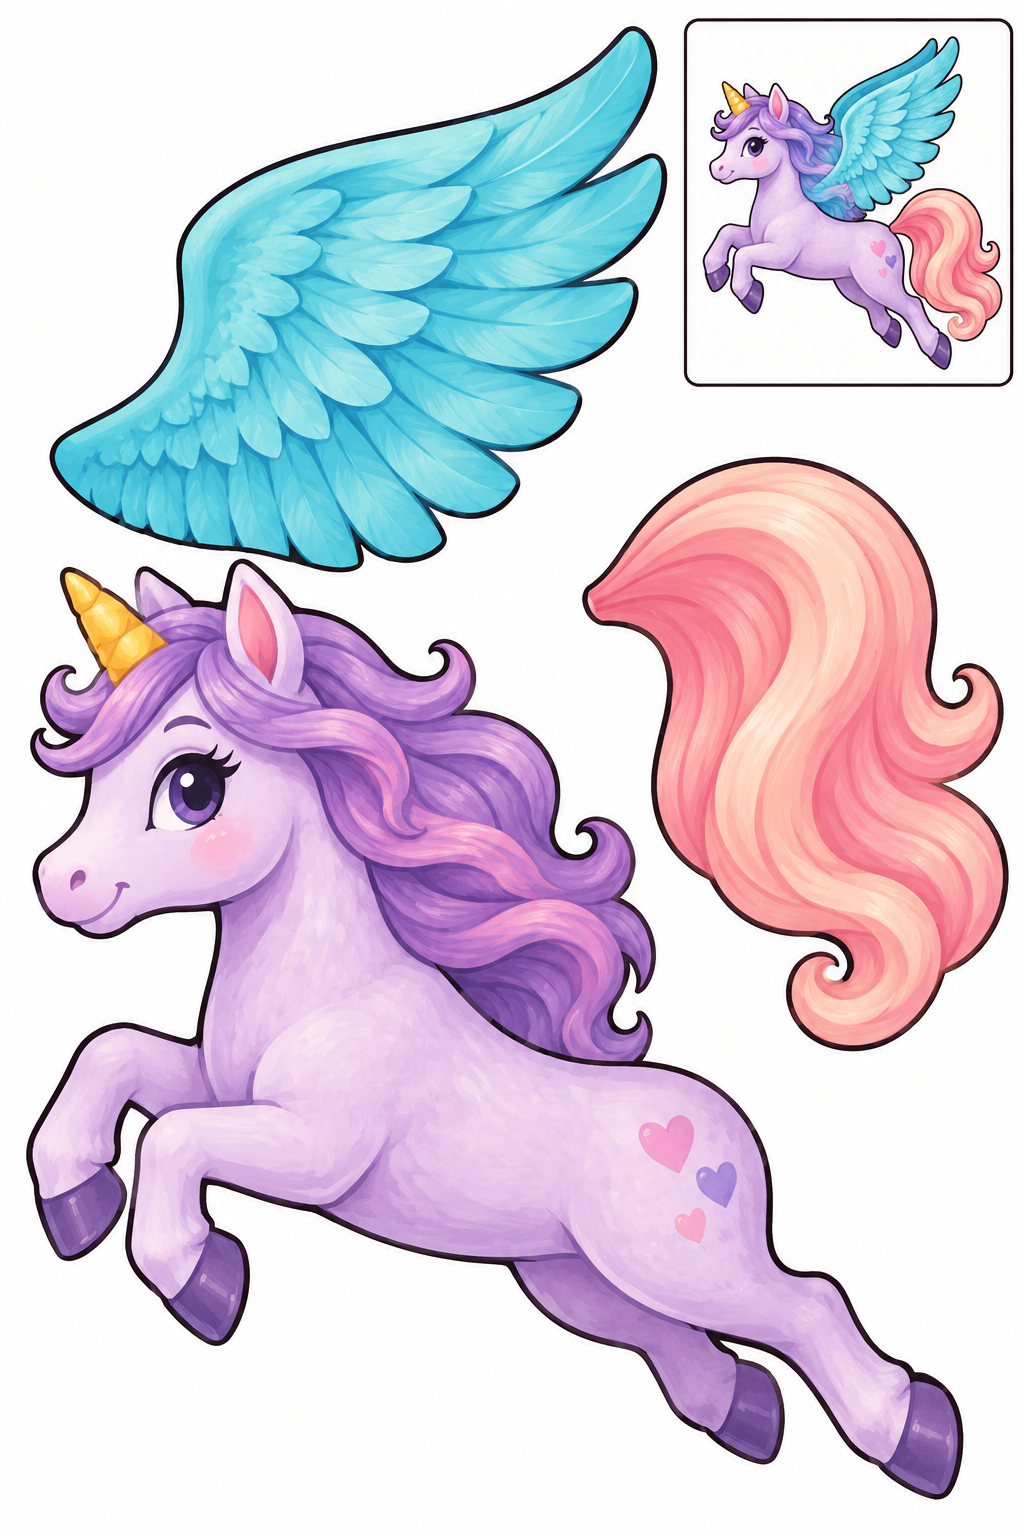
Cut the three large pieces along their outer borders. Keep face and internal decoration intact; the small boxed example stays on the sheet. Arrange wing on shoulder; tail behind rump. Try the overlaps before applying glue to their backs. Check that the face is visible and the joins hold; lift and reposition a piece before the glue dries if it hides another part.
Check: Can you guide the scissors comfortably? If it is difficult, an adult can shorten a strip, cut a tricky curve or offer straight paths. Pieces should be fully separated and arranged as intended before gluing.
Assembly example: The small boxed example shows the finished craft. Do not cut it out.
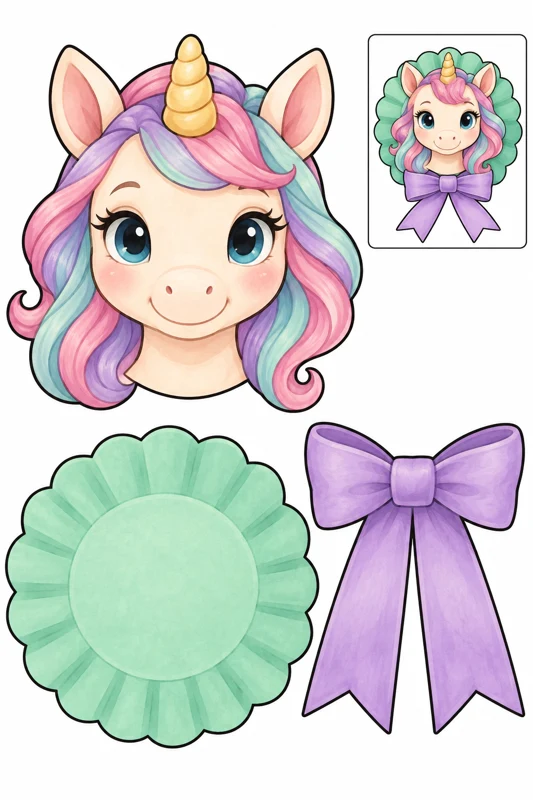
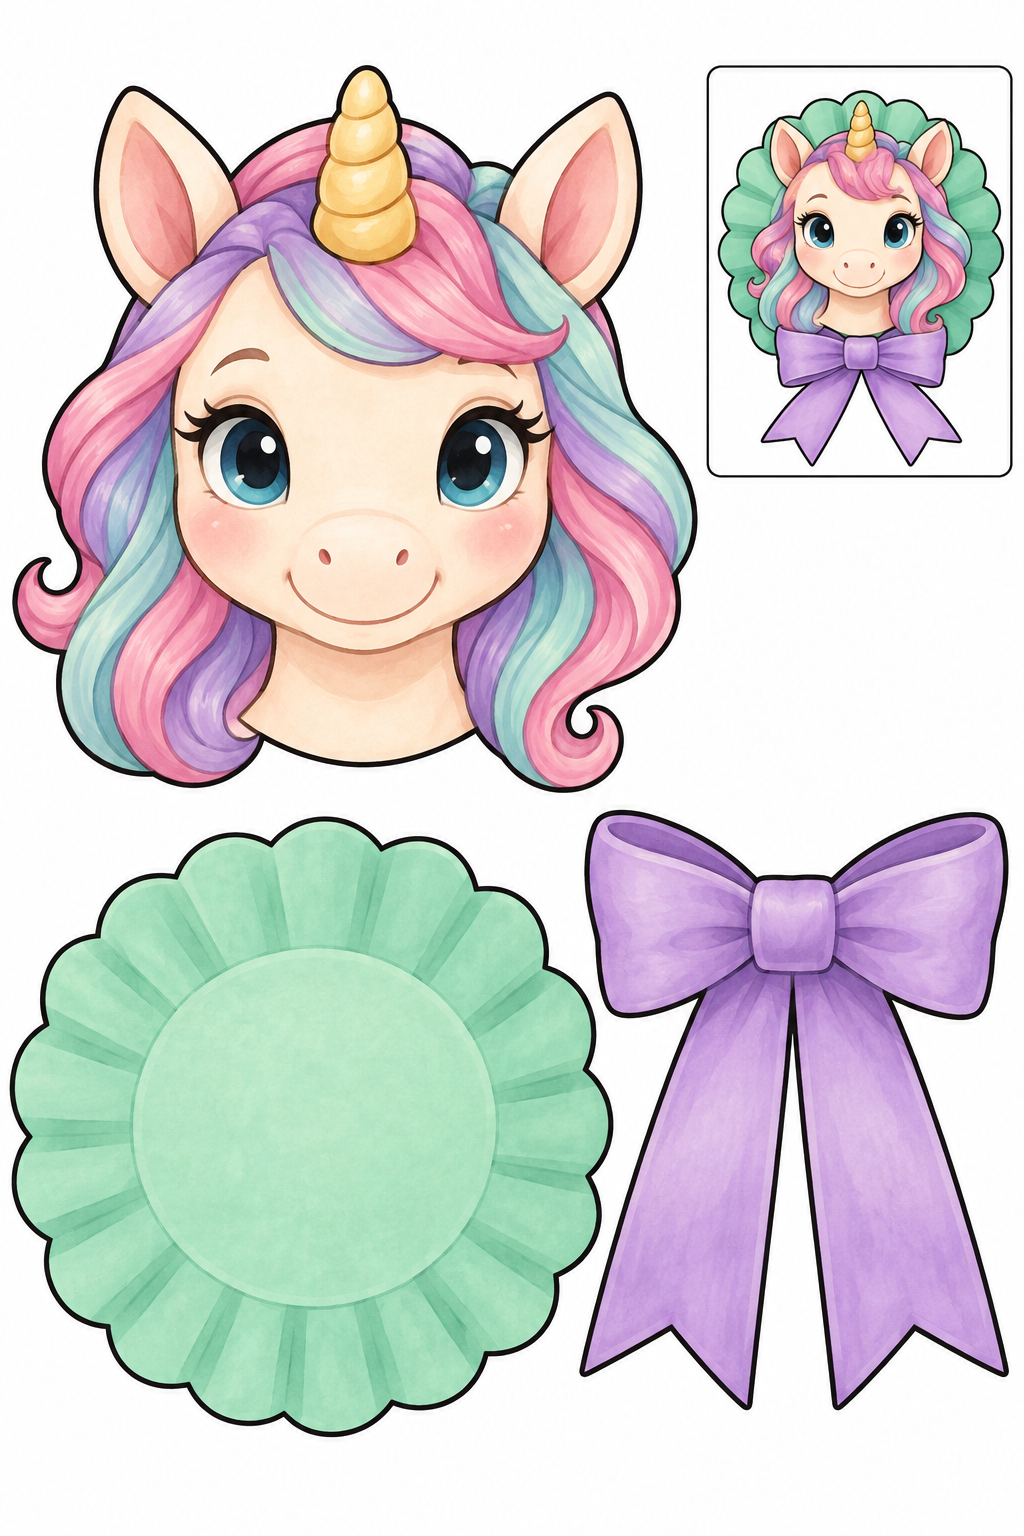
Cut the three large pieces along their outer borders. Keep face and internal decoration intact; the small boxed example stays on the sheet. Arrange head on rosette; bow below head. Try the overlaps before applying glue to their backs. Check that the face is visible and the joins hold; lift and reposition a piece before the glue dries if it hides another part.
Check: Can you guide the scissors comfortably? If it is difficult, an adult can shorten a strip, cut a tricky curve or offer straight paths. Pieces should be fully separated and arranged as intended before gluing.
Assembly example: The small boxed example shows the finished craft. Do not cut it out.
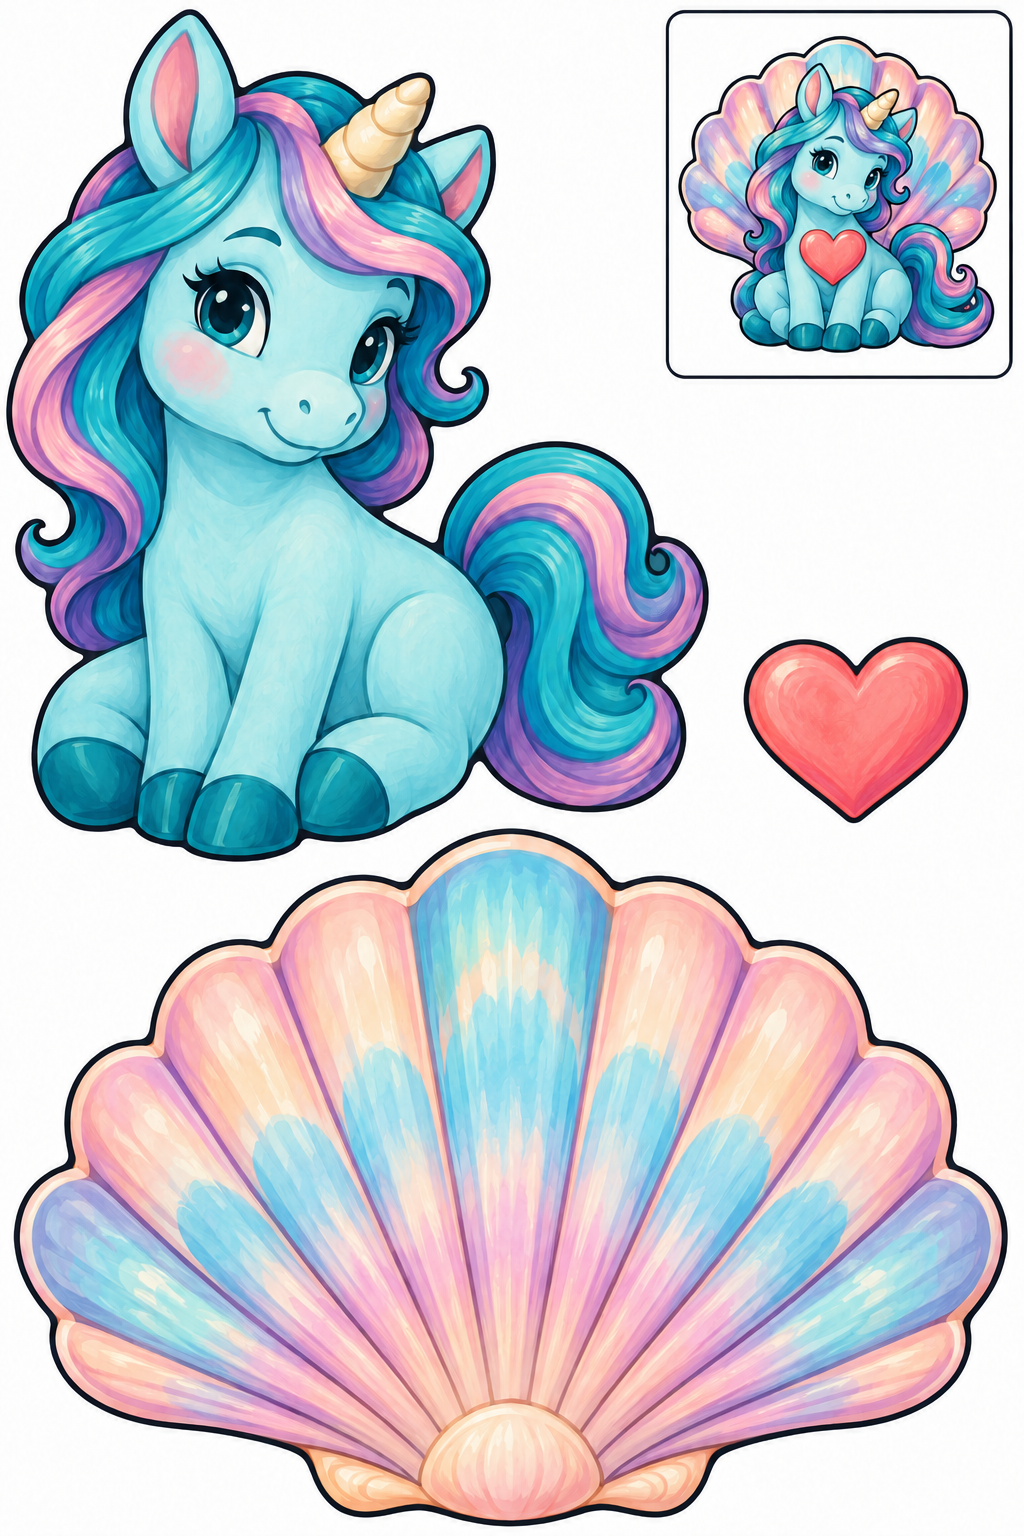
Cut the three large pieces along their outer borders. Keep face and internal decoration intact; the small boxed example stays on the sheet. Arrange shell behind unicorn; heart on chest. Try the overlaps before applying glue to their backs. Check that the face is visible and the joins hold; lift and reposition a piece before the glue dries if it hides another part.
Check: Can you guide the scissors comfortably? If it is difficult, an adult can shorten a strip, cut a tricky curve or offer straight paths. Pieces should be fully separated and arranged as intended before gluing.
Assembly example: The small boxed example shows the finished craft. Do not cut it out.
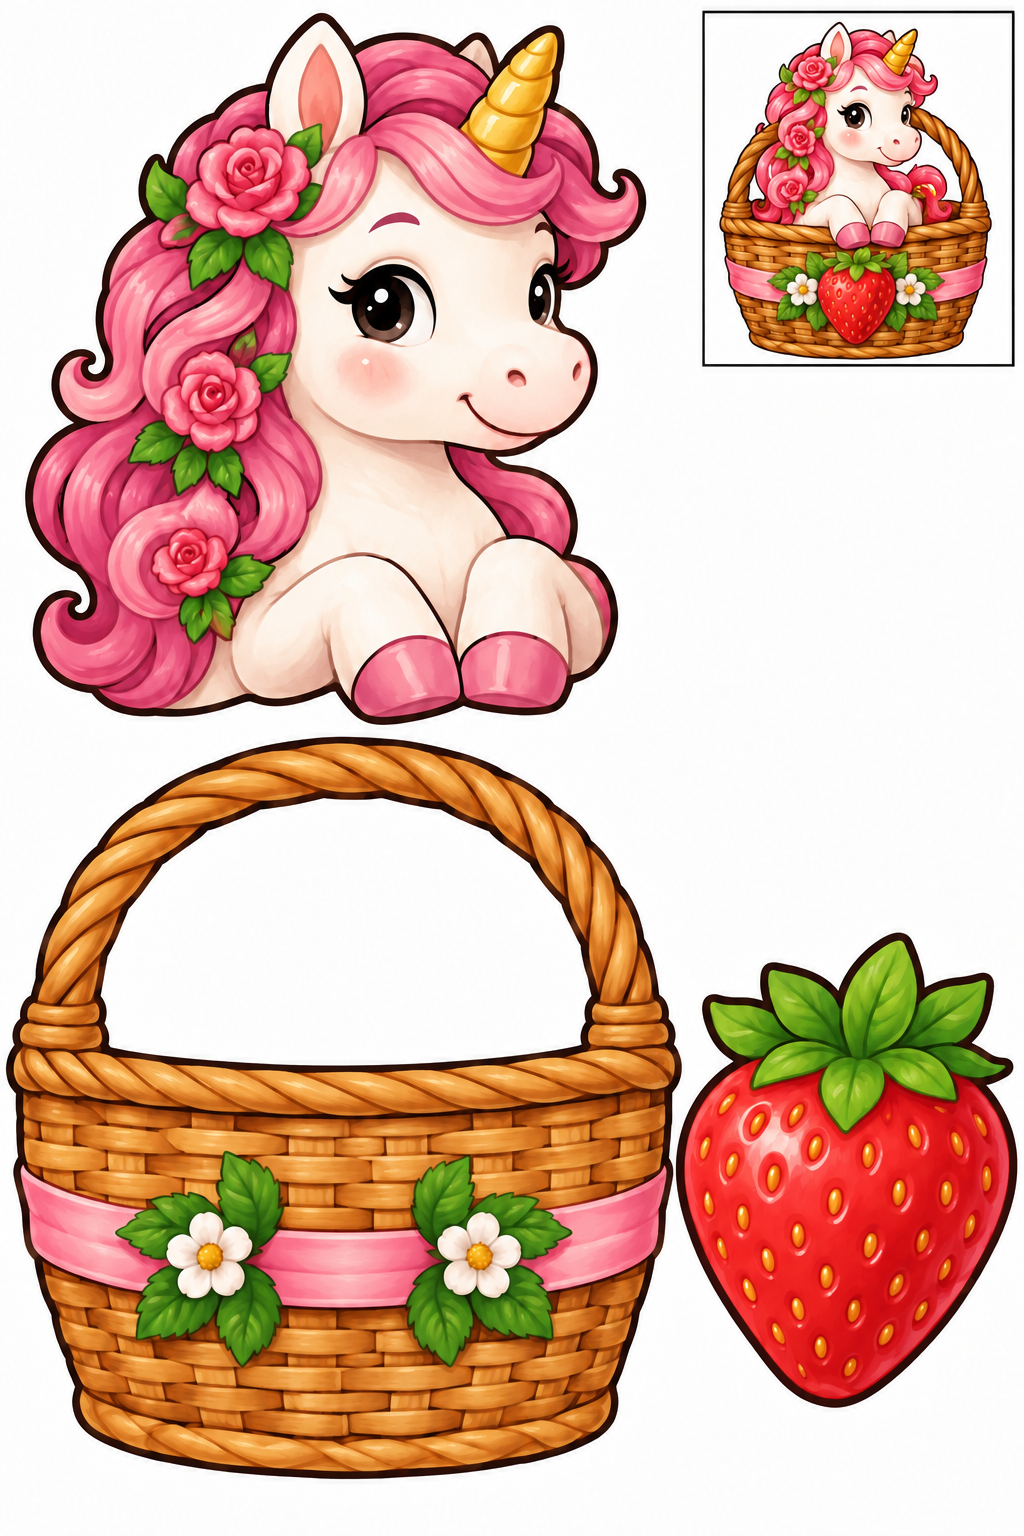
Cut the three large pieces along their outer borders. Keep face and internal decoration intact; the small boxed example stays on the sheet. Arrange unicorn peeking from basket; strawberry on basket front. Try the overlaps before applying glue to their backs. Check that the face is visible and the joins hold; lift and reposition a piece before the glue dries if it hides another part.
Check: Can you guide the scissors comfortably? If it is difficult, an adult can shorten a strip, cut a tricky curve or offer straight paths. Pieces should be fully separated and arranged as intended before gluing.
Assembly example: The small boxed example shows the finished craft. Do not cut it out.
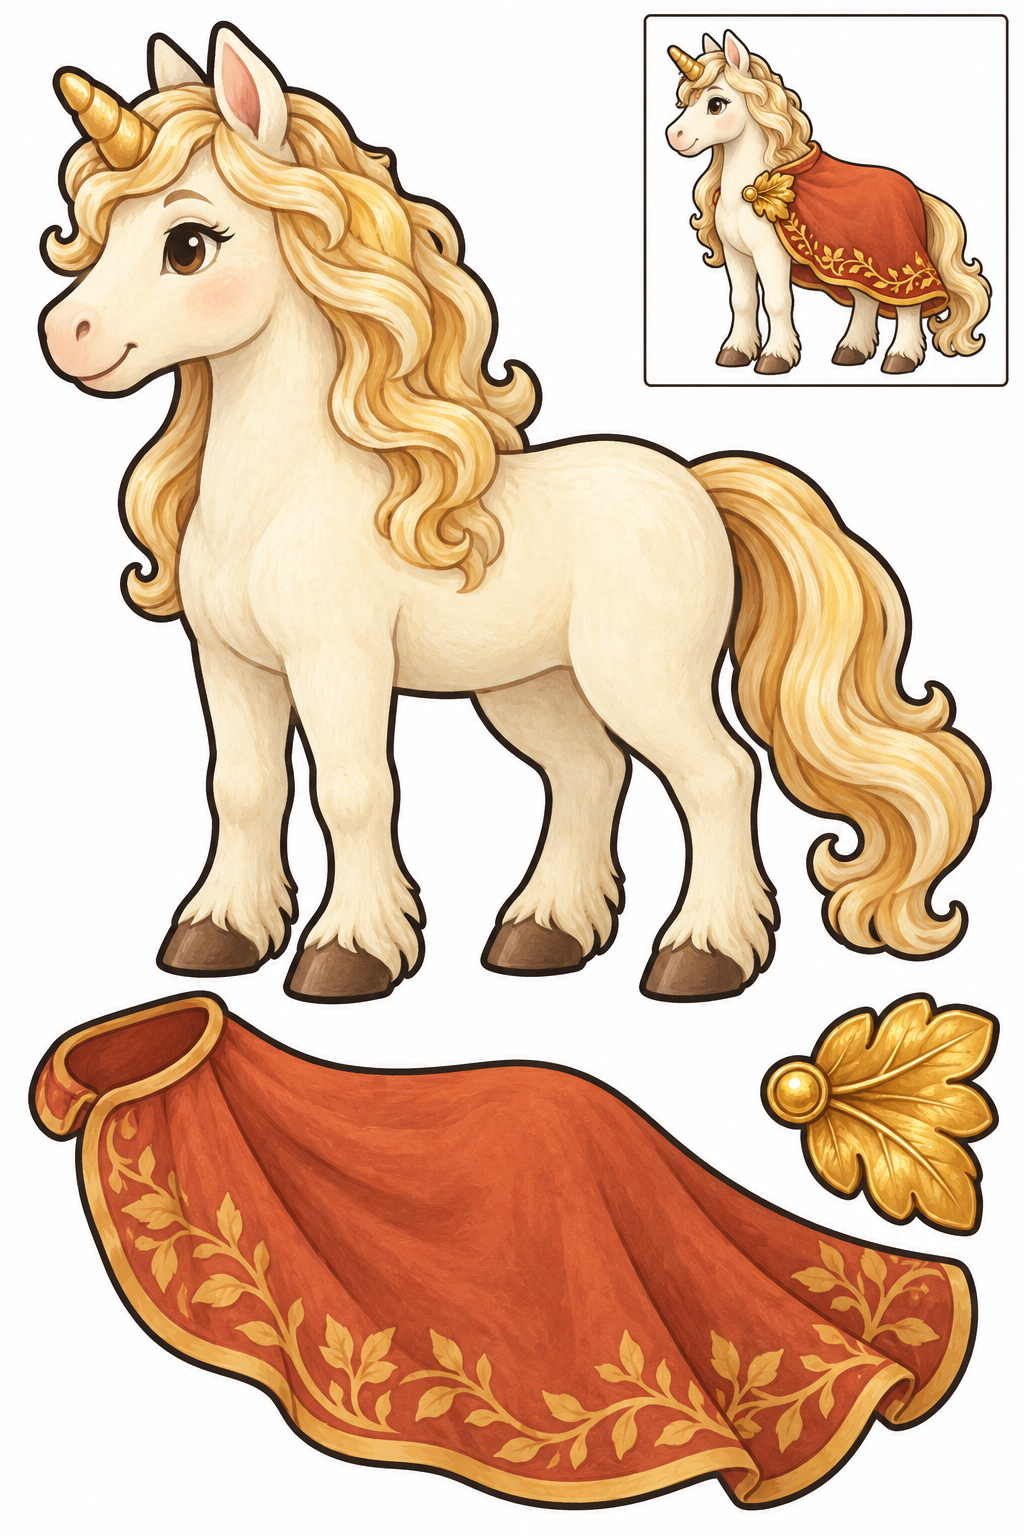
Cut the three large pieces along their outer borders. Keep face and internal decoration intact; the small boxed example stays on the sheet. Arrange cape over back; leaf clasp at shoulder. Try the overlaps before applying glue to their backs. Check that the face is visible and the joins hold; lift and reposition a piece before the glue dries if it hides another part.
Check: Can you guide the scissors comfortably? If it is difficult, an adult can shorten a strip, cut a tricky curve or offer straight paths. Pieces should be fully separated and arranged as intended before gluing.
Assembly example: The small boxed example shows the finished craft. Do not cut it out.
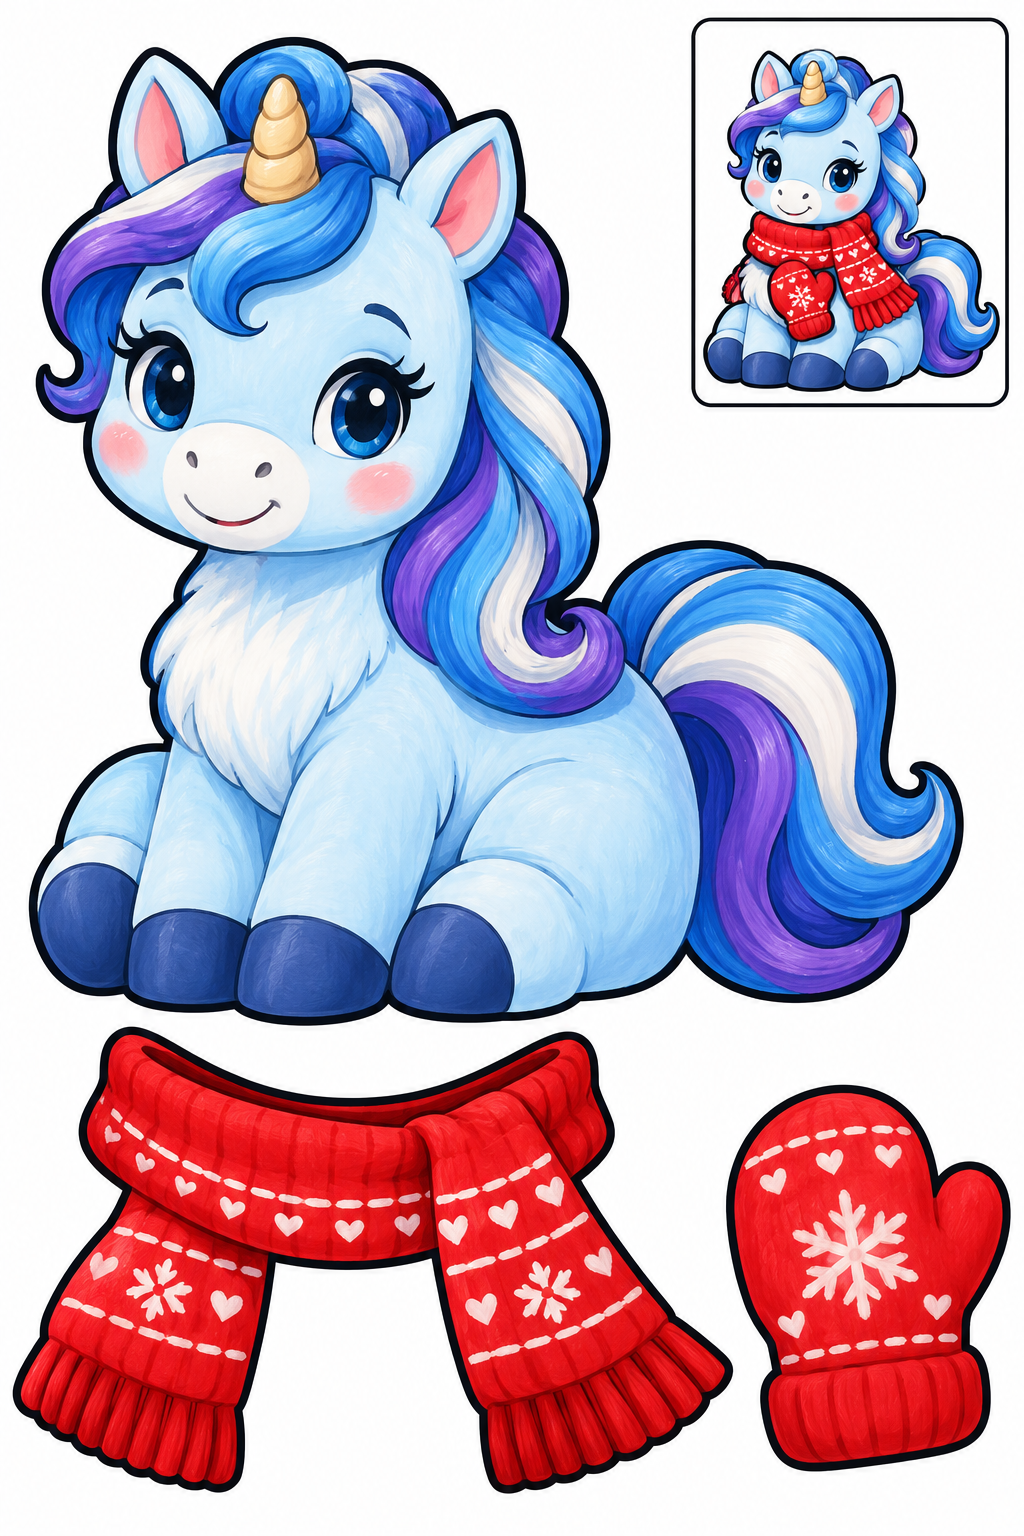
Cut the three large pieces along their outer borders. Keep face and internal decoration intact; the small boxed example stays on the sheet. Arrange scarf across neck; mitten on chest. Try the overlaps before applying glue to their backs. Check that the face is visible and the joins hold; lift and reposition a piece before the glue dries if it hides another part.
Check: Can you guide the scissors comfortably? If it is difficult, an adult can shorten a strip, cut a tricky curve or offer straight paths. Pieces should be fully separated and arranged as intended before gluing.
Assembly example: The small boxed example shows the finished craft. Do not cut it out.
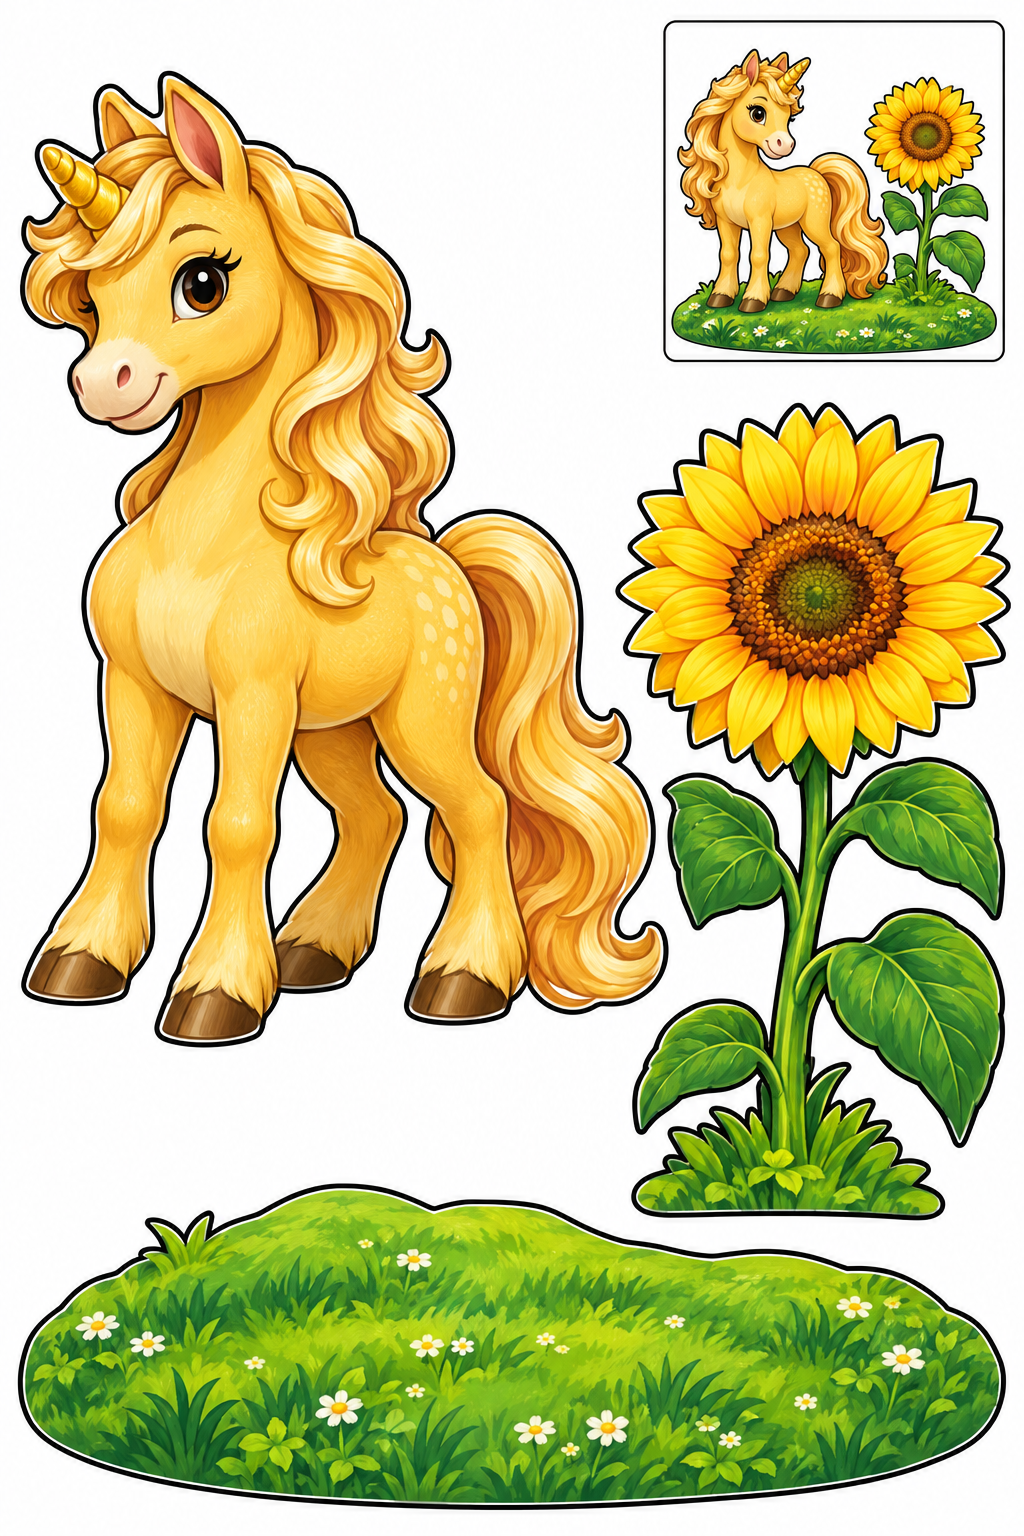
Cut the three large pieces along their outer borders. Keep face and internal decoration intact; the small boxed example stays on the sheet. Arrange unicorn and sunflower side by side on meadow base. Try the overlaps before applying glue to their backs. Check that the face is visible and the joins hold; lift and reposition a piece before the glue dries if it hides another part.
Check: Can you guide the scissors comfortably? If it is difficult, an adult can shorten a strip, cut a tricky curve or offer straight paths. Pieces should be fully separated and arranged as intended before gluing.
Assembly example: The small boxed example shows the finished craft. Do not cut it out.
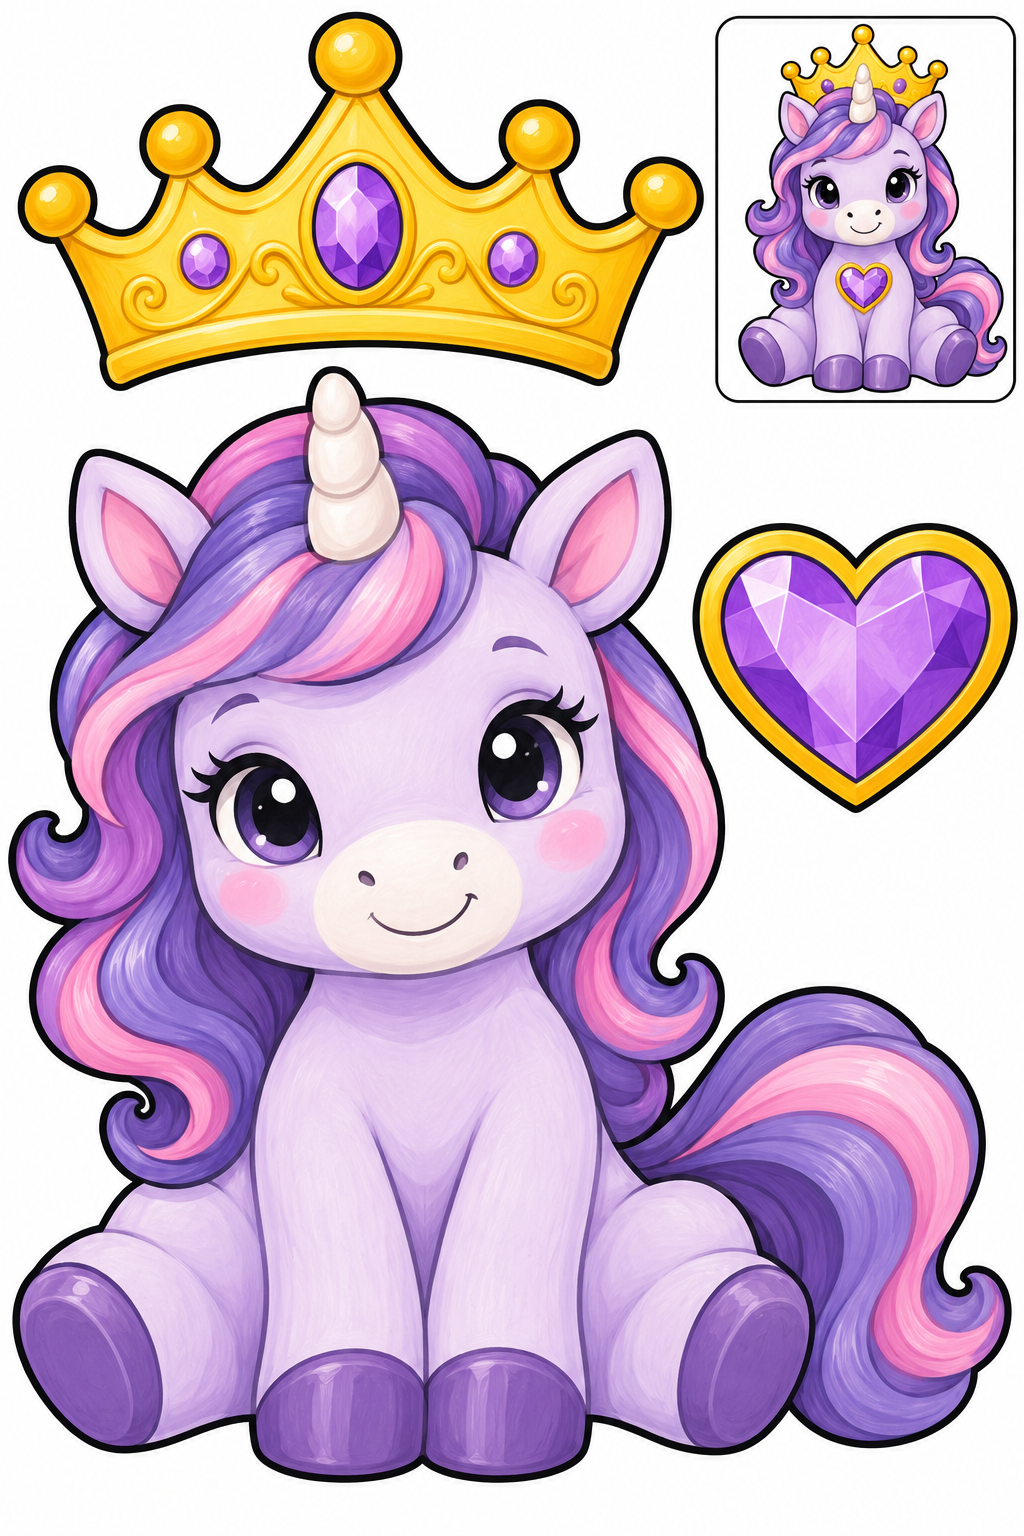
Cut the three large pieces along their outer borders. Keep face and internal decoration intact; the small boxed example stays on the sheet. Arrange crown behind top of head keeping horn visible; heart on chest. Try the overlaps before applying glue to their backs. Check that the face is visible and the joins hold; lift and reposition a piece before the glue dries if it hides another part.
Check: Can you guide the scissors comfortably? If it is difficult, an adult can shorten a strip, cut a tricky curve or offer straight paths. Pieces should be fully separated and arranged as intended before gluing.
Assembly example: The small boxed example shows the finished craft. Do not cut it out.
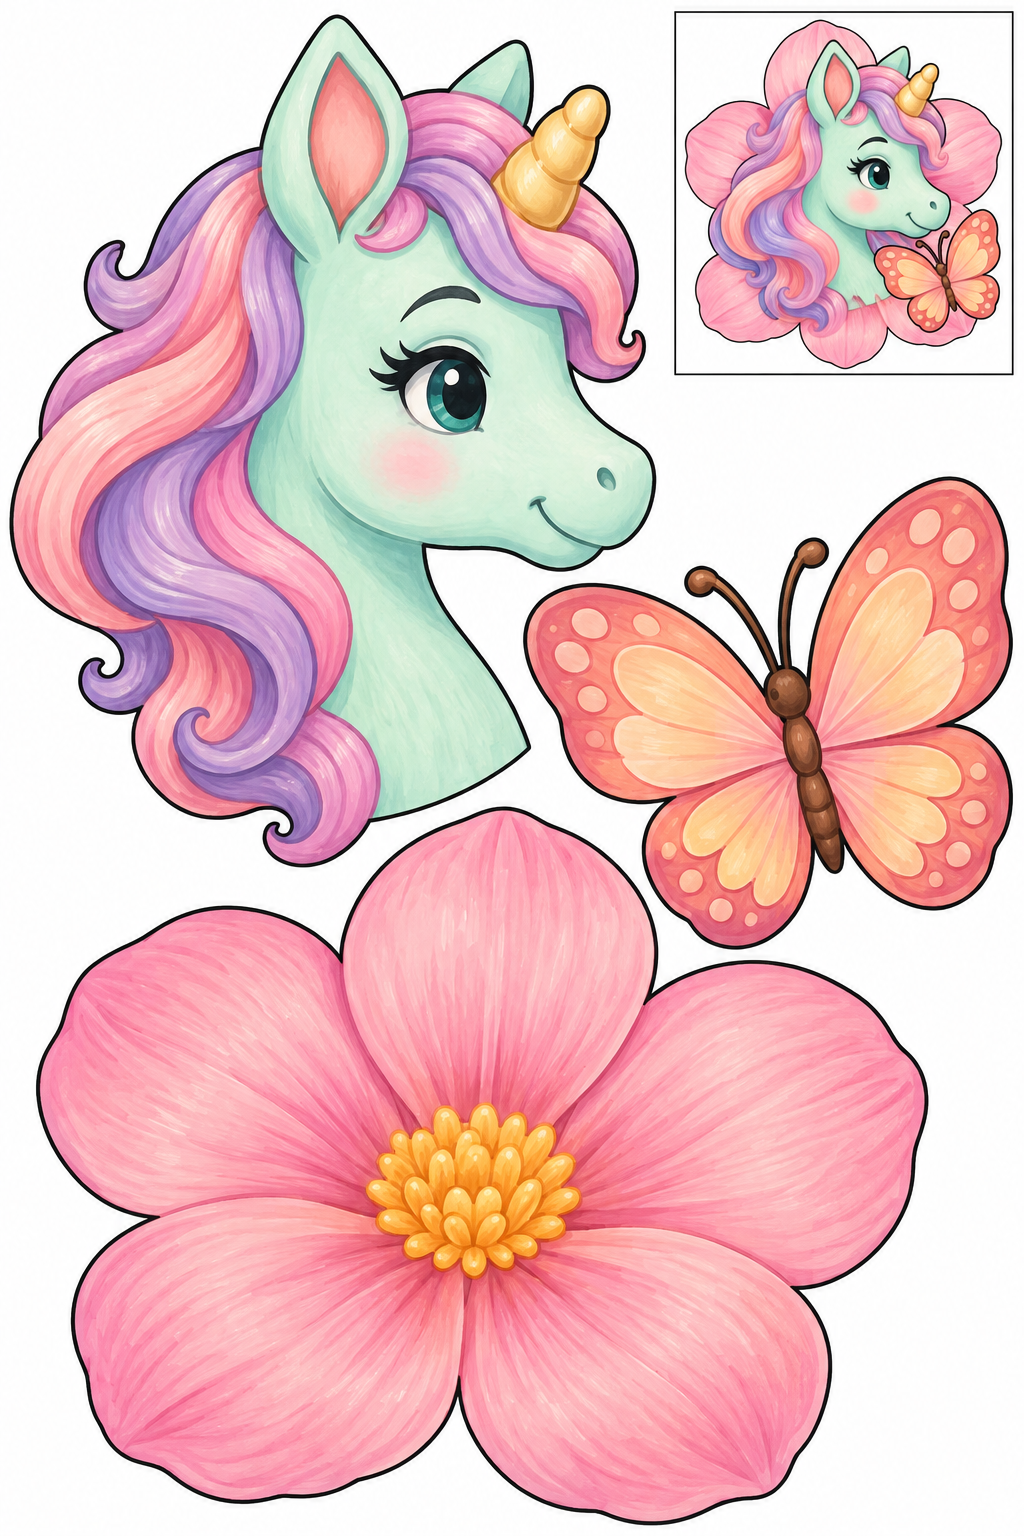
Cut the three large pieces along their outer borders. Keep face and internal decoration intact; the small boxed example stays on the sheet. Arrange head on flower backdrop; butterfly beside cheek. Try the overlaps before applying glue to their backs. Check that the face is visible and the joins hold; lift and reposition a piece before the glue dries if it hides another part.
Check: Can you guide the scissors comfortably? If it is difficult, an adult can shorten a strip, cut a tricky curve or offer straight paths. Pieces should be fully separated and arranged as intended before gluing.
Assembly example: The small boxed example shows the finished craft. Do not cut it out.
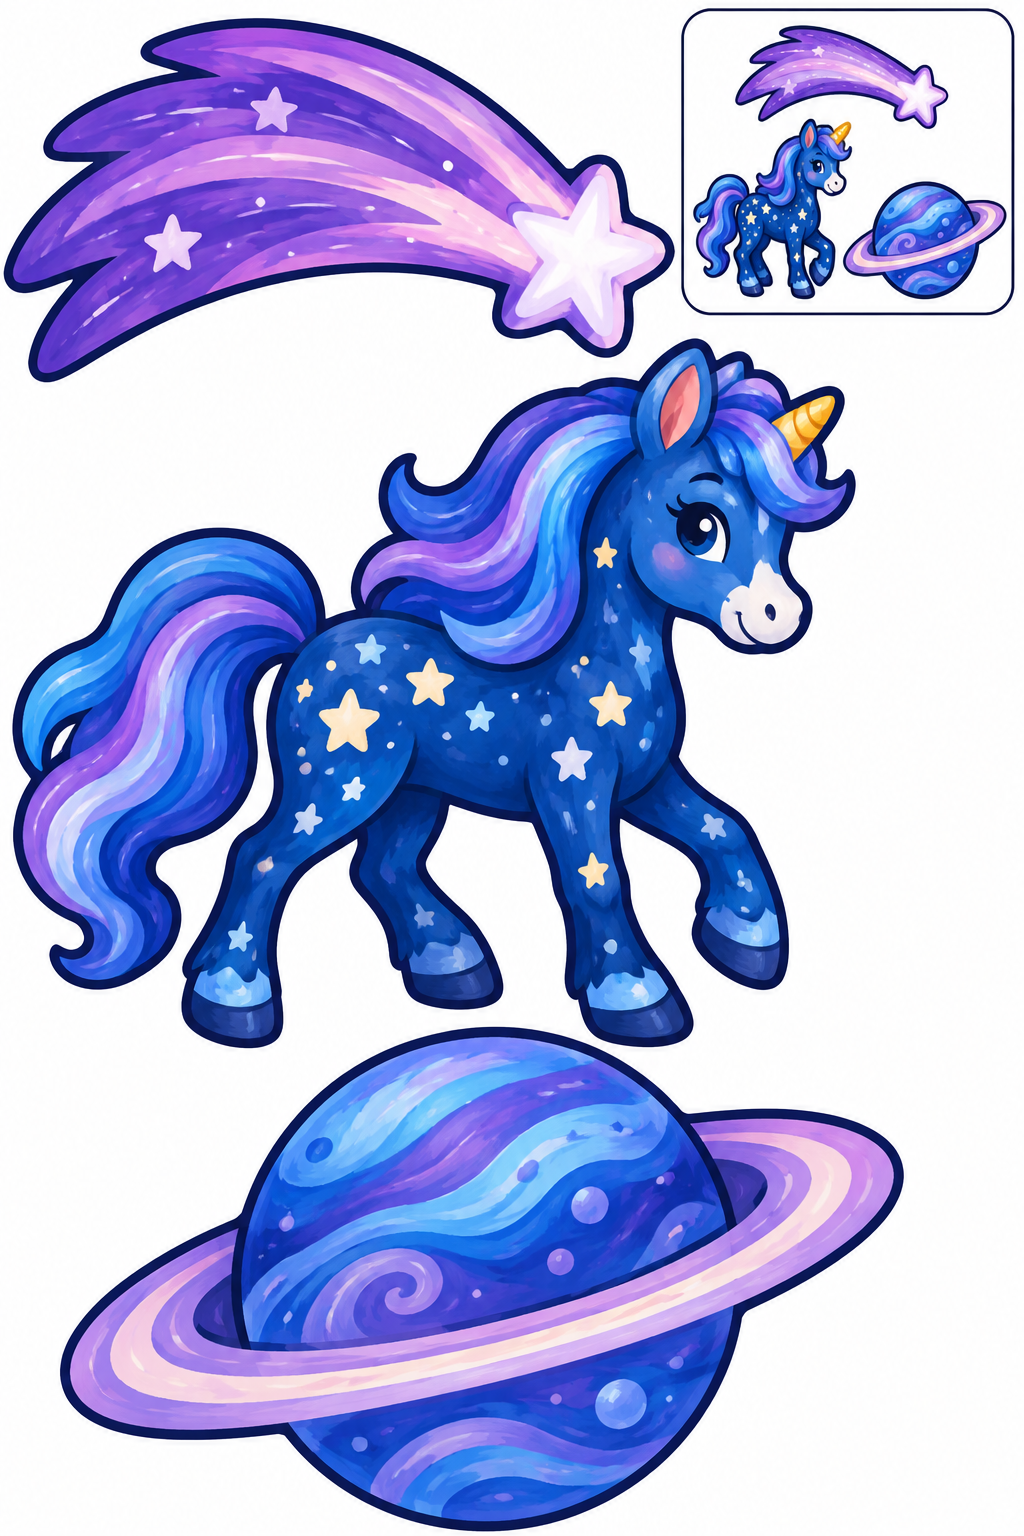
Cut the three large pieces along their outer borders. Keep face and internal decoration intact; the small boxed example stays on the sheet. Arrange unicorn and planet side by side; comet above on backing paper. Try the overlaps before applying glue to their backs. Check that the face is visible and the joins hold; lift and reposition a piece before the glue dries if it hides another part.
Check: Can you guide the scissors comfortably? If it is difficult, an adult can shorten a strip, cut a tricky curve or offer straight paths. Pieces should be fully separated and arranged as intended before gluing.
Assembly example: The small boxed example shows the finished craft. Do not cut it out.
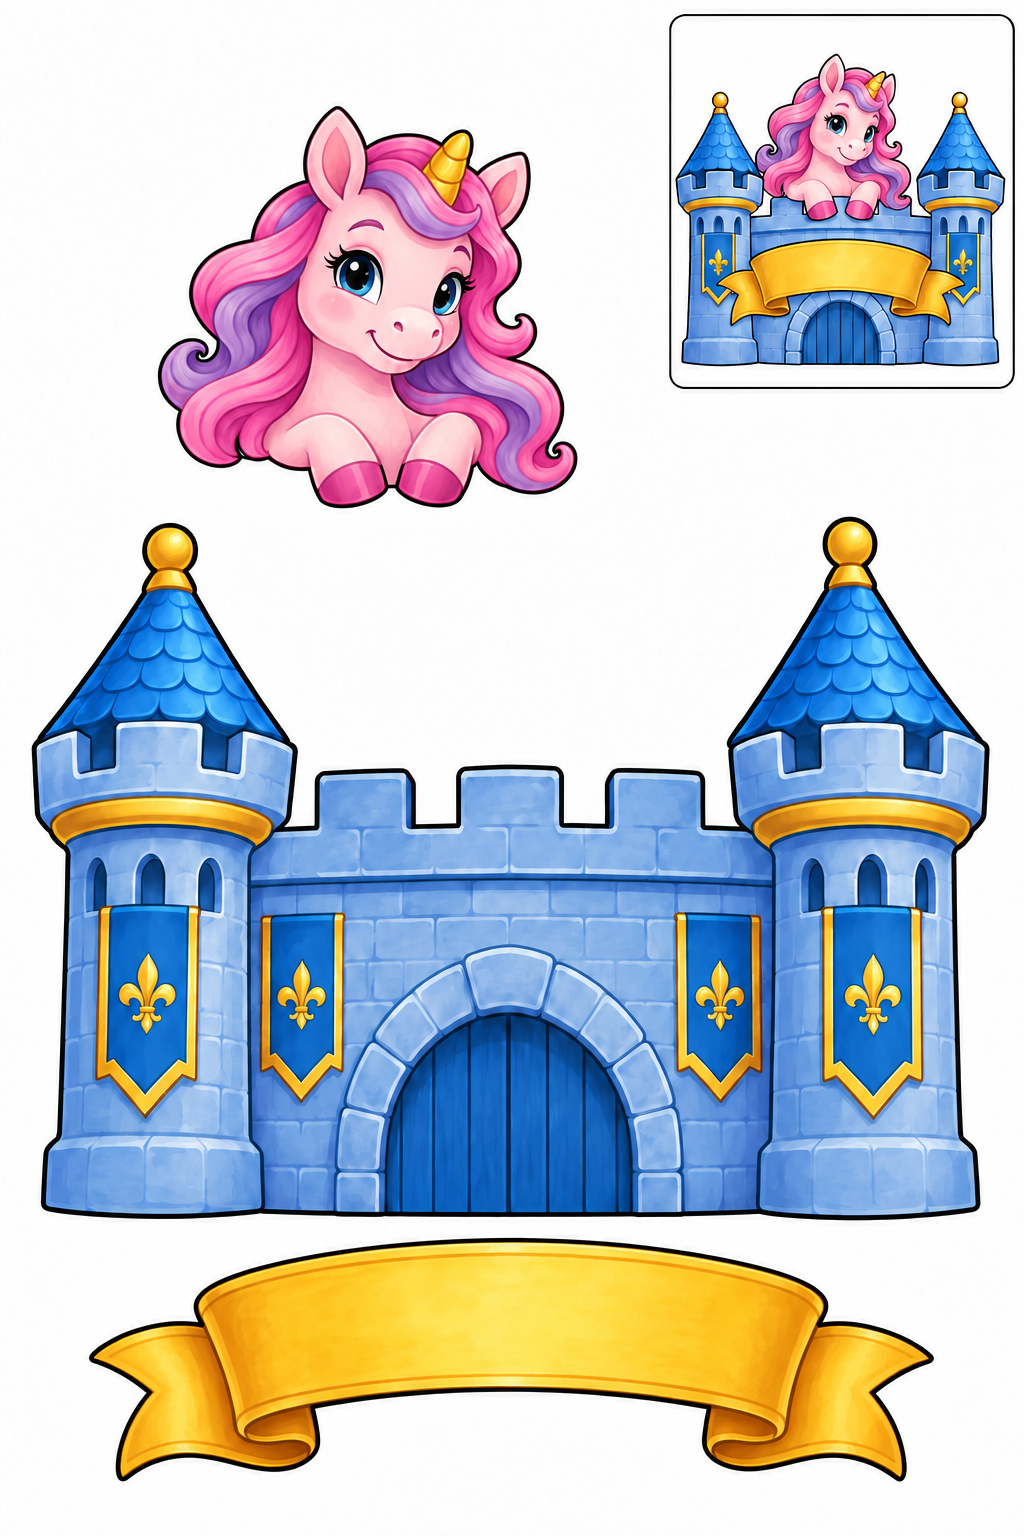
Cut the three large pieces along their outer borders. Keep face and internal decoration intact; the small boxed example stays on the sheet. Arrange unicorn behind castle parapet; banner on castle front. Try the overlaps before applying glue to their backs. Check that the face is visible and the joins hold; lift and reposition a piece before the glue dries if it hides another part.
Check: Can you guide the scissors comfortably? If it is difficult, an adult can shorten a strip, cut a tricky curve or offer straight paths. Pieces should be fully separated and arranged as intended before gluing.
Assembly example: The small boxed example shows the finished craft. Do not cut it out.
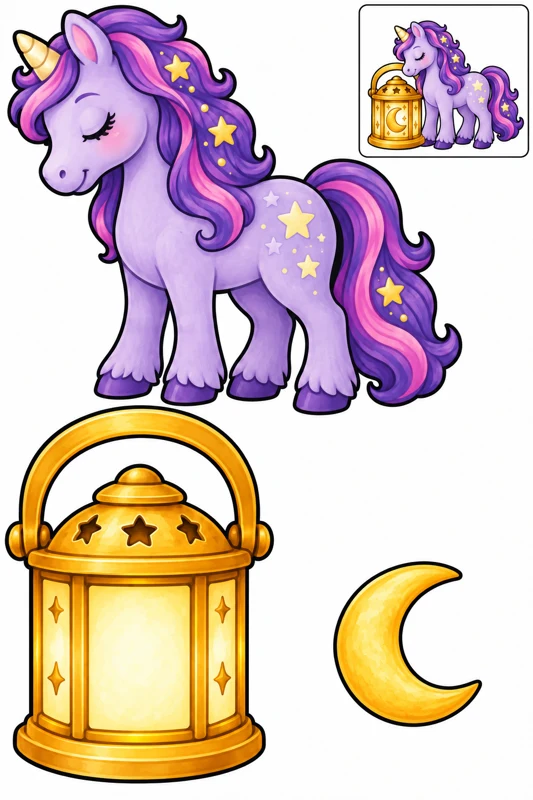
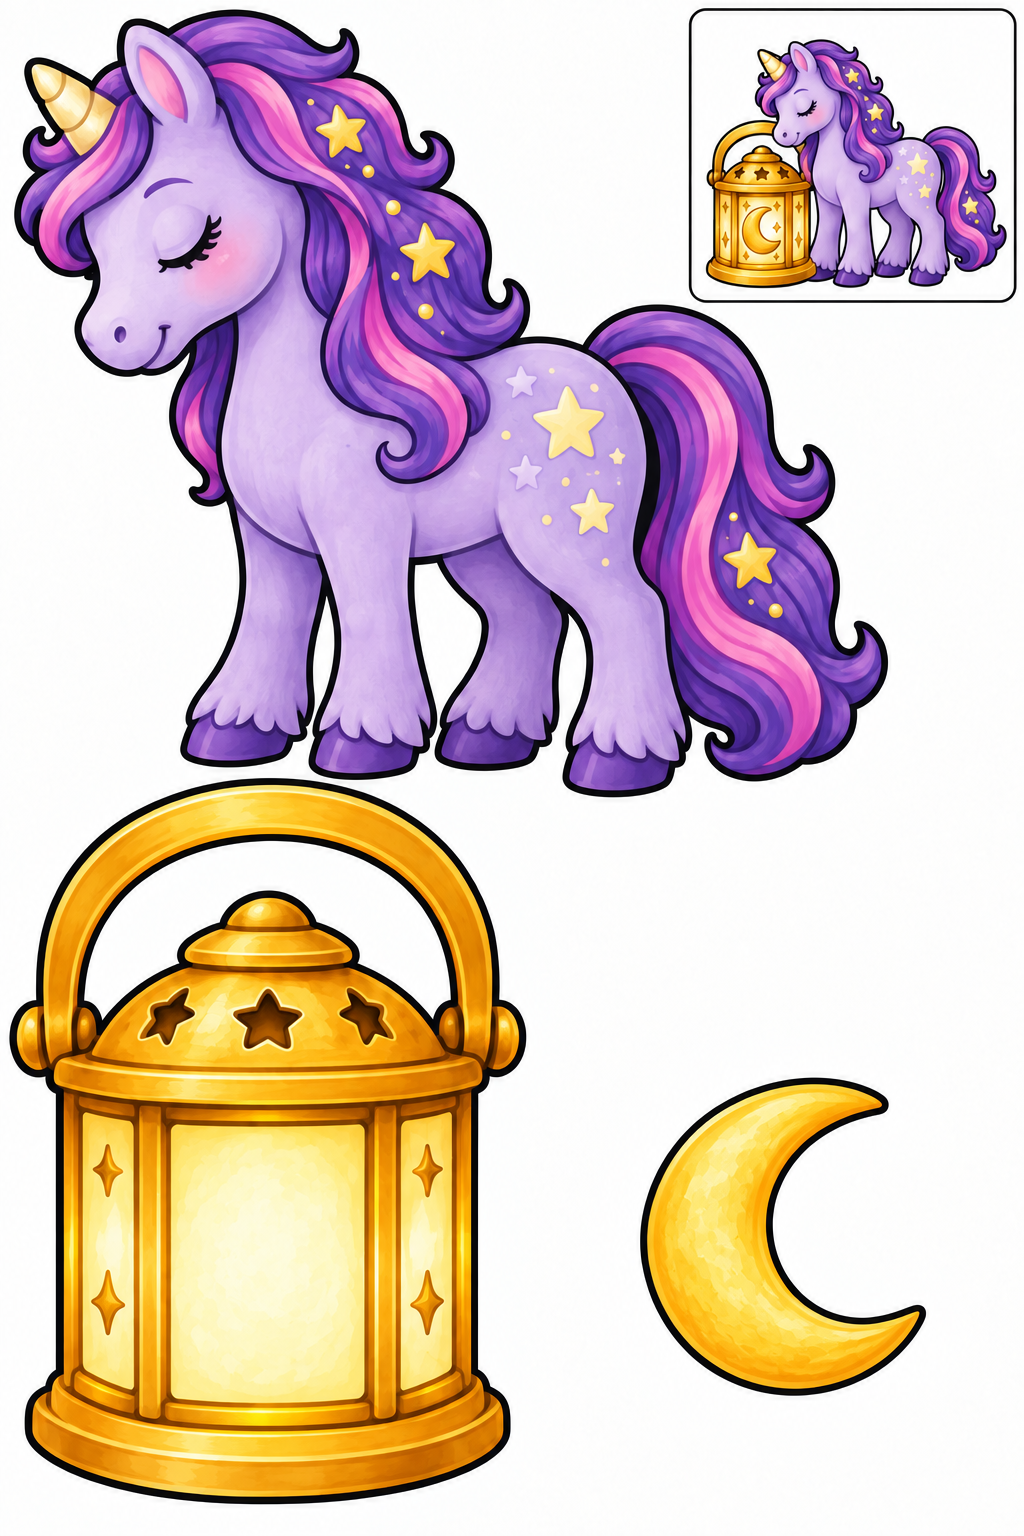
Cut the three large pieces along their outer borders. Keep face and internal decoration intact; the small boxed example stays on the sheet. Arrange lantern beside unicorn; crescent on lantern front. Try the overlaps before applying glue to their backs. Check that the face is visible and the joins hold; lift and reposition a piece before the glue dries if it hides another part.
Check: Can you guide the scissors comfortably? If it is difficult, an adult can shorten a strip, cut a tricky curve or offer straight paths. Pieces should be fully separated and arranged as intended before gluing.
How to make your paper unicorn
There are 24 different projects here: 12 black-and-white sheets to color and 12 full-color sheets. Each main sheet has large separate pieces and a small boxed assembly reference. Choose one craft for your first session. The heart friend introduces a simple overlap: the tail goes behind the body and the heart goes in front. The bookmark joins a long strip to a head, while the greeting card places a character on a backing. The colored sheets offer other constructions, including a wing, cape, basket and castle.
Choose paper and check the print
Gather child scissors, a glue stick, coloring pencils and a separate backing sheet. Ordinary printer paper works for a collage; slightly firmer paper can help a bookmark if your scissors cut it easily. Match the A4 or Letter PDF to your printer paper and print at 100%. Check that the horn, tail and cloud edges are fully visible and the footer is complete. If an edge disappears, check the paper setting and printer margins before printing again. Color black-and-white pieces before cutting, because a whole sheet is easier to hold.
Cut the outside edge and keep the face intact
An adult can first divide the sheet into large areas. On assembly projects, cut only each piece’s solid outer border: eyes, mane lines and horn patterns stay inside. Stop before a turn and rotate the paper with your supporting hand. Around the horn, use short cuts without pulling. Check that each piece is fully separated; if it catches, find the uncut section. Reinforce an accidentally nicked tail with tape on the back. Keep the small boxed picture on the sheet so you can compare your arrangement with the reference.
Try the layers before gluing
Lay out the pieces like the reference, then read the chosen card’s instructions. A tail or wing base usually tucks under the body, while a heart or clasp sits on top. On the basket and castle, the front panel overlaps the lower character. Apply glue across a broad joining area rather than only at a tip. Check that the face stays visible and the edges hold after gentle pressure. If a piece faces the wrong way or covers an eye, lift and reposition it before the glue dries. Keep the portrait’s solid backing whole.
Bookmark and finger character
For the bookmark, glue the top of the long strip behind the head, leaving the strip extending downward. Dry it under a light weight to keep it flat. The finger character’s band is printed flat: an adult fits it loosely around a finger and tapes the ends. Attach the character outside the loop. Check that it slides off easily; remove and enlarge a tight loop. Keep it off wrists and never tighten it. The other projects stay flat collages; the gift panel does not require folding a pocket.
Invent your own story scene
Before the final glue step, try two arrangements: let the unicorn face a flower or walk toward a lantern. Compare which arrangement keeps every piece visible. Draw a path, sky or garden on separate paper; broad scraps can become extra scenery. Check that the surroundings do not cover the character’s face. One craft is enough for a short session; for a shared story, use whole characters from the additional sheets below. Invite your child to explain where the unicorn is going and which piece they would place differently next time.
Should the horn be cut separately?
No. The horn, ears and printed mane belong to the head or body silhouette. Only the large pieces named in the card’s instructions are separate. An adult can help around tight turns.
Can we mix pieces from different sheets?
Yes, for a free collage. First check the sizes and overlaps: another project’s wing or tail may be too large. If the join is awkward, glue the pieces beside one another on a shared backing.
Choose by skill, not just age
These projects are intended roughly for ages 4–8 with adult help. Start with straight paths and squares. Once a straight cut feels comfortable, try corners, then circles and gentle curves. Age is a guide: choose a manageable task and take breaks.
You need paper, child scissors, coloring pencils and a glue stick for assembly crafts. Keep fingers away from the blades and cut while seated at a table. If a child is not ready for scissors, an adult can cut while the child colors and arranges.
Printing and activity questions
Are the templates really free?
Yes. All templates are downloadable without an account or email address. Use them at home or in class; do not resell the files.
Should I choose A4 or Letter?
Match your printer paper: A4 is 210 × 297 mm; US Letter is 8.5 × 11 inches. Print at 100%. Each PDF contains one page.
Which lines should we cut?
On practice paths, cut dashed lines from the edge or starting dot. On crafts, cut the solid outer border of each piece. Do not cut out the small boxed assembly example.
What if the paper keeps tearing?
Ask an adult to check that the scissors cut the paper. Try a shorter strip and smaller motions. Stop before a corner and turn the paper with the supporting hand.
Whole unicorn characters for a story collage
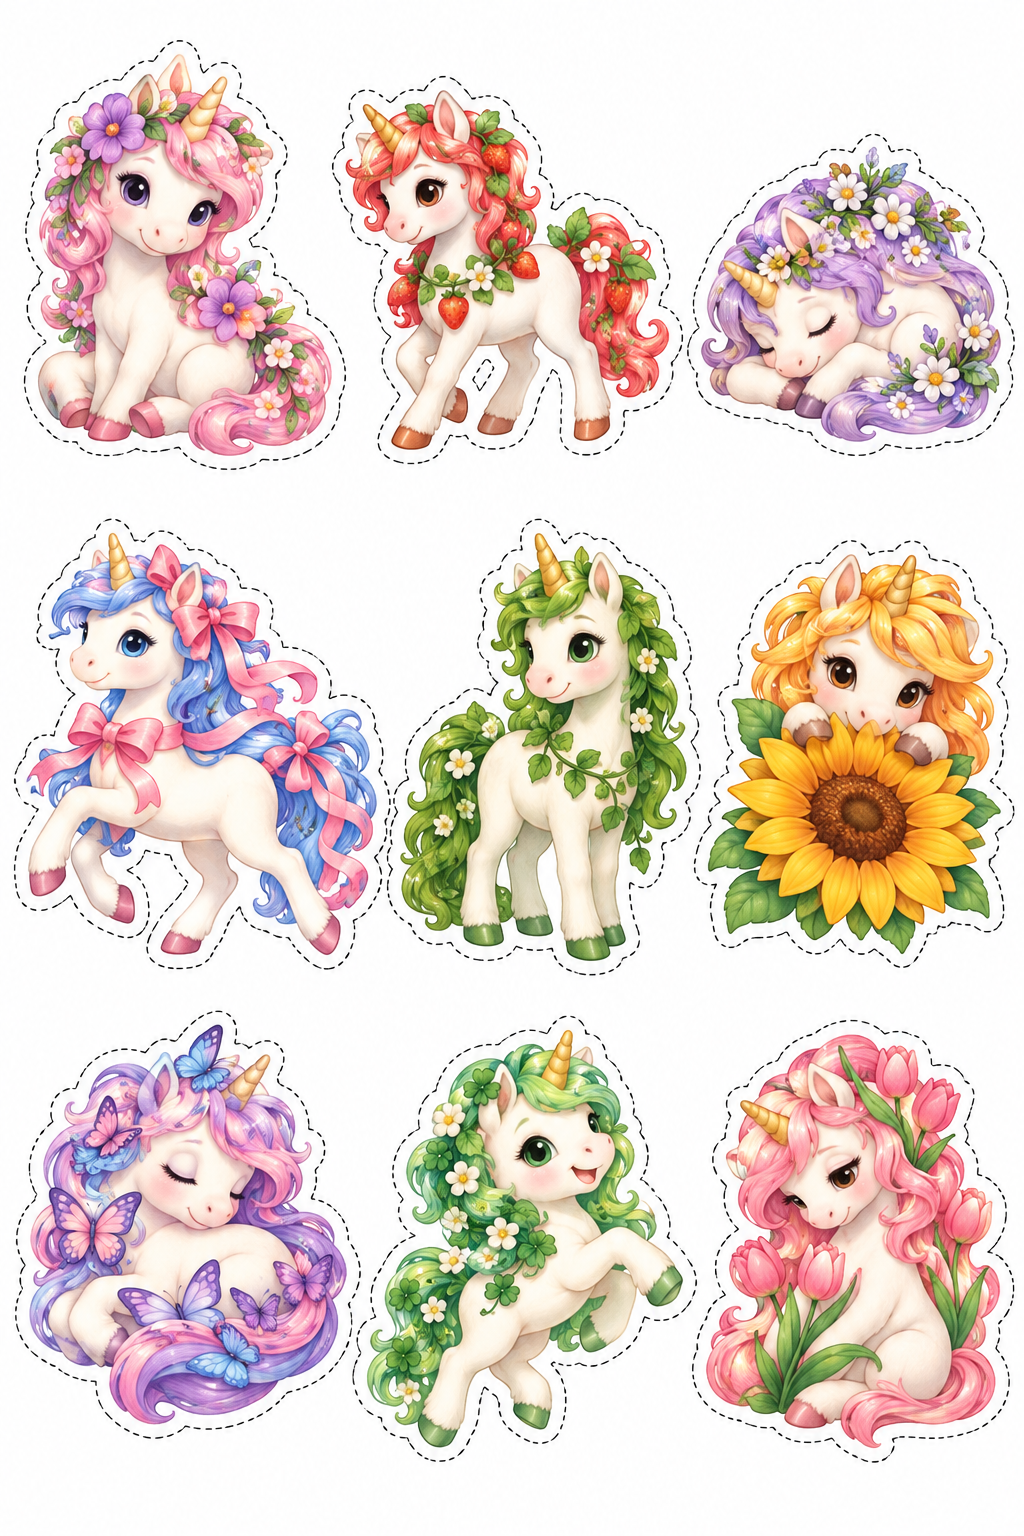
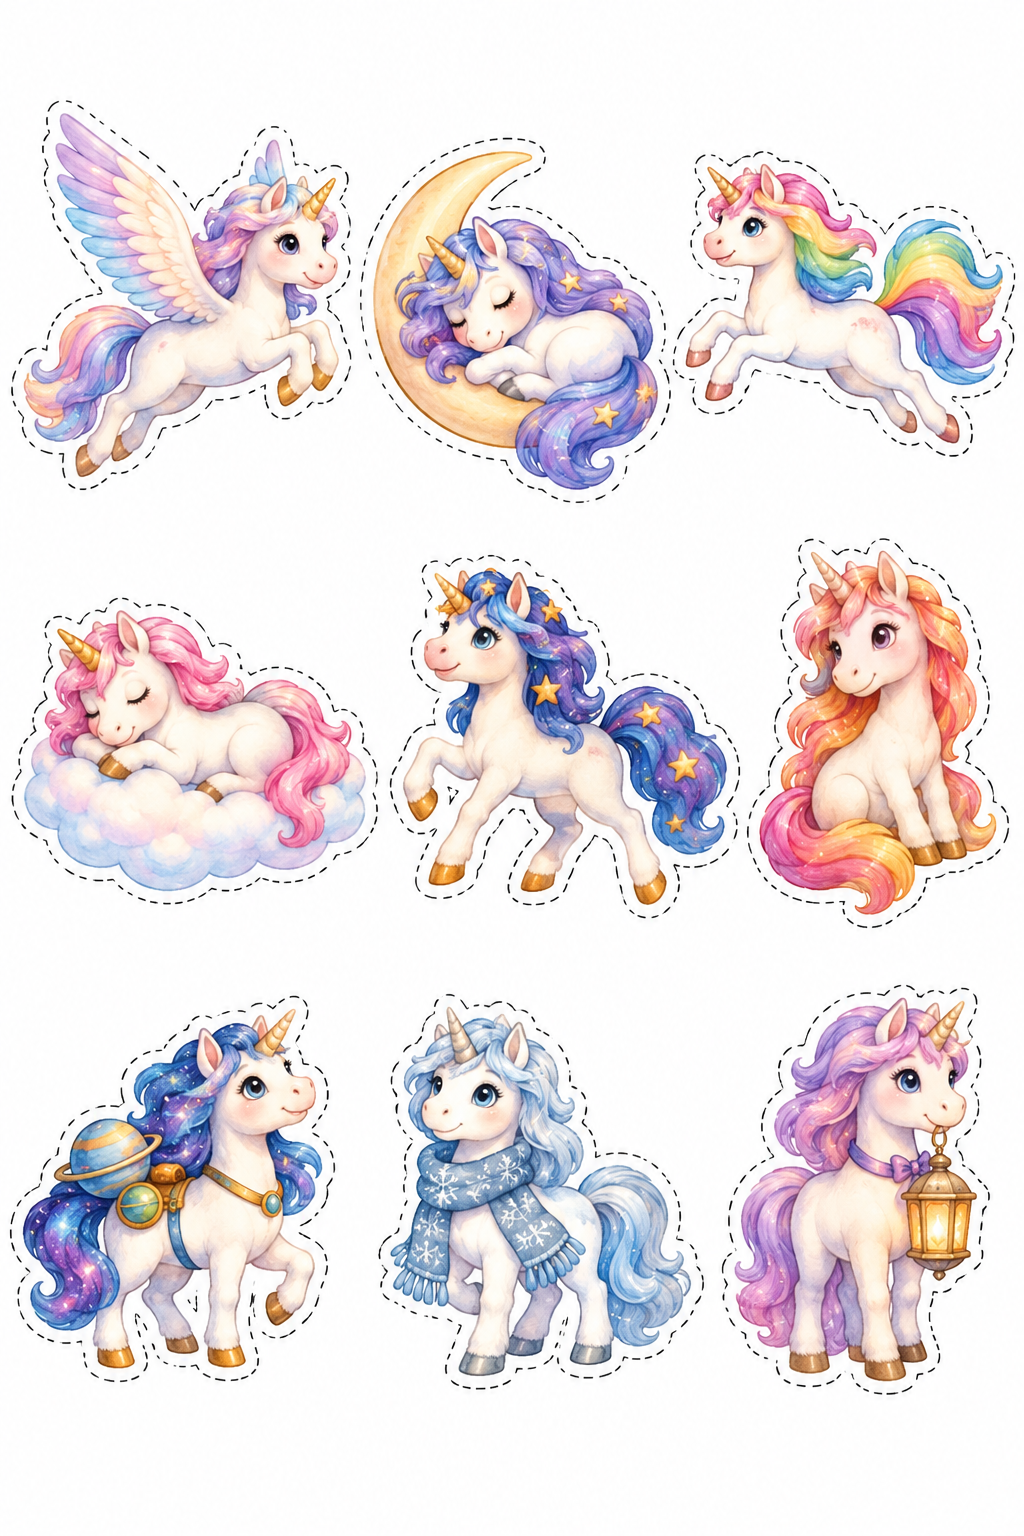
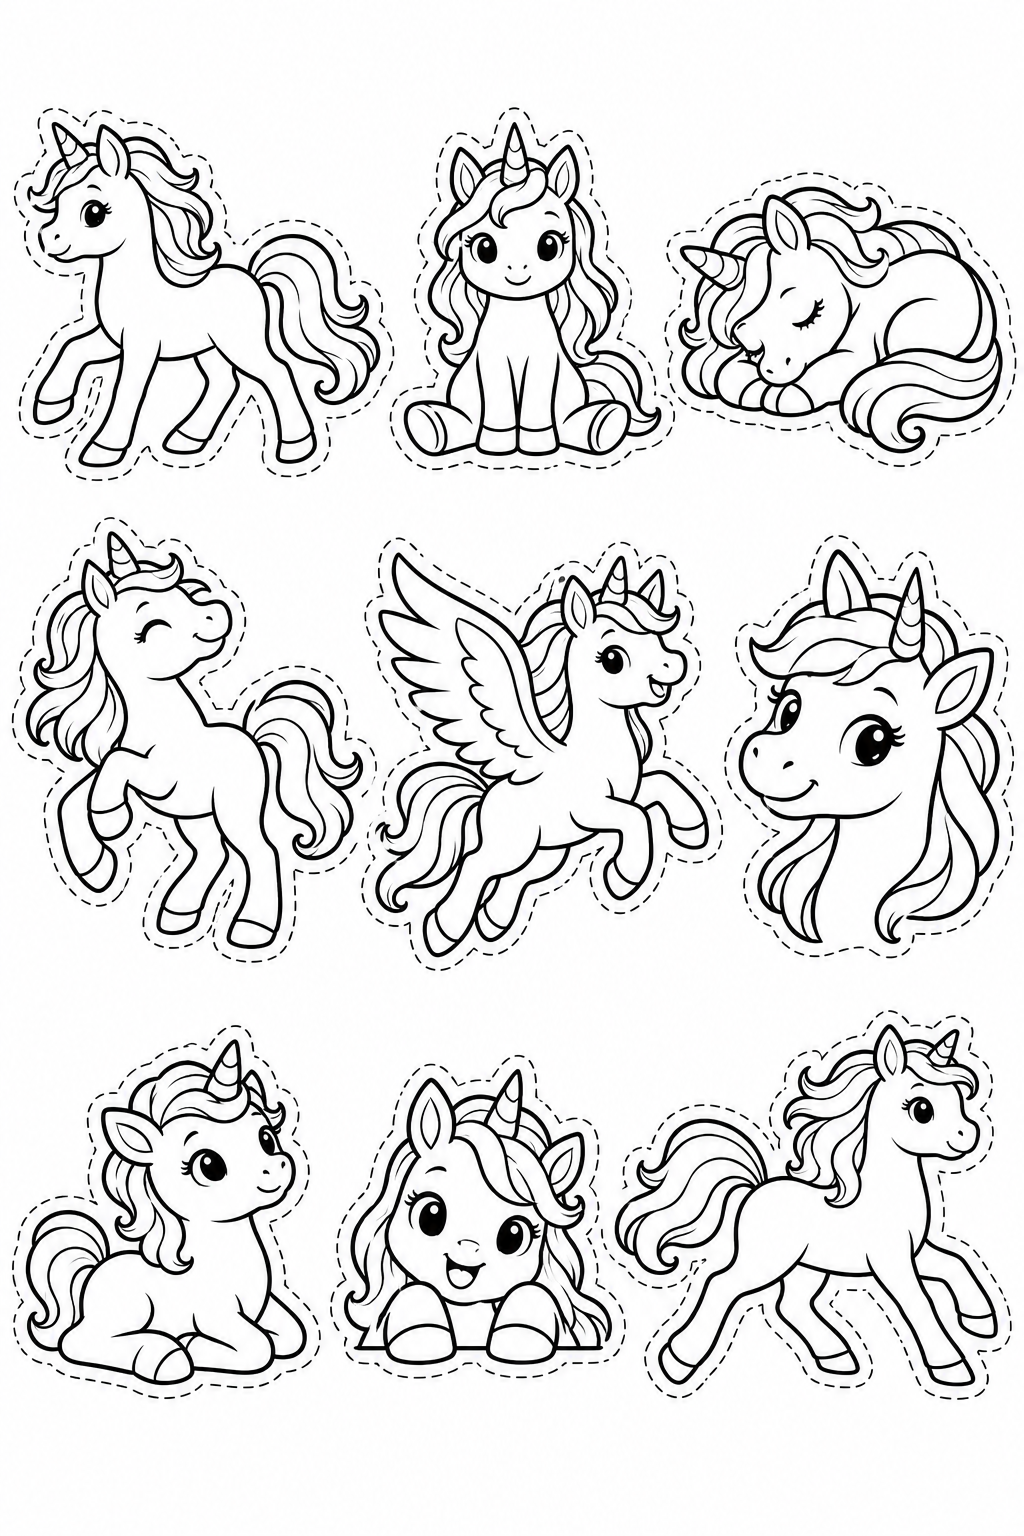
Three additional sheets each contain nine different characters: colorful meadow friends, sky travelers and black-and-white unicorns to color. These are whole figures, with no separate tails or assembly pieces. They supplement the main 24 projects.
Color the black-and-white sheet first. An adult can separate the page into nine areas. Cut each character’s outer dashed outline, keeping its horn, legs and decorations inside the silhouette. Stop and rotate the paper before a narrow turn. Reinforce an accidental nick with a little tape on the back. Try two arrangements on backing paper before gluing and check that no character covers another’s face. Choose three figures for a short session and save the others for later.
Color the black-and-white figures before cutting. Cut each of the nine whole unicorns along its individual outside dashed line; keep internal details and attached props intact. Try an arrangement on backing paper before gluing. Check that the silhouettes remain whole; an adult can help around a narrow horn or wing.
Color the black-and-white figures before cutting. Cut each of the nine whole unicorns along its individual outside dashed line; keep internal details and attached props intact. Try an arrangement on backing paper before gluing. Check that the silhouettes remain whole; an adult can help around a narrow horn or wing.
Color the black-and-white figures before cutting. Cut each of the nine whole unicorns along its individual outside dashed line; keep internal details and attached props intact. Try an arrangement on backing paper before gluing. Check that the silhouettes remain whole; an adult can help around a narrow horn or wing.
 kiduverse