kiduverse
Origami unicorn bookmark: step-by-step paper folding
One 20 × 20 cm square becomes a long bookmark with a unicorn head and horn in 12 steps. No glue or scissors; the key new technique is the inside reverse fold.
- Paper20 × 20 cm square
- Steps12, in three stages
- LevelAfter your first folds
- No glueand no scissors
- Key techniqueInside reverse fold
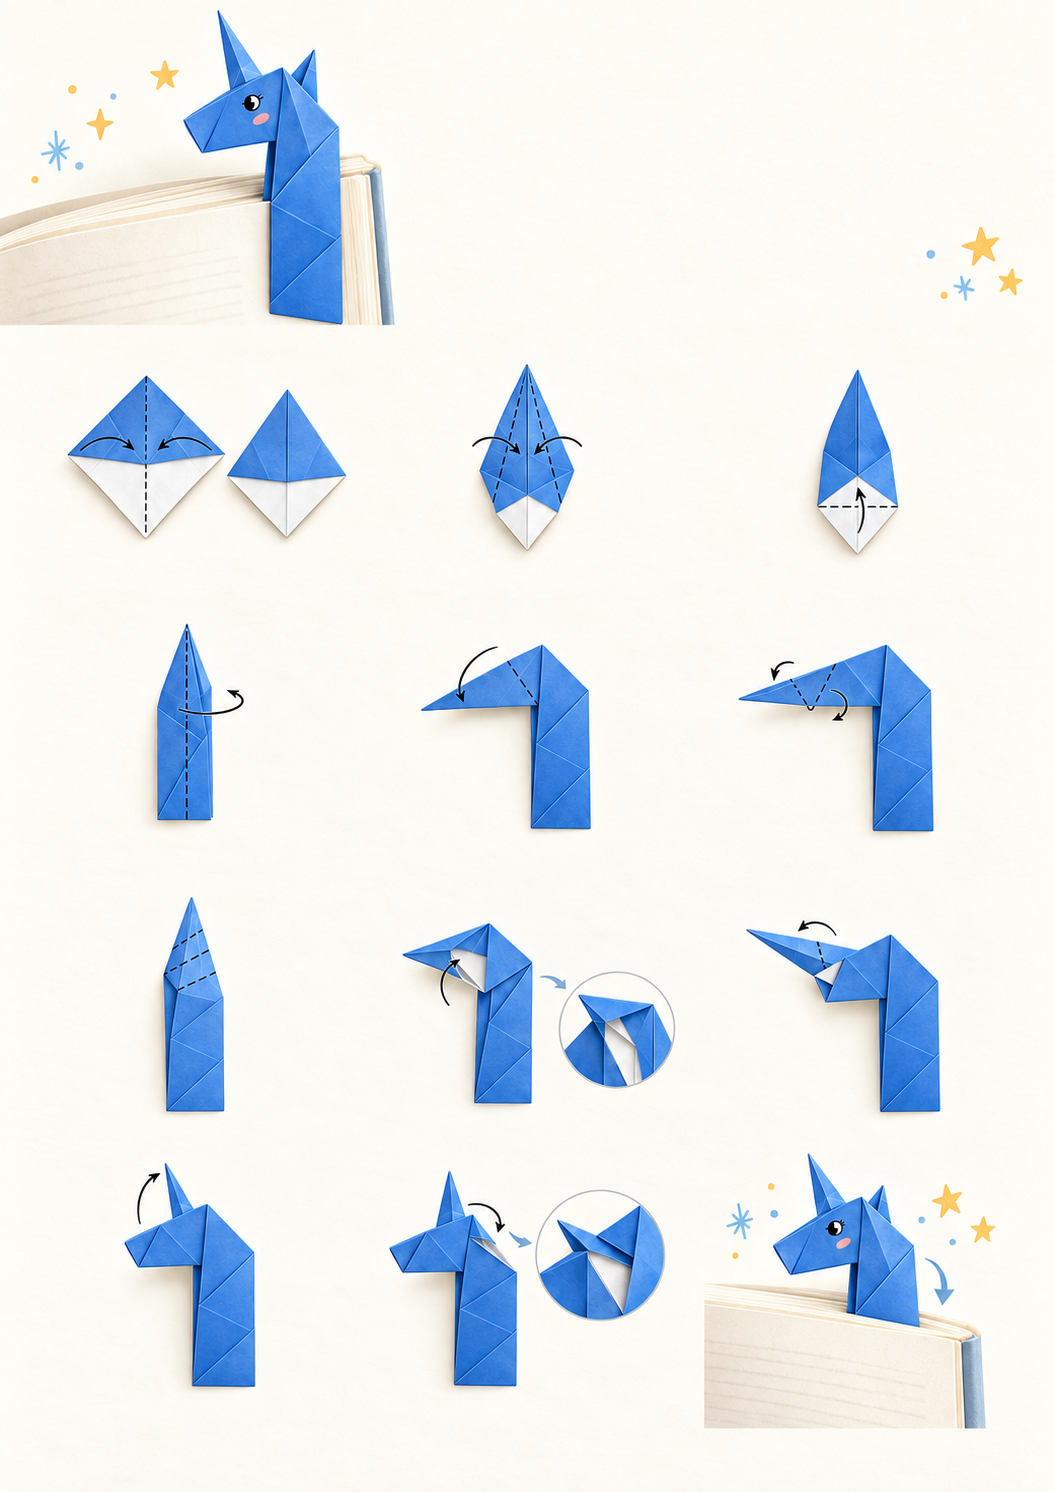
This origami unicorn tutorial makes a long paper bookmark: the narrow part sits between the pages while the head and horn show above the book. Each illustration shows the paper’s two sides, earlier creases and the next movement. Every step includes a checkpoint and a way to repair a fold that has gone off course.
Start with one prepared square. The head and horn use the same sheet, with no extra pieces to cut or glue. This lesson introduces inside reverse folds after simpler models. If you are folding paper for the first time, practice matching edges in the beginner guide before working on the small folds near the head.
Choosing paper for your origami unicorn
Thin 20 × 20 cm square with different colors on its sides. No scissors or glue.
Begin with a thin 20 × 20 cm square. A larger starting sheet makes it easier to separate the layers around the head and hold the narrow horn. Paper with a colored front and a pale reverse is useful: you can compare those sides with the blue and white areas in the diagrams. Cardstock and thick greeting-card paper make the repeated folds harder.
If you have an A4 rectangle, prepare a square before starting. Its sides should be equal and its edges straight. You may need scissors to prepare the sheet; folding the ready square uses no scissors or glue. A pencil or marker is optional for the eye in the last step.
Work on a flat table with enough space to unfold the top of the model. Match the reference points before pressing a new crease firmly. Check the tip’s position, then run a finger along the fold. When opening a pocket, support the paper near its base instead of pulling on the delicate horn.
Reading crease lines and movement arrows
- Dashed line Where to make this step’s new fold.
- Fine line A crease made earlier: use it as a guide.
- Arrow Which way to move the point or flap.
- Magnifier circle A close-up of how the inner layers lie.
Look at the layer boundaries as well as the outline. Pale areas show the reverse side of the paper, while fine lines help you locate previous creases. A dashed line marks the current fold and an arrow shows the corner’s movement. After moving it, compare the model with the checkpoint below the diagram before continuing.
A valley fold brings part of the paper toward you; a mountain fold moves it away. These names describe the paper’s movement, rather than turning the whole model over. When a step asks you to unfold, reopen only the folded part. You need the crease as a guide later, so keep the main base together.
Understanding an inside reverse fold
-
Step 7 · Three prepared creases -
Step 8 · Layers open, the point goes between them -
Step 9 · Layers closed: the neck has turned
In steps 8–10, the upper section changes direction between two layers. This is an inside reverse fold: first prepare a crease, reopen it, gently separate the layers and guide the point into the gap. Close the layers along the prepared lines. Simply bending the tip across the outside produces a different shape.
Before step 8, pause at the tall narrow shape in step 7. Find the three separate diagonal creases you prepared earlier. Use them in order for the neck, muzzle and small horn. If you cannot find a line, return to the step that prepares it instead of adding a new crease. Use a second square for practice.
Visual study. The sequence still needs a physical folding check.
How to fold the unicorn bookmark: twelve steps
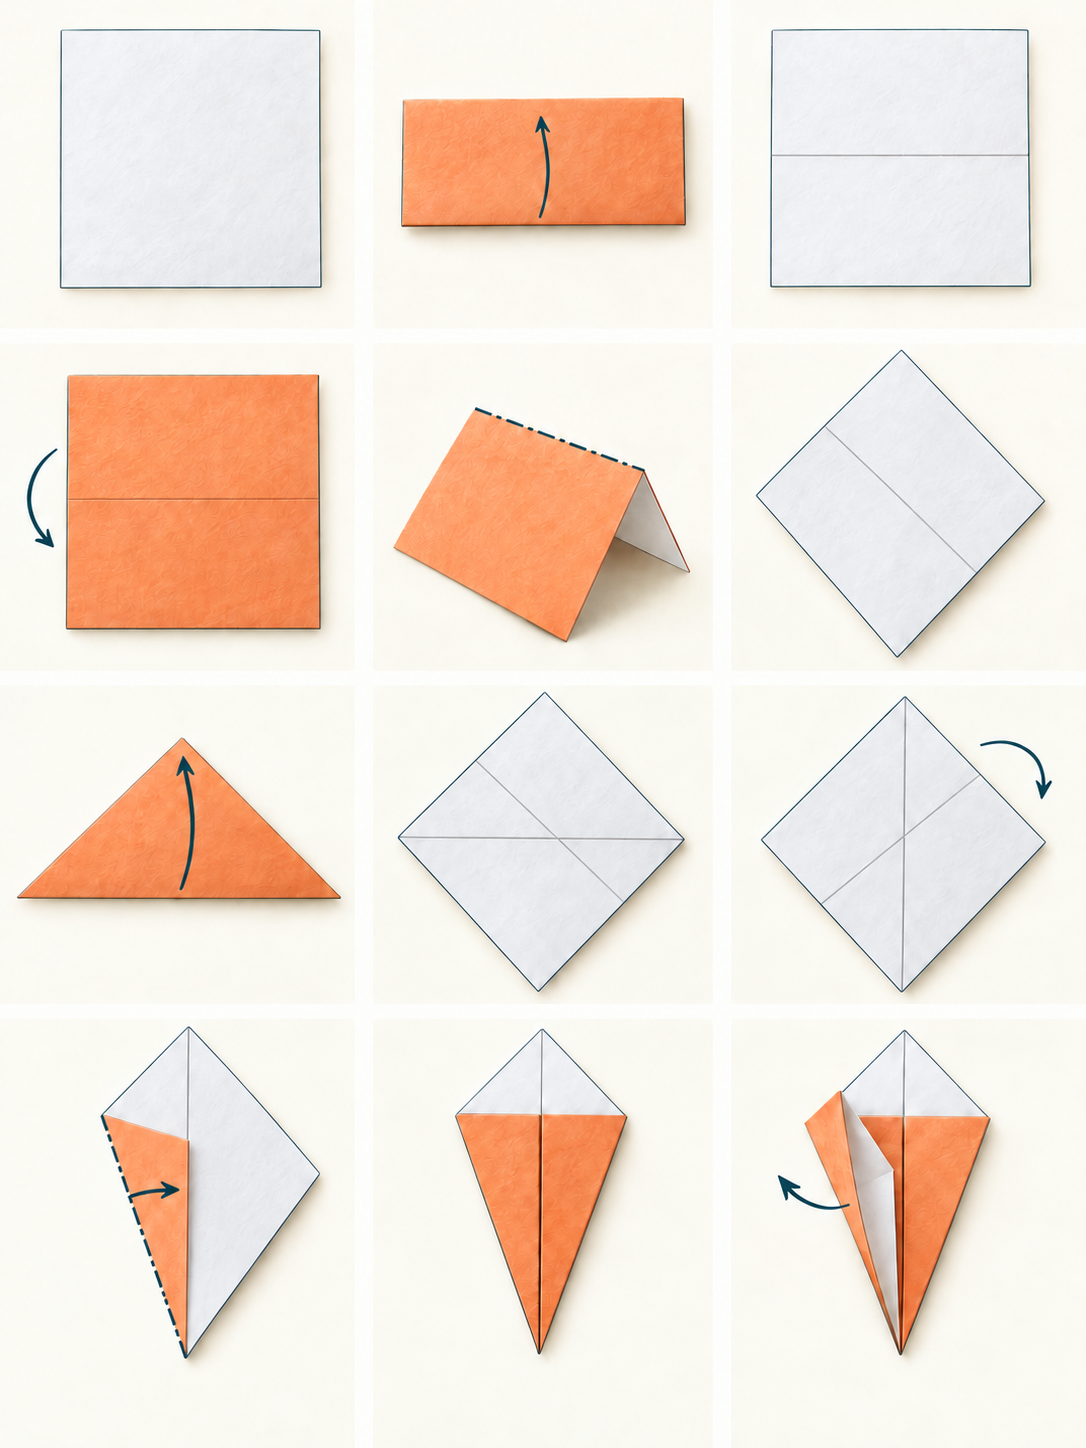
Follow the sequence from top to bottom. Steps 1–4 make a narrow base, steps 5–7 prepare the head creases, and steps 8–11 move those folds inward. Add decoration after you understand the folded shape.
Narrow base
Steps 1–4. Line the edges up with the center crease and fold the base in half.
-
1 Make a kite base
Mark the square’s center. Fold the two upper side edges to it.
Why: The center crease gives both sides a reference.
- Check
- A long point at the top; a short white point below.
- If it needs fixing
- Open an uneven side fold and match its edge to the middle.
-
2 Narrow the base
Fold the upper sloping edges to the center once more.
Why: The narrow base leaves a long section for the neck.
- Check
- Both sides meet one axis; the white bottom tip is free.
- If it needs fixing
- Align the tips first; do not cross the center.
-
3 Raise the bottom tip
Fold the short white tip upward across the horizontal line.
Why: This short flap tidies the bottom.
- Check
- The long blue point remains at the top.
- If it needs fixing
- If the long point moved, open only this fold.
-
4 Fold the base in half
Fold the right half behind the left along the center crease.
Why: Two layers will allow the inside reverse folds.
- Check
- A narrow strip with its long point facing up.
- If it needs fixing
- Keep the side flaps closed and fold the whole base.
Mark the head
Steps 5–7. Prepare three sloping creases, then open them again.
-
5 Mark the neck fold
Fold the upper point down to the left along the sloping line.
Why: This crease sets the bend of the neck.
- Check
- The point projects left; the long base remains below.
- If it needs fixing
- If the bottom bent too, straighten it and move only the top.
-
6 Mark head and horn
Fold the tip back right, then left again: two small folds.
Why: Two nearby creases separate the muzzle and horn.
- Check
- A small zigzag; the lower base is unchanged.
- If it needs fixing
- Open one fold at a time to keep three separate crease lines.
-
7 Unfold the three creases
Raise the upper point again. Find the three sloping creases.
Why: Prepared creases guide the point inside the layers.
- Check
- A tall narrow shape with three crease marks near the top.
- If it needs fixing
- Unfold only the upper folds, not the entire base.
Head and horn
Steps 8–12. Move the prepared creases inside and finish the bookmark.
-
8 Reverse the neck inside
Separate the two layers and guide the lowest sloping crease between them.
Why: An inside reverse fold changes direction along a prepared crease.
- Check
- The upper part bends; the lower body stays straight.
- If it needs fixing
- If it resists, open the layers farther and return to the prepared line.
-
9 Shape the muzzle
Inside reverse the next crease, bringing the long tip left.
Why: The second reverse fold separates the head from the neck.
- Check
- A muzzle projects left above the vertical base.
- If it needs fixing
- Keep the bottom straight; open only the pocket near the head.
-
10 Raise the horn
Inside reverse the last small crease to point the narrow tip upward.
Why: The final crease separates the horn from the muzzle.
- Check
- One thin tip points up.
- If it needs fixing
- Do not pull the tip; open the layers at its base.
-
11 Tuck the horn base
Tuck the small flap at the horn base between the head layers.
Why: The tucked flap shortens the muzzle and holds the horn.
- Check
- A short muzzle and upright horn; flat layered edges.
- If it needs fixing
- Open the pocket if the flap does not fit; do not force it.
-
12 Add an eye
Draw an eye. Slip the long bookmark body between book pages.
Why: The head remains visible above the page edge.
- Check
- The bookmark does not cover the text or pull the page.
- If it needs fixing
- Try a thinner sheet next time if the layers are too bulky.
Fixing your origami unicorn
The edges do not meet at the center
Check the first center crease and the shape of the starting square. Reopen only the latest side fold and align its edge with the axis. Avoid hiding a crooked fold under the next one: the mismatch will remain inside the base.
Back to step 1The head is still a long flat point
Compare your model with steps 7–9. The upper section may have been folded on the outside. Open the two layers near the diagonal crease and check that the point goes between them. Keep the straight lower section resting on the table.
Back to step 7The horn will not stand up or gets crushed
Return to the small crease in step 6. Check that it is separate from the muzzle crease. Open the pocket near the horn’s base rather than pulling its tip. If the paper has torn, start your next attempt with a fresh thin square.
Back to step 6The bookmark is too thick for the book
Try it against a spare sheet first. The long part should slide in without pressure or leaving a crease. Avoid pushing a thick model into a tight binding. For another attempt, choose thinner paper and flatten the existing folds before decorating.
Back to step 12Changing your finished bookmark
Once the sequence is familiar, try another paper color or draw a different eye. Change the decoration first while keeping the folds in the same places. This helps you distinguish a difficulty caused by the paper from one caused by a different construction.
Experiment with neck height on a separate square. Before folding, predict which diagonal line must move, then compare the new model with the first. Avoid changing the neck, head and horn all at once: their three nearby creases become harder to tell apart.
On a fresh square, first practice an inside reverse fold: mark a sloping line, open the two layers, and guide the point between them. Then try a different neck height, keeping the three upper creases separate.
Download the origami unicorn PDF guide
For folding away from a screen, save the complete one-sheet A4 guide. It contains the same twelve diagrams and short actions. The four-page storyboard has larger diagrams plus reasons, checkpoints and repairs. Both files are available in English; switching the page language opens the Russian lesson and its matching downloads.
Questions about folding a paper unicorn
Can I fold this unicorn from one sheet without glue?
This guide folds the base, head and horn from one square. There are no attached paper pieces; you can draw the eye. Prepare an even square first and follow the fold sequence.
Is this a corner bookmark or a standing unicorn?
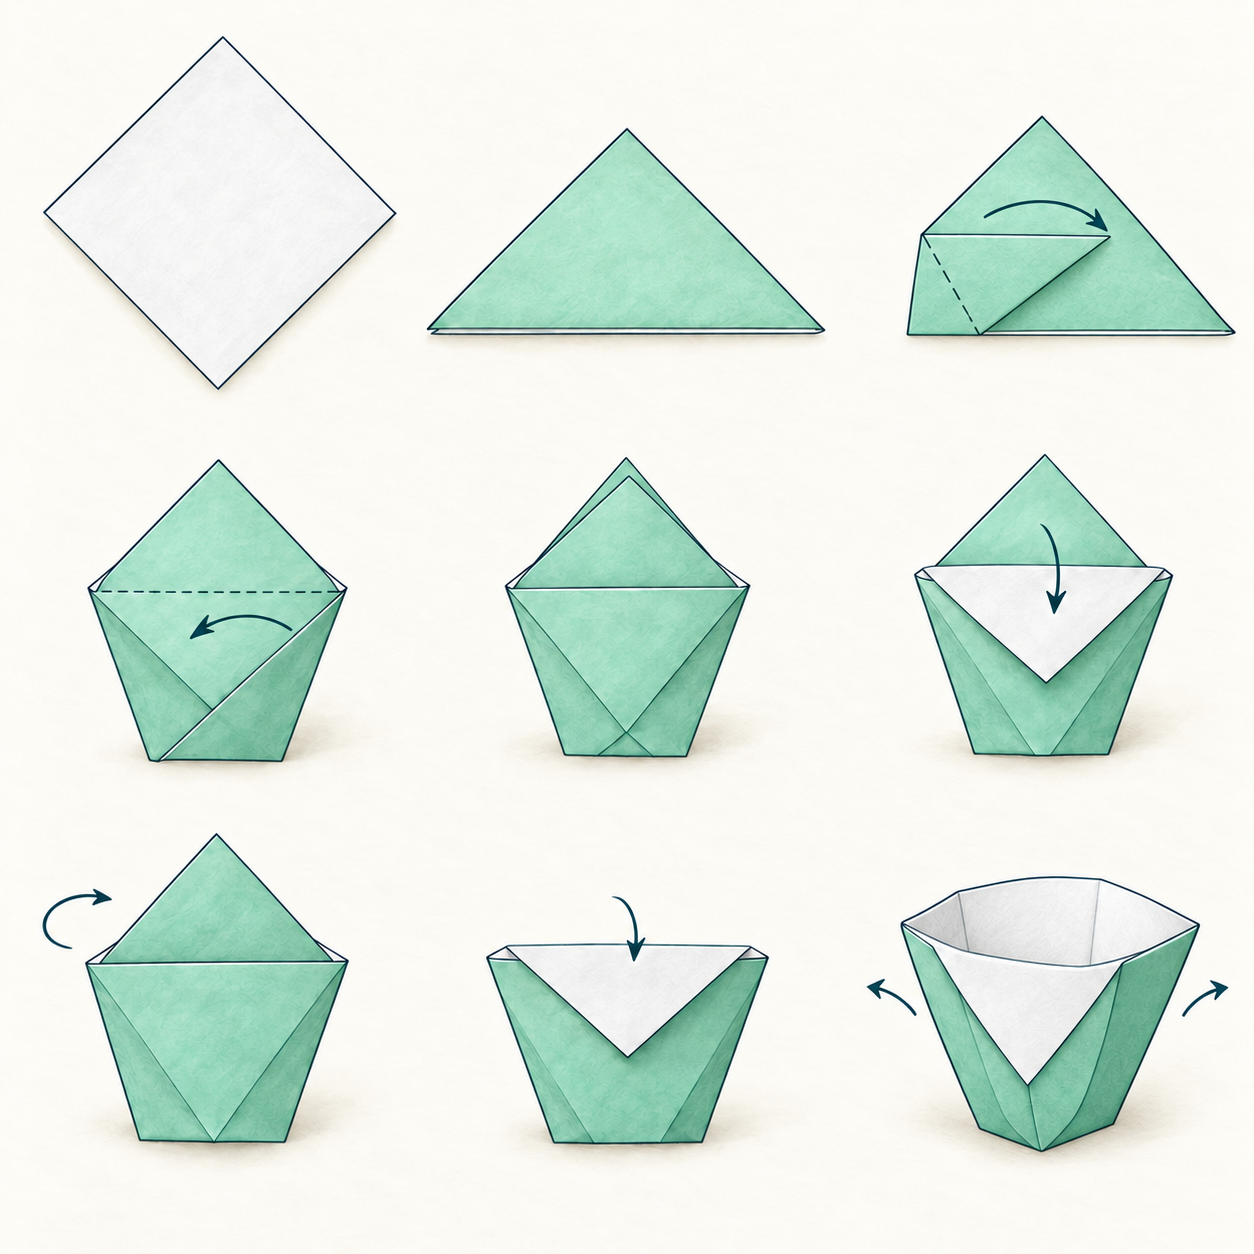
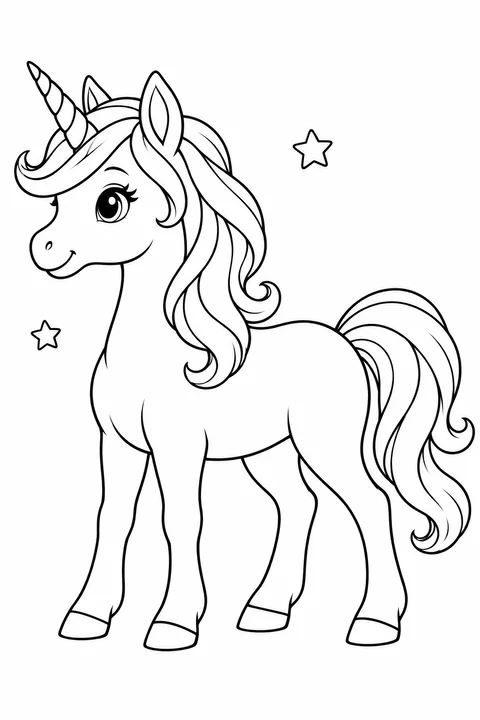
This is a long bookmark with a unicorn head above the page. Its narrow part goes between the book’s leaves. It has a different construction from a triangular corner pocket or a four-legged standing unicorn.
Is the lesson suitable for beginners and children?
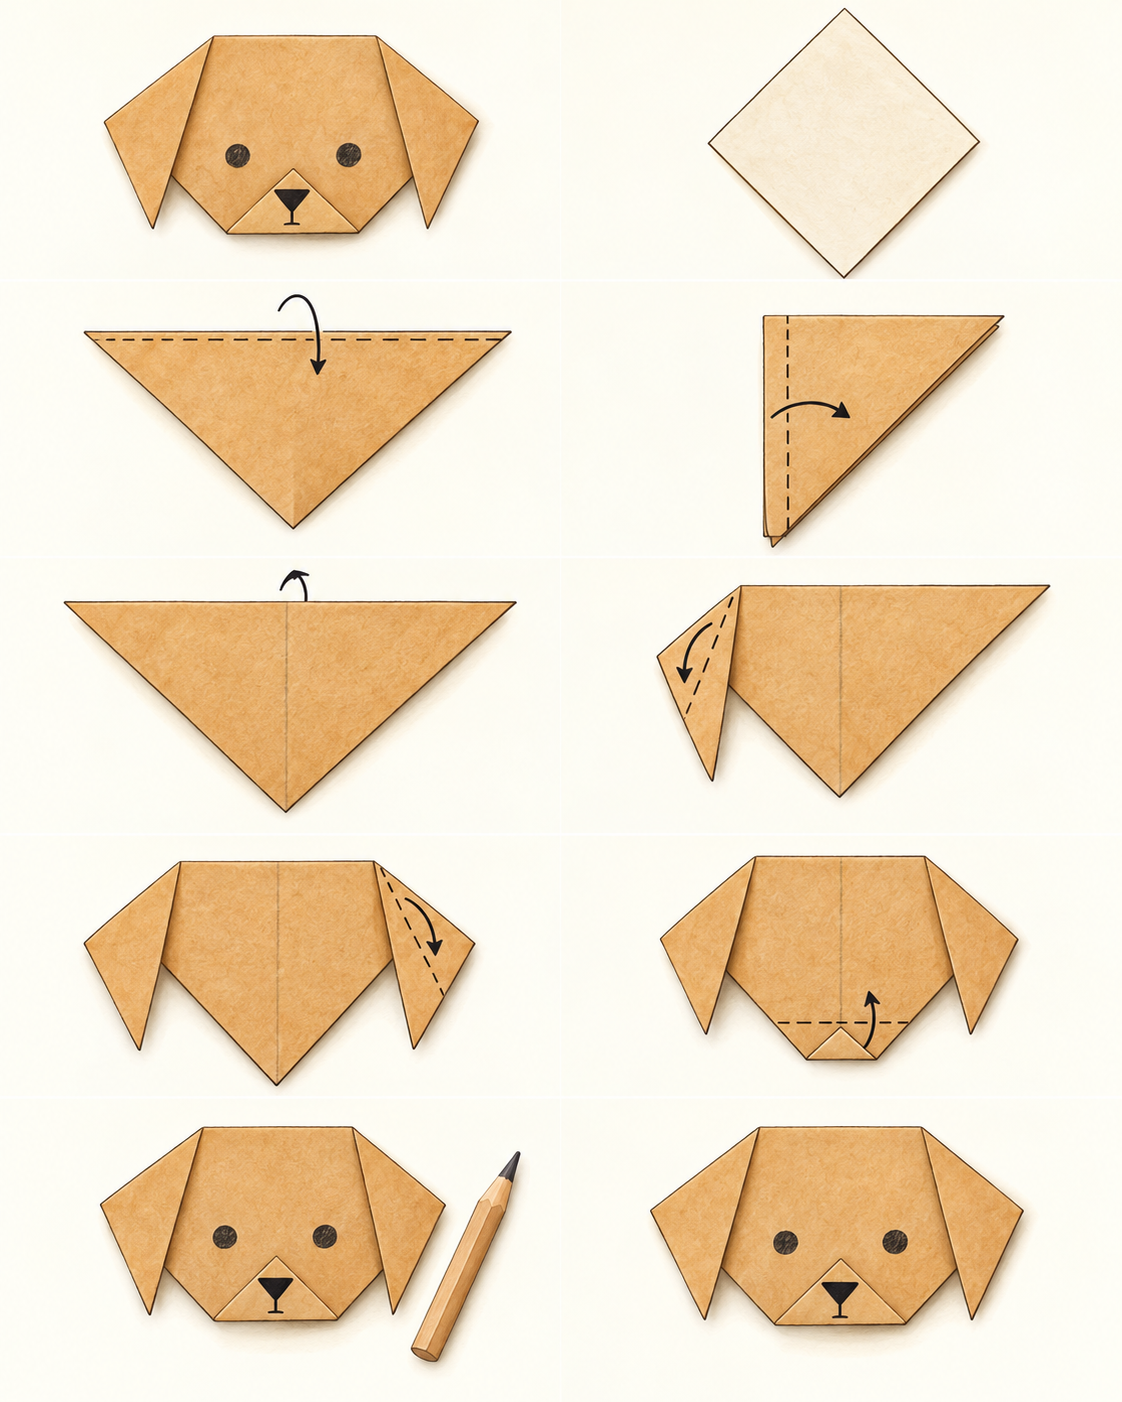
The opening steps involve matching edges, but the head needs inside reverse folds and separate layers. Start with the dog or the basic fold exercises if those movements are new. Help with opening the pocket while letting the child compare the crease lines and position the point.
Can I use ordinary A4 paper?
Yes, after preparing an even square. Choose thin paper that folds without cracking for the first attempt. Thick glossy paper and cardstock make the head and horn more difficult.
Why do I unfold the top after making the creases?
Steps 5–7 prepare guides for turning the upper sections inward along the same lines. Reopening those folds keeps their crease marks and leaves the main base intact.
How can I print the guide on one sheet?
Download “One A4 sheet · PDF” and choose A4 paper in the print dialog. This is a short folding guide. Use the article or four-page storyboard for detailed explanations; the PDF is not a cutting template.
Can I save the step explanations for offline use?
Yes. The four-page PDF includes the action, reason, checkpoint and repair for every step. Save it before your session and open it on a device or print it. The extra paper advice and troubleshooting sections remain in the article.