kiduverse
Easy origami paper cup
Turn one square into a small paper pocket. Learn to fold one layer at a time and open a container.
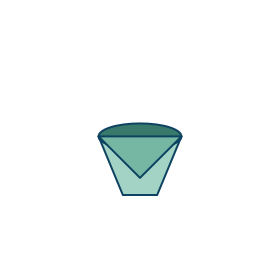
Get one square ready
For each lesson, use a ready-cut square about 15 × 15 cm, made from thin paper. Ordinary printer paper trimmed to a square works too. Card is harder to fold.
Use a flat table. Two different side colors make turns easier to see. A pencil is only for optional face decoration; the folding needs no glue or scissors.
Corners first, pressure second
Hold the matching corners with one hand. With the other, press the crease from the middle toward the edges. If an edge slips, reopen and align it before pressing hard.
Paper and your first folds ↗How to read our diagrams
Dashed line — a new crease, or a center reference if the step asks you to unfold again.
Arrow — where to move the corner. Turning the whole model over is always a separate written step.
Before → after — the action is on the left, the result on the right. Shades distinguish visible paper sections; read the text for the number of layers.
Fold step by step
Check the result on the right before moving on. The diagrams show the shape; the text tells you which layers to fold.
1Make a triangle
Put the lighter side up. Fold the bottom corner to the top corner, match edges and press. Keep the long edge at the bottom.
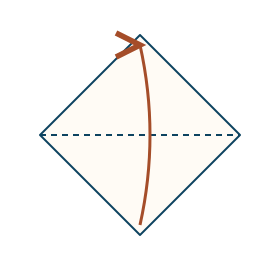
Before: make this move 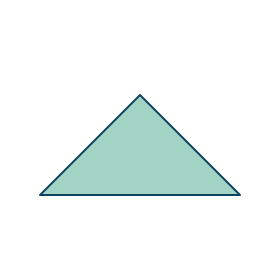
After: compare your result - Why
- A straight diagonal gives the cup a balanced base.
- Check
- An upward-pointing triangle with two layers.
- Repair
- Match the tips before running a finger along the crease.
2Cross the left corner
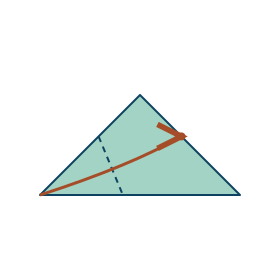
Bring the left corner, through both layers, onto the right sloping edge, a little above the midpoint of that edge. Adjust until the upper edge of the folded flap is horizontal, then press.
Before: make this move 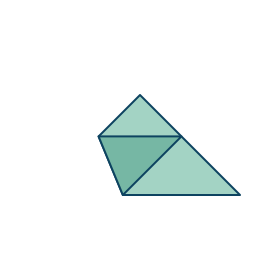
After: compare your result - Why
- A horizontal flap edge sets the level of the cup opening.
- Check
- The flap crosses the middle; its upper edge is parallel to the bottom edge.
- Repair
- Before pressing, slide the tip along the right edge until the flap is level.
3Cross the right corner
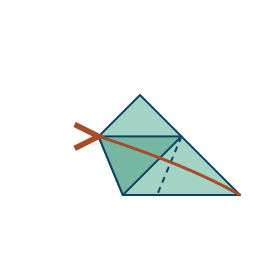
Bring the right corner across both layers to the left end of that horizontal edge. Press the fold.
Before: make this move 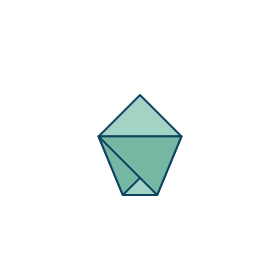
After: compare your result - Why
- The second crossed flap makes the opposite side of the container.
- Check
- Two crossed flaps meet at the same horizontal level.
- Repair
- If the edges are at different heights, reopen the second flap and aim at the left end again.
4Fold only the front top layer
Separate the two top tips. Fold only the one nearest you down over the crossed flaps, along their horizontal top edge. Leave the back tip pointing up.
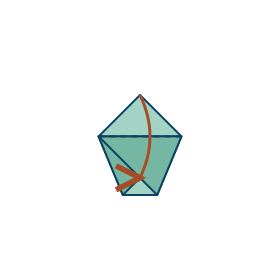
Before: make this move 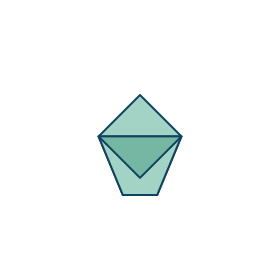
After: compare your result - Why
- Separate flaps close the two sides while leaving an opening between them.
- Check
- One tip lies down in front; the other still points upward behind it.
- Repair
- If both tips came down, lift the back one again before continuing.
5Turn the cup over
Turn the whole model from left to right. Keep the remaining point at the top and the narrow base at the bottom.
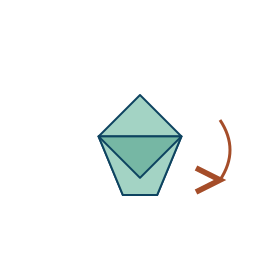
Before: make this move 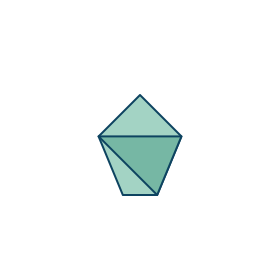
After: compare your result - Why
- Turning exposes the remaining top layer so you can fold it on the other side.
- Check
- One top point is visible; the first folded flap is now on the back.
- Repair
- Hold the first flap in place while turning if it loosens.
6Fold the remaining top layer
Fold the last top tip down over this side, using the same horizontal edge. Press flat.
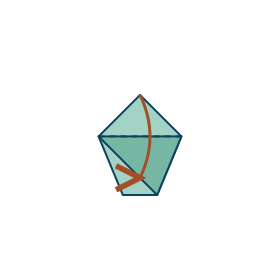
Before: make this move 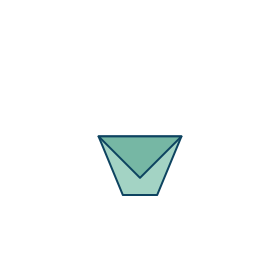
After: compare your result - Why
- Each side now has its own flap.
- Check
- No top tip sticks up; the cup has a wide top and a narrower bottom.
- Repair
- If a tip sticks out above the rim, reopen and fold along the horizontal edge.
7Open the pocket
Gently separate the front and back walls at the wide top. Open a small pocket without unfolding the side corners. Use it for dry paper scraps; keep it away from liquids and food.
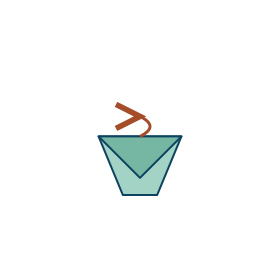
Before: make this move 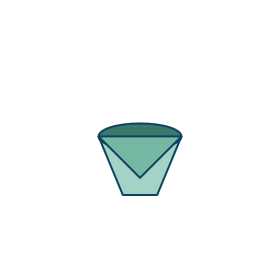
After: compare your result - Why
- The opening is the gap between the original two layers.
- Check
- A hollow pocket with a closed bottom.
- Repair
- If it will not open, check that the two top tips were folded on opposite sides.
Now try it on your own
Make another cup from a smaller square without checking every diagram. Predict which part will become the opening. Check that each top tip ends up on a different side.
For paper: choose Print lesson or use your browser’s print command. You can select Save as PDF. The print button loads all diagrams before opening the print dialog.