Unicorn paper applique: 18 printable kits

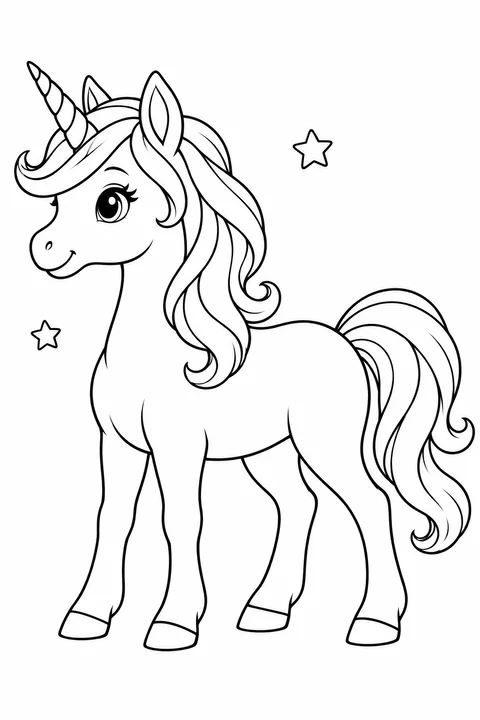
18 unicorn collage kits: 12 color and 6 to color in, including four complex scenes. Backgrounds, pieces, examples and A4 PDFs.

  • 12 color + 6 to color in
  • PDF A4
  • Free, no sign-up
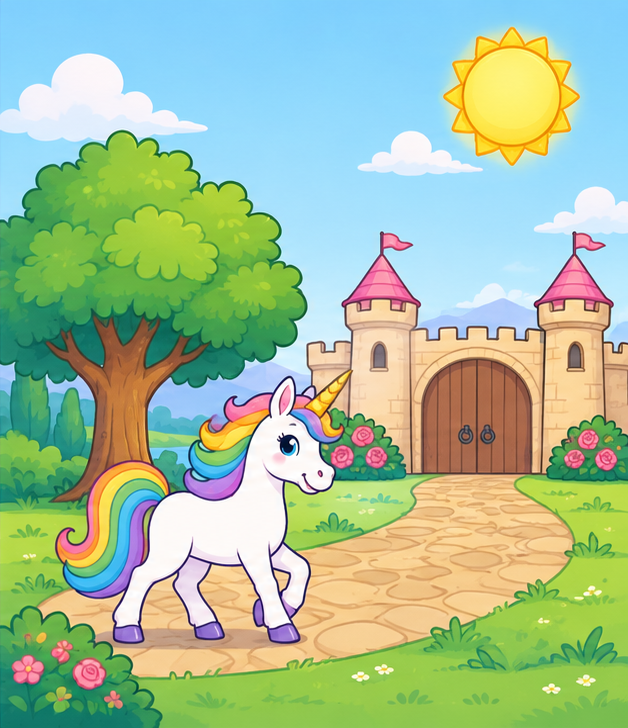
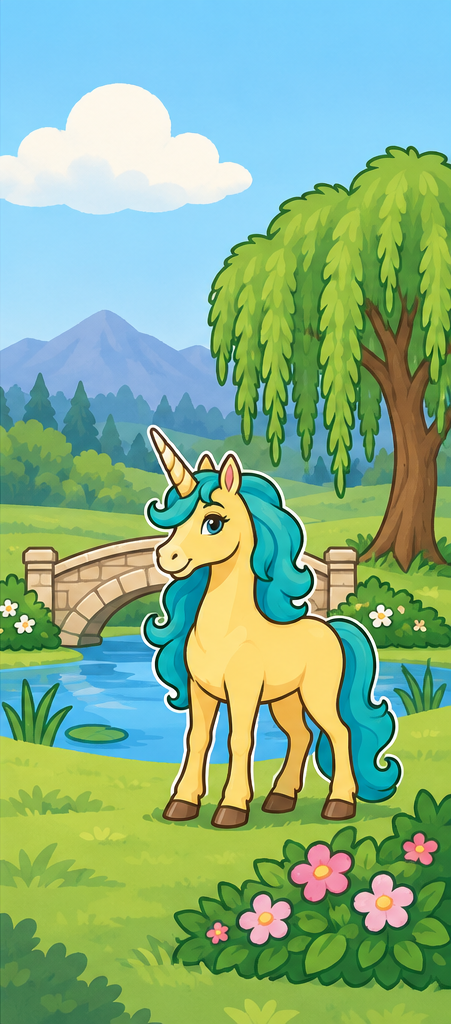
Unicorn in a flower meadow Unicorn at the castle gate Unicorn beside a bridge

Use scissors with adult supervision. If cutting is difficult, an adult prepares the pieces while the child colors, arranges and glues.

18 printable kits

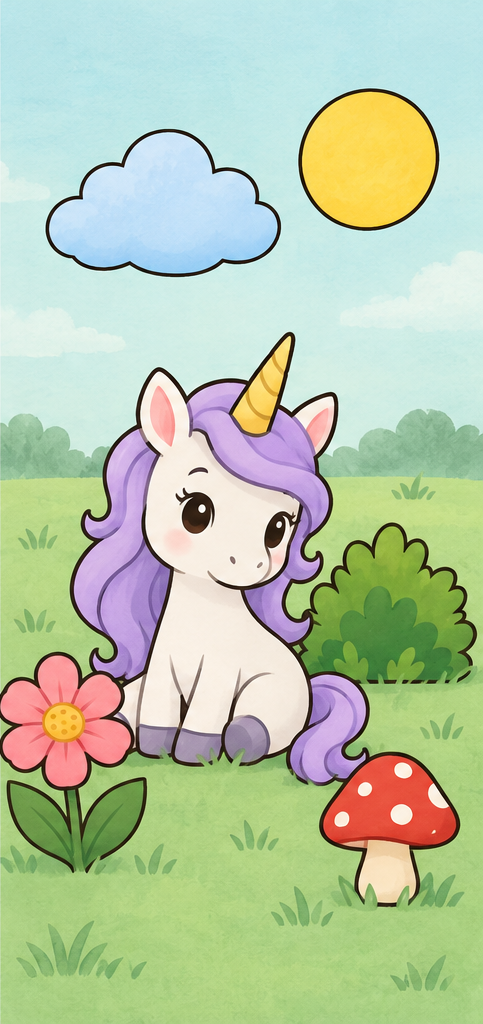
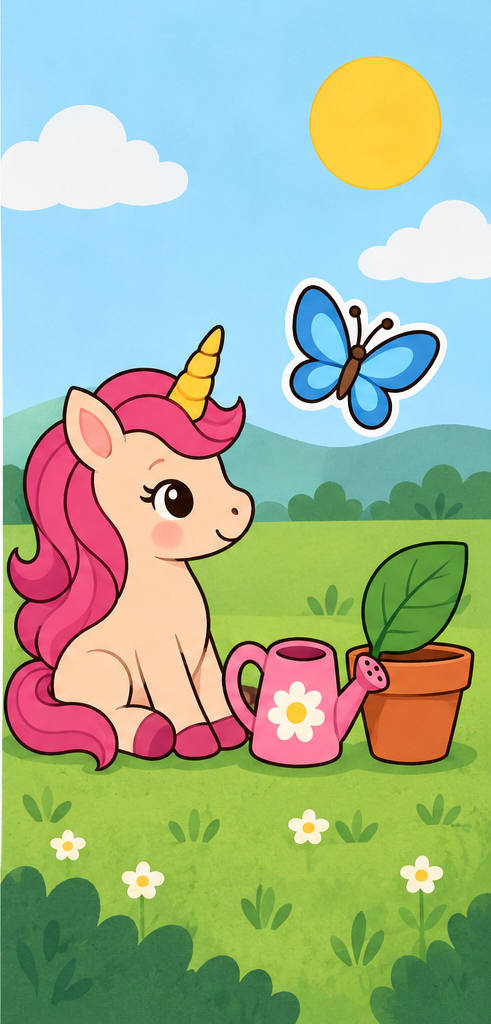
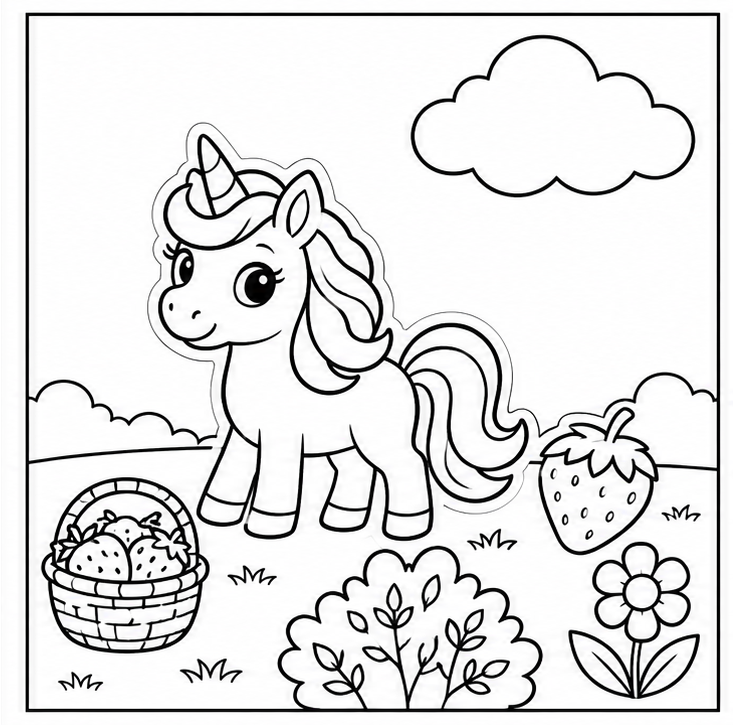
Unicorn in a flower meadow — assembly example
Example
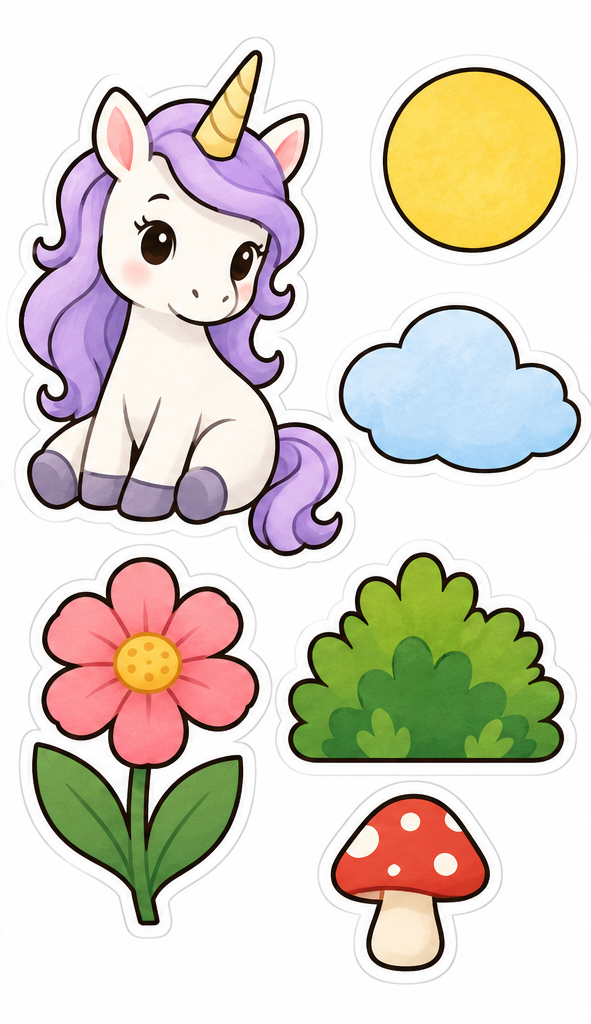
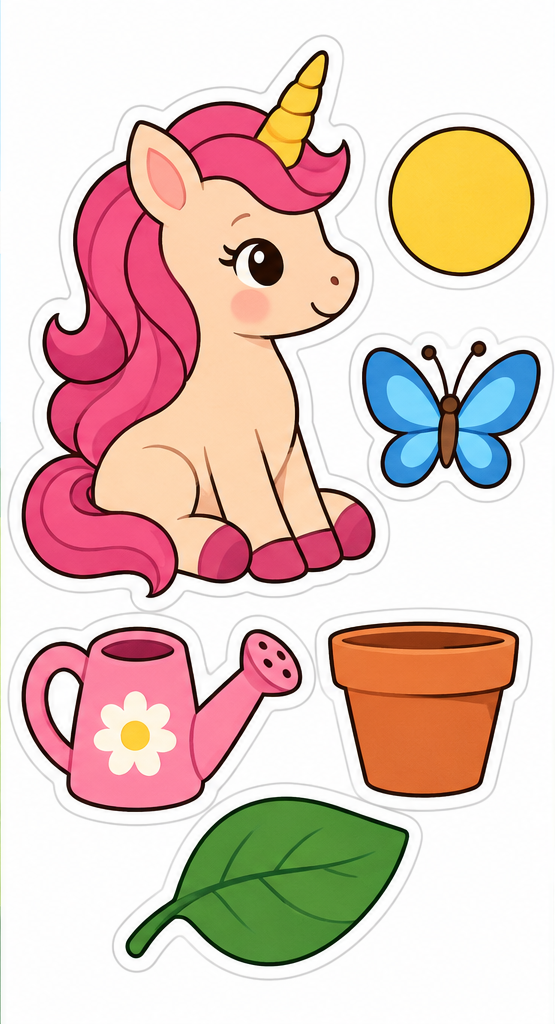
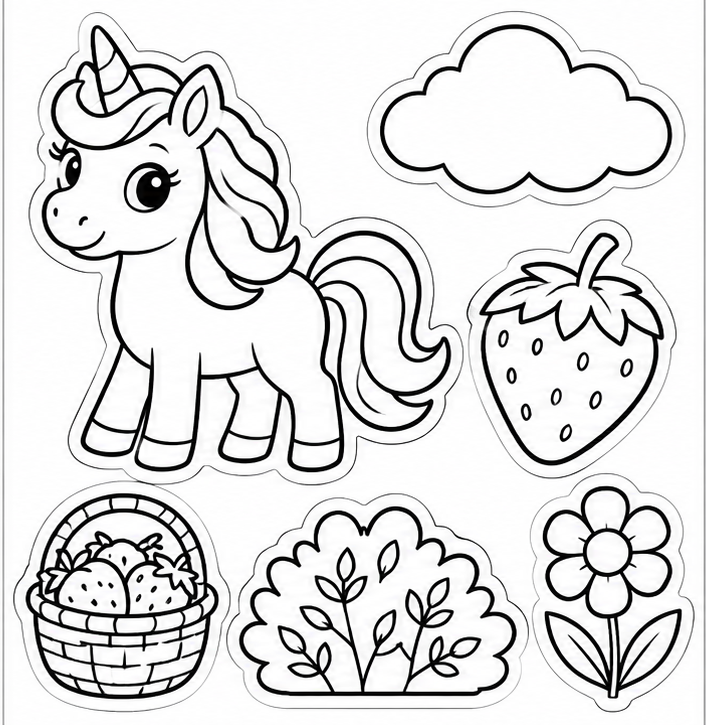
Unicorn in a flower meadow — all pieces to cut out
Pieces

Unicorn in a flower meadow

Color kit · Pieces: 6

2 pages

Arrange every piece before gluing; keep the background whole.

Background, pieces and layer order
  1. Position the broad rear scenery first.
  2. Place the unicorn with its hooves or body supported.
  3. Arrange the other pieces; leave the face and horn visible.
  4. Glue the rear layers first and foreground accents last.

Check all six pieces and keep the face clear. If hooves float, lower the unicorn or slide its support underneath.

Background · PNG · Pieces · PNG · Example · PNG

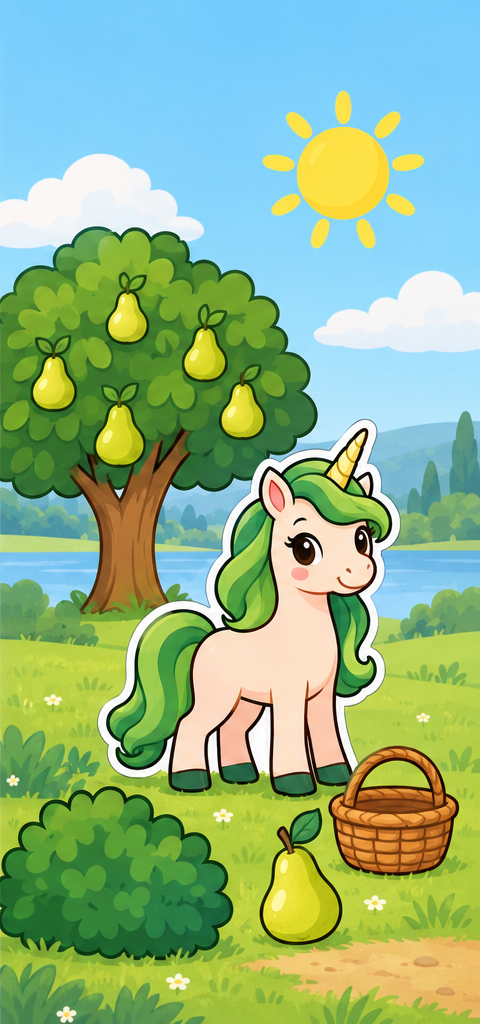
Unicorn in the pear orchard — assembly example
Example
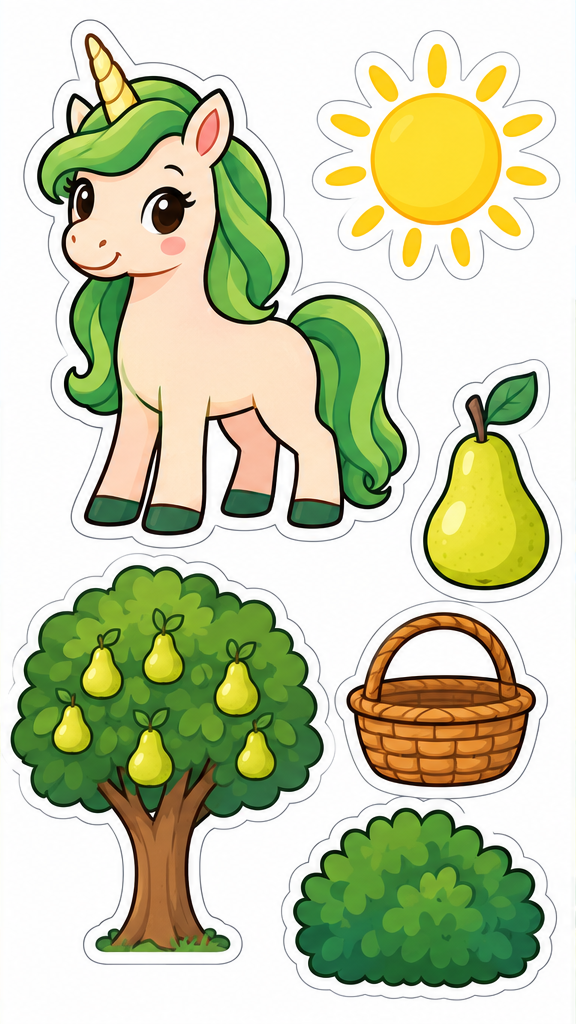
Unicorn in the pear orchard — all pieces to cut out
Pieces

Unicorn in the pear orchard

Color kit · Pieces: 6

2 pages

Arrange every piece before gluing; keep the background whole.

Background, pieces and layer order
  1. Position the broad rear scenery first.
  2. Place the unicorn with its hooves or body supported.
  3. Arrange the other pieces; leave the face and horn visible.
  4. Glue the rear layers first and foreground accents last.

Check all six pieces and keep the face clear. If hooves float, lower the unicorn or slide its support underneath.

Background · PNG · Pieces · PNG · Example · PNG

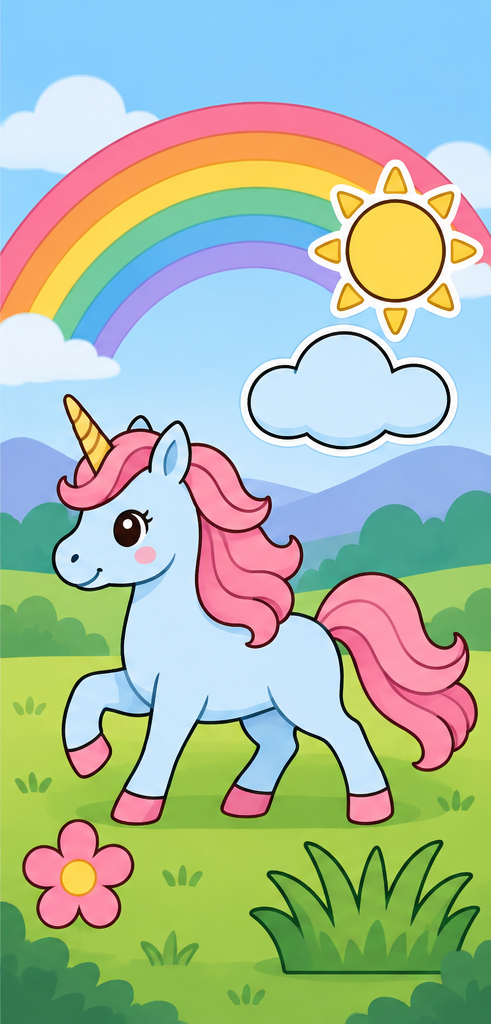
Unicorn under a rainbow — assembly example
Example
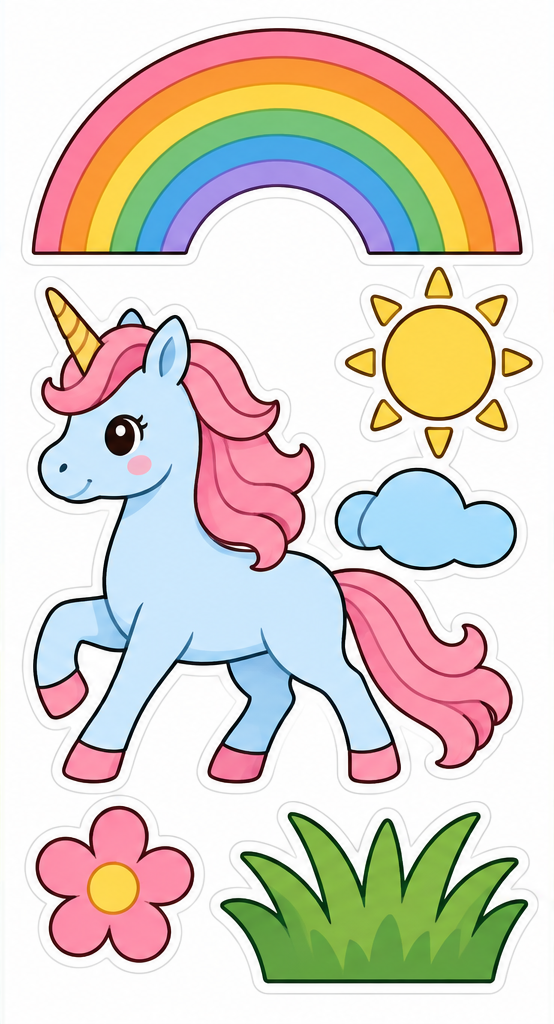
Unicorn under a rainbow — all pieces to cut out
Pieces

Unicorn under a rainbow

Color kit · Pieces: 6

2 pages

Arrange every piece before gluing; keep the background whole.

Background, pieces and layer order
  1. Position the broad rear scenery first.
  2. Place the unicorn with its hooves or body supported.
  3. Arrange the other pieces; leave the face and horn visible.
  4. Glue the rear layers first and foreground accents last.

Check all six pieces and keep the face clear. If hooves float, lower the unicorn or slide its support underneath.

Background · PNG · Pieces · PNG · Example · PNG

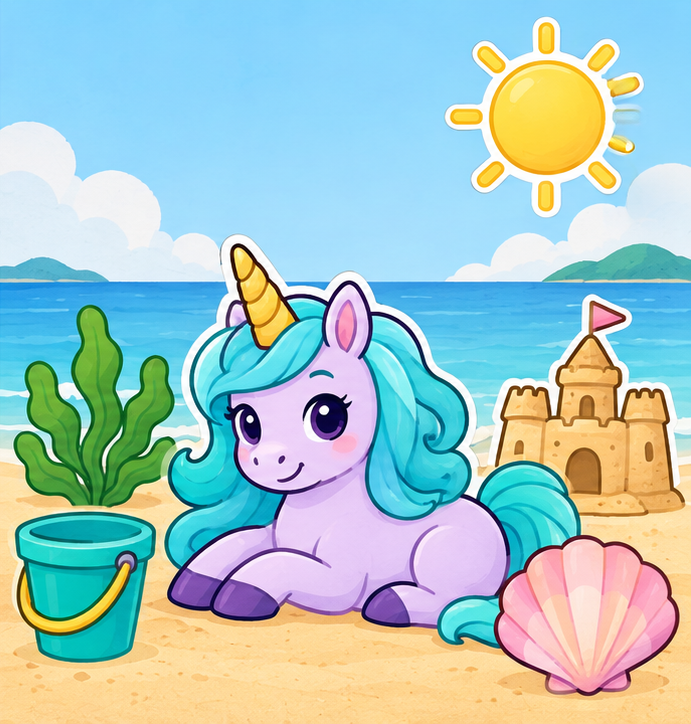
Unicorn by the sea — assembly example
Example
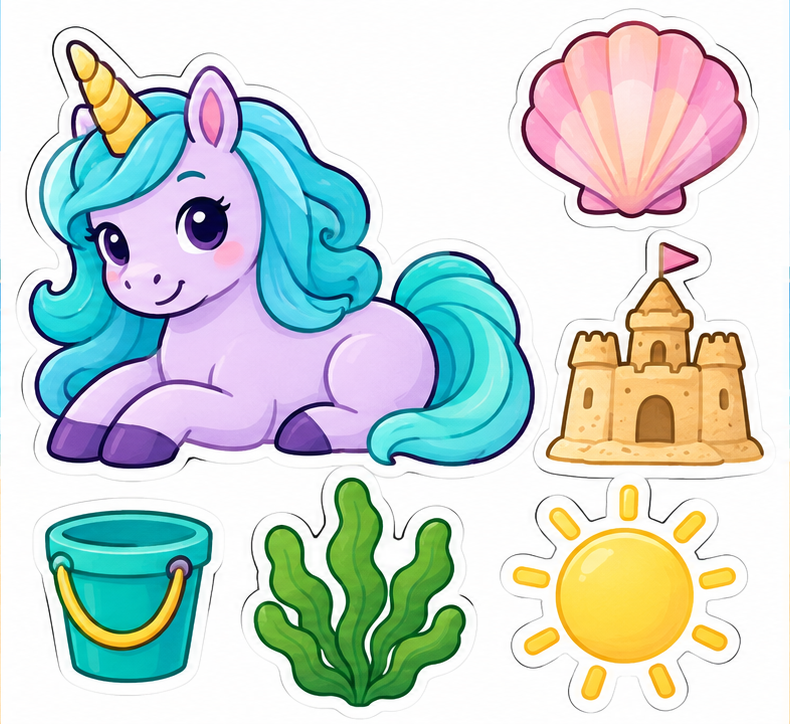
Unicorn by the sea — all pieces to cut out
Pieces

Unicorn by the sea

Color kit · Pieces: 6

2 pages

Arrange every piece before gluing; keep the background whole.

Background, pieces and layer order
  1. Position the broad rear scenery first.
  2. Place the unicorn with its hooves or body supported.
  3. Arrange the other pieces; leave the face and horn visible.
  4. Glue the rear layers first and foreground accents last.

Check all six pieces and keep the face clear. If hooves float, lower the unicorn or slide its support underneath.

Background · PNG · Pieces · PNG · Example · PNG

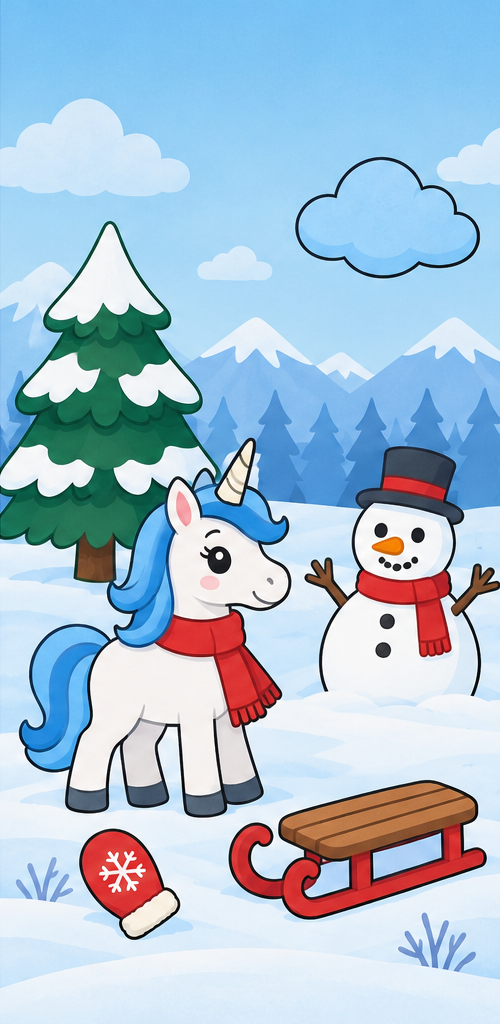
Unicorn in the snow — assembly example
Example
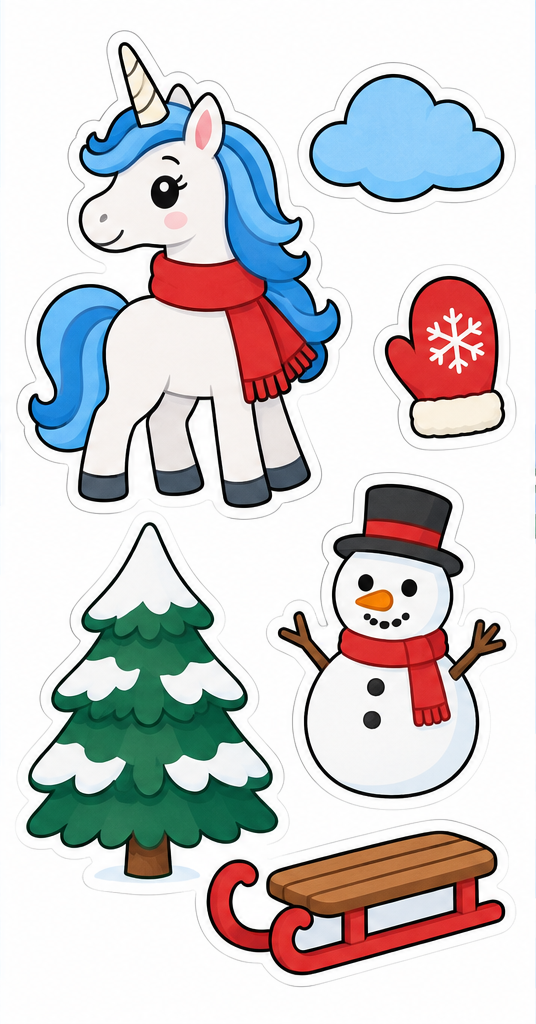
Unicorn in the snow — all pieces to cut out
Pieces

Unicorn in the snow

Color kit · Pieces: 6

2 pages

Arrange every piece before gluing; keep the background whole.

Background, pieces and layer order
  1. Position the broad rear scenery first.
  2. Place the unicorn with its hooves or body supported.
  3. Arrange the other pieces; leave the face and horn visible.
  4. Glue the rear layers first and foreground accents last.

Check all six pieces and keep the face clear. If hooves float, lower the unicorn or slide its support underneath.

Background · PNG · Pieces · PNG · Example · PNG

Unicorn in the garden — assembly example
Example
Unicorn in the garden — all pieces to cut out
Pieces

Unicorn in the garden

Color kit · Pieces: 6

2 pages

Arrange every piece before gluing; keep the background whole.

Background, pieces and layer order
  1. Position the broad rear scenery first.
  2. Place the unicorn with its hooves or body supported.
  3. Arrange the other pieces; leave the face and horn visible.
  4. Glue the rear layers first and foreground accents last.

Check all six pieces and keep the face clear. If hooves float, lower the unicorn or slide its support underneath.

Background · PNG · Pieces · PNG · Example · PNG

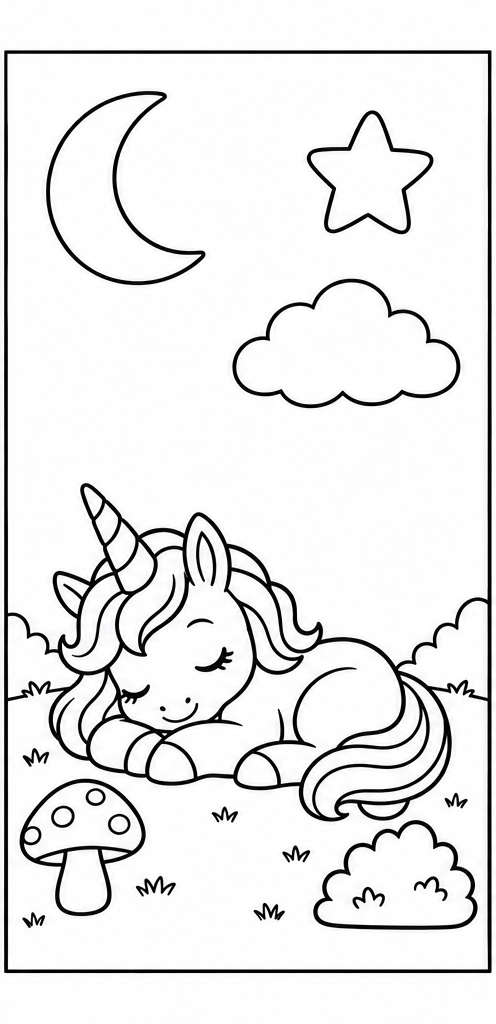
Moonlit unicorn — assembly example
Example
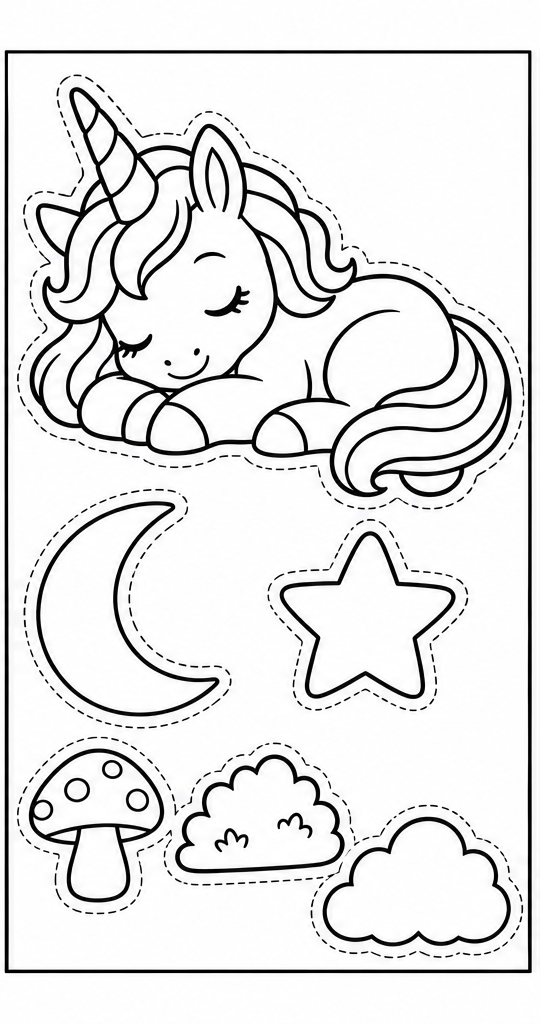
Moonlit unicorn — all pieces to cut out
Pieces

Moonlit unicorn

Color-in kit · Pieces: 6

2 pages

Color before cutting. Arrange every piece before gluing; keep the background whole.

Background, pieces and layer order
  1. Position the broad rear scenery first.
  2. Place the unicorn with its hooves or body supported.
  3. Arrange the other pieces; leave the face and horn visible.
  4. Glue the rear layers first and foreground accents last.

Check all six pieces and keep the face clear. If hooves float, lower the unicorn or slide its support underneath.

Background · PNG · Pieces · PNG · Example · PNG

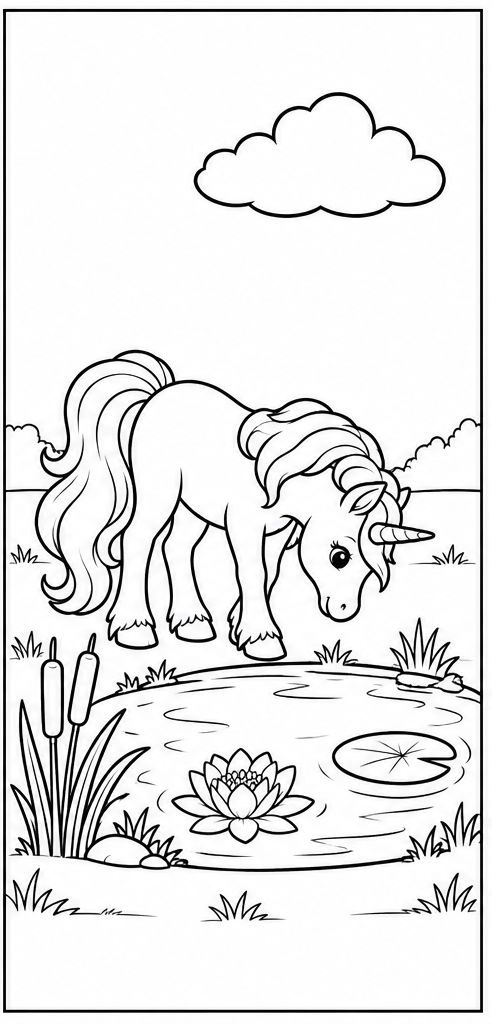
Unicorn at the pond — assembly example
Example
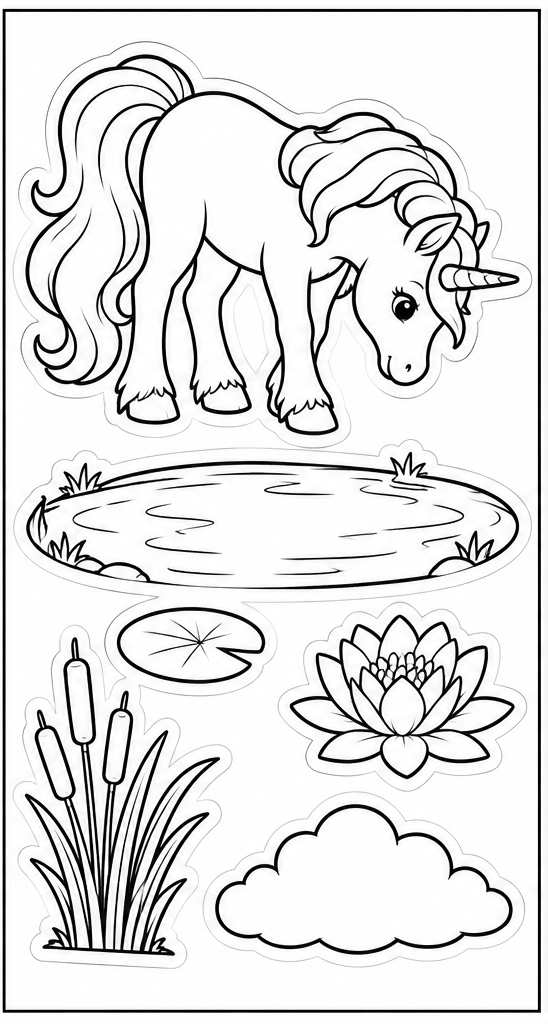
Unicorn at the pond — all pieces to cut out
Pieces

Unicorn at the pond

Color-in kit · Pieces: 6

2 pages

Color before cutting. Arrange every piece before gluing; keep the background whole.

Background, pieces and layer order
  1. Position the broad rear scenery first.
  2. Place the unicorn with its hooves or body supported.
  3. Arrange the other pieces; leave the face and horn visible.
  4. Glue the rear layers first and foreground accents last.

Check all six pieces and keep the face clear. If hooves float, lower the unicorn or slide its support underneath.

Background · PNG · Pieces · PNG · Example · PNG

Unicorn among autumn leaves — assembly example
Example
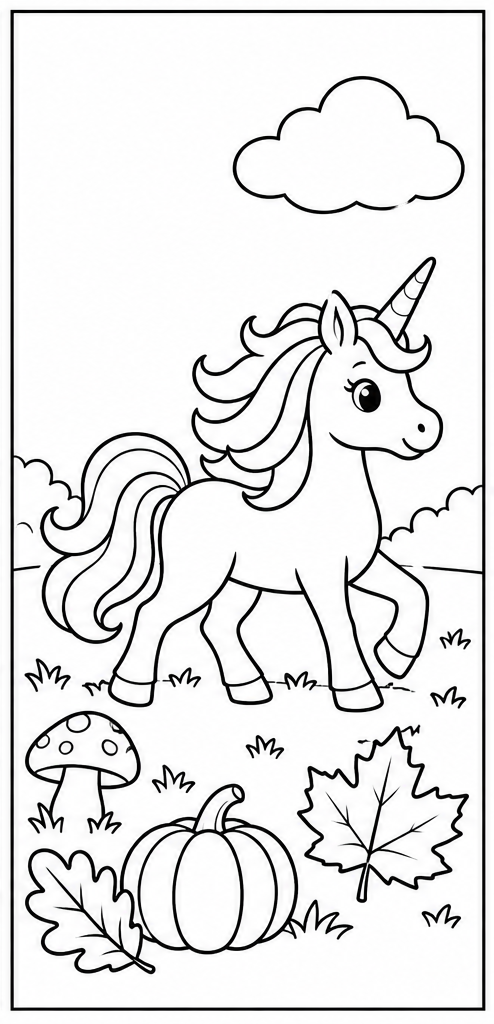
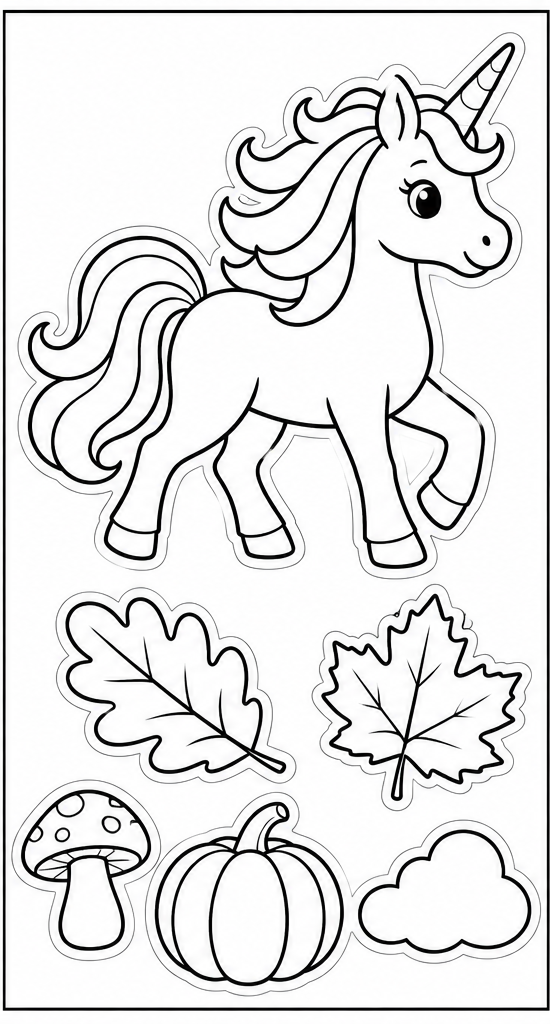
Unicorn among autumn leaves — all pieces to cut out
Pieces

Unicorn among autumn leaves

Color-in kit · Pieces: 6

2 pages

Color before cutting. Arrange every piece before gluing; keep the background whole.

Background, pieces and layer order
  1. Position the broad rear scenery first.
  2. Place the unicorn with its hooves or body supported.
  3. Arrange the other pieces; leave the face and horn visible.
  4. Glue the rear layers first and foreground accents last.

Check all six pieces and keep the face clear. If hooves float, lower the unicorn or slide its support underneath.

Background · PNG · Pieces · PNG · Example · PNG

Unicorn in the mountains — assembly example
Example
Unicorn in the mountains — all pieces to cut out
Pieces

Unicorn in the mountains

Color-in kit · Pieces: 6

2 pages

Color before cutting. Arrange every piece before gluing; keep the background whole.

Background, pieces and layer order
  1. Position the broad rear scenery first.
  2. Place the unicorn with its hooves or body supported.
  3. Arrange the other pieces; leave the face and horn visible.
  4. Glue the rear layers first and foreground accents last.

Check all six pieces and keep the face clear. If hooves float, lower the unicorn or slide its support underneath.

Background · PNG · Pieces · PNG · Example · PNG

Unicorn and butterflies — assembly example
Example
Unicorn and butterflies — all pieces to cut out
Pieces

Unicorn and butterflies

Color-in kit · Pieces: 6

2 pages

Color before cutting. Arrange every piece before gluing; keep the background whole.

Background, pieces and layer order
  1. Position the broad rear scenery first.
  2. Place the unicorn with its hooves or body supported.
  3. Arrange the other pieces; leave the face and horn visible.
  4. Glue the rear layers first and foreground accents last.

Check all six pieces and keep the face clear. If hooves float, lower the unicorn or slide its support underneath.

Background · PNG · Pieces · PNG · Example · PNG

Unicorn in the berry patch — assembly example
Example
Unicorn in the berry patch — all pieces to cut out
Pieces

Unicorn in the berry patch

Color-in kit · Pieces: 6

2 pages

Color before cutting. Arrange every piece before gluing; keep the background whole.

Background, pieces and layer order
  1. Position the broad rear scenery first.
  2. Place the unicorn with its hooves or body supported.
  3. Arrange the other pieces; leave the face and horn visible.
  4. Glue the rear layers first and foreground accents last.

Check all six pieces and keep the face clear. If hooves float, lower the unicorn or slide its support underneath.

Background · PNG · Pieces · PNG · Example · PNG

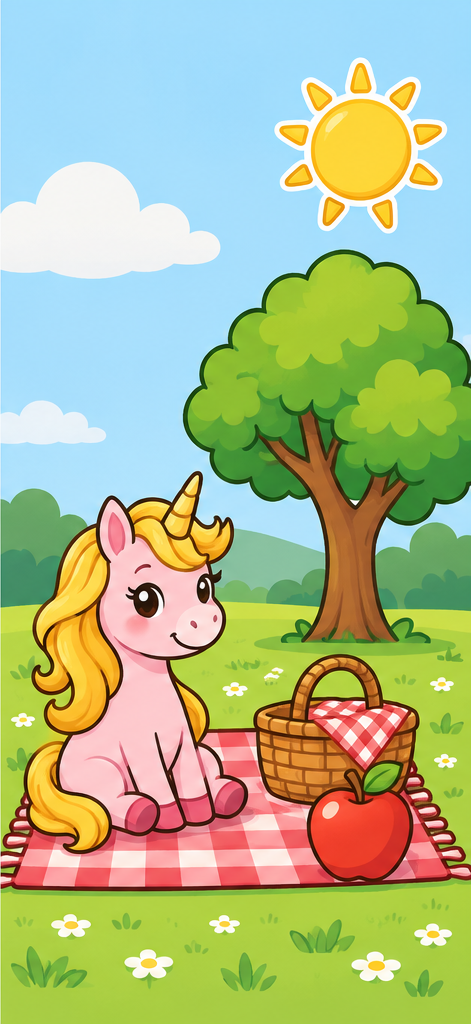
Unicorn picnic — assembly example
Example
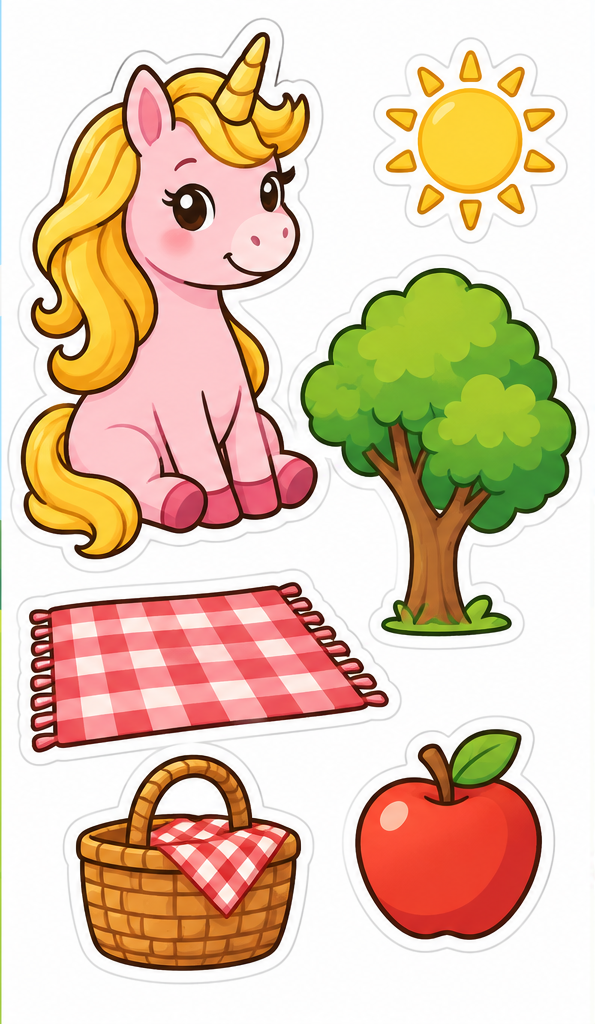
Unicorn picnic — all pieces to cut out
Pieces

Unicorn picnic

Color kit · Pieces: 6

2 pages · Medium difficulty

Arrange every piece before gluing; keep the background whole.

Background, pieces and layer order
  1. Position the broad rear scenery first.
  2. Place the unicorn with its hooves or body supported.
  3. Arrange the other pieces; leave the face and horn visible.
  4. Glue the rear layers first and foreground accents last.

Check all six pieces and keep the face clear. If hooves float, lower the unicorn or slide its support underneath.

Background · PNG · Pieces · PNG · Example · PNG

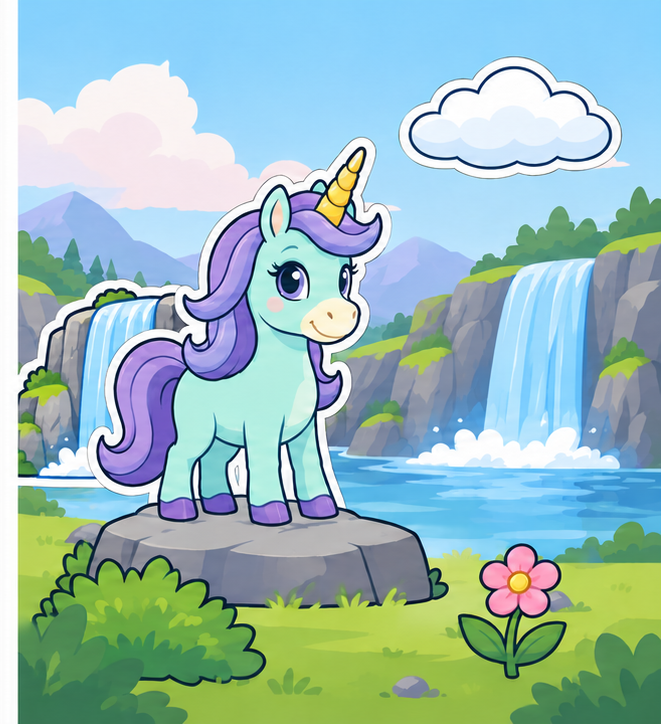
Unicorn by a waterfall — assembly example
Example
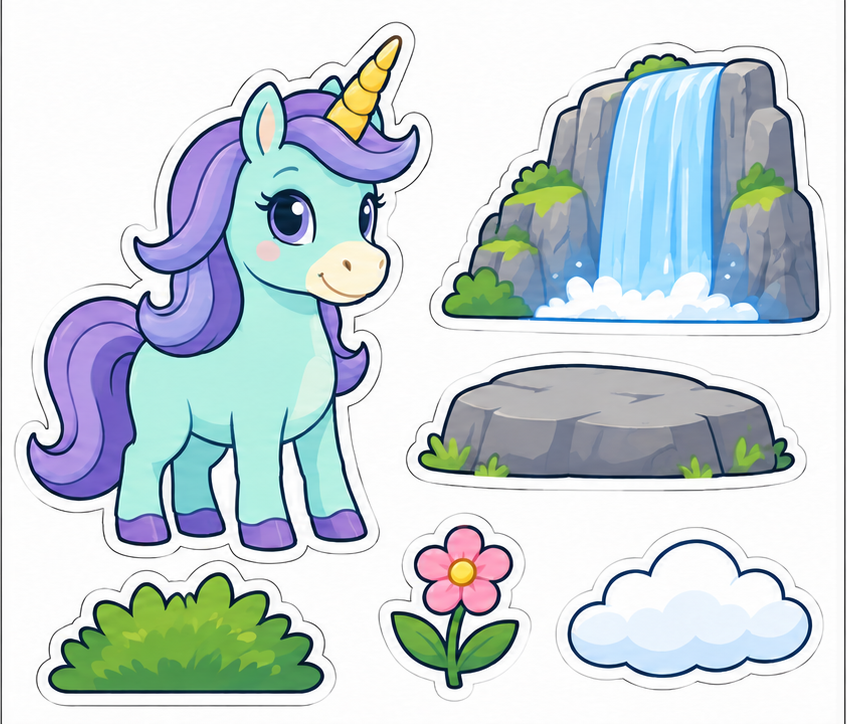
Unicorn by a waterfall — all pieces to cut out
Pieces

Unicorn by a waterfall

Color kit · Pieces: 6

2 pages · Medium difficulty

Arrange every piece before gluing; keep the background whole.

Background, pieces and layer order
  1. Position the broad rear scenery first.
  2. Place the unicorn with its hooves or body supported.
  3. Arrange the other pieces; leave the face and horn visible.
  4. Glue the rear layers first and foreground accents last.

Check all six pieces and keep the face clear. If hooves float, lower the unicorn or slide its support underneath.

Background · PNG · Pieces · PNG · Example · PNG

Unicorn at the castle gate — assembly example
Example
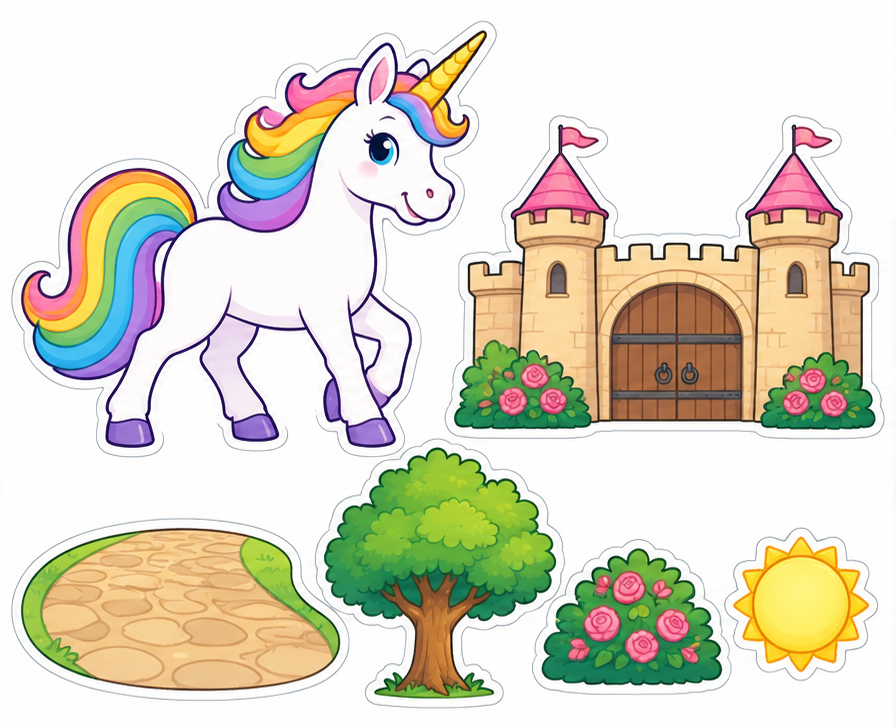
Unicorn at the castle gate — all pieces to cut out
Pieces

Unicorn at the castle gate

Color kit · Pieces: 6

2 pages · Complex composition

Arrange every piece before gluing; keep the background whole.

Background, pieces and layer order
  1. Position the broad rear scenery first.
  2. Place the unicorn with its hooves or body supported.
  3. Arrange the other pieces; leave the face and horn visible.
  4. Glue the rear layers first and foreground accents last.

Check all six pieces and keep the face clear. If hooves float, lower the unicorn or slide its support underneath.

Background · PNG · Pieces · PNG · Example · PNG

Unicorn beside a bridge — assembly example
Example
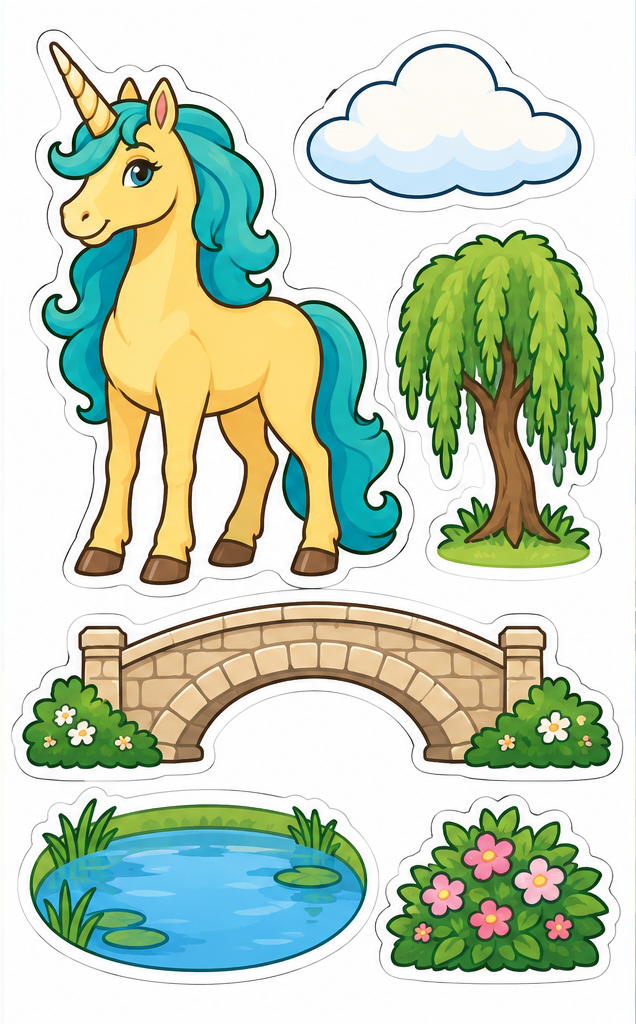
Unicorn beside a bridge — all pieces to cut out
Pieces

Unicorn beside a bridge

Color kit · Pieces: 6

2 pages · Complex composition

Arrange every piece before gluing; keep the background whole.

Background, pieces and layer order
  1. Position the broad rear scenery first.
  2. Place the unicorn with its hooves or body supported.
  3. Arrange the other pieces; leave the face and horn visible.
  4. Glue the rear layers first and foreground accents last.

Check all six pieces and keep the face clear. If hooves float, lower the unicorn or slide its support underneath.

Background · PNG · Pieces · PNG · Example · PNG

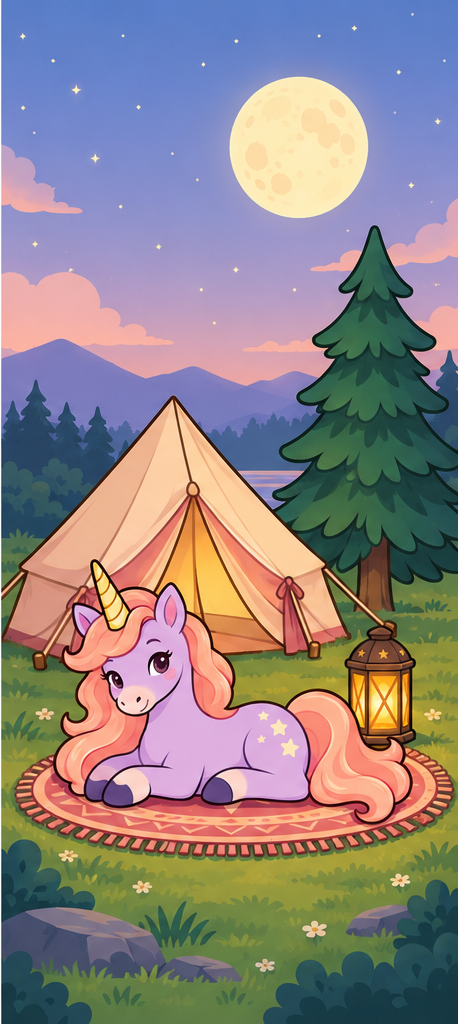
Unicorn at a woodland camp — assembly example
Example
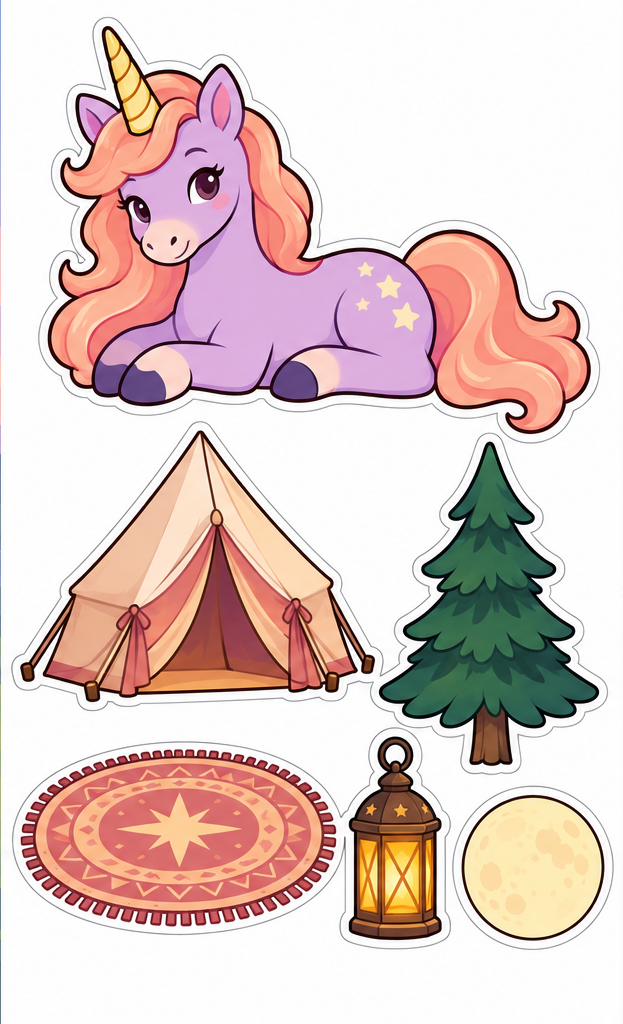
Unicorn at a woodland camp — all pieces to cut out
Pieces

Unicorn at a woodland camp

Color kit · Pieces: 6

2 pages · Complex composition

Arrange every piece before gluing; keep the background whole.

Background, pieces and layer order
  1. Position the broad rear scenery first.
  2. Place the unicorn with its hooves or body supported.
  3. Arrange the other pieces; leave the face and horn visible.
  4. Glue the rear layers first and foreground accents last.

Check all six pieces and keep the face clear. If hooves float, lower the unicorn or slide its support underneath.

Background · PNG · Pieces · PNG · Example · PNG

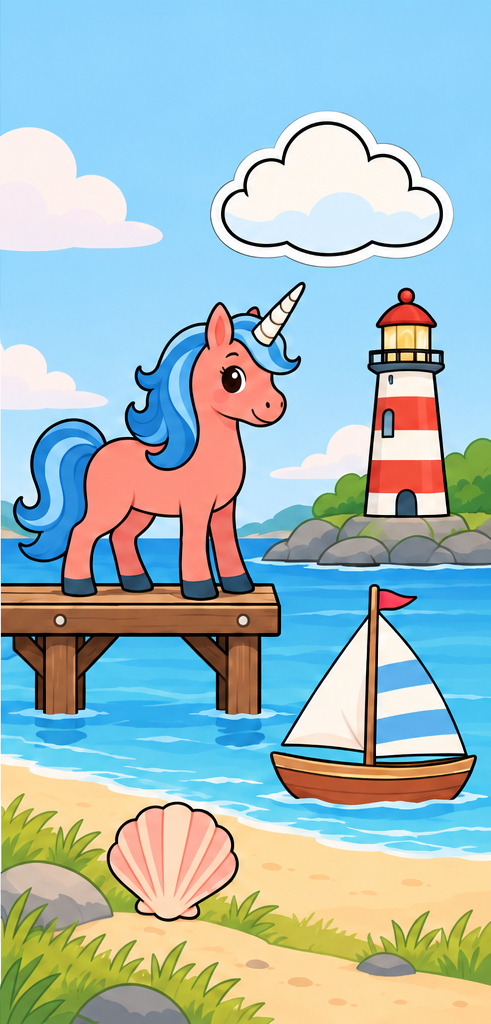
Unicorn at the lighthouse — assembly example
Example
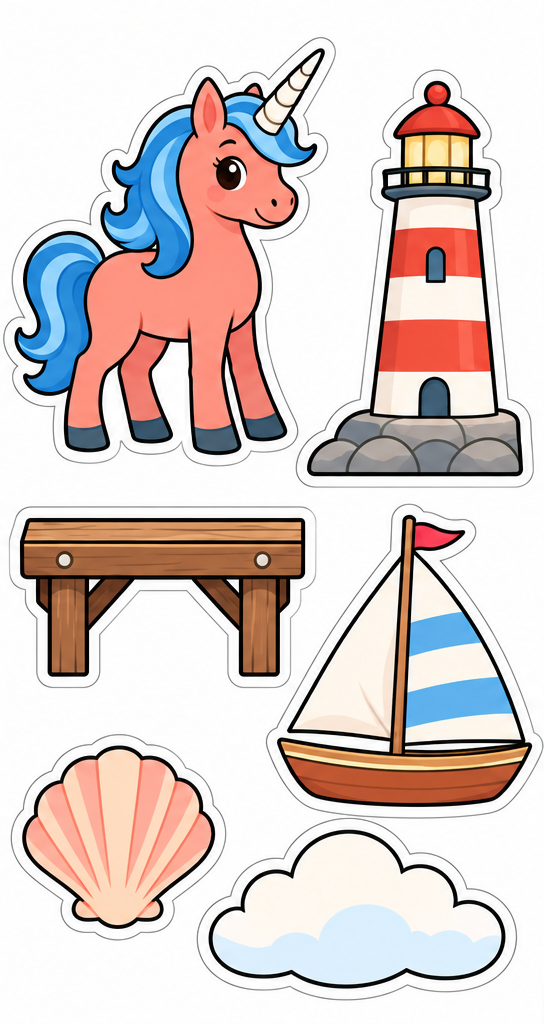
Unicorn at the lighthouse — all pieces to cut out
Pieces

Unicorn at the lighthouse

Color kit · Pieces: 6

2 pages · Complex composition

Arrange every piece before gluing; keep the background whole.

Background, pieces and layer order
  1. Position the broad rear scenery first.
  2. Place the unicorn with its hooves or body supported.
  3. Arrange the other pieces; leave the face and horn visible.
  4. Glue the rear layers first and foreground accents last.

Check all six pieces and keep the face clear. If hooves float, lower the unicorn or slide its support underneath.

Background · PNG · Pieces · PNG · Example · PNG

Choose a unicorn scene

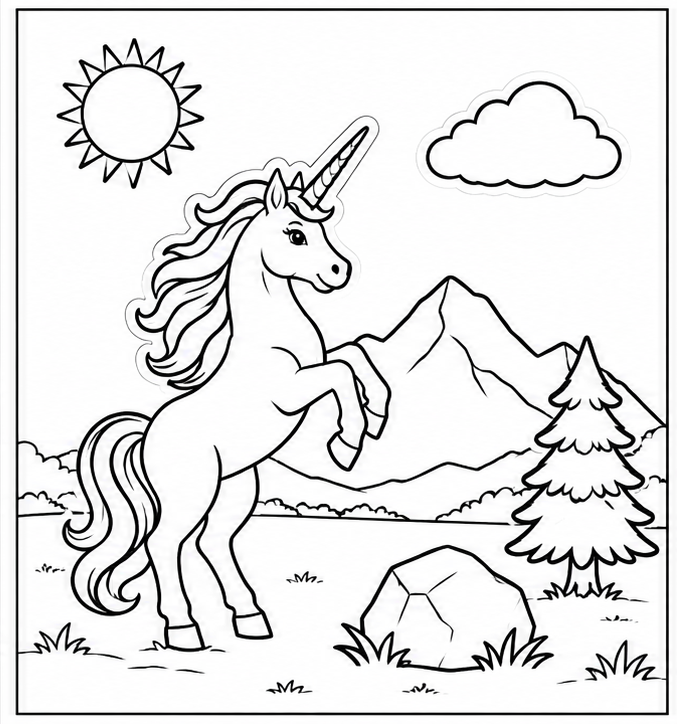
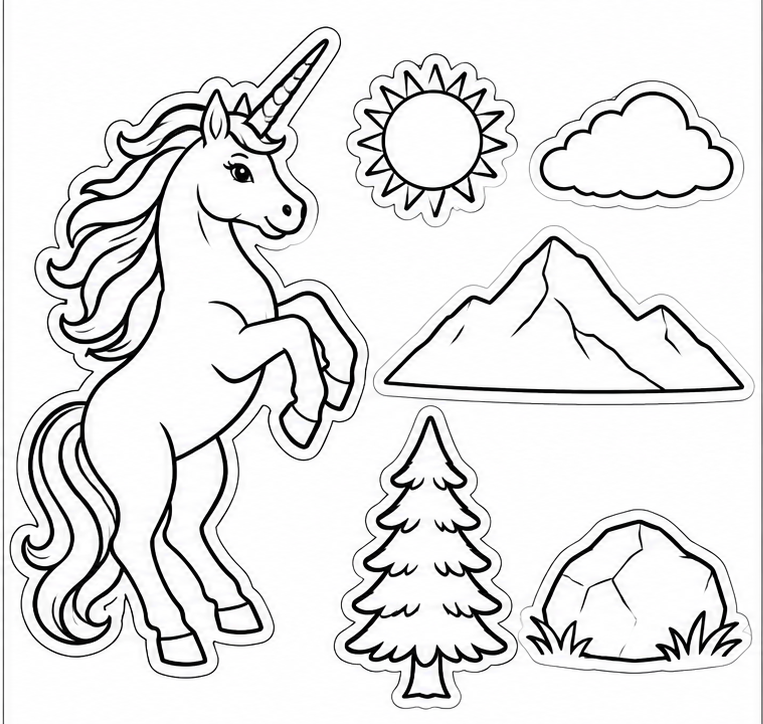
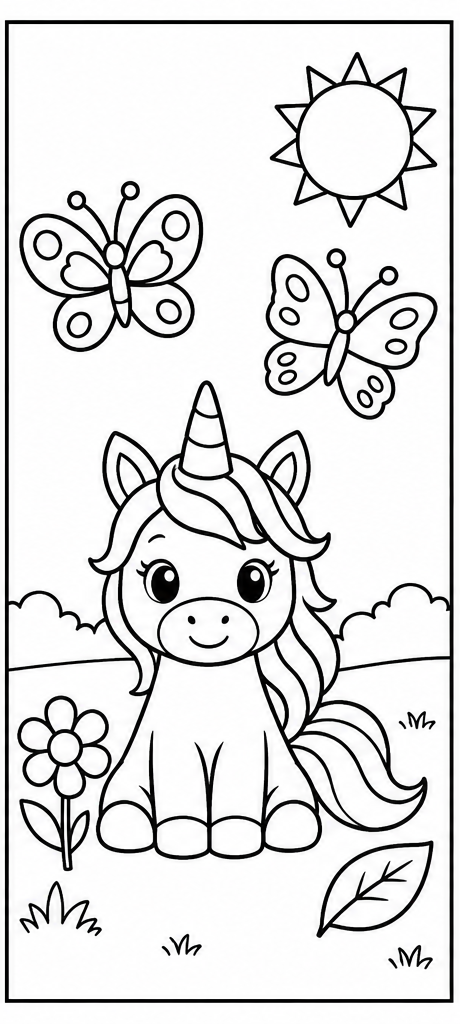
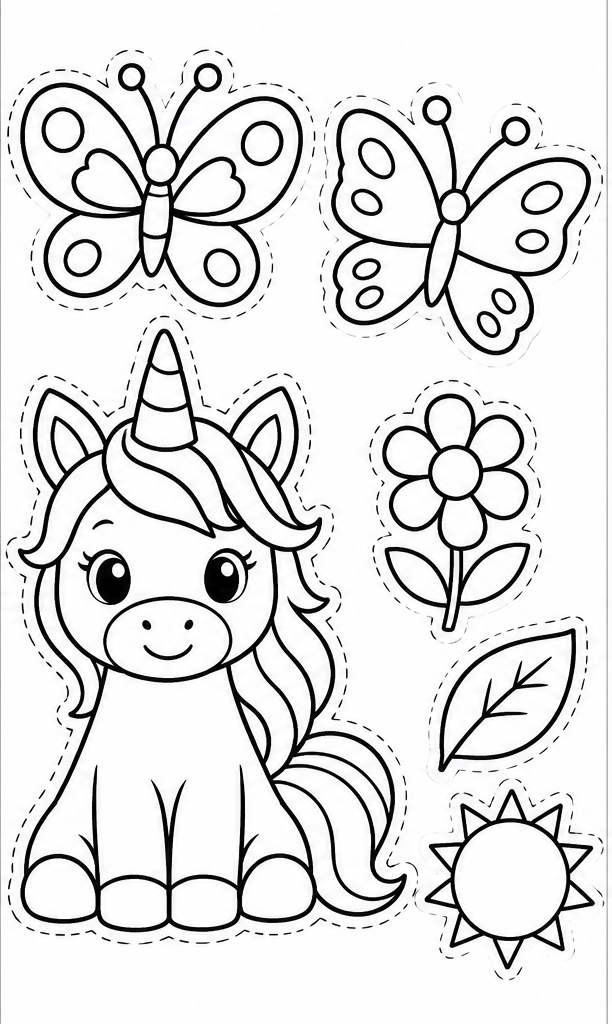
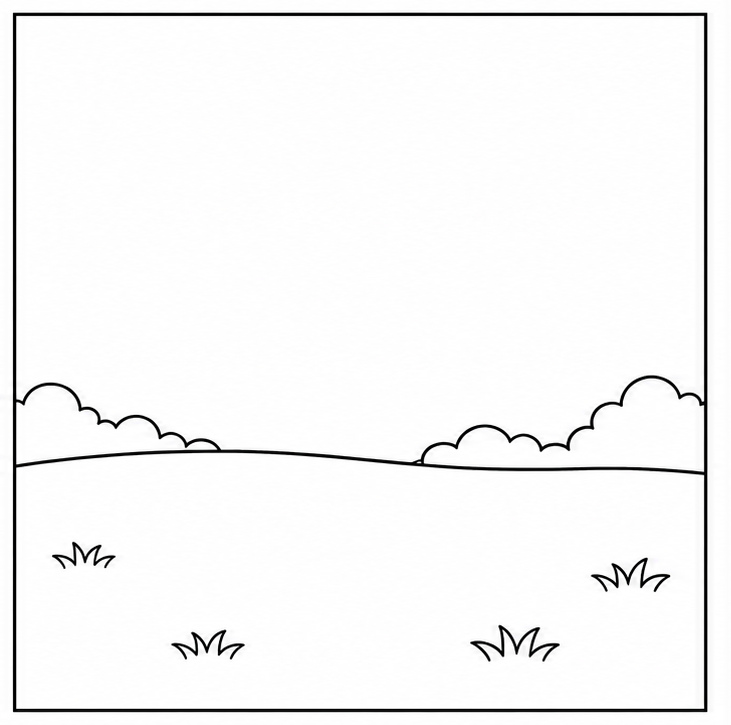
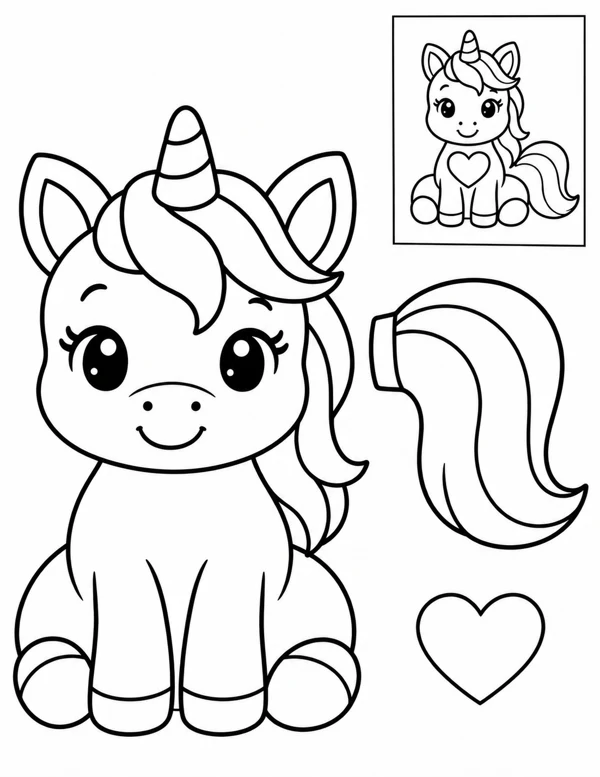
These eighteen paper applique kits make flat pictures from a whole background and six separate pieces. Twelve projects are full color and six have black outlines for coloring. Each cutting sheet contains one complete unicorn and five scenery pieces. The cards show the assembled picture and cutting sheet before you download. Every PDF has two A4 pages: the background first, then the pieces with a small assembly example and numbered gluing instructions. The example is a reference, not an extra cutting piece.

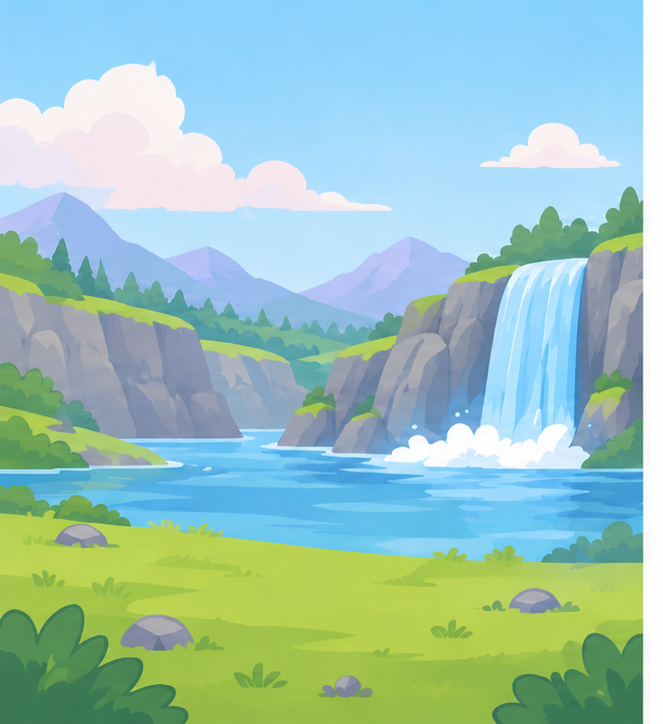
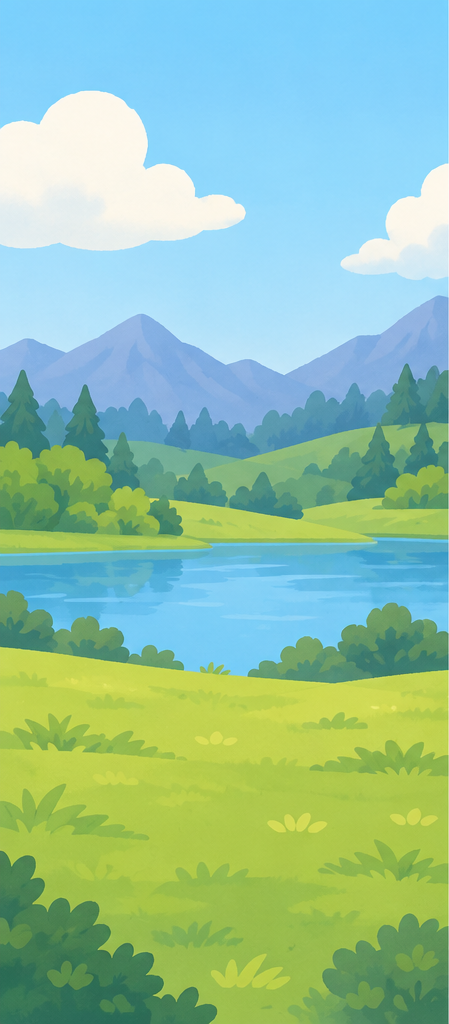
For a first project, try Unicorn in a flower meadow: arrange the seated unicorn, flower, bush, sun, cloud and mushroom. The six outline scenes offer different poses and surroundings, including Moonlit unicorn and Unicorn at the pond. Color them before cutting, while the paper is easy to hold. The two medium color scenes introduce a picnic blanket or waterfall rocks. Four complex scenes use a castle gate, bridge, woodland camp or lighthouse. Their challenge is choosing which objects overlap and which stay visible.

Print and prepare

Print both PDF pages on A4 paper, 210 × 297 mm, at 100% or Actual size. Use the same printer settings for the background and pieces so the prepared print sizes stay consistent. Leave the background whole. Collect child scissors, coloring pencils and a glue stick; an adult should supervise cutting and help with difficult turns. The small picture on page two shows the finished arrangement, rather than the physical size of the pieces.

Cut a loose rectangle around each object first. Then turn the paper while making short cuts around the outside contour. Leave the white safety margin around the horn, mane and tail; do not follow every tiny printed decoration. Eyes and mane lines remain inside the unicorn. Count six loose pieces before arranging them. If a narrow corner is difficult, leave a rounded white edge instead of cutting into the character.

Arrange before gluing

Place the largest rear scenery piece first. In Unicorn beside a bridge, place the pond and bridge behind the unicorn; in Unicorn picnic, use the blanket as its support. Position the unicorn so its hooves or resting body meet the ground or support. Keep its face and horn visible. Spread the remaining objects through the open areas, rather than piling everything into the middle.

Look at the example and follow the numbered layer order beside it. Some scenery belongs above the character, such as a cloud or sun; a shell or flower usually sits lower. All five extras can move. Leave patches of empty background between them so the picture remains clear. Overlap a ground accent slightly over the support to show a foreground, while keeping enough of each object visible to recognize it.

Check, repair and try another composition

Before adding glue, check every piece against the cutting sheet. Nothing should hang outside the background. If the unicorn appears to float, lower it or slide the support underneath. If a tree hides the face, move it sideways. If an extra disappears behind the body, bring it into open space. Make these changes while every piece can still move freely.

Glue one layer at a time, beginning at the back. Apply a thin layer of glue, press gently and let the picture dry flat. On another print, move the unicorn to the other side and arrange all five extras again. Keep the character supported and the face clear. Explain which piece is behind another and where you left empty space. This gives you a new composition using the same kit, and an idea to reuse in your own paper picture.

Applique questions
How many kits are included?

18 distinct projects: 12 color and 6 outline kits, including two medium and four complex color scenes.

How many pages are in each PDF?

Two: a whole background and pieces with a small example and layer order.

Do we cut out the eyes and patterns?

No. Cut the outside edge; legs, ears and tail remain attached to the unicorn.

Can I rearrange the pieces?

Yes. Preserve support beneath the feet and the overlap order; keep the face visible.