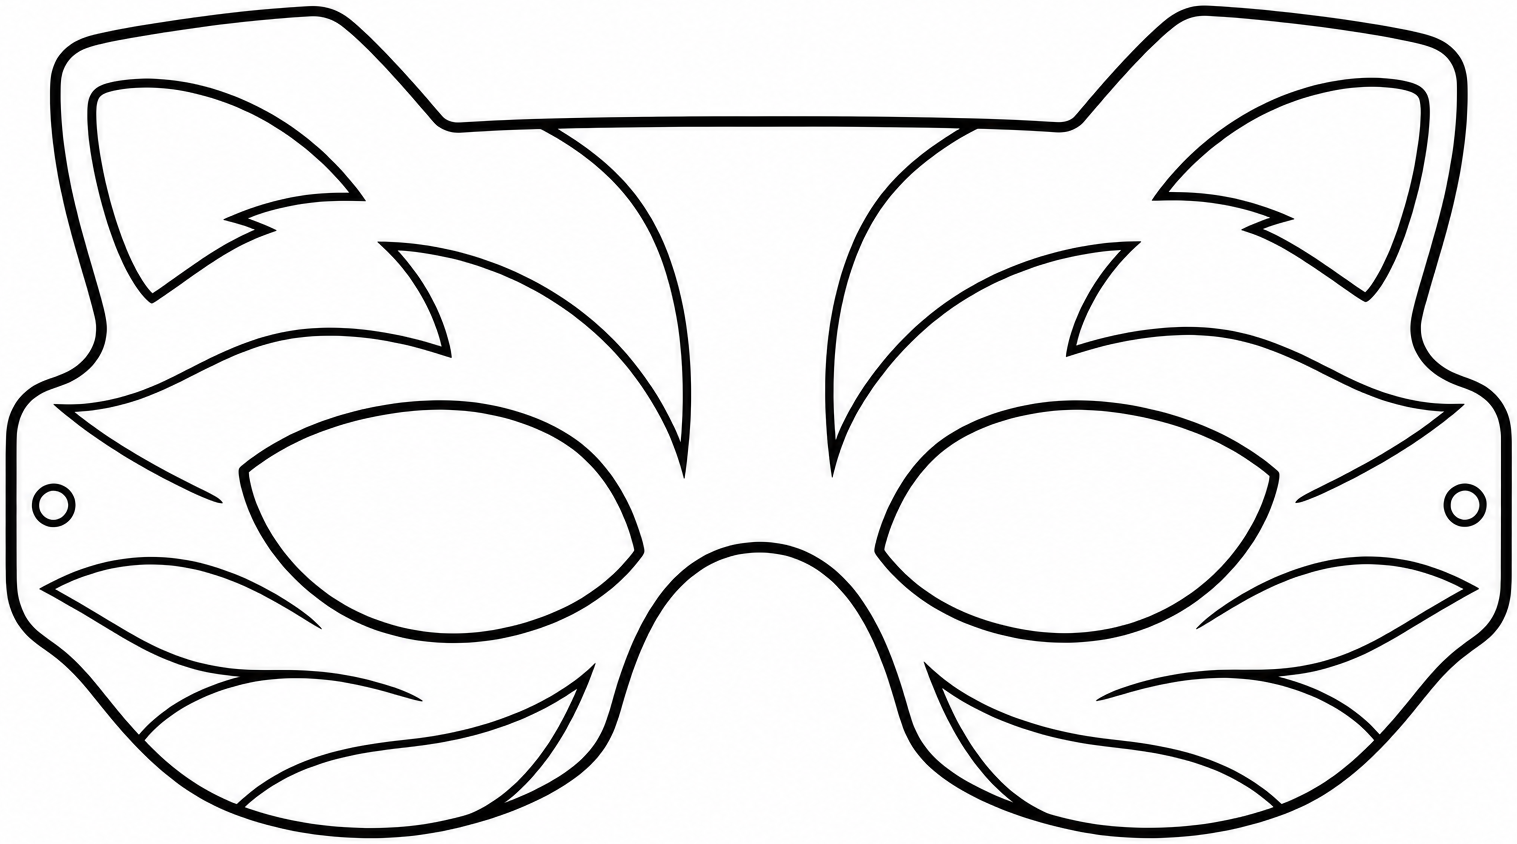
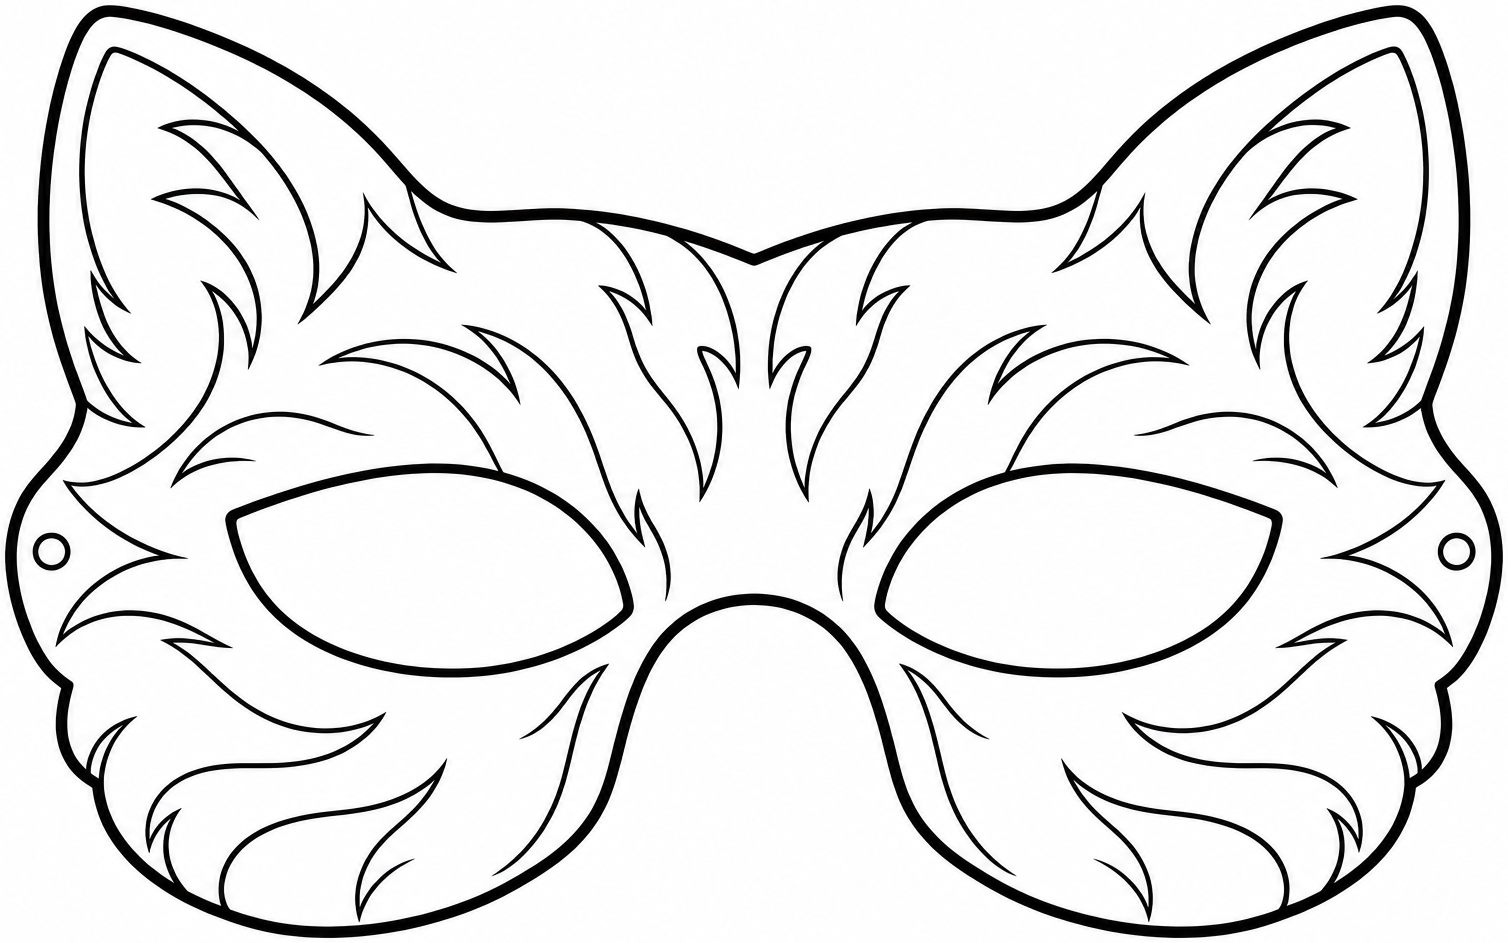
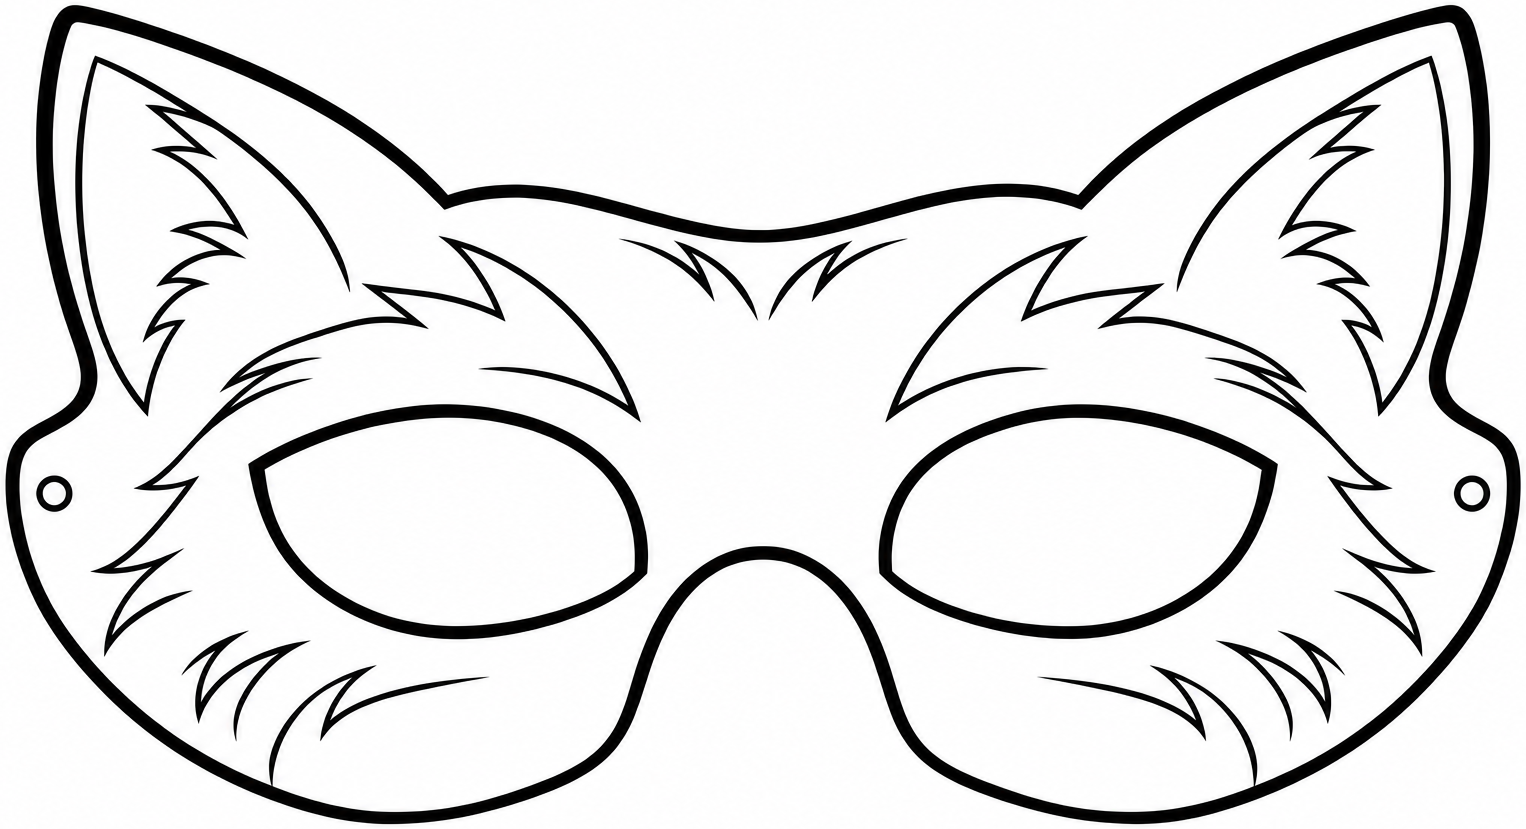
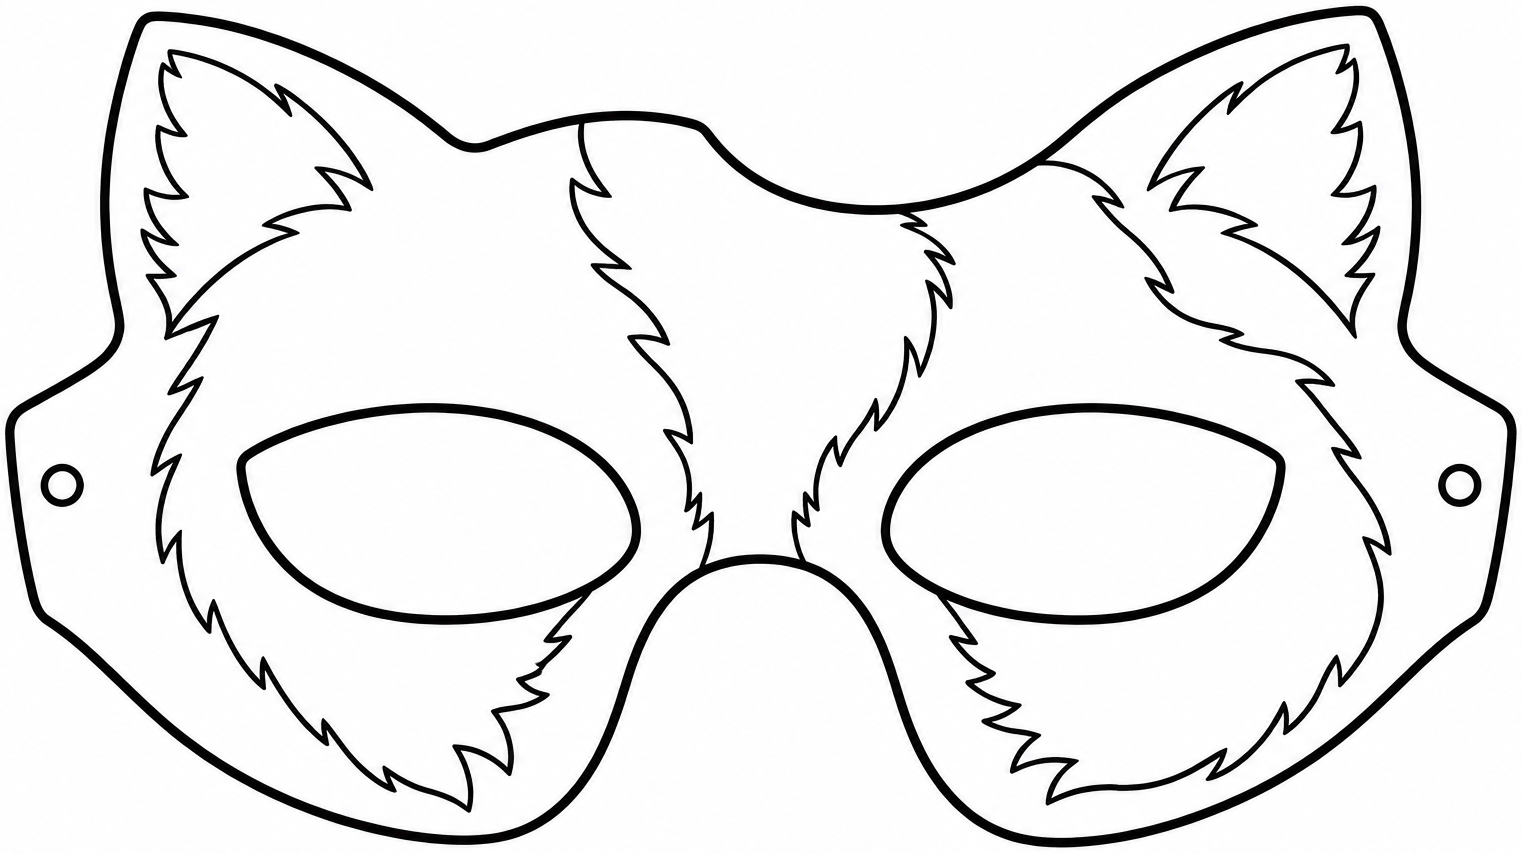
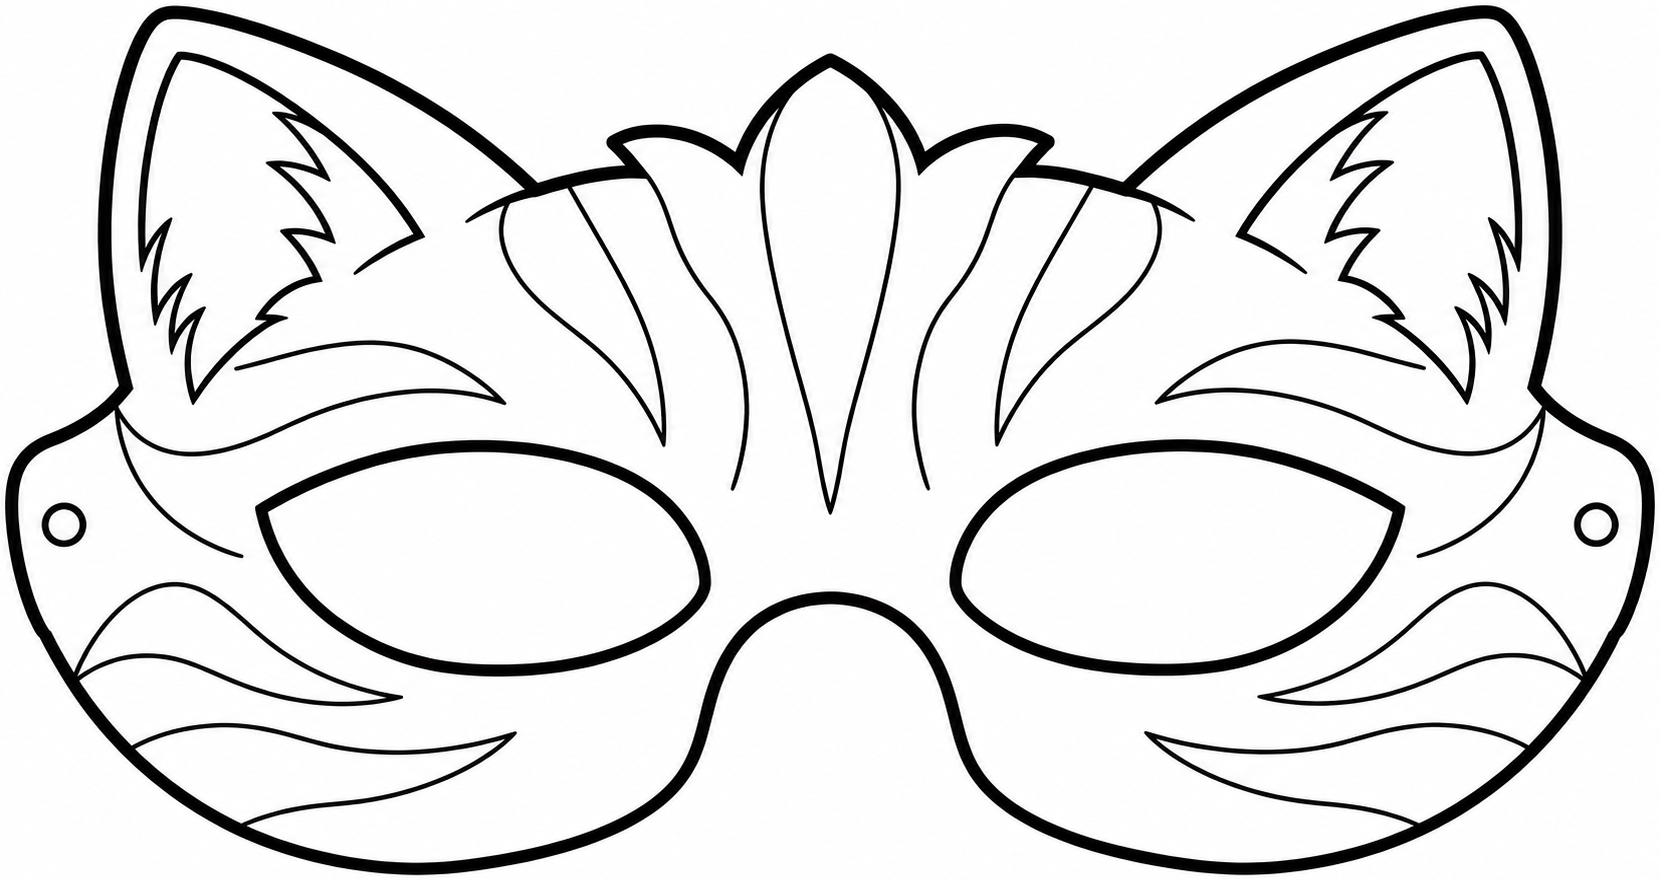
A cat for a home theatre, a butterfly for a party or a dog for pretend play: a paper mask starts with a comfortable shape. Learn how to choose a version, print at the right size and assemble a half-mask that leaves the nose and mouth open.
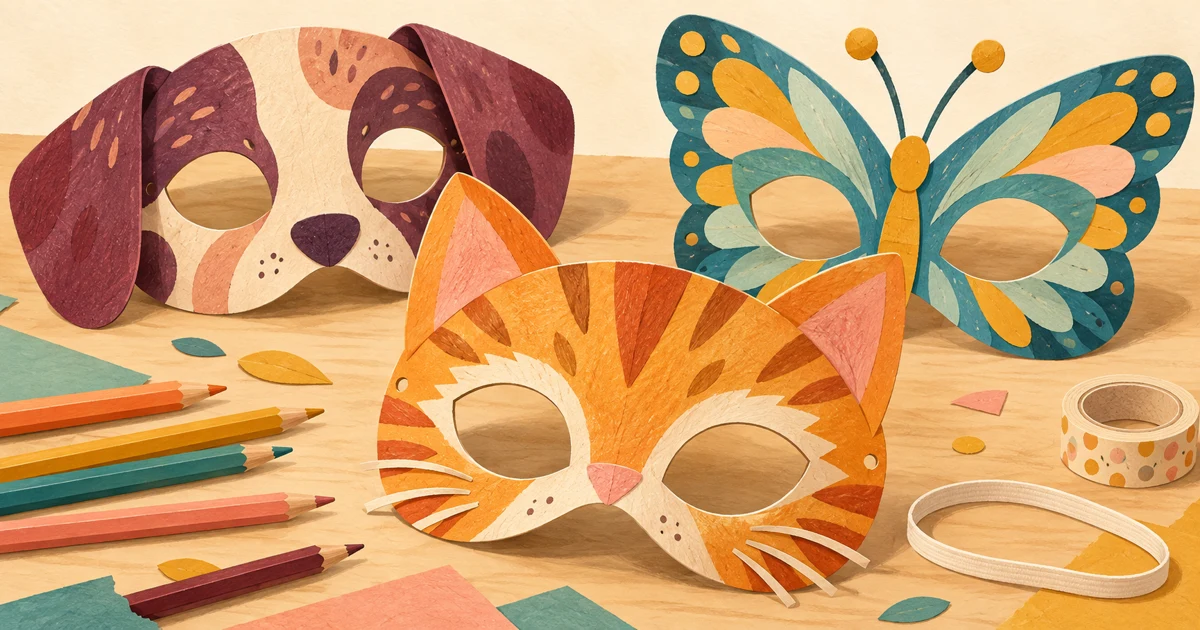
The first collection is available: 12 cat masks, 6 color and 6 color-in. PDFs are prepared for trial printing; physical fitting is not yet confirmed. The opening illustration is a craft idea, not a template.
Files are available for trial printing. Physical printing and fitting have not yet been confirmed: check the ruler, eye-opening position and clear vision first. Child and adult labels do not guarantee a fit by age.
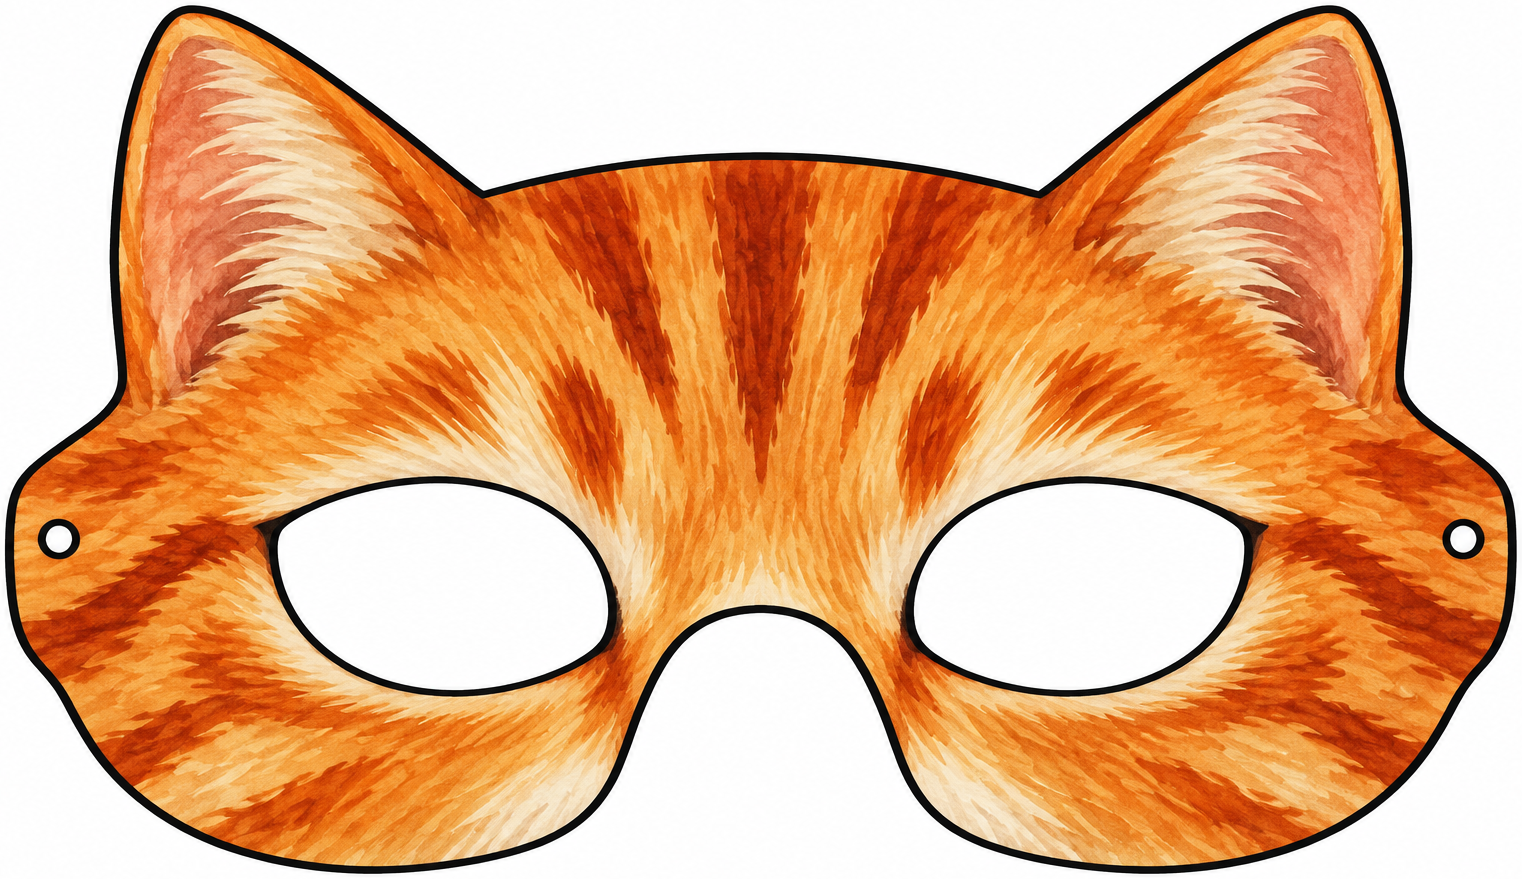
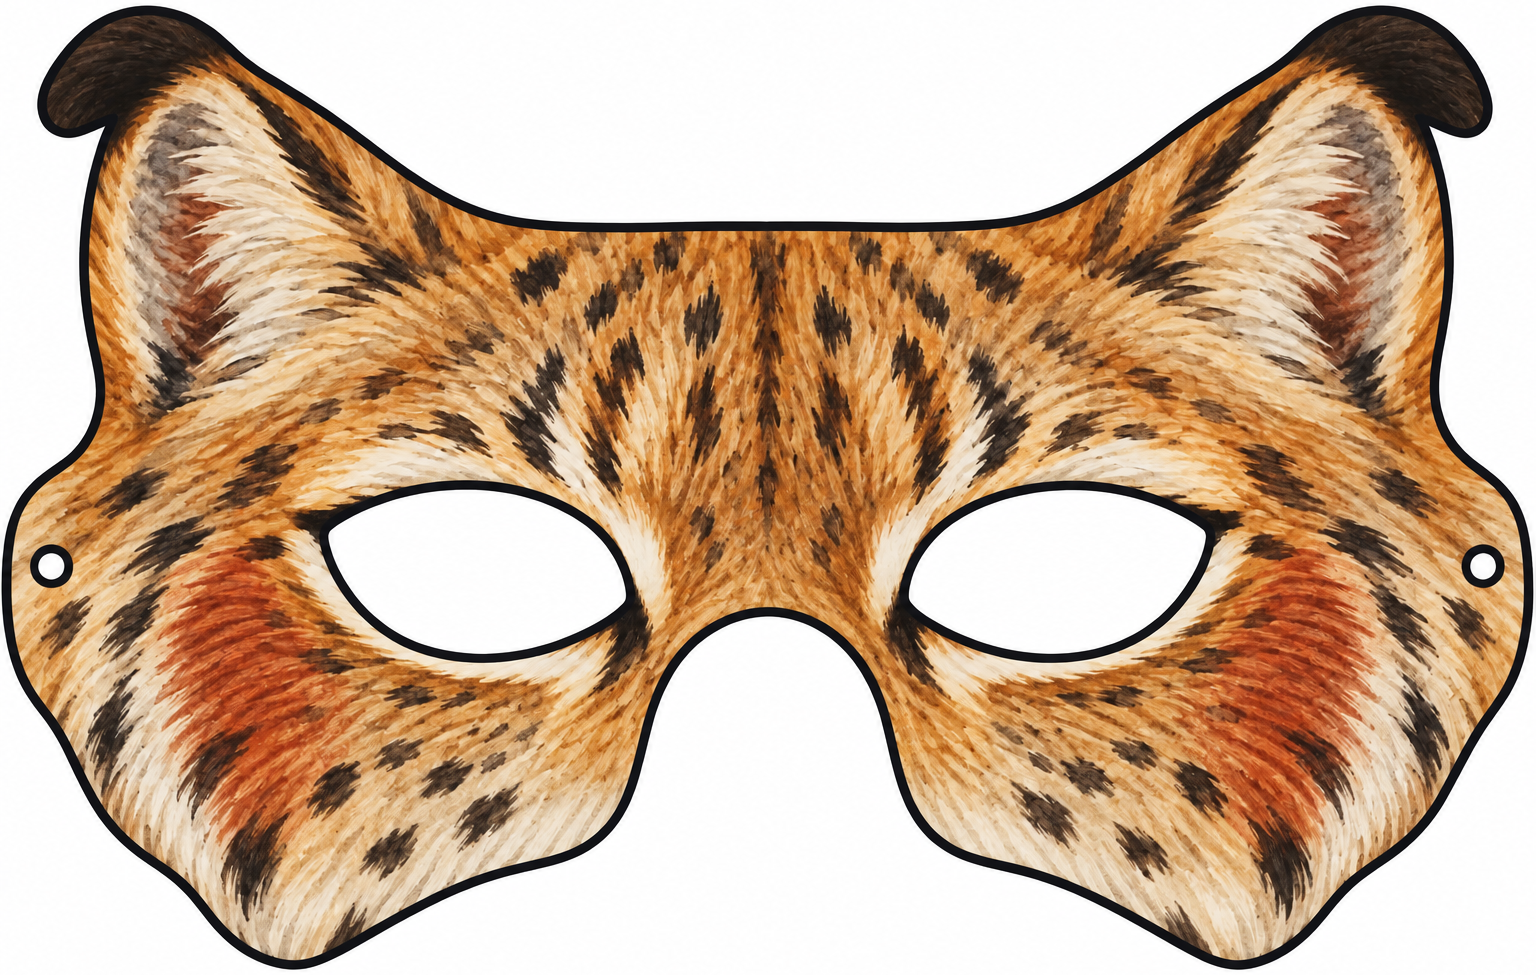
Ginger tabby
Color · width 160 mm
The stripes are printed already. Turn the paper around the broad ears; keep interior fur lines intact.
For a first project, choose a broad half-mask with short ears and a smooth outer edge. Narrow projections are easier to tear while cutting. For a home play, agree on the characters before choosing the shapes. A consistent format helps everyone prepare together.
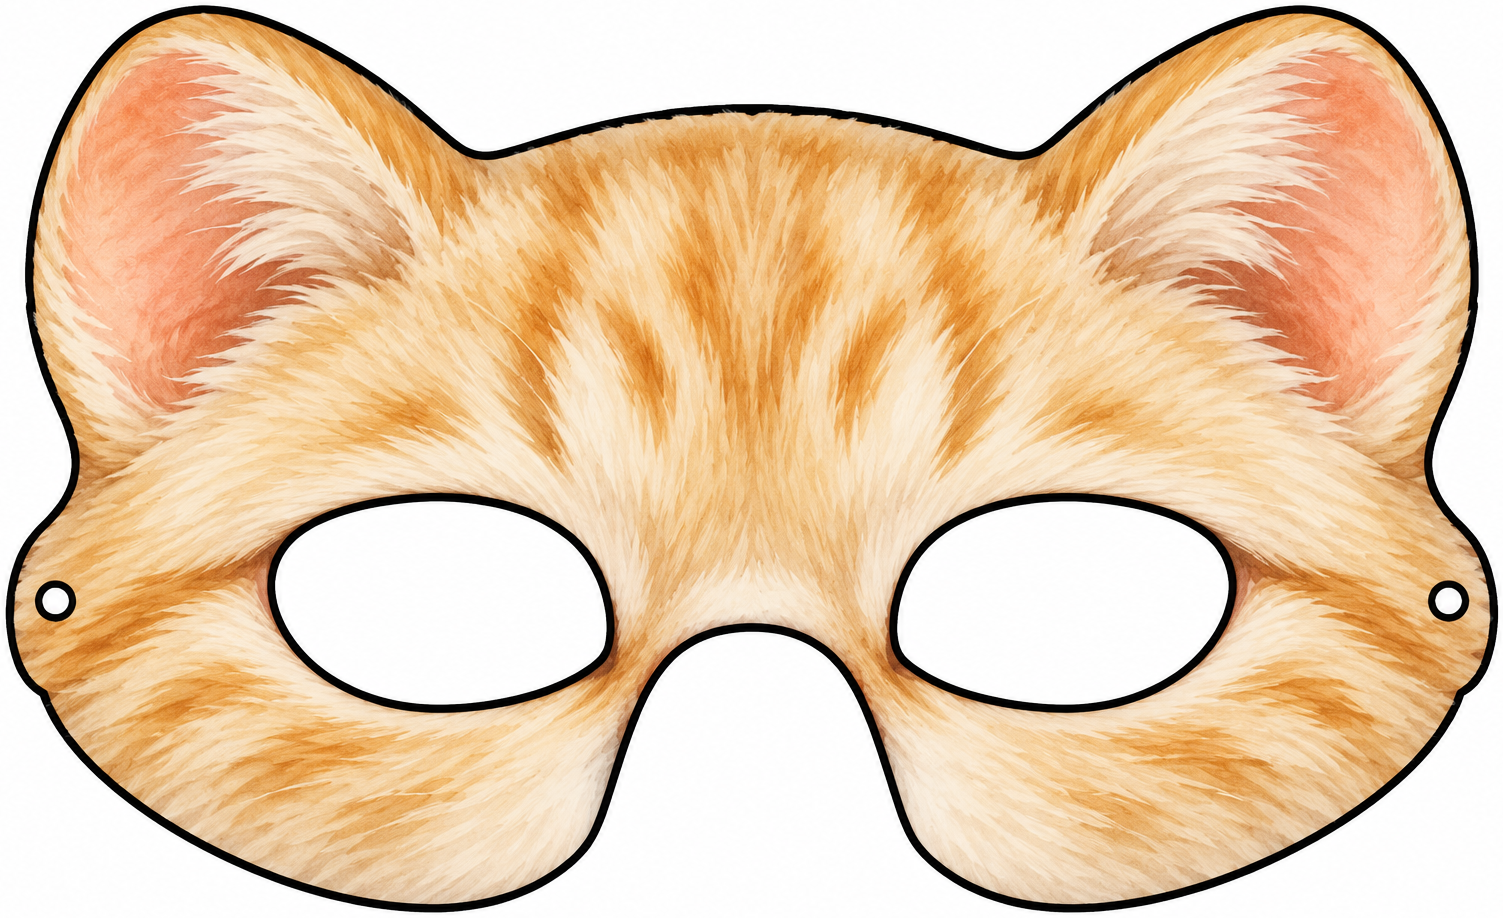
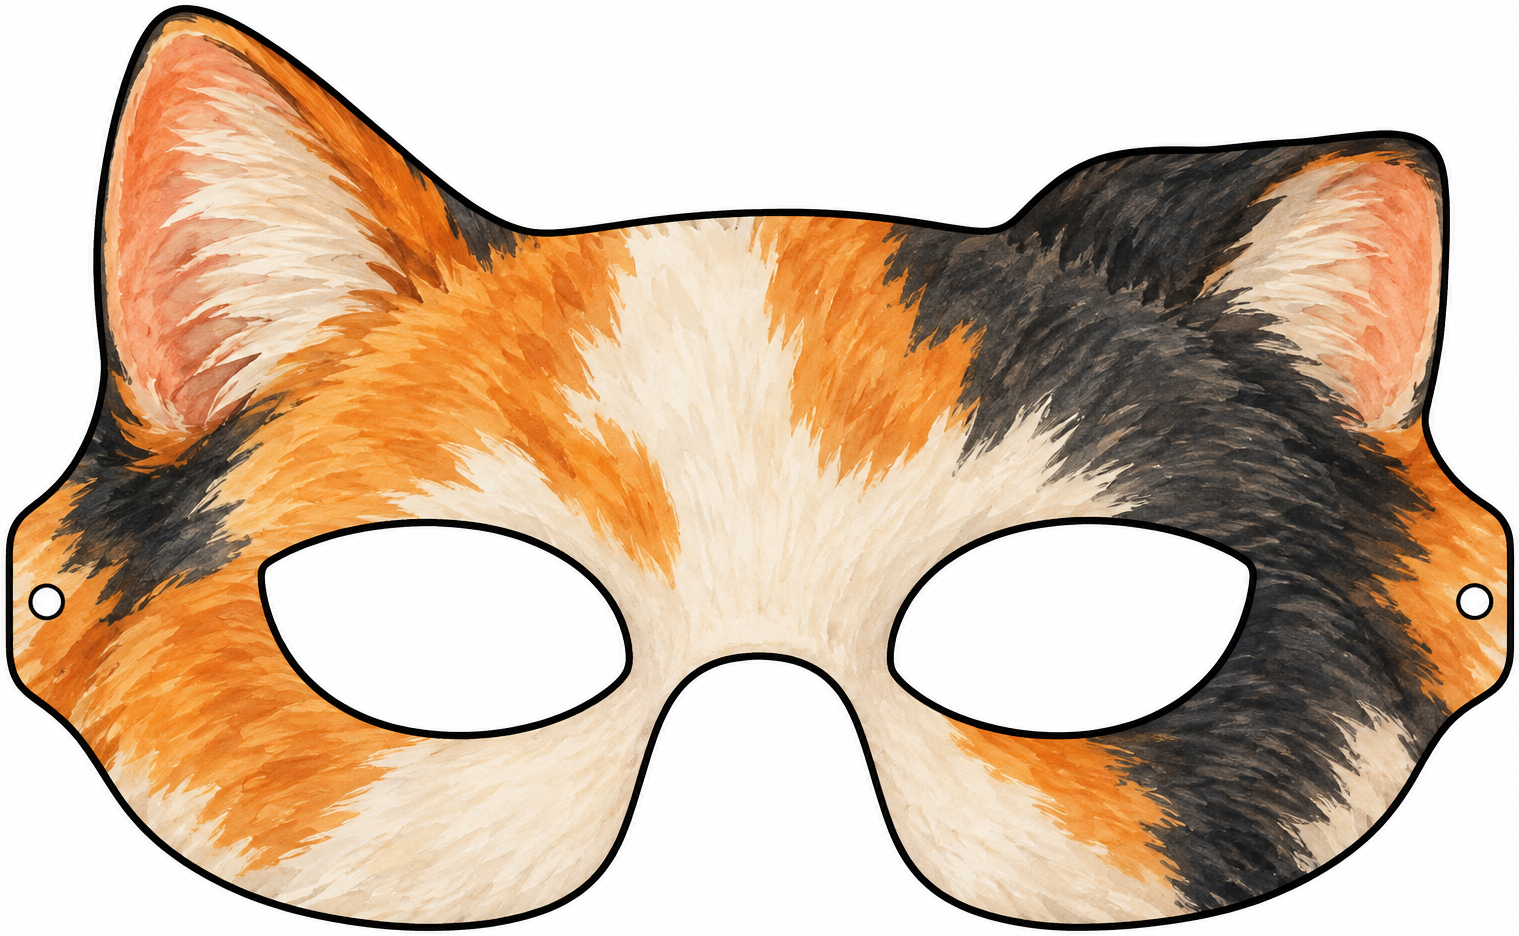
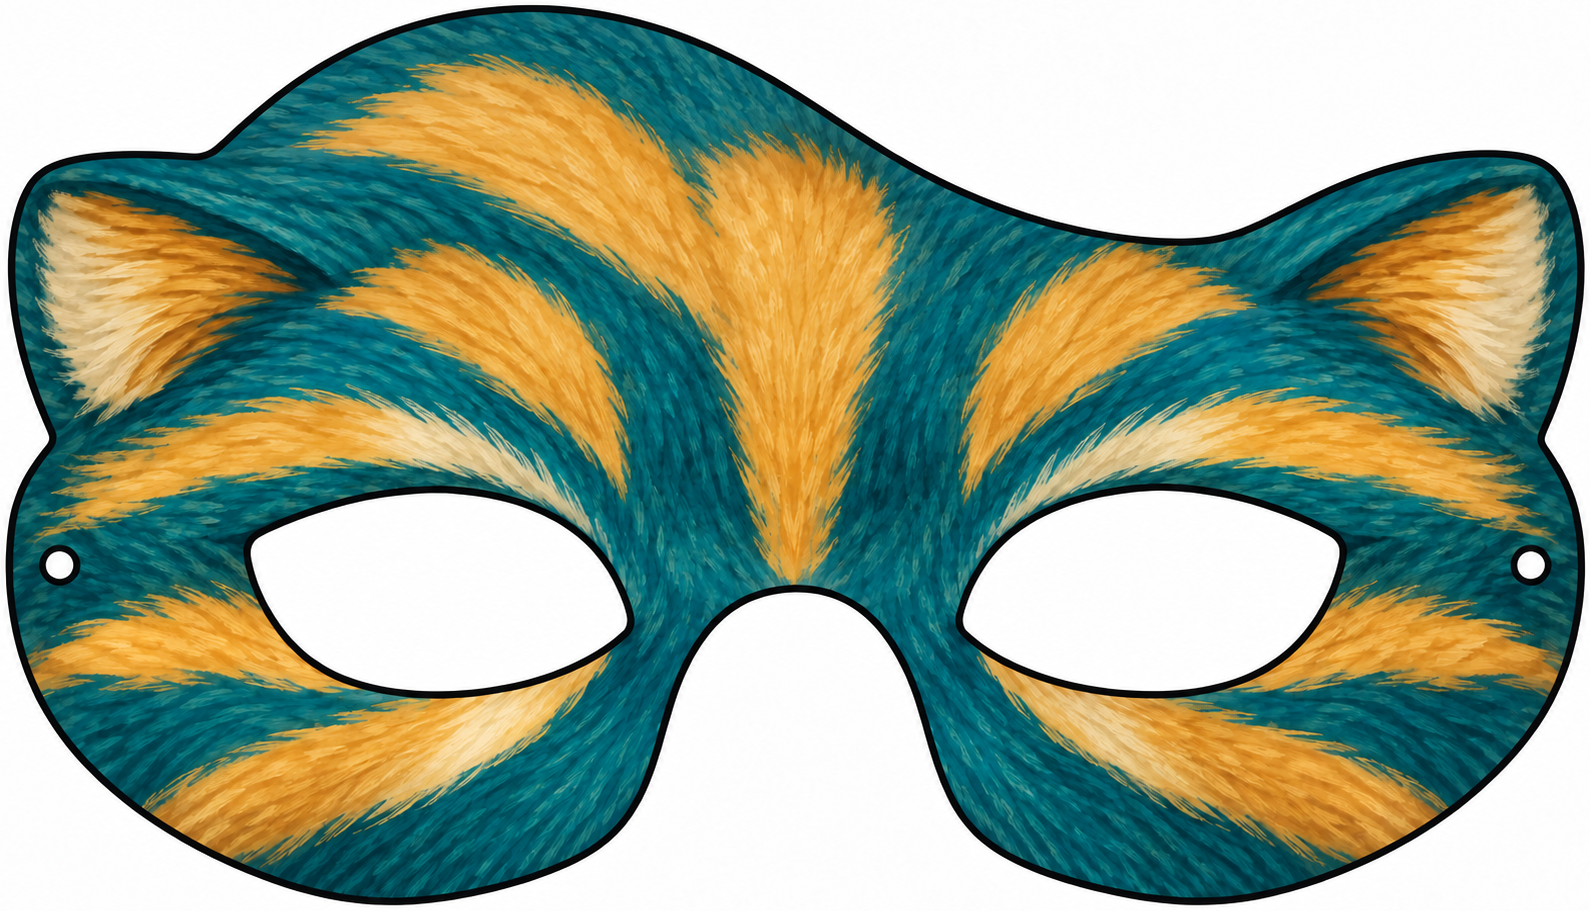
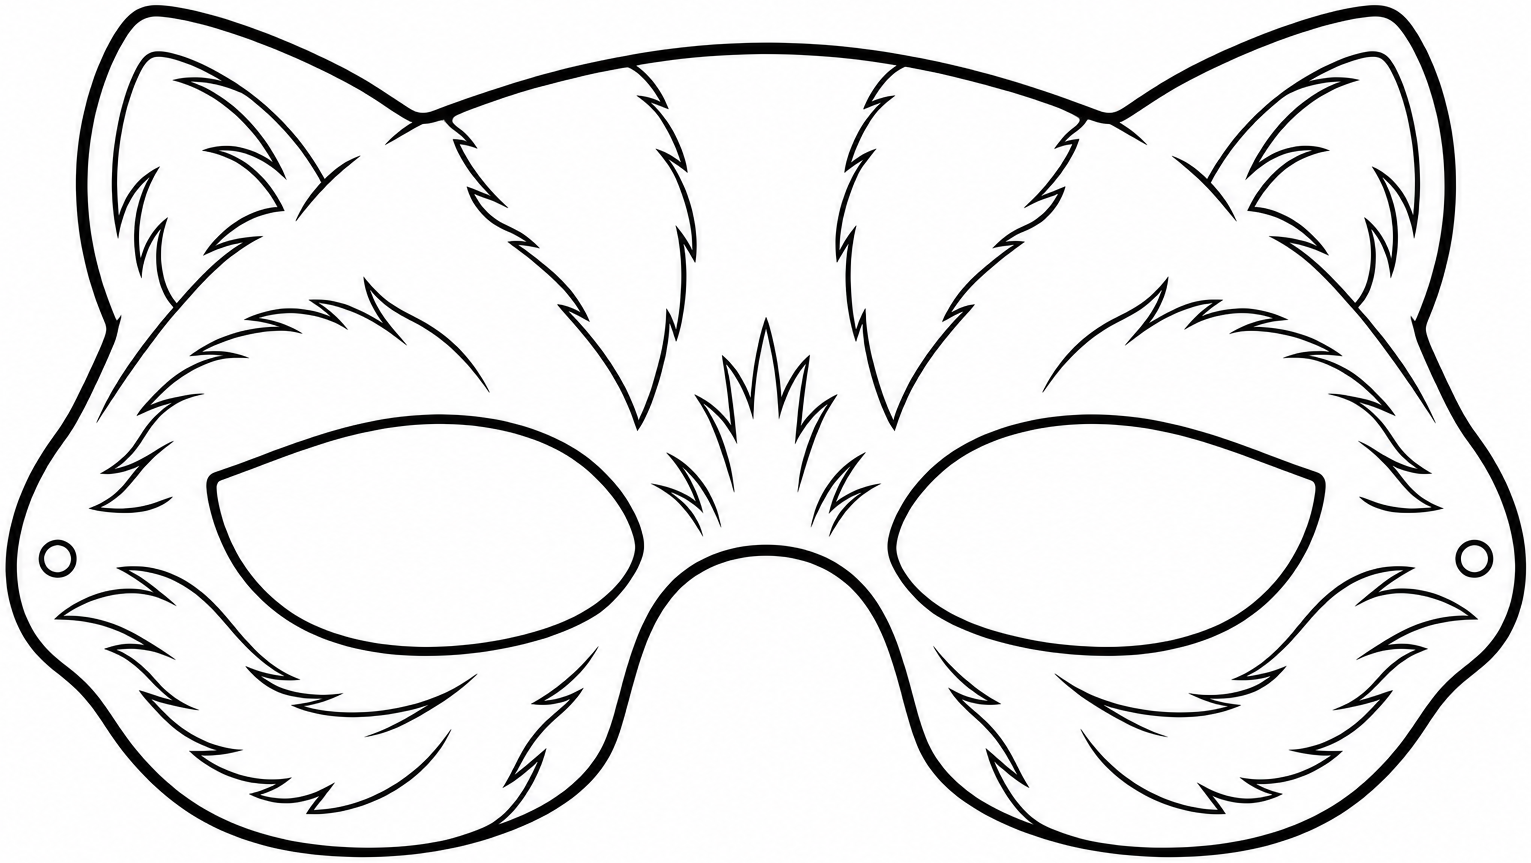
A color mask is useful when you want to get straight to the story. A black-and-white version invites your own patterns: draw broad stripes on a cat, add large patches or invent a new design. Color before cutting, while the whole sheet is easy to hold and its edges are still flat.
Cat
Short, broad ears and a few large stripes. Try a short story about a cat finding a home or meeting its neighbours.
Dog
Rounded ears and contrasting patches. Invent a voice and a line, then check that speaking feels comfortable.
Butterfly
Broad wings beside the eyes. Keep decoration on the paper: raised ornaments near the openings can obstruct the view.
Unicorn
A short, broad horn and a simple mane. Long projections bend more easily; a compact outline suits a first project.
What you need
Gather paper, pencils or markers, scissors, glue, paper tape and soft elastic or a broad paper handle. To make a firmer mask, glue the print to thin card and let it dry completely. Check your printer instructions before using heavier paper.
Elastic leaves hands free but needs fitting. A handled mask can be held in front of the face and moved away immediately. Choose the fastening after a trial fitting, rather than for appearance alone.
Print at the right size
Paper format and mask size are different choices. A4 and Letter describe the sheet; child and adult versions describe the mask width and eye placement. Use a PDF matching your printer paper. For a file with dimensions in millimetres, start with 100% / “Actual size”. “Fit to page” can shrink the artwork.
Print a draft on ordinary paper first. Measure the stated width with a ruler and hold the shape to the face without fastening it. The eyes should look through the middle of the openings, and the lower edge must leave the nose and mouth open. If the openings do not line up, try another size. Enlarging a print also changes the distance between the eyes, so do not print the entire stack before checking.
How to make a paper mask
Color and reinforce
Color the whole sheet, glue it to card if needed and let it dry. Check that the paper lies flat. If it curls, let the glue finish drying under a light, flat weight.
Cut the outer edge
Start at the edge of the sheet and turn the paper to keep the scissors comfortable. Preserve broad bases under ears and projections. Mend a torn edge with paper tape on the back.
Ask an adult to cut the openings
An adult makes the eye and fastening holes. Hold the mask to the face again: edges must not touch the eyes, block sideways vision or press on the bridge of the nose. Correct the fit before playing.
Fasten and check
Reinforce fastening points on the back. Fit elastic without tension, or glue a broad paper handle to one side. Check while seated: the mask stays in place, comes away in one movement and allows comfortable speech.
Three ideas for pretend play
Home theatre: each character says one line, then swaps roles with a neighbour. Guess the mood: choose a voice and a pose for your character while the others guess its mood. Build a story: a cat, a dog and a butterfly take turns adding one event.
If a mask slips, scratches or obstructs vision, stop and remove it. Avoid running or active games while wearing something across the face. For a lively scene, hold the paper character in your hand as a theatre puppet instead.
Paper mask questions
Where can I download the mask templates?
Download cat masks from the cards above. Open the cat collection to choose color or color-in and child or adult widths. Use PDF and its 50 mm control line for measured printing.
What is the difference between color and color-in masks?
Color masks are decorated already and quicker to prepare. Black-and-white versions let children choose colors and patterns. Separate projects can have different shapes and details, rather than just different colors.
Can I use ordinary printer paper?
Yes, it works for a trial print. If the shape is too floppy, glue it to thin card, let it dry and then cut it out.
How do I choose a child or adult size?
Use the stated width and a trial fitting. An age label alone does not guarantee a fit: eye position, face width and a clear lower edge matter.
Should I use elastic or a handle?
Elastic is useful when hands need to be free, and an adult should fit it. A broad paper handle lets you move the mask away quickly. Check vision and easy removal with either fastening.
Why is my printed mask smaller?
Check “Fit to page” and the selected paper format. For a dimensioned file, choose 100% and measure the printed width with a ruler.
 kiduverse