Dinosaur paper applique: 16 printable kits
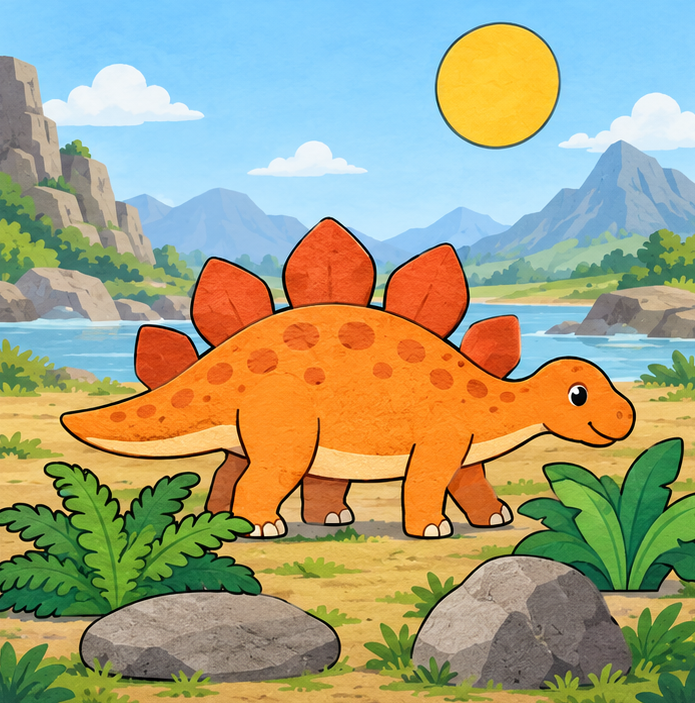
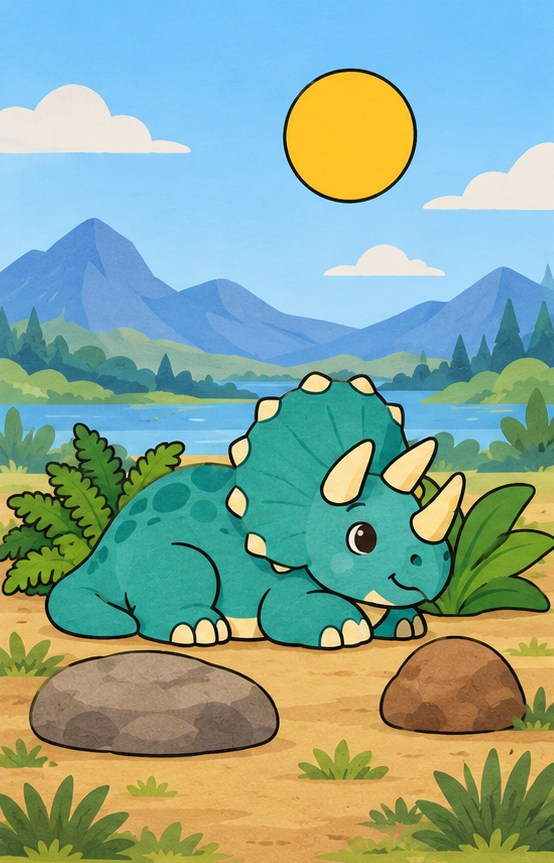
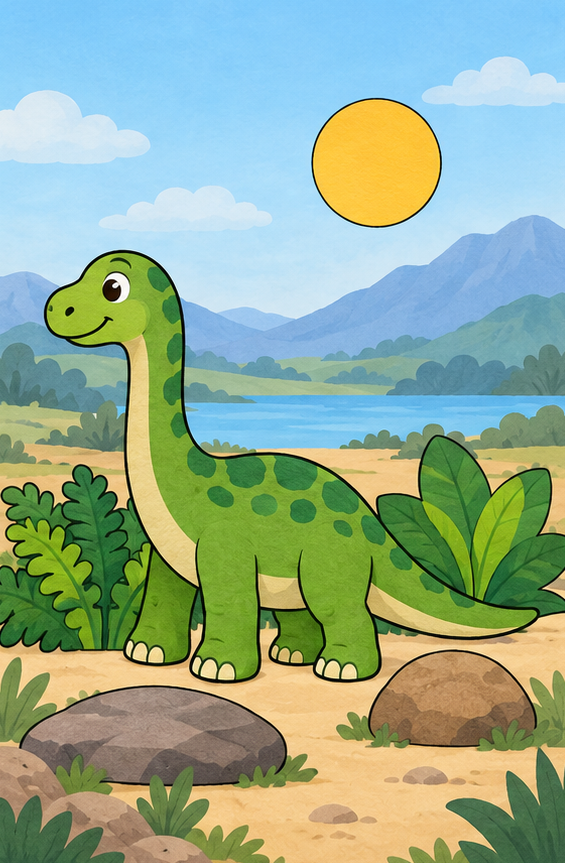
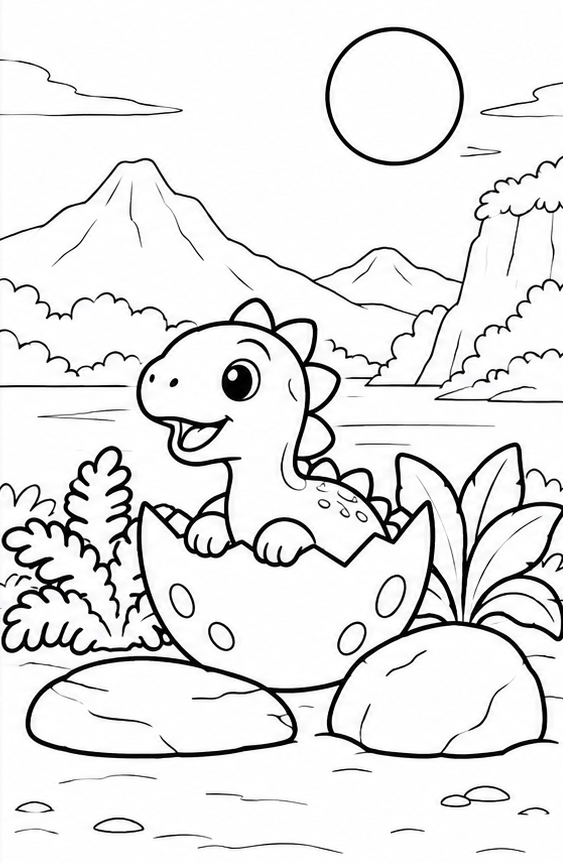
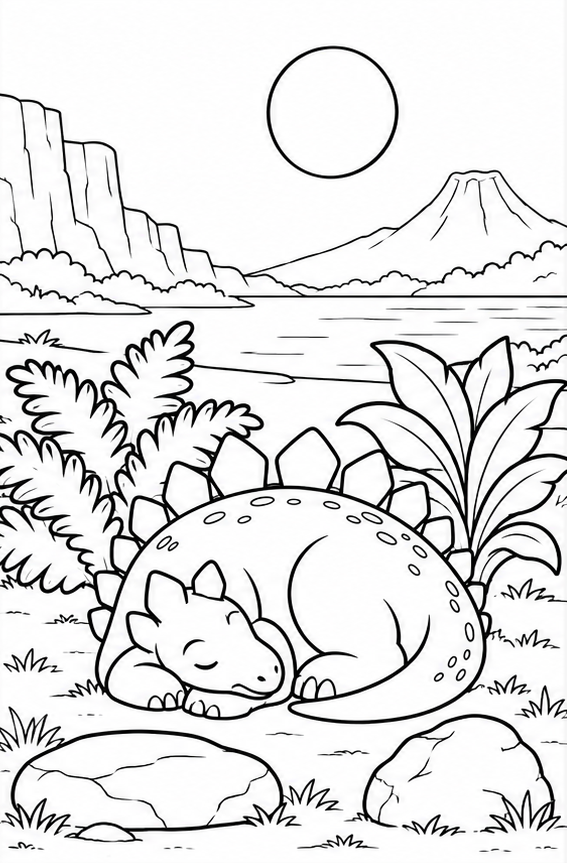
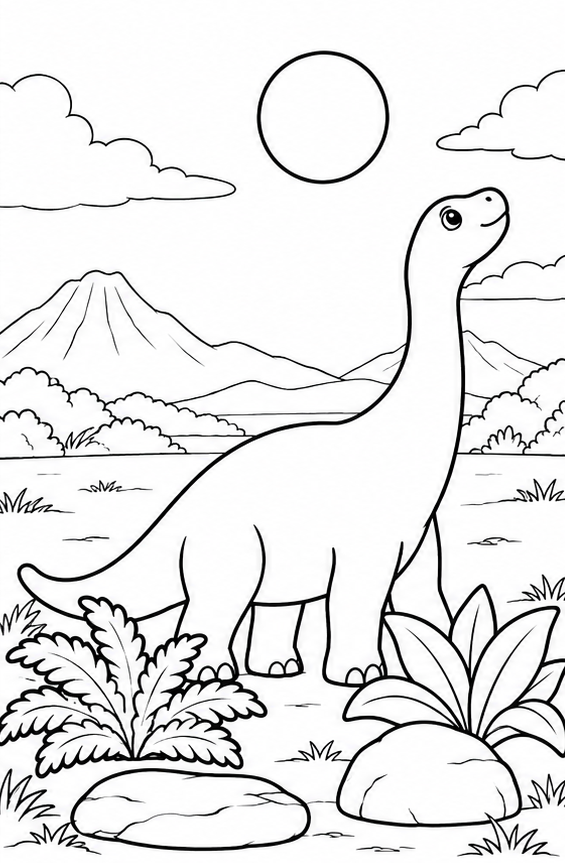
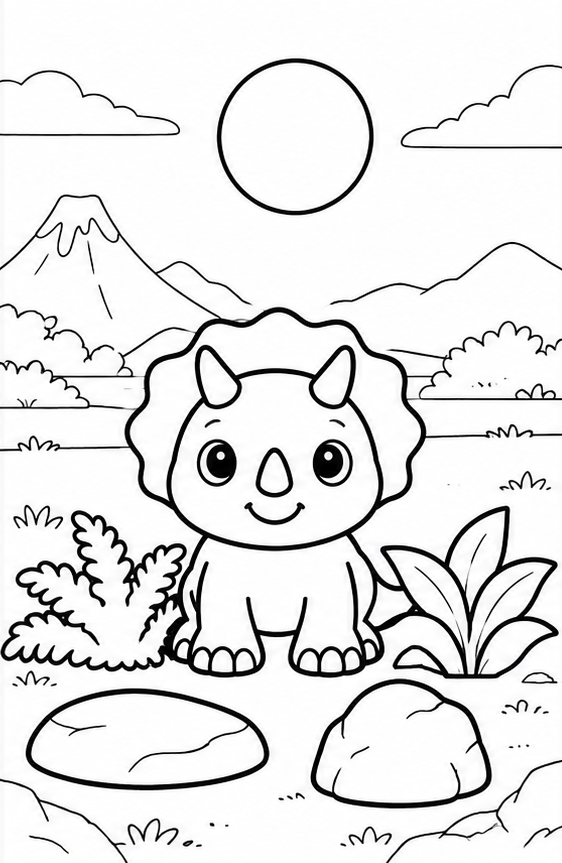
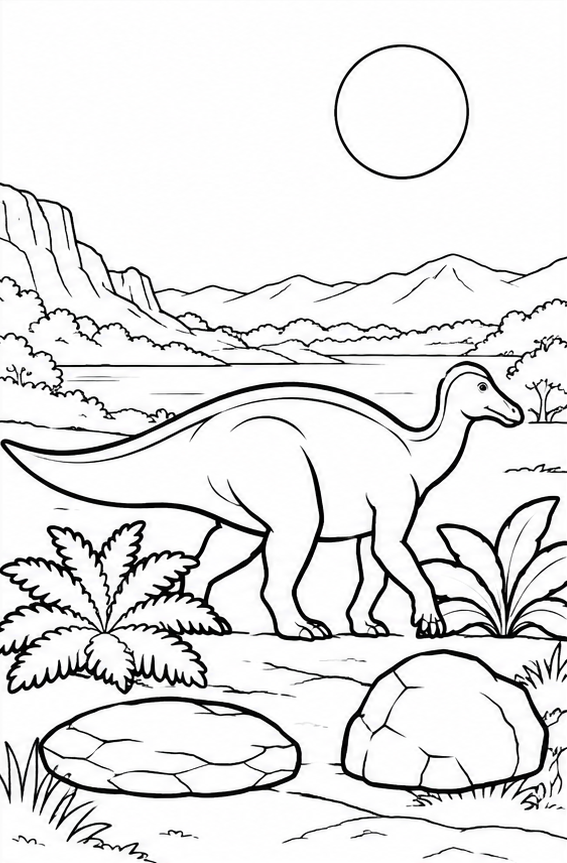
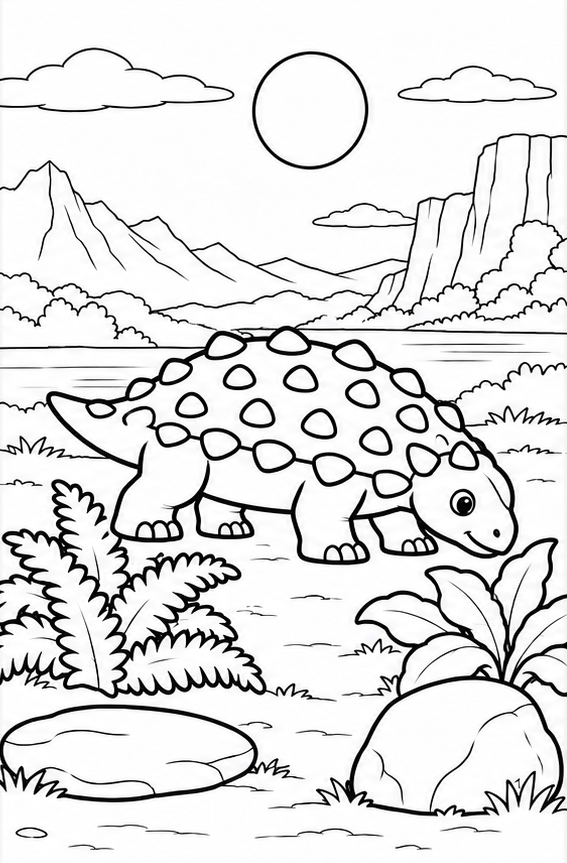
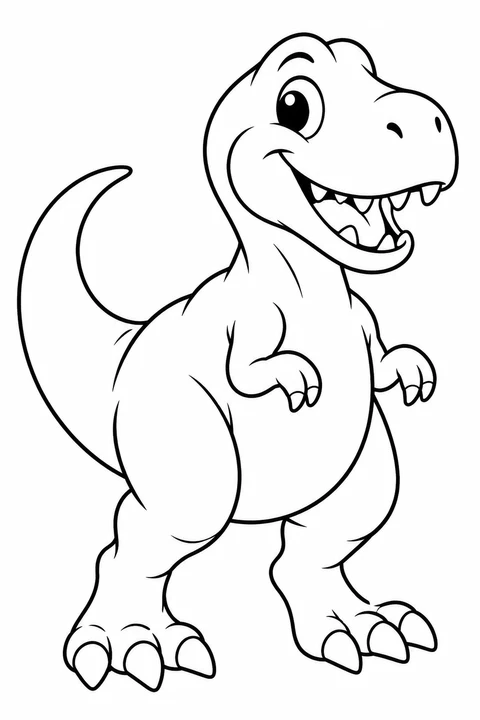
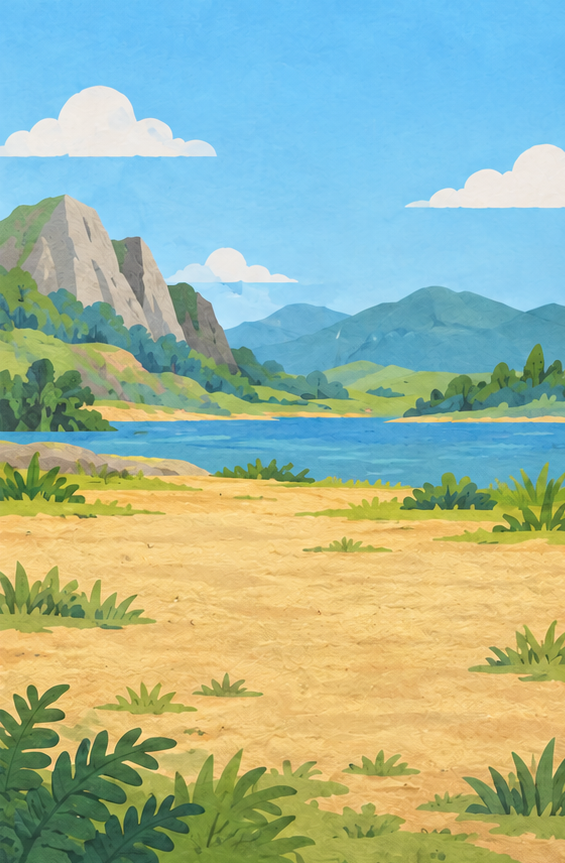
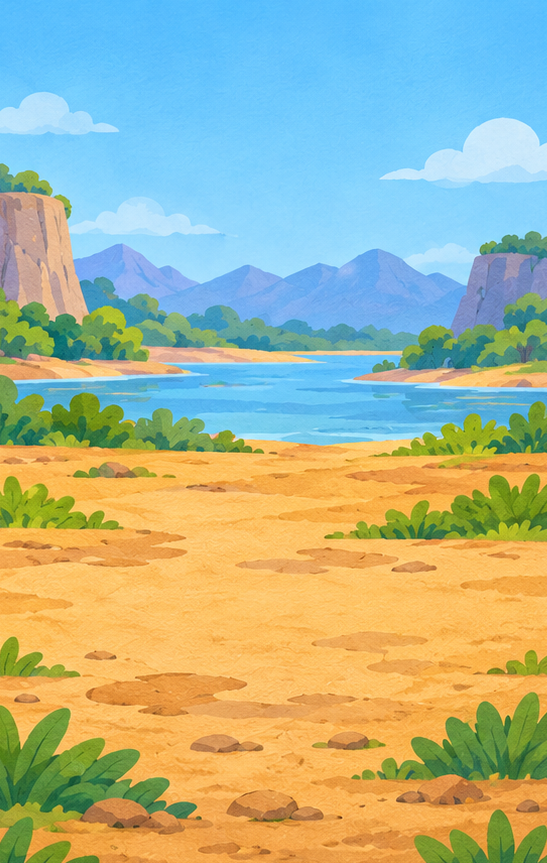
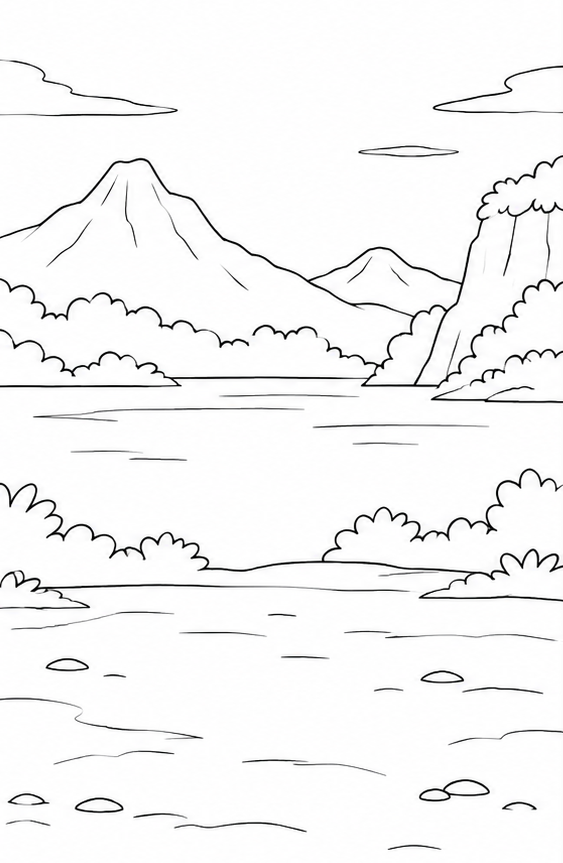
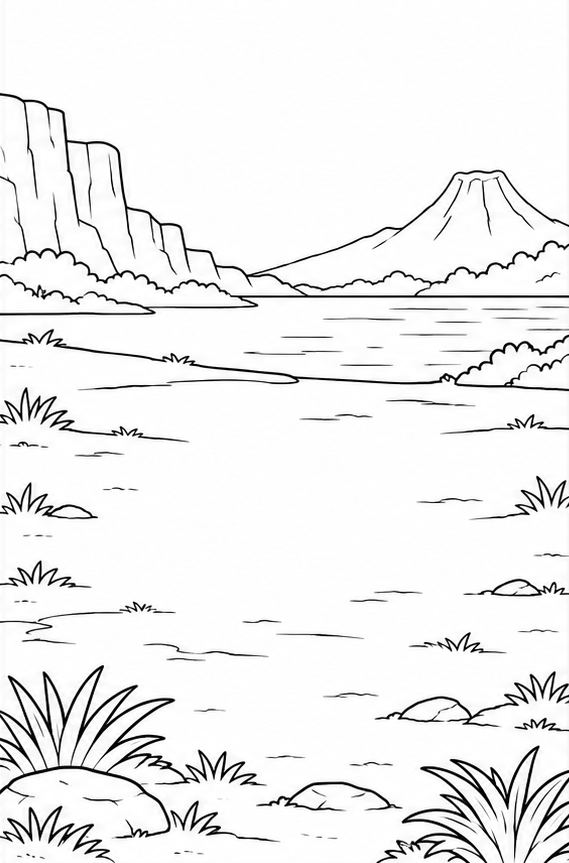
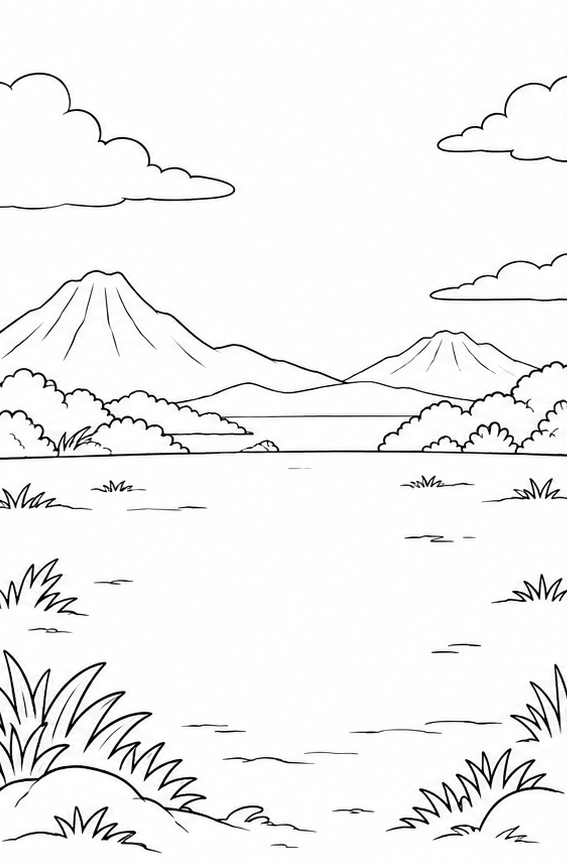
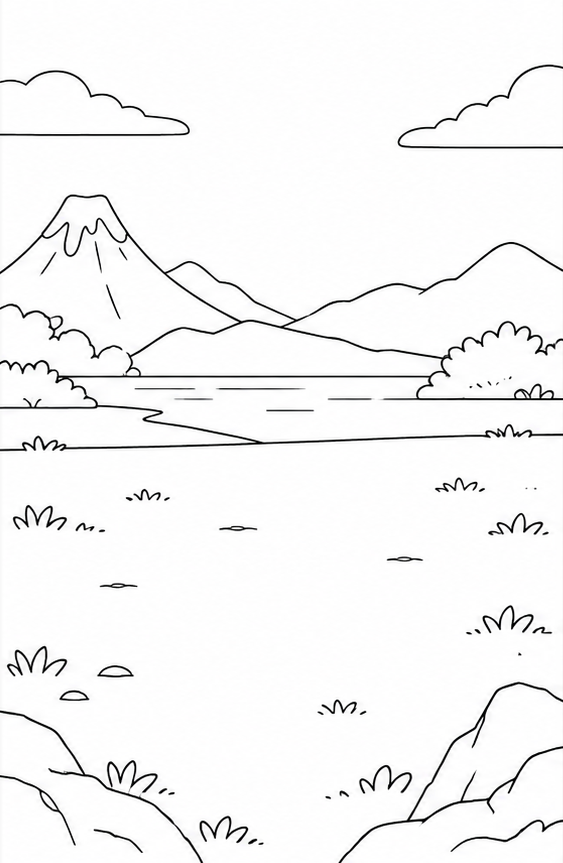
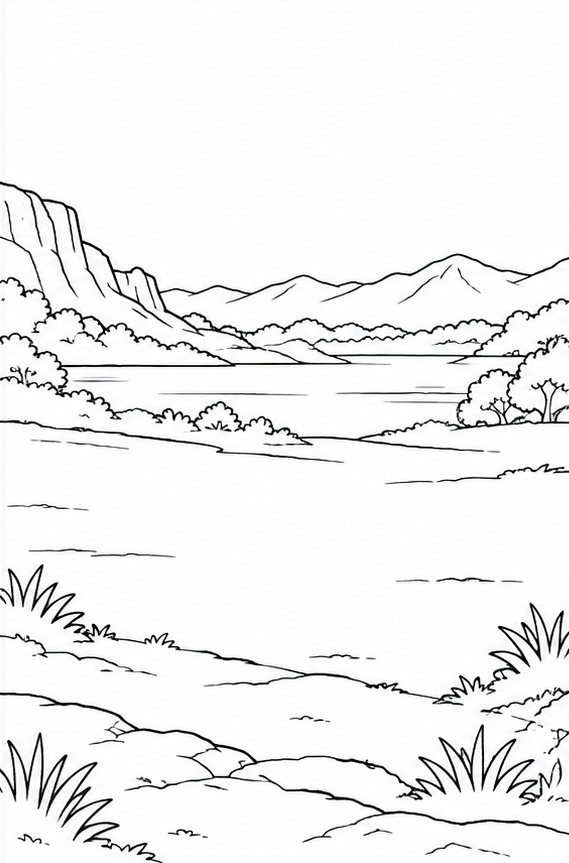
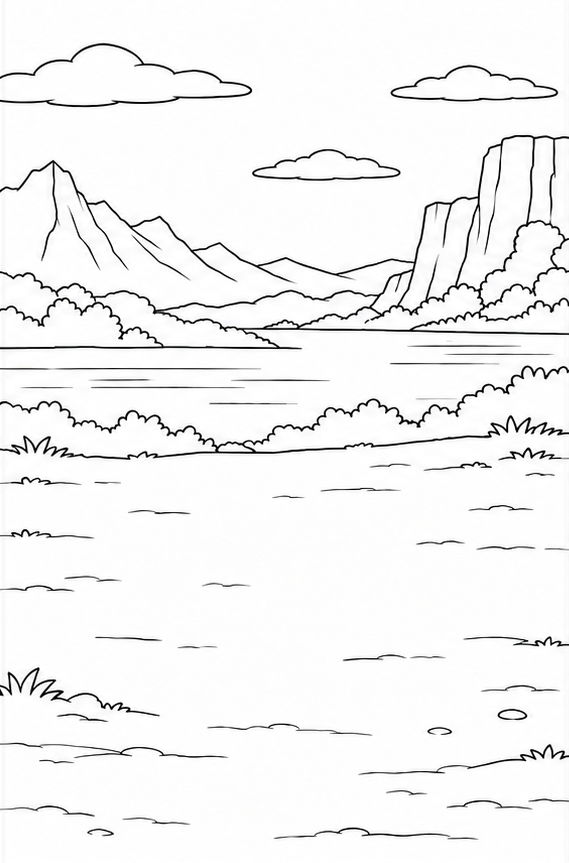
16 different dinosaur collage kits: 10 color and 6 outlines. Whole backgrounds, broad separate pieces, assembly examples and two-page A4 and Letter PDFs.
- 10 color + 6 to color in
- PDF A4 · Letter
- Free, no sign-up
Use scissors with adult supervision. If cutting is difficult, an adult prepares the pieces while the child colors, arranges and glues.
Choose a dinosaur scene
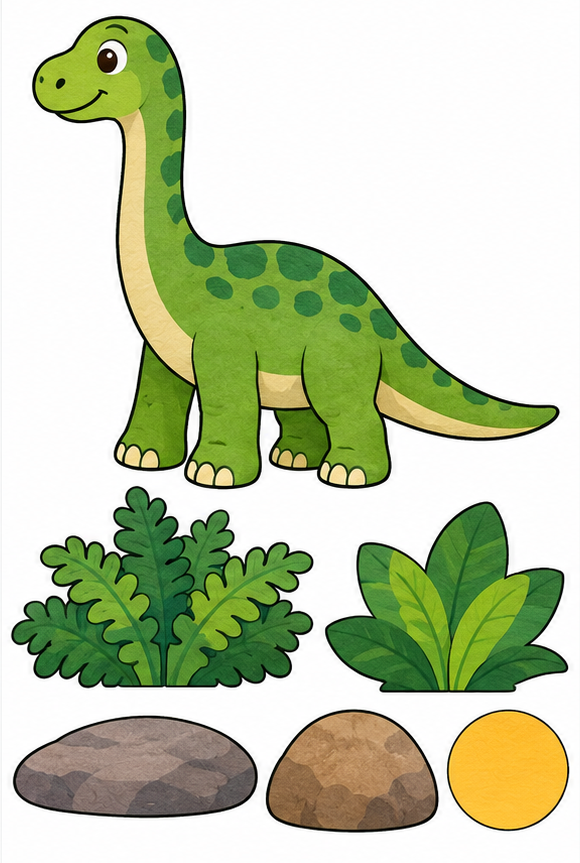
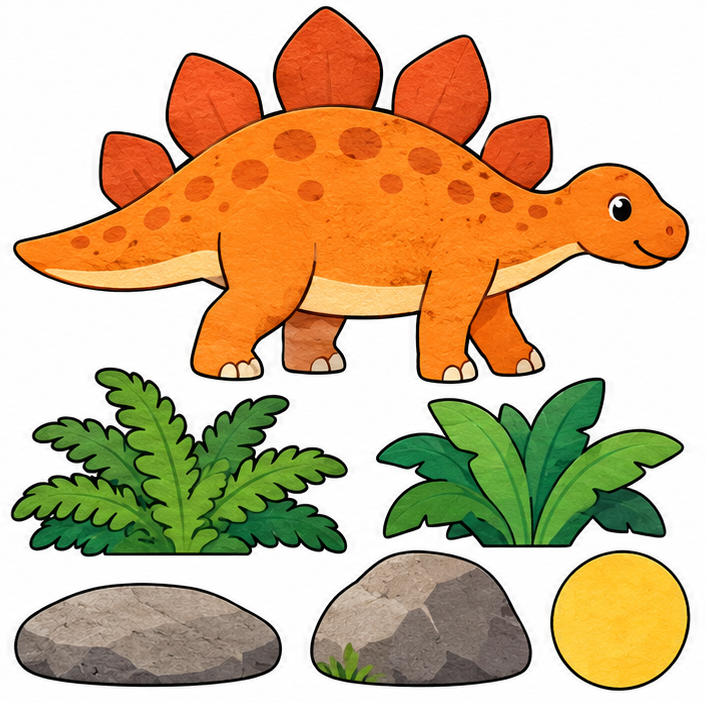
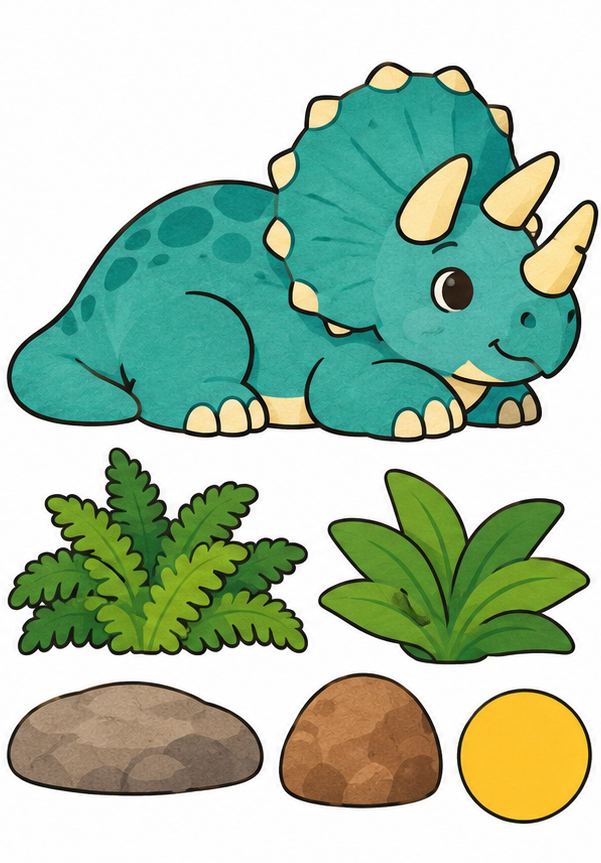
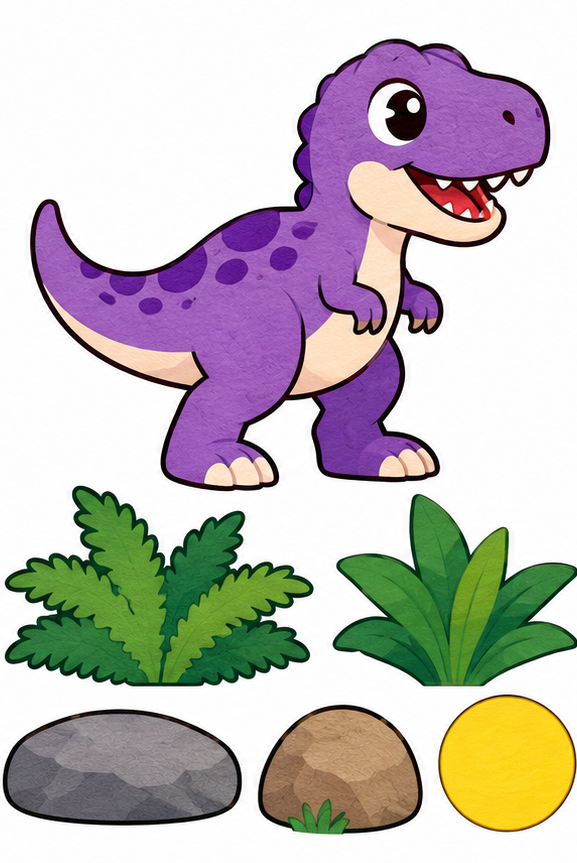
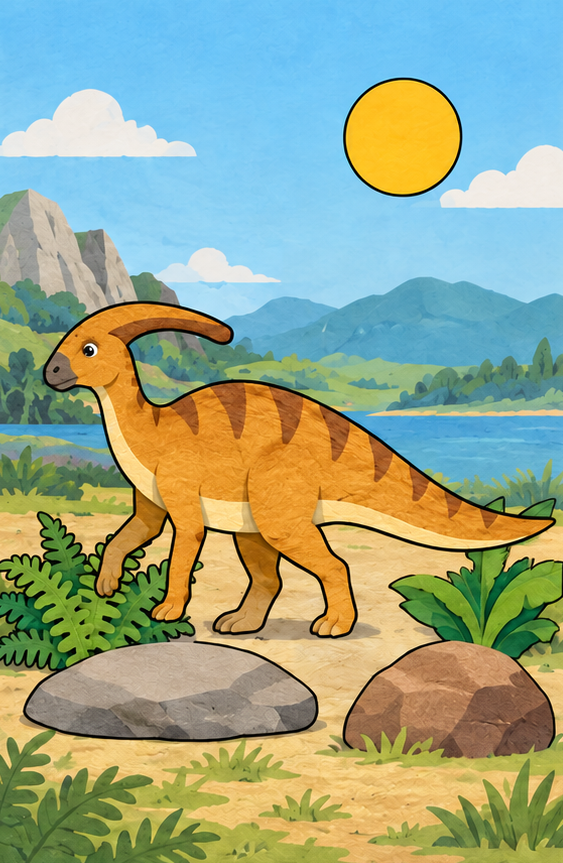
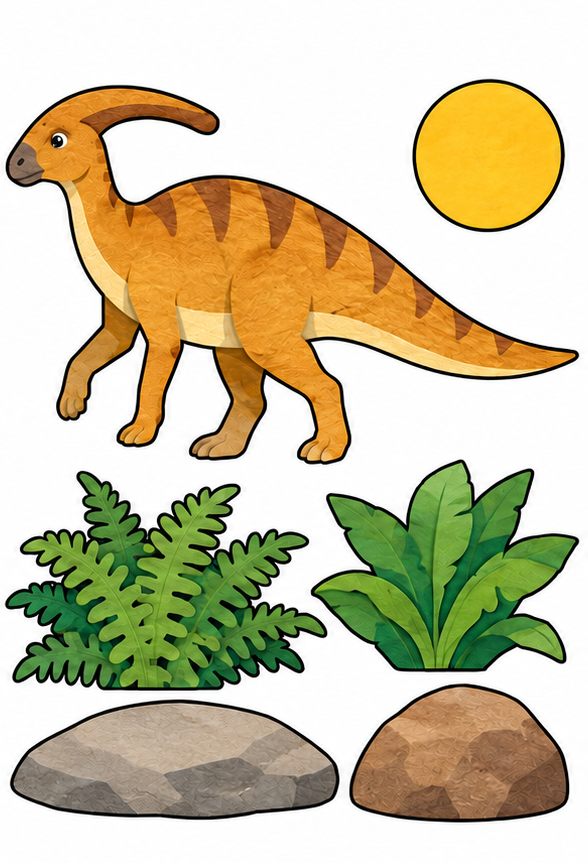
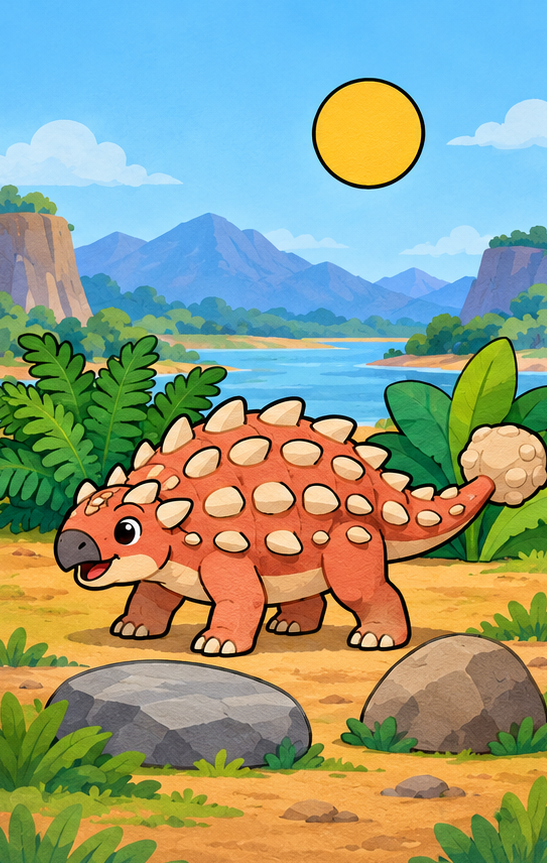
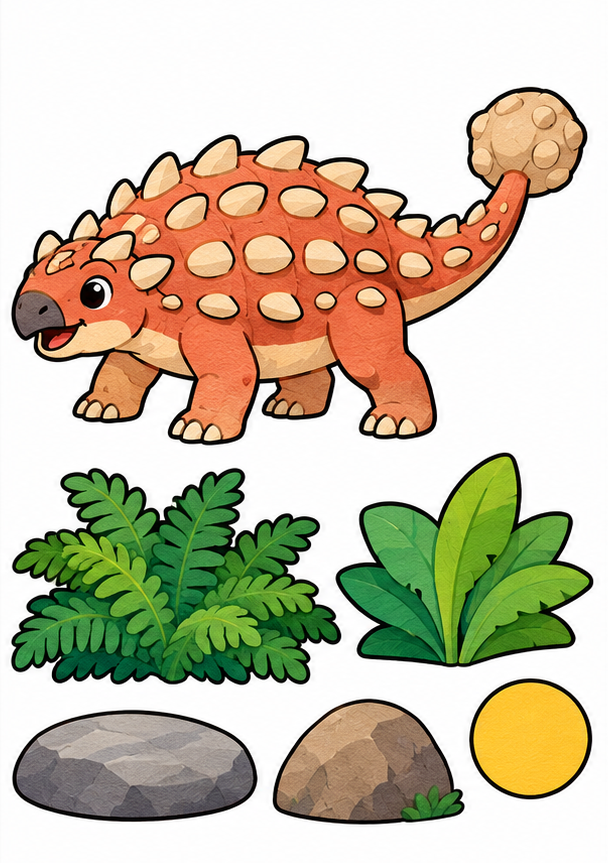
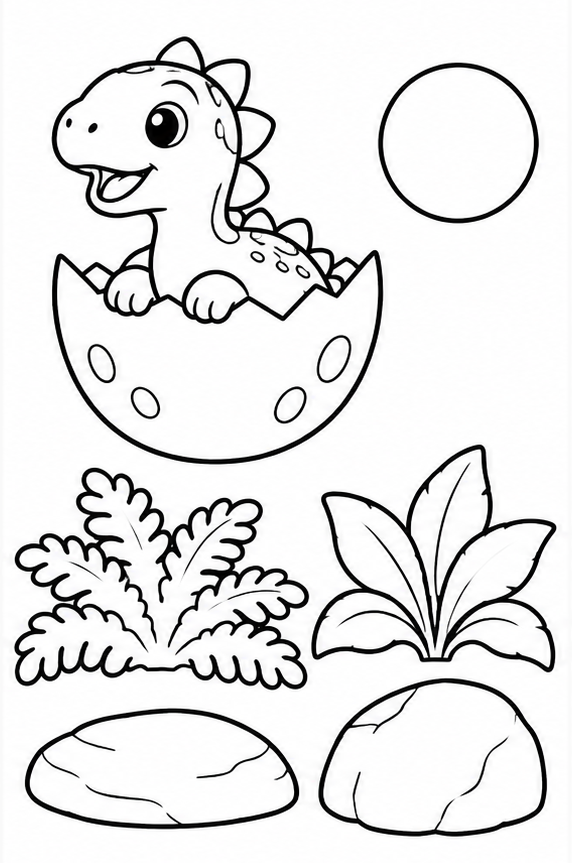
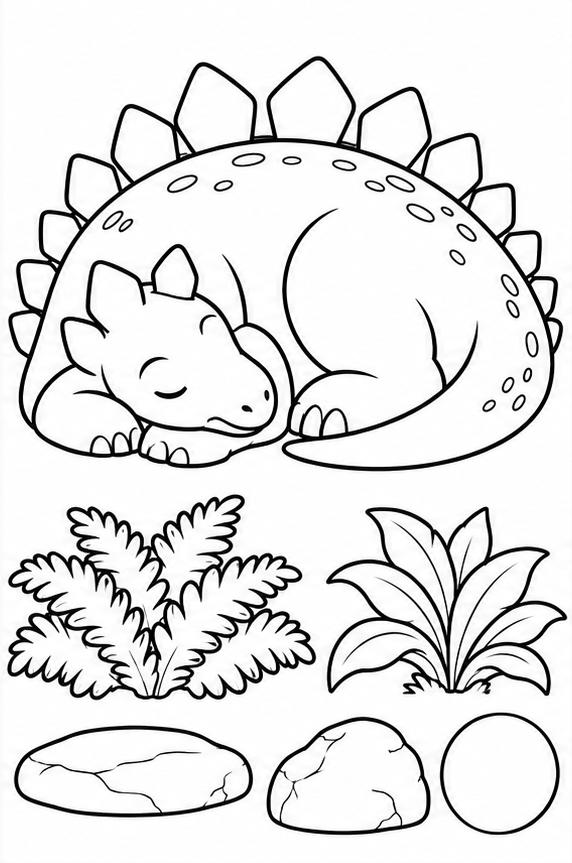
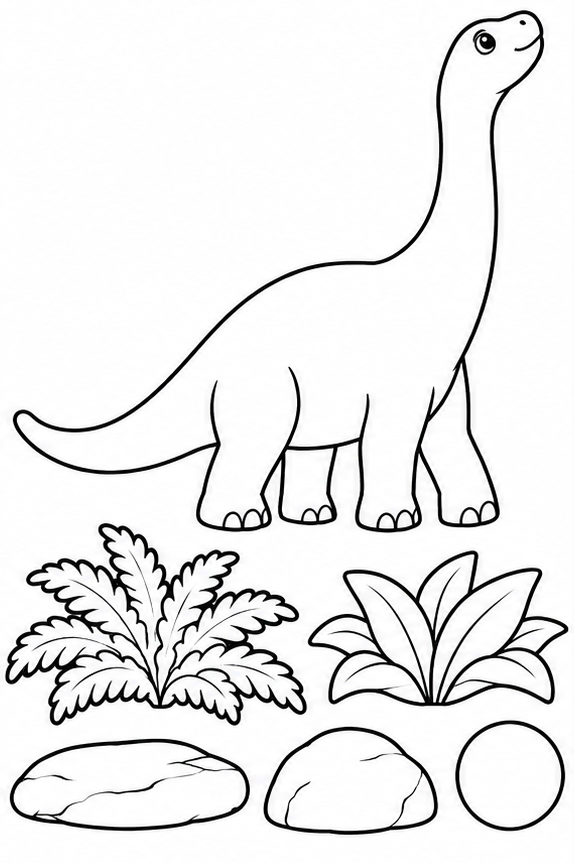
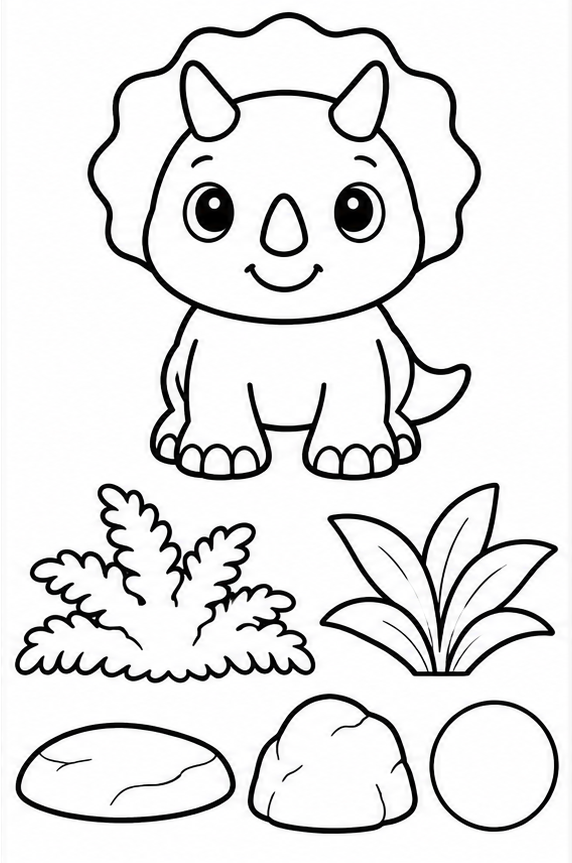
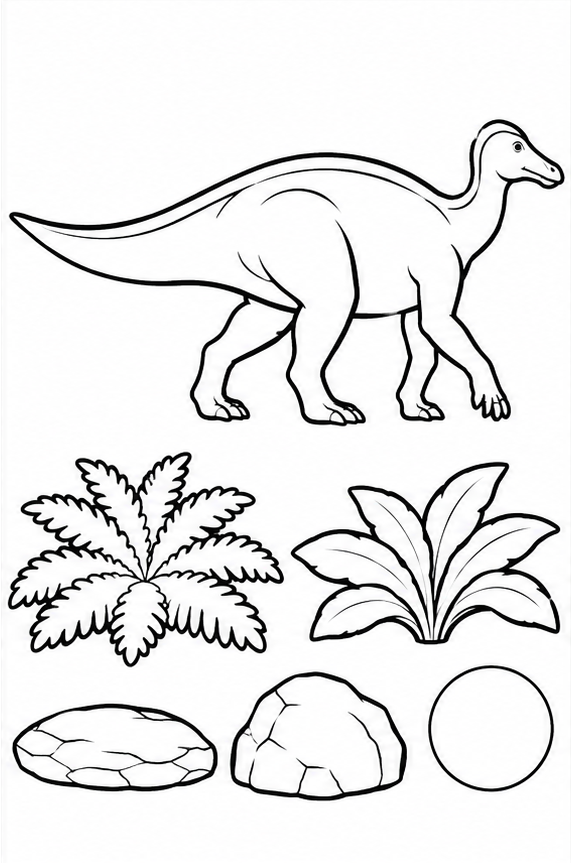
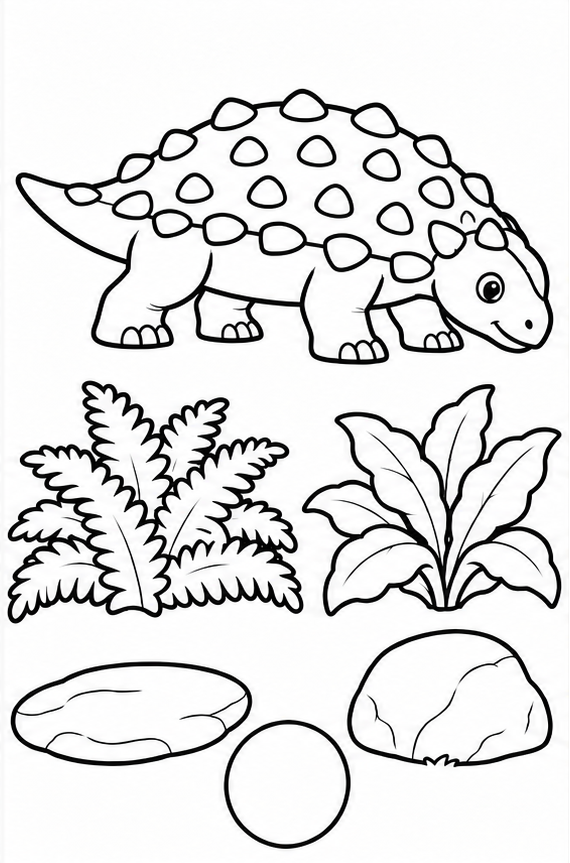
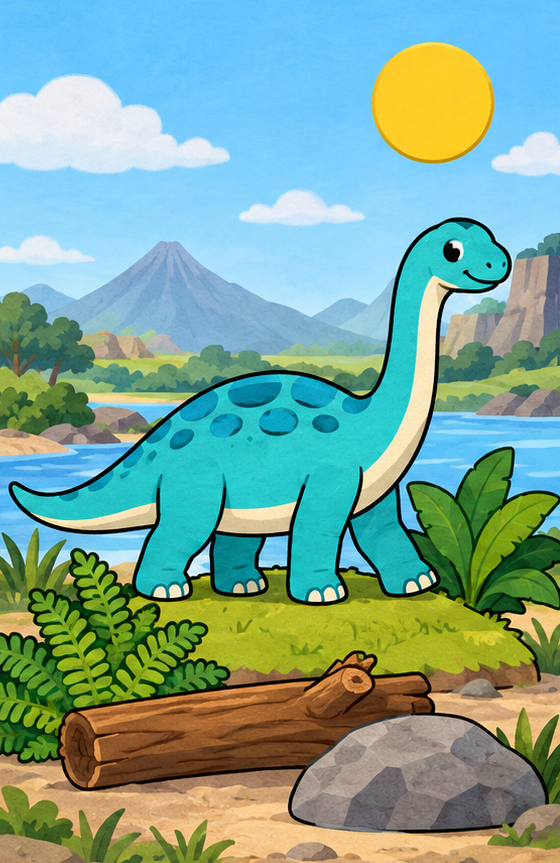
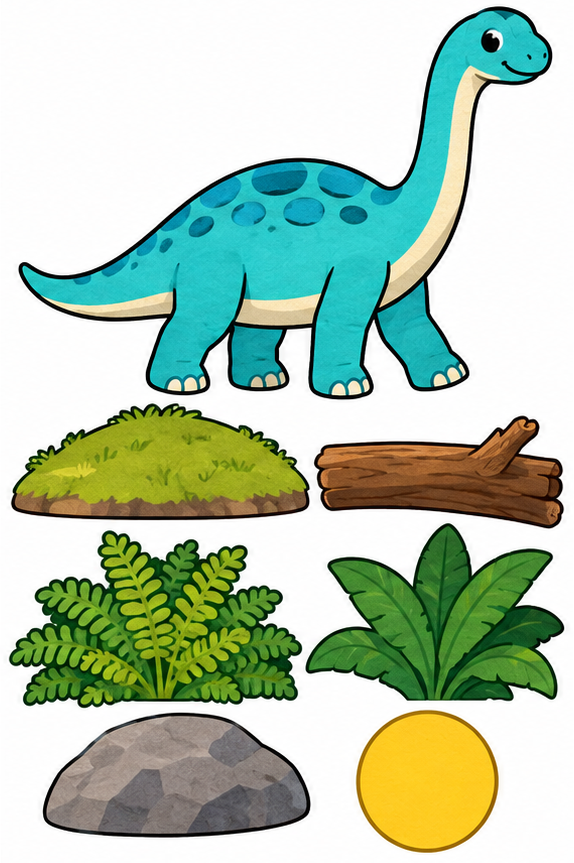
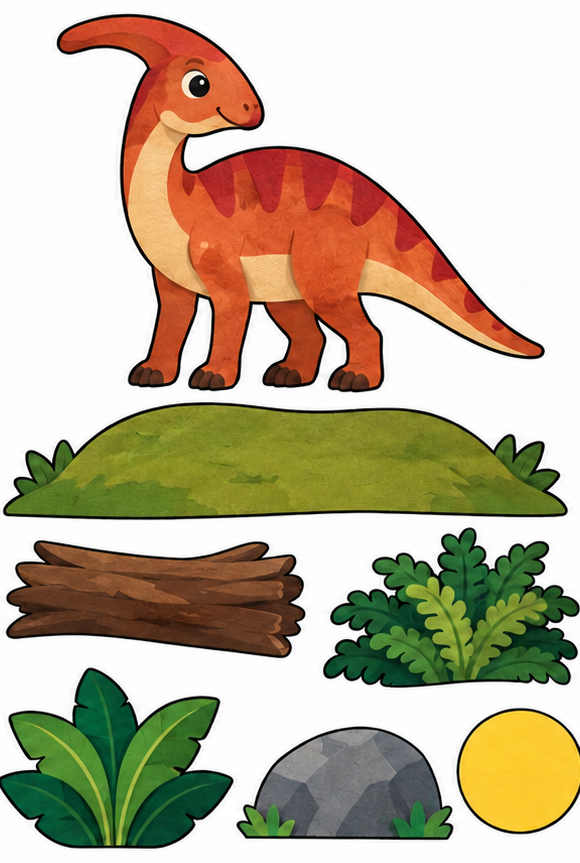
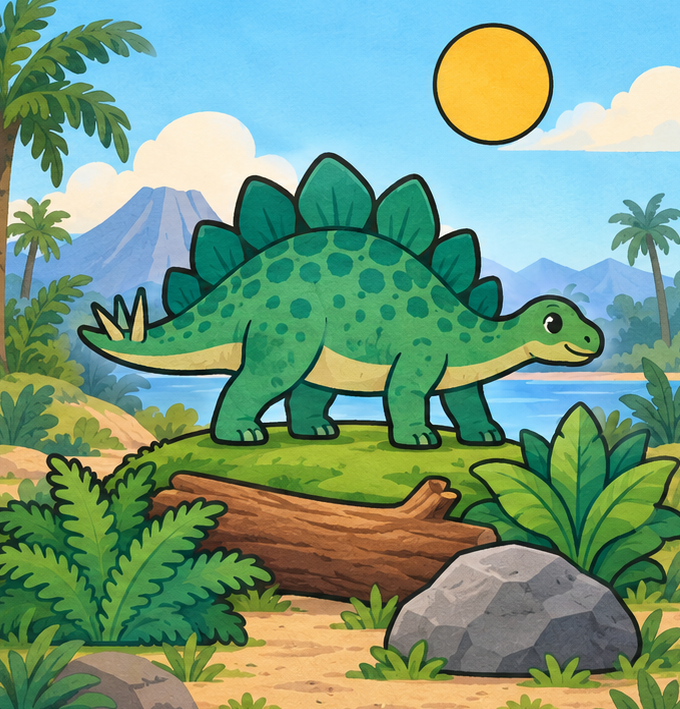
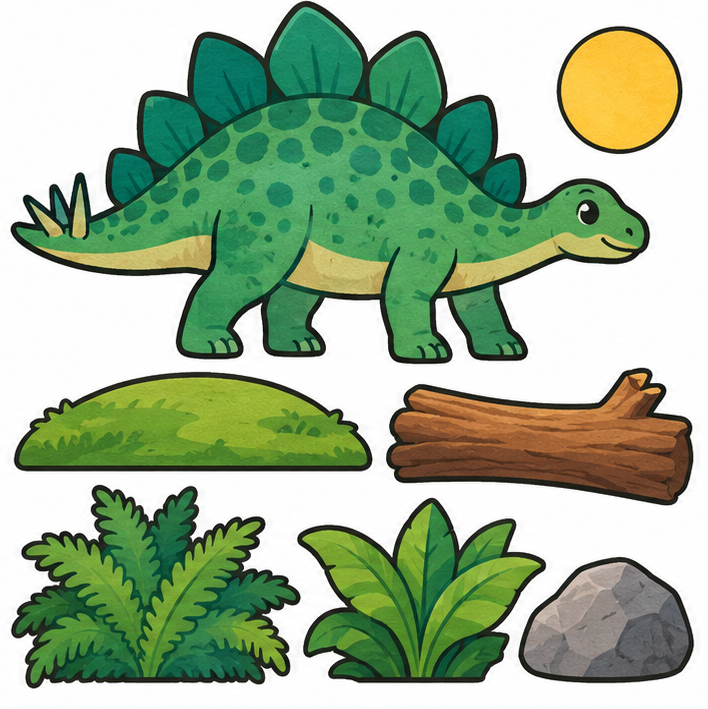
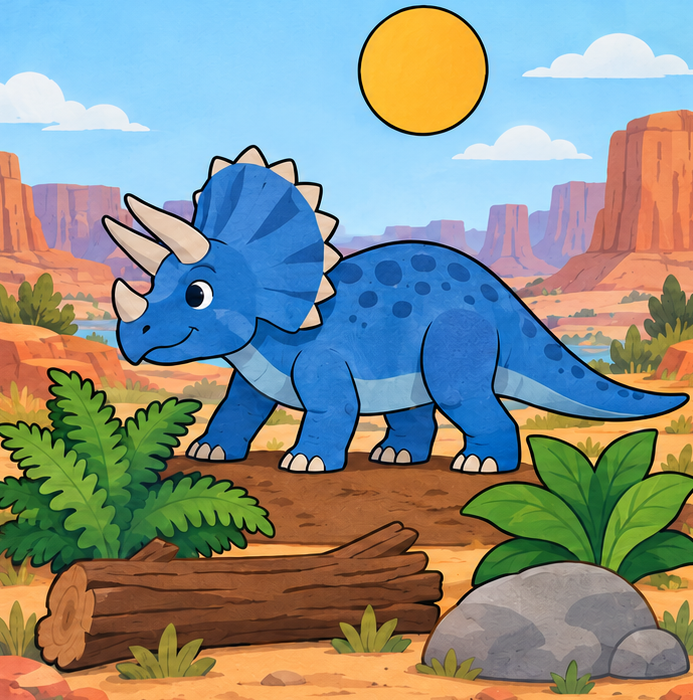
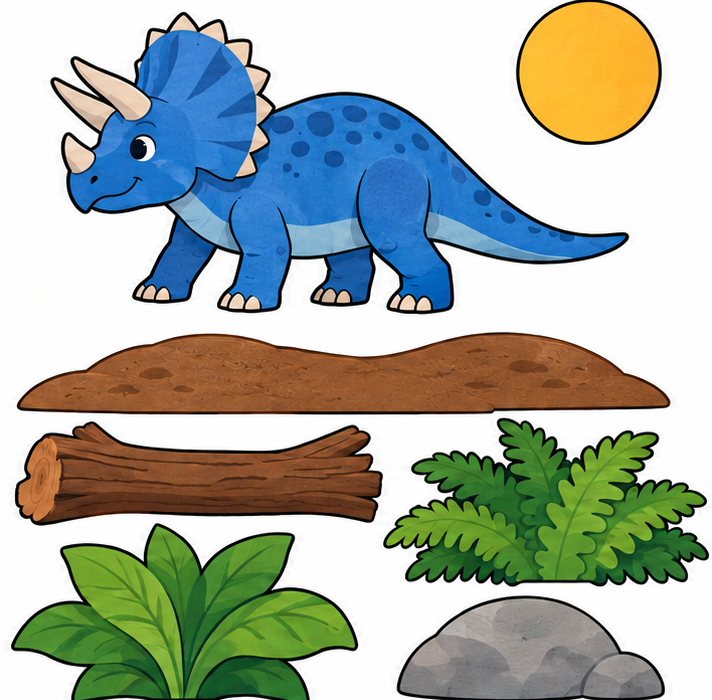
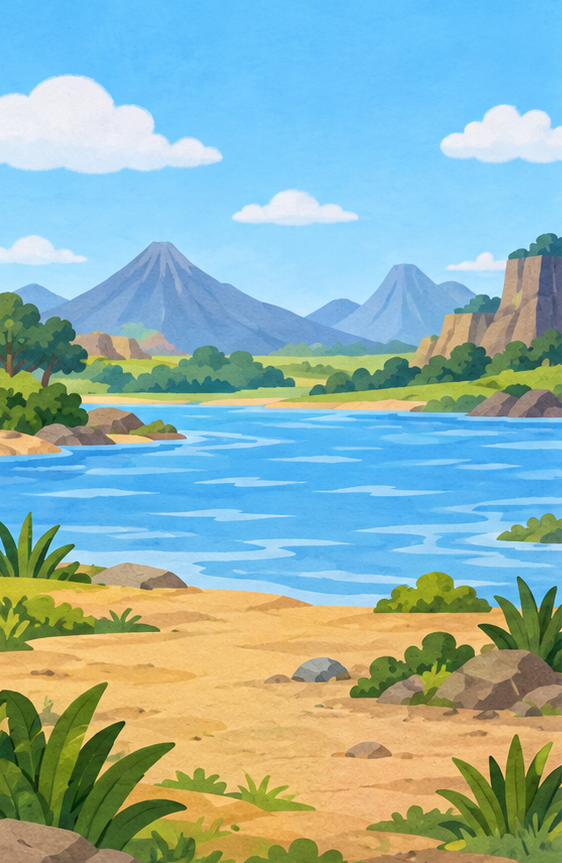
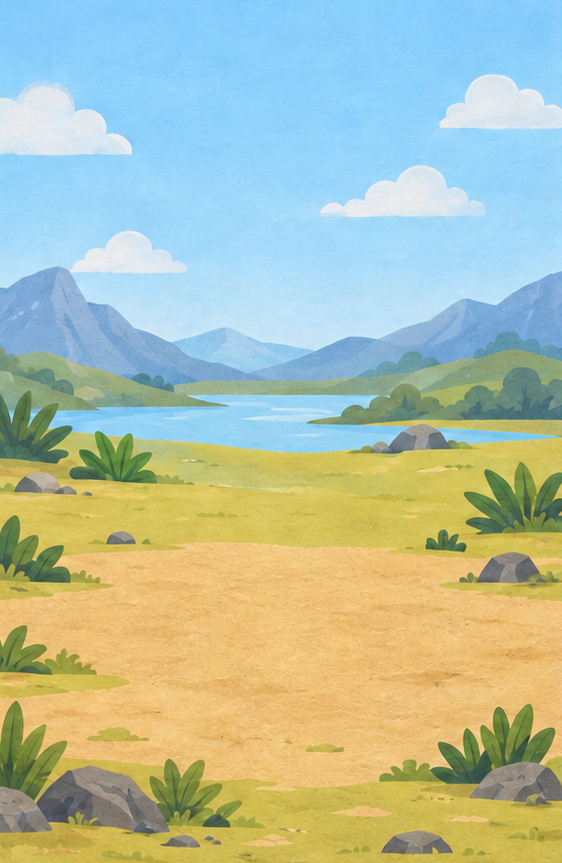
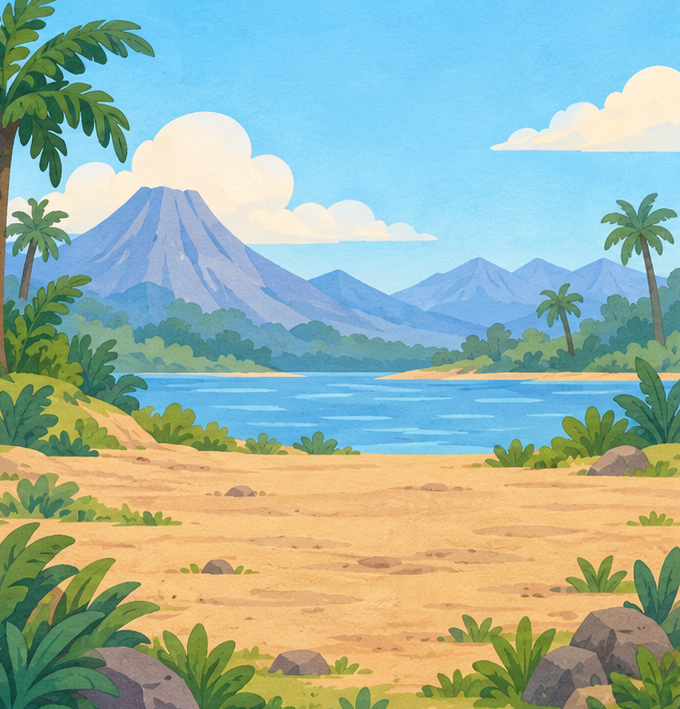
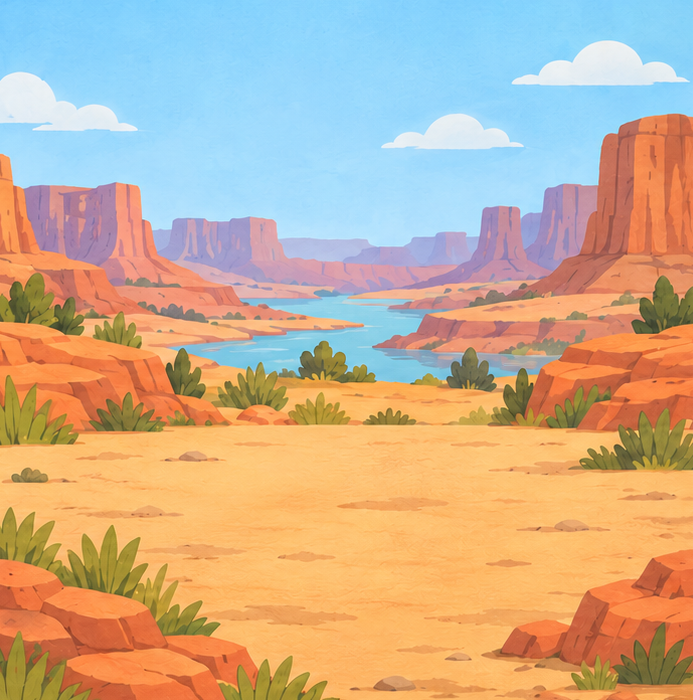
These sixteen paper applique kits make flat pictures by gluing cut pieces onto a whole background. Ten projects are in color and six have black outlines for coloring. The first twelve contain one whole dinosaur and five separate scenery pieces: a fern, a leafy plant, two different rocks and a plain sun. Two medium and two complex color scenes add a ground support and a fallen log. Choose a pose you like, then check the card for the piece count and difficulty.
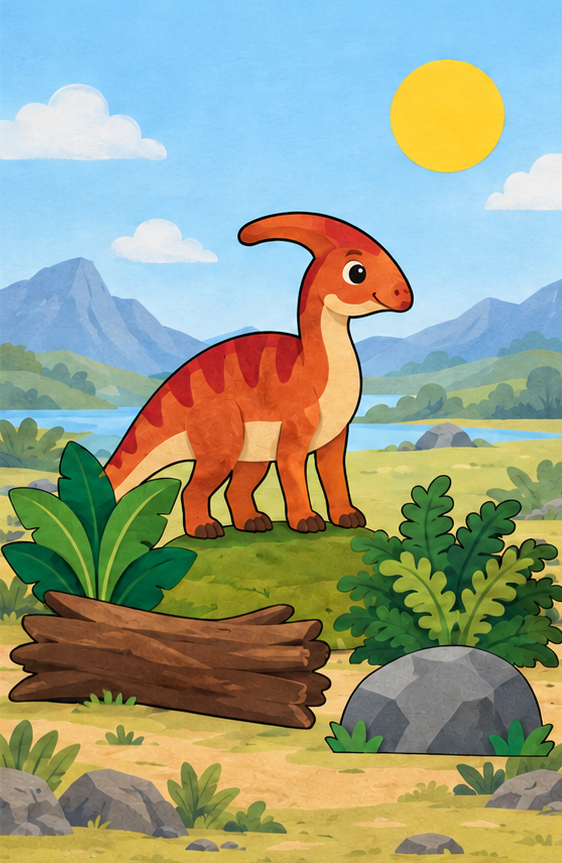
Start with a simple project if cutting curves takes concentration. Its dinosaur stays in one broad piece, including the legs, tail and any plates. A medium scene introduces a support underneath the animal. A complex scene asks you to arrange overlapping foreground plants and a log while keeping the face visible. These are imaginary illustrated landscapes rather than scientific reconstructions of particular habitats.
Print and prepare both pages
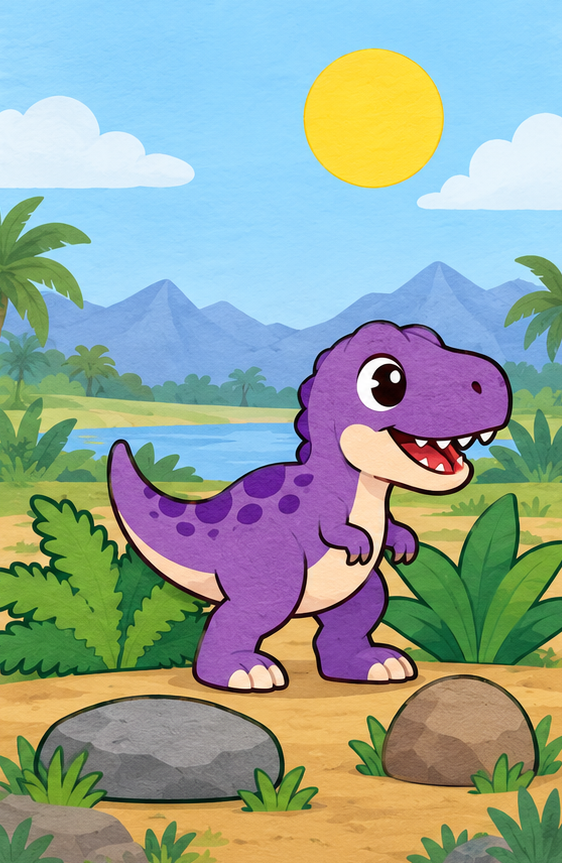
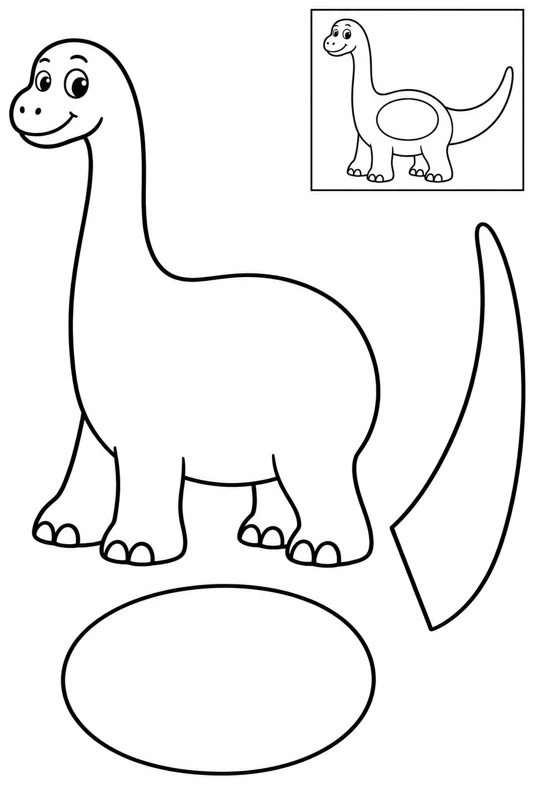
Each PDF has exactly two pages. Page one is the background: keep it whole. Page two contains separated pieces, a small assembly example and numbered instructions. Select A4 for 210 × 297 mm paper or US Letter for 8½ × 11 inches. Print both pages at 100 percent with the same settings. The background and cutting sheet use the same physical scale, so enlarging only one page can make the scene difficult to arrange.
Gather a glue stick, coloring pencils, plain paper and child scissors. Work at a clear table with an adult nearby. For an outline kit, color before cutting; the full sheet is easier to hold than a loose tail. Printed eyes, spots and armor lines remain inside the piece. The sun is a plain disk, so there are no thin rays to cut. An adult can prepare a difficult outline while the child chooses the composition.
Arrange the pieces before using glue
Cut a loose area around each shape first, then turn the paper as you follow its outer edge with short cuts. Keep a broad white margin if that makes a curve easier. Do not cut internal decorations or separate the dinosaur's feet from its body. Count all the pieces on the card and put them beside the whole background. The small example is a reference, not another part to cut out.
Lay out everything without glue. Place the ground support or rear rock first, then position the dinosaur so its feet meet the ground. Put plants beside it and the sun above. Add the foreground rock or log last. Overlap makes the objects belong to one scene: the support should sit behind the feet, and a front plant may cover a small part of the body without hiding the face. Use the numbered layer order for your chosen project.
Check the joins and repair the layout
Before gluing, check that every cut piece has a place, the dinosaur fits inside the background and the face stays clear. If the animal seems to float, slide the ground support upward beneath its feet. If plants crowd the head, move them outward. If a rock disappears behind the dinosaur, bring part of it into open space. Make these changes while the pieces can still move, then lift and glue one layer at a time.
Use a small amount of glue, press each piece gently and let the picture dry flat. A curled paper edge can be pressed down again before the glue dries. The example accounts for the pieces but does not require an exact copy of their positions. Leave some open sky and ground so that the character remains easy to see.
Try a composition of your own
On a second copy, move the dinosaur to the other side of the background and rearrange the scenery. Keep the support behind the feet, preserve the layer order and give each extra piece a visible place. Explain which object is farthest away and which sits in front. Compare the two pictures: where is the dinosaur clearest, and which overlap would you change? Give the scene a name or add a short story after the paper layers are complete.
 kiduverse