 kiduverse
Dinosaur egg
10 dots · up to 10
Start at 1. After 10, return to 1; add your own details and colors.
Check the answer →Connect the dots in order: four sheets up to 10, four up to 20 and four with 55–70 dots. Free A4 and US Letter PDFs, answers on a separate page.
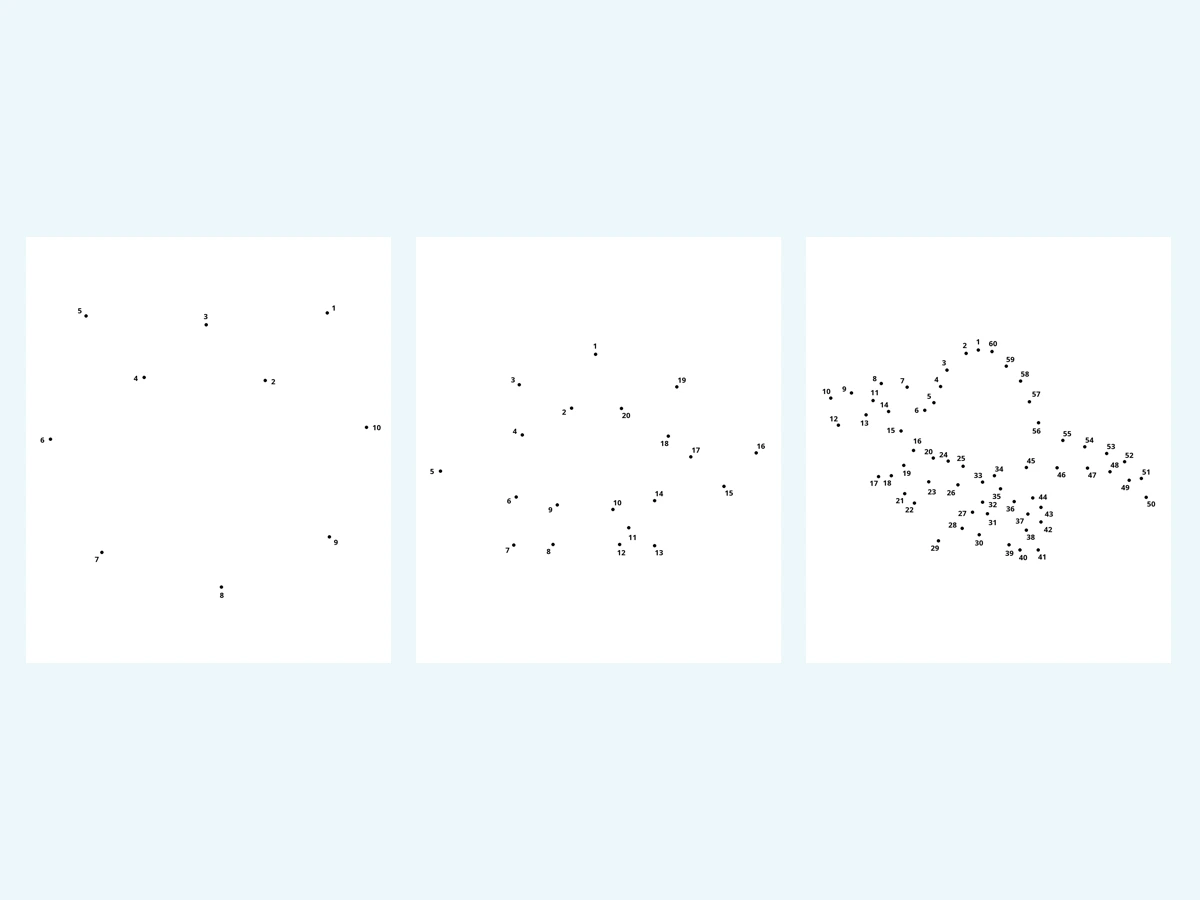
Four different designs per level. Each card shows the exact dot count. Open a larger preview or download the PDF for your paper size.
10 dots · up to 10
Start at 1. After 10, return to 1; add your own details and colors.
Check the answer →
10 dots · up to 10
Start at 1. After 10, return to 1; add your own details and colors.
Check the answer →
10 dots · up to 10
Start at 1. After 10, return to 1; add your own details and colors.
Check the answer →
10 dots · up to 10
Start at 1. After 10, return to 1; add your own details and colors.
Check the answer →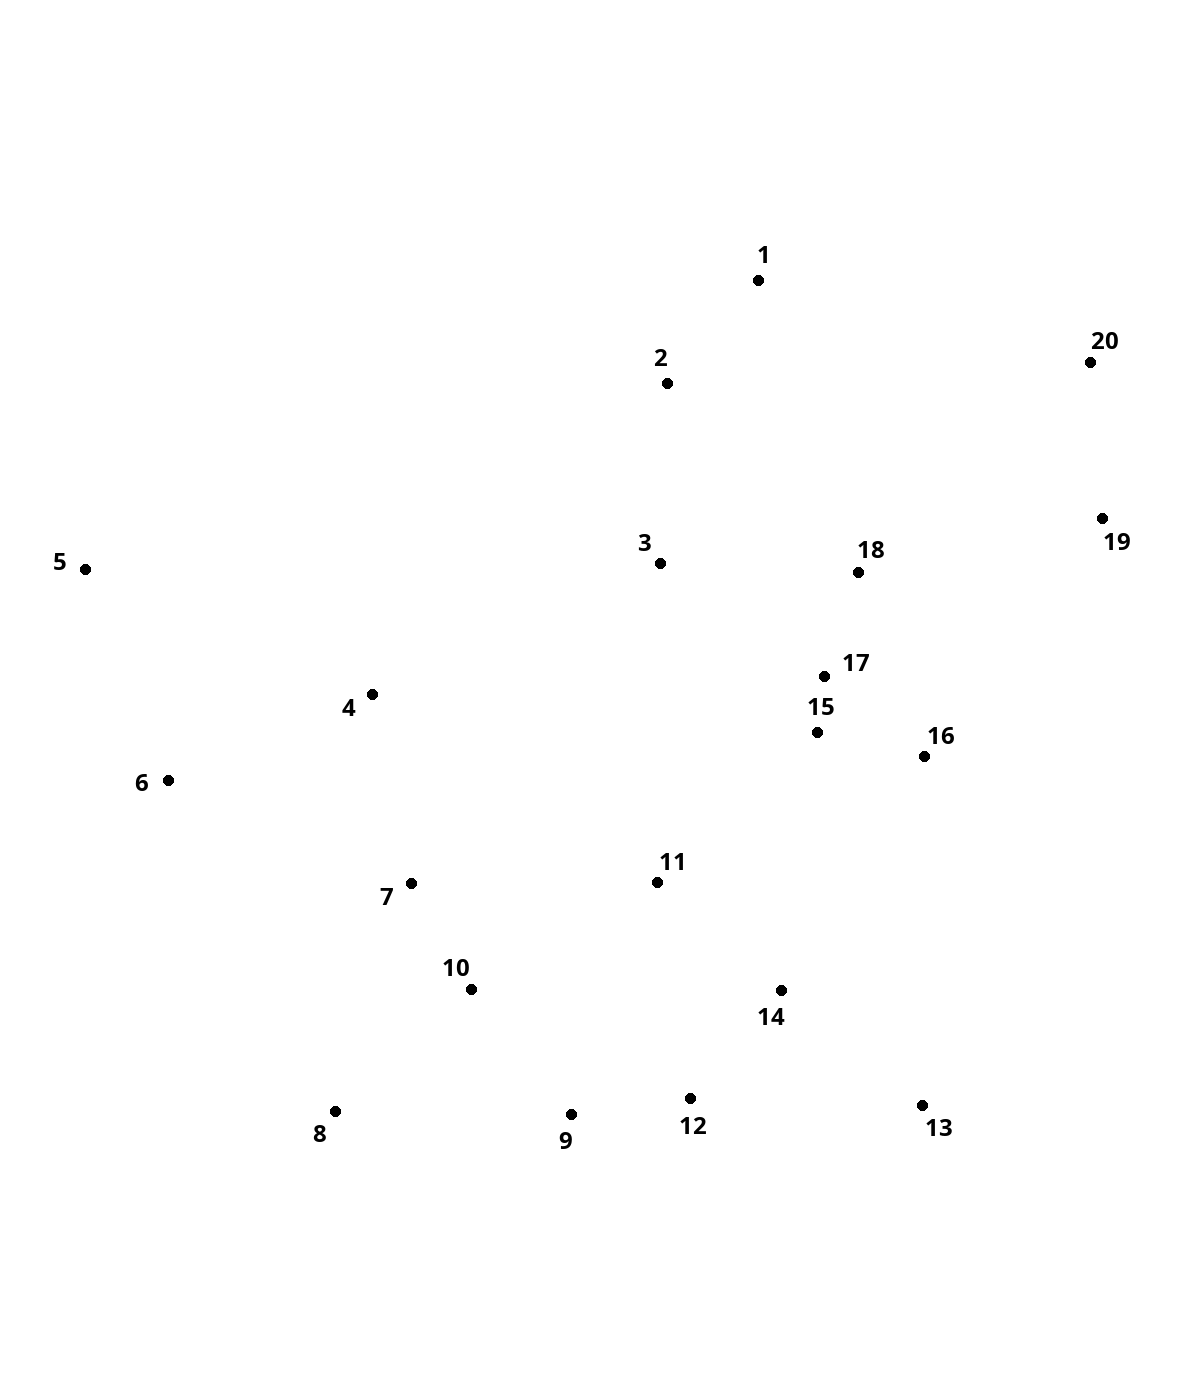
20 dots · up to 20
Start at 1. After 20, return to 1; add your own details and colors.
Check the answer →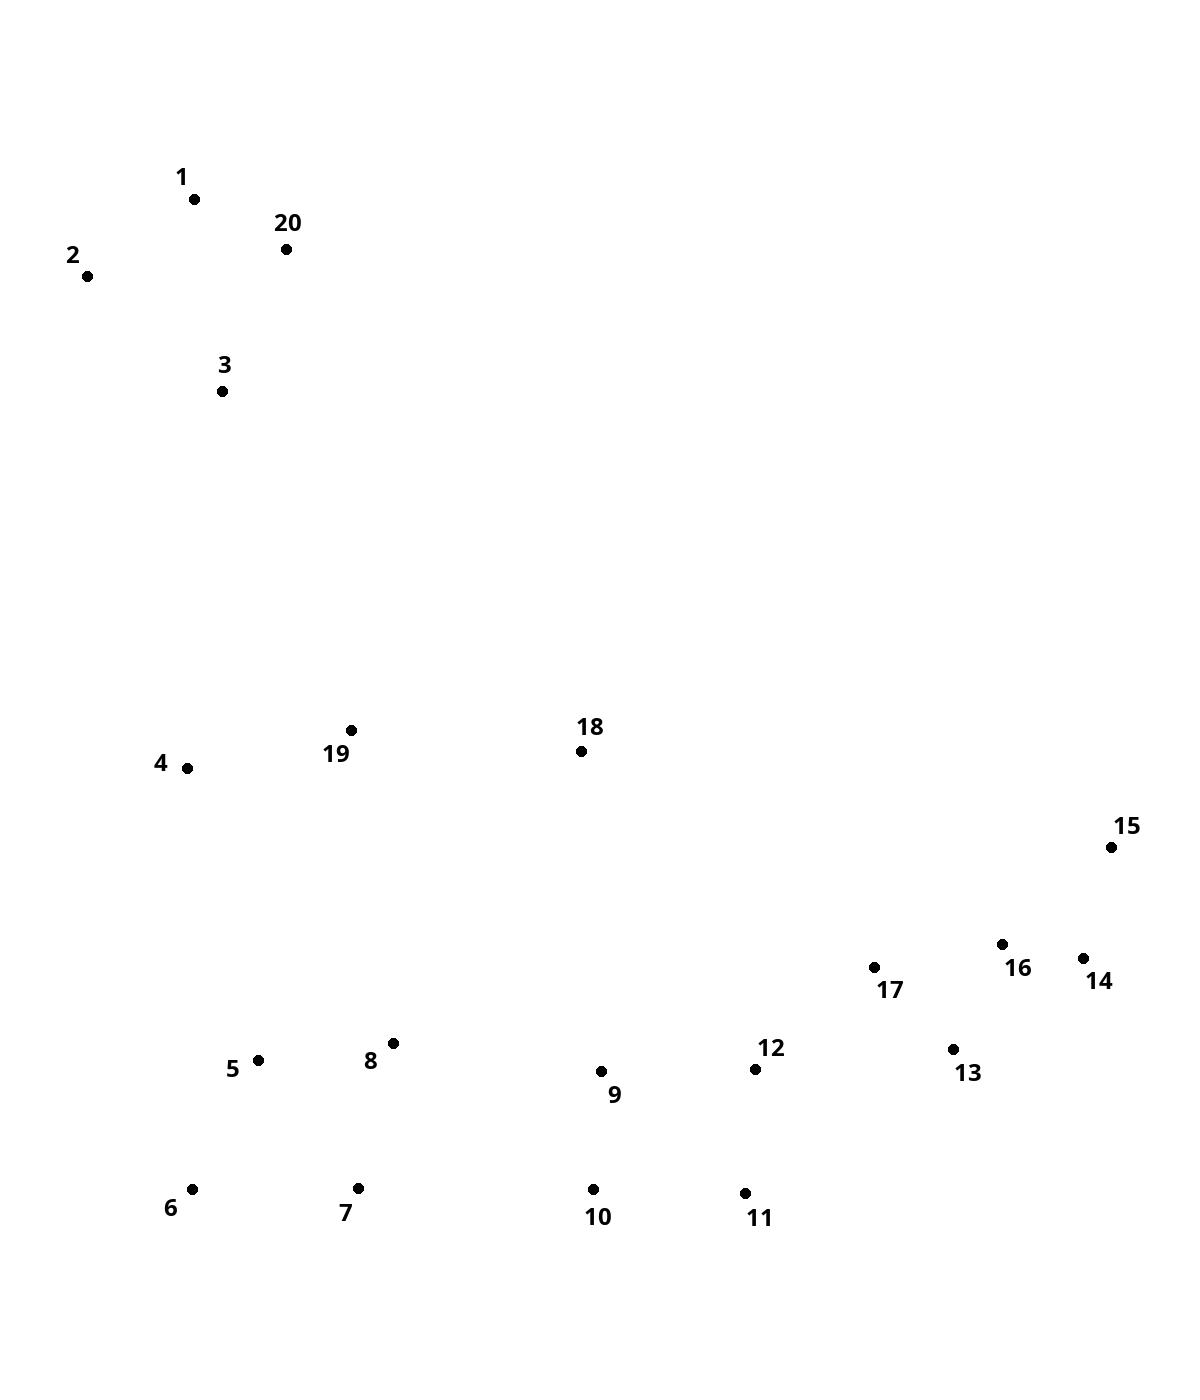
20 dots · up to 20
Start at 1. After 20, return to 1; add your own details and colors.
Check the answer →
20 dots · up to 20
Start at 1. After 20, return to 1; add your own details and colors.
Check the answer →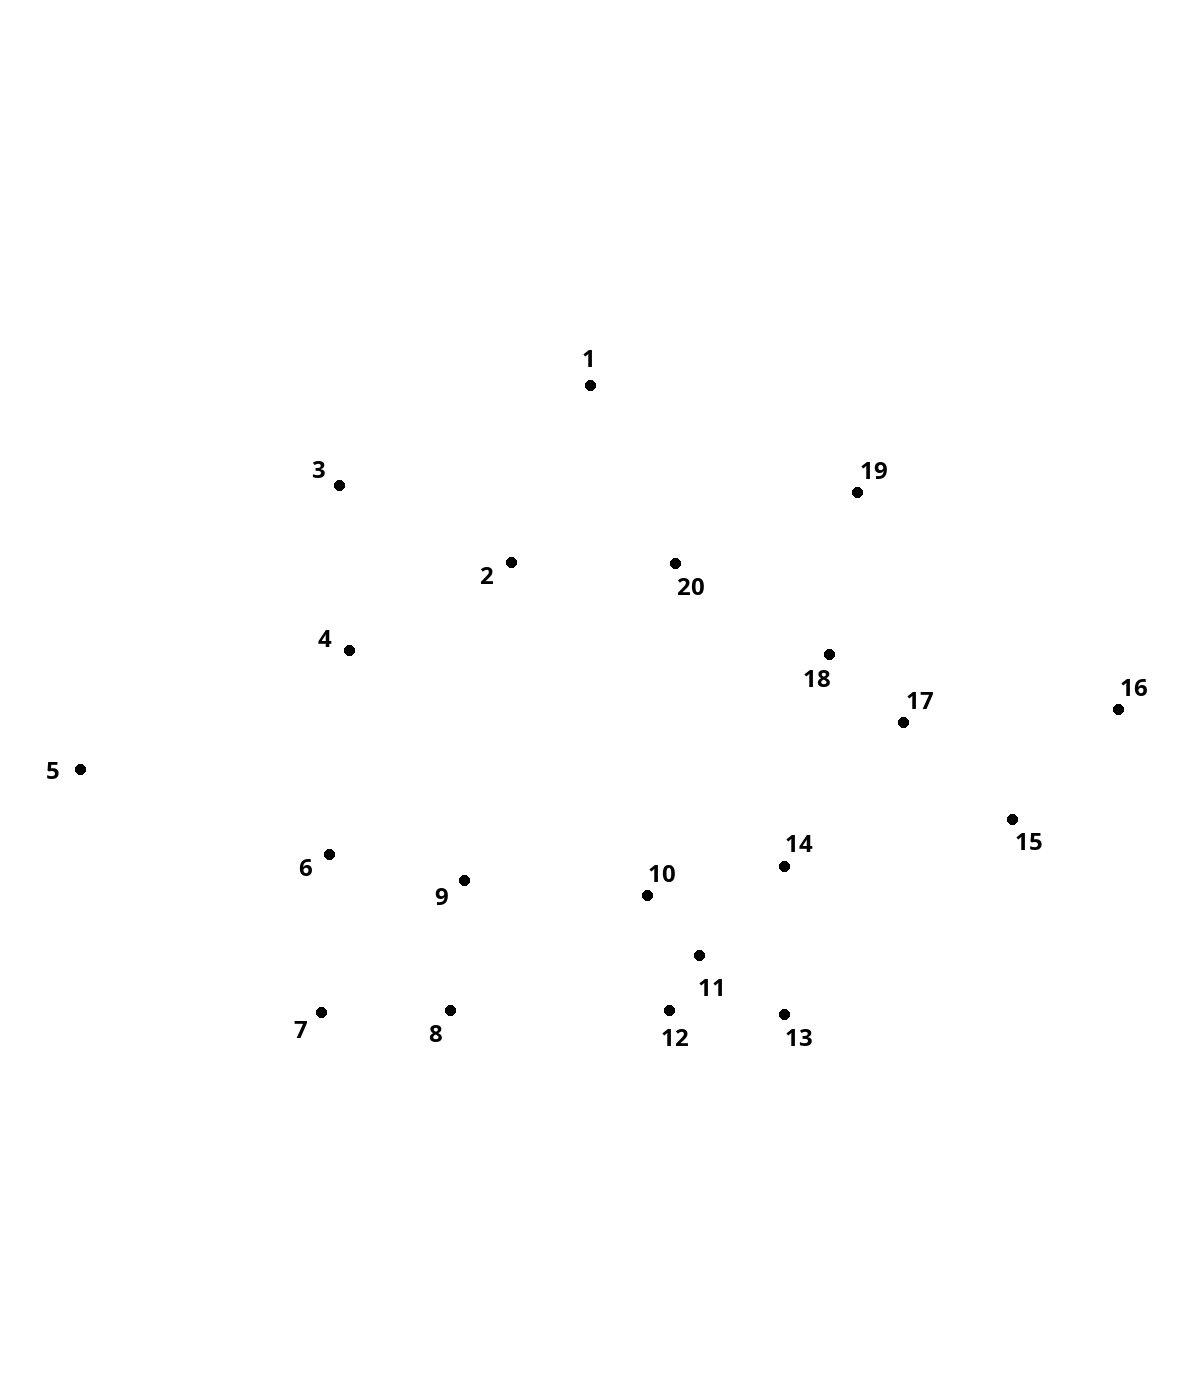
20 dots · up to 20
Start at 1. After 20, return to 1; add your own details and colors.
Check the answer →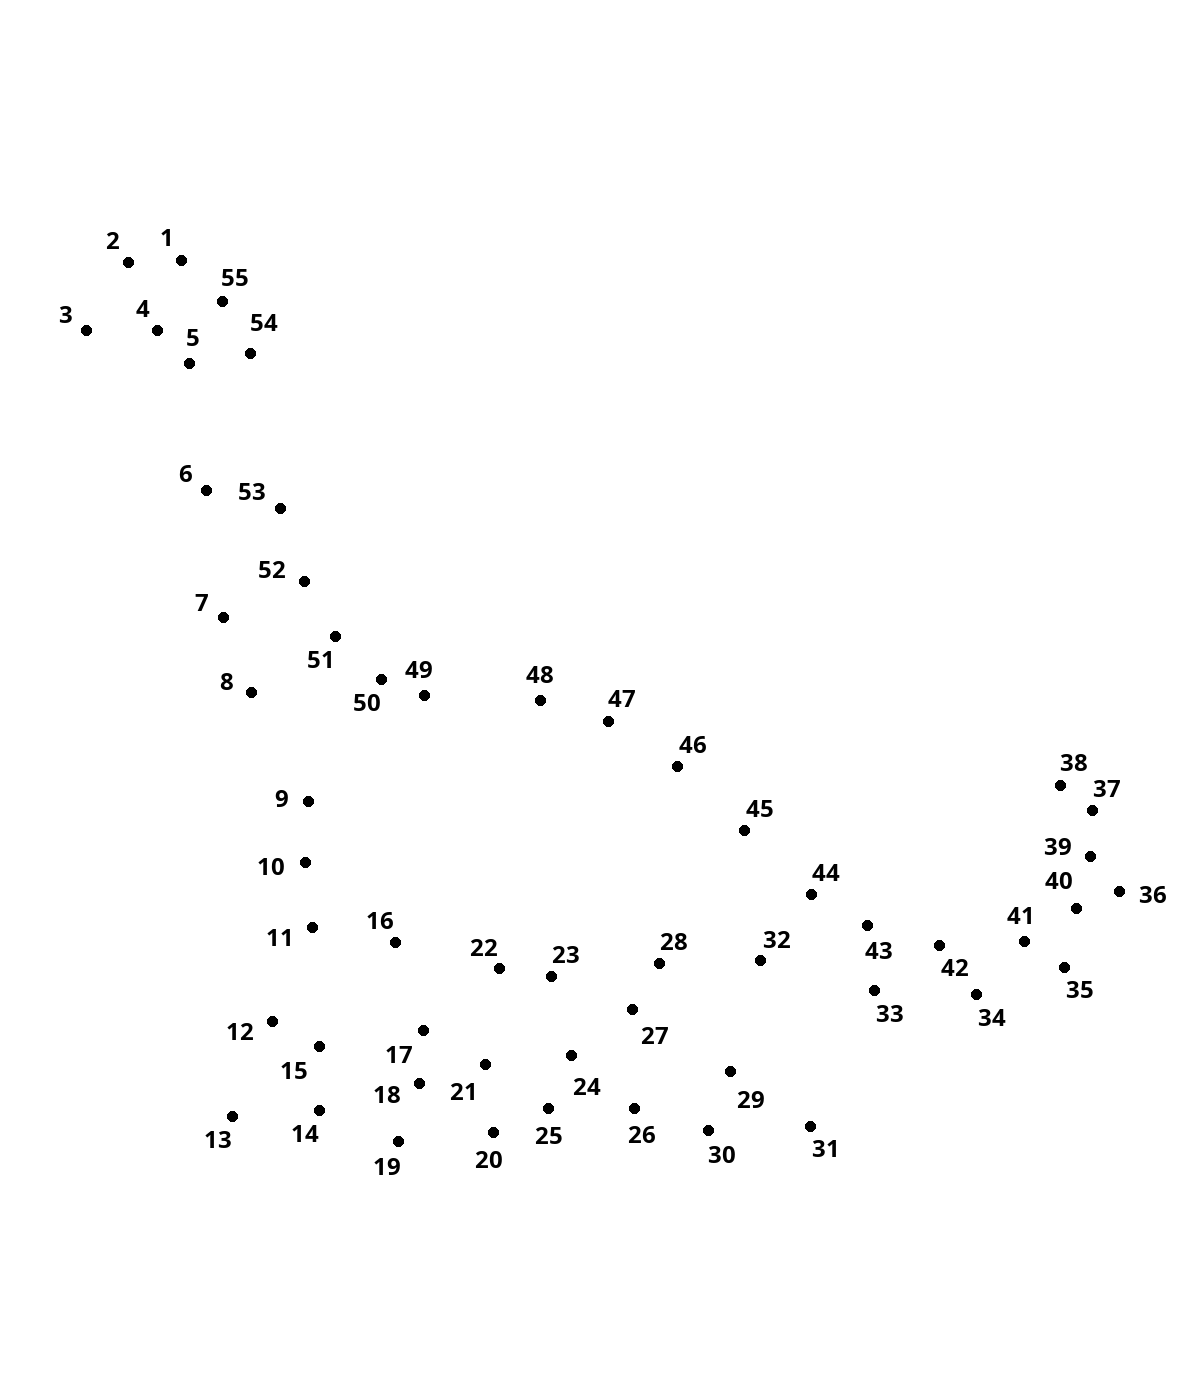
55 dots · 50+
Start at 1. After 55, return to 1; add your own details and colors.
Check the answer →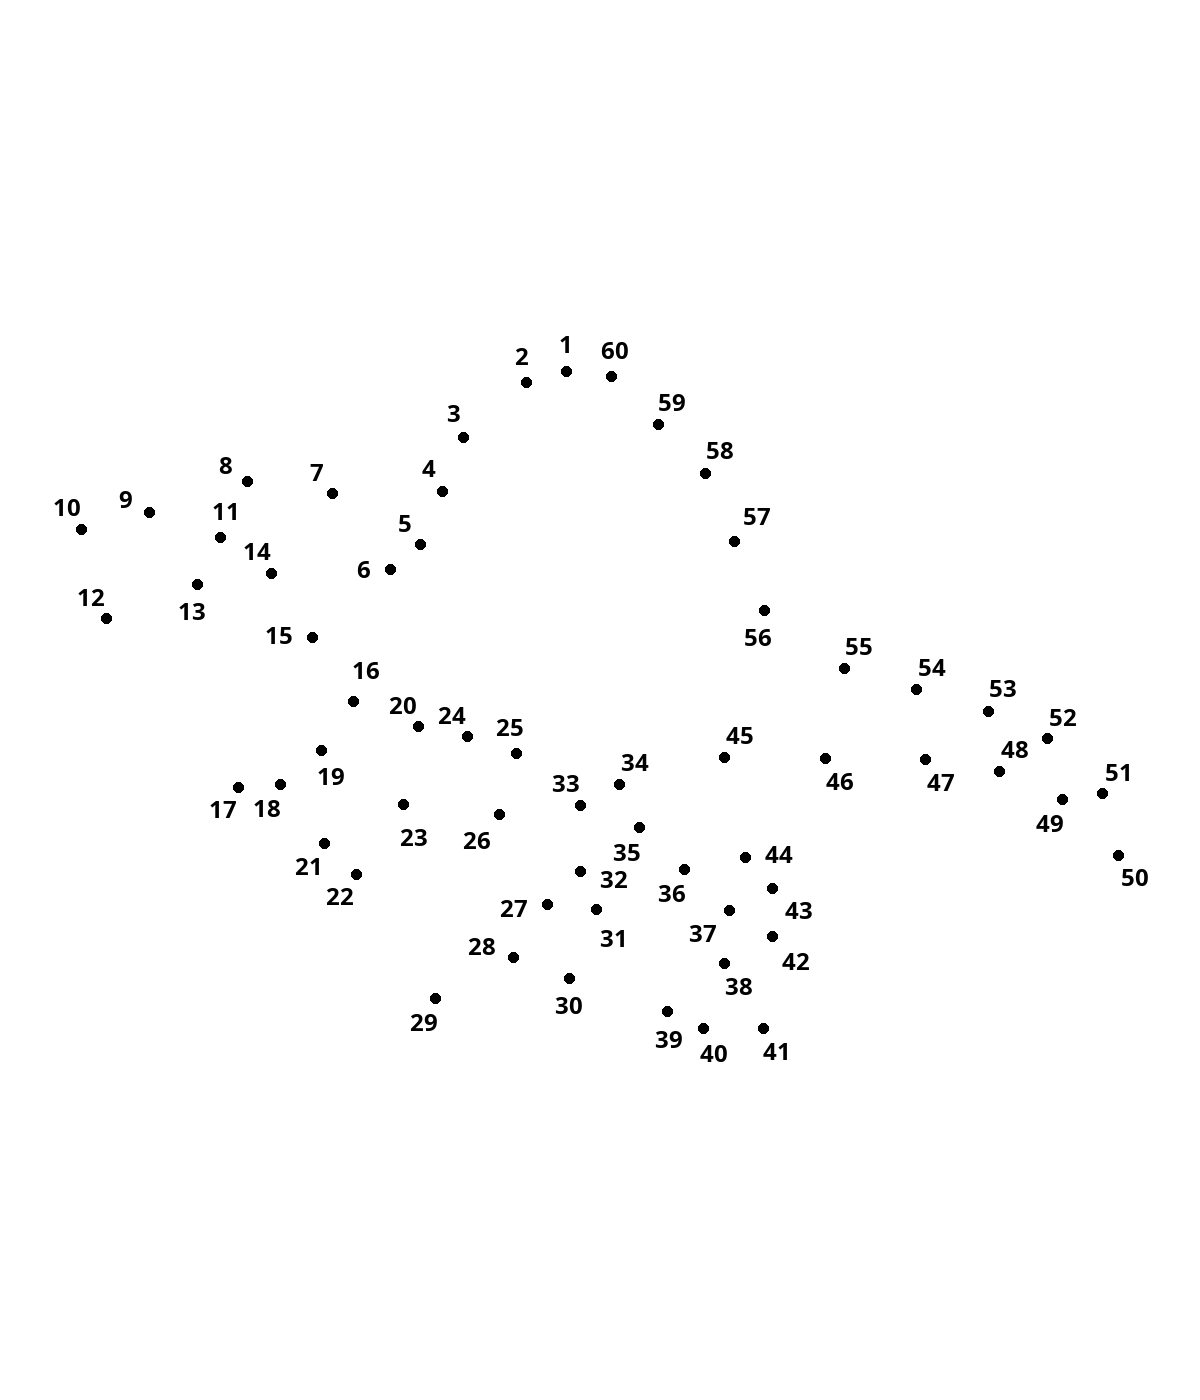
60 dots · 50+
Start at 1. After 60, return to 1; add your own details and colors.
Check the answer →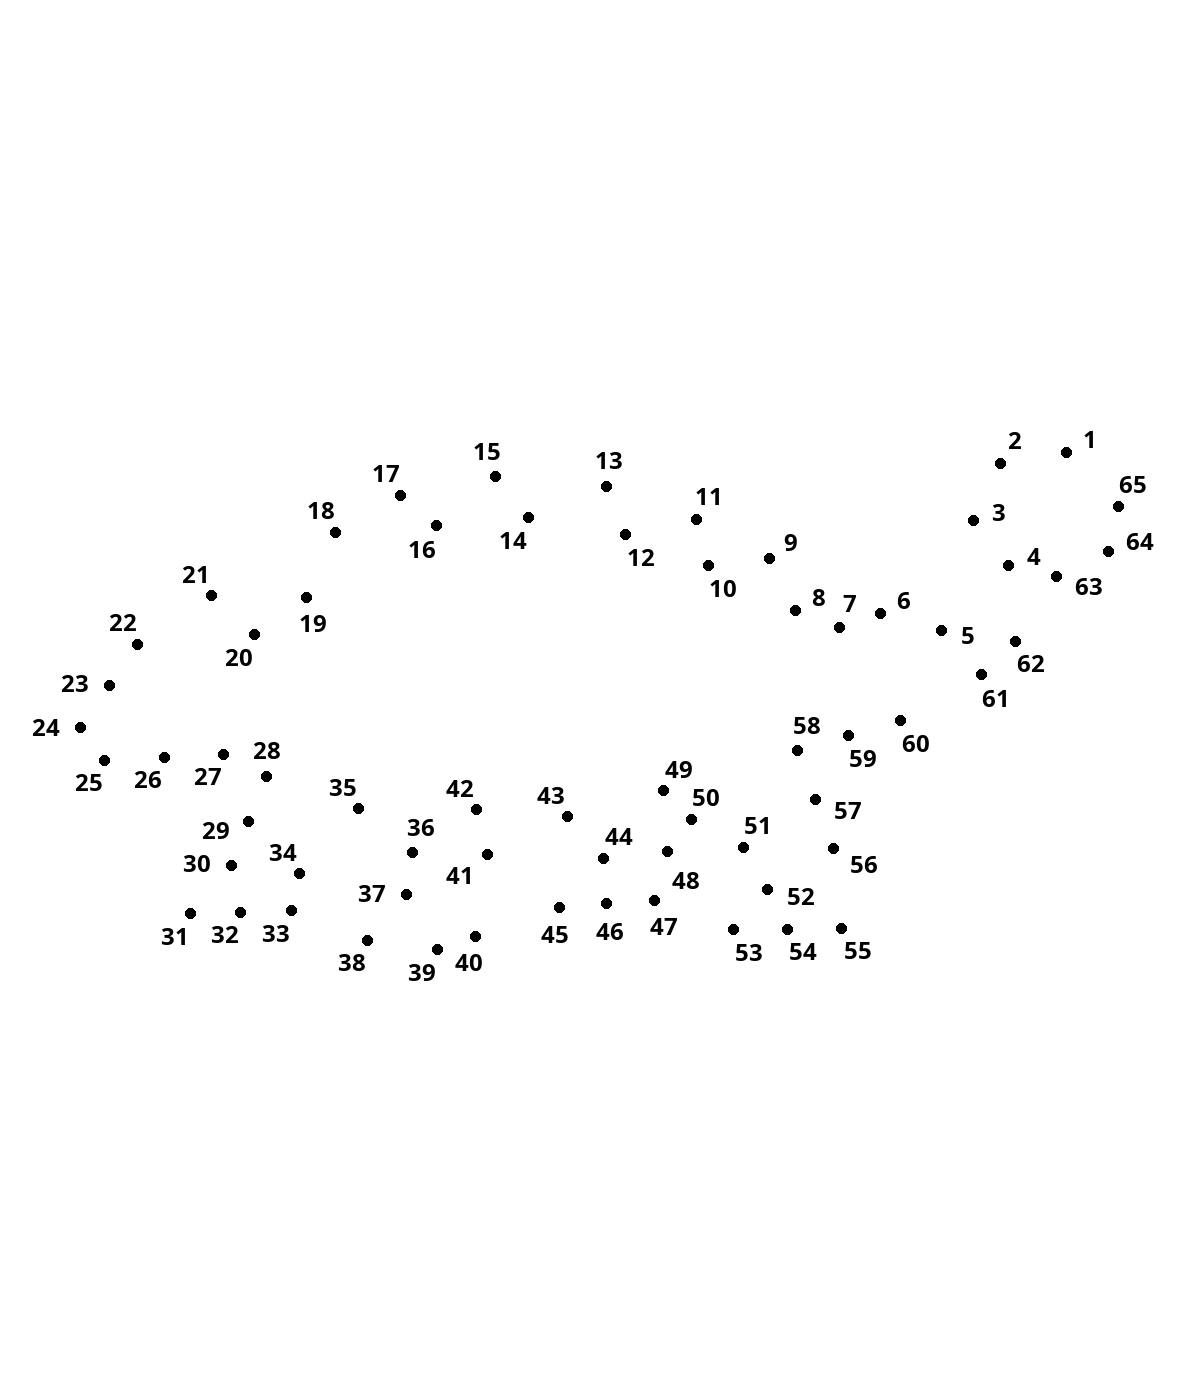
65 dots · 50+
Start at 1. After 65, return to 1; add your own details and colors.
Check the answer →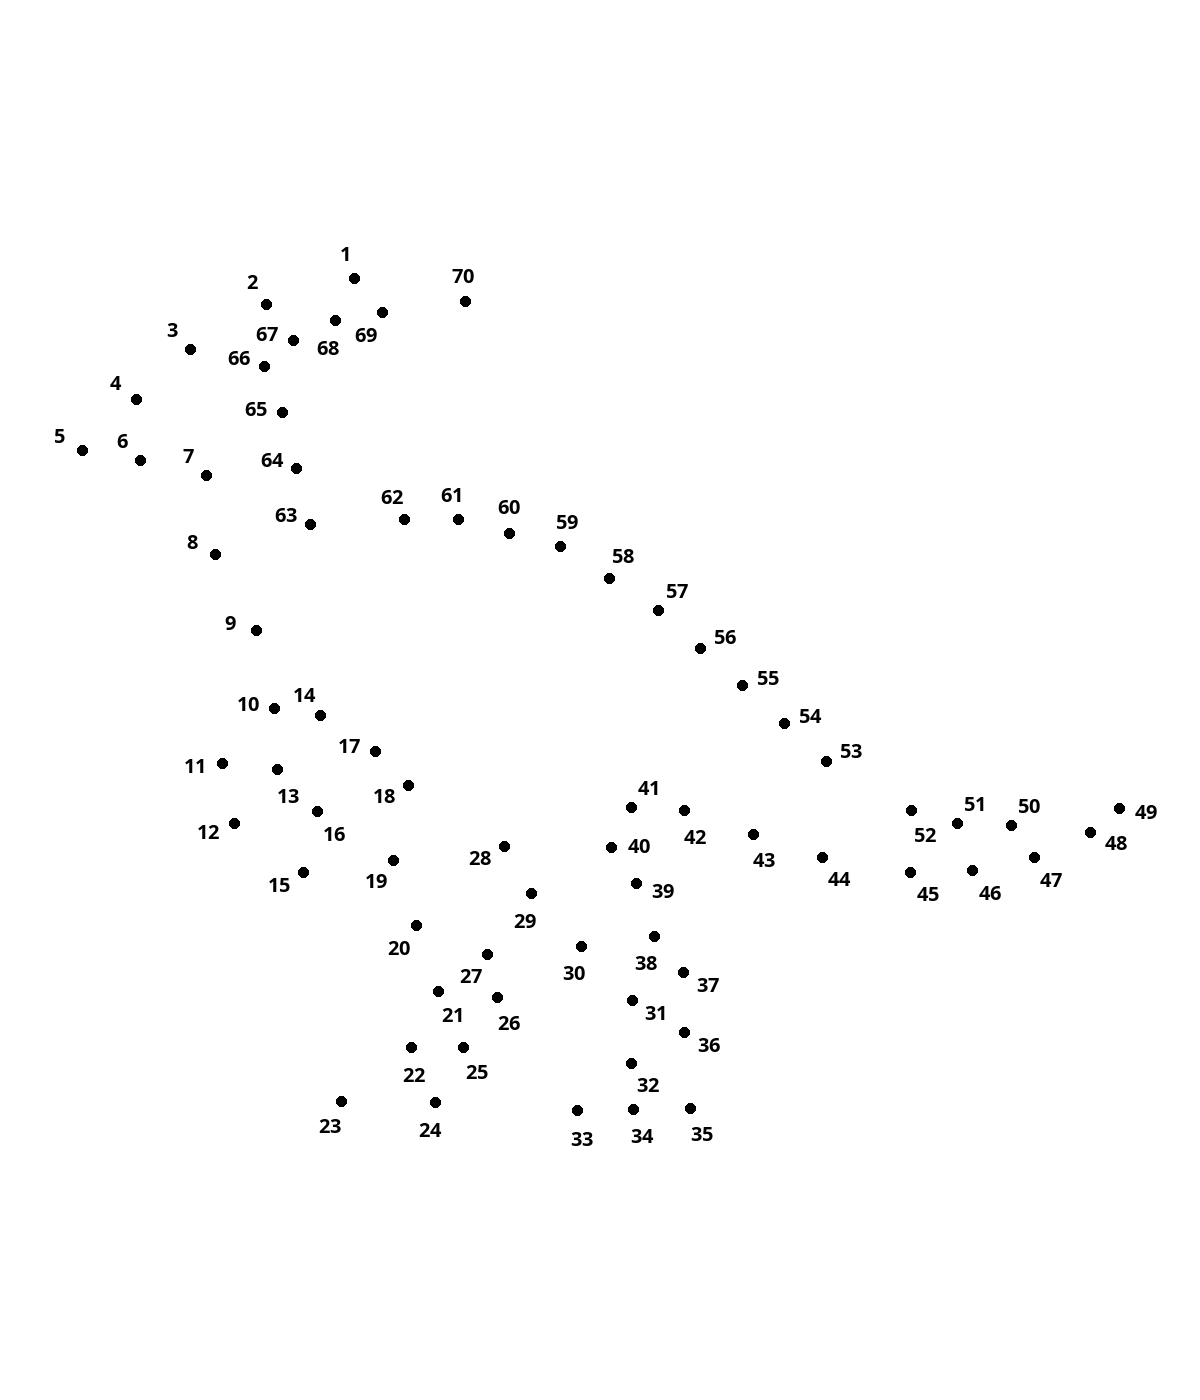
70 dots · 50+
Start at 1. After 70, return to 1; add your own details and colors.
Check the answer →Dinosaur dot-to-dot printables — 12 free worksheets
12 worksheet pages, with no answers. The answer keys are in a different file so an adult can keep them separately.
Start with a number range your child recognizes without help. The up-to-10 level has ten large dots on each sheet and a short route to follow. Its four prehistoric designs are an egg, a footprint, a volcano and a pterosaur. Choose by confidence with numbers and comfort holding a pencil, rather than by a strict age rule. A child who needs help recognizing numbers can work alongside an adult.
The up-to-20 level introduces more varied dinosaur silhouettes: a baby tyrannosaurus, a long-neck dinosaur, a triceratops head and a stegosaurus. Try it when counting beyond ten feels familiar. If your child wants to jump from 12 straight to 20, say the sequence together first, then return to the picture. Choosing another short worksheet is also a useful option.
The 50+ level has 55, 60, 65 and 70 dots. These longer routes reveal a walking diplodocus, a spinosaurus, an ankylosaurus and a parasaurolophus. They allow more detail and take more patience. Take a break whenever needed. Before moving up, check that similar two-digit numbers are easy to tell apart and that your child can remember where they stopped.
Find dot 1 and then locate dot 2 before drawing. Put the pencil on the dot itself, rather than on the number printed beside it. Draw a straight segment between those two points. Next, find 3 and connect 2 to 3. Continue one number at a time. The printed number tells you which dot comes next; the number is not part of the outline.
Every sheet here uses one closed route. After the highest number, connect the final dot back to 1, as the PDF instructions explain. Do not choose the nearest dot just because it looks convenient: the correct next number may be farther away. There is no completed outline on the worksheet, so the picture appears as the route grows.
Counting aloud is optional. Some children like saying each number; others prefer finding the next point silently before moving the pencil. Let the child draw the segments. Pause after a few connections and check the sequence together. The worksheet titles help you pick a subject, while the completed contours stay on the separate answers page.
One mistake does not mean starting over. Find the last point you are certain about and check the next two or three numbers. If 14 was connected directly to 16, erase that segment, find 15 and restore the two correct connections. An unexpected crossing can indicate a skipped number or confusion between similar digits.
Open an answer after an independent attempt. Compare one small area, such as a tail or foot, then return to your sheet instead of tracing the whole solution. Each answer uses exactly the same point coordinates and numbers as its worksheet. If a segment runs into a label, aim from the center of one dot to the center of the next. The goal is following the sequence, not producing a perfect drawing.
Use ordinary paper, a pencil and an eraser. Choose A4 for 210 × 297 mm paper or US Letter for 8½ × 11 inch paper. Set printing to actual size or 100 percent and turn off browser headers and footers. Download the PDF rather than printing this whole web page, so the menus and cards do not take up your drawing space.
Each individual worksheet PDF has one page without a solution. You can also download all twelve worksheets in one file; answer keys are packaged separately. PNG files are useful for viewing or placing in a document, but the ready-made PDF is easier to print. Test one page first: all outer numbers should fit and the dots should be clearly visible.
Once the outline is closed, color it and add your own details, such as an eye, nearby rocks or prehistoric plants. Give the dinosaur a name and invent a short story. Repeat a favorite sheet with different colors or try the next level. The activity offers practice with number sequences and pencil lines; it does not replace a drawing lesson or require every finished picture to look alike.
Yes. Download A4 or US Letter PDFs and PNG files directly from the cards without an account.
Yes: four different sheets with 10 dots and four with 20 dots. The advanced level has four sheets with 55–70 dots.
Use Separate answers or the Check the answer link on a card. Answer PDFs are separate downloads too.
Yes. All routes in this collection are closed: after the highest number, return to 1.
There is no fixed age threshold. Choose a familiar number range: up to 10 first, then up to 20 and 50+.
Yes. Finish the route, add your own details and color the resulting outline.