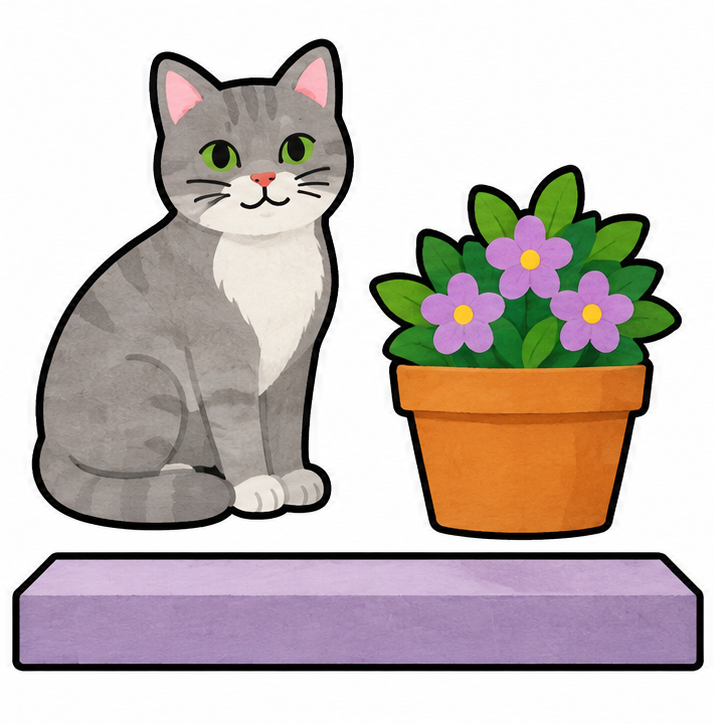
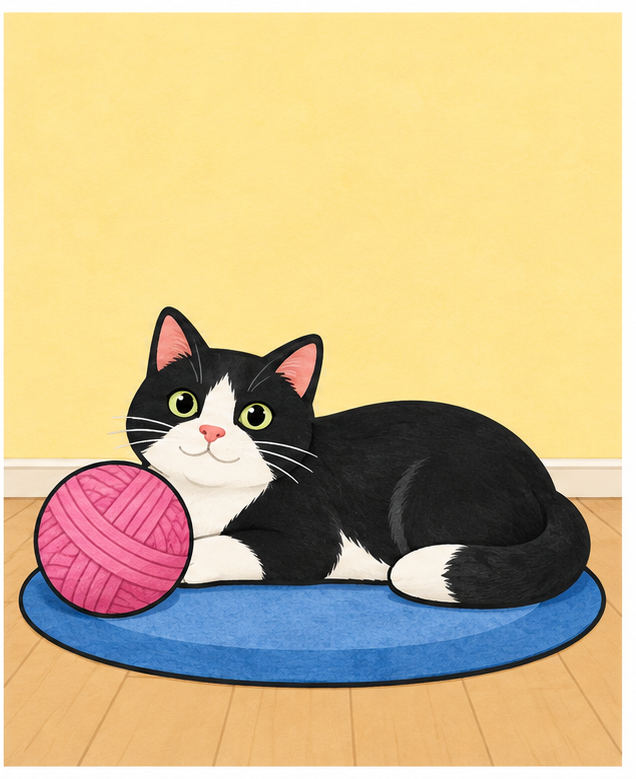
Cat paper applique: 12 printable kits
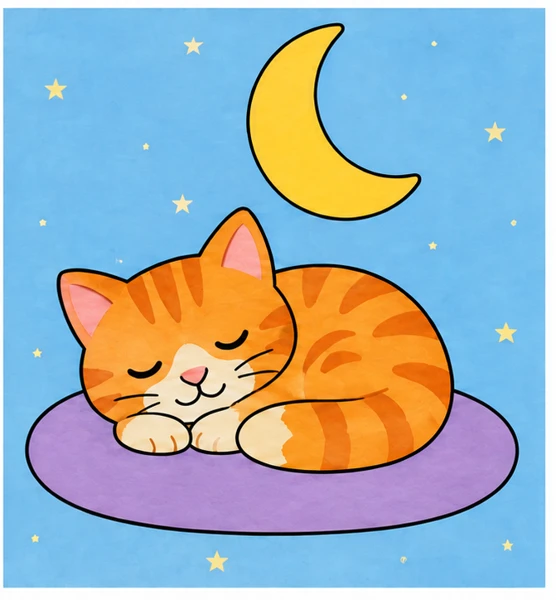
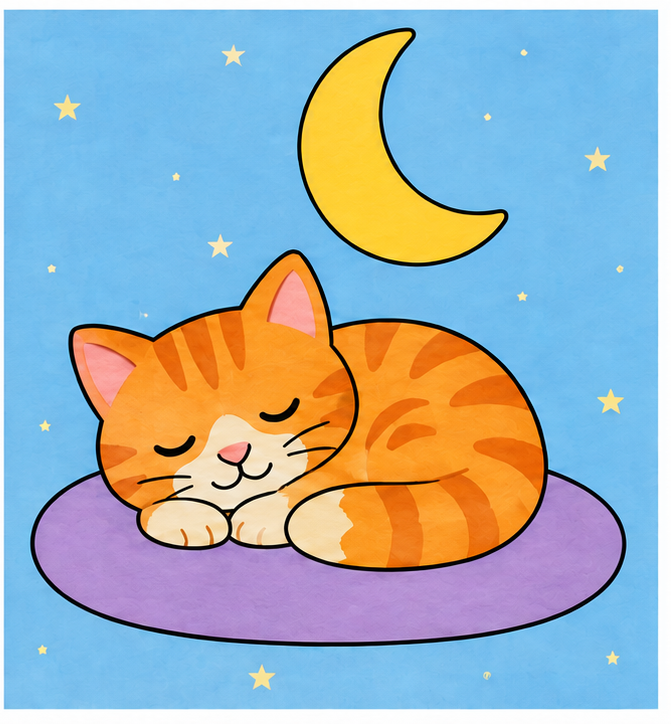
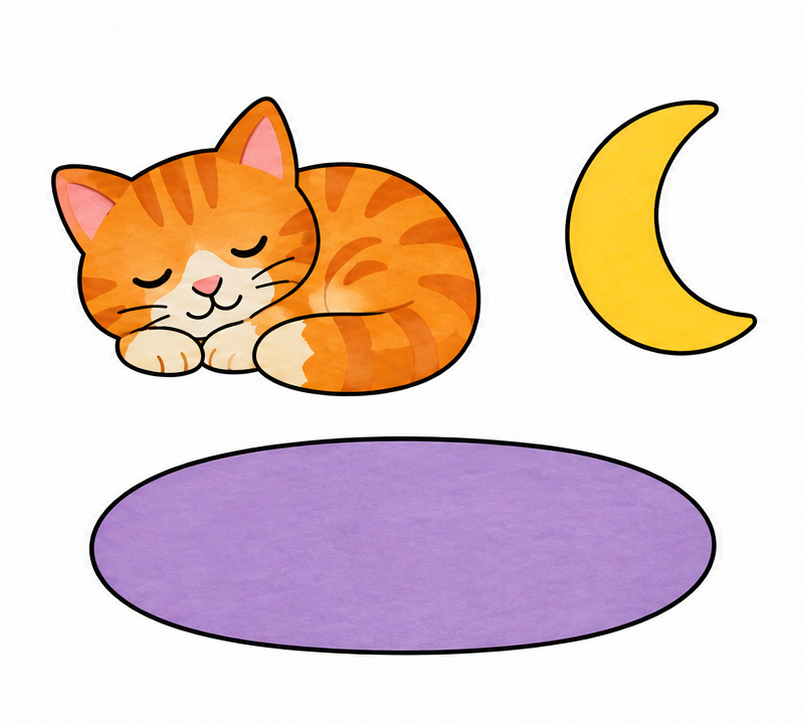
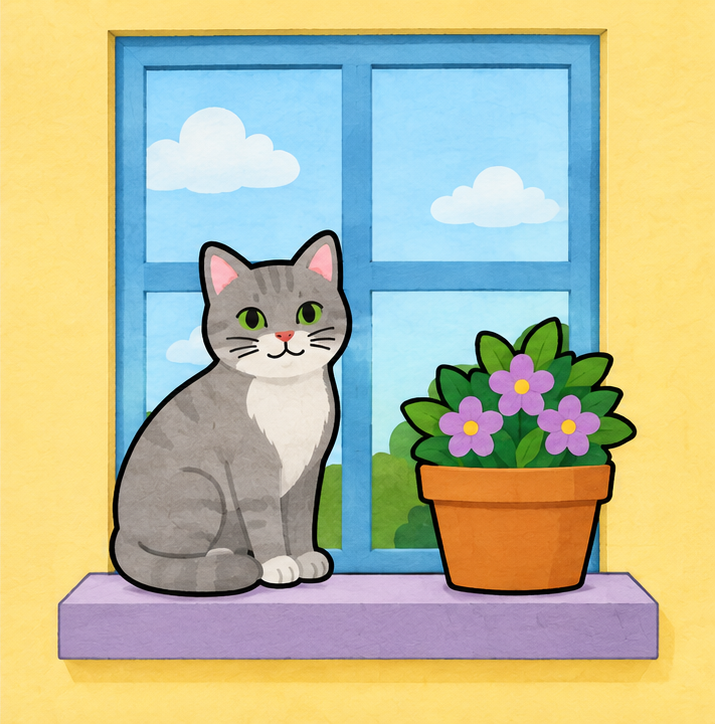
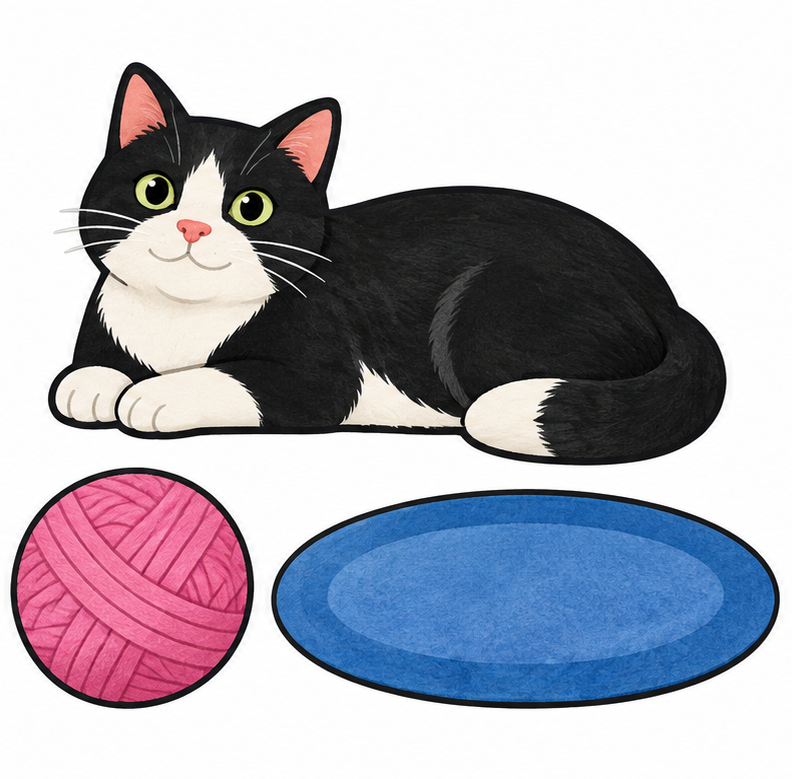
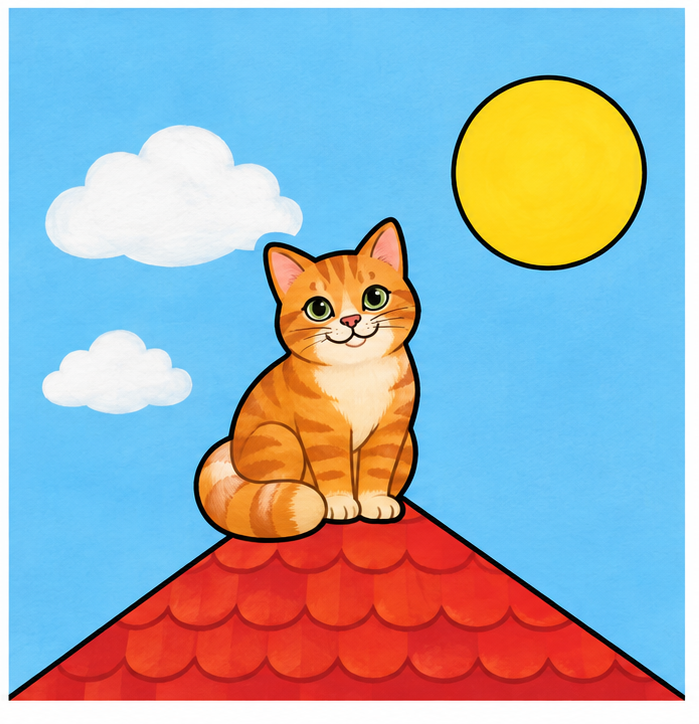
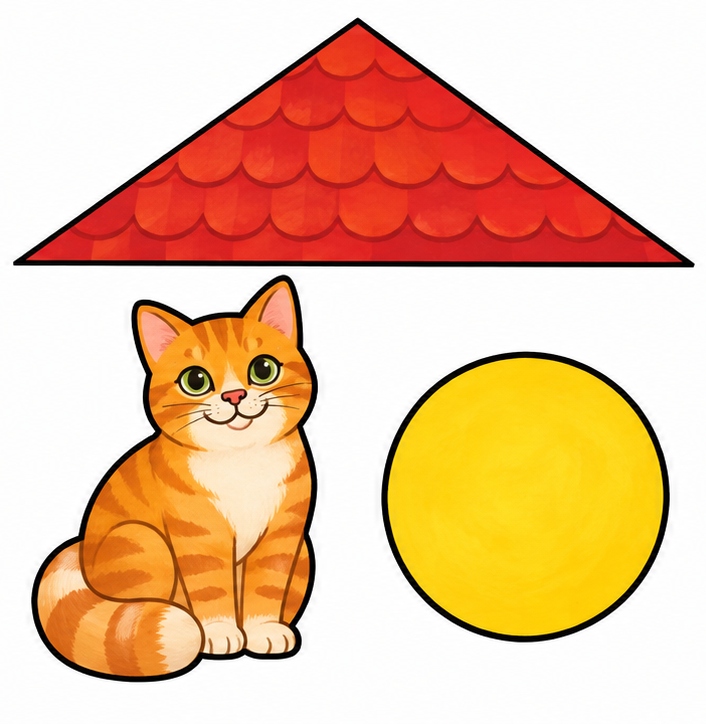
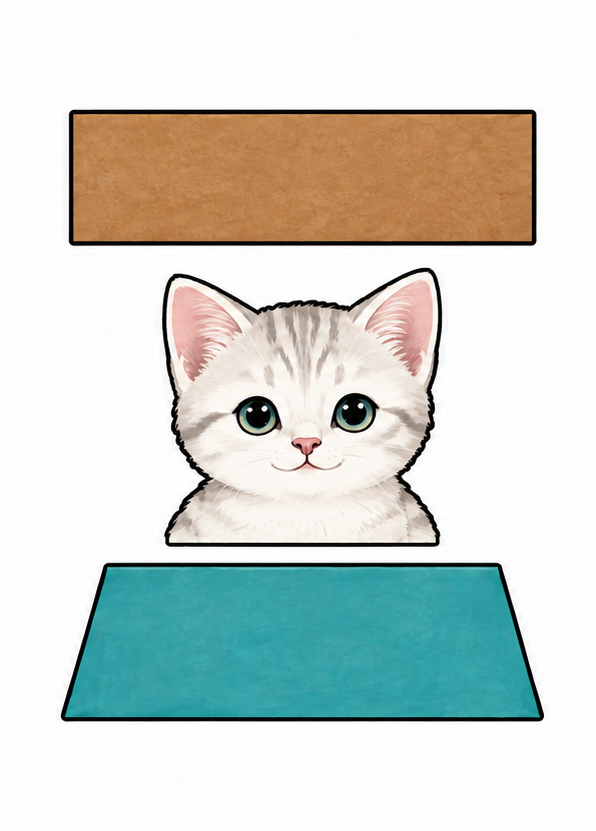
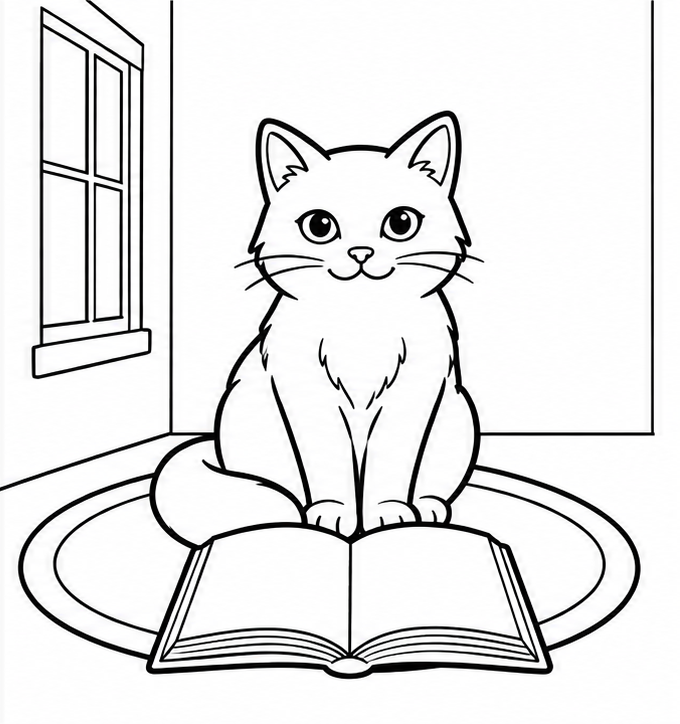
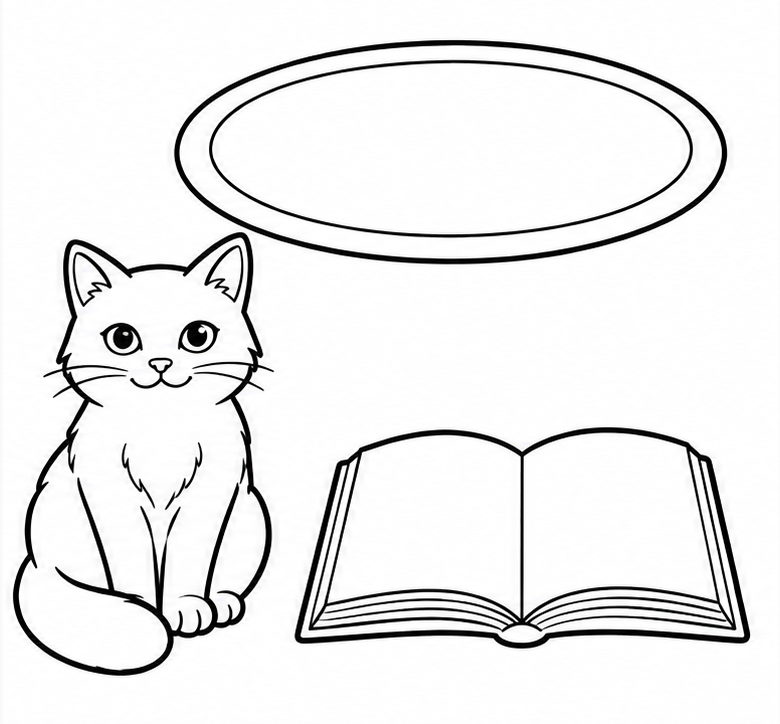
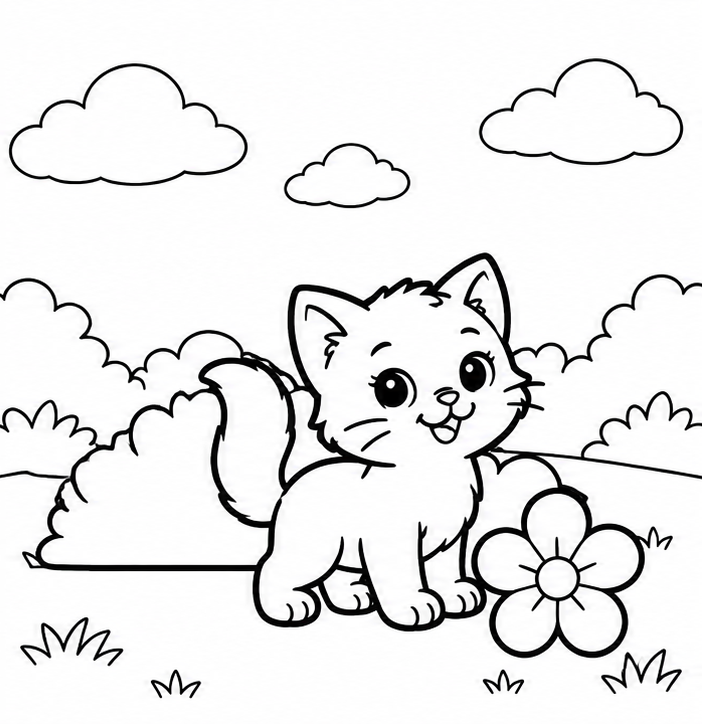
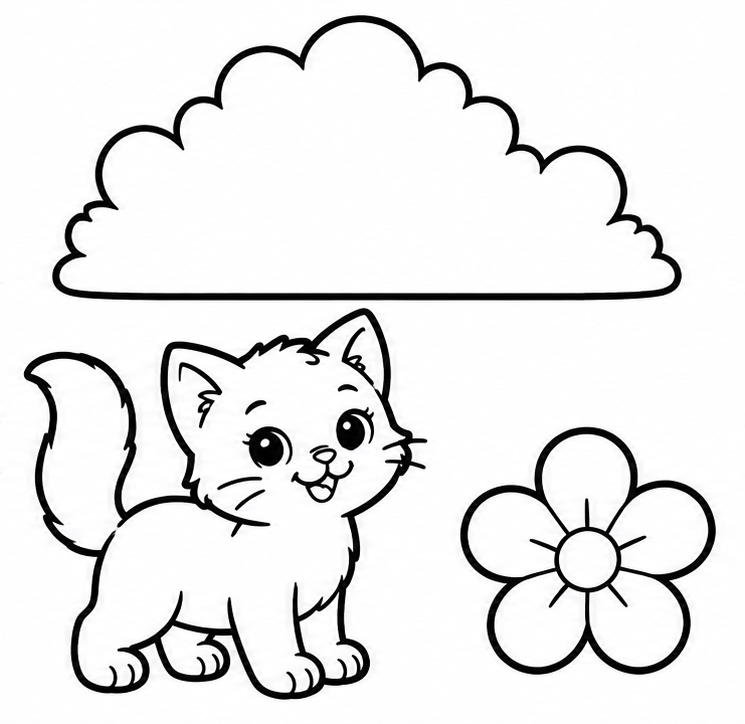
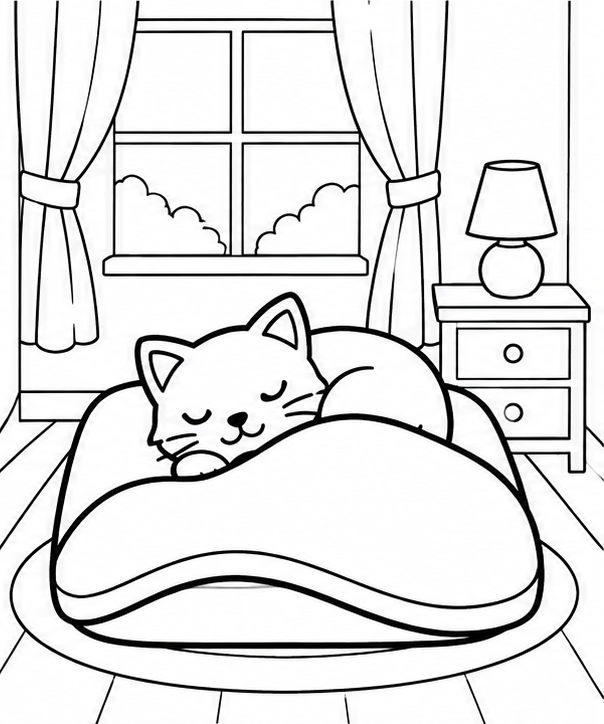
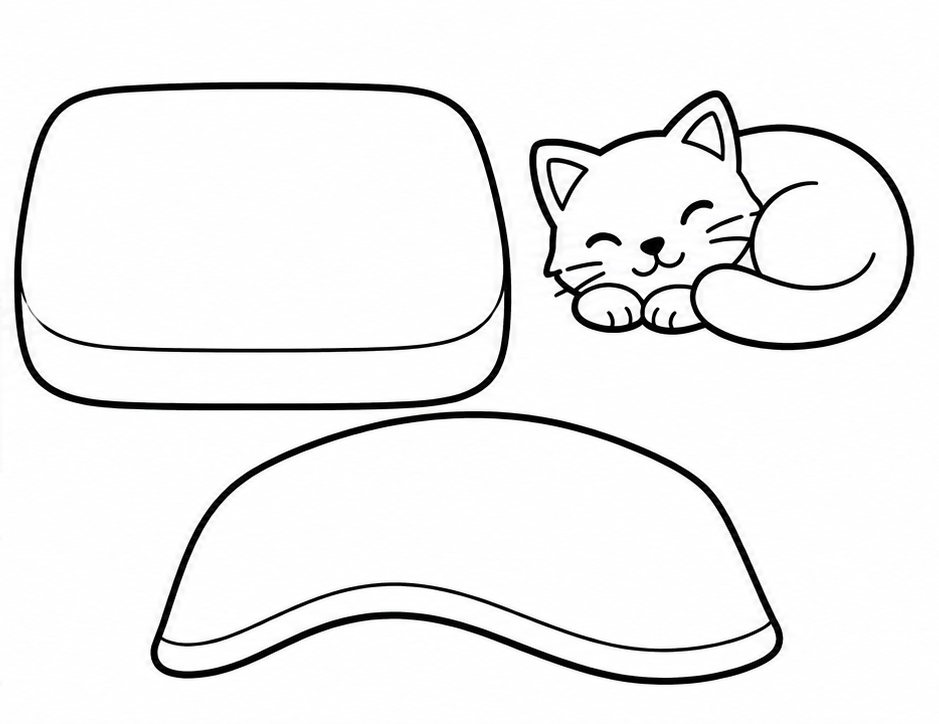
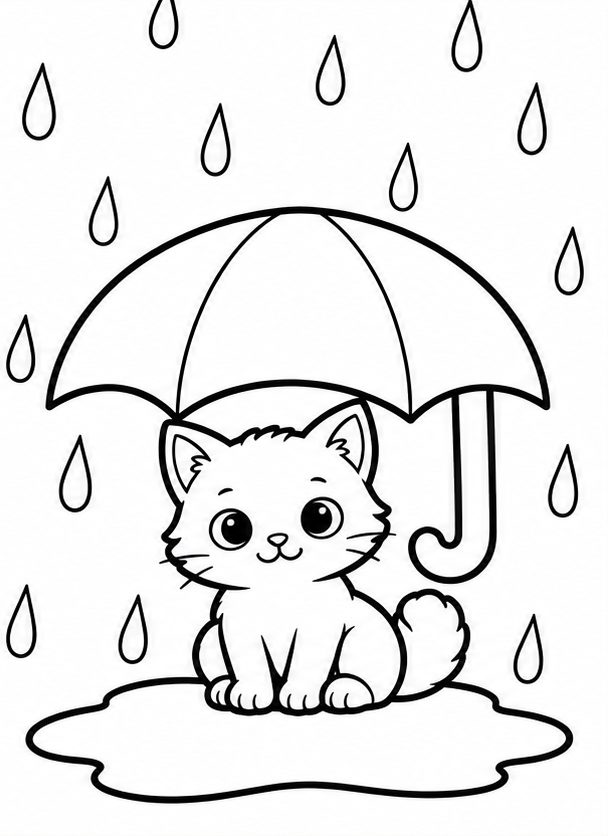
12 different cat applique projects: 6 full color and 6 to color in. Separate backgrounds, three large pieces and assembly examples. Free A4 and Letter PDFs.
- Free, no sign-up
- PDF A4 · Letter
- 6 color + 6 to color in
Use child scissors while seated, with adult supervision. An adult can cut the pieces while the child colors, arranges and glues.
Make a picture, one layer at a time
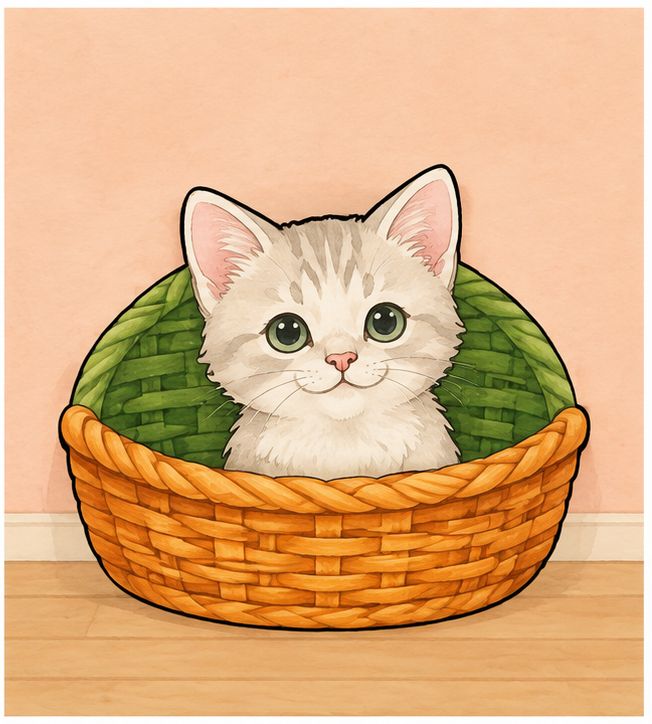
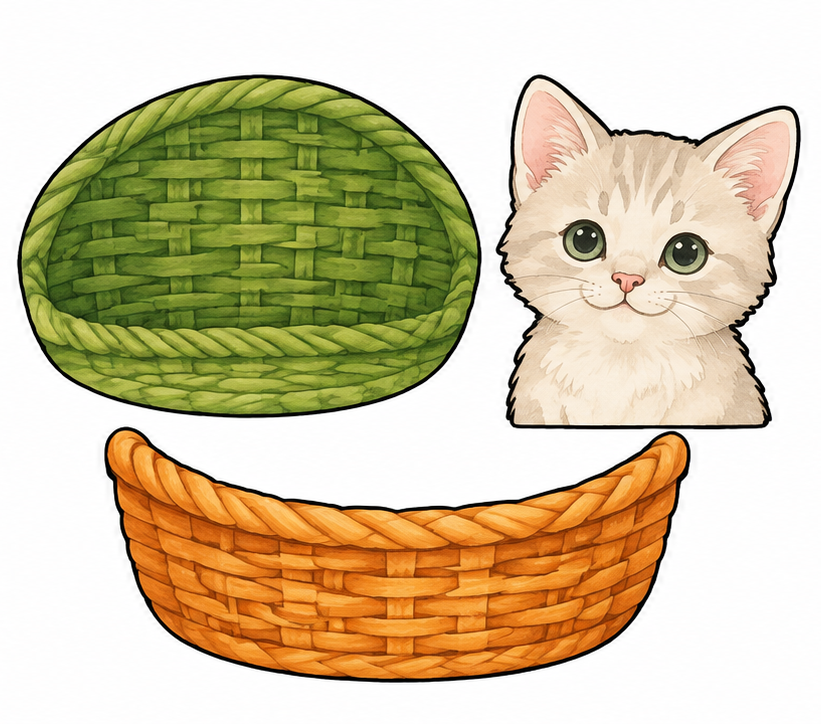
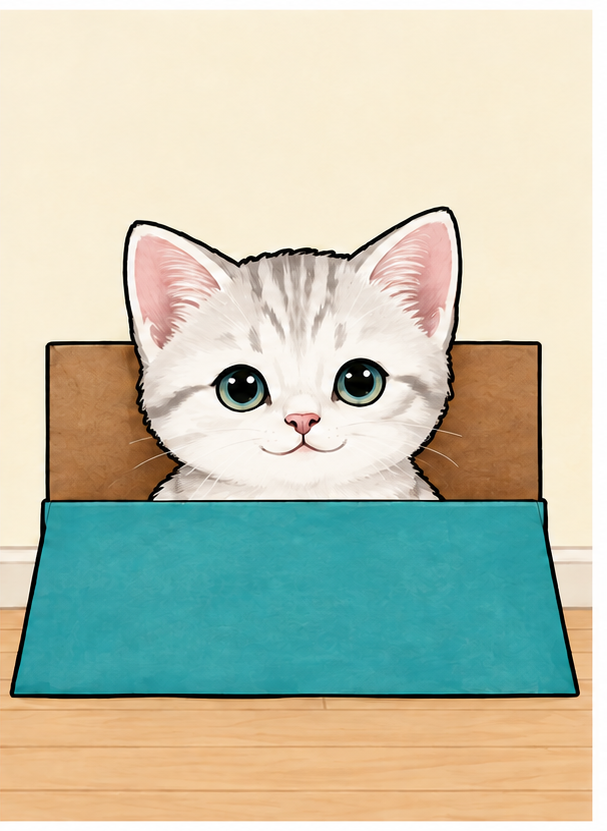
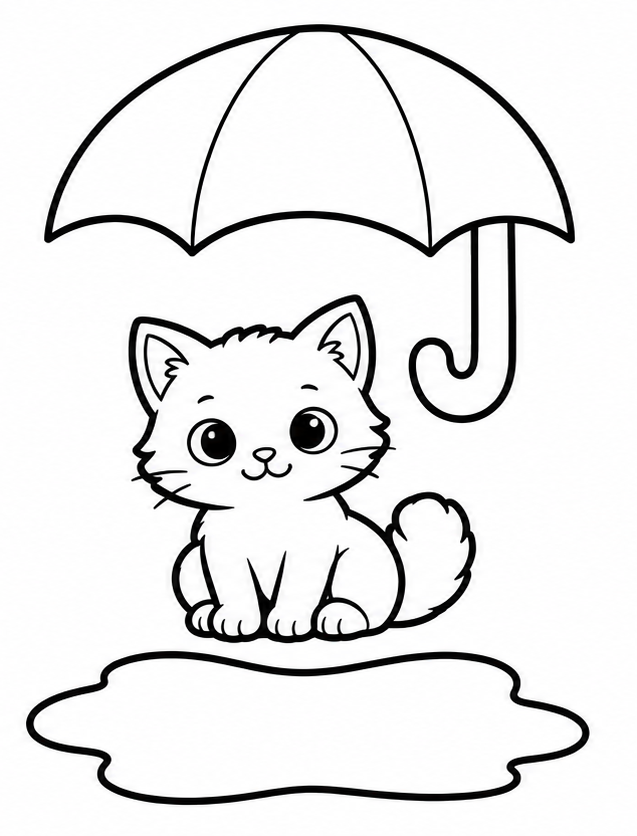
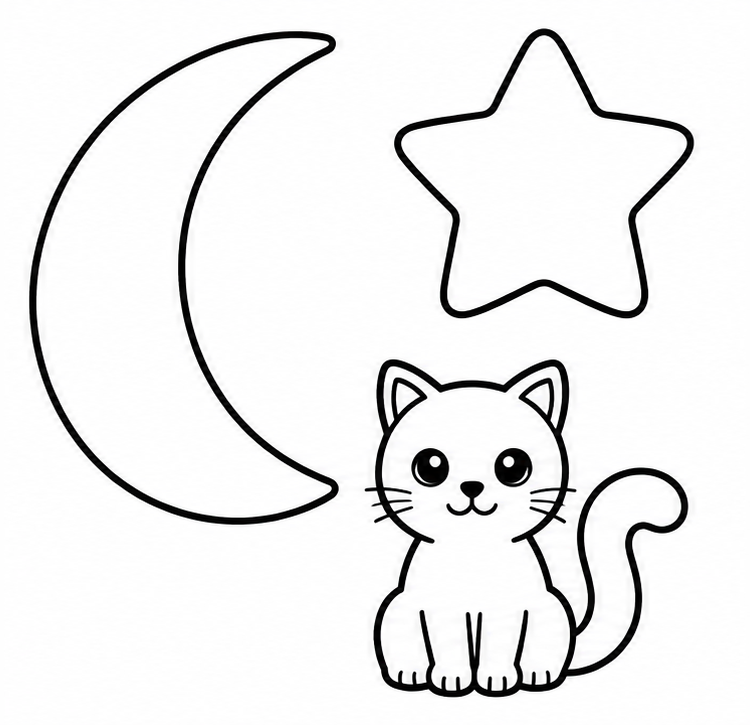
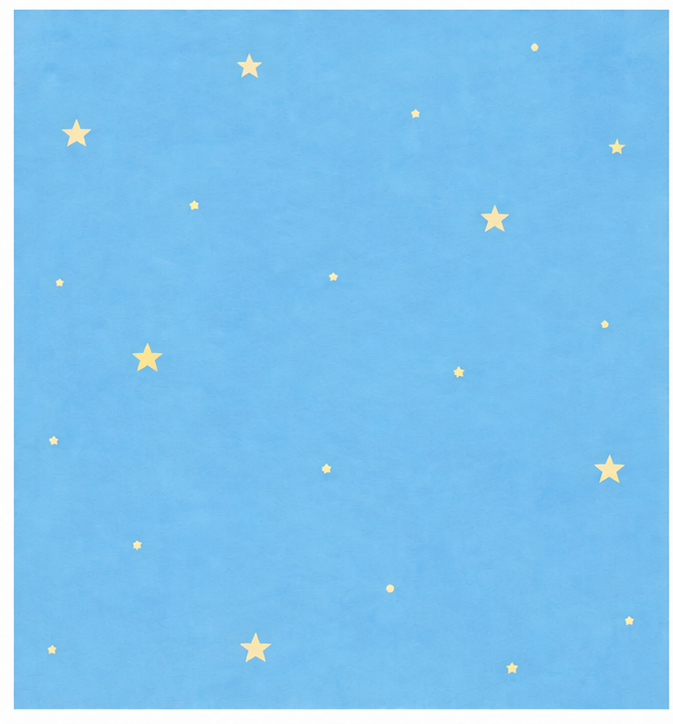
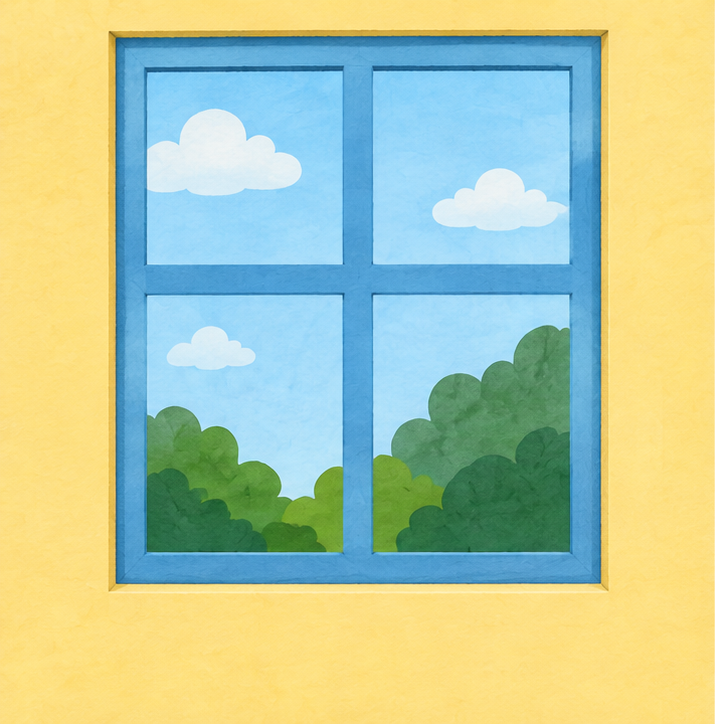
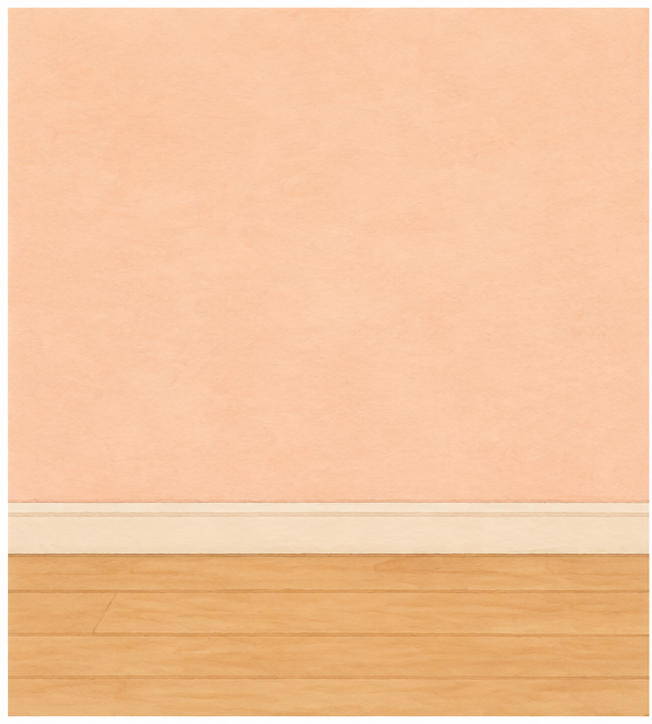
An applique is a flat picture made by gluing paper pieces onto a background. These twelve cat projects each contain three large pieces, a separate background and an assembly example. Six are ready in full color; six different designs have white interiors to color yourself. They are different scenes rather than recolored copies. Choose a sleeping kitten for broad curves, or a kitten in a basket to practise overlapping one layer with another.
Start with paper, coloring pencils, a glue stick and child scissors with rounded tips. Work seated at a table with an adult nearby. An adult can prepare all the pieces when cutting is too difficult. The child can still decide where the cat belongs, compare the pieces with the example and press the layers into place. Keep the example page beside the background; it is a guide, not another piece to cut.
Print and prepare
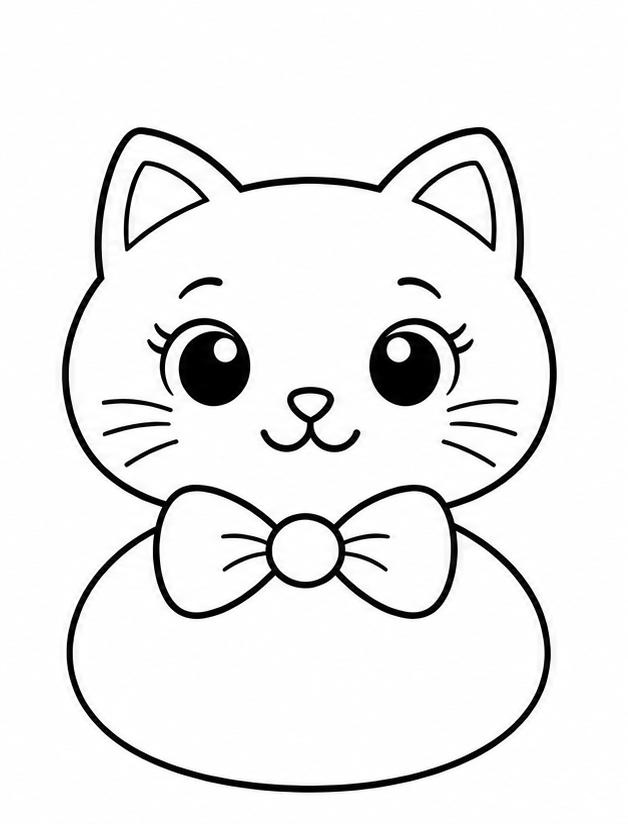
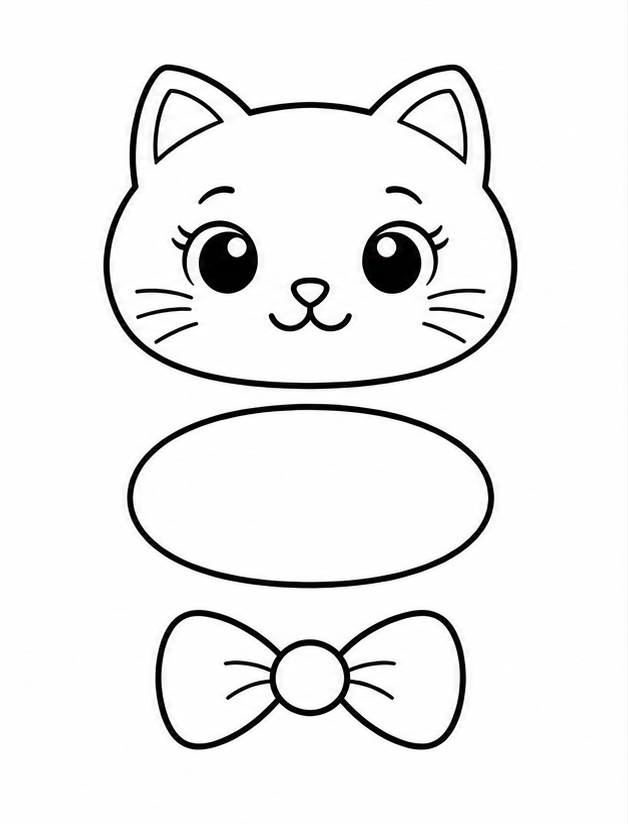
Each download contains three pages: background, cutting pieces, and example with a numbered layer order. Select A4 or US Letter to match your printer and print at actual size, 100%, with scaling off. Print all pages of a kit with the same setting. This keeps the pieces in proportion to the background. Ordinary printer paper works well; a slightly heavier background is easier to hold while gluing.
For the outline sets, color the background and pieces before cutting. Leave the paper flat so the pencil can move beyond a shape without catching its edge. Cut only the outside contour of each piece. Eyes, whiskers, fur marks and book folds are printed details that stay inside their shape. First separate the sheet into three loose areas, then turn each area with your supporting hand as the scissors follow its broad edge.
Arrange, check and glue
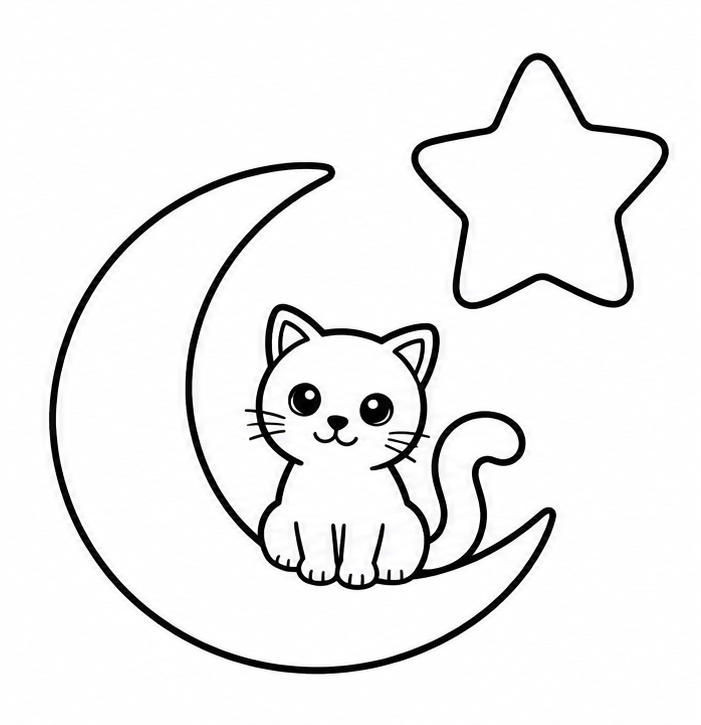
Read the three numbered layers and place every piece without glue first. The bottom layer supplies a resting place or goes behind the kitten. The next layer adds the main subject. The final layer may sit in front, as a basket front or blanket, or beside the cat as a moon or yarn ball. A number tells you when to glue a piece; it does not mean every piece must cover the previous one.
Check that all three pieces have a place and the cat’s face remains visible. Compare the outer shapes with the example rather than copying every millimetre. If a blanket covers the eyes, slide it lower. If a cat seems to float, bring it closer to its cushion, roof or rug. Spread a thin layer of glue on the back, set the piece down gently and press from the centre toward its edges. Let the picture dry flat.
Invent another cat story
Once you have tried the example, arrange the same pieces in a new way before gluing a second copy. Move a moon to the other side, place the yarn farther from the paws, or draw a window on unused background space. Keep the cat supported by its resting place and keep its expression visible. You can change the story without adding tiny pieces.
Ask the child to describe where the cat is and what it might do next. There is no need to finish every kit in one sitting. Stop after a few comfortable cuts, save the loose pieces in an envelope and return later. For a shared activity, one person can color while another prepares the background, then decide the arrangement together.
 kiduverse