Fish and sea creature paper applique

12 fish and sea-creature applique kits, each with a main character, two little fish, two shells and three bubbles. Color and black-and-white A4/Letter PDFs, two pages each.

  • 6 color + 6 to color in
  • PDF A4 · Letter
  • Free, no sign-up
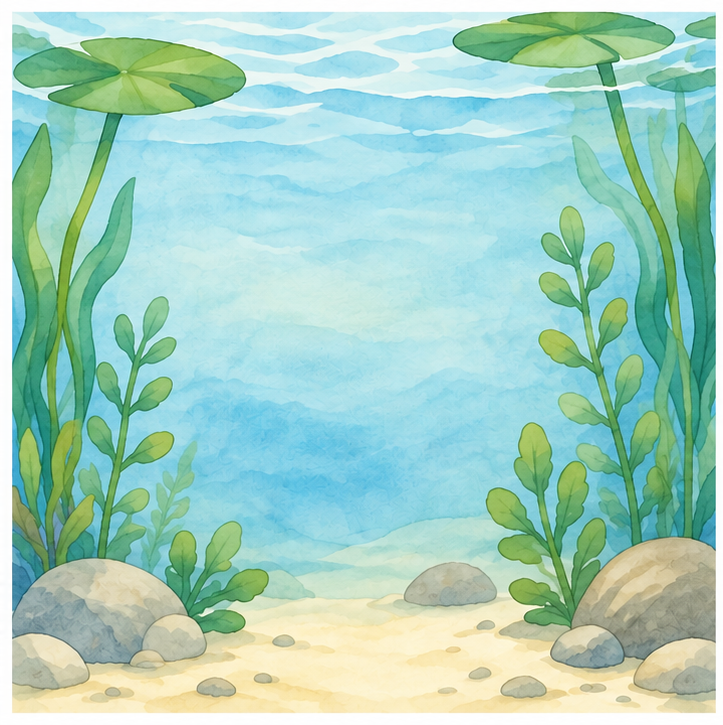
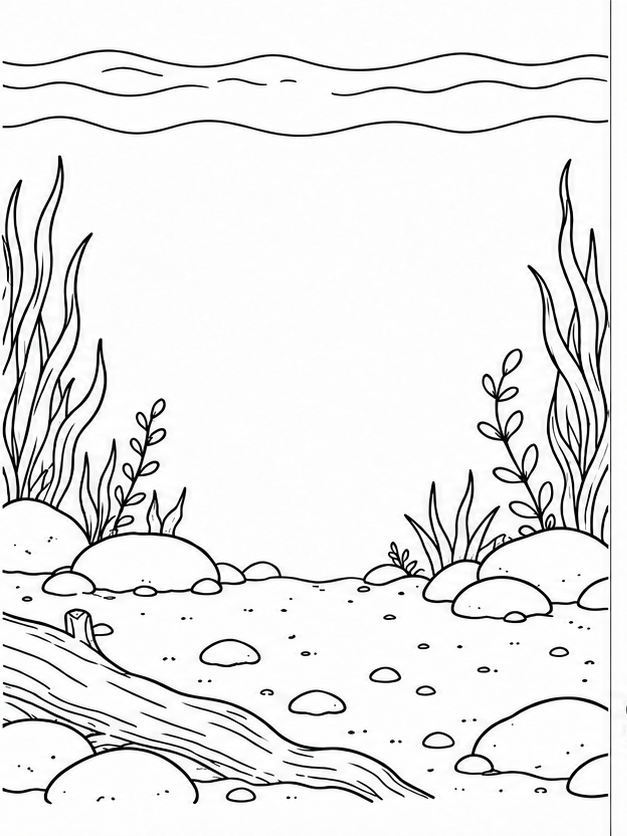
Goldfish collage on a pond background

Use scissors with adult supervision. If cutting is difficult, an adult prepares the pieces while the child colors, arranges and glues.

12 printable kits

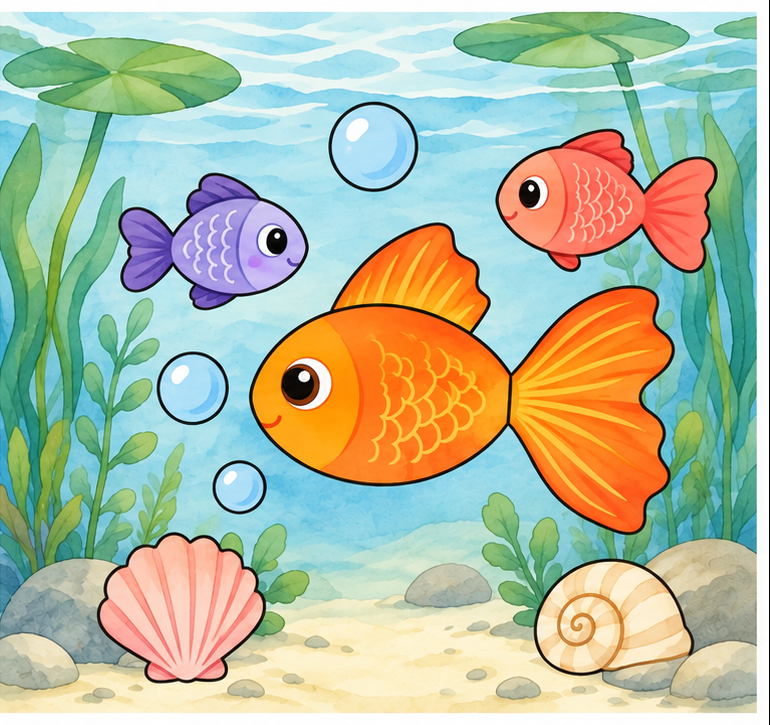
Goldfish in a pond — assembly example
Example
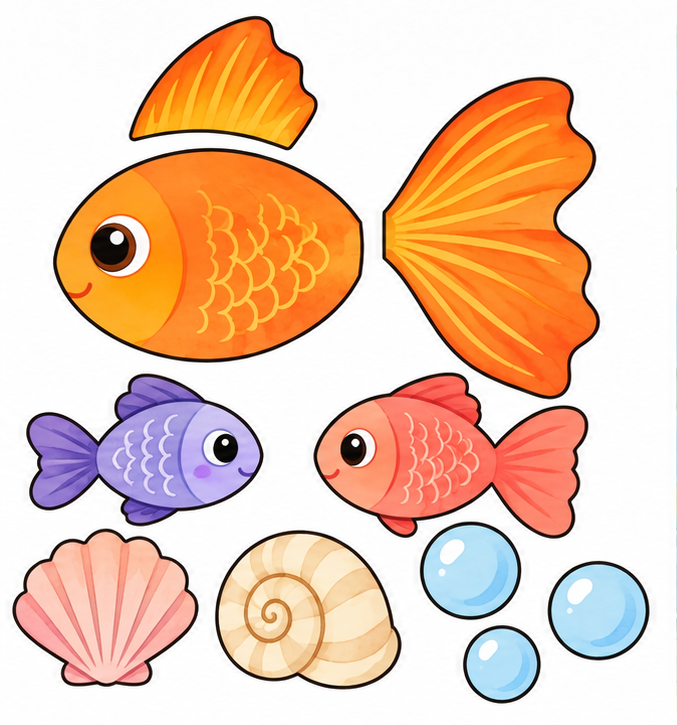
Goldfish in a pond — all pieces to cut out
Pieces

Goldfish in a pond

Color kit · Pieces: 10

Main character + 7 pieces: 2 fish, 2 shells, 3 bubbles.

Arrange the pieces without glue, then glue in layer order.

Background, pieces and layer order
  1. Tail and top fin behind the body.
  2. Body over the joins, facing left.
  3. Place the two little fish in open water on either side.
  4. Put two shells on the bottom and three bubbles above.

Arrange without glue first. Check that every piece has a place and the eye stays visible. If a join shows, move the body a little closer to the tail.

Background · PNG · Pieces · PNG · Example · PNG

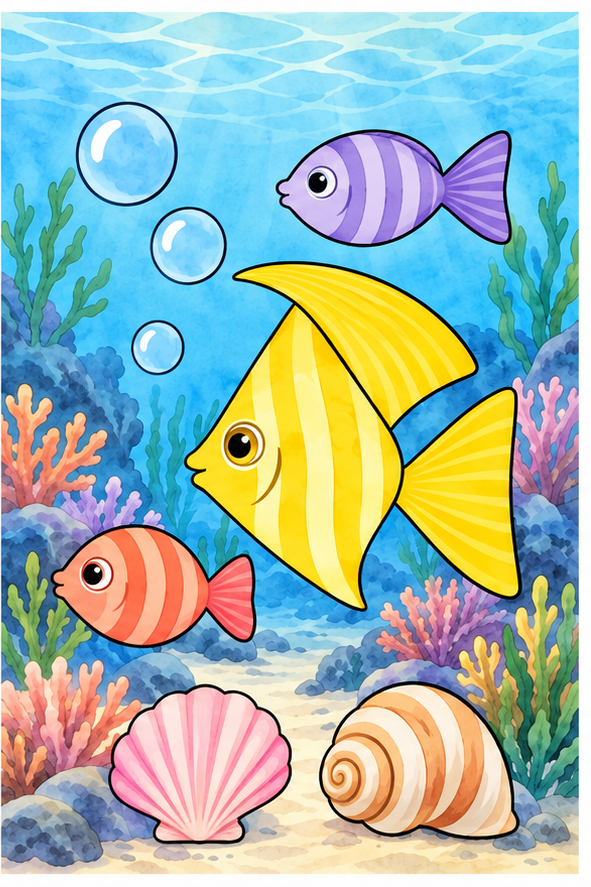
Angelfish over a reef — assembly example
Example
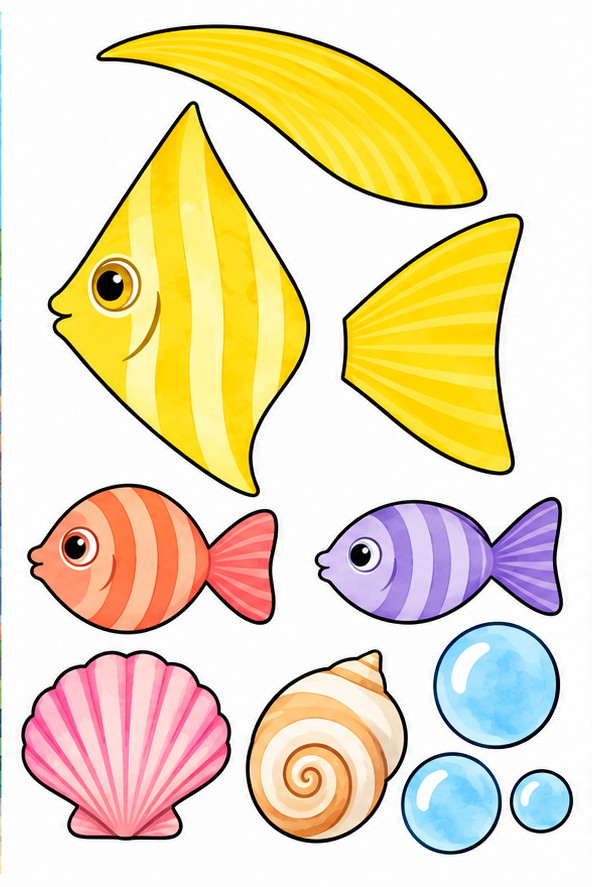
Angelfish over a reef — all pieces to cut out
Pieces

Angelfish over a reef

Color kit · Pieces: 10

Main character + 7 pieces: 2 fish, 2 shells, 3 bubbles.

Arrange the pieces without glue, then glue in layer order.

Background, pieces and layer order
  1. Tail and long top fin behind the body.
  2. Striped body over the joins, facing left.
  3. Place the two little fish in open water on either side.
  4. Put two shells on the bottom and three bubbles above.

Arrange without glue first. Check that every piece has a place and the eye stays visible. If a join shows, move the body a little closer to the tail.

Background · PNG · Pieces · PNG · Example · PNG

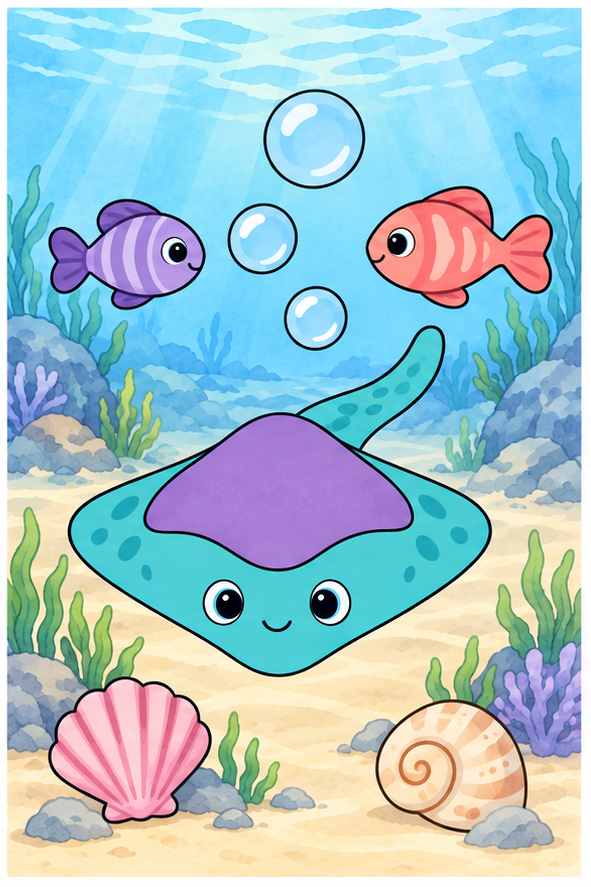
Ray above the sand — assembly example
Example
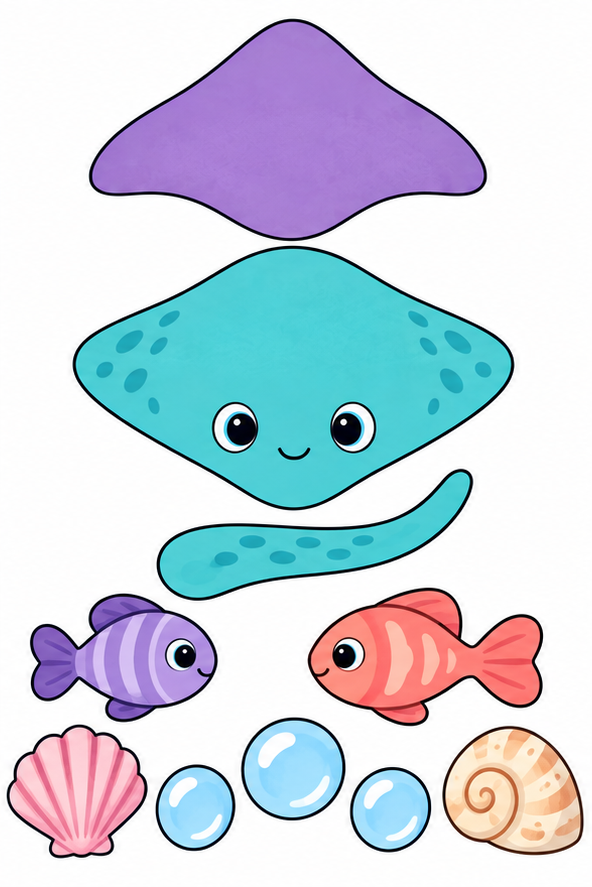
Ray above the sand — all pieces to cut out
Pieces

Ray above the sand

Color kit · Pieces: 10

Main character + 7 pieces: 2 fish, 2 shells, 3 bubbles.

Arrange the pieces without glue, then glue in layer order.

Background, pieces and layer order
  1. Tail behind the pointed rear of the body.
  2. Body over the tail join.
  3. Purple patch on the back; leave the face visible.
  4. Place the two little fish in open water on either side.
  5. Put two shells on the bottom and three bubbles above.

Arrange without glue first. Check that every piece has a place and the eye stays visible. If a join shows, move the body a little closer to the tail.

Background · PNG · Pieces · PNG · Example · PNG

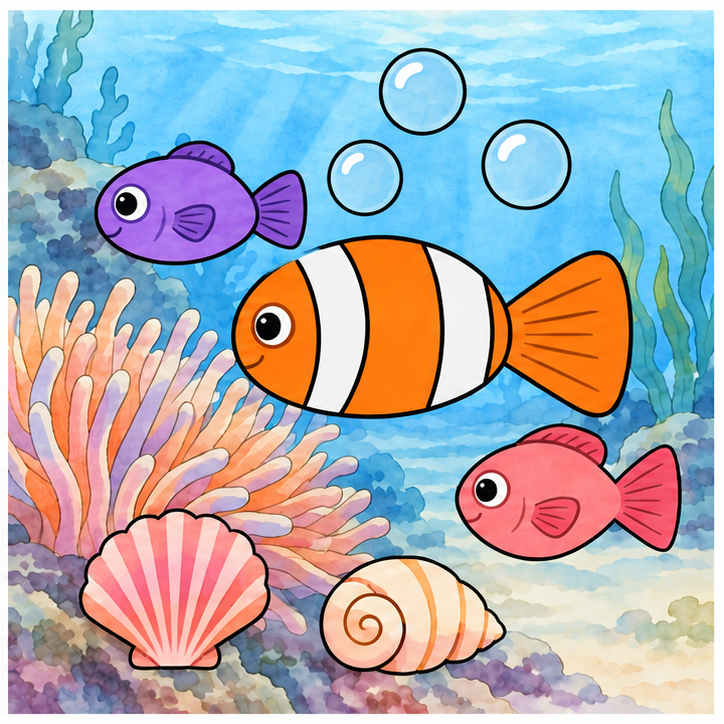
Clownfish by an anemone — assembly example
Example
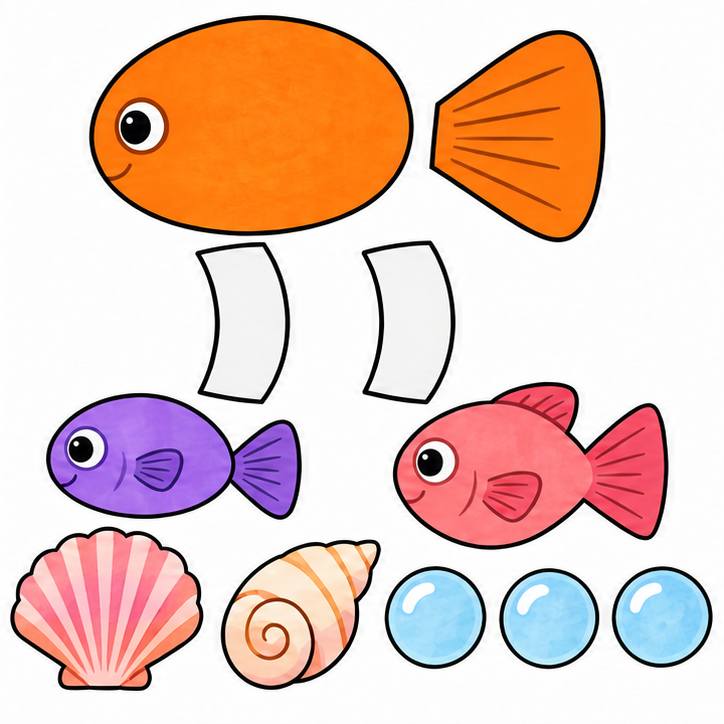
Clownfish by an anemone — all pieces to cut out
Pieces

Clownfish by an anemone

Color kit · Pieces: 11

Main character + 7 pieces: 2 fish, 2 shells, 3 bubbles.

Arrange the pieces without glue, then glue in layer order.

Background, pieces and layer order
  1. Tail behind the body.
  2. Body over the tail join.
  3. Two white bands on the body; leave the eye visible.
  4. Place the two little fish in open water on either side.
  5. Put two shells on the bottom and three bubbles above.

Arrange without glue first. Check that every piece has a place and the eye stays visible. If a join shows, move the body a little closer to the tail.

Background · PNG · Pieces · PNG · Example · PNG

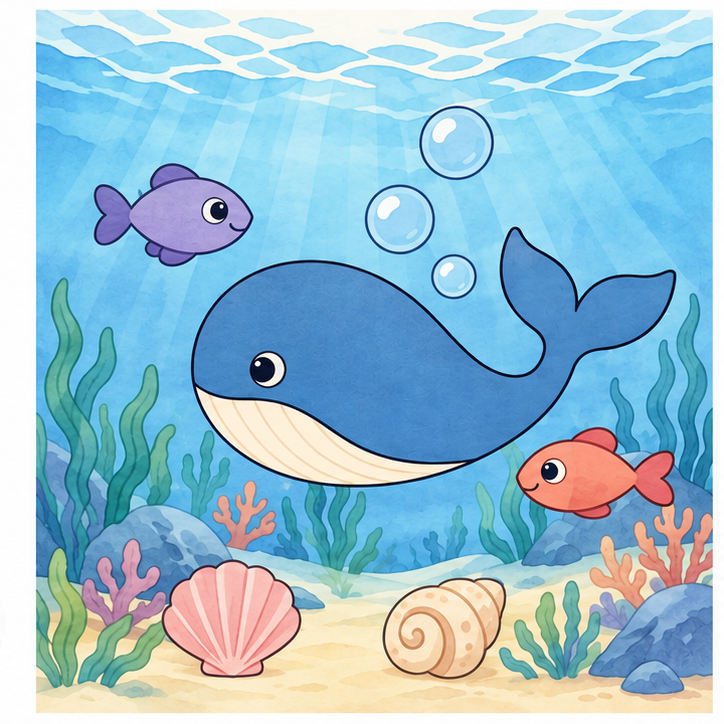
Whale under the waves — assembly example
Example
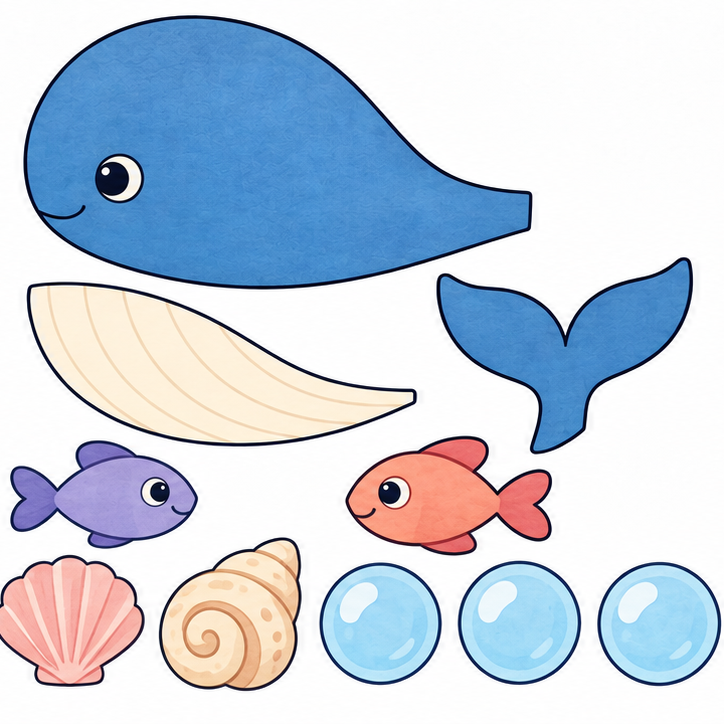
Whale under the waves — all pieces to cut out
Pieces

Whale under the waves

Color kit · Pieces: 10

Main character + 7 pieces: 2 fish, 2 shells, 3 bubbles.

Arrange the pieces without glue, then glue in layer order.

Background, pieces and layer order
  1. Tail behind the narrow rear of the body.
  2. Body over the tail join.
  3. Cream belly along the lower edge of the body.
  4. Place the two little fish in open water on either side.
  5. Put two shells on the bottom and three bubbles above.

Arrange without glue first. Check that every piece has a place and the eye stays visible. If a join shows, move the body a little closer to the tail.

Background · PNG · Pieces · PNG · Example · PNG

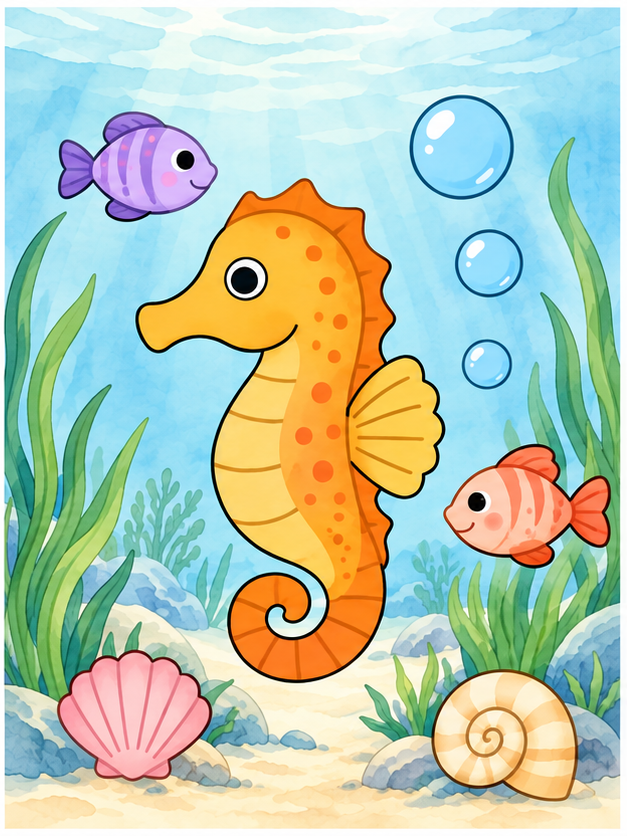
Seahorse in seagrass — assembly example
Example
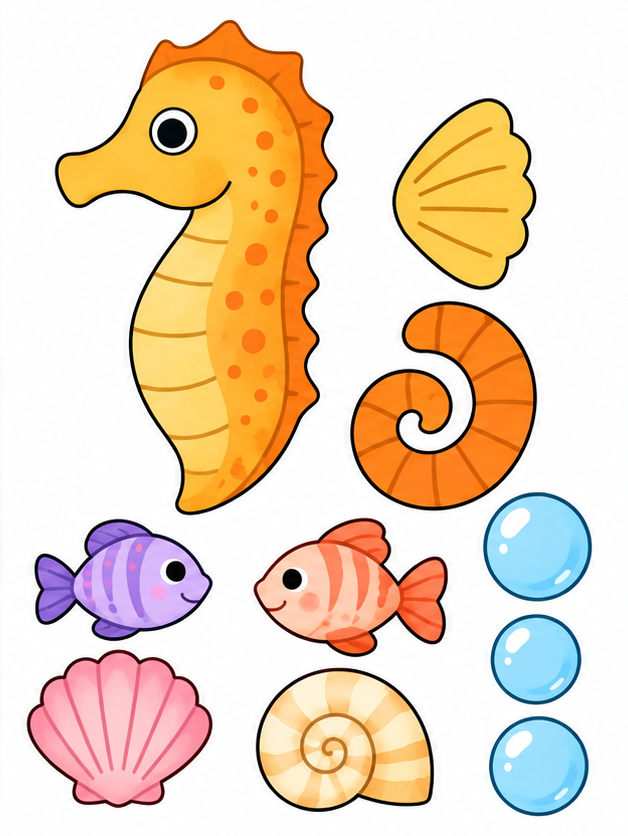
Seahorse in seagrass — all pieces to cut out
Pieces

Seahorse in seagrass

Color kit · Pieces: 10

Main character + 7 pieces: 2 fish, 2 shells, 3 bubbles.

Arrange the pieces without glue, then glue in layer order.

Background, pieces and layer order
  1. Curled tail behind the bottom of the body.
  2. Body over the tail join.
  3. Back fin on the right edge of the body.
  4. Place the two little fish in open water on either side.
  5. Put two shells on the bottom and three bubbles above.

Arrange without glue first. Check that every piece has a place and the eye stays visible. If a join shows, move the body a little closer to the tail.

Background · PNG · Pieces · PNG · Example · PNG

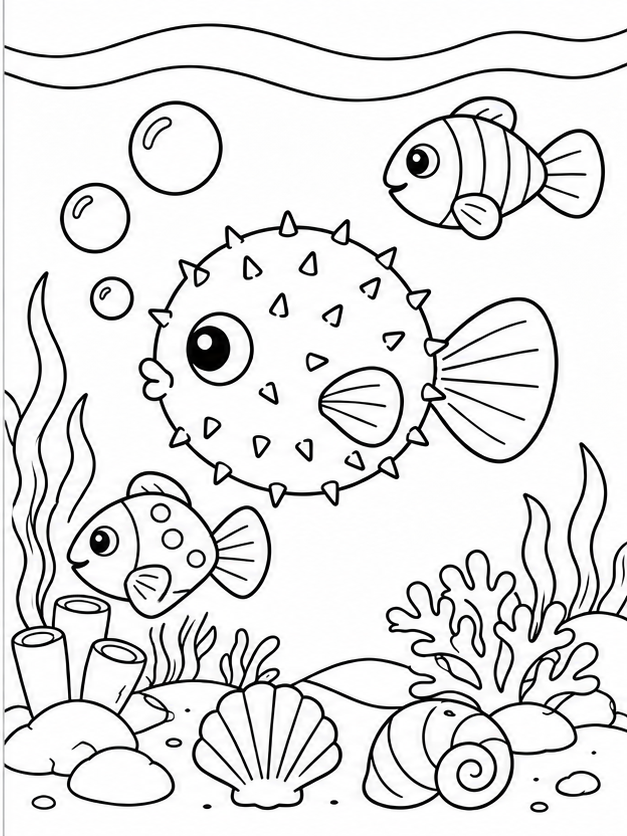
Round pufferfish — assembly example
Example
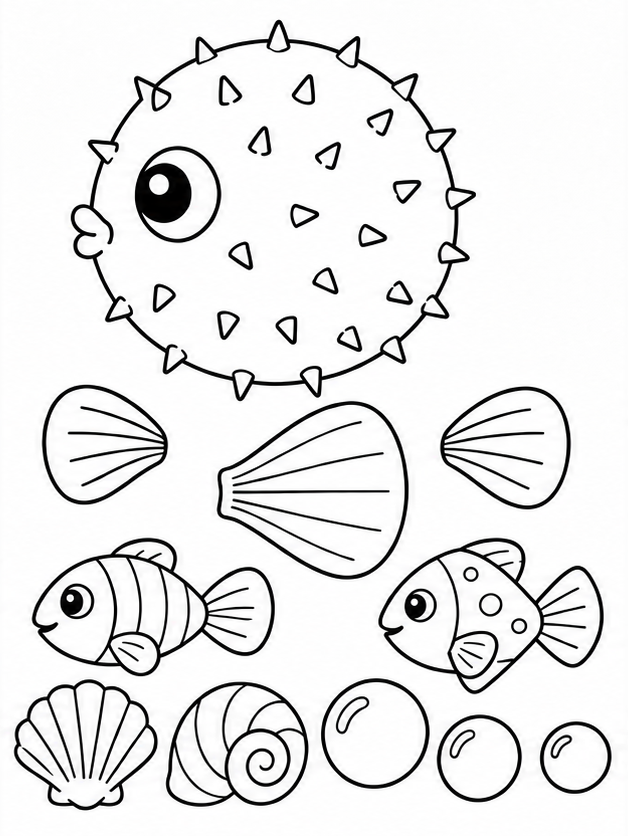
Round pufferfish — all pieces to cut out
Pieces

Round pufferfish

Color-in kit · Pieces: 11

Main character + 7 pieces: 2 fish, 2 shells, 3 bubbles.

Color before cutting. Arrange the pieces without glue, then glue in layer order.

Background, pieces and layer order
  1. Tail and one side fin behind the body.
  2. Round body over the joins.
  3. Second side fin on the body, below the eye.
  4. Place the two little fish in open water on either side.
  5. Put two shells on the bottom and three bubbles above.

Arrange without glue first. Check that every piece has a place and the eye stays visible. If a join shows, move the body a little closer to the tail.

Background · PNG · Pieces · PNG · Example · PNG

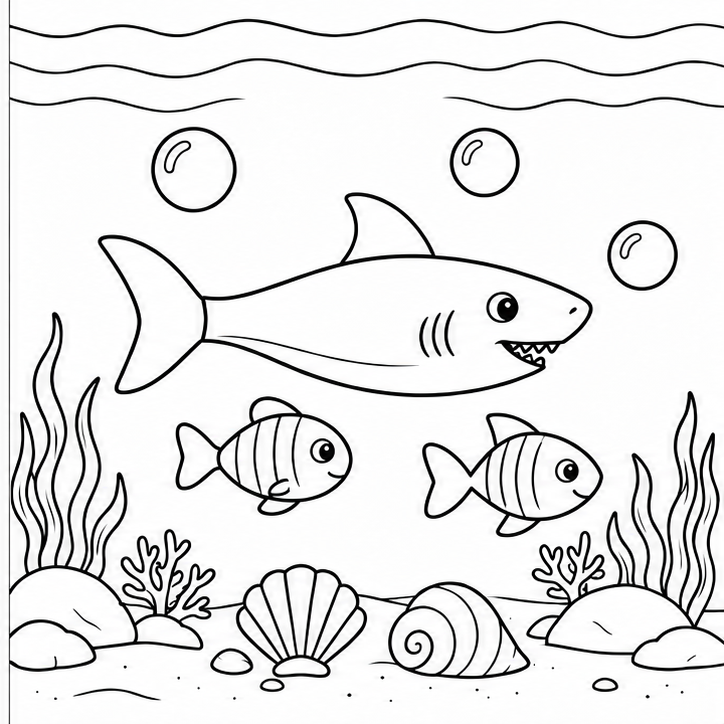
Shark in open water — assembly example
Example
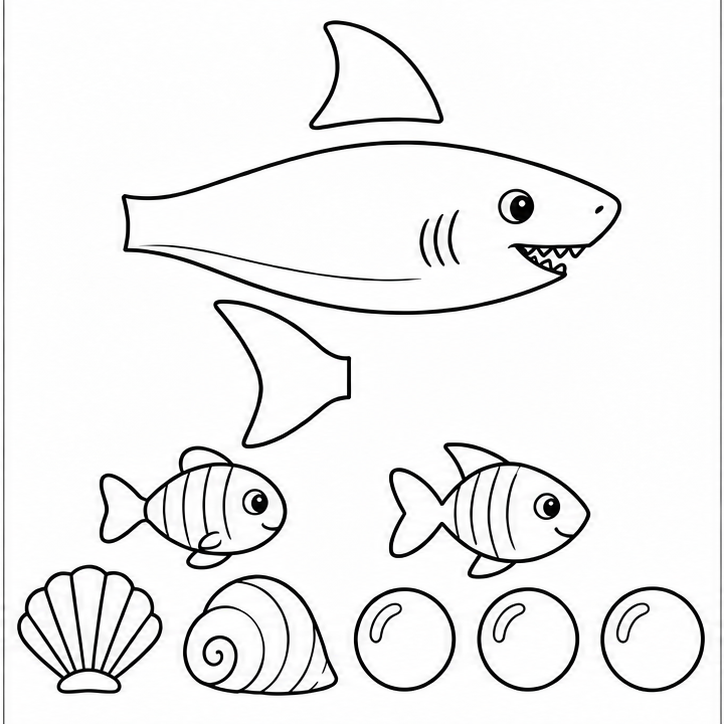
Shark in open water — all pieces to cut out
Pieces

Shark in open water

Color-in kit · Pieces: 10

Main character + 7 pieces: 2 fish, 2 shells, 3 bubbles.

Color before cutting. Arrange the pieces without glue, then glue in layer order.

Background, pieces and layer order
  1. Tail and top fin behind the body.
  2. Body over both joins, facing right.
  3. Place the two little fish in open water on either side.
  4. Put two shells on the bottom and three bubbles above.

Arrange without glue first. Check that every piece has a place and the eye stays visible. If a join shows, move the body a little closer to the tail.

Background · PNG · Pieces · PNG · Example · PNG

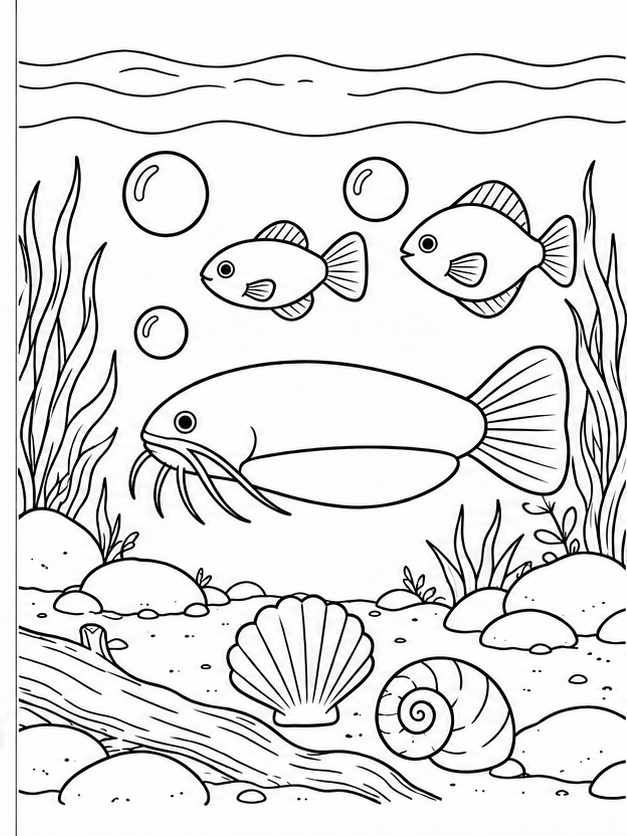
Catfish near the riverbed — assembly example
Example
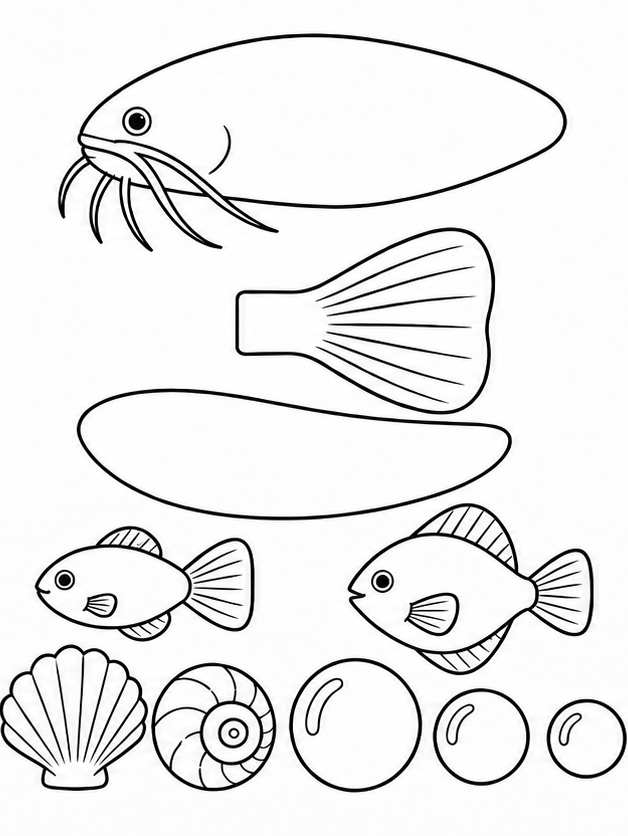
Catfish near the riverbed — all pieces to cut out
Pieces

Catfish near the riverbed

Color-in kit · Pieces: 10

Main character + 7 pieces: 2 fish, 2 shells, 3 bubbles.

Color before cutting. Arrange the pieces without glue, then glue in layer order.Leave a white margin around the thin whiskers; do not cut them separately.

Background, pieces and layer order
  1. Tail behind the body.
  2. Body over the tail join.
  3. Belly overlay along the lower body edge.
  4. Place the two little fish in open water on either side.
  5. Put two shells on the bottom and three bubbles above.

Arrange without glue first. Check that every piece has a place and the eye stays visible. If a join shows, move the body a little closer to the tail.

Background · PNG · Pieces · PNG · Example · PNG

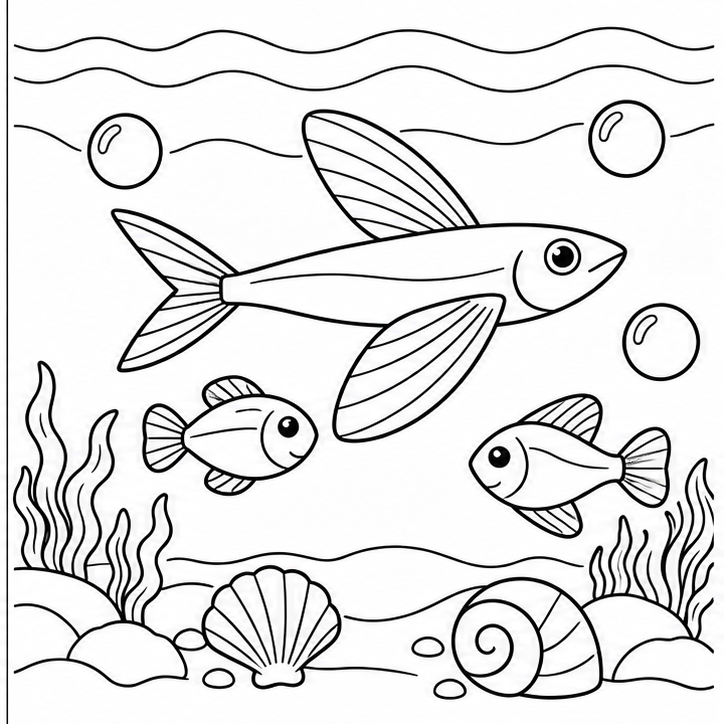
Flying fish over waves — assembly example
Example
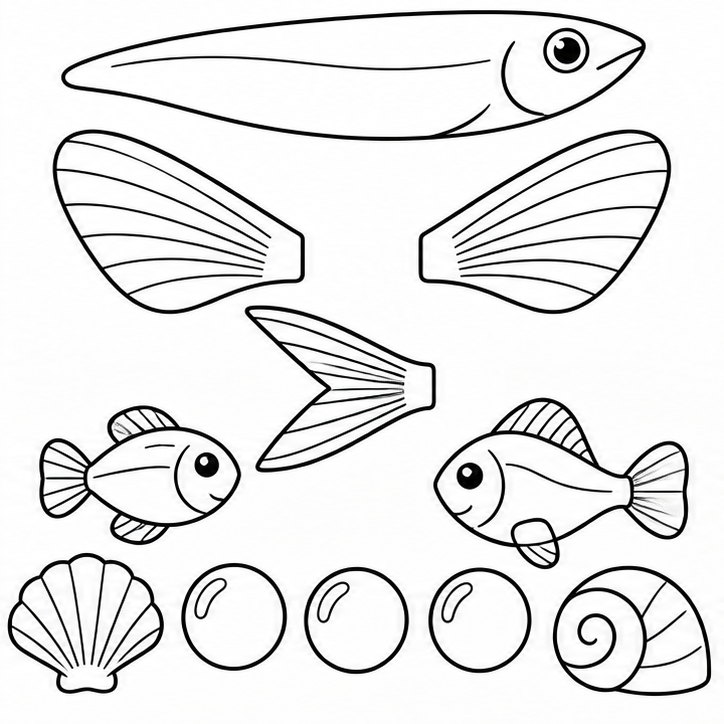
Flying fish over waves — all pieces to cut out
Pieces

Flying fish over waves

Color-in kit · Pieces: 11

Main character + 7 pieces: 2 fish, 2 shells, 3 bubbles.

Color before cutting. Arrange the pieces without glue, then glue in layer order.

Background, pieces and layer order
  1. Tail and upper wing fin behind the body.
  2. Body over the joins, facing right.
  3. Lower wing fin on the lower body edge.
  4. Place the two little fish in open water on either side.
  5. Put two shells on the bottom and three bubbles above.

Arrange without glue first. Check that every piece has a place and the eye stays visible. If a join shows, move the body a little closer to the tail.

Background · PNG · Pieces · PNG · Example · PNG

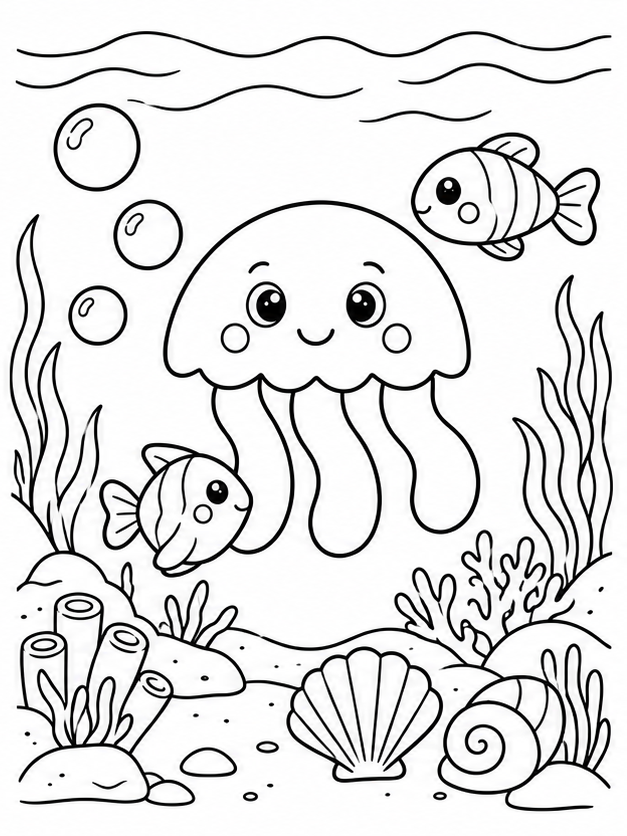
Jellyfish in a lagoon — assembly example
Example
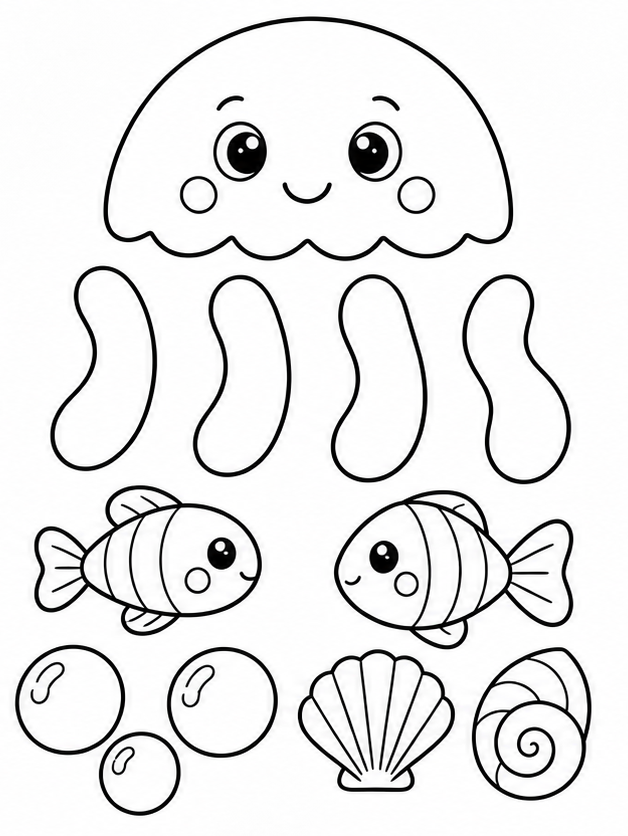
Jellyfish in a lagoon — all pieces to cut out
Pieces

Jellyfish in a lagoon

Color-in kit · Pieces: 12

Main character + 7 pieces: 2 fish, 2 shells, 3 bubbles.

Color before cutting. Arrange the pieces without glue, then glue in layer order.

Background, pieces and layer order
  1. Four tentacles behind the bottom of the dome.
  2. Dome over their top edges; keep the face visible.
  3. Place the two little fish in open water on either side.
  4. Put two shells on the bottom and three bubbles above.

Arrange without glue first. Check that every piece has a place and the eye stays visible. If a join shows, move the body a little closer to the tail.

Background · PNG · Pieces · PNG · Example · PNG

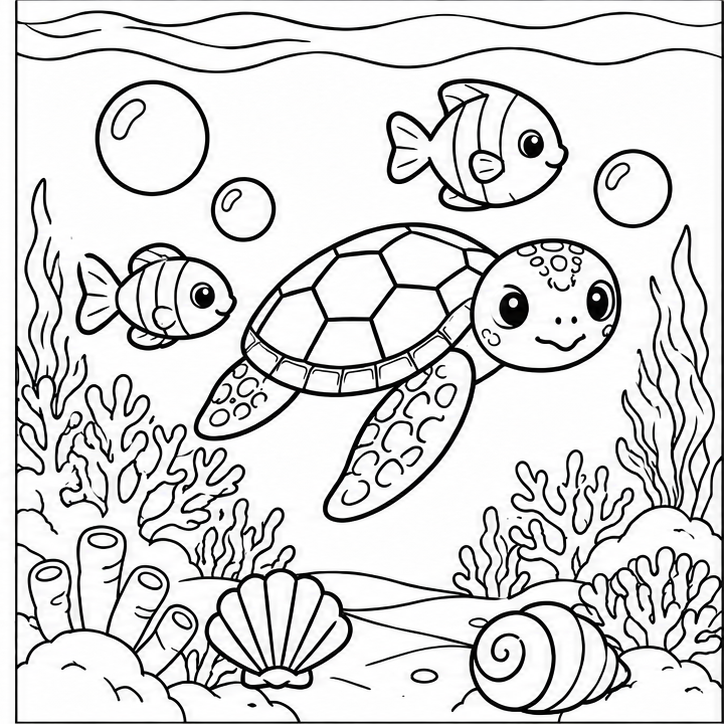
Sea turtle over coral — assembly example
Example
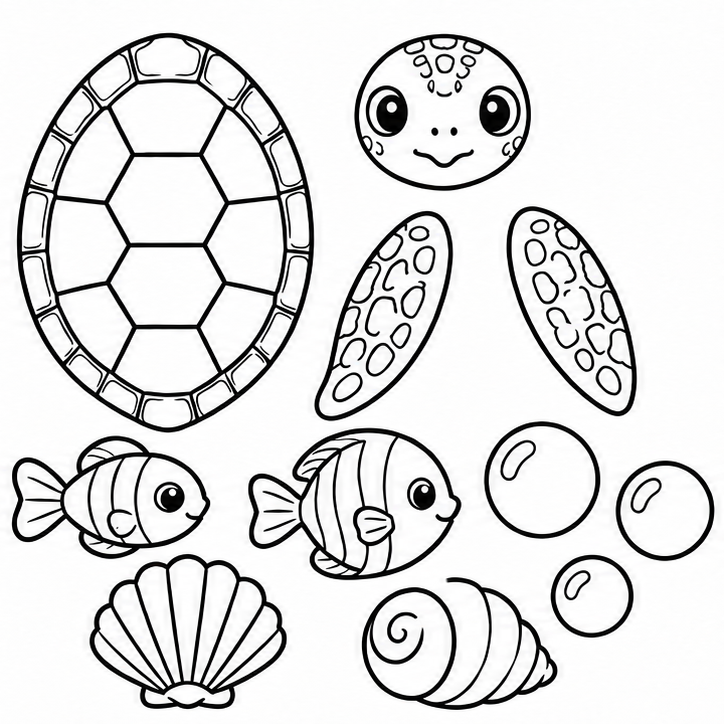
Sea turtle over coral — all pieces to cut out
Pieces

Sea turtle over coral

Color-in kit · Pieces: 11

Main character + 7 pieces: 2 fish, 2 shells, 3 bubbles.

Color before cutting. Arrange the pieces without glue, then glue in layer order.

Background, pieces and layer order
  1. Two flippers behind the lower shell edge.
  2. Shell over the flipper joins; turn it sideways.
  3. Head over the right shell edge.
  4. Place the two little fish in open water on either side.
  5. Put two shells on the bottom and three bubbles above.

Arrange without glue first. Check that every piece has a place and the eye stays visible. If a join shows, move the body a little closer to the tail.

Background · PNG · Pieces · PNG · Example · PNG

What makes this a paper applique?

An applique is a flat composition of paper pieces glued onto a background. Each kit has a main sea creature and seven separate scene pieces: two little fish, two shells and three bubbles. Children assemble the character, arrange its companions, place objects on the seabed and leave open water around them. Choose from 12 different kits: six in color and six to color in.

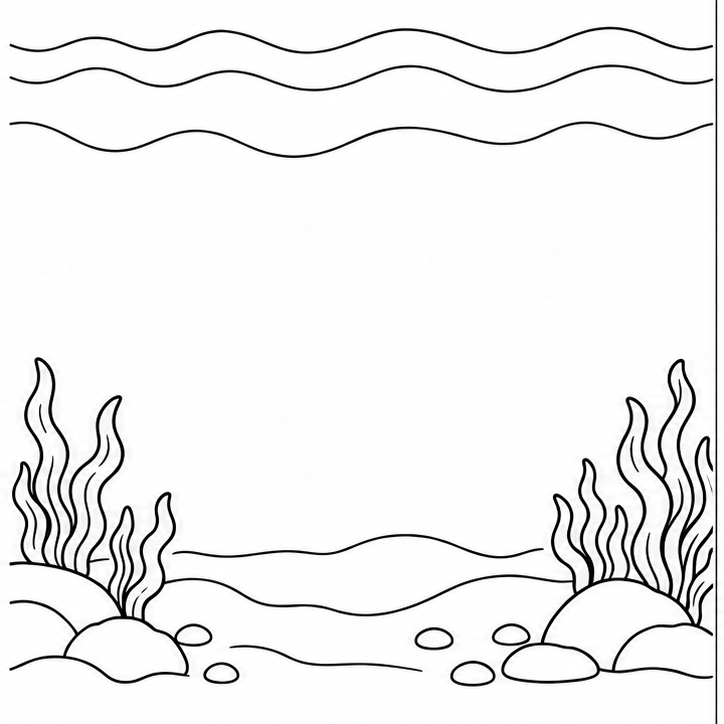
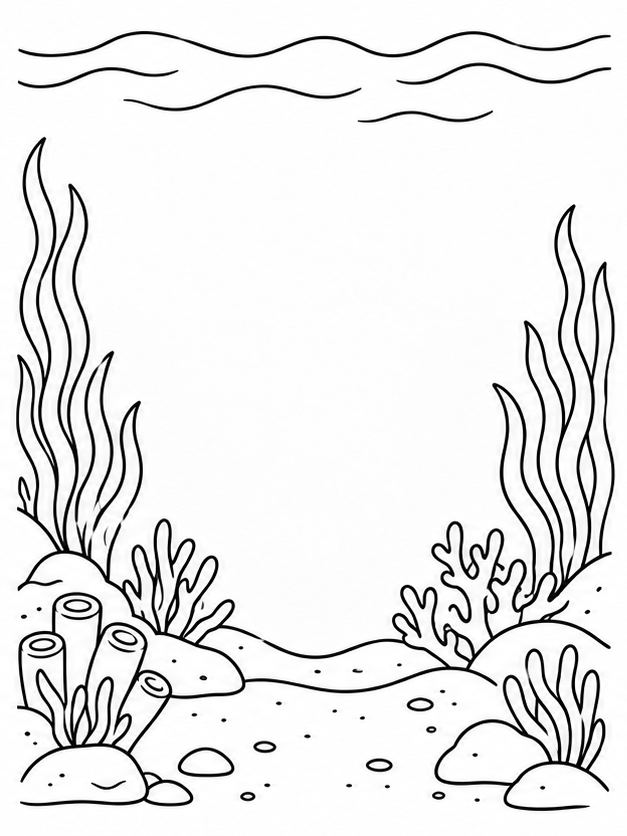
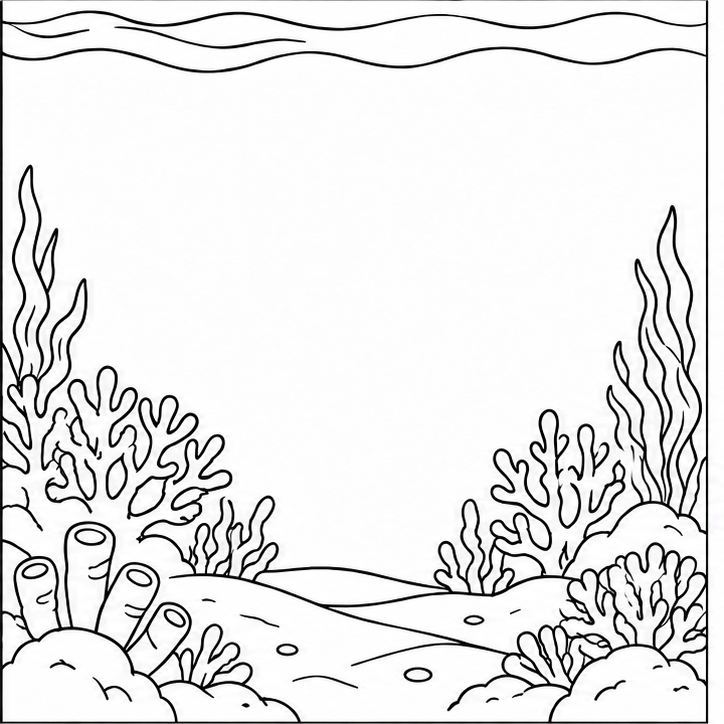
Each PDF has two pages. The first is the background that stays whole. The second contains large pieces to cut out, with a small assembled example beside the numbered layer order. Refer to that example while working; it is a guide, not an extra piece. You do not need to print a separate example page. Download A4 or US Letter to match your paper. Background, pieces and example are also available separately as PNG files.

Prepare the paper and tools

You need ordinary printer paper, a glue stick, coloring pencils and child scissors with rounded tips. Work seated at a clear table with a grown-up nearby. Print the background and parts at the same scale, preferably 100 percent. Avoid enlarging just one page: the pieces may no longer fit the scene. A slightly thicker background helps the finished picture stay flat.

For an outline kit, color the pieces before cutting. The complete sheet is easier to hold than a loose fin. Keep pencil marks inside the main outlines and leave the face visible. You can color the background too, or keep the water white. If cutting is still a new skill, a grown-up can prepare the pieces while the child chooses their positions and applies the glue.

Cut, arrange and build in layers

Cut around the outside of each piece; the eye, smile and body decorations stay printed inside it. Make short cuts and turn the paper with your free hand when the edge curves. First cut a loose area around a piece, then approach its outline. Stop if your hand gets tired. A broad white border is fine if it makes the cutting comfortable.

Place every piece on the background without glue. Use the numbered order for that particular animal: rear pieces first, body over the joins, then any front decorations. Notice how overlap keeps a tail attached visually and hides a rough edge. Check the example for direction and placement. Count the pieces before gluing so that a fin is not left behind.

Lift one piece at a time and spread a thin layer of glue on its back, including its broad edges. Return it to the position you tested and press gently from the middle outward. Keep the eye uncovered. If a join shows, move the body slightly over it before the glue sets. If the paper curls, use less glue on the next piece and let the finished collage dry flat.

Make a second scene of your own

Once the first picture is finished, use another background or a blank sheet to try a new arrangement. Move the creature higher in the water, turn it toward a plant, or draw bubbles that tell a small story. Keep the same layer order even when the position changes. Ask which pieces need to sit behind the body and explain your choice before gluing.

You can leave a wide empty area for a sentence about the animal or give your scene a name. This final variation is a chance to make a decision independently, rather than copy the example again. Compare both pictures: which overlap is clearest, and where would you move a piece next time? Store unused pieces in an envelope and reuse the example when you want to build the scene again.

Arrange the whole scene before gluing. Place the main character slightly off center, two little fish in open water, the shells on the seabed and three bubbles rising upward. Why: this separates the main subject from its surroundings. Check: count all seven extra pieces, keep faces visible and leave gaps. Repair: spread crowded objects apart. Then try another composition with the same pieces; the example does not require exact copying.

Applique questions

Should I cut out the background?

No. Keep the background whole and cut only the pieces on page two.

How many pages are in each PDF?

Two. Page one is the background. Page two has the main character pieces, seven separate scenery pieces, a small example and layer order. Print both pages at the same scale.

Do I need an account?

No. Download every file directly, without an account or email address.

Can we change the arrangement?

Yes. Test the pieces without glue and preserve the rear and front layer order.