 kiduverse
How to start drawing in pencil: a basket of balls
Learn to construct simple forms, erase hidden edges and draw thickness, weaving and shading. Three levels, illustrated steps and A4 PDFs.
- 3 detail levels
- Paper, HB/2B pencil, eraser
- 18 parts
Tap a drawing below to choose your level. The other levels hide and the “trial → after checking” pairs get bigger.
One small still life, three finished routes. There are always three balls in the same arrangement. The simplest route ends at step 5; the intermediate route at step 8; the most detailed at step 11. After your finish, continue to independent tasks: repeated cards later are references, not new steps for that route.
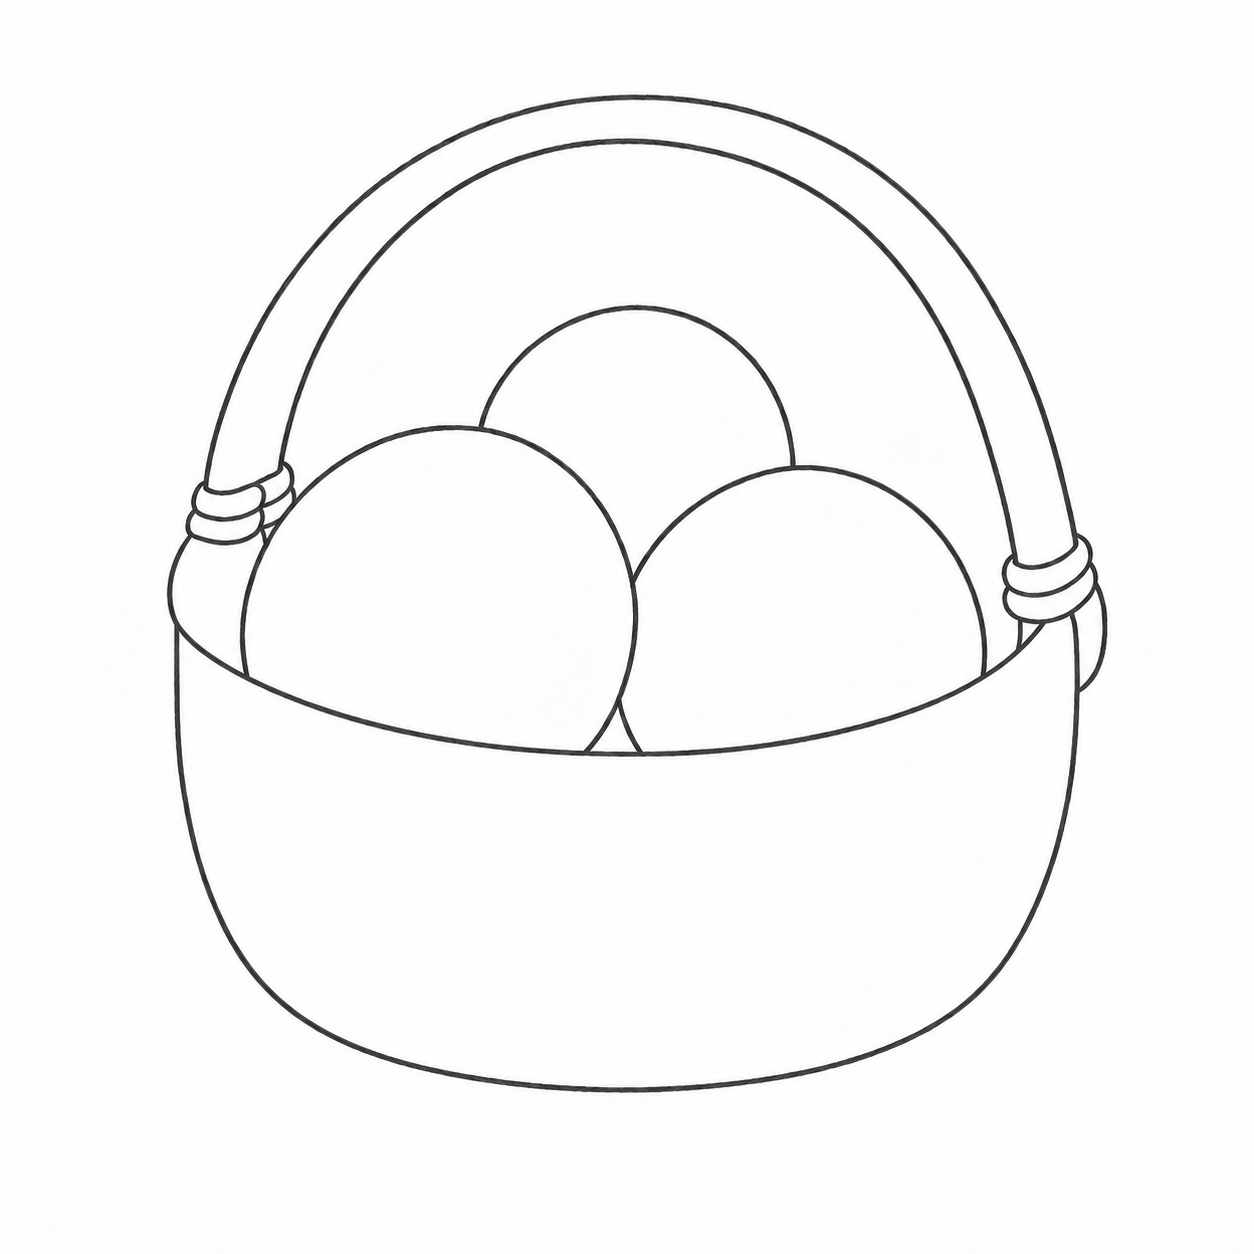
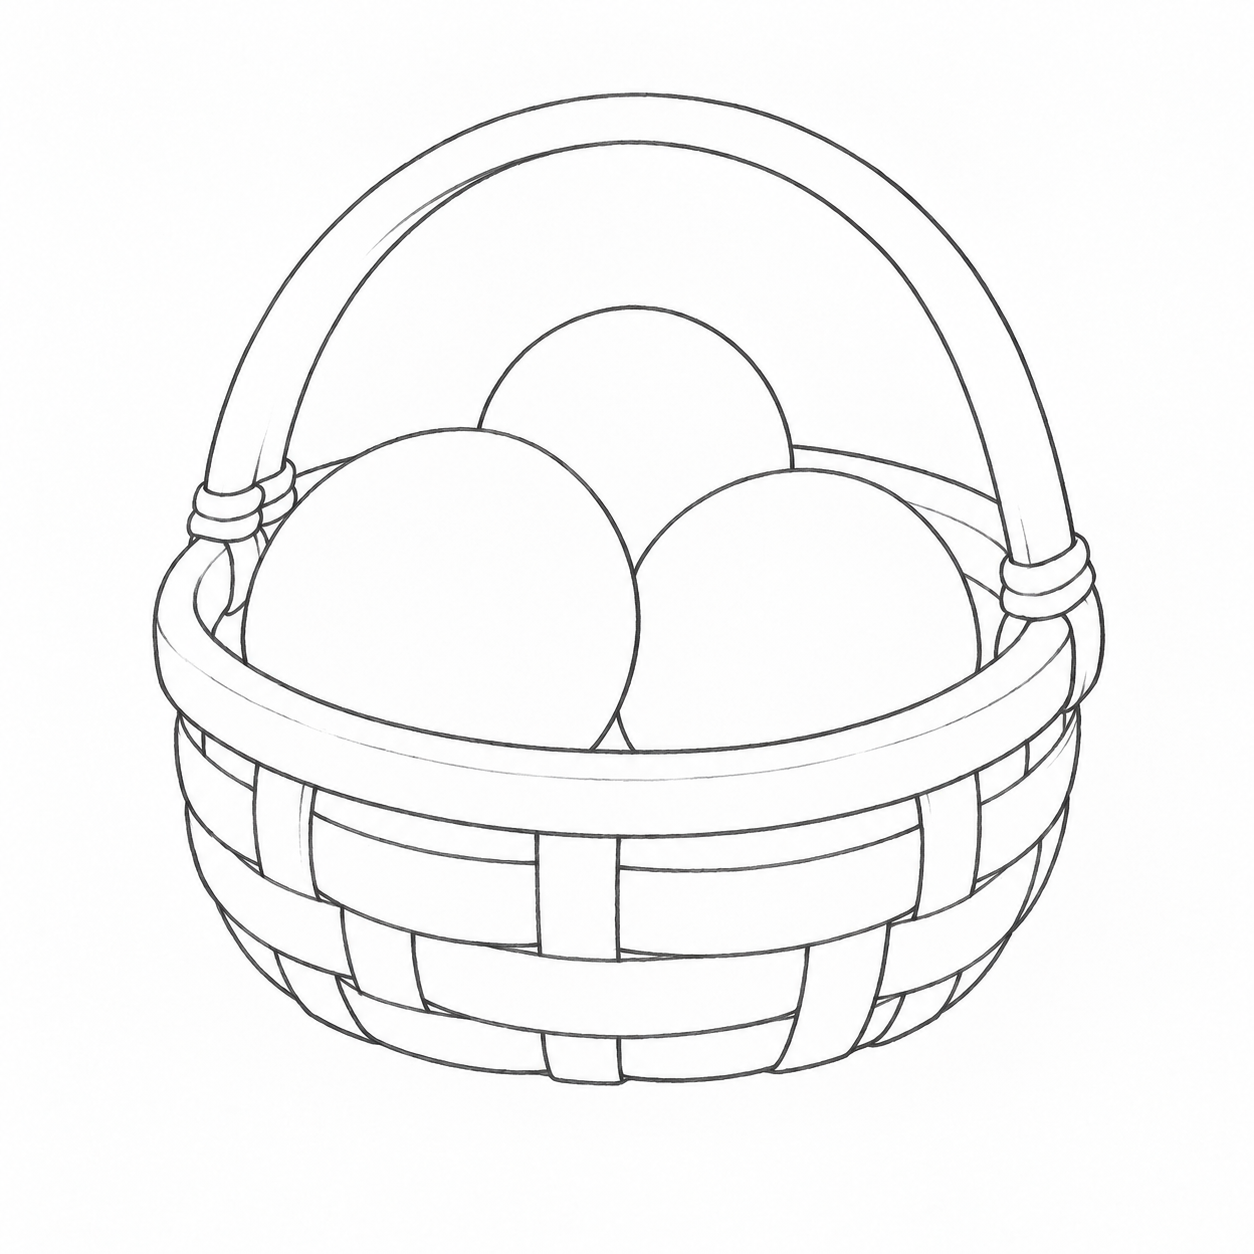
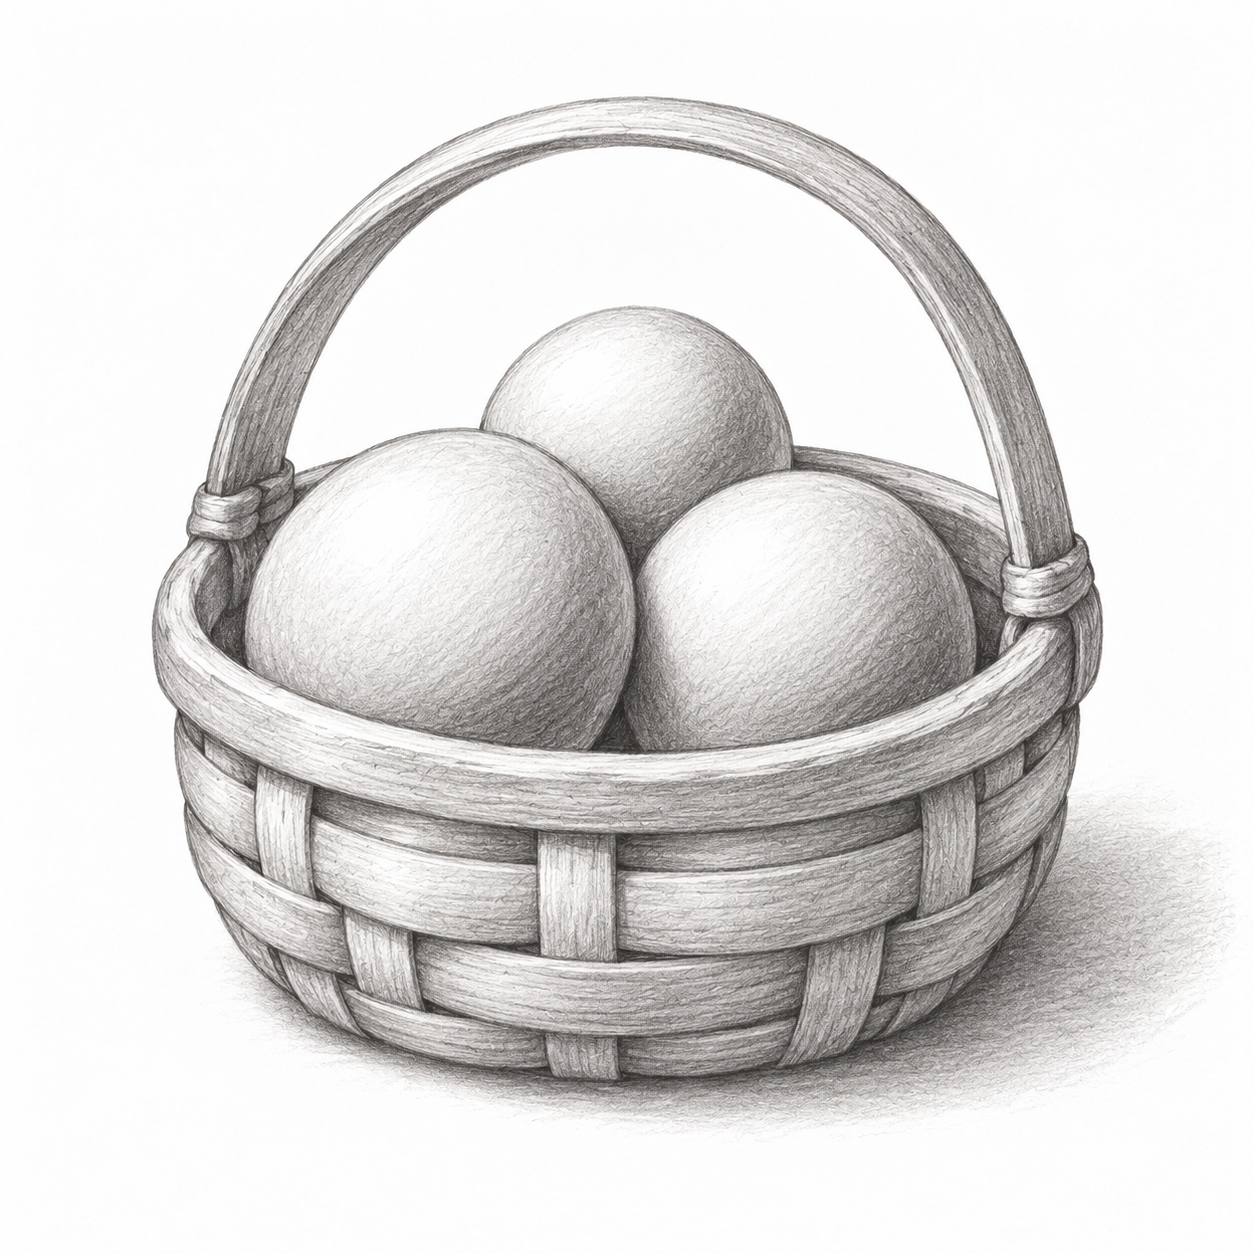
Goal and preparation
Construct a basket and decide which overlapping edges remain visible. Optionally continue with rim thickness and weaving, then grounded volume under one light. Use paper, an HB/2B pencil and an eraser; start with light circles, ovals and curves. Allow roughly 30–60 minutes with breaks; around age 7 is a suggestion, not an ability rating. Simplify by stopping with clean contours at step 5. Extend by solving a new condition independently. This is a first object study rather than a complete drawing course.
Technique 1. Construction and visible edges
A light circle places a ball without requiring its whole outline to remain. Choose the front of two intersecting circles and erase the covered rear arc. Then construct thickness around an oval opening and one broad-ribbon crossing. Check: rear lines stop at foreground forms, rim curves agree, and ribbons turn with the surface. Repair one join rather than restarting the sheet.
Technique 2. Light on form and shadow on a support
For the detailed route choose the source first. On a sphere preserve white upper-left paper, add pale right-hand midtone, then deepen the lower-right form shadow with another layer. A cast shadow lies on the plane and touches the sphere. Check: can you distinguish light, midtone, form shadow and cast shadow? Repeat with right-hand light. If all is grey, lift the light rather than strengthening the whole outline.
Warm-up
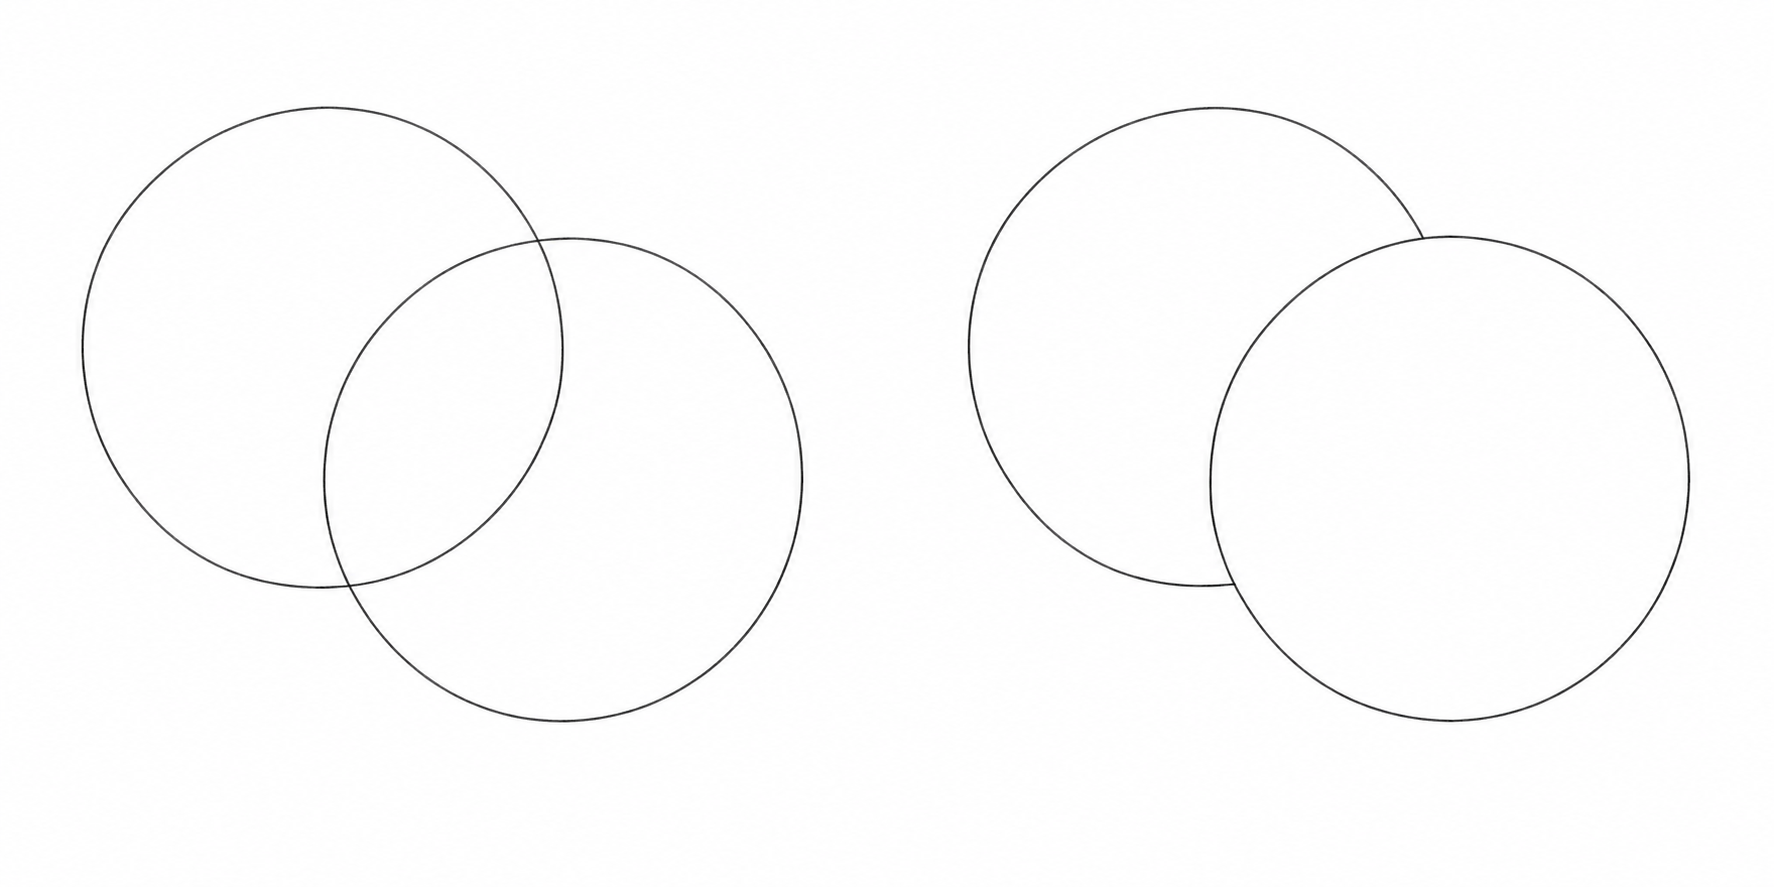
Choose the front circle and erase only the hidden edge. Then swap their order.
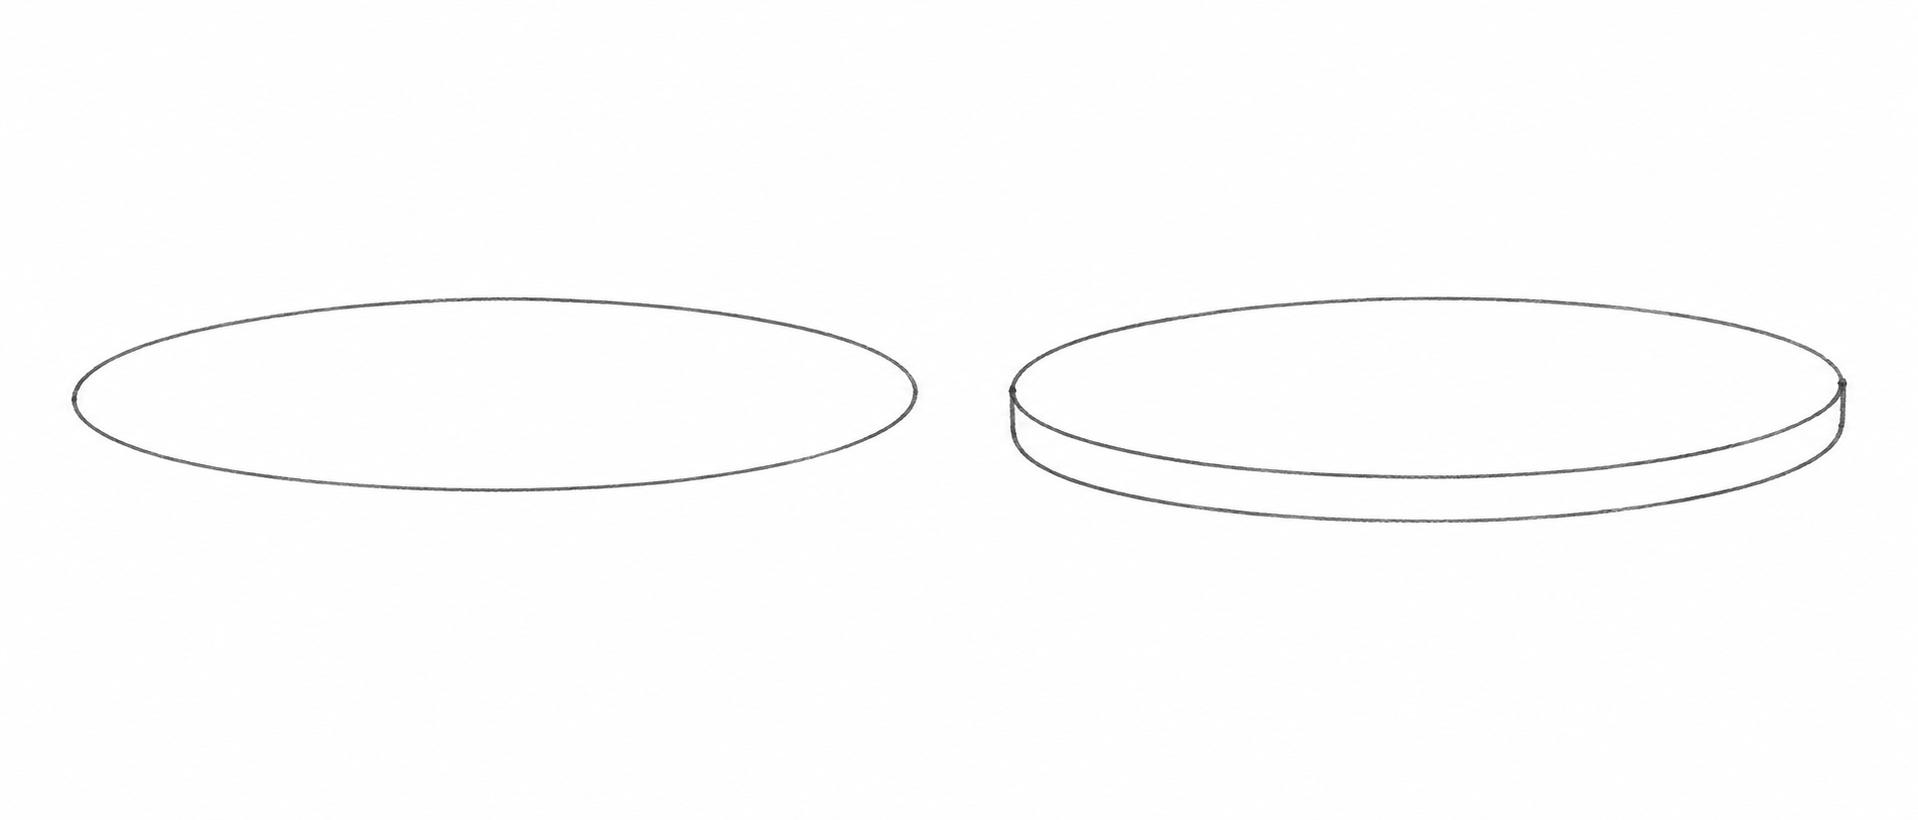
Construct two rim curves with coordinated endpoints. Repeat with a flatter opening.
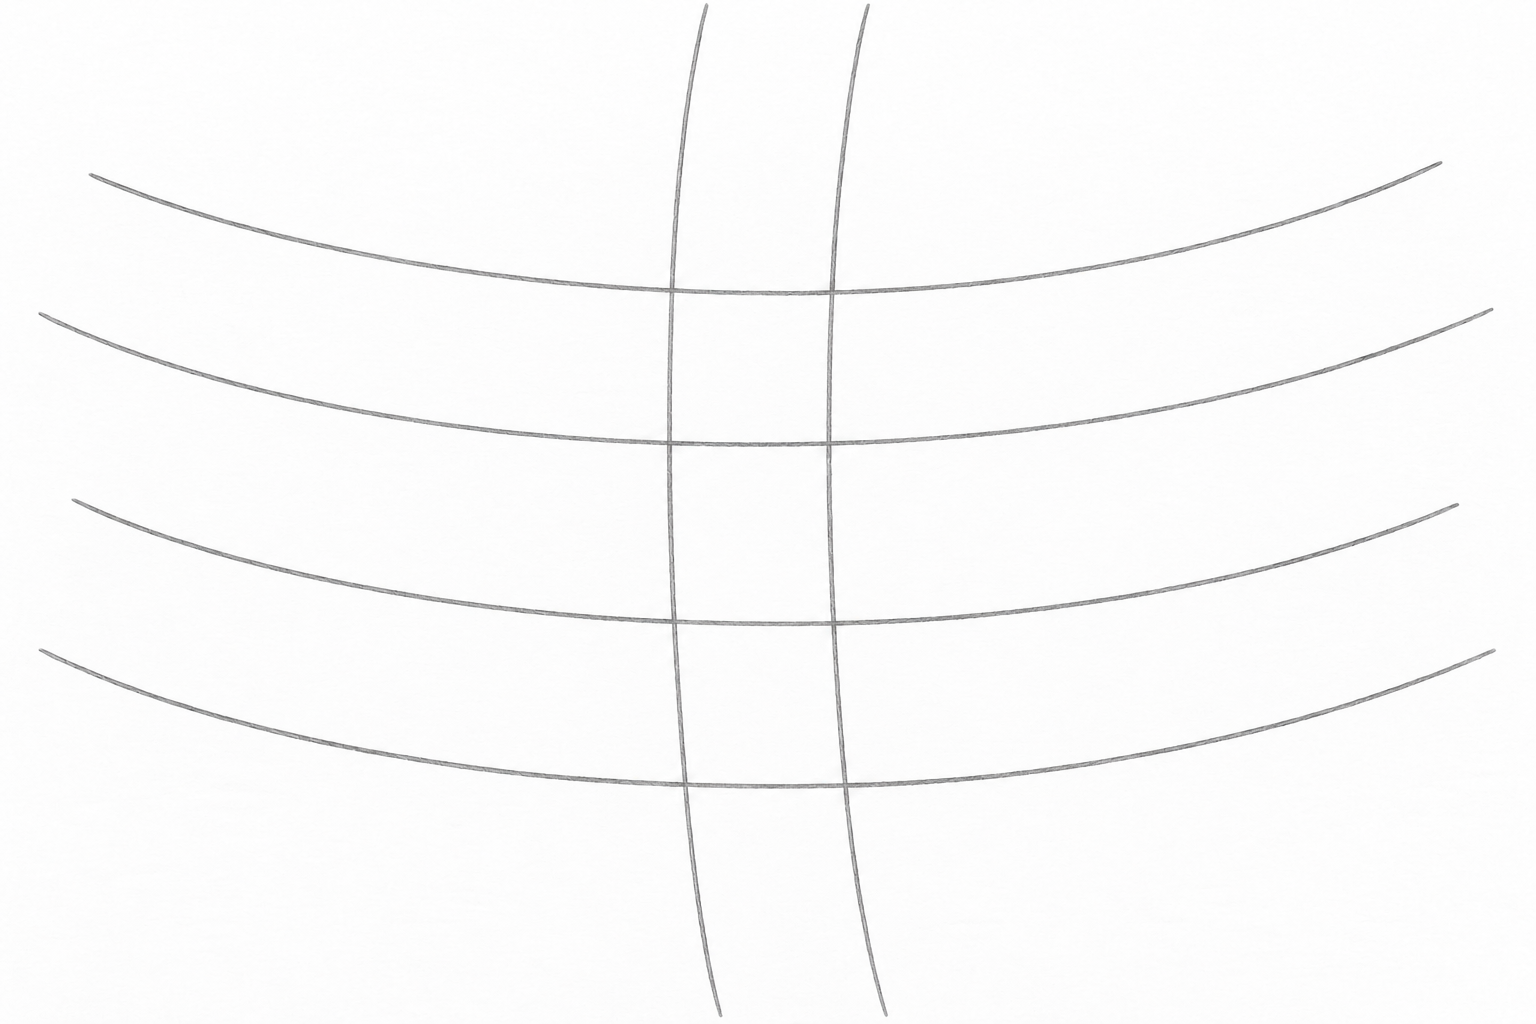
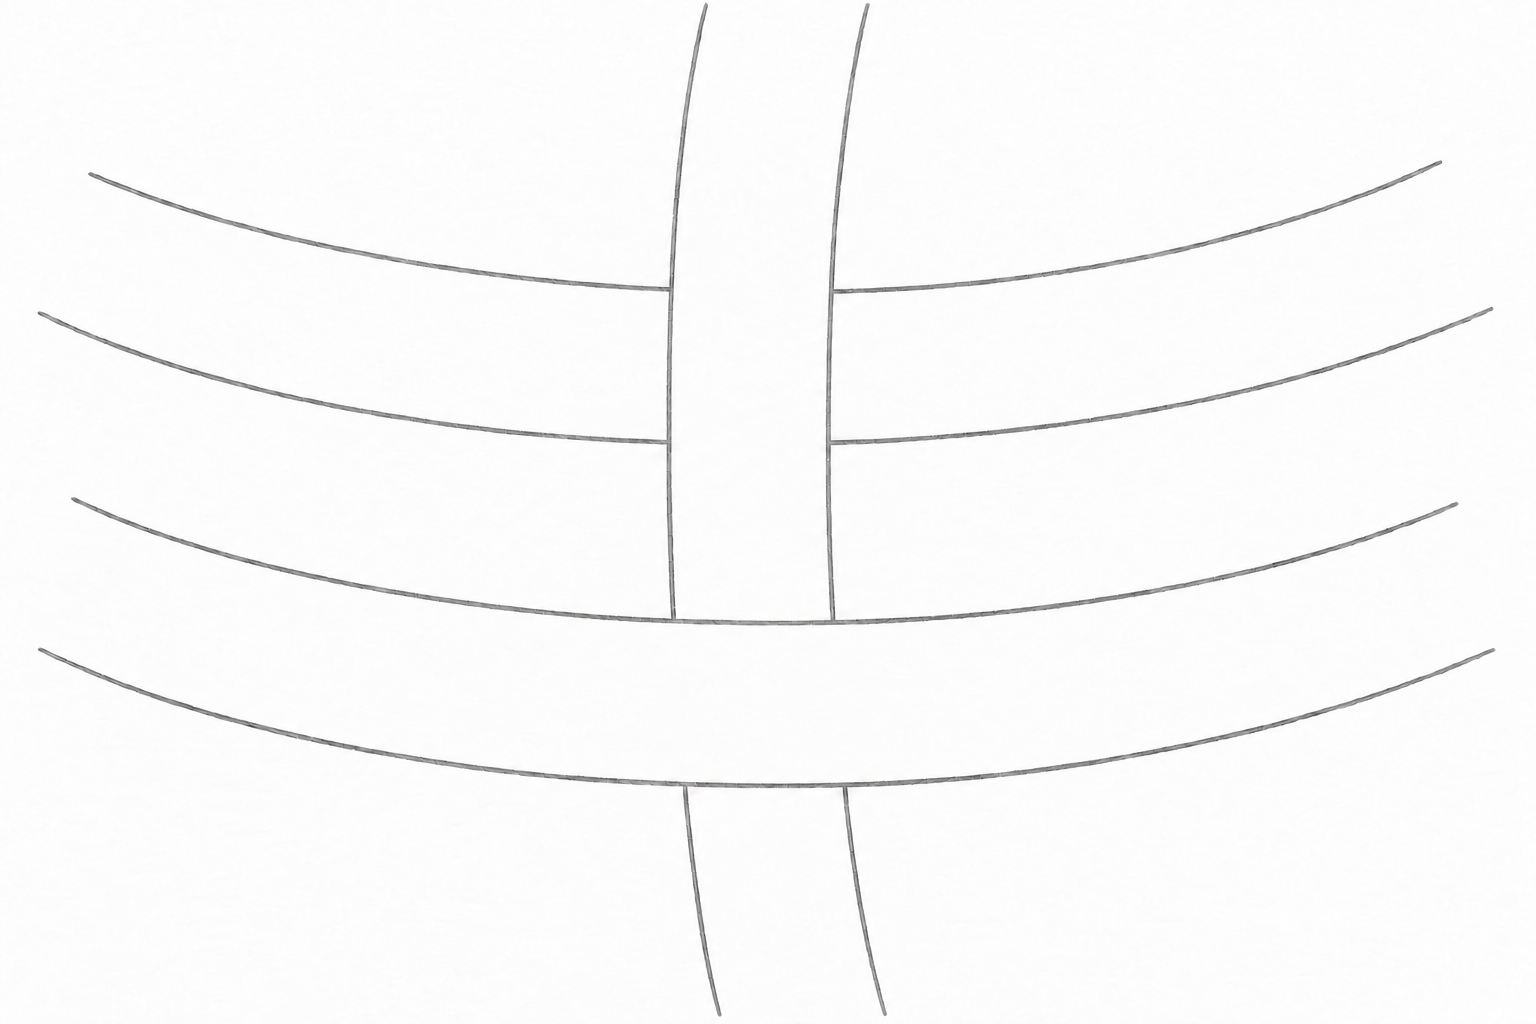
Name the upper ribbon and erase the hidden edge; reverse the order at the next crossing.
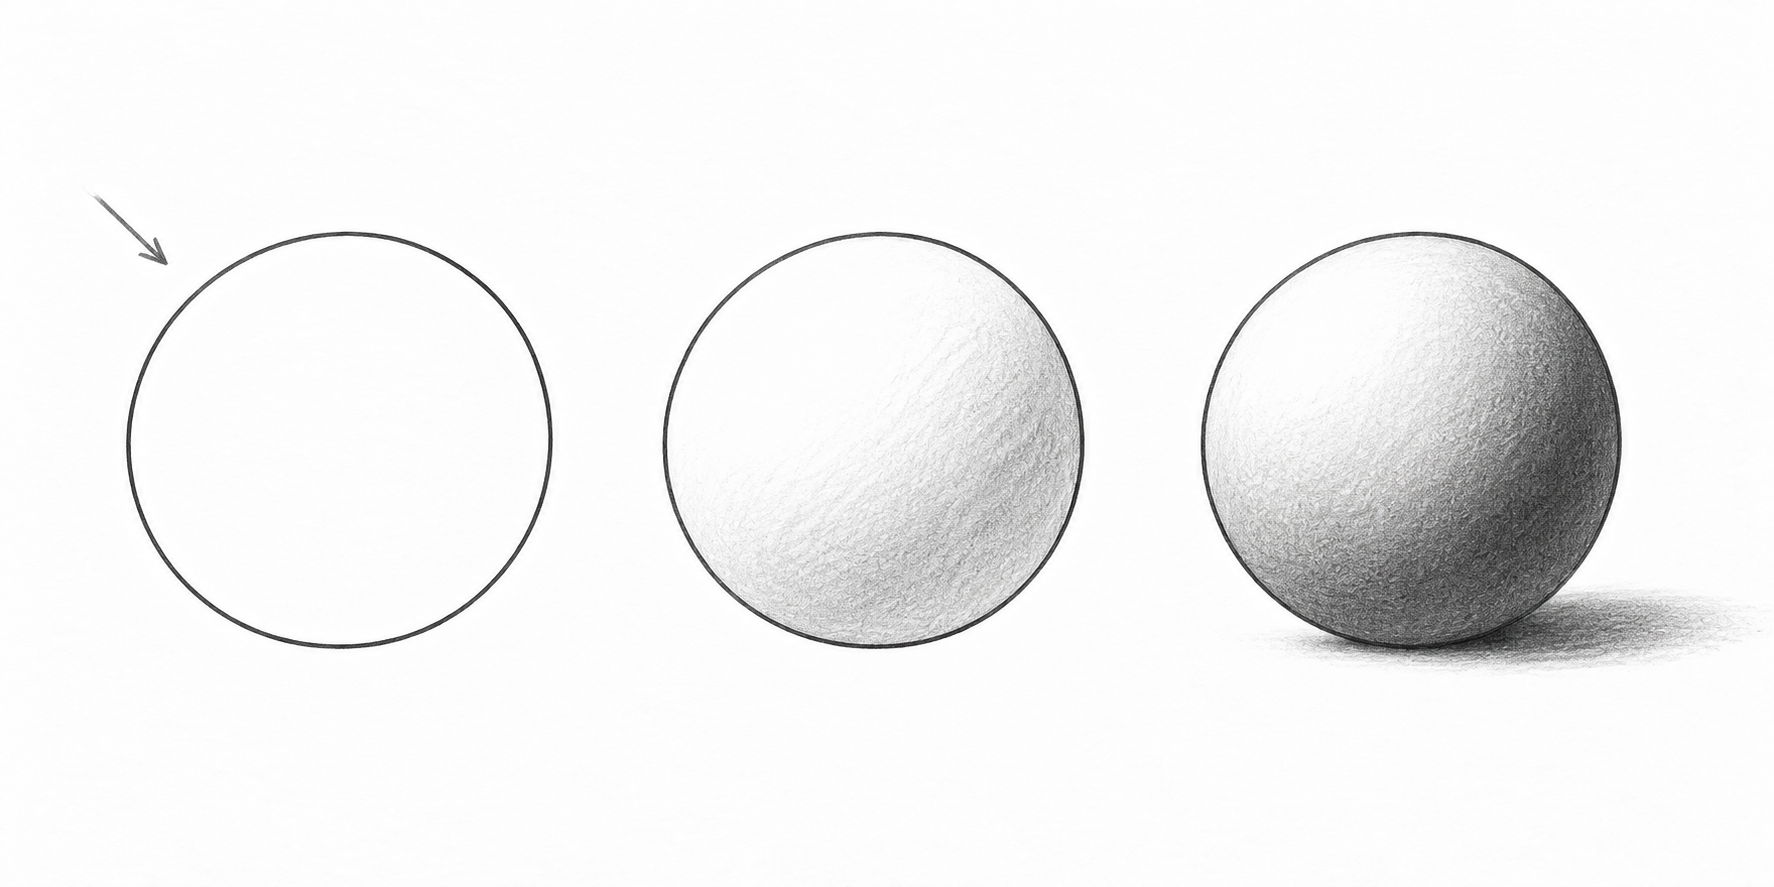
Preserve white, build two tonal layers and connect shadow to the support. Repeat with right-hand light.
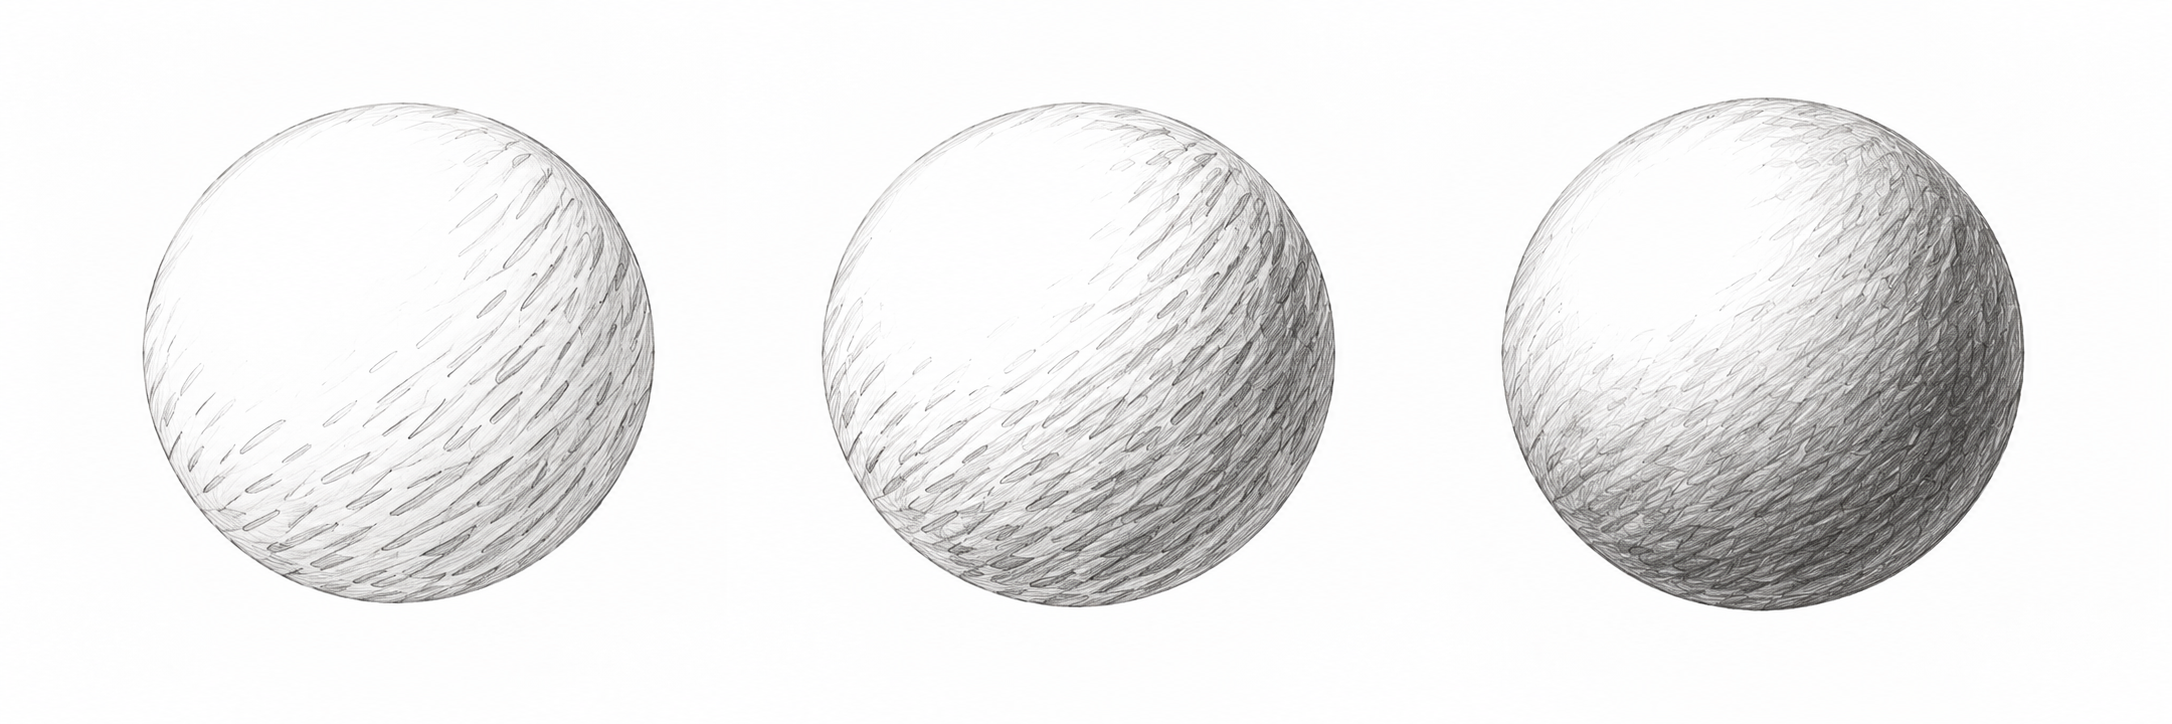
Practise the same mark enlarged: sparse short curves around the sphere, then another pass at a slightly changed angle. White gaps gradually close lower right while upper-left light stays untouched. Repeat gentle passes instead of pressing hard; do not smudge the graphite. Follow handle and ribbon curvature with the same short marks. Use the remaining page space for your three trials.
Step 1. Place the opening and wall
Shared foundation and simple finish.
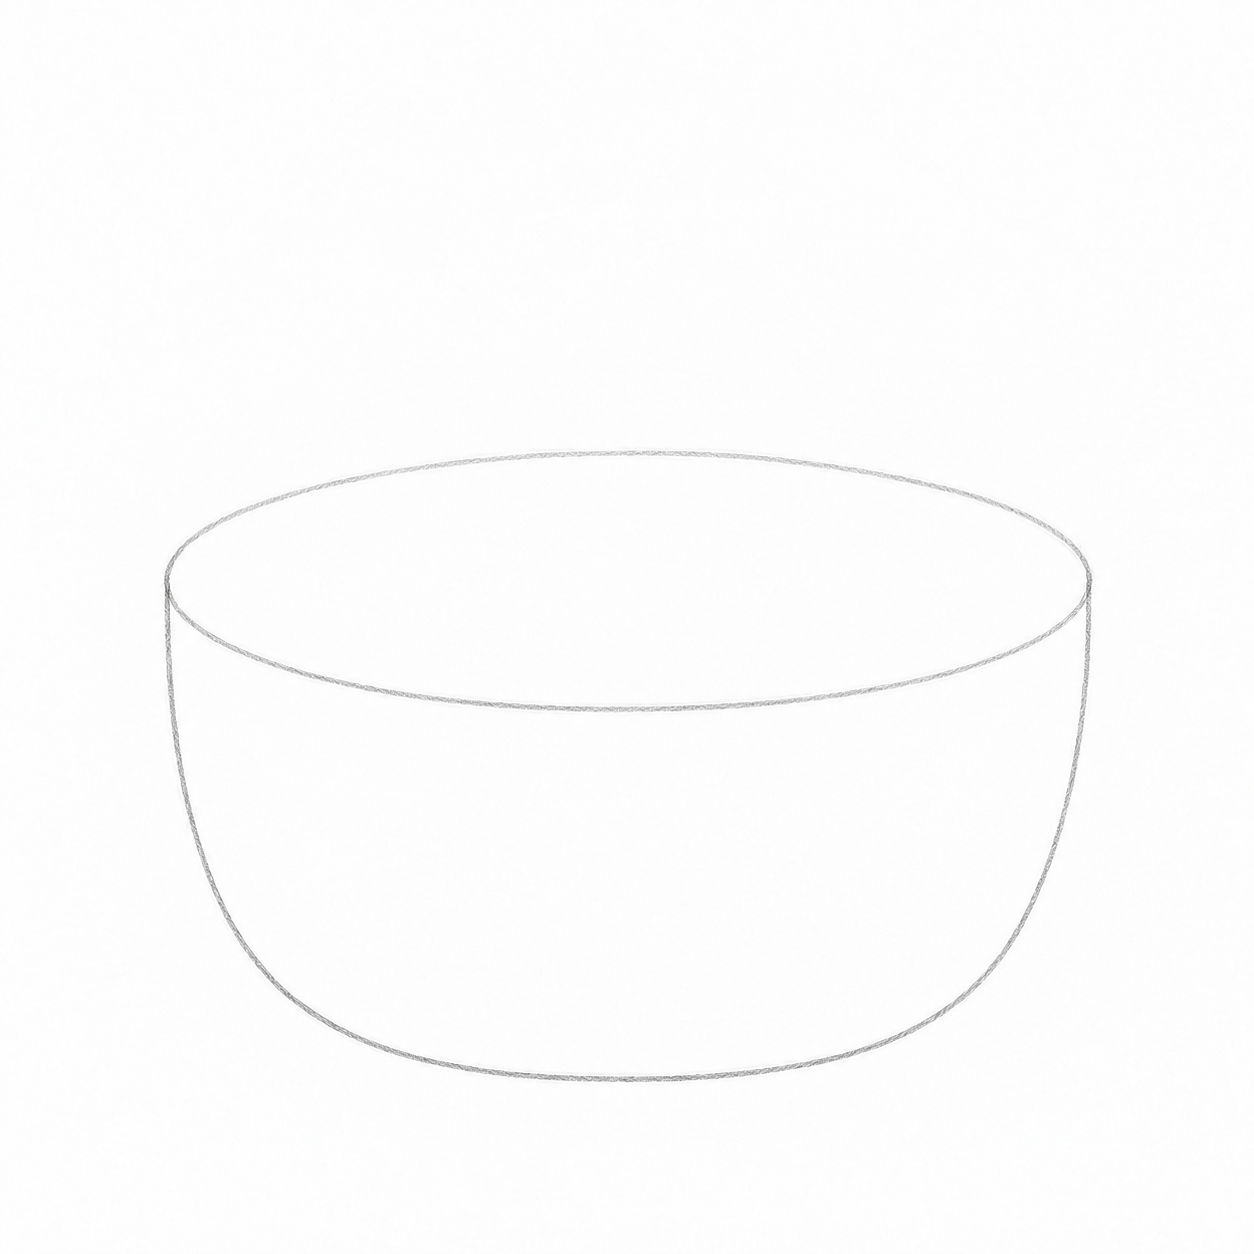
Simplest: Lightly draw a wide opening oval. Place a shallow rounded wall below it; leave room above for the handle.
A little more detail: Lightly draw a wide opening oval. Place a shallow rounded wall below it; leave room above for the handle.
Best version: Lightly draw a wide opening oval. Place a shallow rounded wall below it; leave room above for the handle.
Why: The oval establishes the opening tilt and the wall sets height before details. These faint guides can change.
Check: Is the opening wider than the wall is tall, with room for the handle?
Repair: Lighten and move one oval edge rather than tracing an unsuccessful trial.
Step 2. Place three balls
Shared foundation and simple finish.
Trial
After checking
Trial
After checking
Trial
After checking
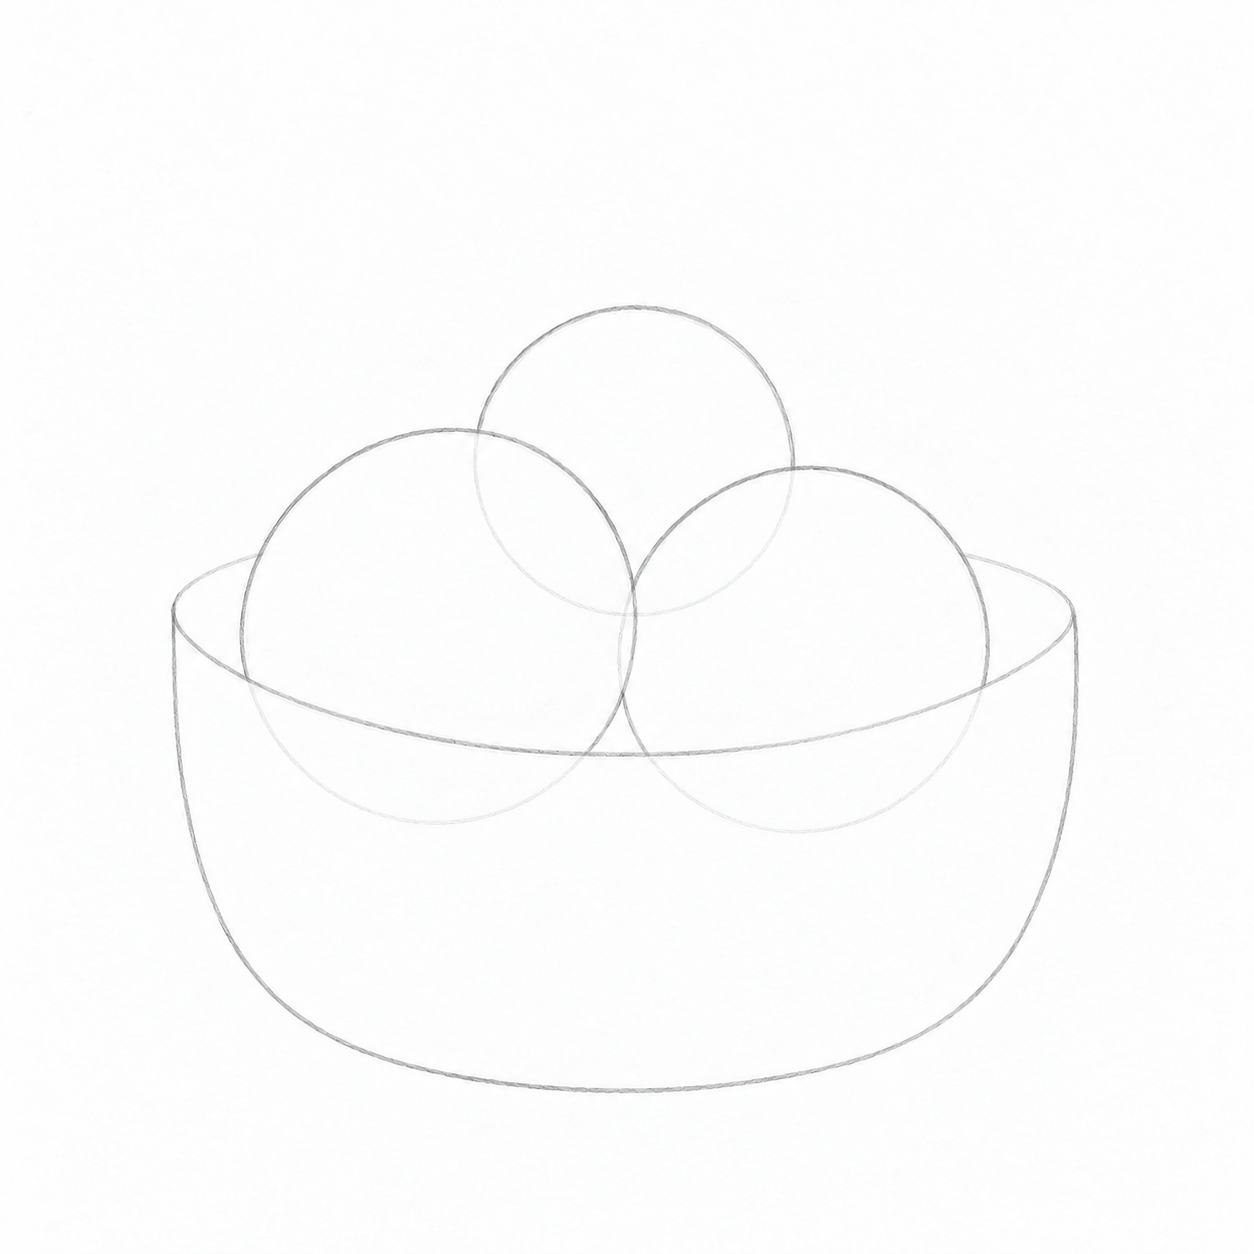
Simplest: Place two large circles in front and a smaller one between and above them. The front-left circle slightly overlaps the right; both cover the lower edges of the rear ball. Keep these guides very light.
A little more detail: Place two large circles in front and a smaller one between and above them. The front-left circle slightly overlaps the right; both cover the lower edges of the rear ball. Keep these guides very light.
Best version: Place two large circles in front and a smaller one between and above them. The front-left circle slightly overlaps the right; both cover the lower edges of the rear ball. Keep these guides very light.
Why: Choose sizes and depth order first. Transparent guides make centres easier to compare before finished shading.
Check: Are there exactly three balls? Is the smaller one behind, with both large balls fitting above the wall?
Repair: Move only one circle centre and lighten its previous arc.
Step 3. Select the basket contour
Shared foundation and simple finish.
Trial
After checking
Trial
After checking
Trial
After checking
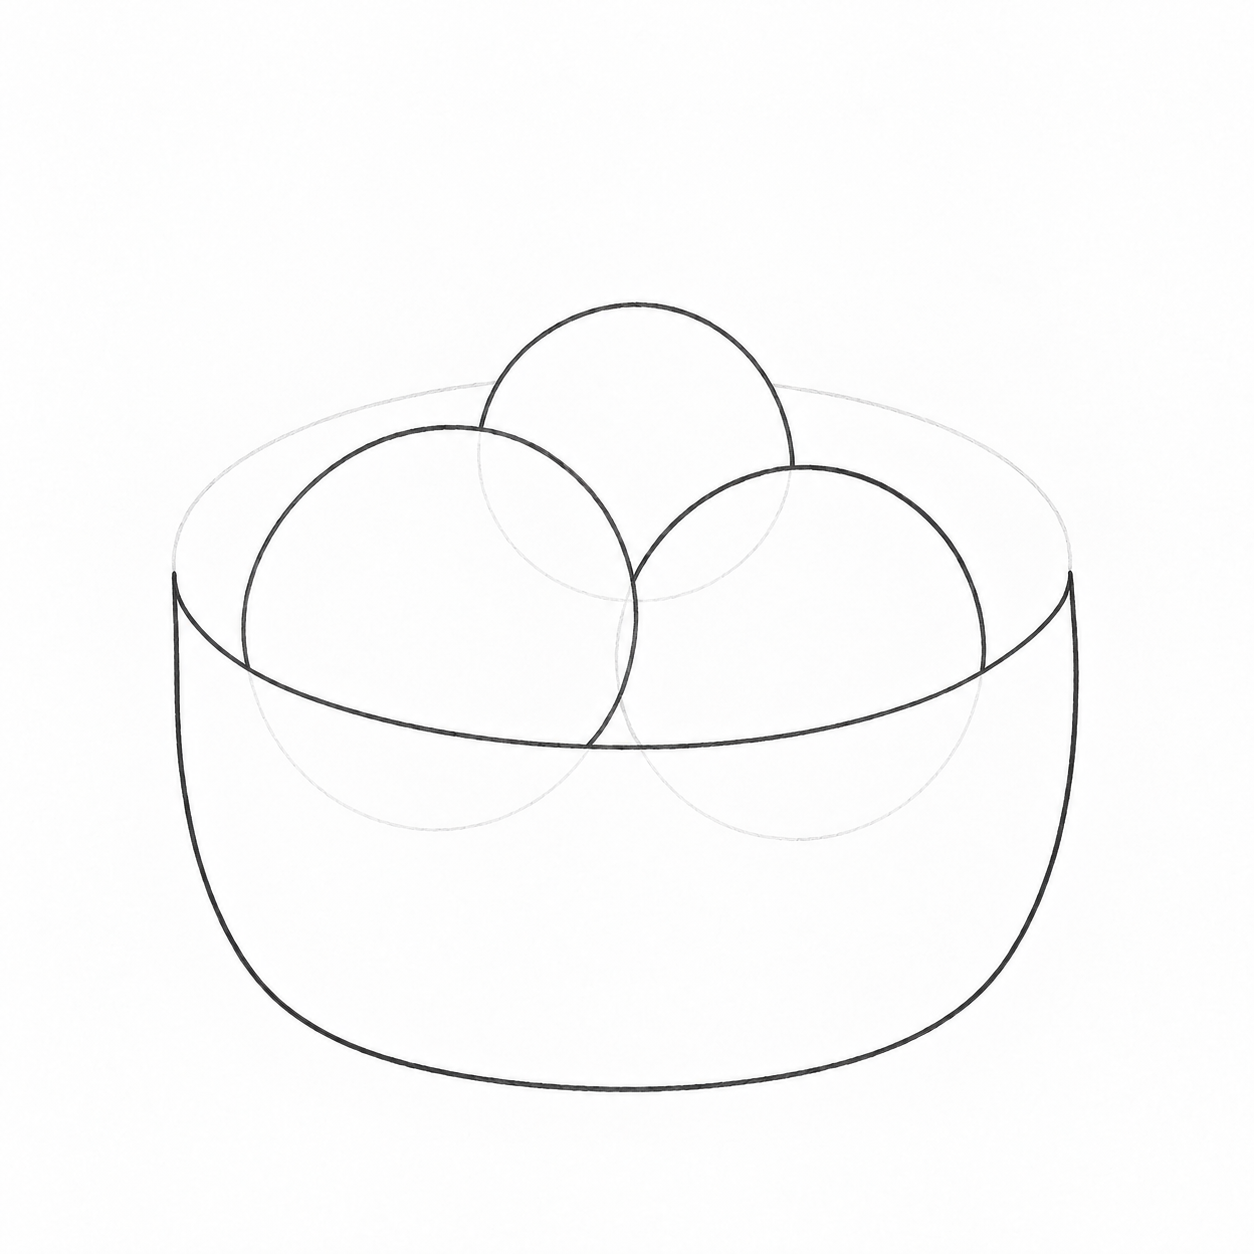
Simplest: Over the faint guide select the wall sides and rounded base. Join them with the front top-edge curve; leave the thick rim and weave for later.
A little more detail: Over the faint guide select the wall sides and rounded base. Join them with the front top-edge curve; leave the thick rim and weave for later.
Best version: Over the faint guide select the wall sides and rounded base. Join them with the front top-edge curve; leave the thick rim and weave for later.
Why: A joined silhouette turns guides into a basket. Its front upper edge lies before the lower parts of the balls.
Check: Do sides turn smoothly into the base? Is the front edge curved rather than ruler-straight?
Repair: Soften one base corner or lower the middle of the front curve.
Step 4. Connect the handle
Shared foundation and simple finish.
Trial
After checking
Trial
After checking
Trial
After checking
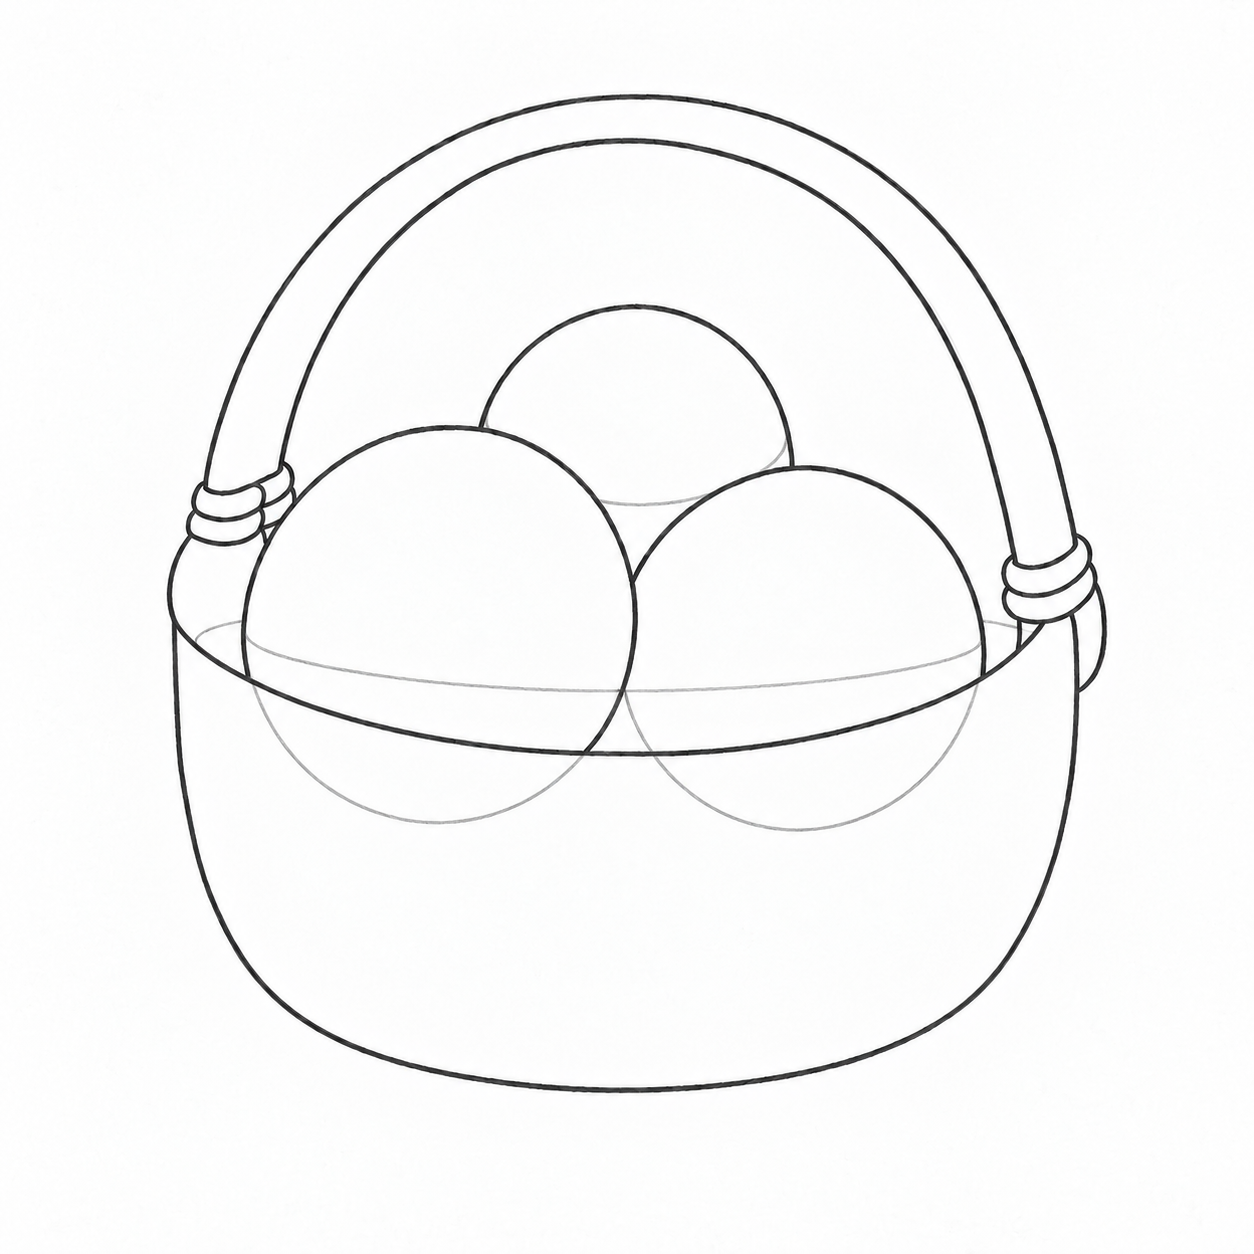
Simplest: Draw a large arch from the left edge over the balls to the right. Follow its turn with a nearby second curve to make a handle band. Add two short binding loops around each end.
A little more detail: Draw a large arch from the left edge over the balls to the right. Follow its turn with a nearby second curve to make a handle band. Add two short binding loops around each end.
Best version: Draw a large arch from the left edge over the balls to the right. Follow its turn with a nearby second curve to make a handle band. Add two short binding loops around each end.
Why: The handle must reach the basket. Binding loops turn around its band rather than floating beside it.
Check: Do both ends meet the basket edges? Is there a gap between the handle curves?
Repair: Extend a short endpoint to the rim; adjust only a pinched part of the inner curve.
Step 5. Erase hidden lines: simple finish
Shared foundation and simple finish.
Trial
After checking
Trial
After checking
Trial
After checking
Simplest: Erase lower ball arcs inside the wall, covered rear-ball arcs and opening guides. Preserve the foreground edge and visible silhouettes. Trial intersections are diagnostic; you need not copy them. This route is finished; continue to independent tasks.
A little more detail: Erase lower ball arcs inside the wall, covered rear-ball arcs and opening guides. Preserve the foreground edge and visible silhouettes. Trial intersections are diagnostic; you need not copy them.
Best version: Erase lower ball arcs inside the wall, covered rear-ball arcs and opening guides. Preserve the foreground edge and visible silhouettes. Trial intersections are diagnostic; you need not copy them.
Why: An opaque foreground form hides what is behind it. Removing specific lines makes depth readable without shading.
Check: Do balls stop at the wall instead of showing through it? Does a rear arc stop at the foreground ball?
Repair: Restore an accidentally erased exposed endpoint; remove only its continuation inside the front form.
Step 6. Construct rim thickness
Continue: construction.
Trial
After checking
Trial
After checking
Simplest: This route finished at step 5. Its endpoint is shown only for reference; continue to independent practice.
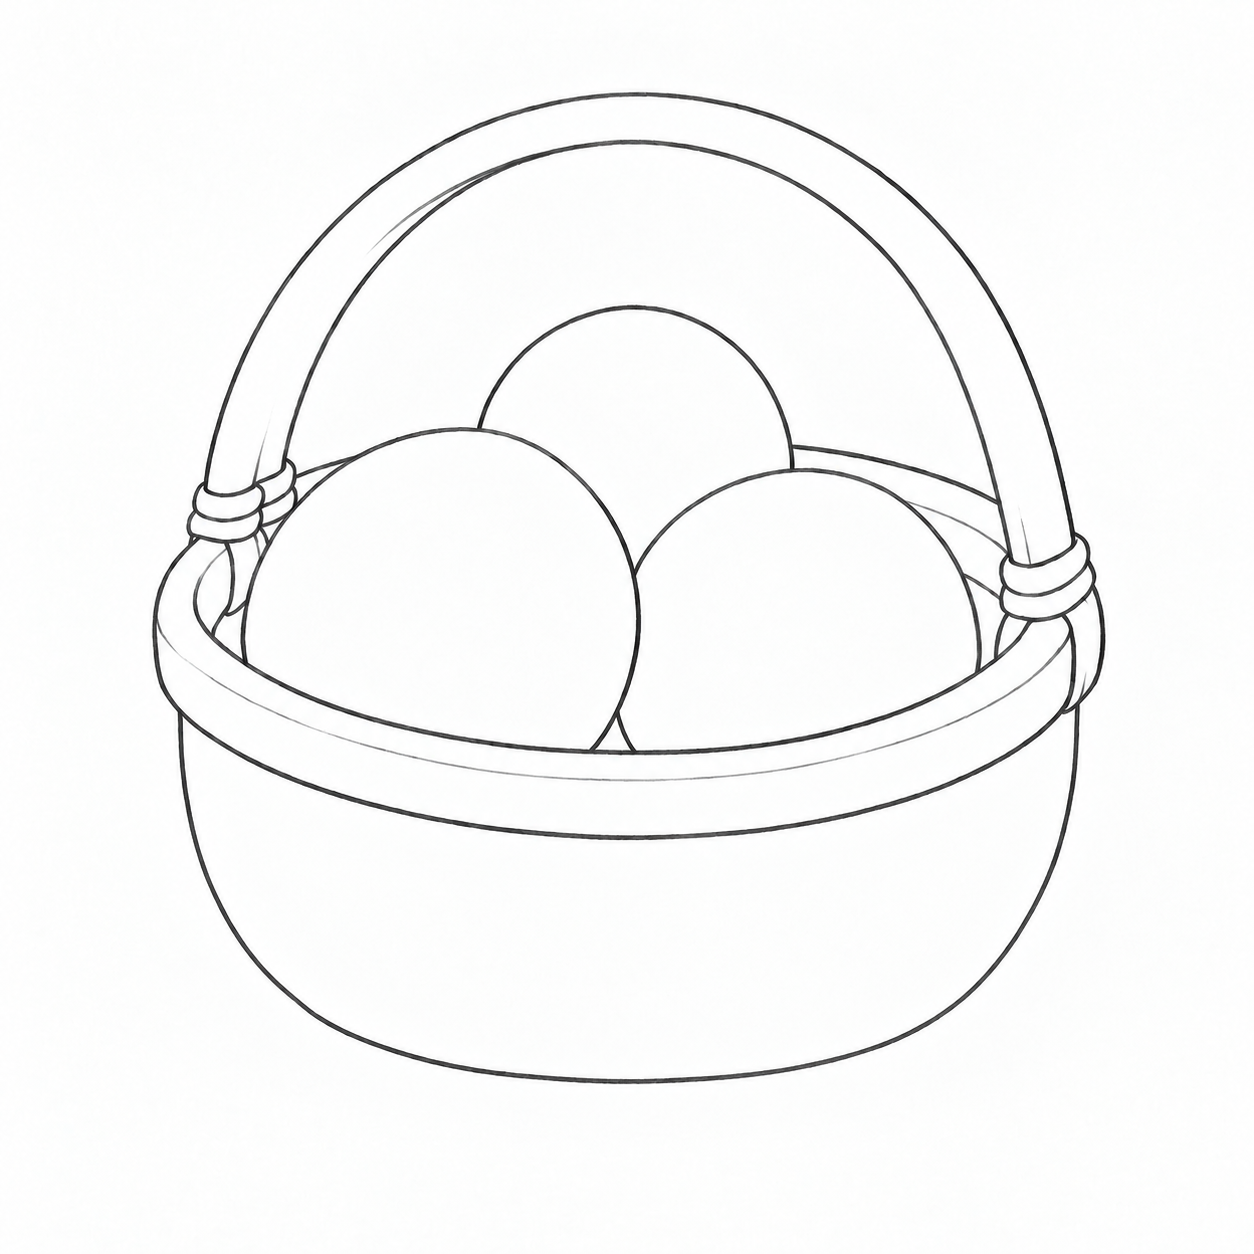
A little more detail: For the two continuing routes draw a second front curve below the existing one. Join them with rounded returns at the ends; the inside opening remains visible beside the balls. Keep the wall white.
Best version: For the two continuing routes draw a second front curve below the existing one. Join them with rounded returns at the ends; the inside opening remains visible beside the balls. Keep the wall white.
Why: Two coordinated curves show a band with thickness in space. This constructs a part rather than thickening the old outline.
Check: Does the rim turn around the opening without its edges crossing or flaring randomly?
Repair: Lighten one curve and adjust its local spacing without moving the balls.
Step 7. Turn broad bands around the wall
Continue: construction.
Trial
After checking
Trial
After checking
Simplest: This route finished at step 5. Its endpoint is shown only for reference; continue to independent practice.
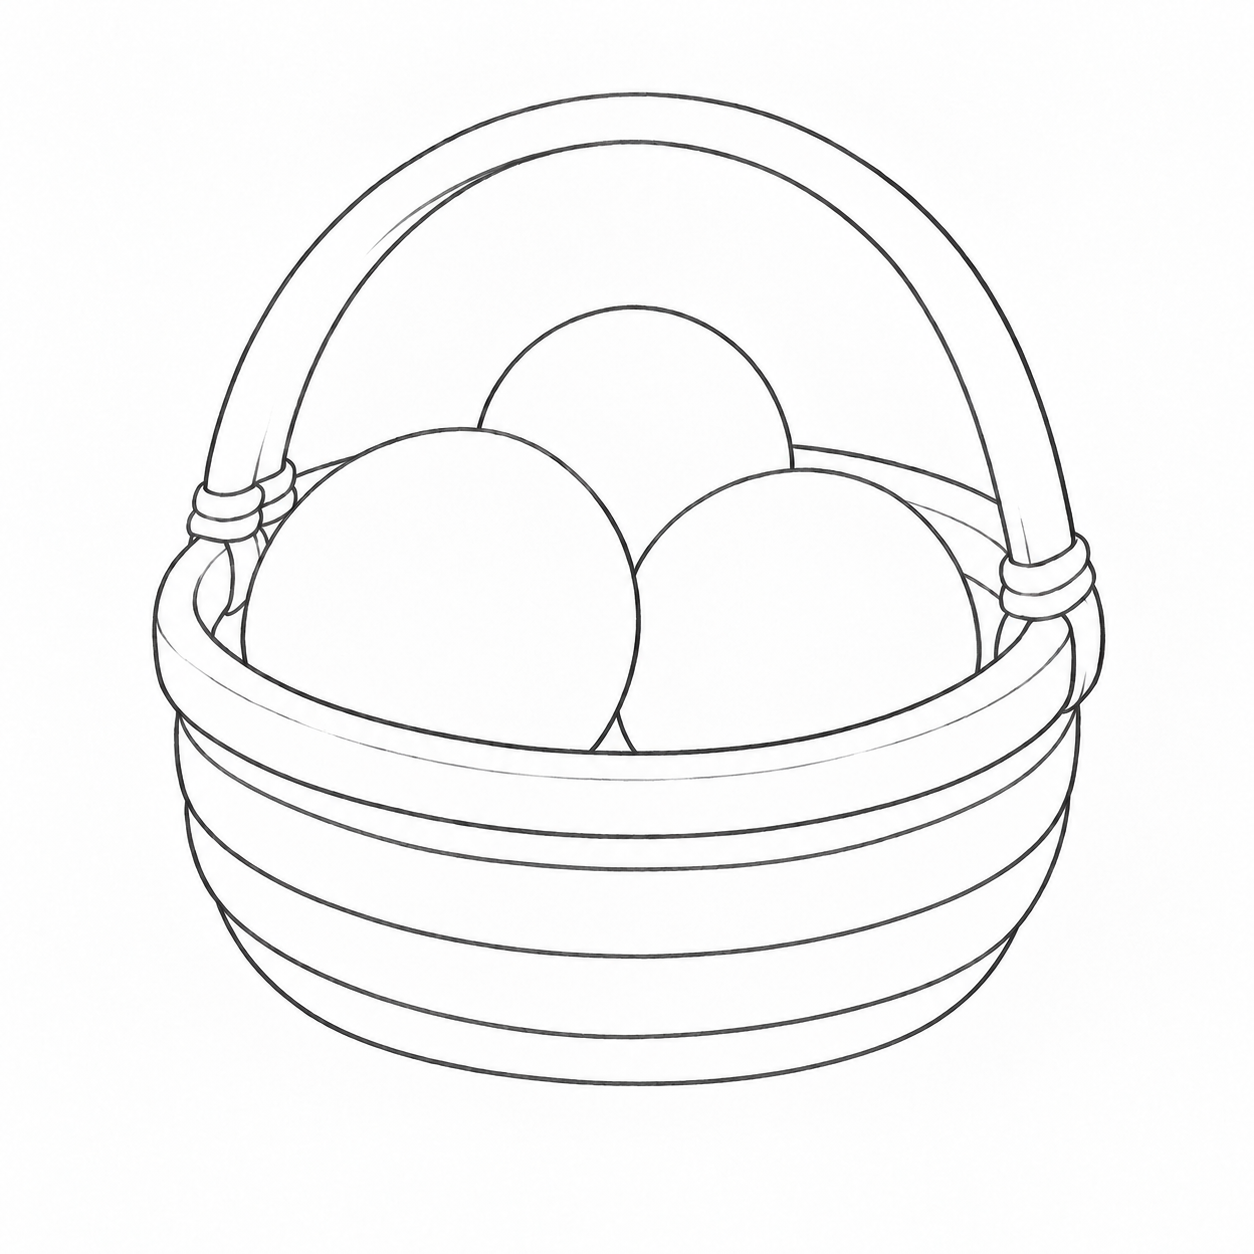
A little more detail: Starting at the completed rim, draw three broad horizontal bands. Their edges follow the basket curve and compress near the sides. Leave upright ribbons for the next step.
Best version: Starting at the completed rim, draw three broad horizontal bands. Their edges follow the basket curve and compress near the sides. Leave upright ribbons for the next step.
Why: A rounded wall needs surface-following curves; flat straight lines would turn it into a grid.
Check: Do both edges of each band turn consistently towards the sides without crossing?
Repair: Lighten and curve just one overly straight edge while preserving the rim.
Step 8. Turn and interlace broad bands
Continue: construction.
Trial
After checking
Trial
After checking
Simplest: This route finished at step 5. Its endpoint is shown only for reference; continue to independent practice.
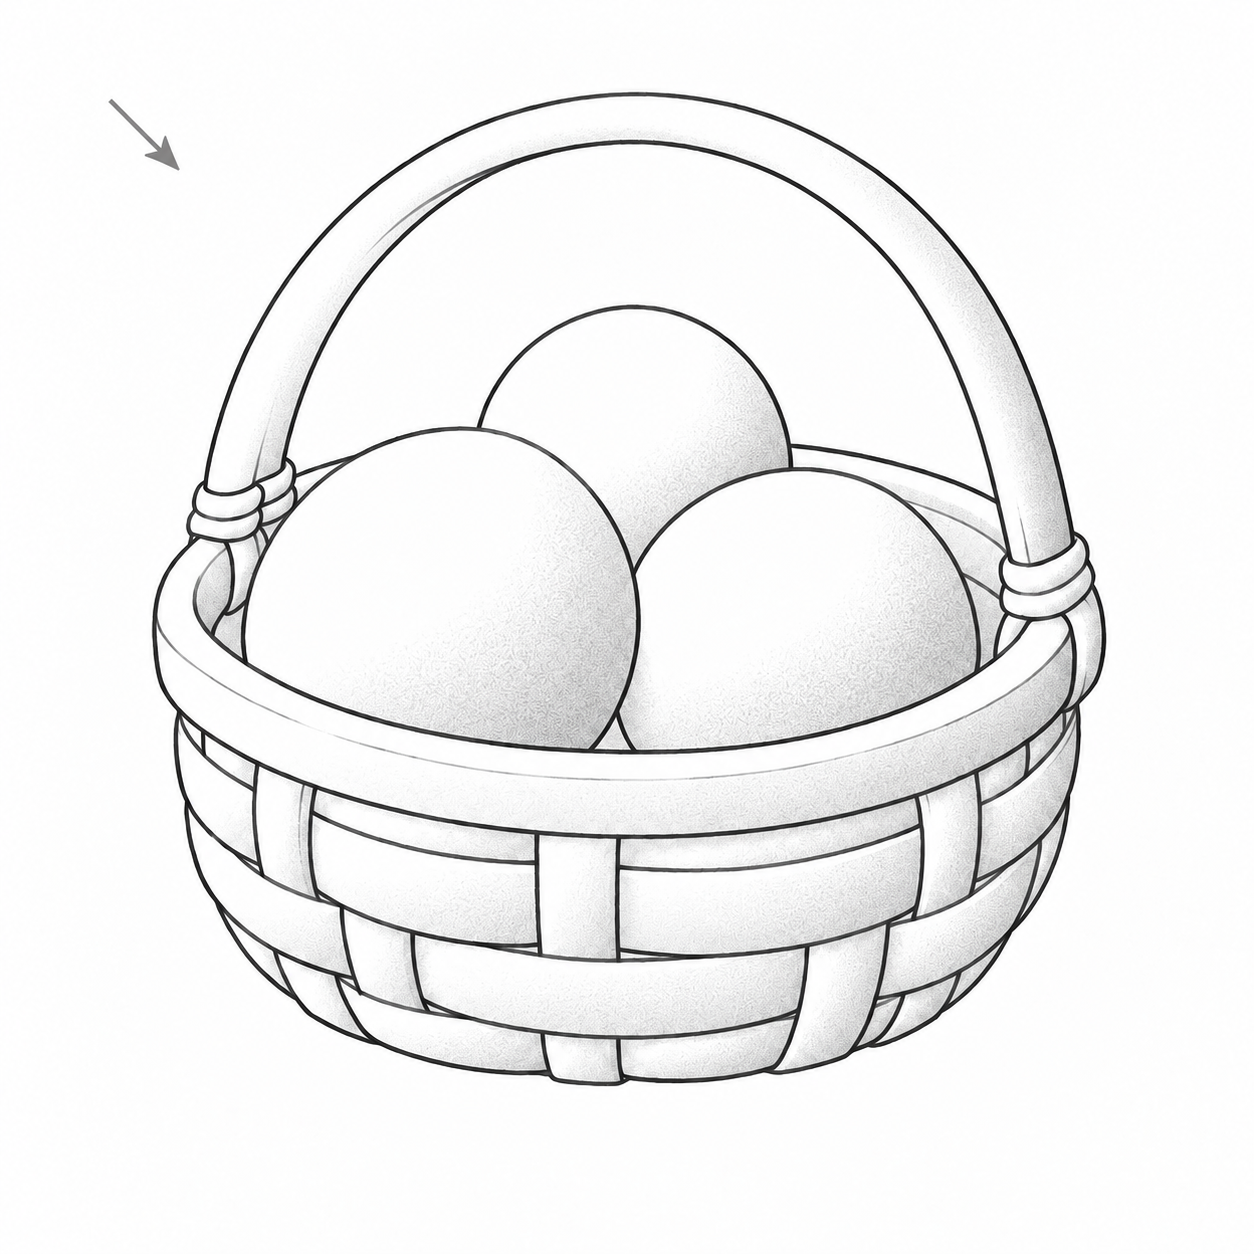
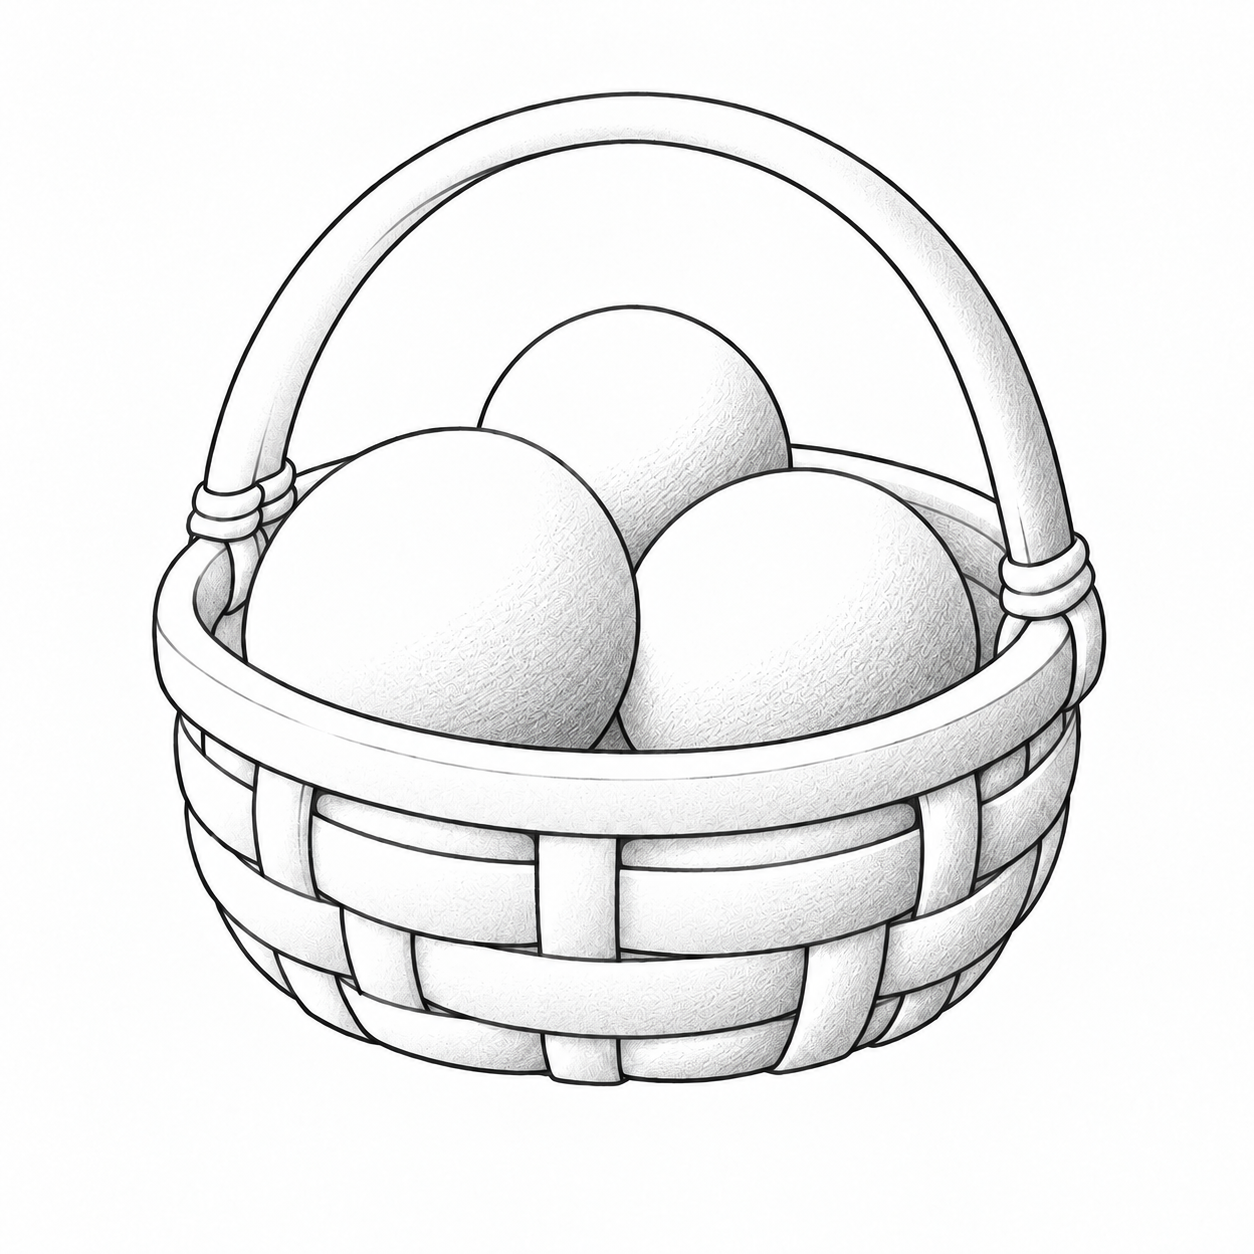
A little more detail: Over the completed horizontal bands lightly place upright ribbons, seen narrower near the sides. In the enlarged detail below choose which ribbon is above. Erase intersections alternately: a ribbon passes over, then under at the next crossing. Stop ribbons below the rim: erase continuations across it and inside the opening. Apply that choice to each basket crossing rather than copying a finished grid. This route is finished; continue to independent tasks.
Best version: Over the completed horizontal bands lightly place upright ribbons, seen narrower near the sides. In the enlarged detail below choose which ribbon is above. Erase intersections alternately: a ribbon passes over, then under at the next crossing. Stop ribbons below the rim: erase continuations across it and inside the opening. Apply that choice to each basket crossing rather than copying a finished grid.
Why: Curvature and compression show a rounded wall; interrupted edges identify the foreground ribbon. This applies familiar overlap to a new surface.
Check: Do ribbons turn with the wall? Are crossing outlines interrupted rather than all four lines showing through?
Repair: Repair one intersection: name the upper ribbon and erase only the short edge hidden beneath it.
Choose edges in detail
All trial edges are equally light, with no finished weave underneath. At the upper crossing keep the upright in front and erase two short horizontal segments inside it. At the lower crossing keep the horizontal ribbon in front and erase covered upright segments. On your own fragment start with the reverse order to make another valid interlace.
Step 9. Choose light and add first midtone
Continue: light and shadow.
Trial
After checking
Simplest: This route finished at step 5. Its endpoint is shown only for reference; continue to independent practice.
A little more detail: This route finished at step 8. Its endpoint is shown only for reference; continue to independent practice.
Best version: Detailed route only: choose upper-left light. The new frame’s arrow is a temporary reminder. Preserve white upper-left areas on the balls; use the pencil side for a very pale lower-right layer on balls, handle and wall. Leave the ground unshaded.
Why: White paper becomes the light. A first layer shows surfaces turning away from the source; it is easier to deepen than to erase heavy pressure.
Check: Can you distinguish white light from pale grey? Are all light areas upper left?
Repair: Lift accidental tone in the light with a gentle eraser press; do not rub the whole ball.
Step 10. Build form shadows
Continue: light and shadow.
First pale layer
Intermediate layer
Chosen tone
Simplest: This route finished at step 5. Its endpoint is shown only for reference; continue to independent practice.
A little more detail: This route finished at step 8. Its endpoint is shown only for reference; continue to independent practice.
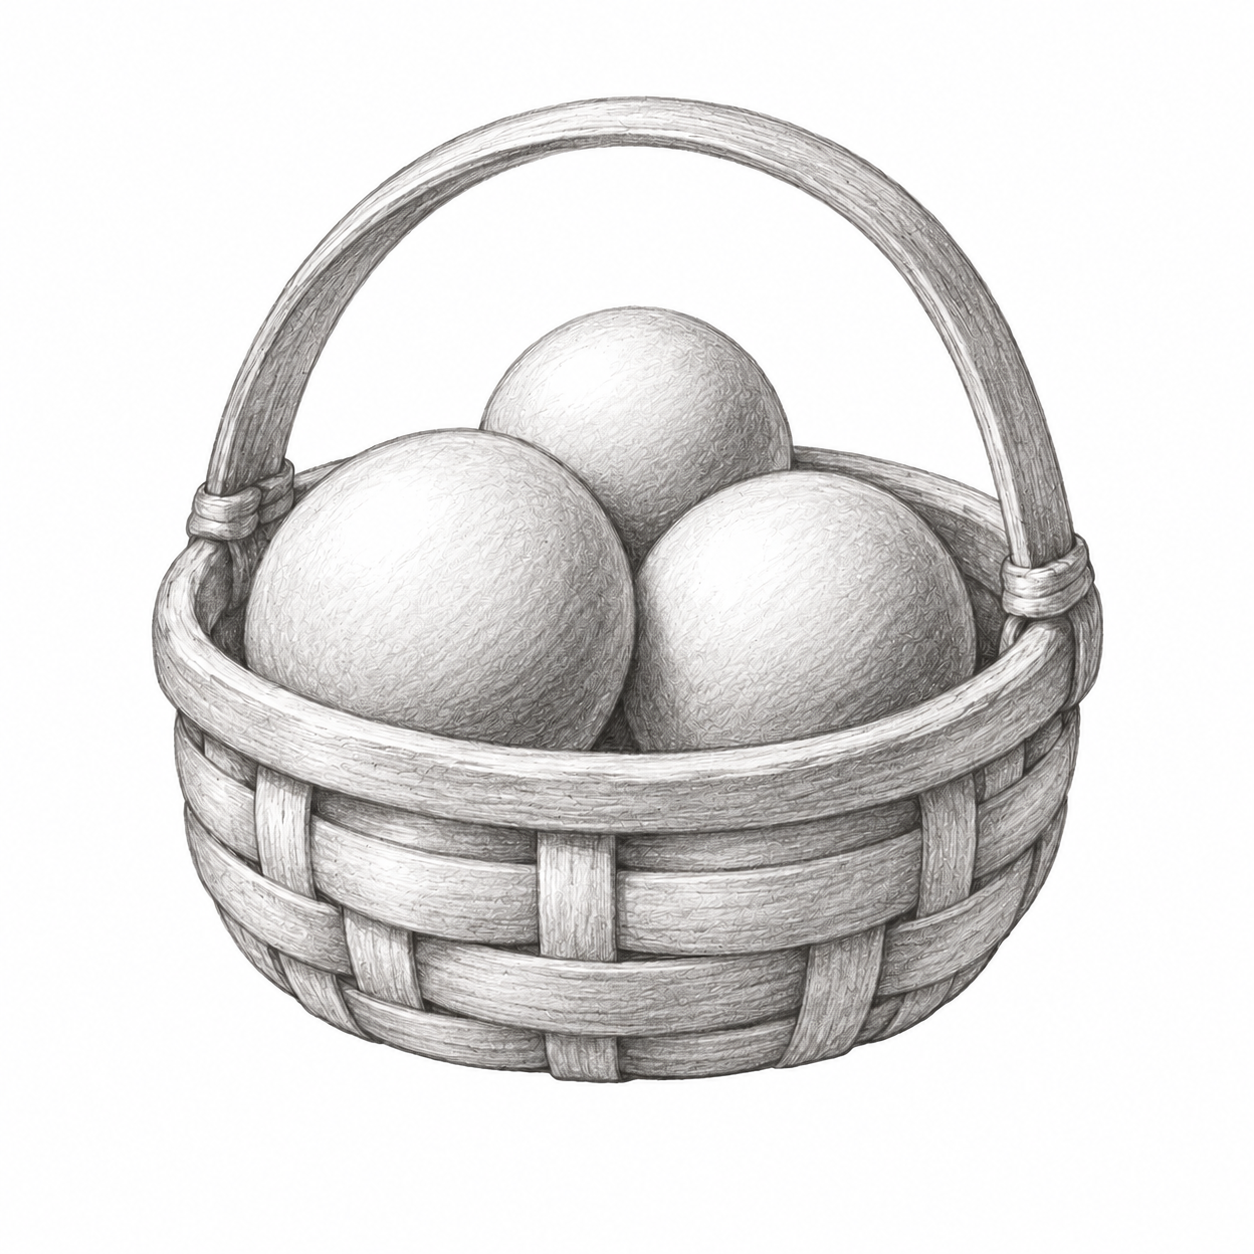
Best version: Turn short strokes around balls, handle and ribbons. After the sparse first layer add several gentle passes at a slightly changed angle: the intermediate frame retains visible white gaps. Later passes build density lower right, under the rim and at joins; this is accumulated pencil stroke, not a new texture or part. Remove the temporary arrow after checking the light. Preserve a midtone transition instead of filling the whole right half with black.
Why: A form shadow belongs to the object itself. Gradual tonal buildup shows roundness without a heavy black outline.
Check: Does a ball show light, midtone and a darker turn? Has the already-built weave stayed the same?
Repair: Lift a hard boundary and restore a faint intermediate layer.
Step 11. Connect the basket to its support
Continue: light and shadow.
Trial
After checking
Simplest: This route finished at step 5. Its endpoint is shown only for reference; continue to independent practice.
A little more detail: This route finished at step 8. Its endpoint is shown only for reference; continue to independent practice.
Best version: From the lower edge place a pale cast shadow rightwards across the ground, away from the source. Deepen the narrow contact directly under the basket and keep the far shadow softer. Erase a light arrow if you kept one on your sheet. Check existing forms; no new details are needed. This route is finished; continue to independent tasks.
Why: The cast shadow lies on the support, while form shadow lies on the basket. Contact grounds the object; both shadow decisions follow one light source.
Check: Does the shadow touch the base and extend right? Do white areas remain upper left?
Repair: Join a detached shadow to the base; lighten an overly dark far edge while preserving contact.
If the drawing is unclear
Transparent balls Cause: Hidden arcs remain. Repair: Name the foreground form and erase only the rear line inside it.
Twisted rim Cause: Its two curves cross or turn inconsistently. Repair: Adjust one section of spacing while preserving endpoints.
Weave looks like a flat grid Cause: Ribbons are straight and show through one another. Repair: Curve one ribbon with the wall and erase covered edges at one crossing.
All balls are grey Cause: The first layer covered reserved white. Repair: Lift upper-left tone; deepen only the lower-right turn.
Basket floats above its shadow Cause: A gap separates base and cast shadow. Repair: Join the shadow to the base and deepen contact, not the whole ground.
Independent tasks
Choose one new condition. Cover the example, place your own guides and name the decision that changes. Then compare with the pair below. Your own proportions and uneven lines are welcome; you need not repeat every detail.
1. Lower the viewpoint
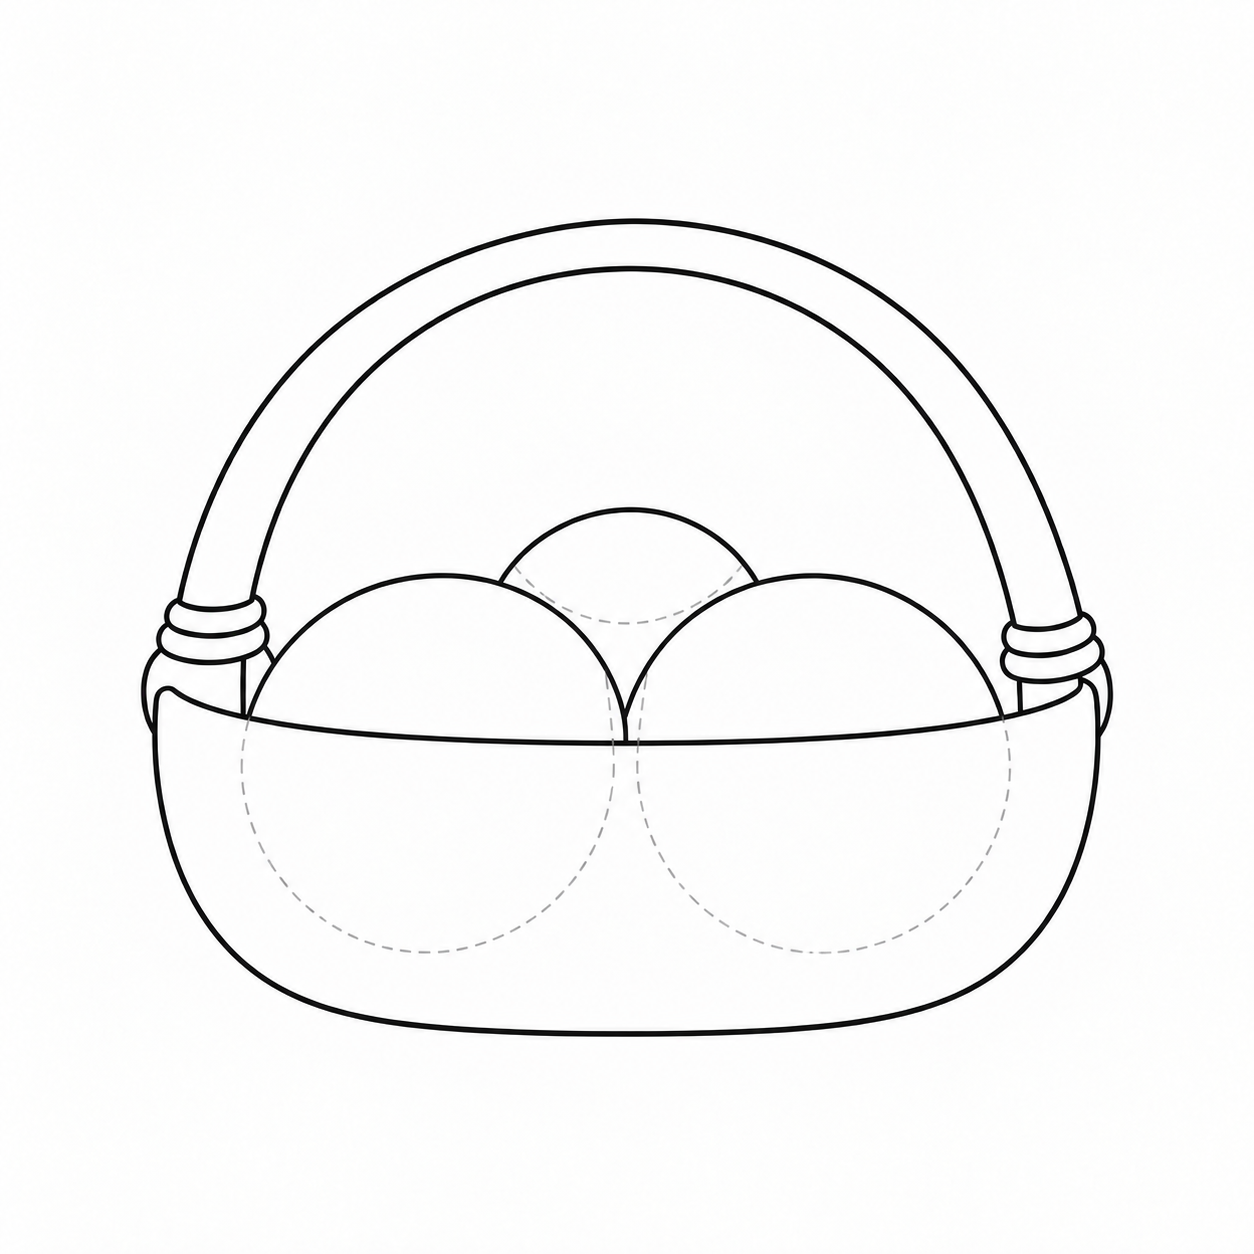
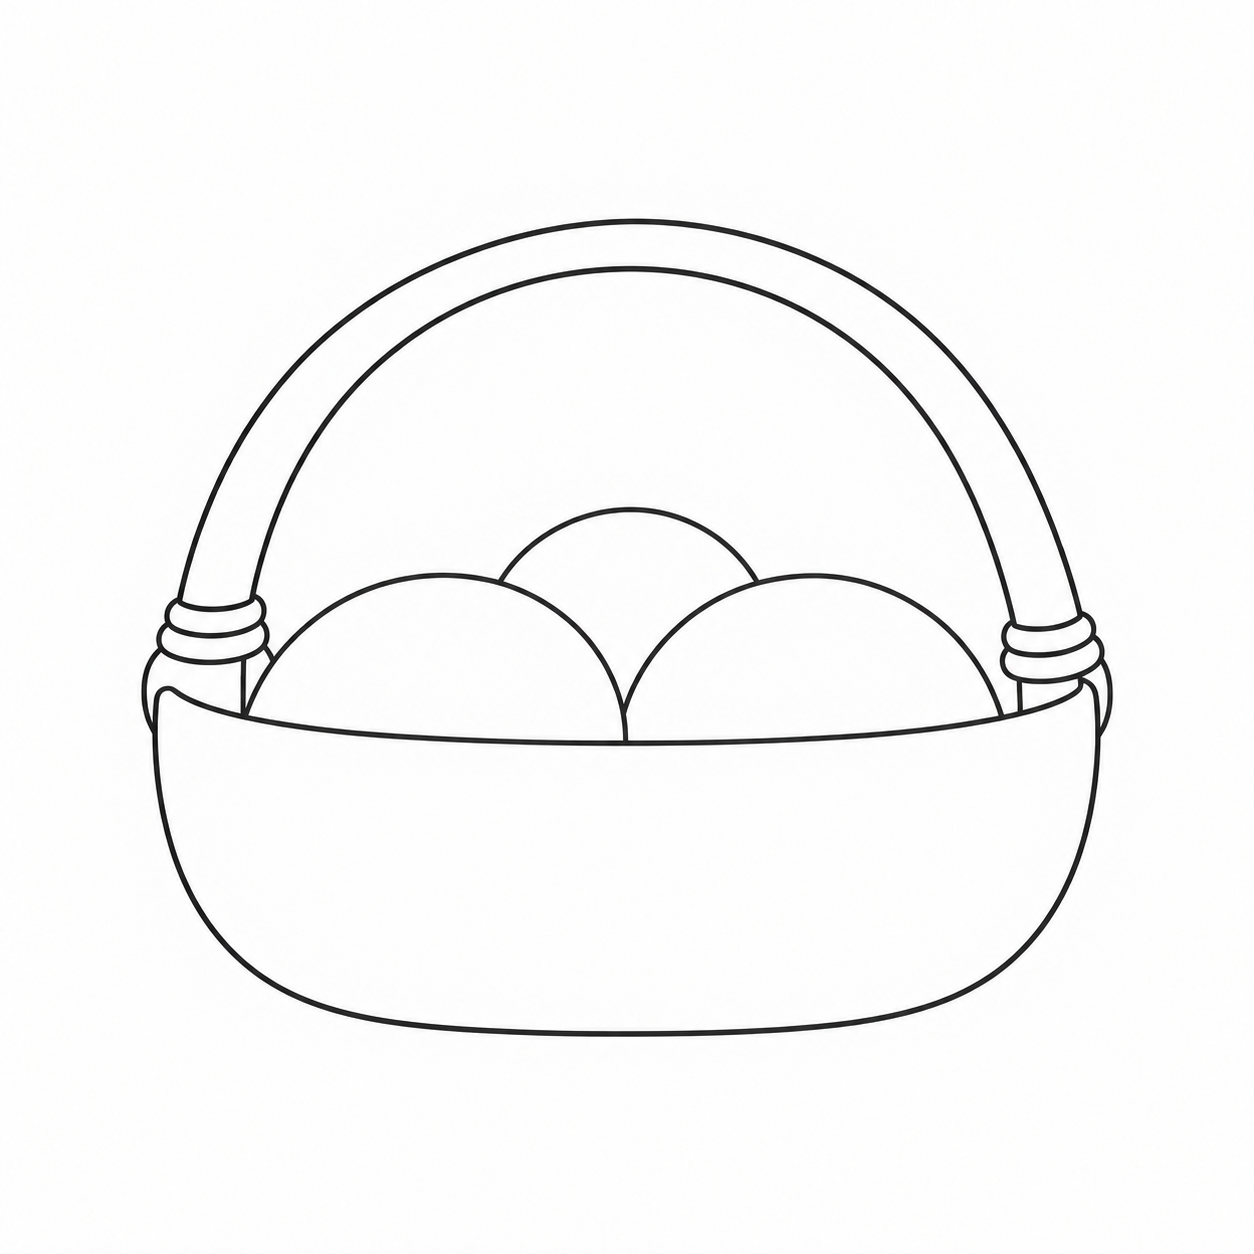
Flatten the opening. Decide how much of the balls the raised foreground edge now hides, then erase those newly covered arcs.
Why: A lower viewpoint reveals less of the opening interior. Reconsider the old oval height.
Check: Is the opening visibly flatter, with ball bottoms consistently hidden?
Repair: Reduce the oval height and shorten only newly hidden arcs.
2. Move the right ball forward
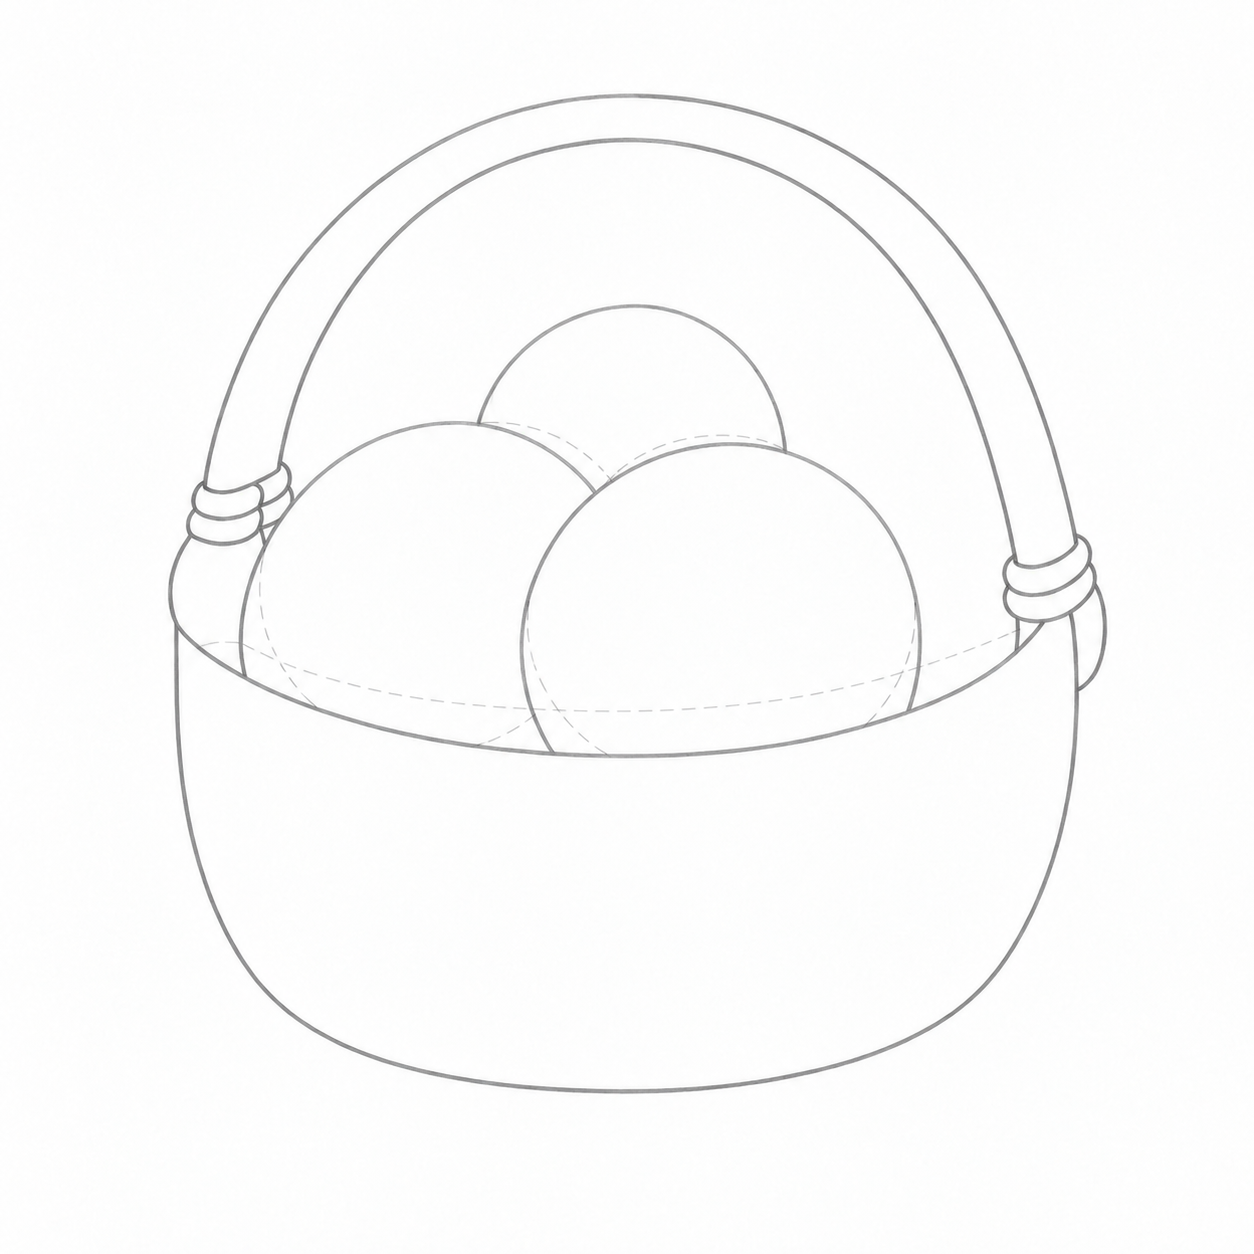
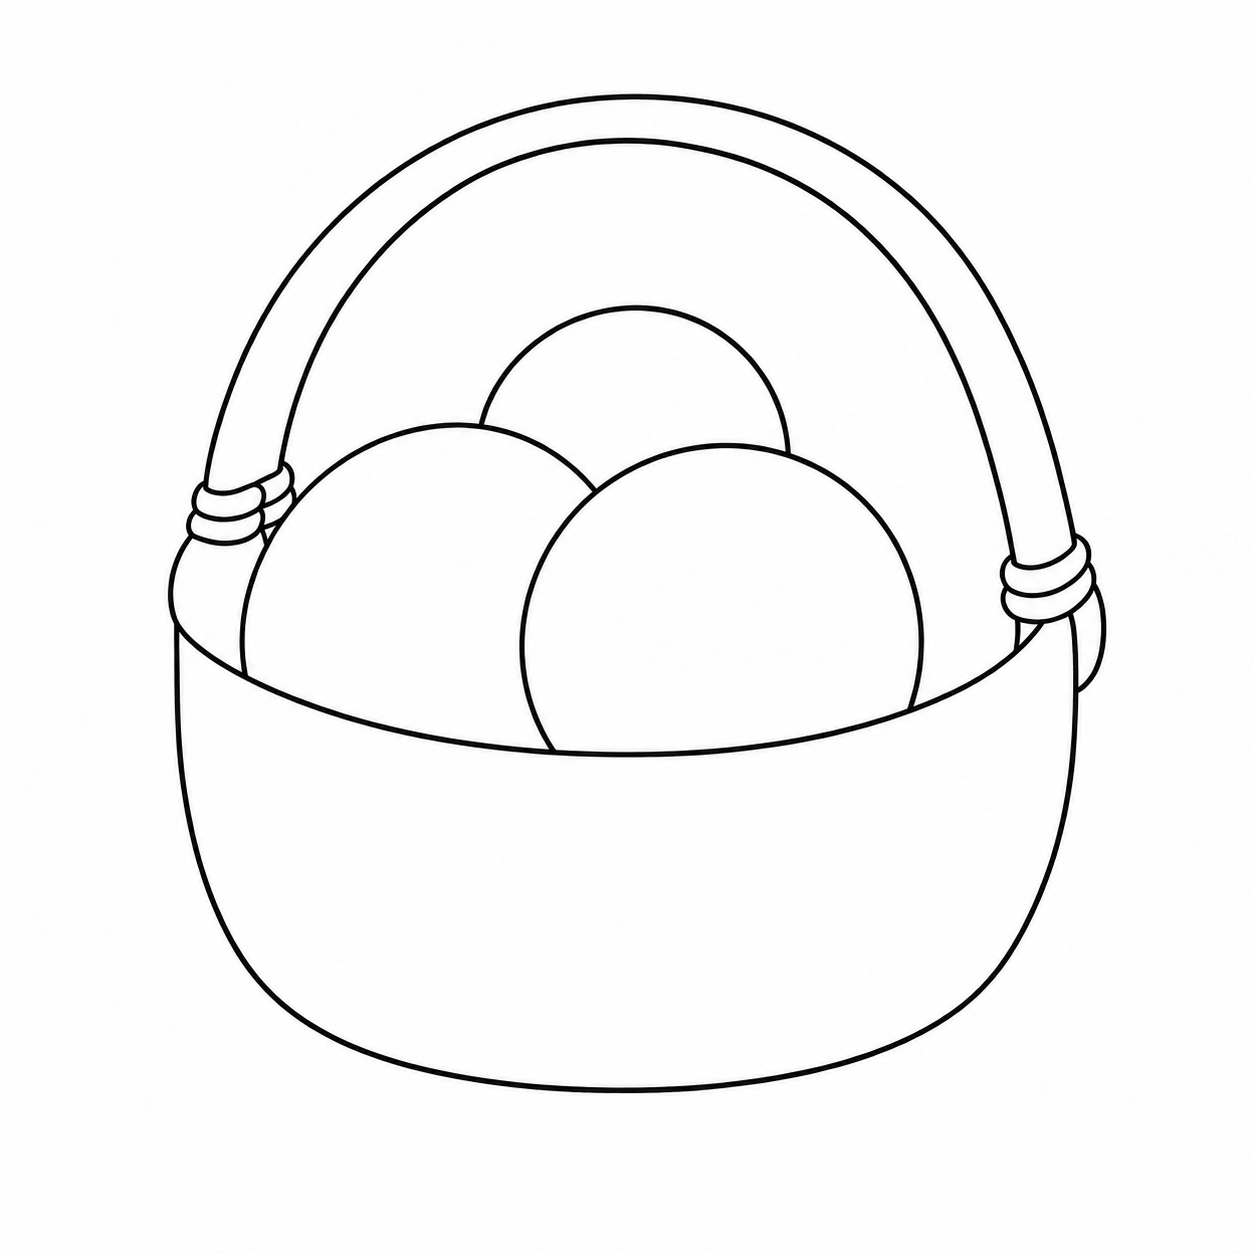
Let the right ball clearly overlap the left. Place full guides, choose the foreground ball, then remove only the left-ball segment it hides.
Why: Changing depth order changes where the rear edge stops.
Check: Is the right contour continuous at the overlap, with the left stopping at it?
Repair: Restore the foreground arc and erase the short rear continuation within it.
3. Move the light right
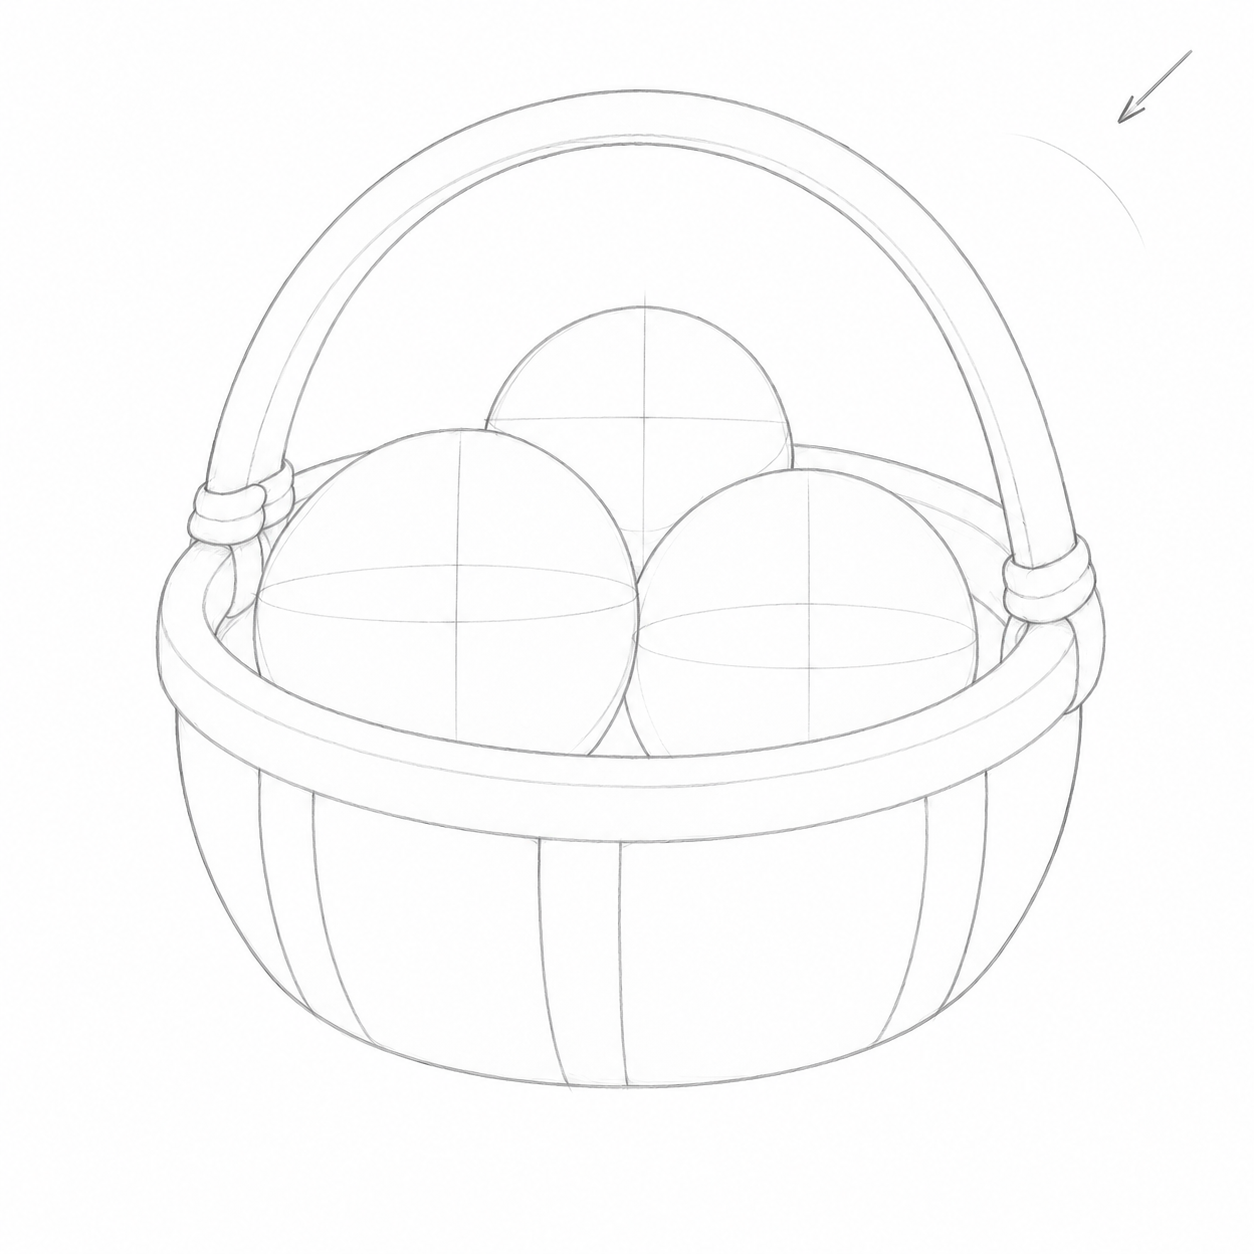
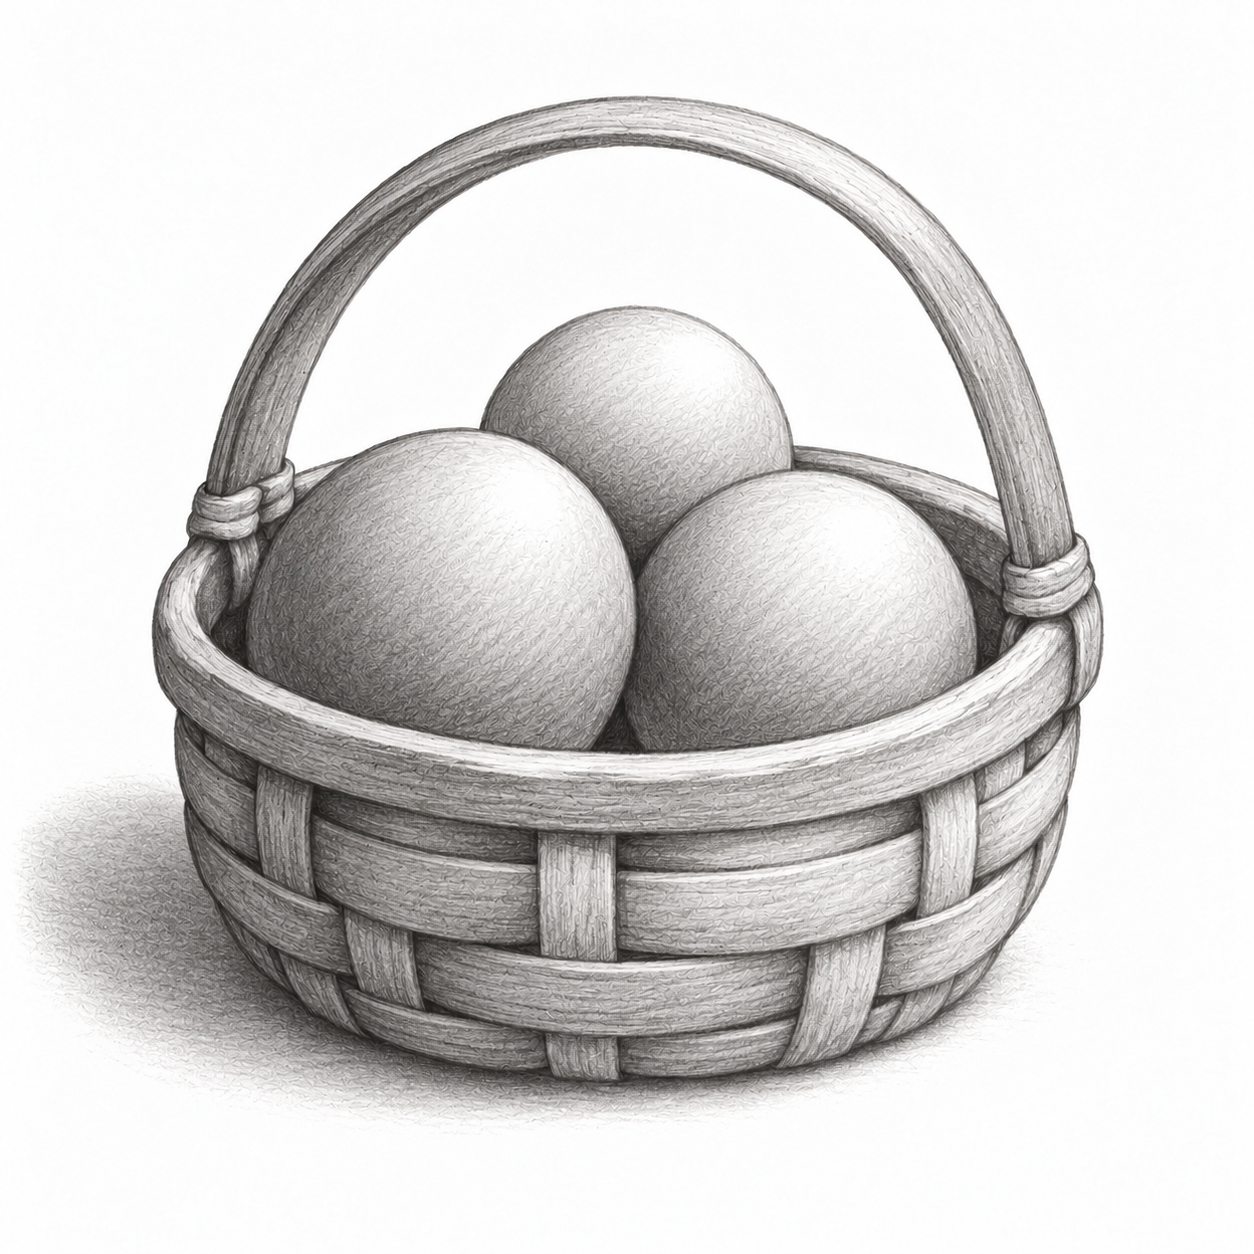
Keep the basket construction but light it from upper right. Reserve white on the right before shading; build lower-left form shadows and a leftward ground shadow.
Why: The object stays the same but different surfaces face the source. Merely darkening old shadows cannot solve this.
Check: Is light upper right, form shadow left, with a leftward cast shadow touching the base?
Repair: Lift the old right-hand tone and begin a new pale left-hand layer.
Self-check
Point to an erased hidden edge and explain your new decision. If you chose shading, identify the source, form shadow and cast shadow.
Question: why does moving the right ball forward change the erased arc? Answer: it becomes the foreground form and hides part of the left ball, whose contour now stops at the right ball. Moving light changes the light area and shadow direction, not merely outline darkness.
What to draw next
All drawing lessons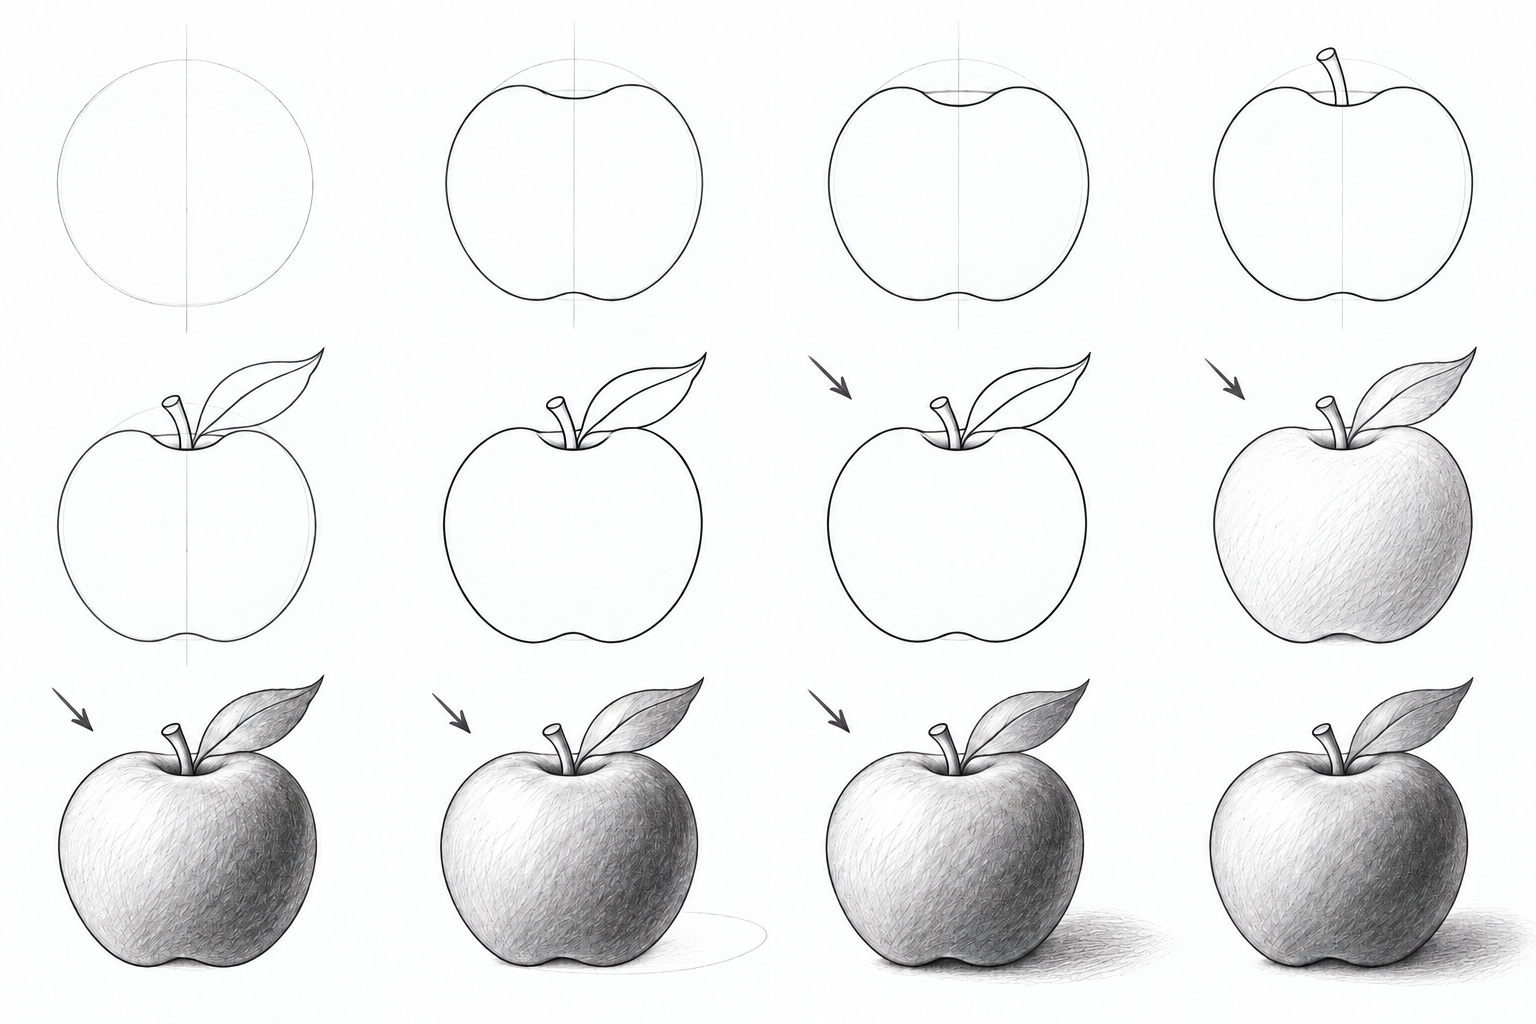 3 levels
How to draw an apple
Draw an apple at three levels: simple forms, a recessed top and bent leaf, then pencil light and shadow. Clear stages, small repairs and A4/Letter PDFs.
 3 levels
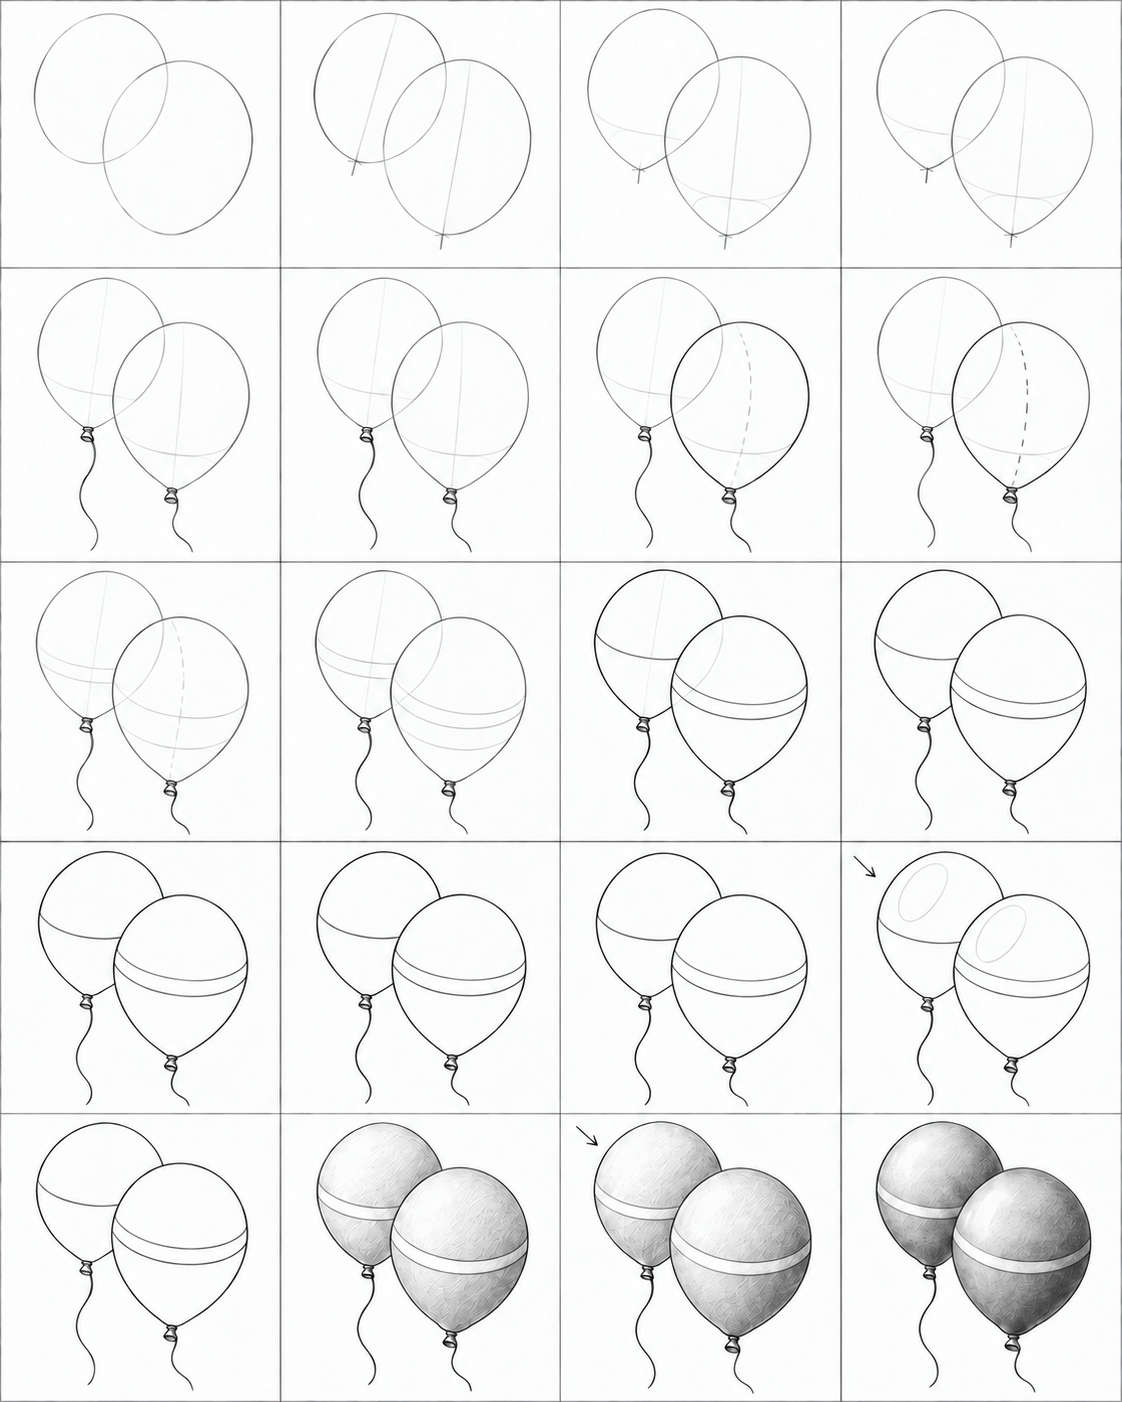
How to draw balloons
Three balloon drawing routes, from two simple ovals to tapered necks and pencil volume. Illustrated steps, checks, small repairs and practice PDFs.
 3 levels
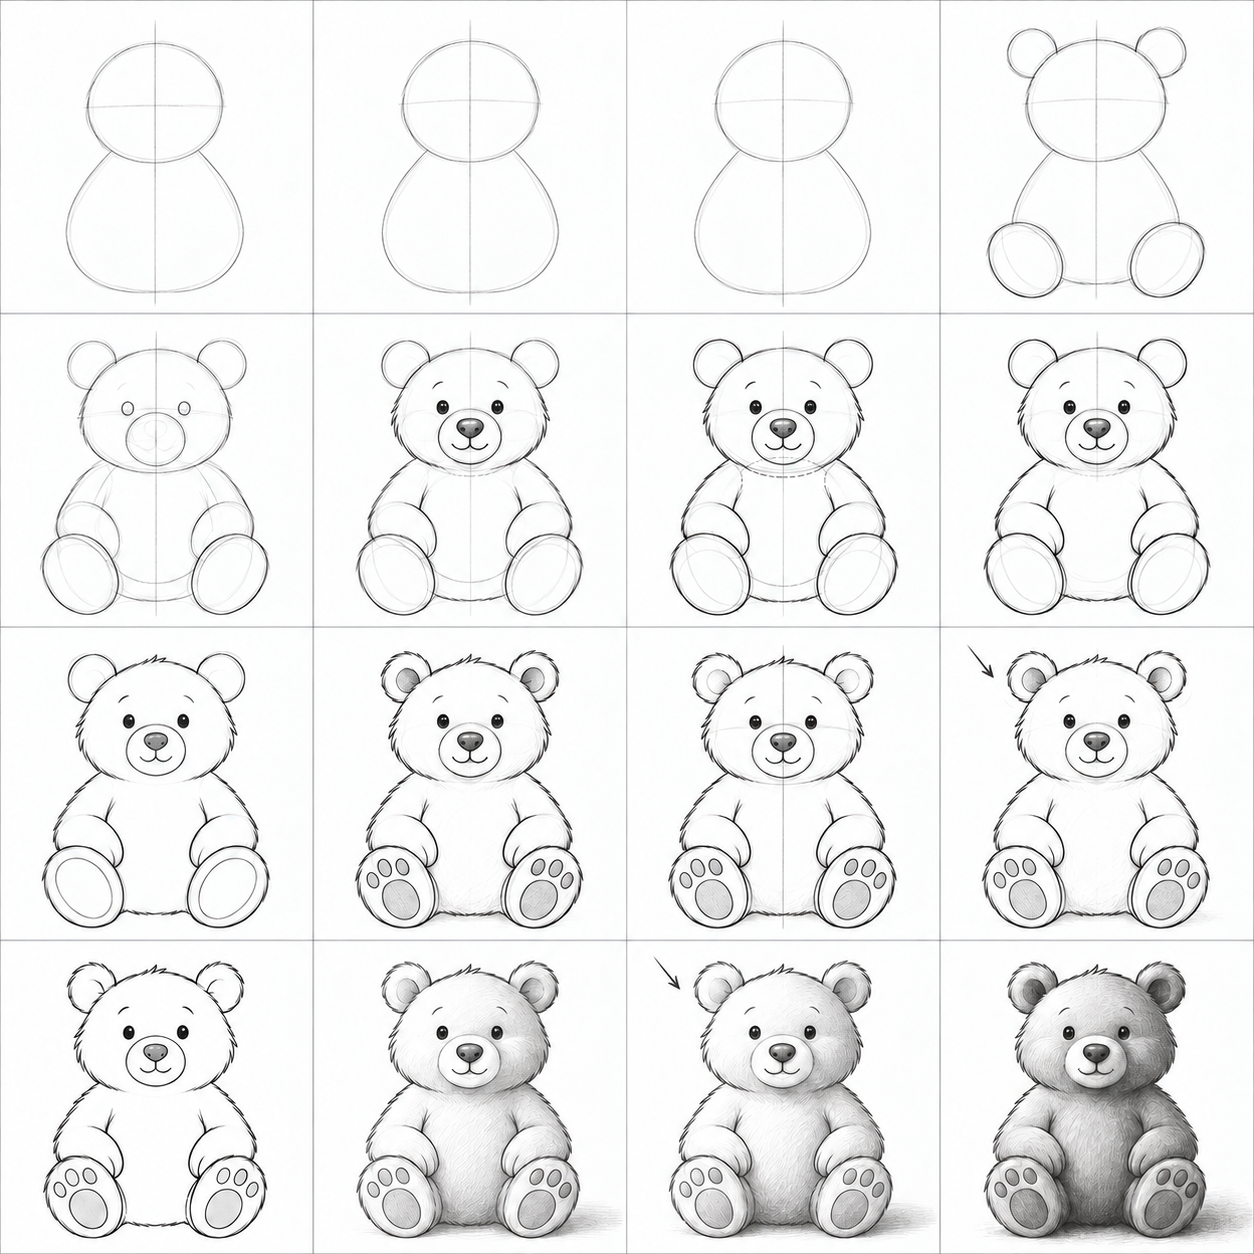
How to draw a bear in pencil
Draw a sitting bear from simple forms: paws, muzzle, overlaps and shading. Three levels, illustrated steps and A4 lesson and practice PDFs.