 kiduverse
How to draw a mug: form and pencil shading
Draw a mug step by step: body, thick rim, solid handle and pencil shading. Three routes, practice and printable A4/Letter PDFs.
- 3 detail levels
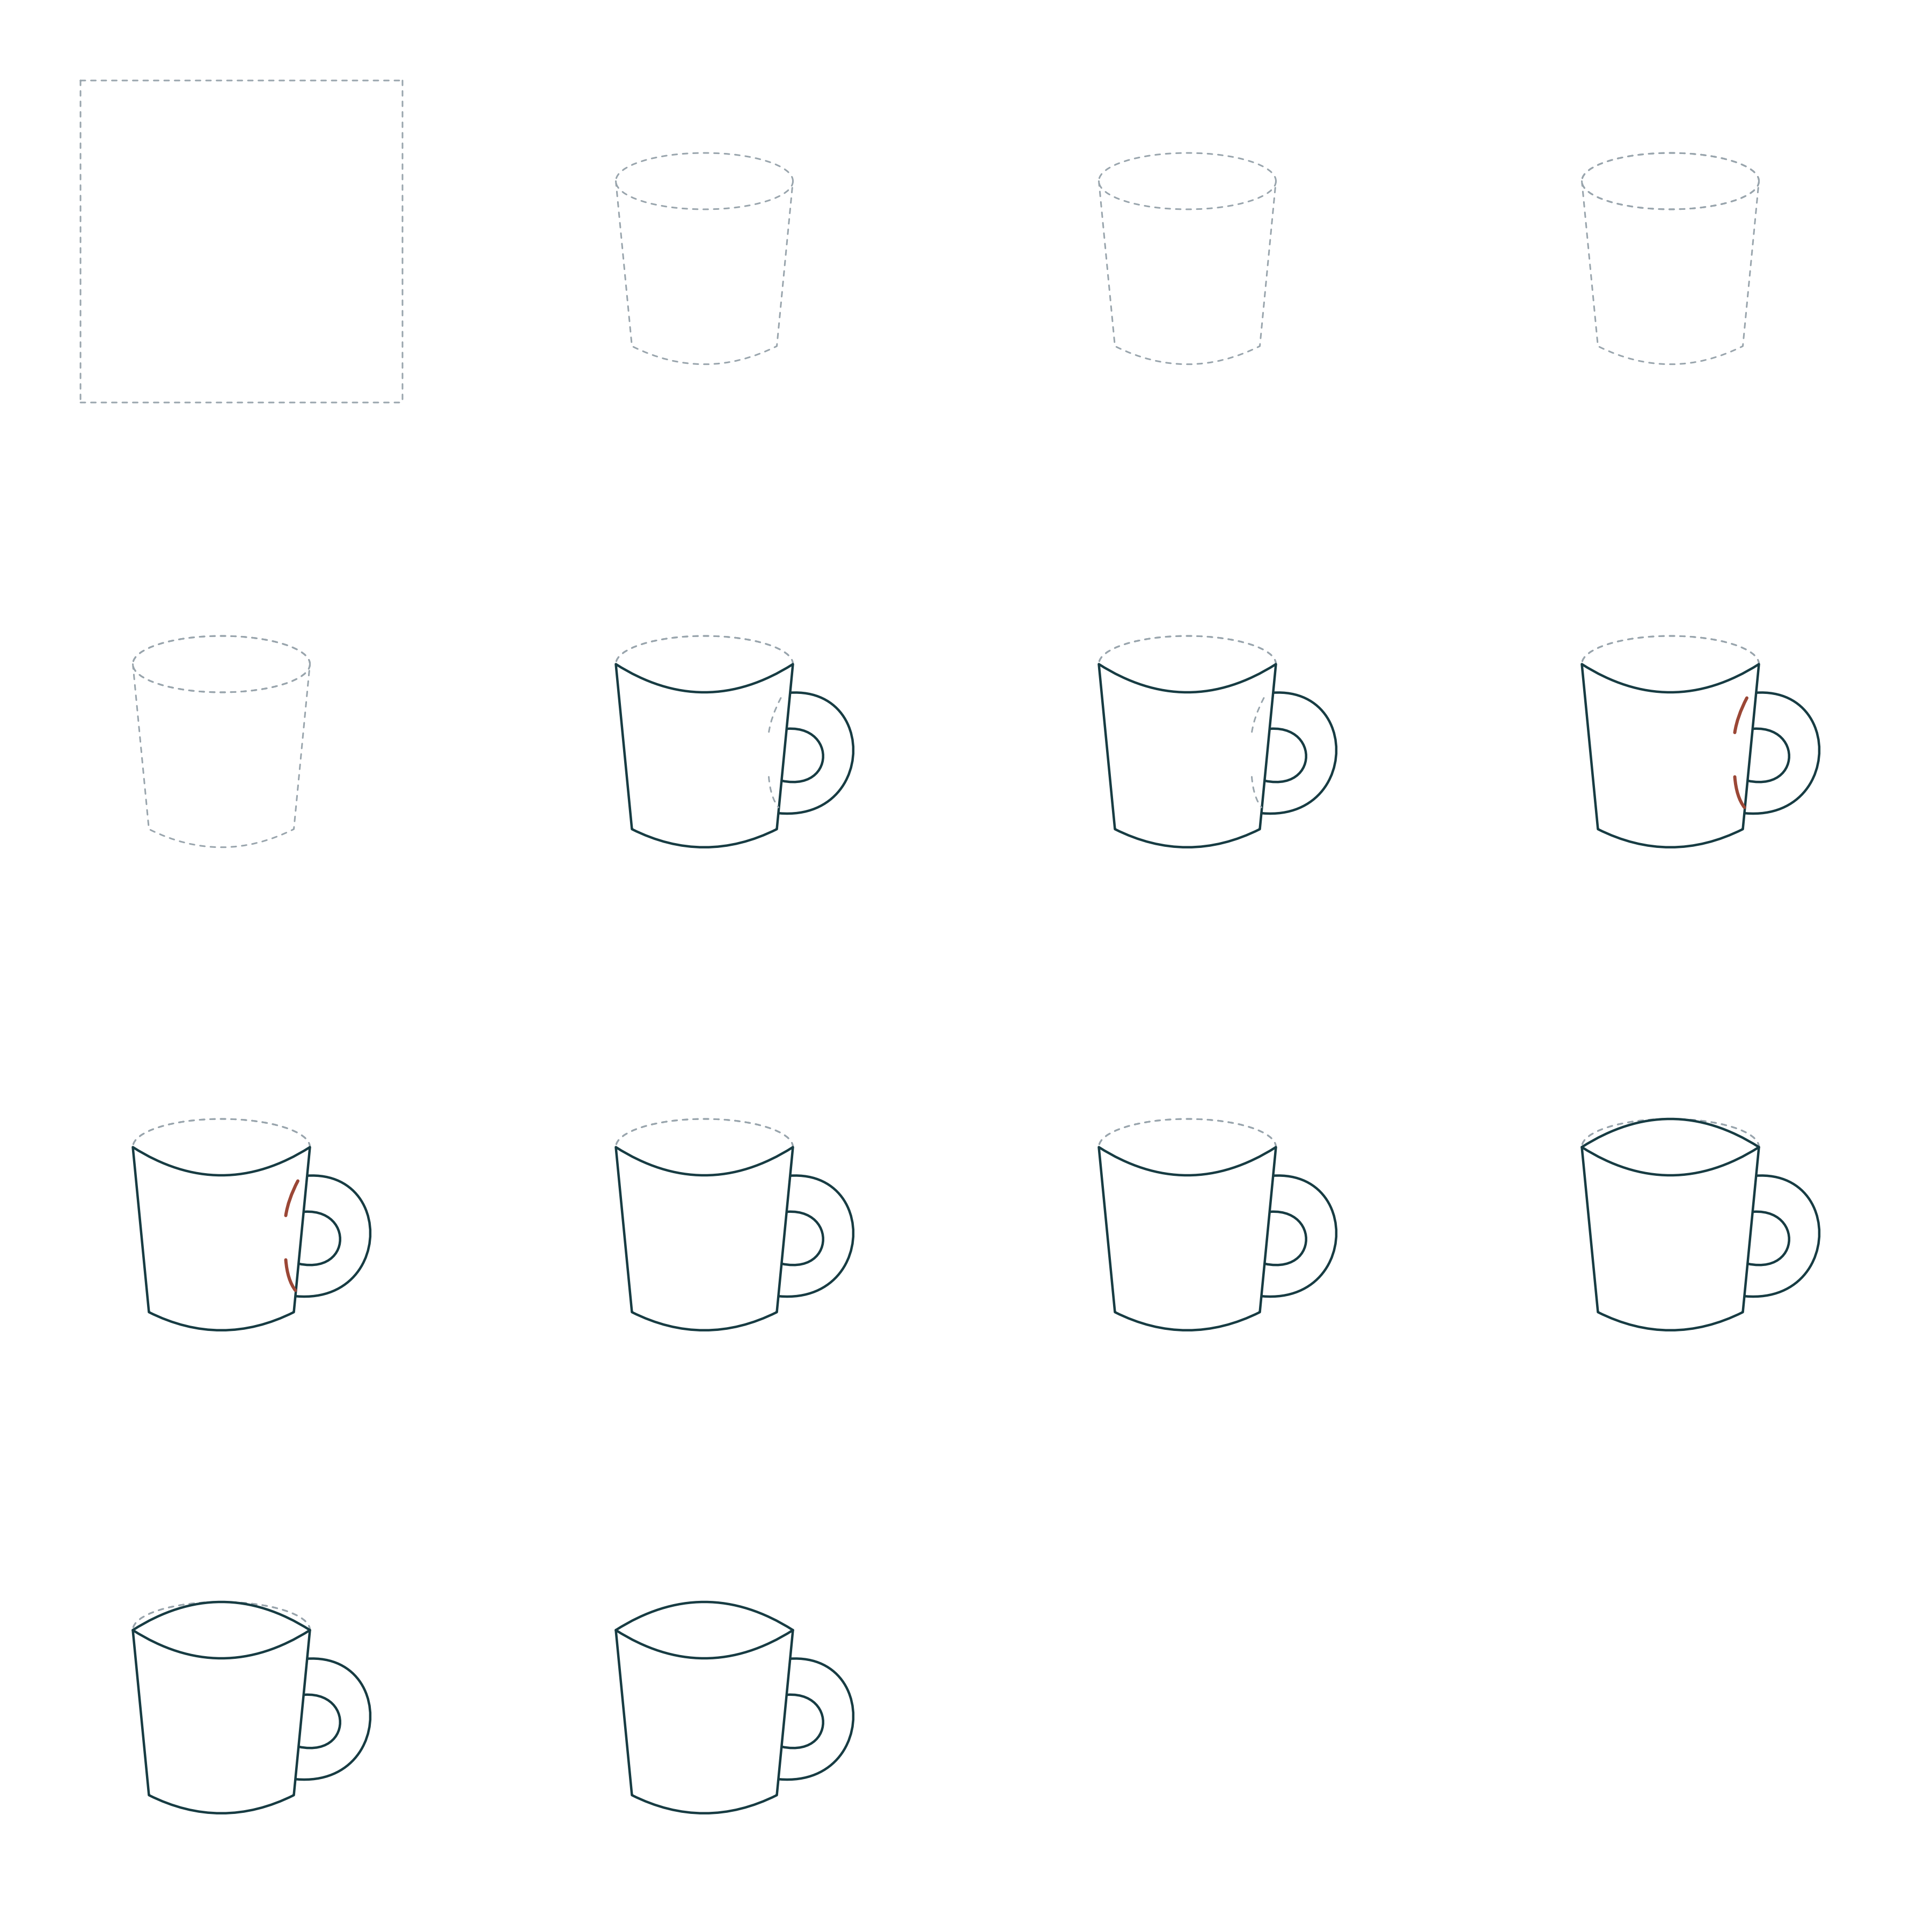
- Paper, HB/2B pencil, eraser
- 16 parts
Tap a drawing below to choose your level. The other levels hide and the “trial → after checking” pairs get bigger.
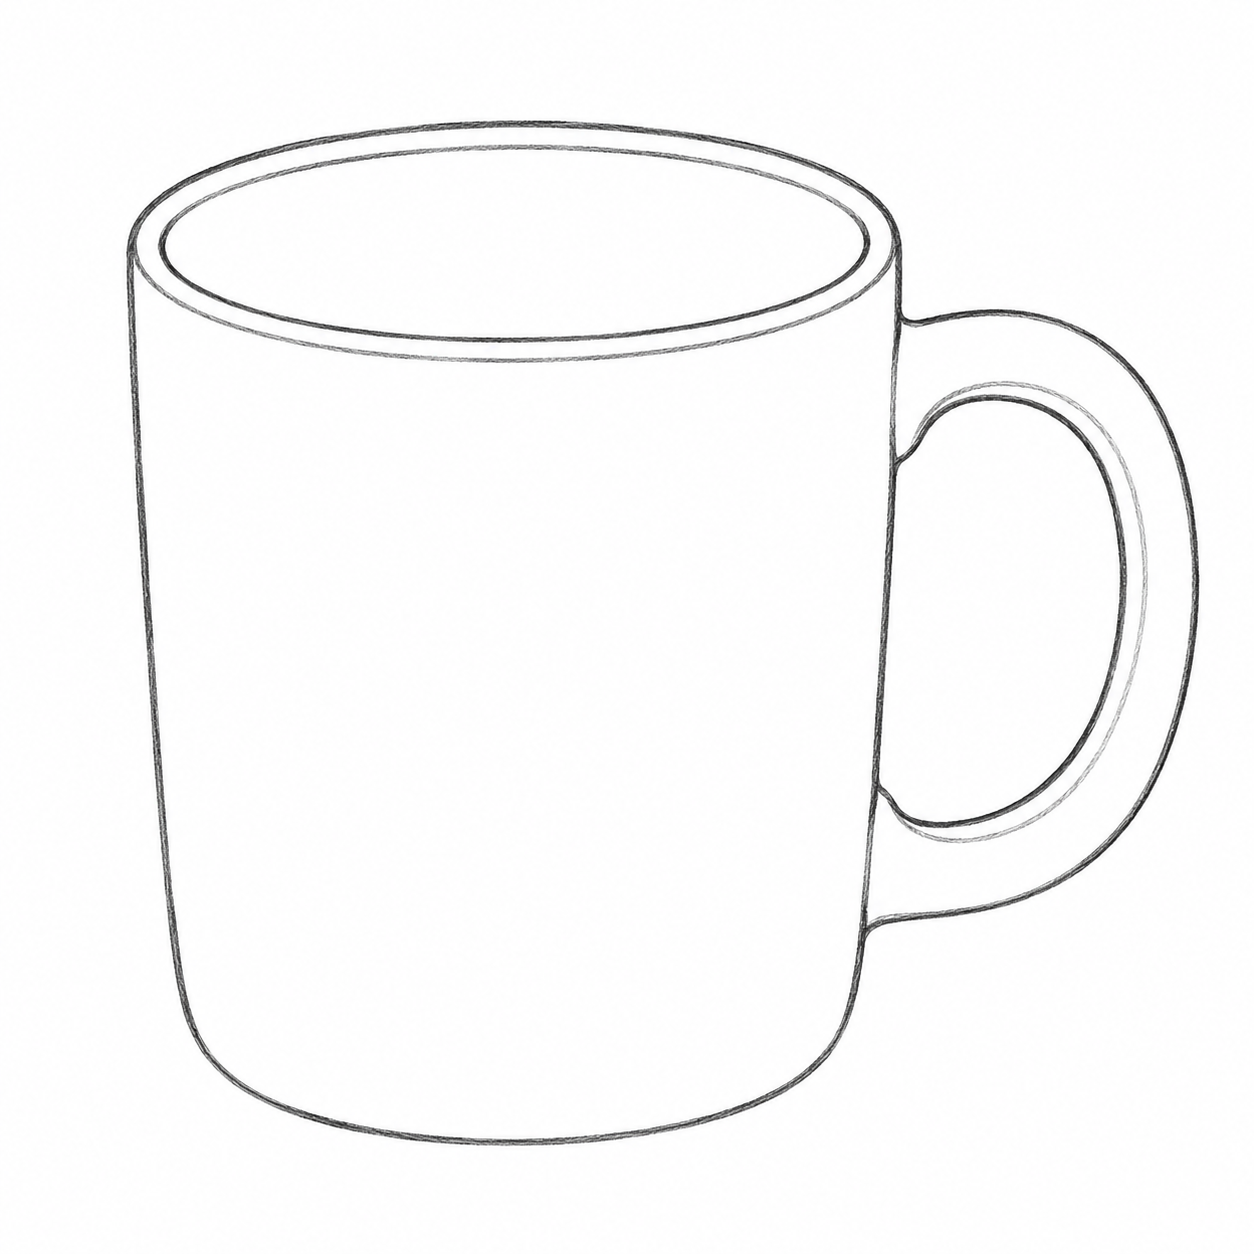
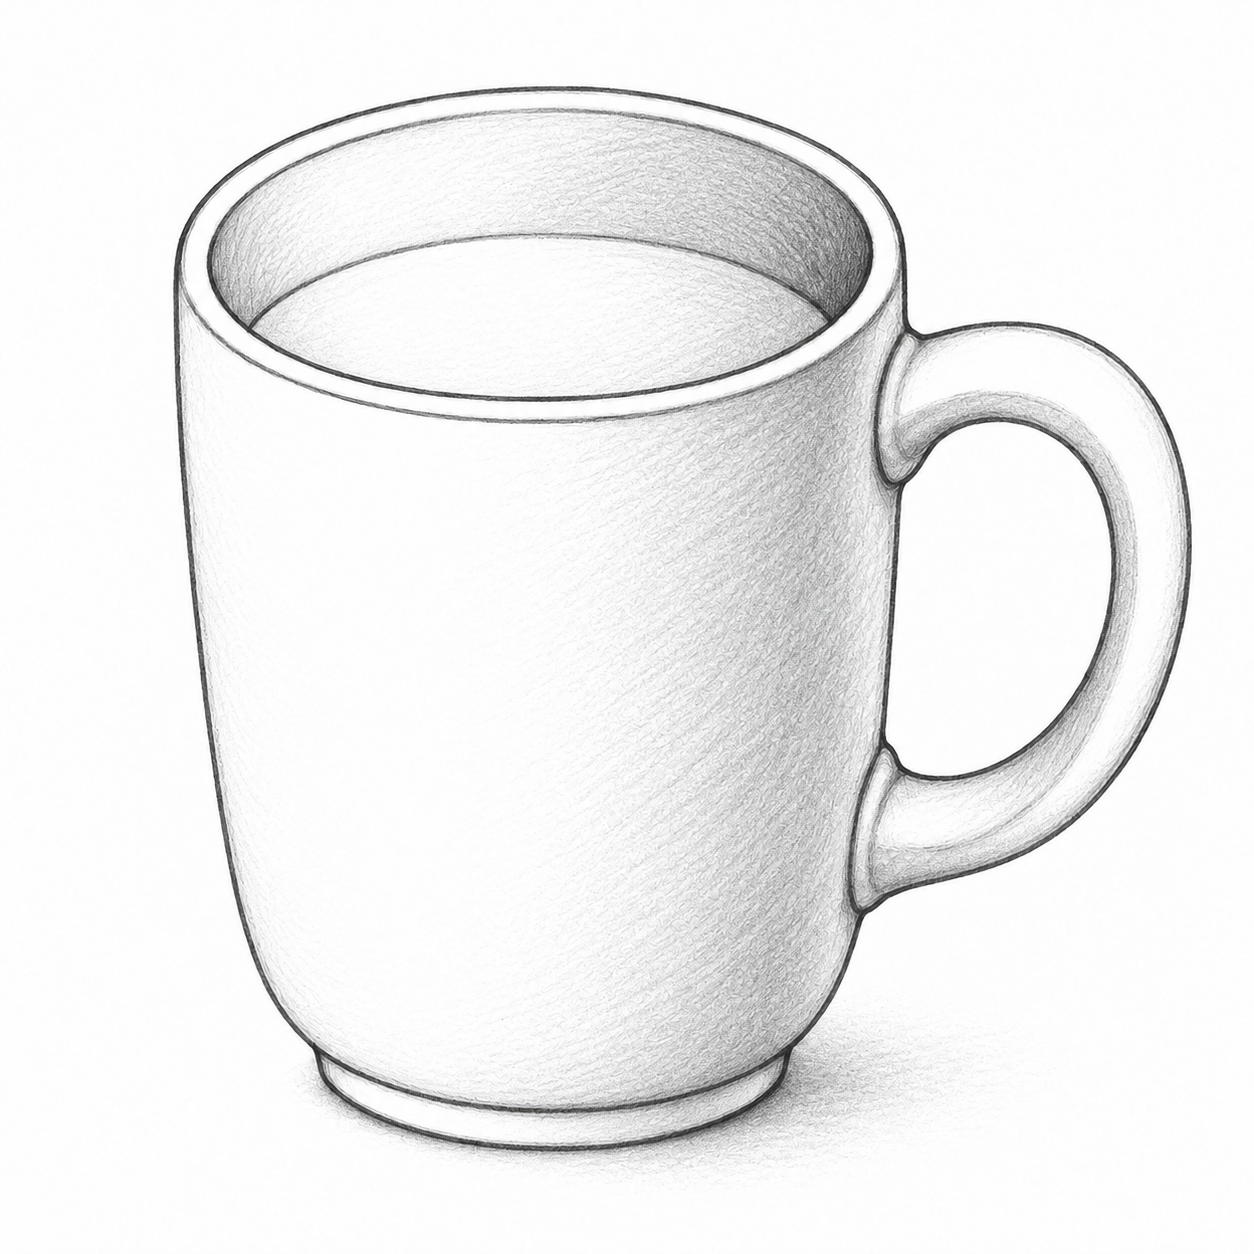
Build a mug from an oval and a simple body. Choose a line drawing or the detailed route with upper-left light. Each route keeps its own view; uneven lines and your own proportions are fine.
Goal and preparation
Construct rim and handle thickness and erase covered lines; in the detailed route, show bright area, midtone, own shadow and cast shadow. Use paper, HB/2B pencil and eraser. Start with a rough oval and curve. Allow 30–60 minutes with breaks. Around age 7 is a suggestion, not an ability rating. Simplify with the first route; extend by changing the light in an independent task. The first route is complete at step 7; its steps 8–9 check the finished drawing.
Technique 1. Aligned form construction
A round opening appears elliptical; nested ellipses share an axis. Build a handle with two curves and let the front wall hide its trial attachments. Try two nested ovals, then a handle beside a simple mass. Check: the ovals do not cross and their tilt agrees; the rear line stops at the front form. Repair: adjust one arc or erase only a covered tip.
Technique 2. Pencil light and shadow
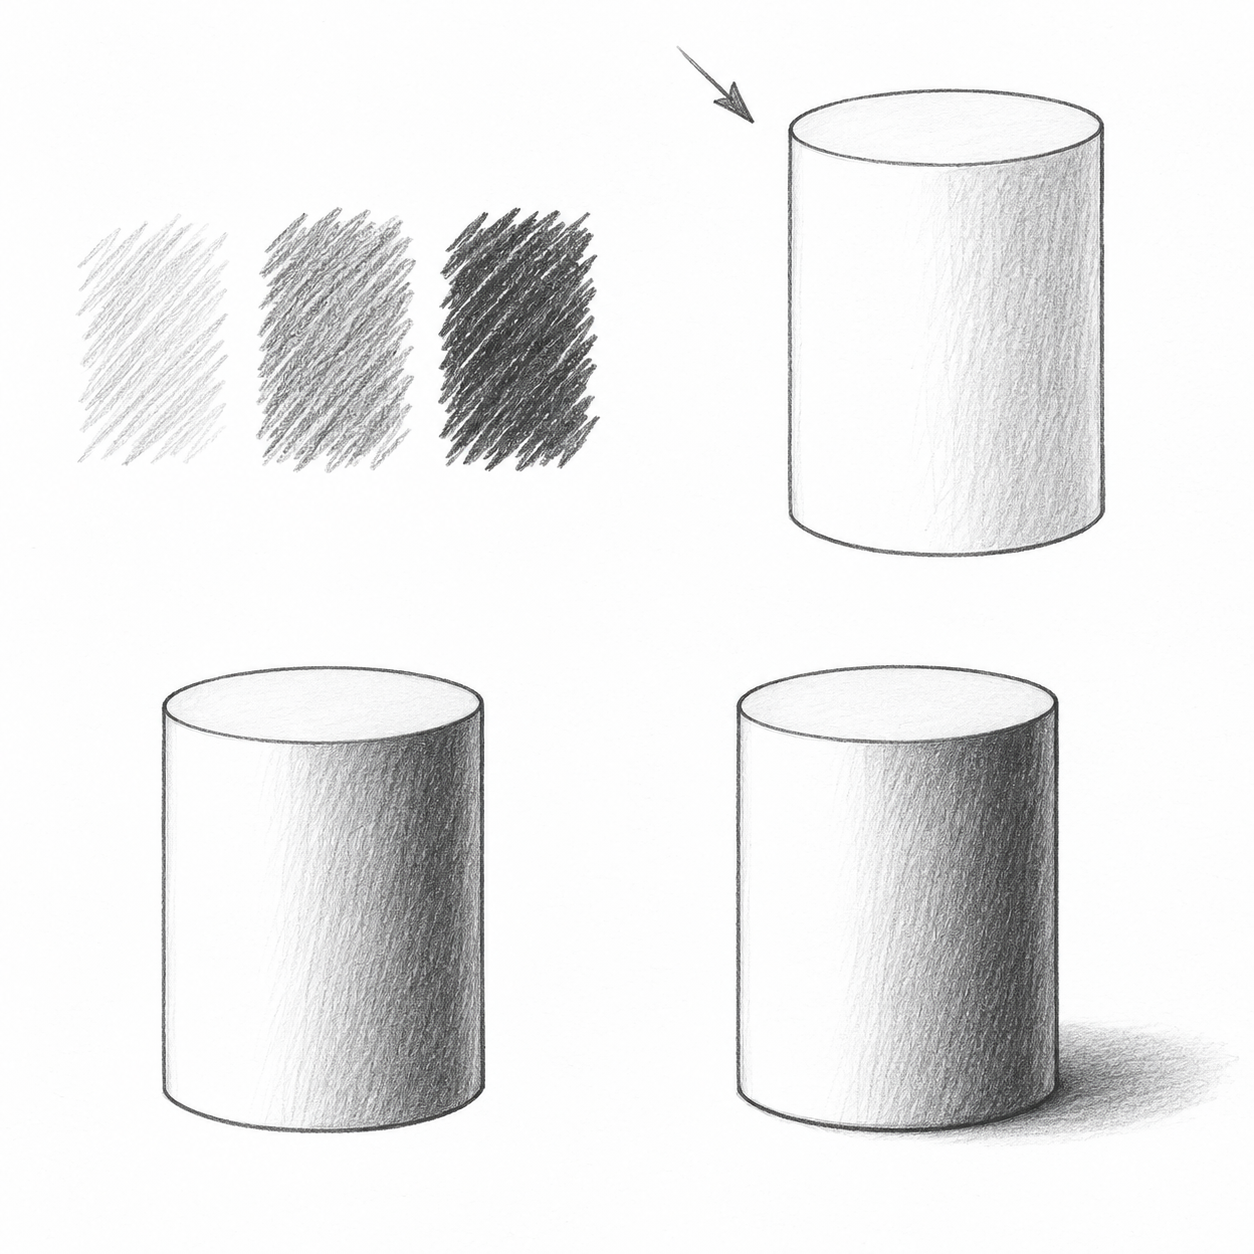
This technique belongs to the third route. With upper-left light, retain the white left face, lay a light midtone on the right and then deepen surfaces turning away from the light. The opening and handle recesses receive less light. Ground shadow starts at the foot and extends lower right. Try two layers on a simple cylinder, then change the light. Check: bright area, midtone and shadow differ; ground shadow extends away from the source. Repair: lighten the bright area and adjust only a shadow edge.
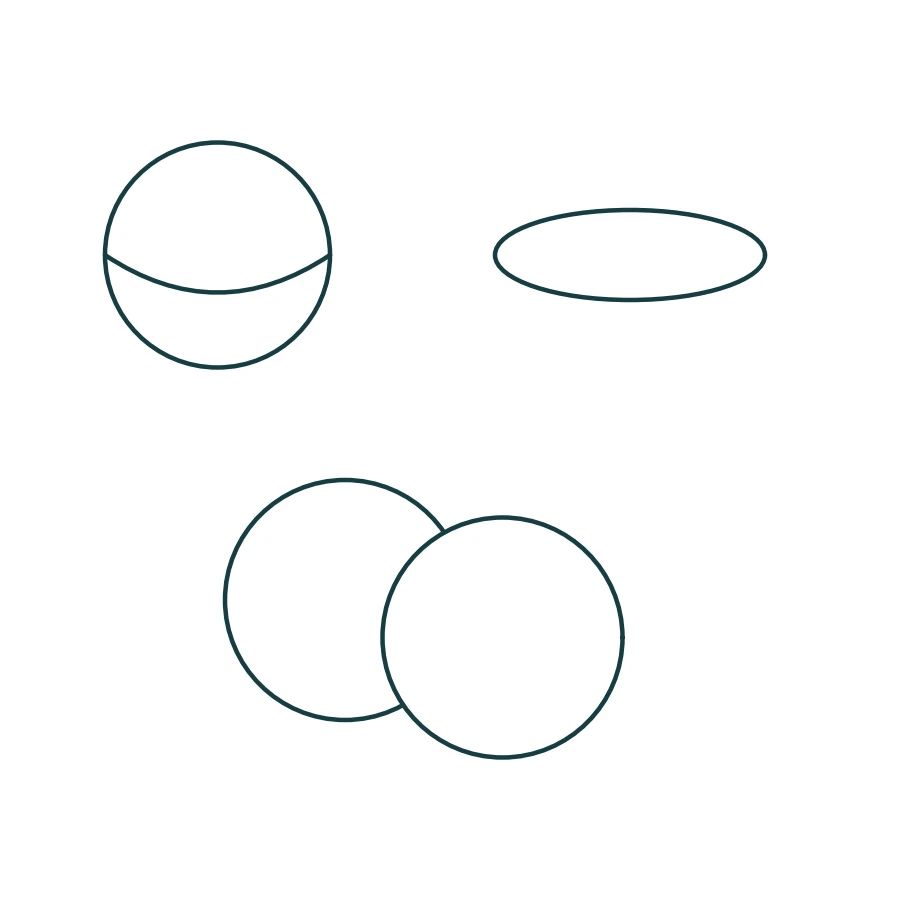
Warm-up
-
Make a shallow ellipse and a taller one; add a smaller ellipse on the same axis inside each. Construct a handle loop beside a simple mass and erase its covered tip. This prepares steps 2–5.
-
For the third route, try light, medium and denser pencil pressure. On a simple cylinder retain the white left face and add two layers on the right, then shadow at its base. This prepares steps 6–8. Check: where is the bright area and where does the shadow touch the support?
Step 1. Place the large forms
Trial
After checking
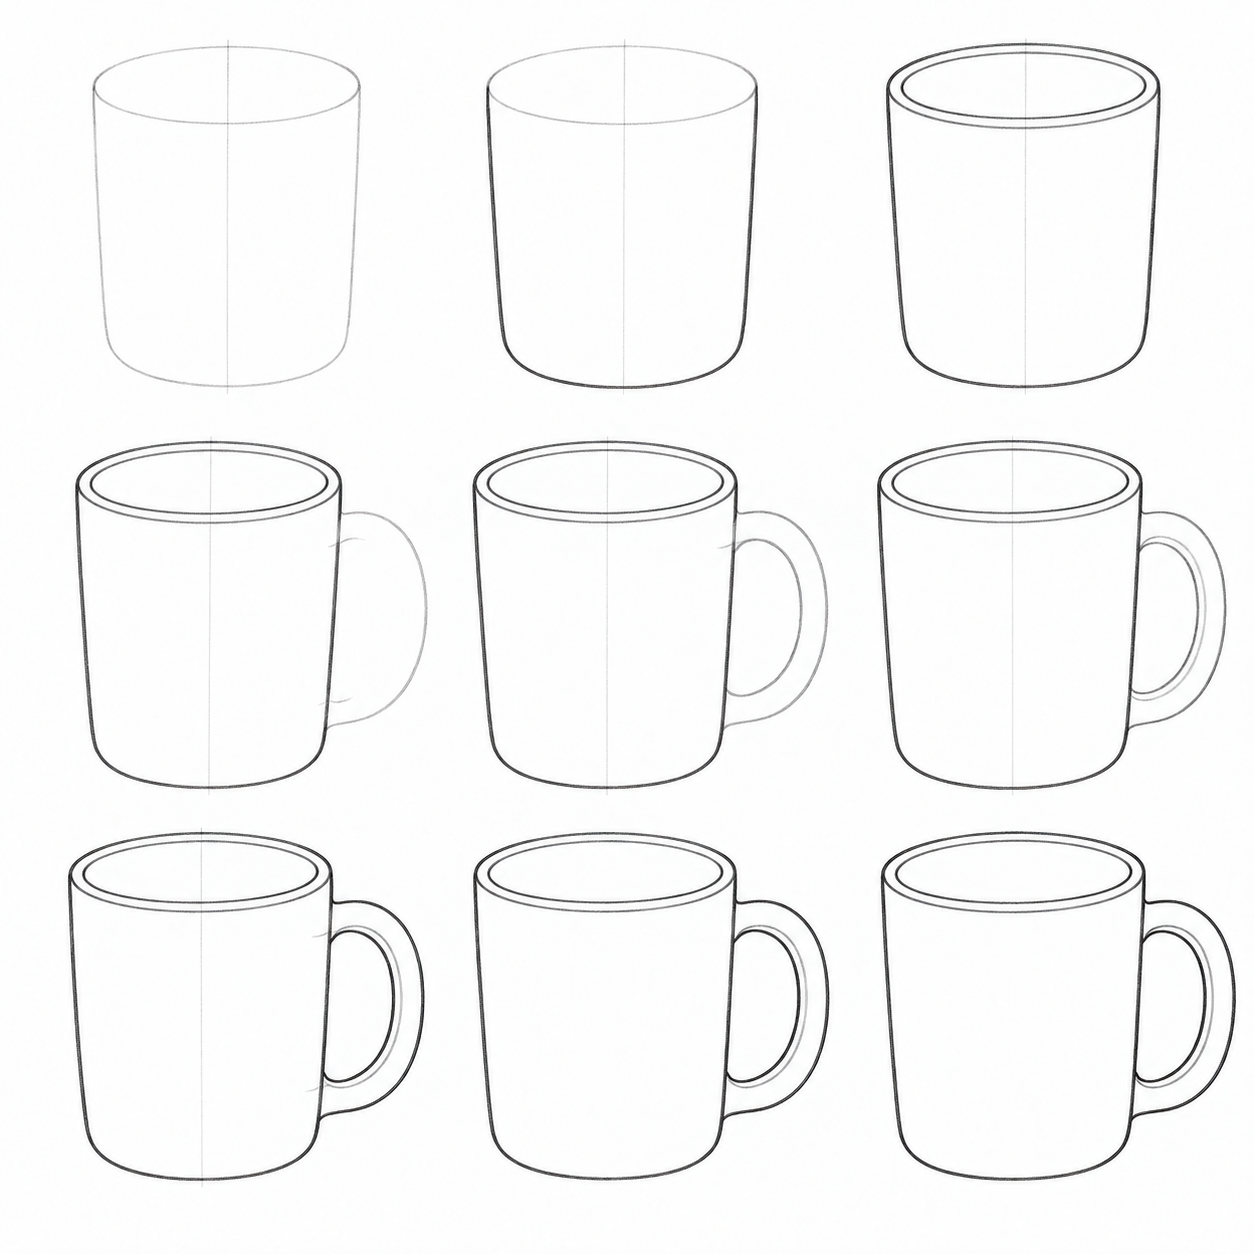
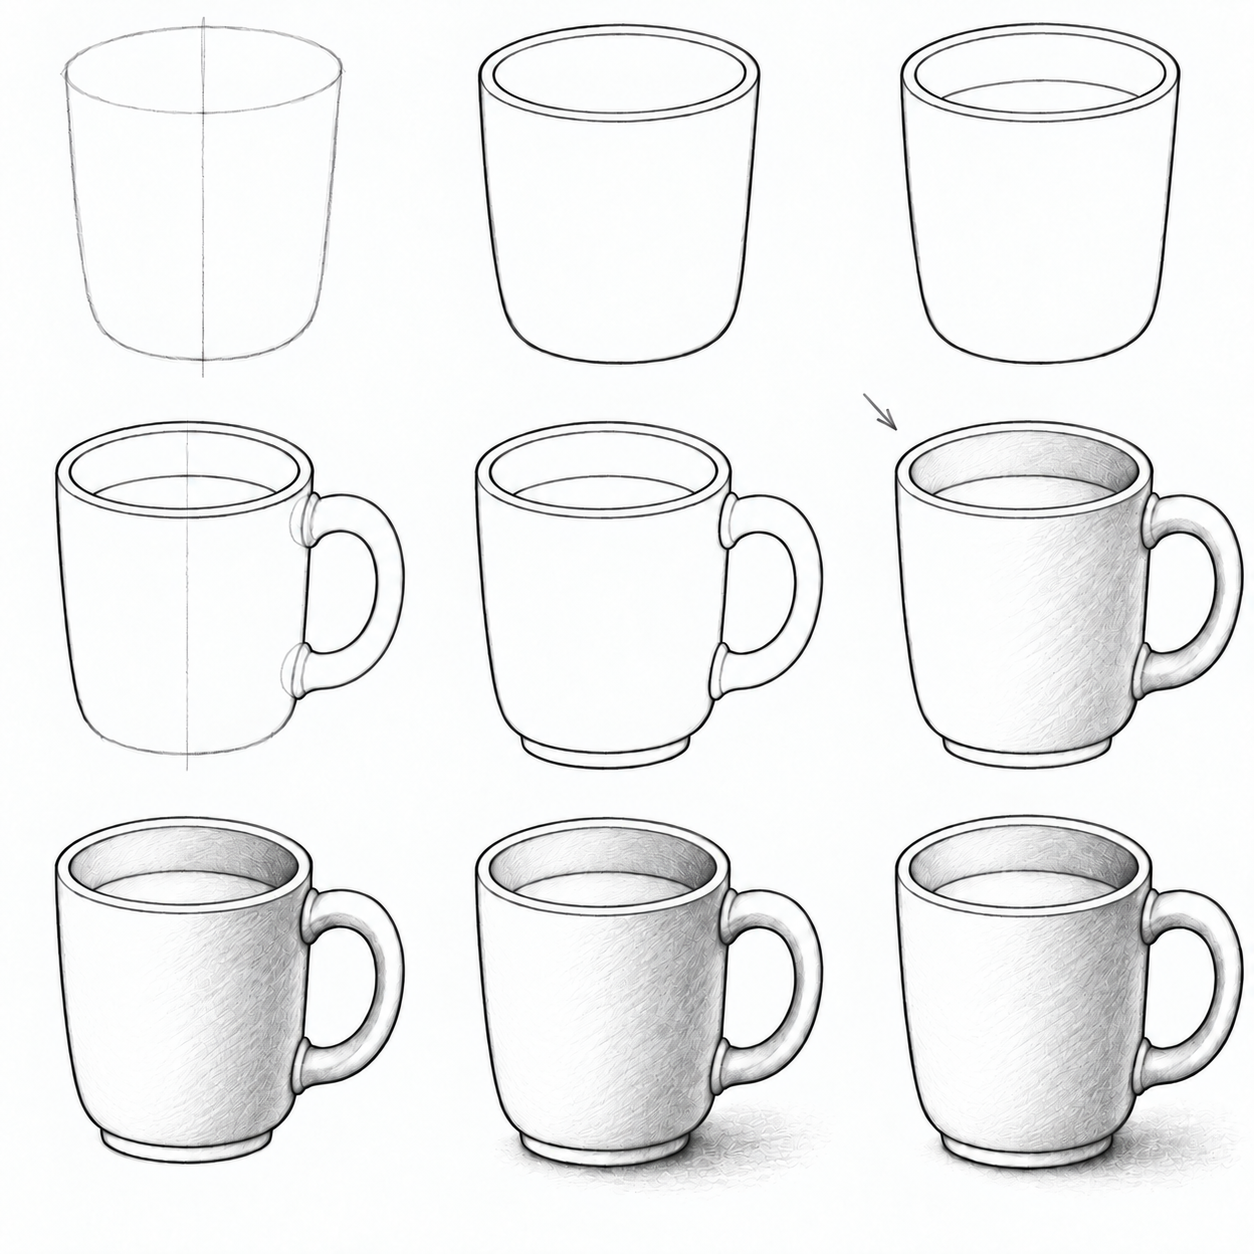
Simplest: Place the top oval and two body sides. Keep the large forms light, without an extra axis. Why: Keep a clear simple contour and remove only unnecessary supports. Check: The form and visible handle ends remain clear; no extra detail is required. Repair: Lighten an extra line or restore only a missing edge.
A little more detail: Lightly place a top oval, two gently converging sides and a rounded base. Run an axis through the oval centre; leave room for the handle on the right. Why: The oval and sides establish one simple cylindrical mass before details. Check: Do the top oval and base share a centre axis? Repair: Move only the light axis or one side, keeping the rest.
Best version: Place a top oval, tapering sides, rounded base and light centre axis. Leave space on the right for the handle and below for a narrow foot. Why: A simple mass reserves room for the whole object before its construction details. Check: Do the oval and base share an axis, with room for the handle? Repair: Move one light support; do not add details to an unchecked mass.
Step 2. Check the body and rim
Trial
After checking
Before the action
After the action
Before the action
After the action
Simplest: Choose the main curve from this step; you may omit a separate axis. Why: Keep a clear simple contour and remove only unnecessary supports. Check: The form and visible handle ends remain clear; no extra detail is required. Repair: Lighten an extra line or restore only a missing edge.
A little more detail: Choose the two sides and rounded base over the pale supports with moderate pencil pressure. Keep the oval and axis light. Why: Check the large body before its rim thickness and handle. Check: Do both sides taper gently and join a base without sharp corners? Repair: Lighten and redraw only the uneven section of one side.
Best version: Refine the body and outer ellipse. Construct a smaller inner ellipse on the same axis, leaving the ceramic rim thickness. After checking, lighten the temporary axis with the eraser. Why: The inner edge belongs to the same round opening as the outer edge. Check: Do both ellipses face the same way without touching or crossing? Repair: Adjust one inner arc while keeping the outer edge.
Step 3. Refine the opening
Trial
After checking
Before the action
After the action
Before the action
After the action
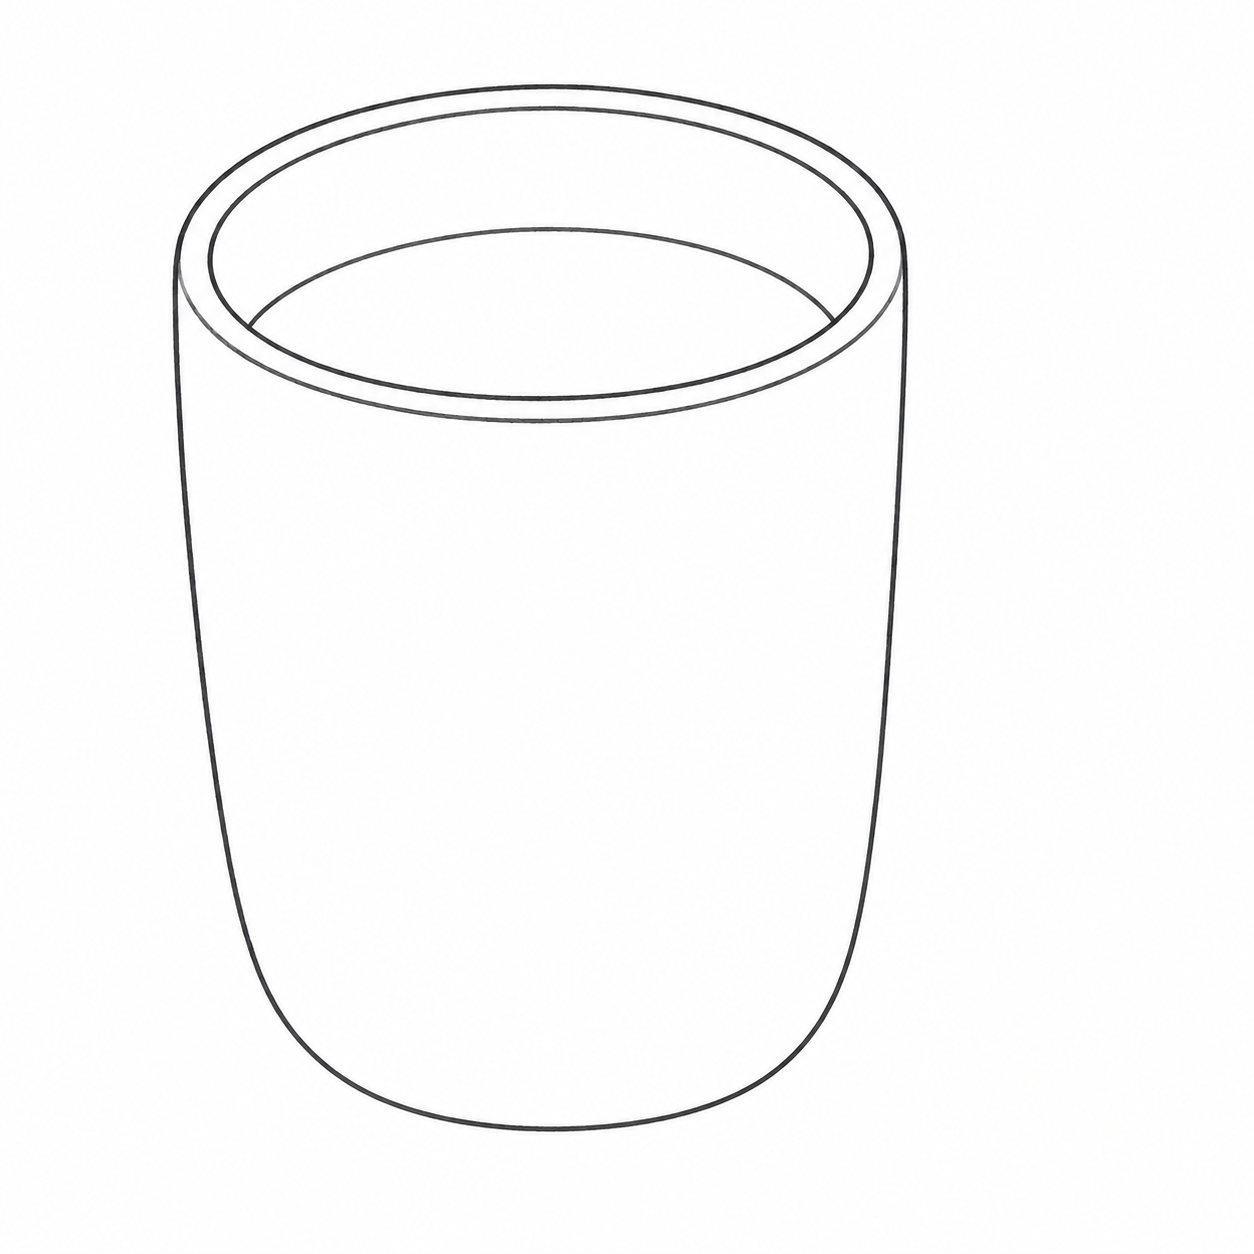
Simplest: Refine the converging sides and gentle base curve. On the right build a handle with two curves; its attachments are provisionally marked behind the body. Keep the outer edge plain, without internal details. Why: Keep a clear simple contour and remove only unnecessary supports. Check: The form and visible handle ends remain clear; no extra detail is required. Repair: Lighten an extra line or restore only a missing edge.
A little more detail: Draw a smaller oval inside the top oval on the same axis. Leave a visible gap between the outer and inner edges. Why: Two aligned ellipses describe the thickness of the ceramic rim. Check: Is the inner oval separate from the outer one and aligned with it? Repair: Erase only an arc that is too close and move it inward.
Best version: Draw an interior depth arc below the far rim, ending at the inner side walls of the opening. Why: The band between the rim and this arc describes the wall inside the mug. Check: Does the arc stay inside the opening without crossing the front wall? Repair: Shorten an escaping end or raise a section that is too low.
Step 4. Build the connections
Trial edge
Covered section identified
Before the action
After the action
Before the action
After the action
Simplest: At both handle attachments find the provisional edges inside the body. The body is in front of the handle. Point to one section to erase. Why: Keep a clear simple contour and remove only unnecessary supports. Check: The form and visible handle ends remain clear; no extra detail is required. Repair: Lighten an extra line or restore only a missing edge.
A little more detail: Place a large D-shaped curve on the right, its upper and lower ends meeting the body side. Keep the short trial attachment tips pale. Why: The outer curve sets the handle size before its opening. Check: Does the handle fit on the right with both ends reaching the body side? Repair: Shorten a trial end or adjust the outer curve without moving the body.
Best version: Construct the outer and inner handle curves, its thickness and two rounded joins at the body side. Restore a pale axis to compare the join heights; keep trial attachment lines light. Why: The opening and rounded joins describe a solid handle rather than a flat loop. Check: Is the opening clear, with both joins reaching the side and trial lines still distinct? Repair: Reduce only an oversized join or lighten a trial tip.
Step 5. Check the construction
Trial
After checking
Before the action
After the action
Before the action
After the action
Simplest: Erase the short handle attachments inside the body. Keep its outer and inner curves on the right. Keep the foreground outer edge. Why: Keep a clear simple contour and remove only unnecessary supports. Check: The form and visible handle ends remain clear; no extra detail is required. Repair: Lighten an extra line or restore only a missing edge.
A little more detail: Draw a second D-shaped curve inside the handle. Leave a ceramic band between the outer edge and its opening. Why: The opening separates empty space from the solid handle. Check: Is there material between the curves at the top, bottom and right? Repair: Adjust only a cramped section of the inner curve.
Best version: Add a narrow foot ring below the rounded base, using a curved front edge and short side returns. Erase the axis and covered trial attachment lines. Why: The ring establishes a foot; erasing guides prepares the surface for tone. Check: Is the ring below the body and the front wall clear of axes and covered lines? Repair: Adjust only the ring arc or erase a remaining short trial edge.
Step 6. Add your route detail
Trial
After checking
Before the action
After the action
Before the action
After the action
Simplest: Complete the top ellipse with one far arc. Keep one opening edge and a plain body without additional bands. Why: Keep a clear simple contour and remove only unnecessary supports. Check: The form and visible handle ends remain clear; no extra detail is required. Repair: Lighten an extra line or restore only a missing edge.
A little more detail: Add a narrow second contour beside the inner handle edge. Follow the same curvature and stop outside the front surface of the mug. Why: The extra edge shows handle thickness without changing its overall size. Check: Is the thickness band narrow while the opening remains clear? Repair: Lighten the extra contour and move it nearer the inner edge.
Best version: Choose upper-left light as the arrow shows. Lay a very light first pencil layer on the right side, inner wall and handle recesses. Leave the left face white. Why: The right side turns away from the light; the first layer establishes midtone without losing the bright area. Check: Is the bright left face distinct from the light tone on the right? Repair: Lighten excess tone on the bright side; do not darken the entire body equally.
Step 7. Refine and lighten excess
Trial
After checking
Before the action
After the action
Before the action
After the action
Simplest: Remove the temporary curve and light masses; retain the plain edge and this route details. Why: Keep a clear simple contour and remove only unnecessary supports. Check: The form and visible handle ends remain clear; no extra detail is required. Repair: Lighten an extra line or restore only a missing edge.
A little more detail: Choose the visible handle contours. Identify the body axis and the two pale trial tips near the body side; keep these light. Why: Separate permanent surfaces from temporary or covered lines before erasing. Check: Can you point to the axis and the short ends covered by the body? Repair: Use an eraser to lighten a trial line that became too dark.
Best version: Use a second layer to deepen the own shadow on the right, inside the opening and in the handle recesses. Follow the surface curvature. Remove the light arrow. Why: Different stroke densities separate the bright area, midtone and own shadow to describe volume. Check: Is the broad bright area retained, with a softer transition toward the dark right side? Repair: Lighten a harsh band and add a gentle intermediate layer beside it.
Step 8. Finish the surface and support
Before the action
After the action
Before the action
After the action
Simplest: The simple drawing is complete. Check that visible handle edges reach the body side; no shading is needed. Why: Keep a clear simple contour and remove only unnecessary supports. Check: The form and visible handle ends remain clear; no extra detail is required. Repair: Lighten an extra line or restore only a missing edge.
A little more detail: Erase the axis, leftover supports and handle trial tips inside the body. Keep both handle curves and both rim ovals. Why: The front wall hides the handle attachments; the body should not look transparent. Check: Does the handle reach the side without crossing the front wall? Repair: Erase only a covered tip; restore any lost visible edge up to the body side.
Best version: Place contact shadow immediately below the foot ring. Extend a small cast shadow across the ground to the lower right, away from the upper-left light. Why: Contact shadow connects the object to its support; cast shadow shows where the mug blocks light on the ground. Check: Does the shadow start at the ring and extend away from the upper-left light? Repair: Bring its start to the foot or erase a wrongly placed far edge.
Step 9. Check the finished drawing
Before the action
After the action
Before the action
After the action
Simplest: Check the plain body and opening. Keep your simple result without adding details. Why: Keep a clear simple contour and remove only unnecessary supports. Check: The form and visible handle ends remain clear; no extra detail is required. Repair: Lighten an extra line or restore only a missing edge.
A little more detail: Compare the clean drawing with the previous view; add no new details. Check the rim, handle opening and plain body. Why: The result confirms decisions already constructed separately. Check: Are rim and handle thickness clear, with all temporary supports removed? Repair: Lighten an accidental repeated edge; your proportions may differ from the example.
Best version: Compare the finished drawing with the previous view. Lighten stray marks in the bright area and check the contours; add no new details. Why: Cleaning retains the construction and tonal order already built in earlier steps. Check: Are bright area, midtone, own shadow and cast shadow distinct, with foot and handle still legible? Repair: Recover a small bright area with the eraser or restore only a lost edge.
If the drawing is unclear
The rim ovals face different ways Cause: Their axes or tilts disagree. Repair: Adjust only one inner arc.
The mug looks transparent beside the handle Cause: Trial attachments remain inside the front wall. Repair: Erase the covered tips while retaining visible curves.
The bright side disappears Cause: Uniform stroke density across the body. Repair: Lighten the left face with the eraser and keep the right side darker.
The mug floats above its shadow Cause: Shadow is detached from the foot. Repair: Bring its start to the foot and remove excess at the far end.
Independent tasks
Choose one new condition below. First construct your own masses and curve, name the foreground form, then draw the edge and erase the covered section. The construction-to-example pair explains the change; build rather than copy a finished outline. Your sizes and uneven lines may differ.
1. Look farther into the mug
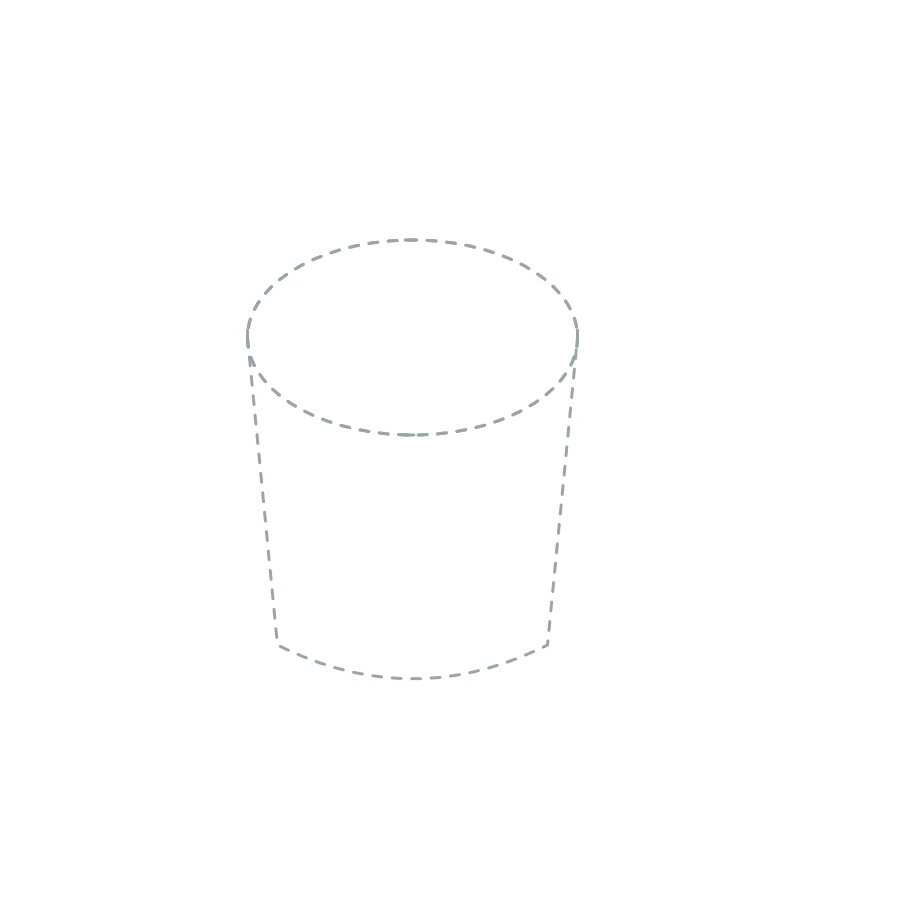
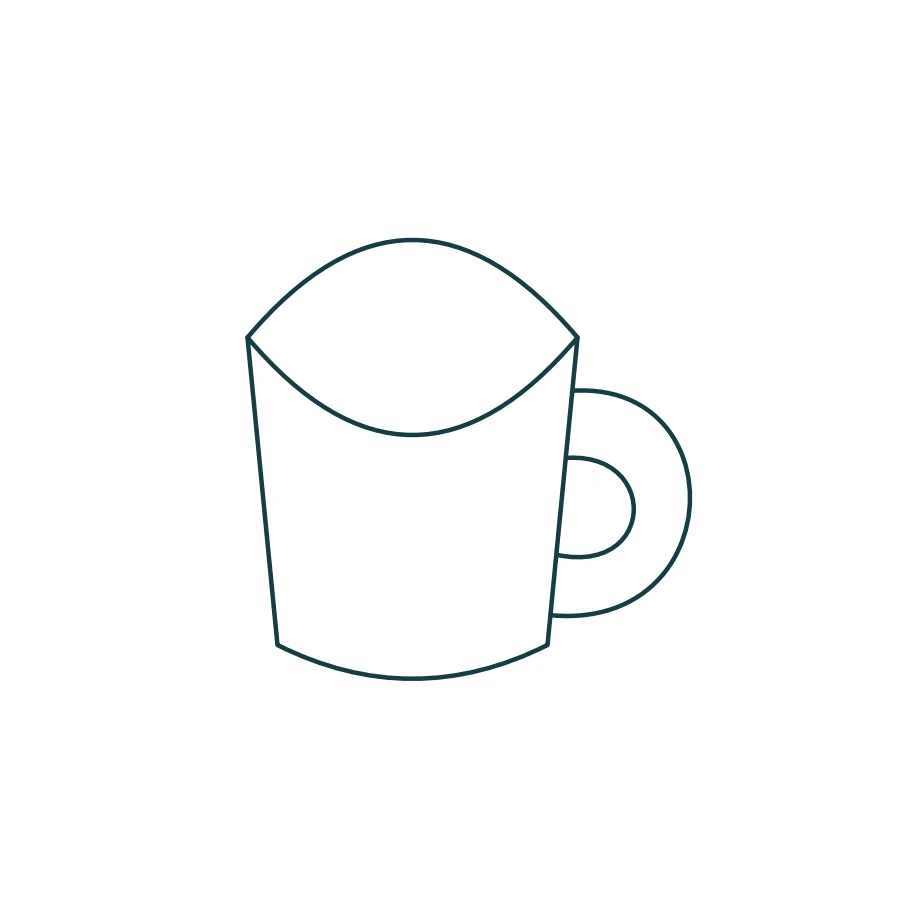
Increase the top ellipse height while keeping its width. Locate both handle attachments behind the body again.
Why: The taller oval exposes more of the opening. Base and rim remain on the same axis.
Check: Do the upper and lower arcs share side endpoints?
Repair: Erase the misplaced arc and redraw it between the original endpoints.
2. Rim nearer eye level
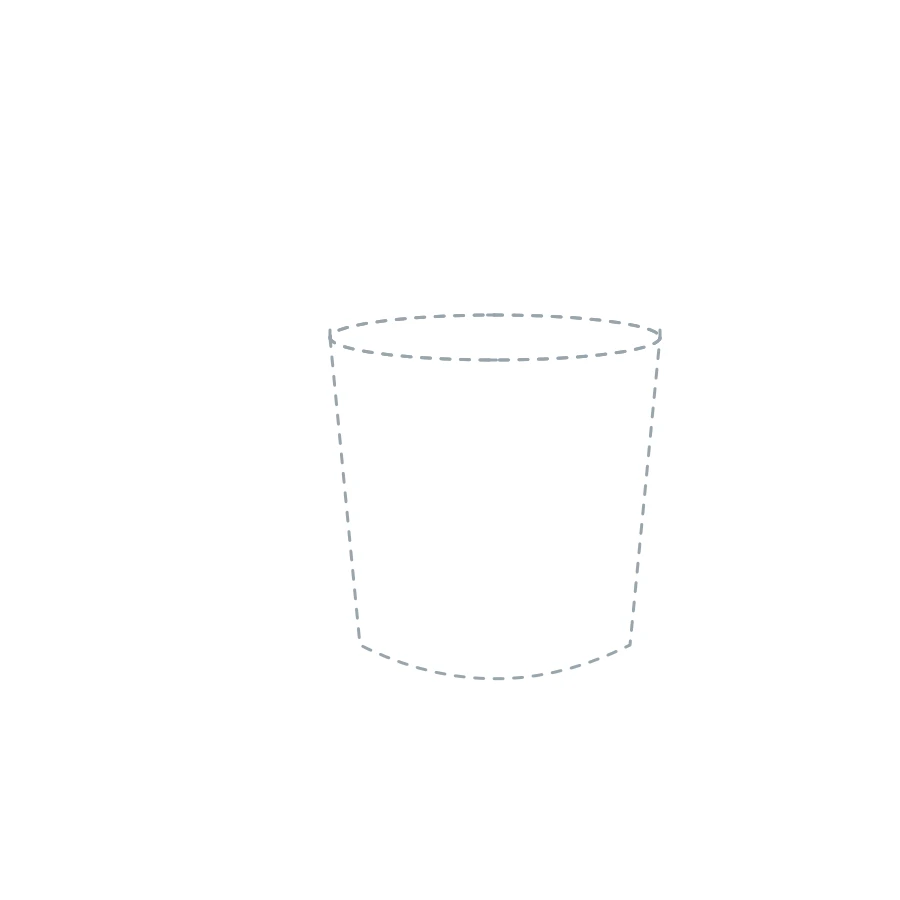
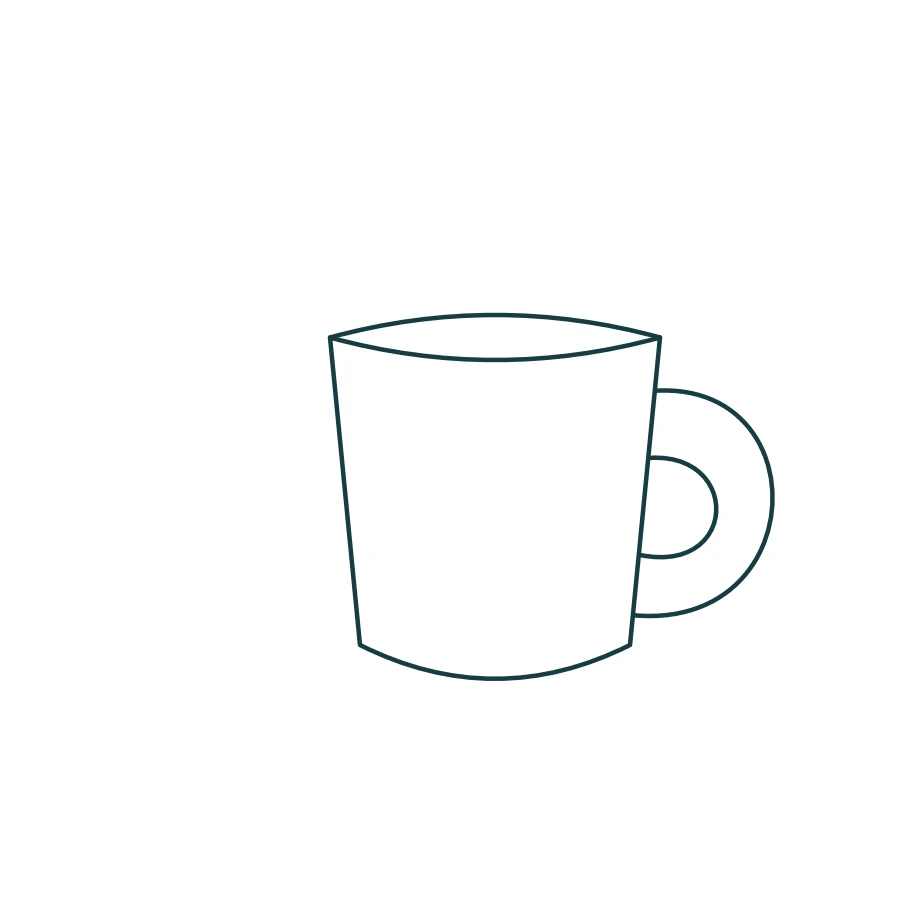
Compress the top ellipse and move the mug right, leaving room for the handle. Find the covered attachment positions yourself.
Why: The changed viewing height reduces the visible opening; the page placement requires new construction.
Check: Is the oval visibly shallower, while the handle stays behind the body?
Repair: Soften the lower ellipse arc and erase only the attachments inside the body.
3. Light from the right instead of the left
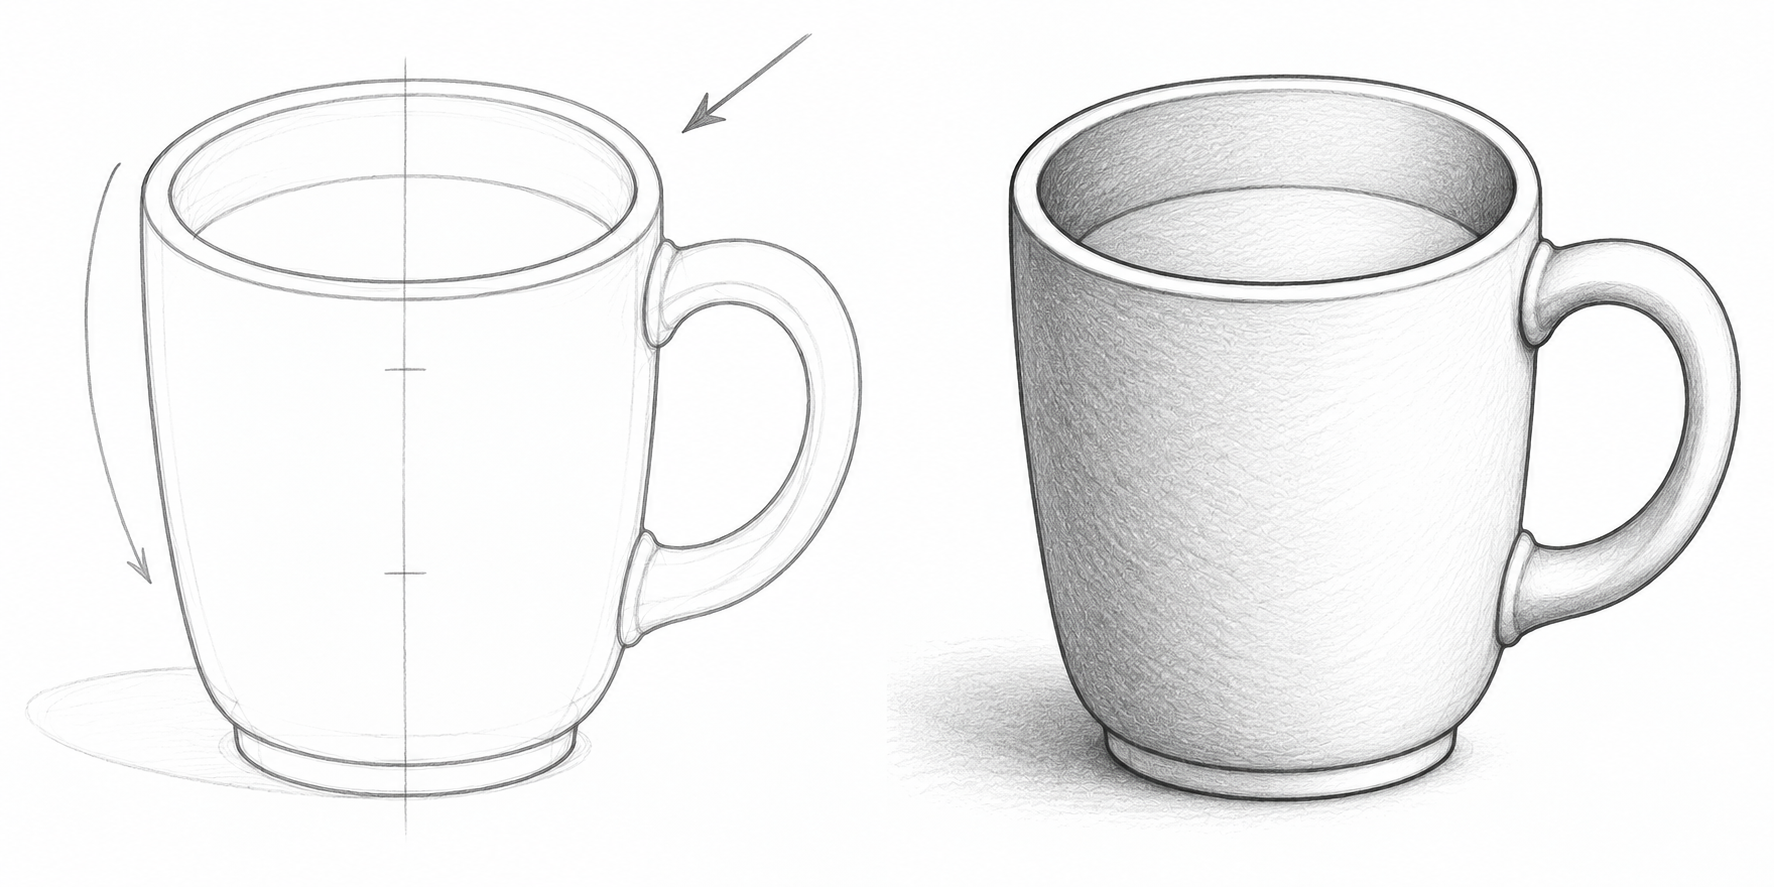
Keep the mug view and choose upper-right light. Independently place the bright right face, darker left side and cast shadow to the lower left.
Why: Moving the source requires new tone placement and a new cast-shadow direction rather than copying previous hatching.
Check: Is the right face bright, the left side darker and the shadow attached to the foot away from the light?
Repair: Lighten misplaced tone and move only a wrong cast-shadow edge.
Self-check
Point to the shared rim axis and covered handle edge. In the third route, name the source, bright area, own shadow and cast shadow.
Question: when light moves from the left to the right, what must you decide again?
Answer: where to retain the bright area, deepen own shadow and extend cast shadow from the foot. The right face receives more light, the left becomes darker and cast shadow extends left.
Uneven lines and your own proportions are fine. Structural checks and editorial review are not classroom testing; none has been performed.
What to draw next
All drawing lessons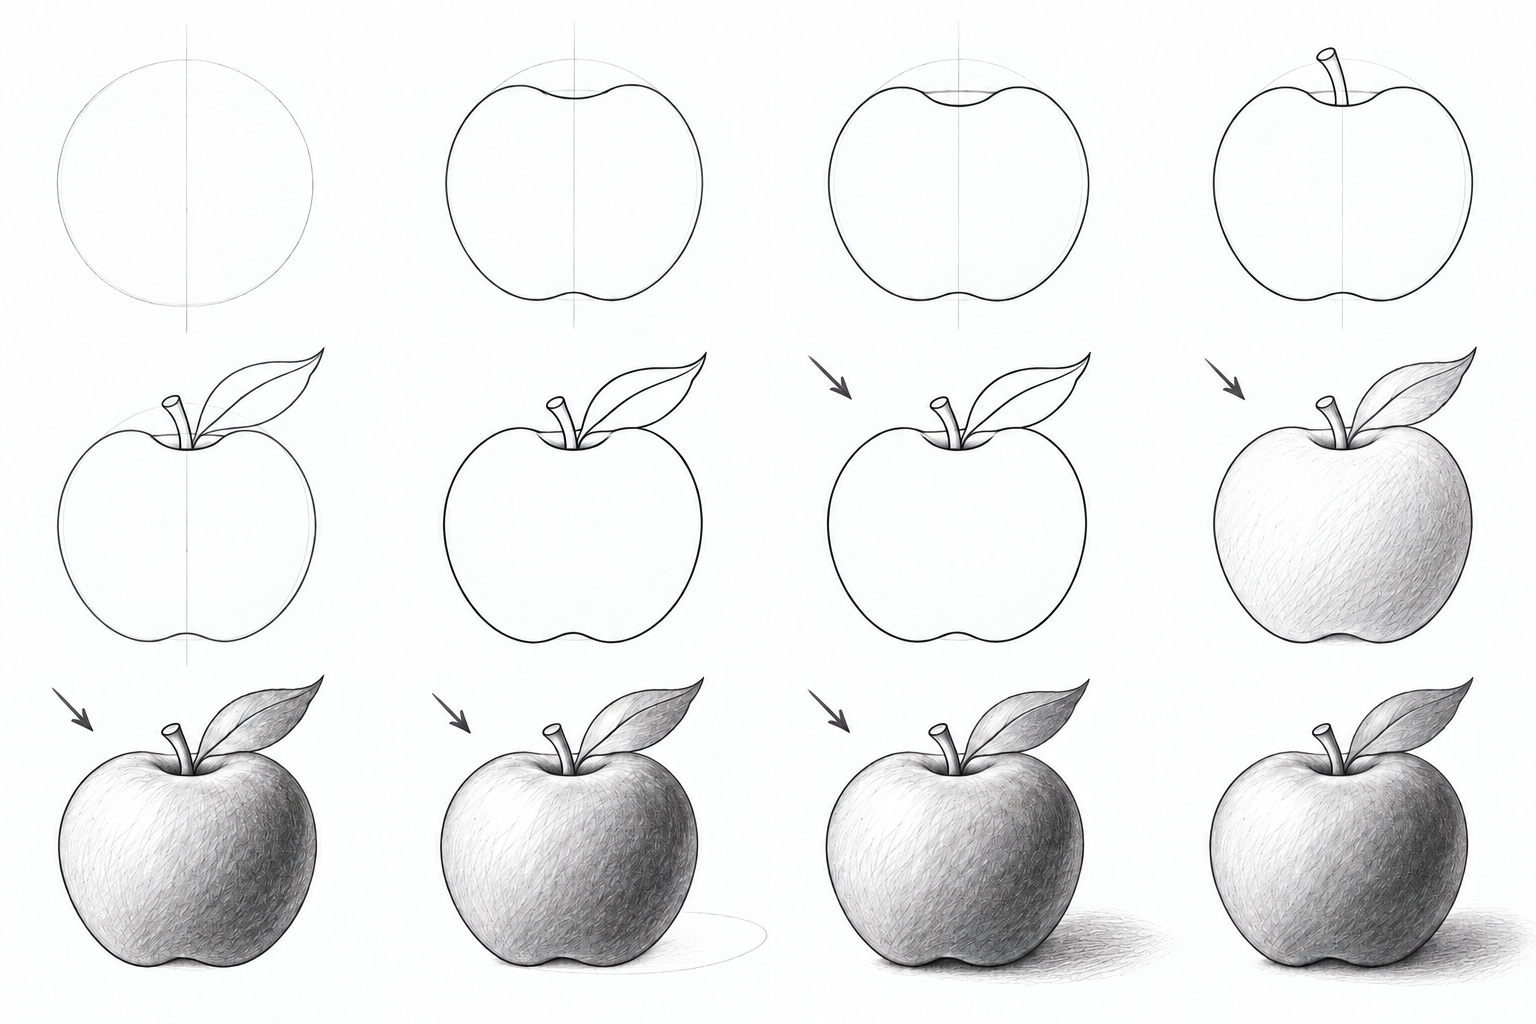 3 levels
How to draw an apple
Draw an apple at three levels: simple forms, a recessed top and bent leaf, then pencil light and shadow. Clear stages, small repairs and A4/Letter PDFs.
 3 levels
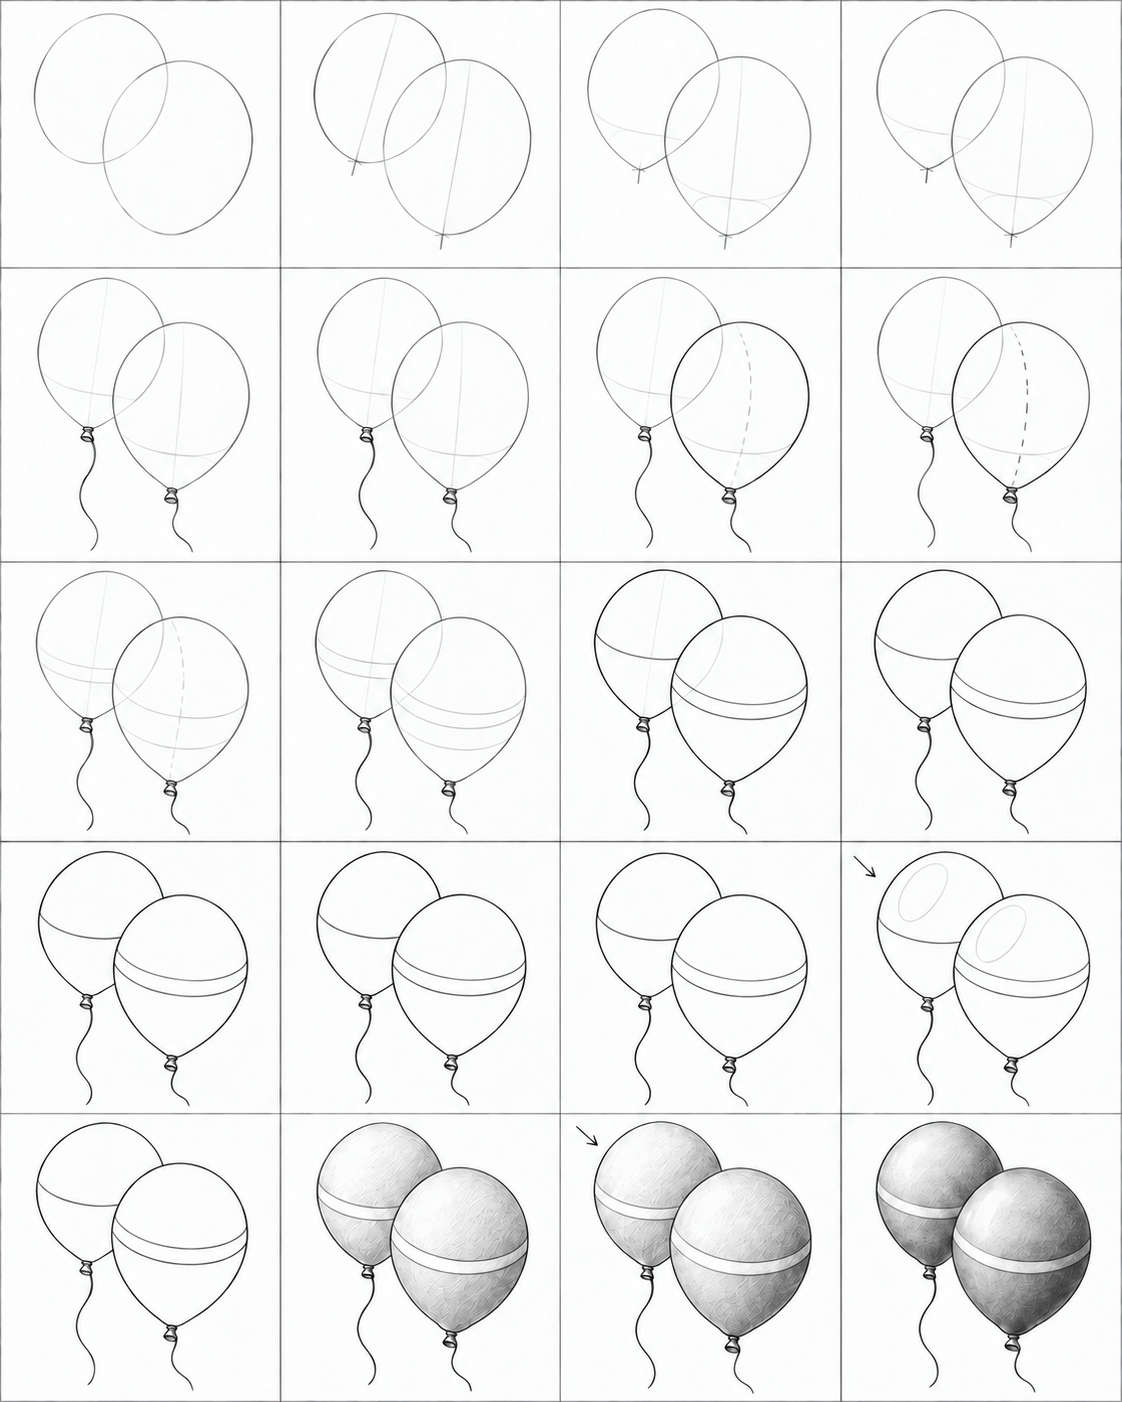
How to draw balloons
Three balloon drawing routes, from two simple ovals to tapered necks and pencil volume. Illustrated steps, checks, small repairs and practice PDFs.
 3 levels
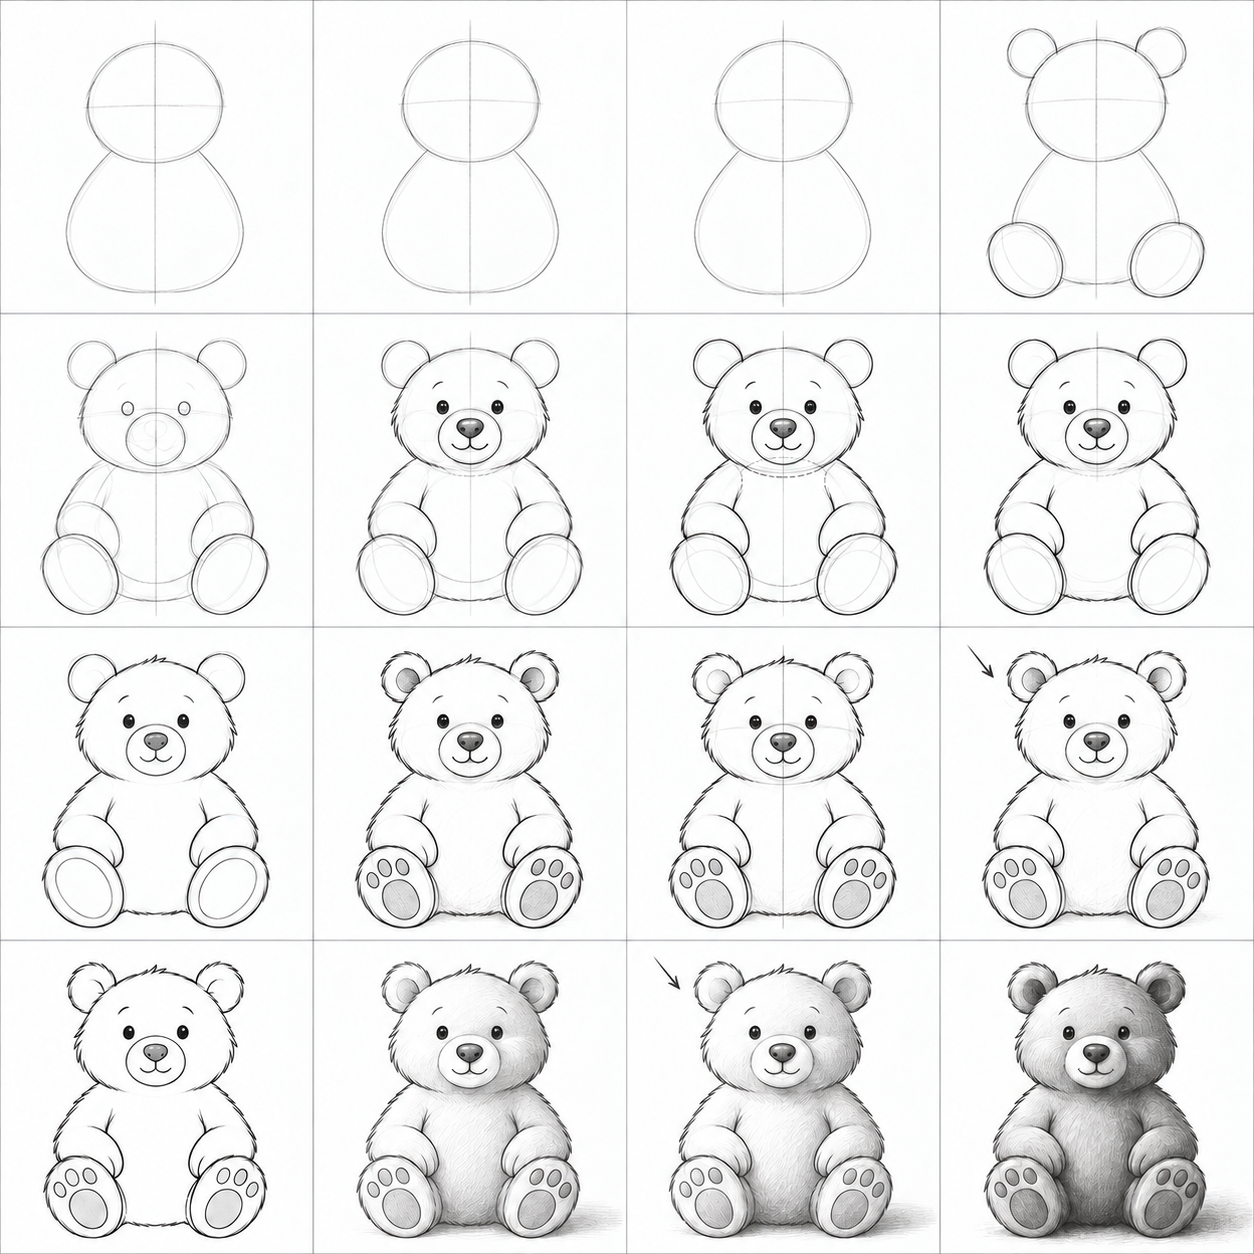
How to draw a bear in pencil
Draw a sitting bear from simple forms: paws, muzzle, overlaps and shading. Three levels, illustrated steps and A4 lesson and practice PDFs.