kiduverse
How to draw an ice cream cone: form and overlap
A step-by-step lesson to draw an ice cream cone from simple forms: curves, overlap, erasing, warm-up, small repairs, independent tasks and printable A4/Letter PDFs.
- 3 detail levels
- Paper, HB/2B pencil, eraser
- 14 parts
Tap a drawing below to choose your level. The other levels hide and the “trial → after checking” pairs get bigger.
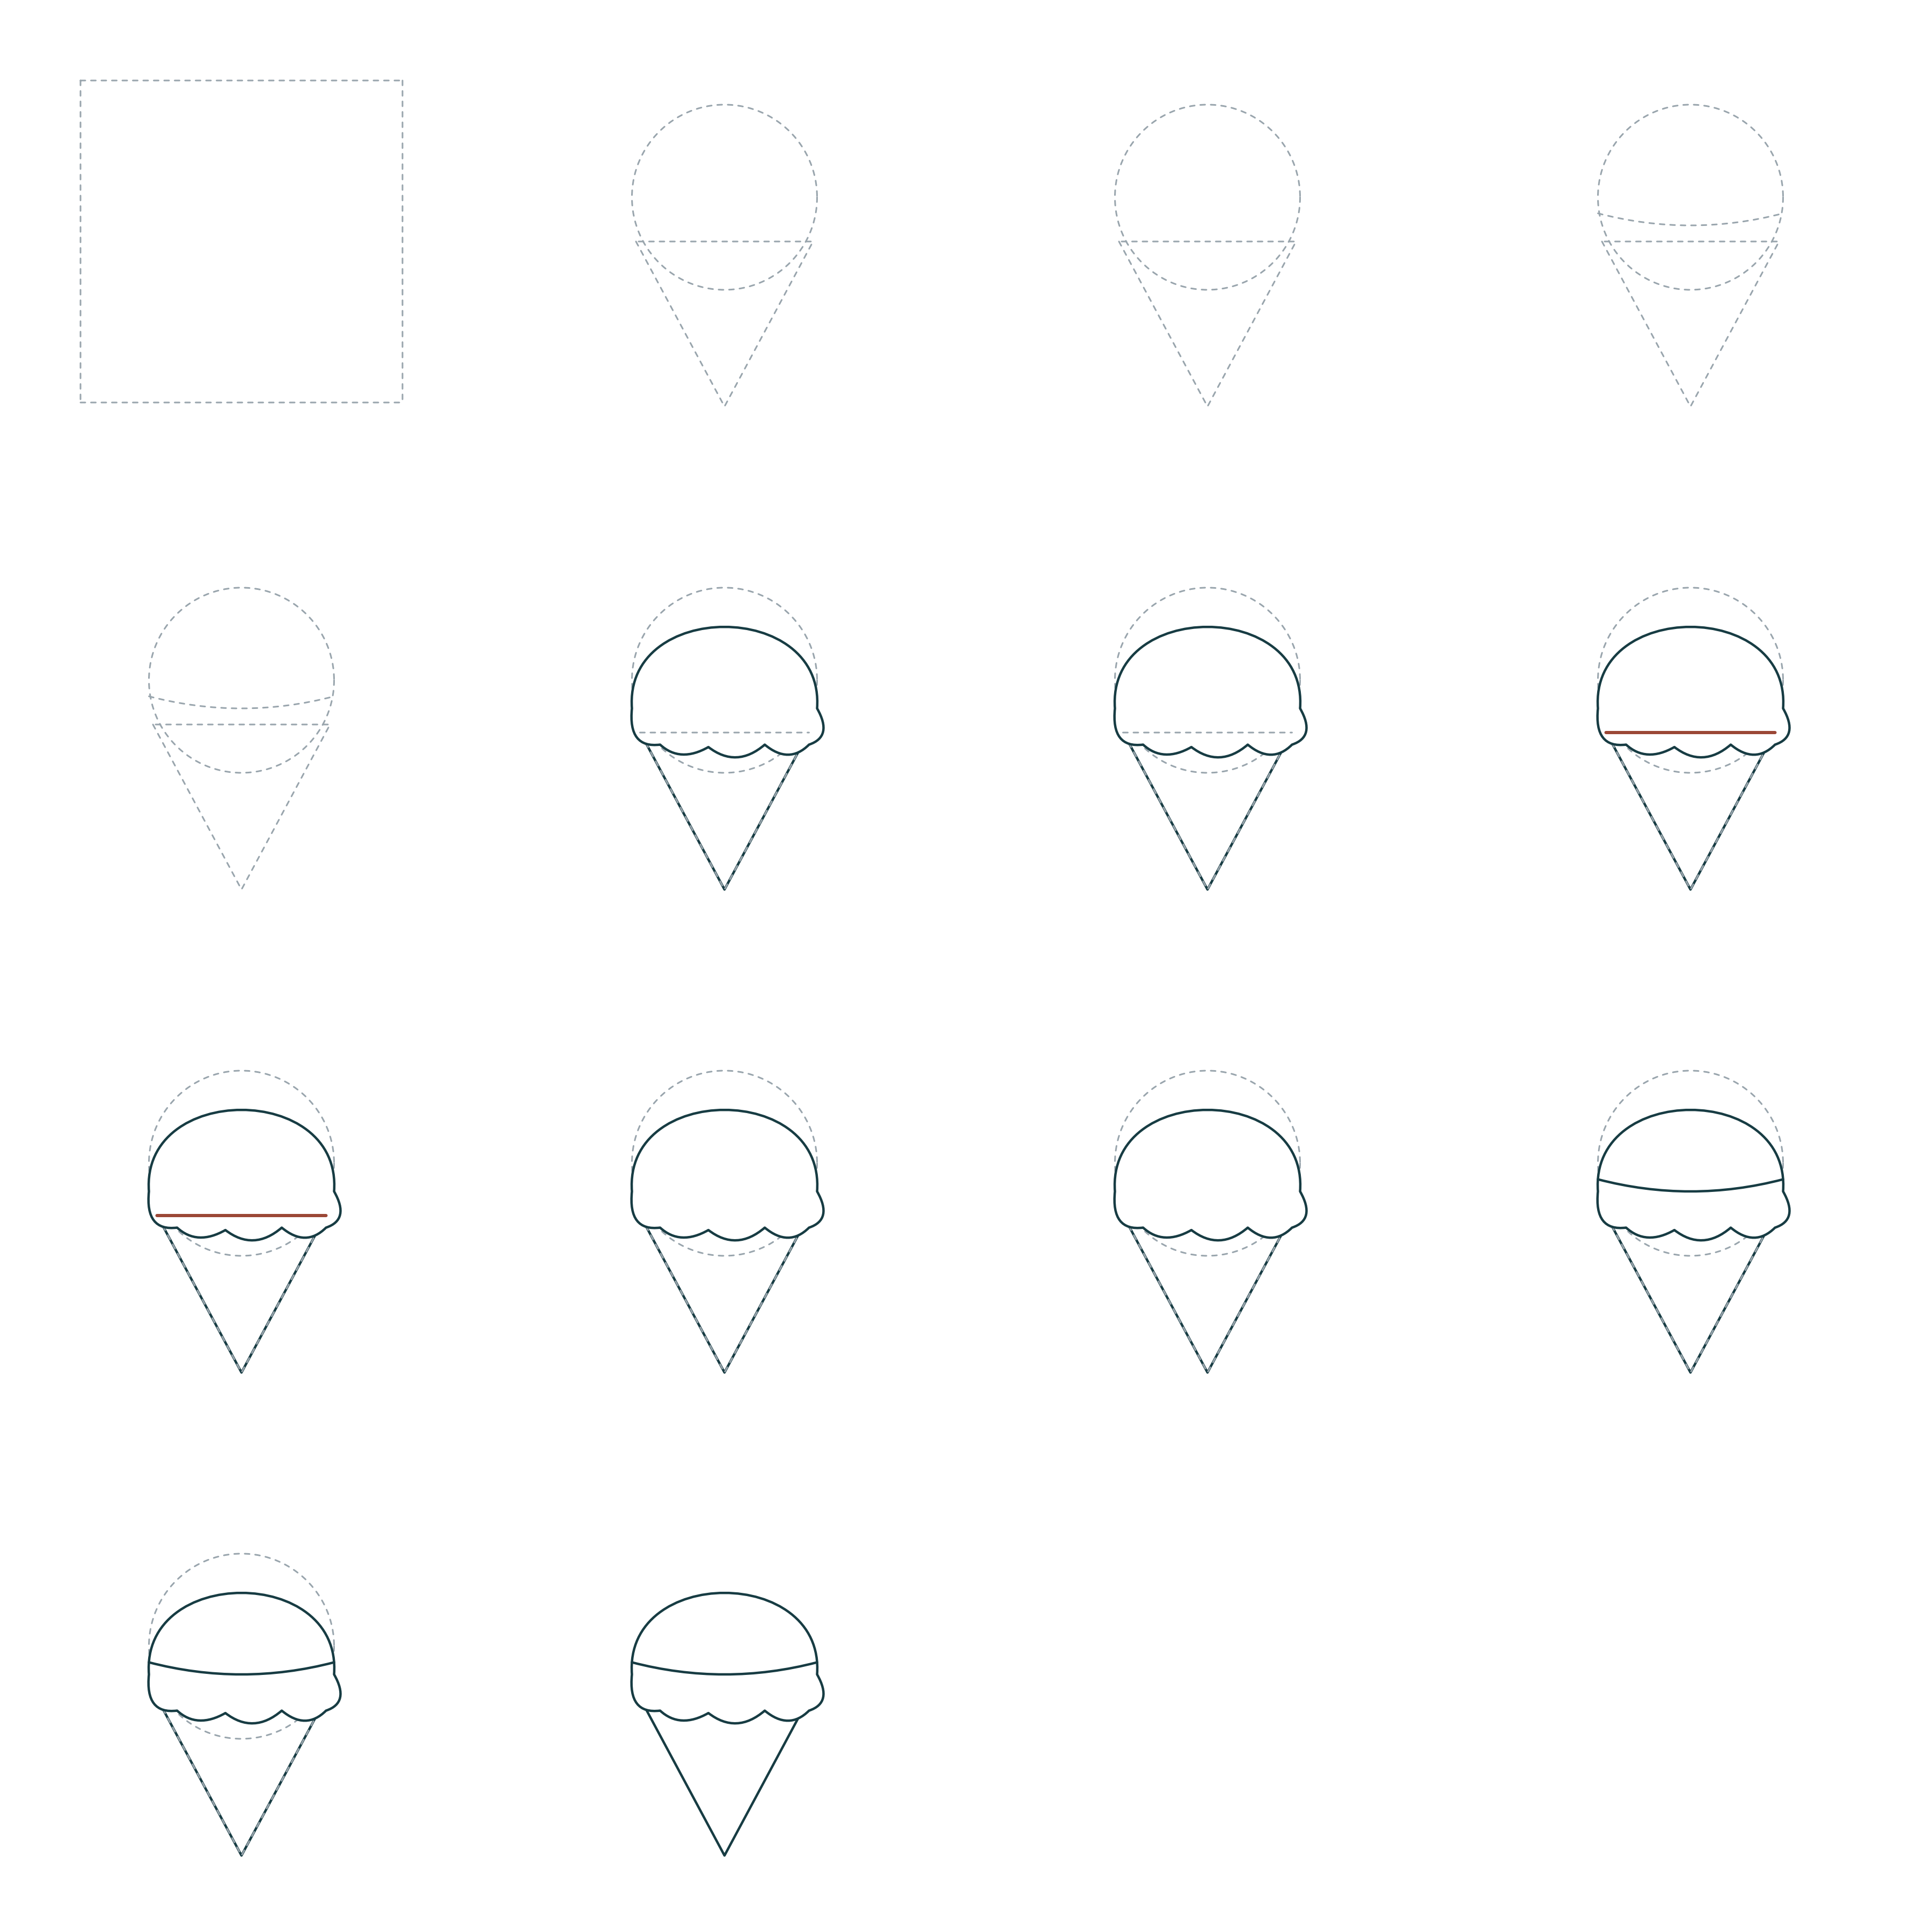
Build a circle above a triangle and hide the cone top behind the scoop. The main decisions are form and overlap; choose your own sizes.
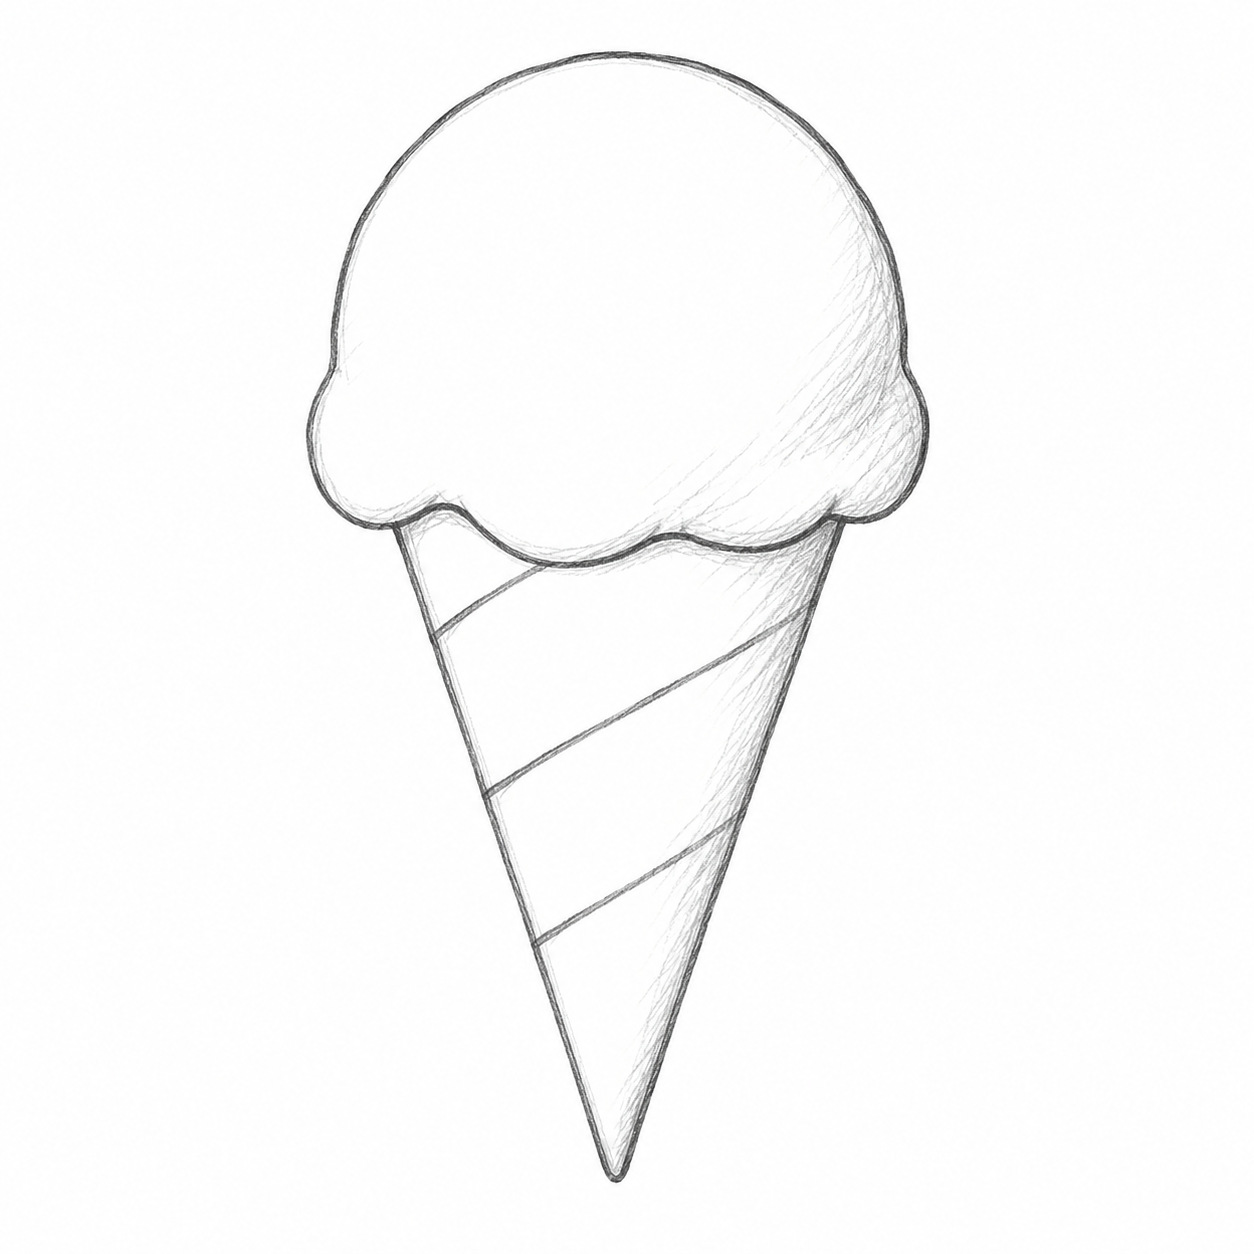
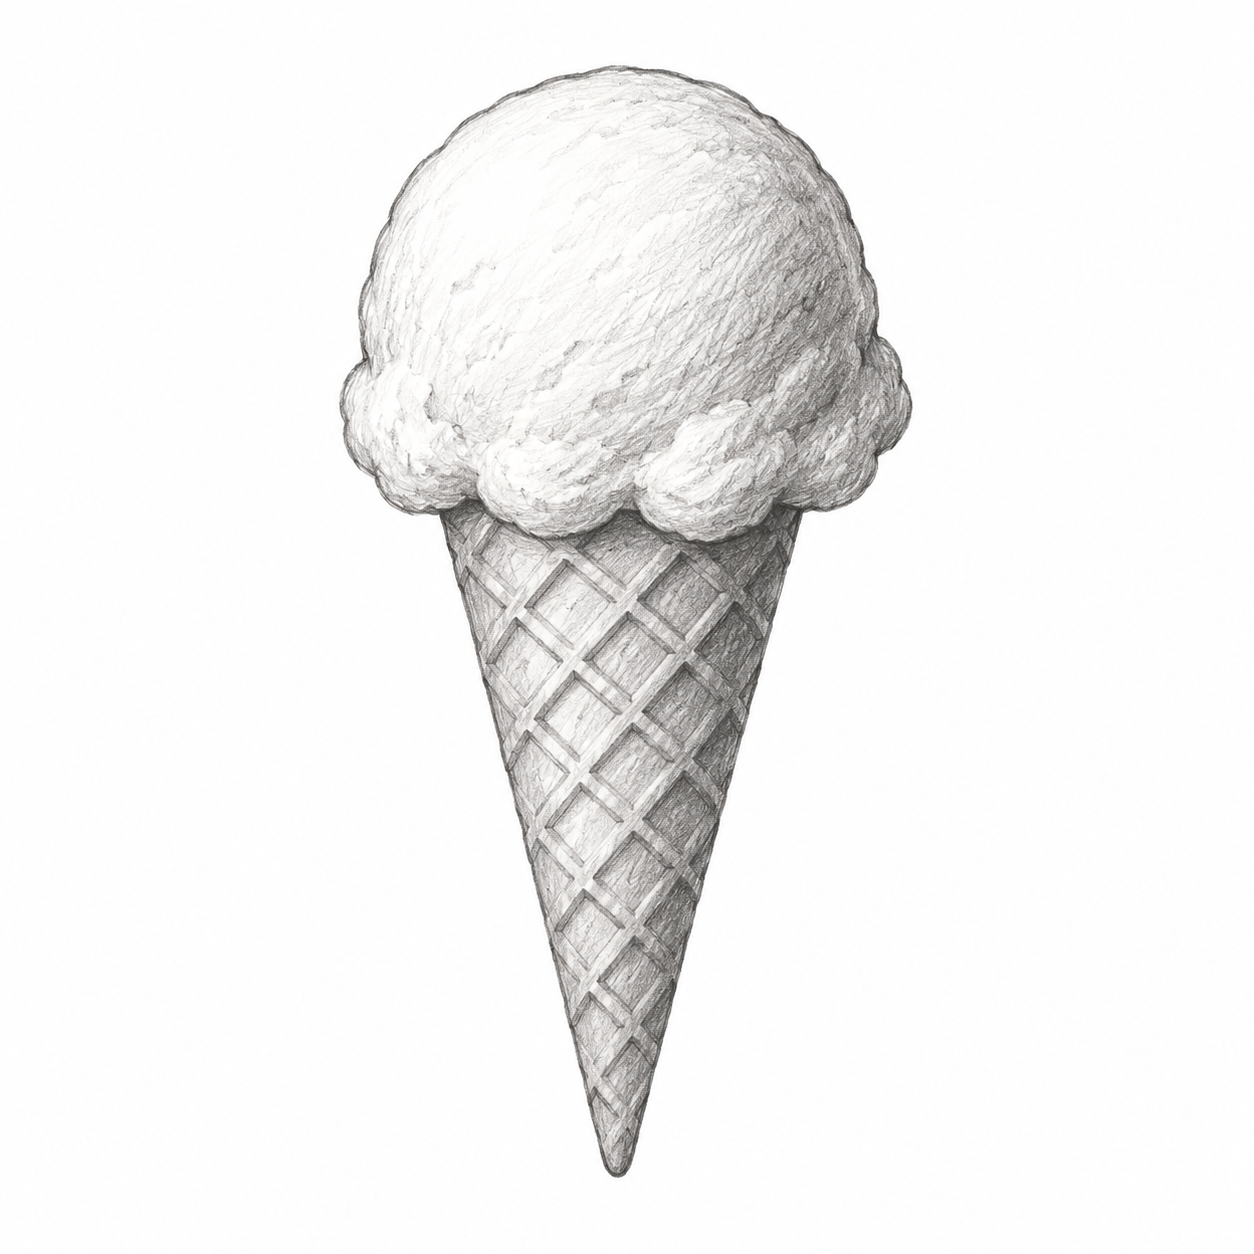
Goal and preparation
One ice cream scoop in a cone, a front view with a little of the upper surface visible. Choose a curve on a form, explain the overlap order and erase only the covered rear edge.
Use paper, an HB/2B pencil and an eraser. Start with a rough circle, oval and curve. Allow 20–35 minutes, with a break if needed. Around age 7 is a suggestion for learners familiar with these shapes, not an ability rating. To simplify, omit small details but keep both checks. To extend, try all three transfer tasks and choose your own sizes.
Technique 1. A curve on the form
A curve across the scoop describes its rounded surface. It wraps around the same mass rather than changing the cone width.
On a simple mass try the two warm-up curves: shallow, then deeper. Choose the one that better describes the selected surface or open circular rim.
Check: The curve endpoints stay on one mass; explain what the curve shows.
Technique 2. Overlap
An opaque foreground shape hides part of the rear shape. Draw two intersecting ovals, choose the front one and erase the covered rear segment. Swap the order in a second trial. Check: where does the rear line end? The criterion is at the foreground edge, not inside it.
Warm-up
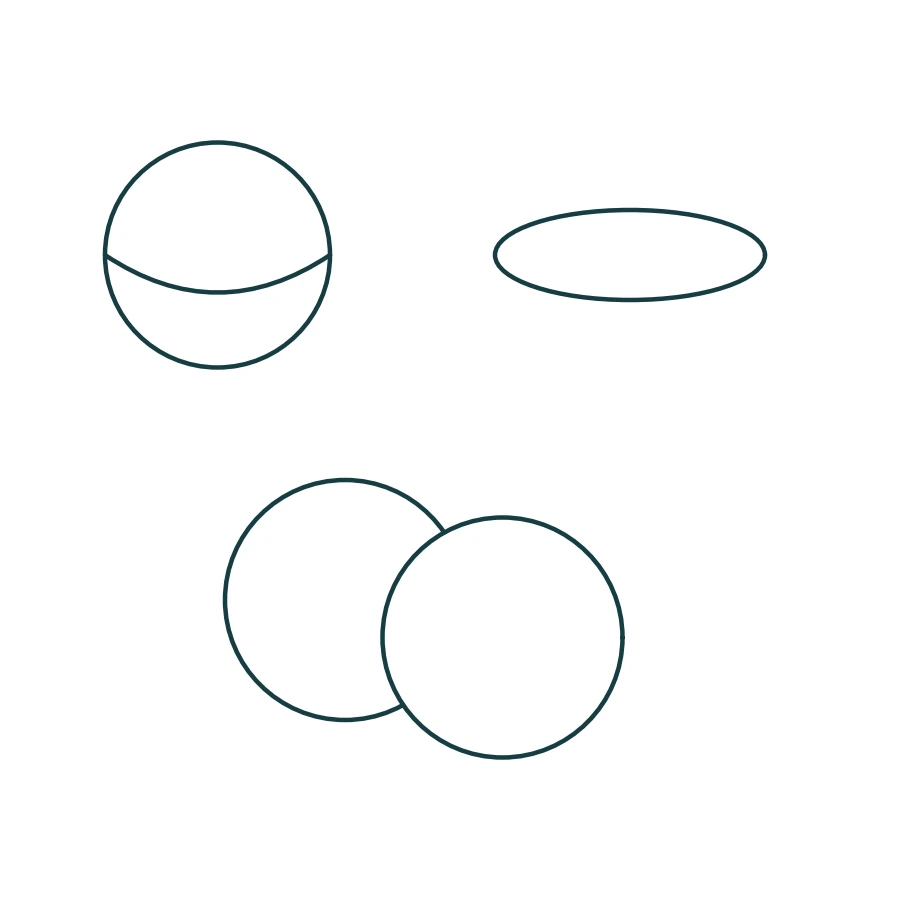
In the margin try the chosen curve twice: shallow and deeper. Name the one that exposes more of the surface. Then overlap two ovals and erase the covered edge; repeat with the other oval in front. The first trial prepares step 2; the second prepares steps 4–5.
For routes 2 and 3, try short light hatching on the right of a small circle. Leave the left white; lift strokes that became too dark with the eraser.
Step 1. Circle above a triangle
Trial
After checking
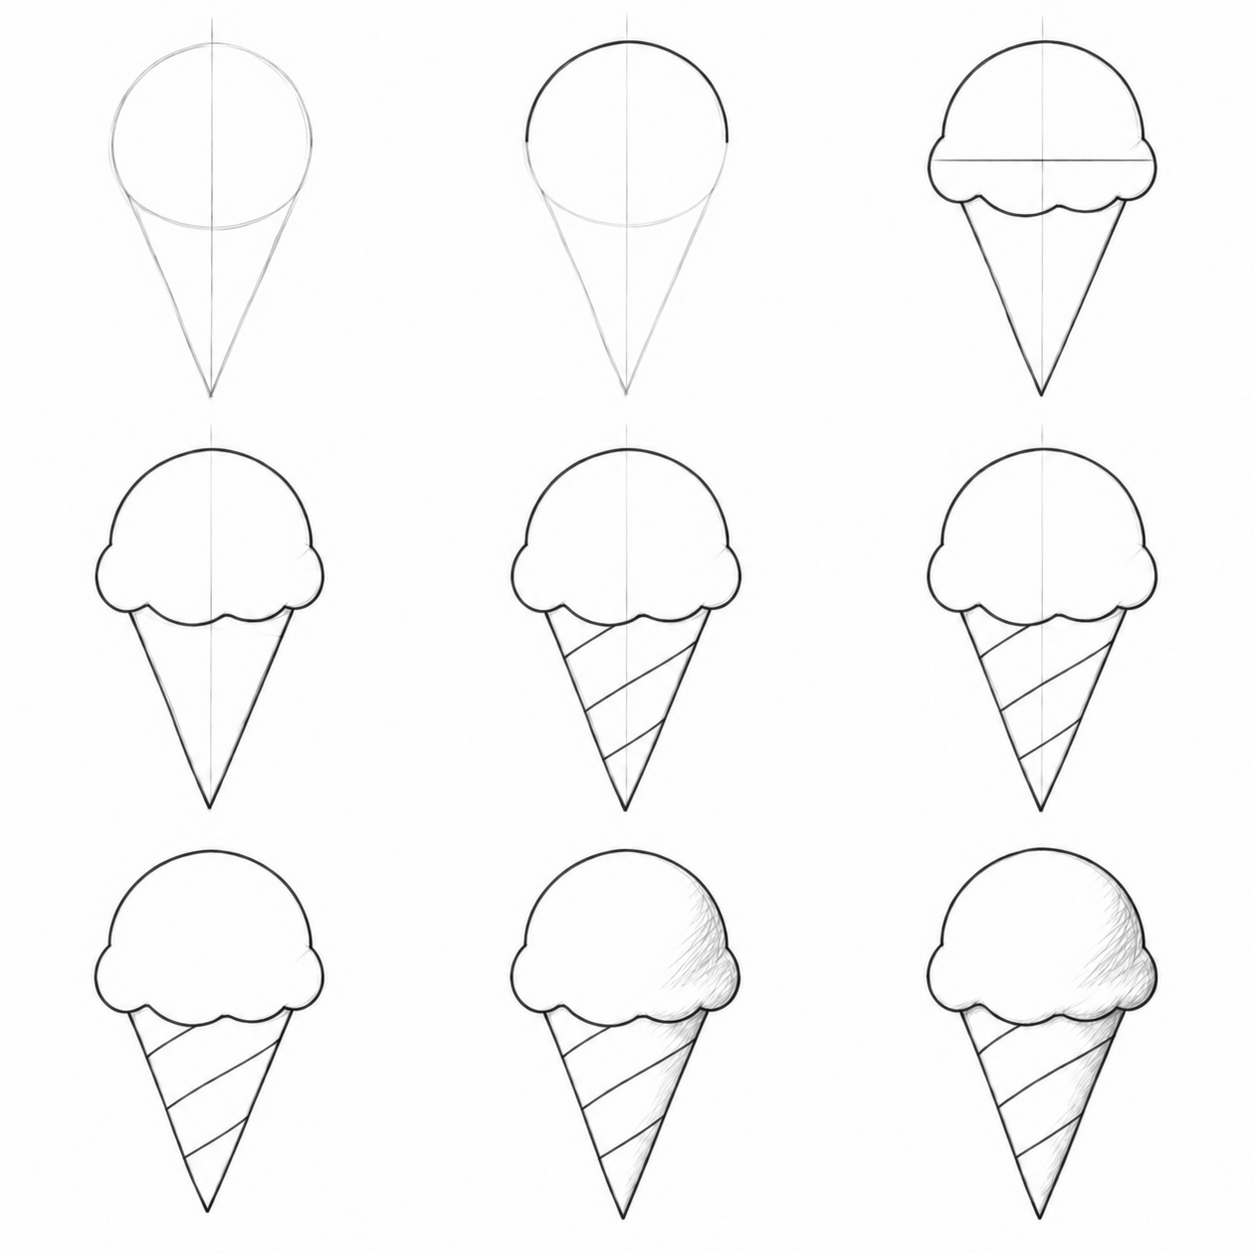
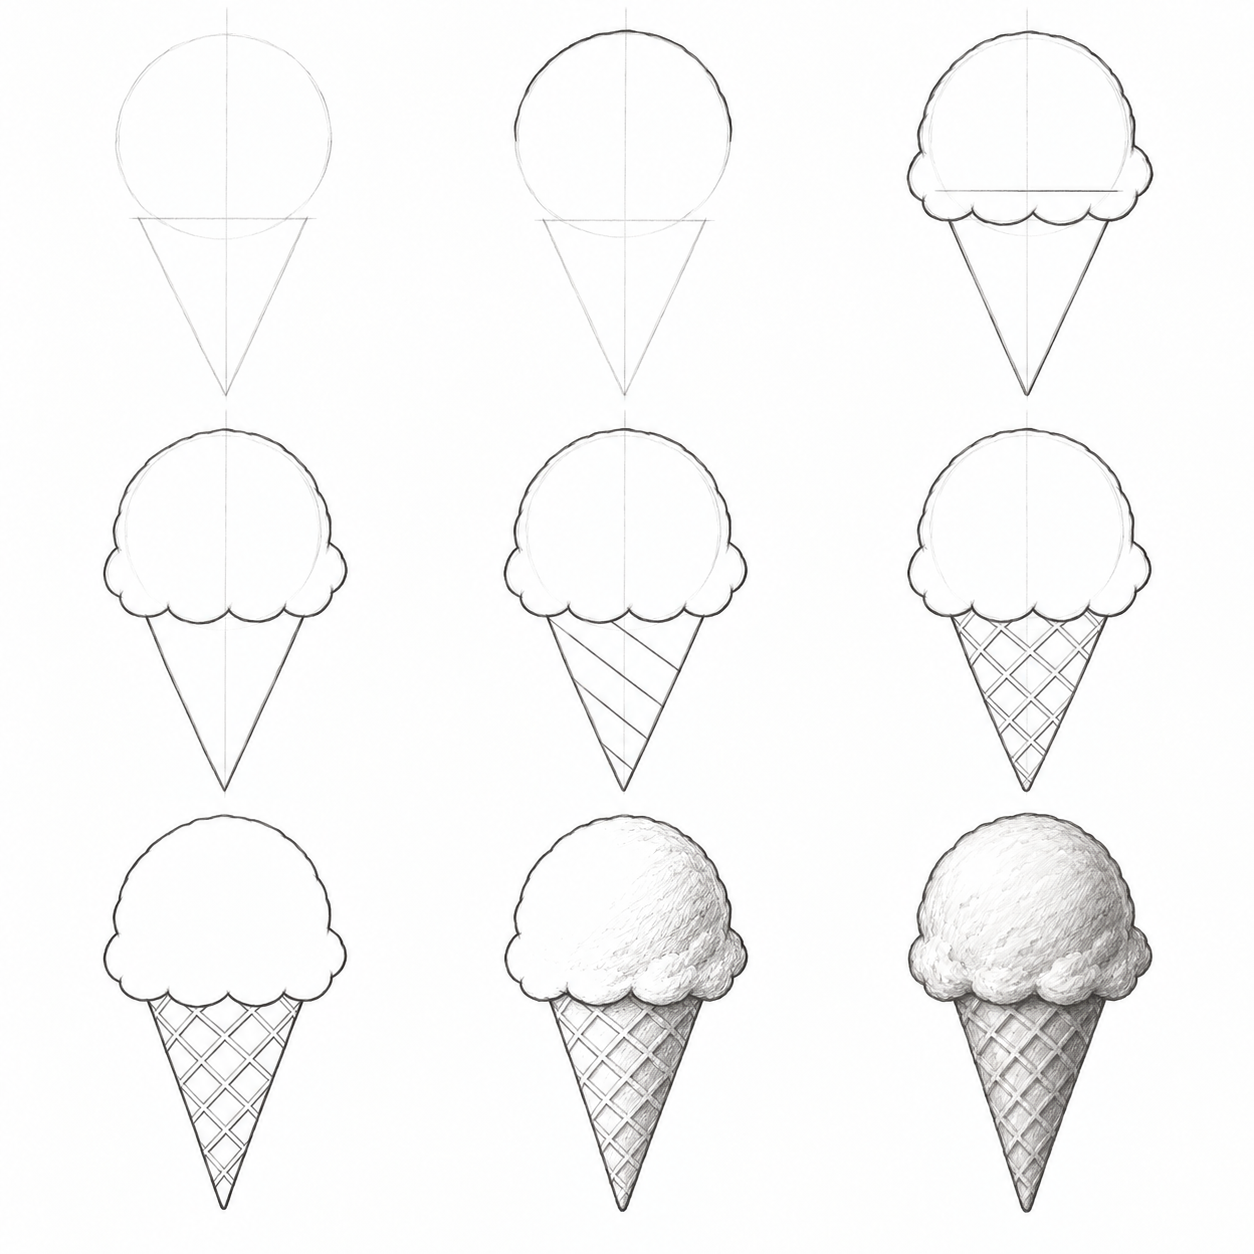
Simplest: Place a scoop circle above a cone triangle. Keep the large forms light, without an extra axis.
A little more detail: Lightly draw a scoop circle above a long triangle. Place the cone tip below the circle centre; keep the centre axis faint.
Best version: Lightly draw one scoop circle above a long triangle. Check that the tip is below the scoop centre and mark a faint vertical axis.
Place a circle above the broad top of a triangle. The cone tip sits under the circle middle.
Why: Two simple shapes set the balance of the ice cream.
Check: Is the tip under the middle?
Repair: Move only the triangle tip.
Step 2. Mark the scoop surface
Trial
After checking
Simplest: Choose the main curve from this step; you may omit a separate axis.
A little more detail: Choose the upper half of the circle as the smooth dome. Darken only this curved outside edge; keep the lower circle and axis light.
Best version: Choose a rounded dome close to the circle. Make small irregularities with short connected pencil curves; leave the lower circle and axis as pale guides.
Why: The large mass helps choose the outside dome before details.
Check: Has the scoop kept its round mass?
Repair: Adjust only the protruding section of the curve.
Step 3. Refine scoop and cone
Trial
After checking
Simplest: Replace the circle lower edge with three or four soft bulges. Keep a smooth top and both cone sides. Keep the outer edge plain, without internal details.
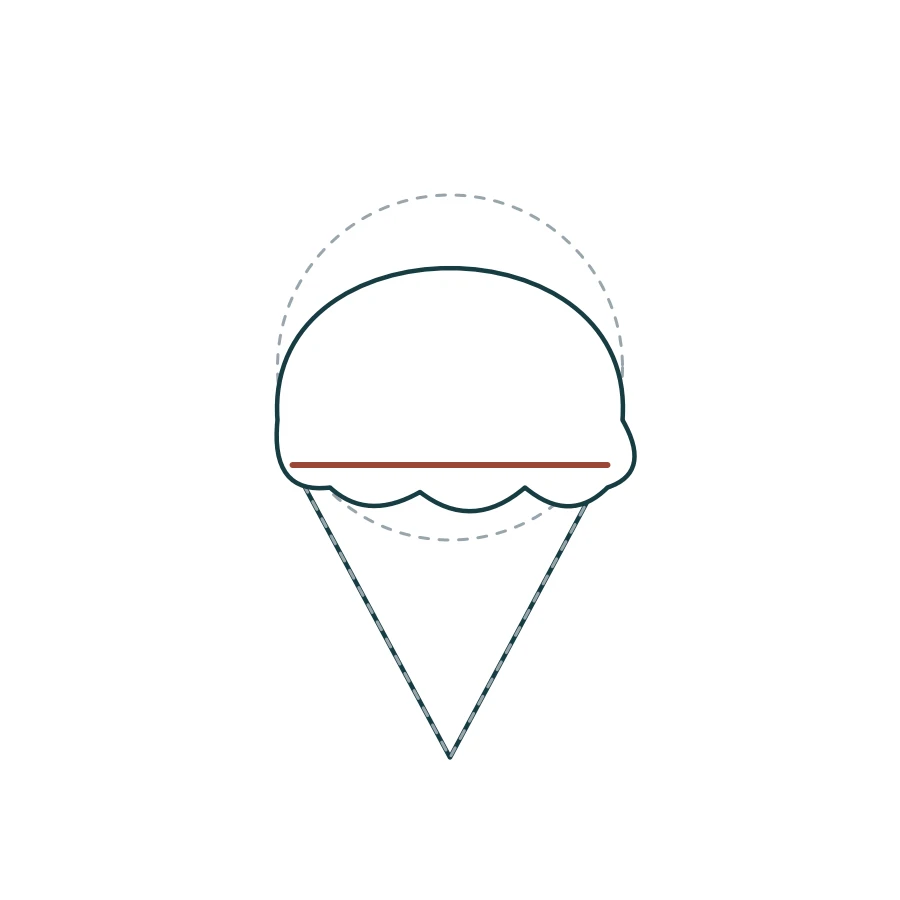
A little more detail: Replace the lower circle edge with three or four gentle bulges. Join the cone sides to the scoop. The horizontal line through the scoop is a diagnostic error, not a line to copy.
Best version: Replace the bottom of the circle with soft scoop lobes. Keep their size close to the large circle. The straight line inside the scoop is an overlap error shown for diagnosis, not a detail to copy.
Replace the circle lower edge with three or four soft bulges. Keep a smooth top and both cone sides.
Why: The uneven base suggests a soft mass while the main volume stays the same.
Check: Have the bulges kept the scoop close to its original size?
Repair: Shorten one overlong bulge.
Step 4. Choose the hidden edge
Trial edge
Covered section identified
Before erasing
Hidden edge removed
Before erasing
Hidden edge removed
Simplest: Below the scoop find the horizontal provisional cone-top line. The scoop sits in front of it. Point to one section to erase.
A little more detail: Compare the two frames. In the first, point to the straight cone-top line inside the scoop; in the second it disappears. The scoop is in front. Keep its bulges and both cone sides.
Best version: Compare the crossing cone-top line with the next frame, where it is erased. Name the front scoop and preserve the surrounding visible outline.
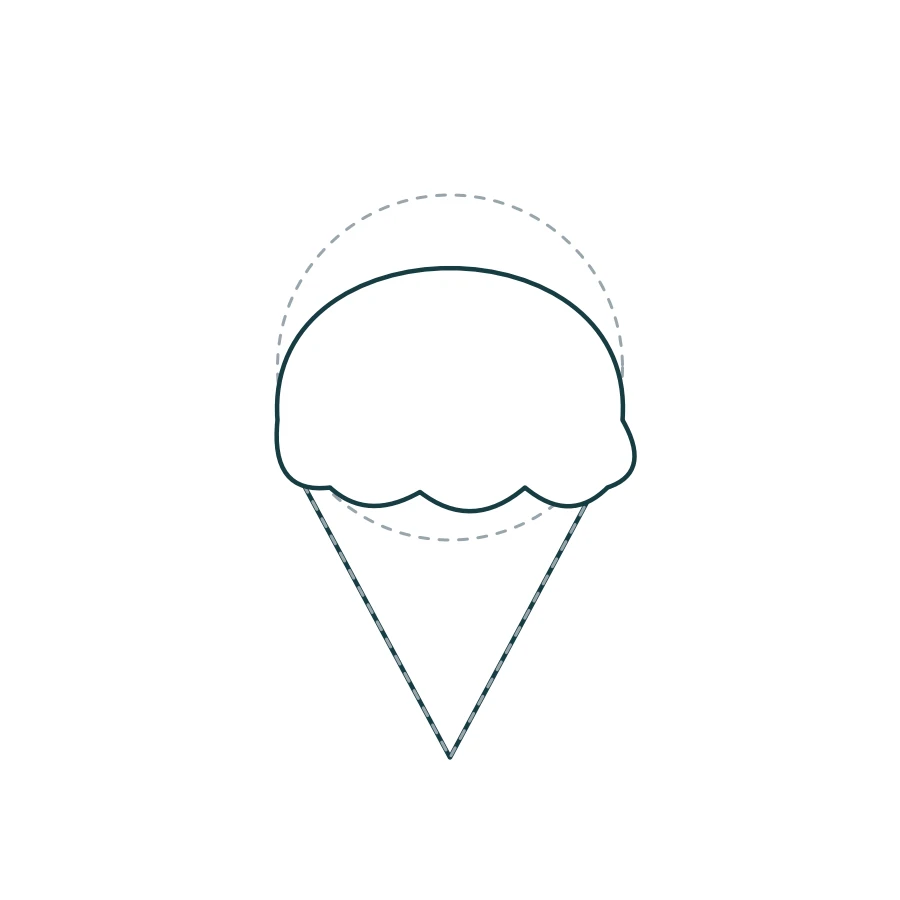
The crossing line is a diagnostic error for comparison, not an action to copy. The next frame removes exactly this covered segment.
Below the scoop find the horizontal provisional cone-top line. The scoop sits in front of it.
Why: Because the scoop hides the cone top edge, a continuous rear line would make the front shape look transparent.
Check: Can you name the front shape and point to the covered segment?
Repair: Do not erase everything: first locate both ends of the covered segment.
Step 5. Erase only the covered line
Trial
After checking
Simplest: Erase the cone top edge inside the scoop. Keep only the sides emerging below. Keep the foreground outer edge.
A little more detail: Erase the hidden cone-top segment and any unused lower circle edge, keeping the faint axis for checking the tip. If a visible cone side was rubbed out, restore only its short end.
Best version: Remove only the cone-top line hidden by the scoop. Keep the faint axis and circle until their checks are finished. Preserve both cone sides where they meet the scoop.
Erase the cone top edge inside the scoop. Keep only the sides emerging below.
Why: The eraser commits the chosen order: the front form hides the rear one.
Check: Is the previous error line gone, with adjacent visible edges retained?
Repair: If you erased a visible end, restore a short line up to the foreground boundary.
Step 6. Add the useful details
Trial
After checking
First lines
Details
Guides removed
First lines
Details
Guides removed
Simplest: Refine one curve across the scoop along the existing guide. Leave the cone plain, without bands.
A little more detail: Draw three widely spaced diagonal lines on the cone, stopping at its sides. Keep this single family of strokes. The final panel removes the axis; compare the clean silhouette with the guided one.
Best version: First draw spaced diagonals across the cone. Cross them with a second family to make the waffle grid; nearby strokes may make narrow raised bands. Keep every line inside the cone. In the last frame erase the axis and circle, keeping the lattice.
Why: Details belong to the cone, and construction guides have completed their task.
Check: Are detail endpoints inside the cone and is the axis gone in the last panel?
Repair: Shorten one stray endpoint; restore only an accidentally erased visible edge.
Step 7. Finish the drawing
Trial
After checking
Clean construction
Light shading
Finished drawing
Clean construction
Light shading
Finished drawing
Simplest: Remove the temporary curve and light masses; retain the plain edge and this route details.
A little more detail: After removing the axis, use light short strokes along the right side of the scoop and cone. Leave most of the paper white. Compare the unshaded contour, light shadow and finished target; do not add texture or a second family of cone lines.
Best version: On the clean construction, shade the right side with short curved pencil strokes. Keep the upper-left highlight white. Darken the small contact area under the scoop and the right edges of waffle bands; build the richer finish gradually, as the three panels show.
Why: Light strokes on the right show volume while the left stays lit. The simplest route finishes by removing guides.
Check: In routes 2 and 3, is the upper left lighter than the right side?
Repair: Lift some left-side shading with the eraser; on the simplest route remove any remaining guide.
If the drawing is unclear
The front form looks transparent. Cause: A covered rear edge remains: the scoop hides the cone top edge. Repair: Erase the cone top edge inside the scoop. Keep only the sides emerging below.
The curve does not belong to the form. Cause: Its endpoints escaped the mass boundary. Repair: Soften one endpoint and return it to the side marker from step 2.
There is a gap after erasing. Cause: The eraser touched a visible section beside the overlap. Repair: Restore a short visible end up to the front boundary; keep the hidden line erased.
Independent tasks
Choose one new condition below. First construct your own masses and curve, name the foreground form, then draw the edge and erase the covered section. The construction-to-example pair explains the change; build rather than copy a finished outline. Your sizes and uneven lines may differ.
1. A stronger top view
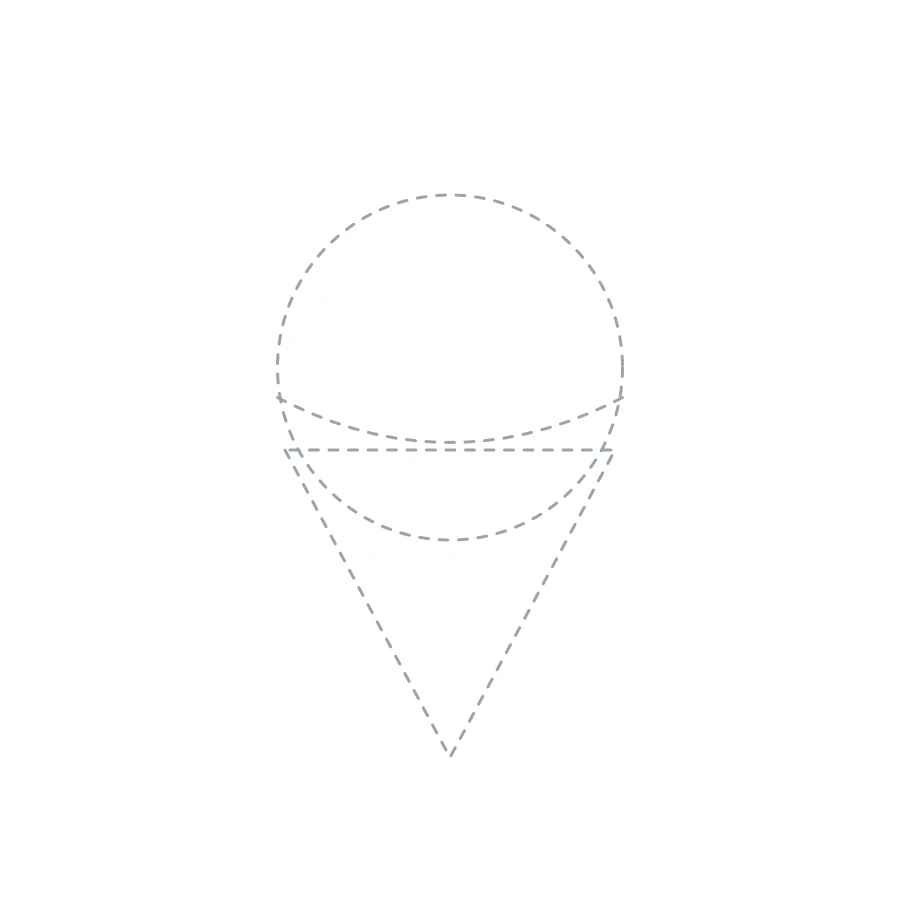
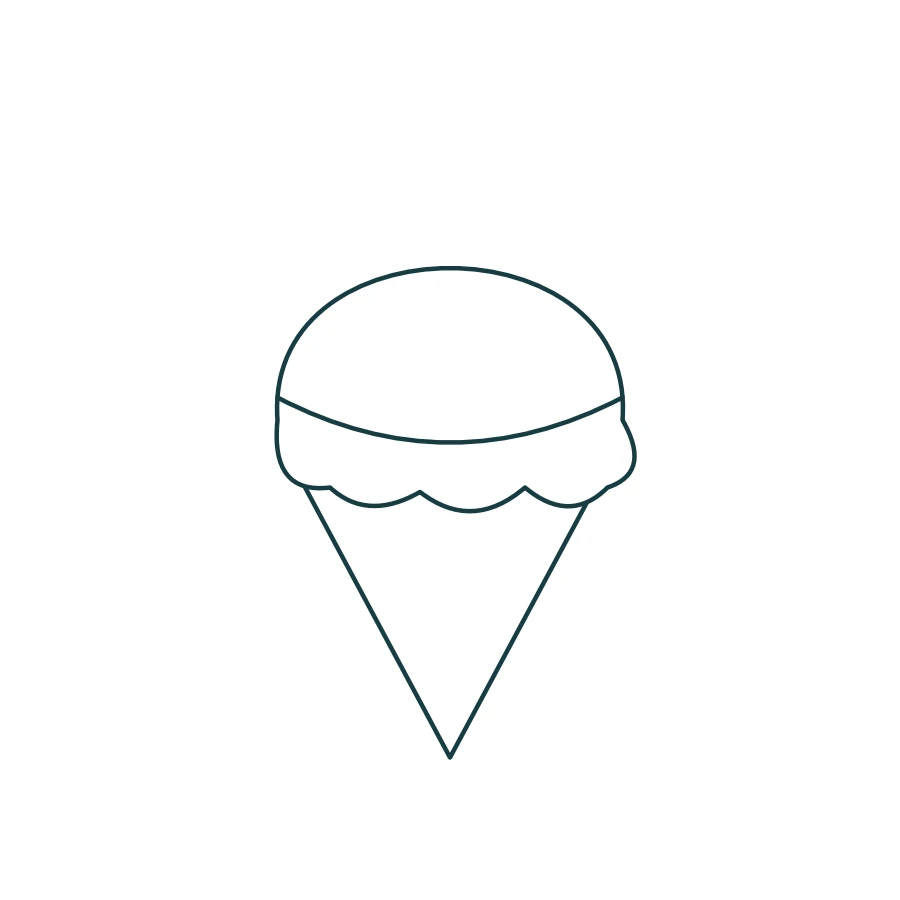
Deepen the scoop curve, keeping its side endpoints and cone position. Choose how much of the top is visible.
Why: Changing the curve changes the surface view; the cone overlap stays the same.
Check: Is the curve deeper than before and still within the scoop?
Repair: Reduce the depth only where the curve escapes the outline.
2. A second scoop at the front left
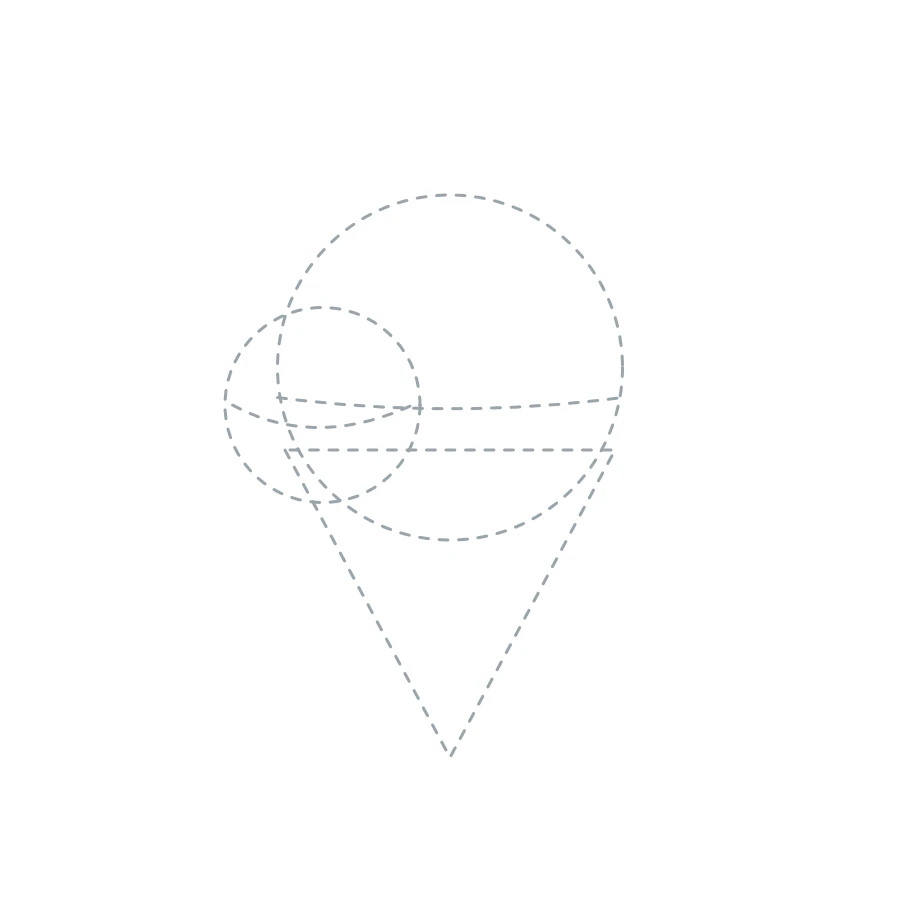
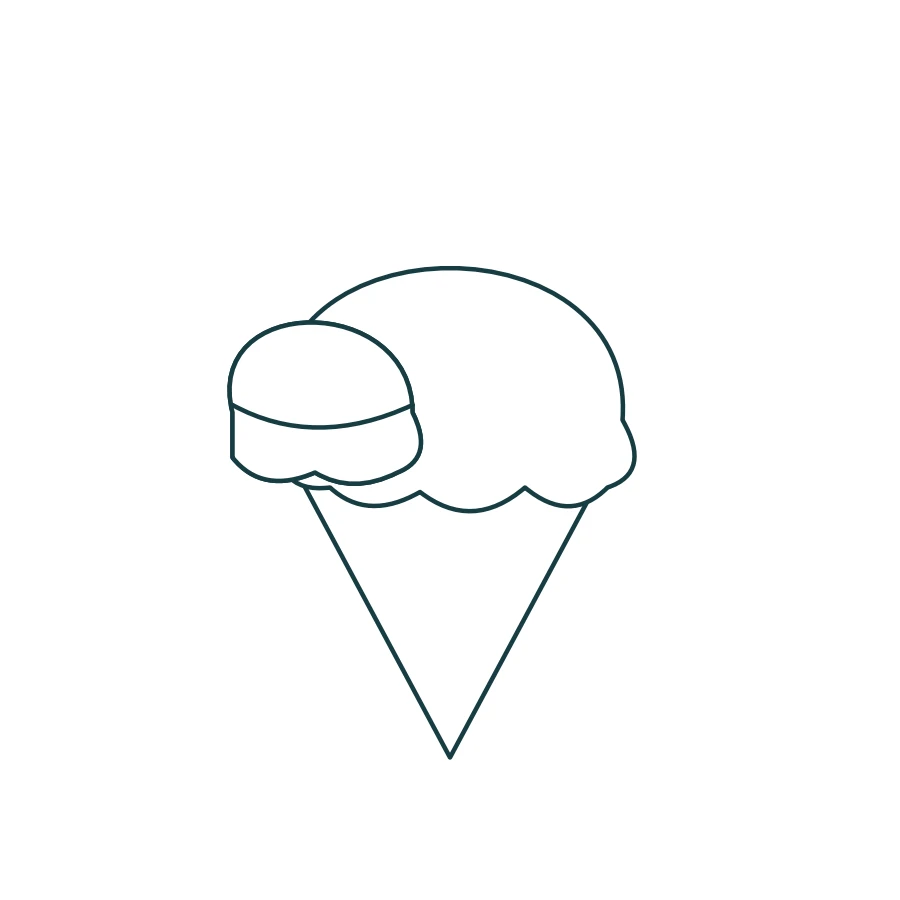
Place a small circle on the left in front of the first scoop. Choose which large-scoop arc is hidden; leave the cone in place.
Why: There are now two overlaps: scoop over cone and smaller scoop over larger scoop.
Check: Does the large scoop edge stop at the small scoop?
Repair: Remove only the covered large-circle segment.
3. A second scoop at the front right
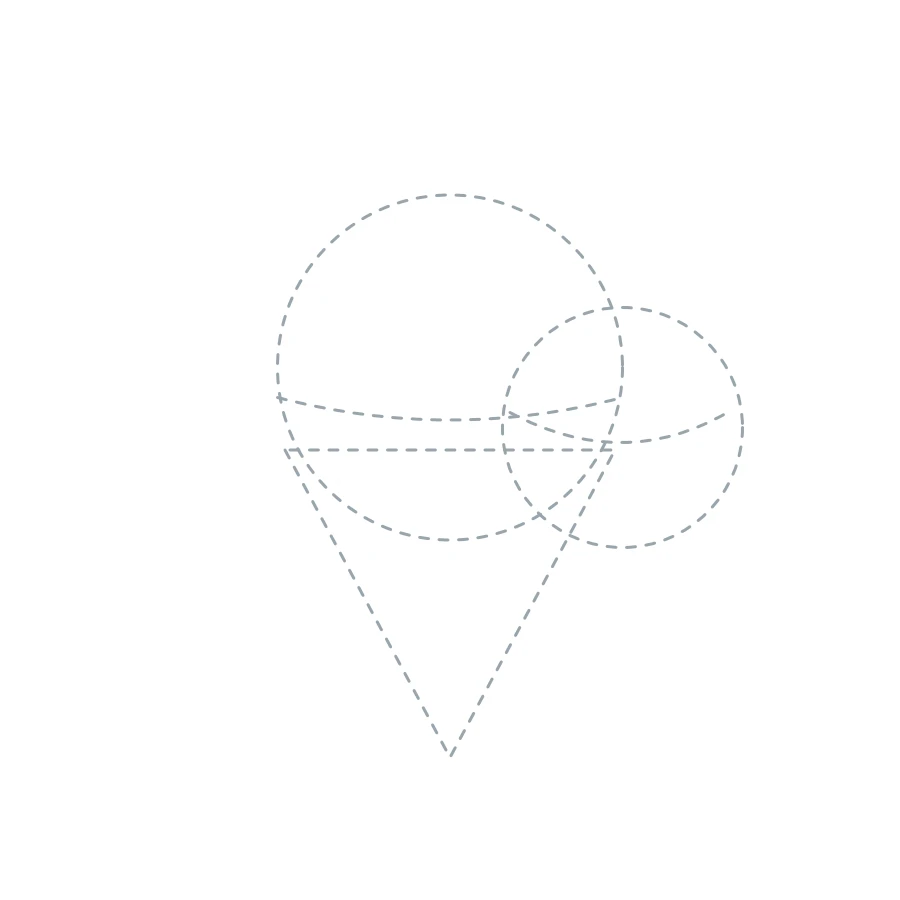
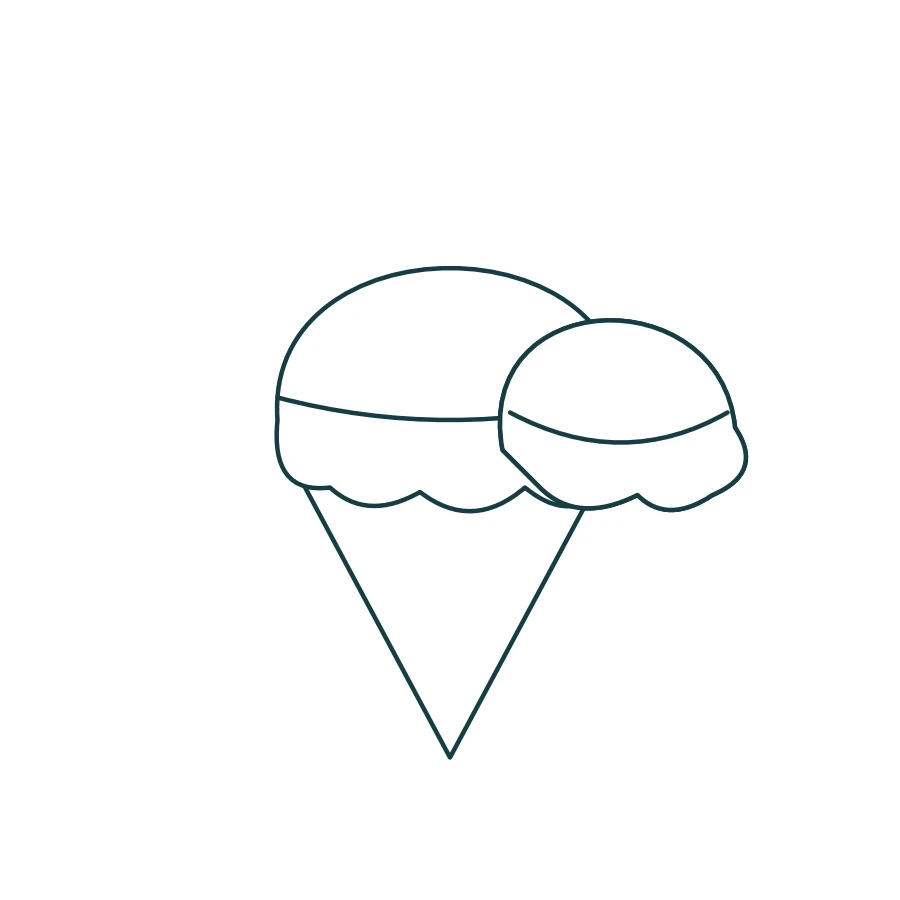
Place a new circle on the right, slightly below the first. Choose its side curve and scoop order; build new masses rather than reflecting a finished outline.
Why: The lower foreground mass covers a different segment of the original scoop.
Check: Does the lower right scoop cover the original right edge?
Repair: Erase the newly covered arc and restore the visible upper section.
Self-check
Name the changed condition, point to a curve on your new mass and show where the rear edge stops. Explain which guide you erased after checking.
Question: Why does the rear edge stop at an opaque foreground shape?
Answer: The foreground shape hides that segment. Continuing the rear edge inside it would suggest transparency. Retain the visible end up to the overlap.
Uneven lines are fine. Explain your chosen curve and where the rear edge stops. The example does not prescribe the only proportions. Structure and illustrations received editorial checks; no classroom trial has been conducted.
What to draw next
All drawing lessons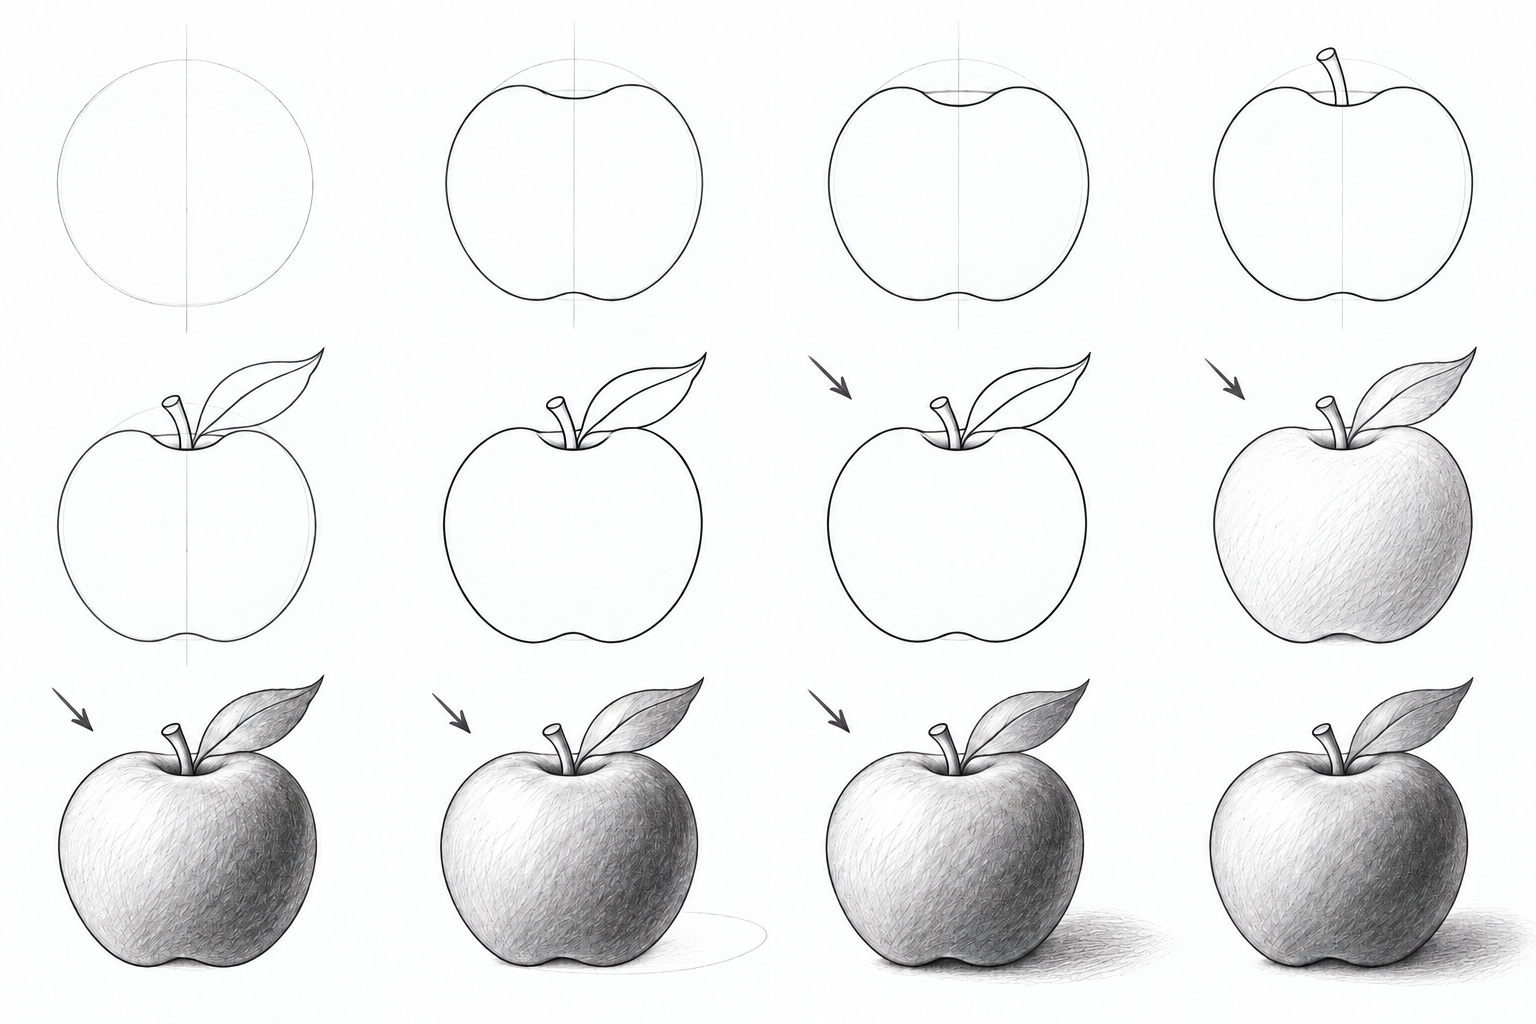 3 levels
How to draw an apple
Draw an apple at three levels: simple forms, a recessed top and bent leaf, then pencil light and shadow. Clear stages, small repairs and A4/Letter PDFs.
 3 levels
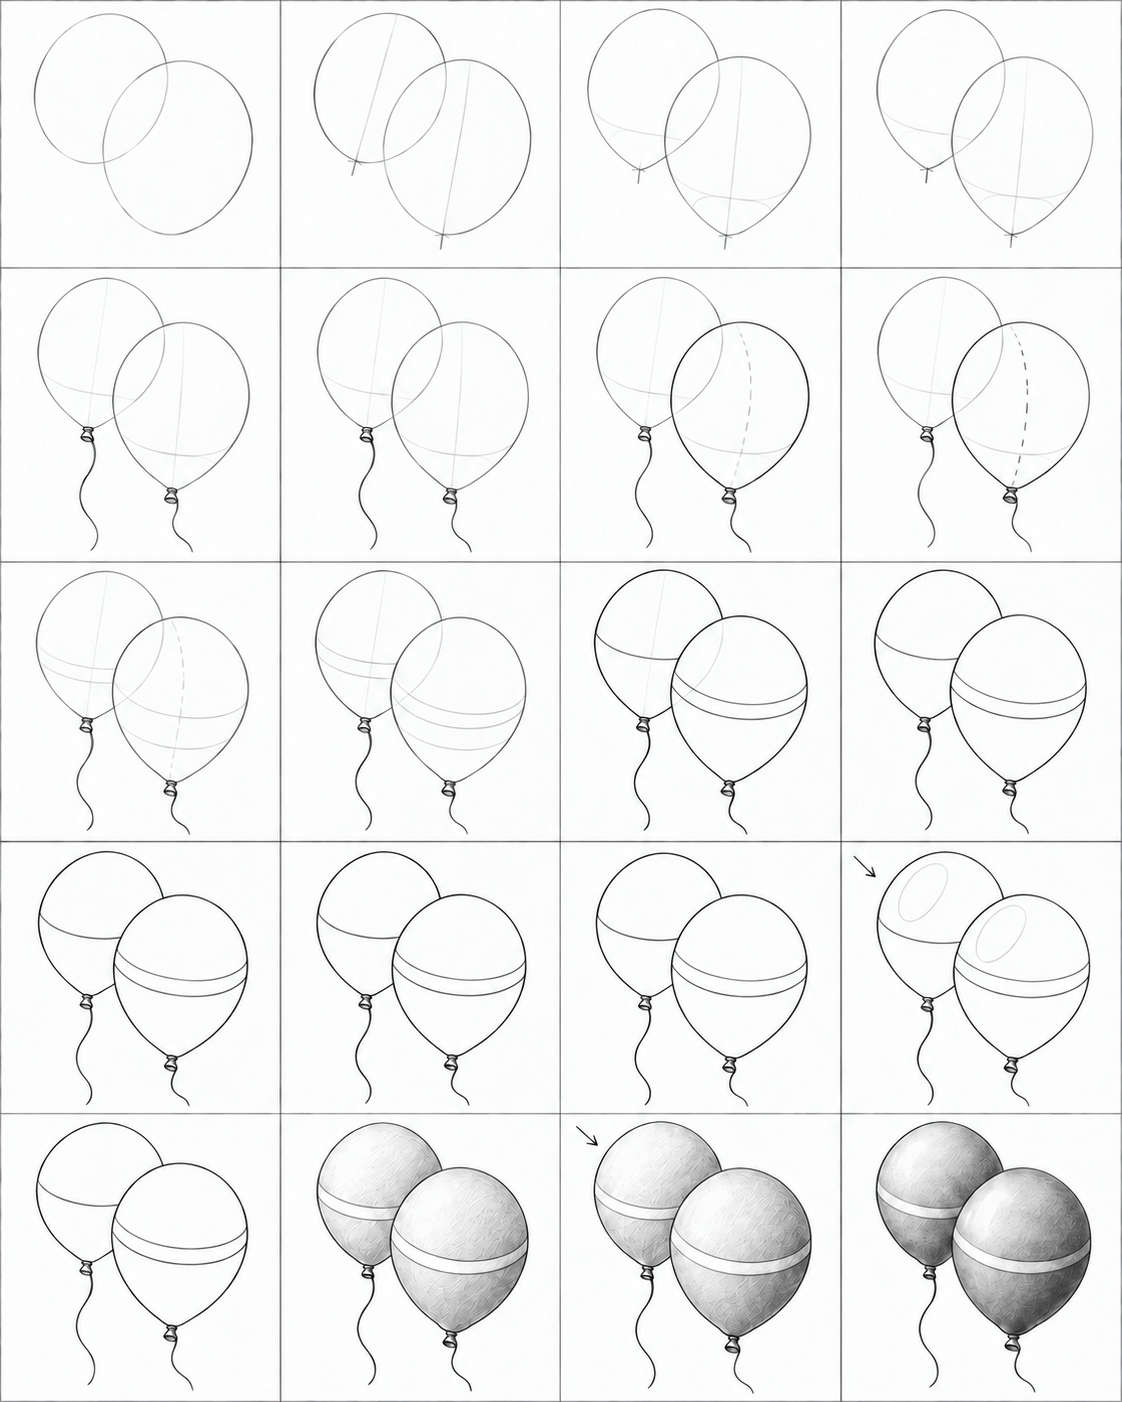
How to draw balloons
Three balloon drawing routes, from two simple ovals to tapered necks and pencil volume. Illustrated steps, checks, small repairs and practice PDFs.
 3 levels
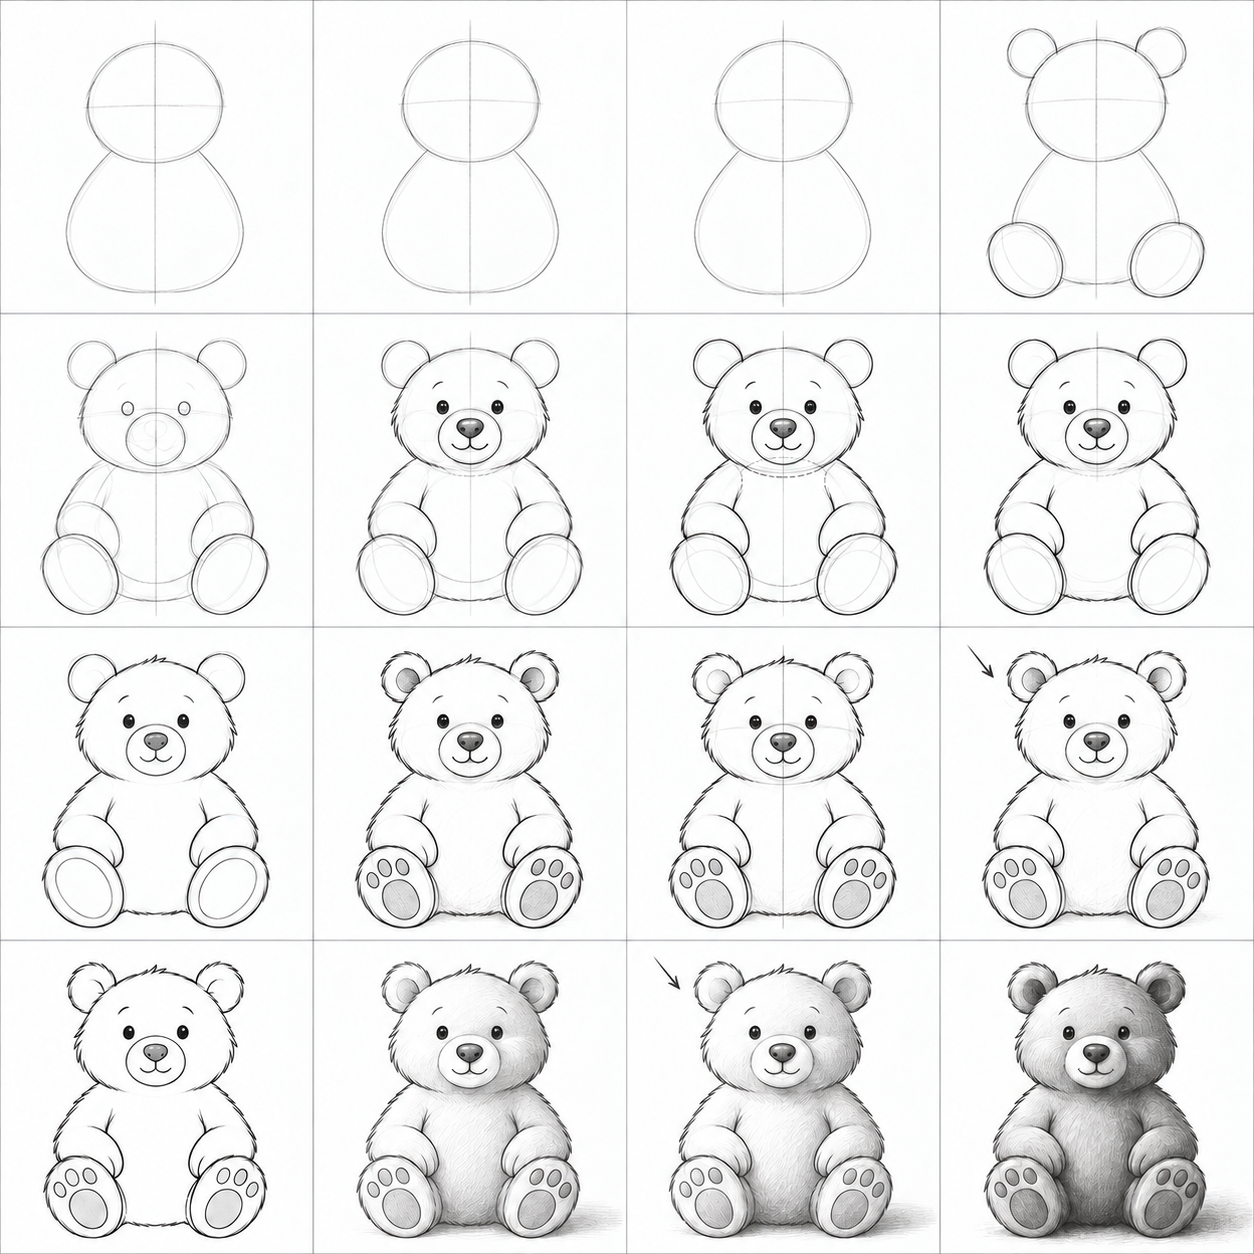
How to draw a bear in pencil
Draw a sitting bear from simple forms: paws, muzzle, overlaps and shading. Three levels, illustrated steps and A4 lesson and practice PDFs.