kiduverse
How to draw a pear: from shape to light and shadow
Draw a pear at three levels: a simple outline, structural stalk and folded leaf, then pencil light and shadow. Complete steps, warm-up and printable PDFs.
- 3 detail levels
- Paper, HB/2B pencil, eraser
- 18 parts
Tap a drawing below to choose your level. The other levels hide and the “trial → after checking” pairs get bigger.
Begin with two simple masses. Choose a clean contour, structural stalk and leaf, or finished pencil volume. The simple route ends at step 5 and the middle route at step 7; the later steps teach light and shadow.
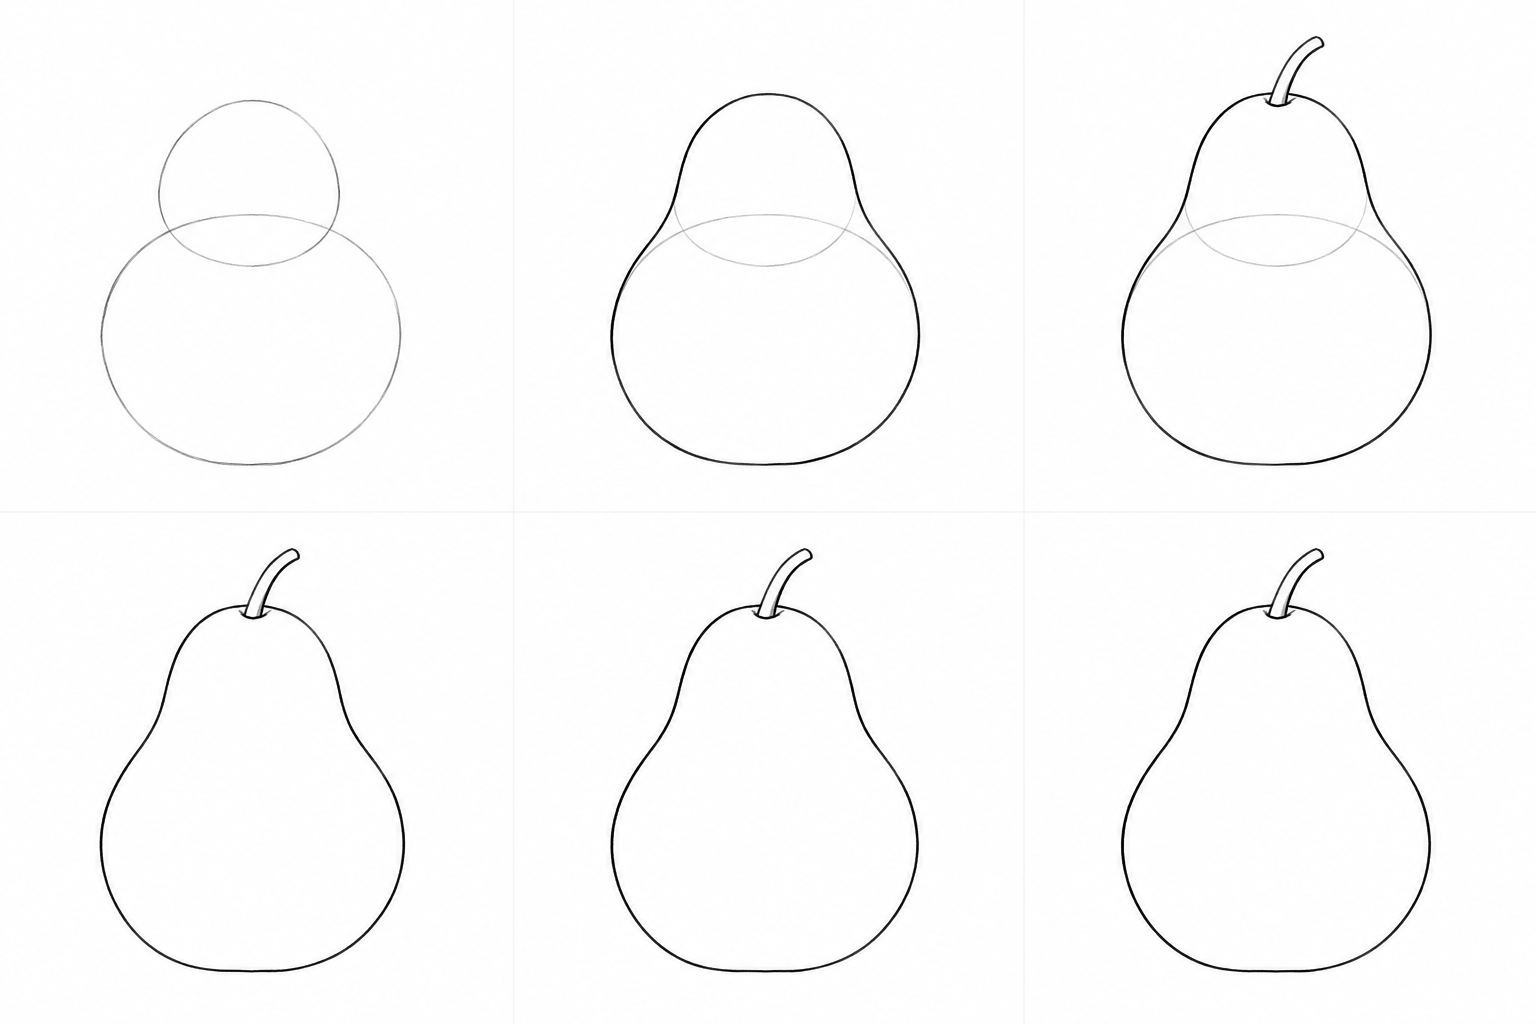
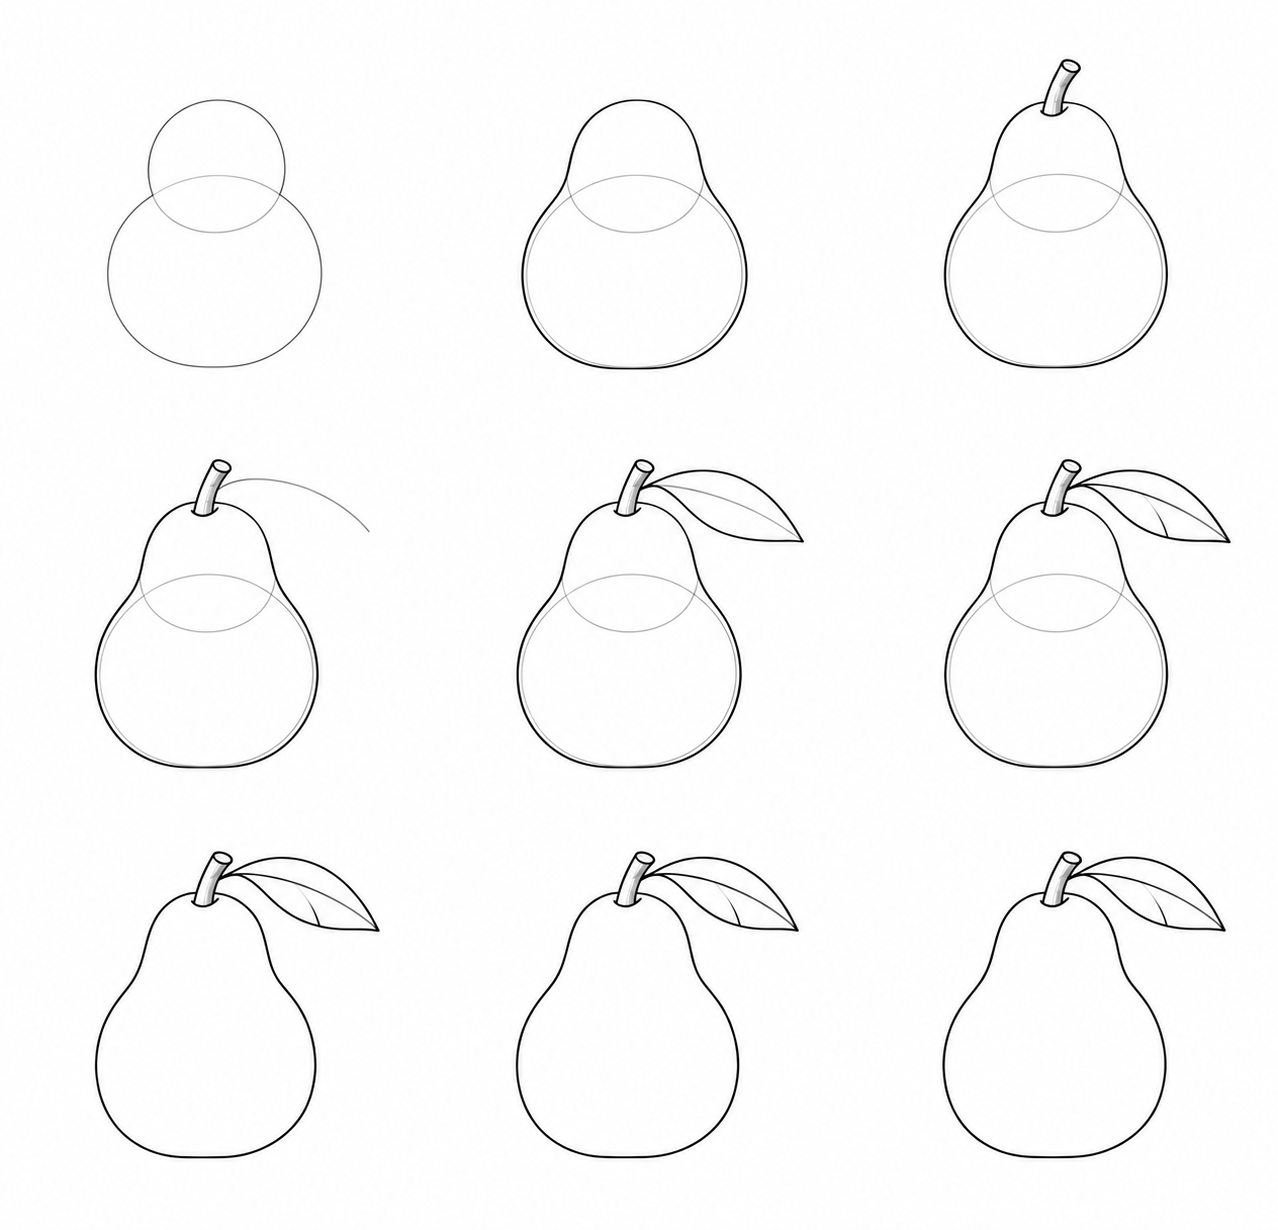
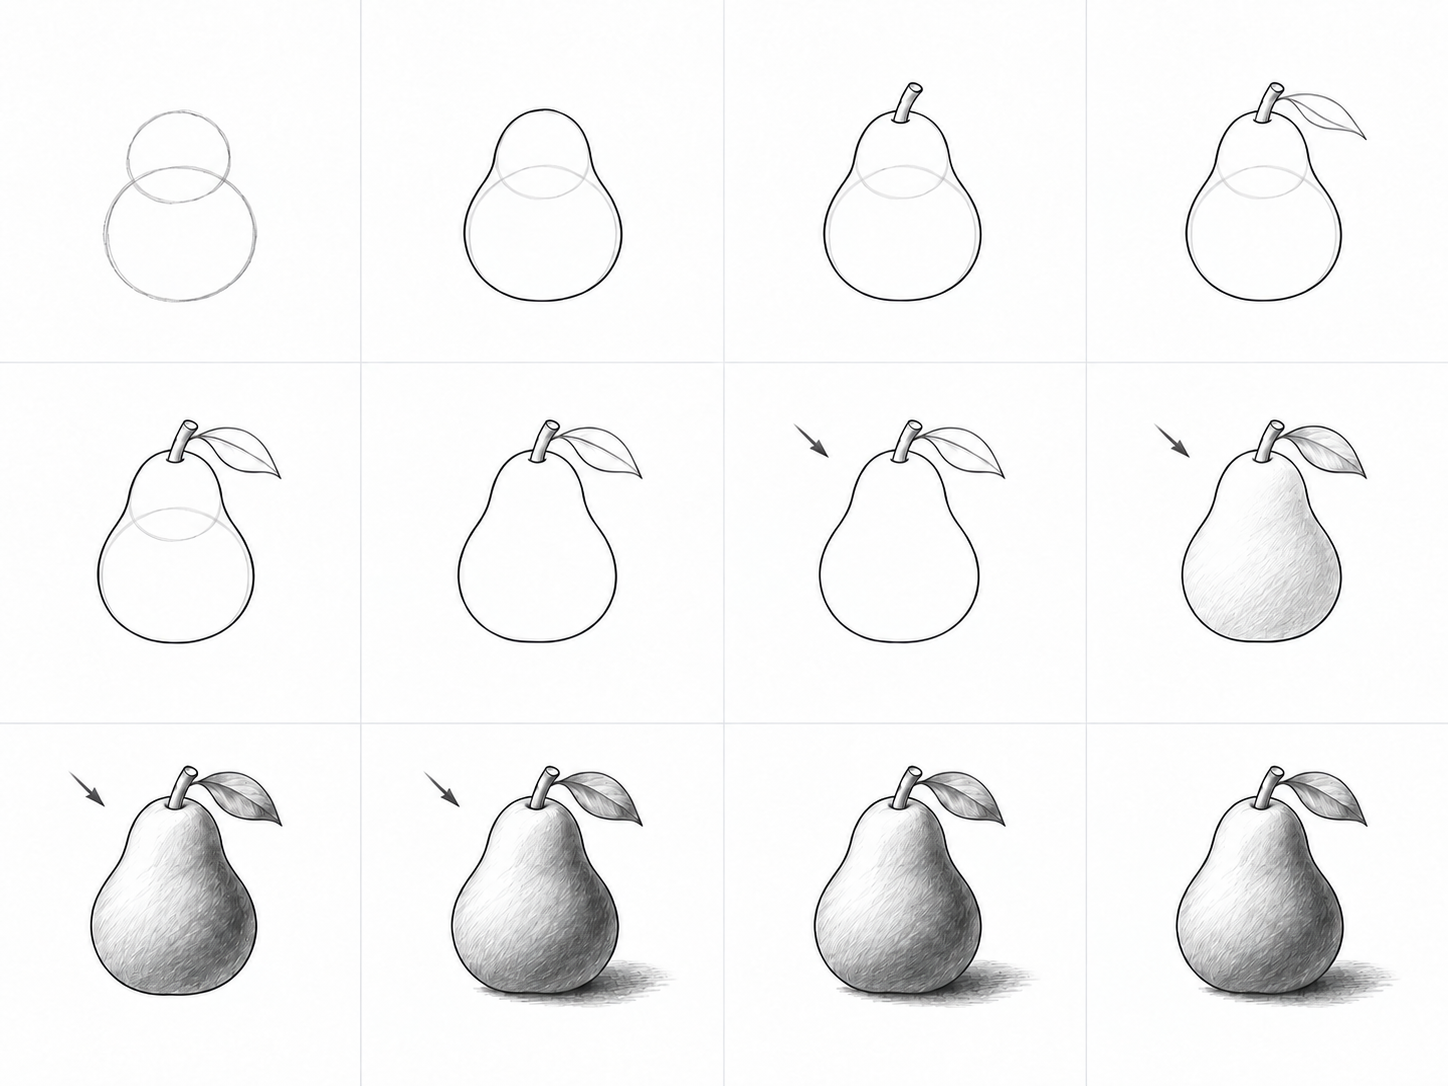
The illustrations are AI-generated in pencil style; they are not photographs of students’ drawings.
Goal and preparation
Join two masses into one connected form; in the detailed route show volume with three values and match the ground shadow to the light. Use paper, an HB/2B pencil and an eraser; begin with a rough oval and curve. Allow 15–45 minutes for your chosen route, with breaks if needed. To simplify, stop at the clean contour. To extend, complete the shading and change the light in the independent task. Age does not determine the level.
Technique 1. Constructing form
A broad lower oval and a smaller upper oval establish proportions. Join them with a smooth edge instead of tracing internal seams. In the margin try two masses, then a small cylinder with an ellipse and a folded leaf. Check: the neck is narrower, stalk sides meet the ellipse and the crease stays inside the leaf. Repair: erase only the internal seam or covered edge.
Technique 2. Light and volume
For the detailed route choose one upper-left light. On a sphere reserve white on the left, add a light middle layer and a second layer on the right; extend a ground shadow right from the base. These are separate decisions: value on the surface and shadow on the support. Check: three values are visible and the cast shadow begins at contact. Repair: lift excess tone in the light or move the shadow’s start to the sphere.
Warm-up
The first two trials prepare construction; the third prepares shading. First join two masses and erase the seam. Next try a stalk’s top ellipse and two leaf planes. For the third, apply a light layer before strengthening only the side turned away from light. Check: can you name the erased edge, top ellipse and three values? Repair: repeat only the unclear trial and keep white paper in the light.
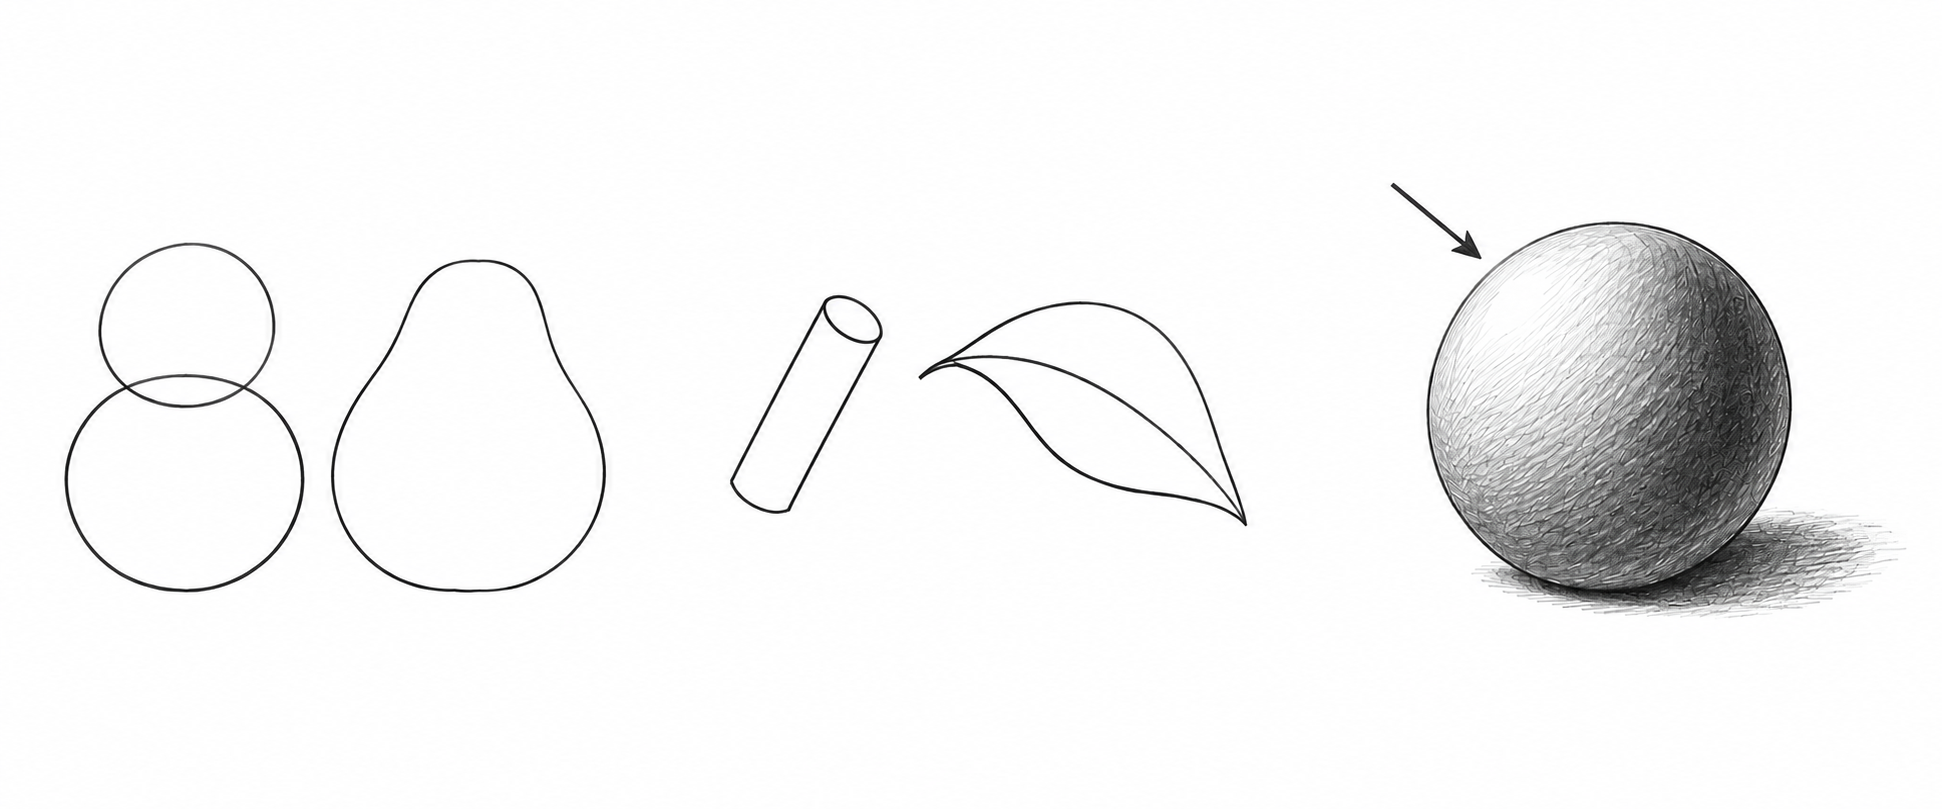
Trial 1: joining masses. Remove the internal seam, keeping a broad base and narrow neck.
Trial 2: thickness and bend. The small cylinder sides meet the ellipse; the curved crease stays between the leaf edges.
Trial 3: value. Name the white, middle and dark regions; find where the shadow touches the sphere.
Step 1. Place two masses
Simplest: Sketch a broad lower oval and a smaller upper oval overlapping it. Leave room above for the stalk. Why: Two masses establish a broad base and narrow neck. Check: Is the upper mass narrower, with both shapes inside the margins? Repair: Lighten only the upper edge that is too wide.
A little more detail: Sketch a broad lower oval and a smaller upper oval overlapping it. Leave room above for the stalk. Why: Two masses establish a broad base and narrow neck. Check: Is the upper mass narrower, with both shapes inside the margins? Repair: Lighten only the upper edge that is too wide.
Best version: Sketch a broad lower oval and a smaller upper oval overlapping it. Leave room above for the stalk. Why: Two masses establish a broad base and narrow neck. Check: Is the upper mass narrower, with both shapes inside the margins? Repair: Lighten only the upper edge that is too wide.
Step 2. Join the masses into a pear
Before
After
Before
After
Before
After
Simplest: Join the masses with smooth sides: narrow above, wide below. Do not trace the internal oval seam. Why: The contour describes the surface; the ovals only help locate it. Check: Do the shoulders flow smoothly into the broad base? Repair: Repair a short shoulder curve rather than the whole silhouette.
A little more detail: Join the masses with smooth sides: narrow above, wide below. Do not trace the internal oval seam. Why: The contour describes the surface; the ovals only help locate it. Check: Do the shoulders flow smoothly into the broad base? Repair: Repair a short shoulder curve rather than the whole silhouette.
Best version: Join the masses with smooth sides: narrow above, wide below. Do not trace the internal oval seam. Why: The contour describes the surface; the ovals only help locate it. Check: Do the shoulders flow smoothly into the broad base? Repair: Repair a short shoulder curve rather than the whole silhouette.
Step 3. Build the stalk
Before
After
Before
After
Before
After
Simplest: Draw a short curved stalk with two close lines from the top hollow. This route needs no leaf or shading. Why: The stalk completes the recognizable form without complex details. Check: Is the stalk attached to the top and shorter than the neck? Repair: Shorten only its free end.
A little more detail: Mark a shallow top hollow. Build the stalk from two close curved sides and a small ellipse at its free end. Why: The two sides and top ellipse show a small cylinder’s thickness. Check: Do both sides meet one top ellipse, with the base entering the hollow? Repair: Move one side closer if the stalk has become wider than the neck.
Best version: Mark a shallow top hollow. Build the stalk from two close curved sides and a small ellipse at its free end. Why: The two sides and top ellipse show a small cylinder’s thickness. Check: Do both sides meet one top ellipse, with the base entering the hollow? Repair: Move one side closer if the stalk has become wider than the neck.
Step 4. Choose the leaf direction
Before
After
Before
After
Before
After
Simplest: Erase both ovals and the internal seam, keeping the selected contour and stalk. Why: The guides have served their purpose and should not look like fruit edges. Check: Has the oval intersection disappeared inside the pear? Repair: Remove the remaining short seam; restore only an edge touched by the eraser.
A little more detail: From the leaf attachment by the stalk, sketch a light curved axis up and right. Check the spare paper before its tip. Why: The axis sets the leaf’s bend before its edges are drawn. Check: Does the axis start at the stalk and end inside the margins? Repair: Shorten only the axis tip; keep the pear in place.
Best version: From the attachment choose an upward-right leaf bend. Lightly sketch both sides along this direction, keeping room beyond the tip. Why: A light sketch lets you check the leaf placement and direction before refining its fold. Check: Is the leaf attached, with its tip inside the margins? Repair: Shorten only the trial curve near the tip.
Step 5. Find the leaf edges and fold
Before
After
Before
After
Before
After
Simplest: Put the pencil down and compare the broad base with the neck. The simple drawing is complete; later cards retain this result. Why: Checking proportions matters more than adding details for their own sake. Check: Is the base broader, the whole stalk in frame, and the construction erased? Repair: If needed, lighten one uneven edge. Add no new details.
A little more detail: Draw two leaf-edge curves around the axis, meeting at its base and tip. Keep the center guide light for now, without the short fold edge. Why: The edges set the leaf width; the guide becomes a crease at the next stage. Check: Is there one tip, are both curves within the margins, and does the axis lie between the edges? Repair: Shorten only the outer curve or lighten the guide.
Best version: Build the leaf edges around the axis, retain it as the center crease and add a short fold edge. Keep the ovals light. Why: The edges and crease show the leaf’s bend; lighting comes after the form check. Check: Is the leaf attached, with both sides meeting at one tip? Repair: Repair just one leaf curve; do not enlarge the whole drawing.
Step 6. Remove temporary guides
Before
After
Before
After
Simplest: This route is already complete. Keep the clean result without new details; the next teaching stage belongs to the detailed route.
A little more detail: Strengthen the axis into the center crease; add one short fold edge meeting it. Why: The crease and short edge show two planes of the folded leaf. Check: Does the short fold meet the center crease rather than look like an isolated vein? Repair: Move the short fold edge to the crease without redrawing the leaf.
Best version: Erase the ovals, temporary axes and any covered edges by the leaf. Keep the crease and stalk ellipse. Why: Clean construction lets tone follow the surface instead of the guides. Check: Have the masses disappeared while the contour and structural details remain? Repair: Erase a short guide remnant; restore only an edge touched by the eraser.
Step 7. Choose the light direction
Before
After
Before
After
Simplest: This route is already complete. Keep the clean result without new details; the next teaching stage belongs to the detailed route.
A little more detail: Remove the ovals and remaining temporary lines. Keep the stalk’s top ellipse, center crease and short fold. The middle route is complete. Why: The construction disappears while structural details remain. Check: Is the leaf attached, stalk thickness clear, and the fruit free of ovals? Repair: Remove one remaining guide segment, keeping the visible edges.
Best version: Choose light from the upper left. Mark its direction with a light arrow outside the pear; reserve the upper-left fruit surface as white paper. Why: The light position determines the later midtone and own shadow. Check: Does the arrow point from the upper left toward the pear, with a light area reserved? Repair: Move only the arrow if it indicates another source.
Step 8. Add the first midtone
Before
After
Simplest: This route is already complete. Keep the clean result without new details; the next teaching stage belongs to the detailed route.
A little more detail: This route is already complete. Keep the clean result without new details; the next teaching stage belongs to the detailed route.
Best version: Lay light curved hatching over the center and right of the rounded fruit. Keep the upper left as clean paper; begin an equally light layer on the stalk and leaf. Do not add the cast shadow yet. Why: The first midtone shows the surface turning away from the light. Check: Do strokes wrap the mass, with a broad white area and a light first layer on the right? Repair: Lift any tone that entered the light area with the eraser.
Step 9. Build the own shadow
Before
After
Simplest: This route is already complete. Keep the clean result without new details; the next teaching stage belongs to the detailed route.
A little more detail: This route is already complete. Keep the clean result without new details; the next teaching stage belongs to the detailed route.
Best version: Build a second layer on the lower right. Retain white light and a softer midtone between them. Shade the stalk’s right side and the leaf’s lower plane for the same light. Why: Own shadow lies on the surface turned away from light; the second layer creates three readable values. Check: Can you see white, midtone and a dark area, without a dark outline band? Repair: Lighten a narrow black edge band and widen the soft transition into the form.
Step 10. Build the cast shadow
Before
After
Simplest: This route is already complete. Keep the clean result without new details; the next teaching stage belongs to the detailed route.
A little more detail: This route is already complete. Keep the clean result without new details; the next teaching stage belongs to the detailed route.
Best version: Add a short dark contact at the base. Extend a simplified elongated cast shadow rightward along the support plane. Keep its end inside the margins. Why: Cast shadow lies on the support away from the source; contact connects it to the base. Check: Does the shadow touch the base and extend right, away from the upper-left light? Repair: Move its start to the base or shorten only its far end.
Step 11. Clean and check the result
Before
After
Simplest: This route is already complete. Keep the clean result without new details; the next teaching stage belongs to the detailed route.
A little more detail: This route is already complete. Keep the clean result without new details; the next teaching stage belongs to the detailed route.
Best version: Erase the light arrow and check the light area, three values and ground contact. Add no new texture or background. Why: Final cleanup removes the teaching marker while retaining the explained volume. Check: Has the arrow disappeared while light, midtone, own shadow and cast shadow remain? Repair: Lift a small light area or erase the remaining arrow fragment.
If the drawing is unclear
The pear looks like two glued ovals. Cause: The internal seam became a finished edge. Repair: Erase the seam and join only a small shoulder section.
The leaf looks transparent. Cause: A rear edge continues inside it. Repair: Remove only the covered base segment, keeping the crease.
The stalk looks like a flat ribbon. Cause: Its two sides do not meet a top ellipse. Repair: Join them with a small ellipse; do not thicken the whole stalk.
The whole pear is equally grey. Cause: The first layer covered the reserved light area. Repair: Lift the upper-left area with the eraser, retaining the middle midtone.
The shadow became a black outline. Cause: Pressure increased only along the edge. Repair: Lighten the band and lay lighter curves inside the right-hand mass.
The pear floats above its shadow. Cause: A white gap separates the base and shadow. Repair: Move only the shadow’s start to the contact point.
Independent tasks
All three conditions remain available with any route. Choose your own sizes, first construct the guides, then make an example without them. Before changing the light, complete the third warm-up trial. Your result can differ from the example.
1. A shorter, wider pear
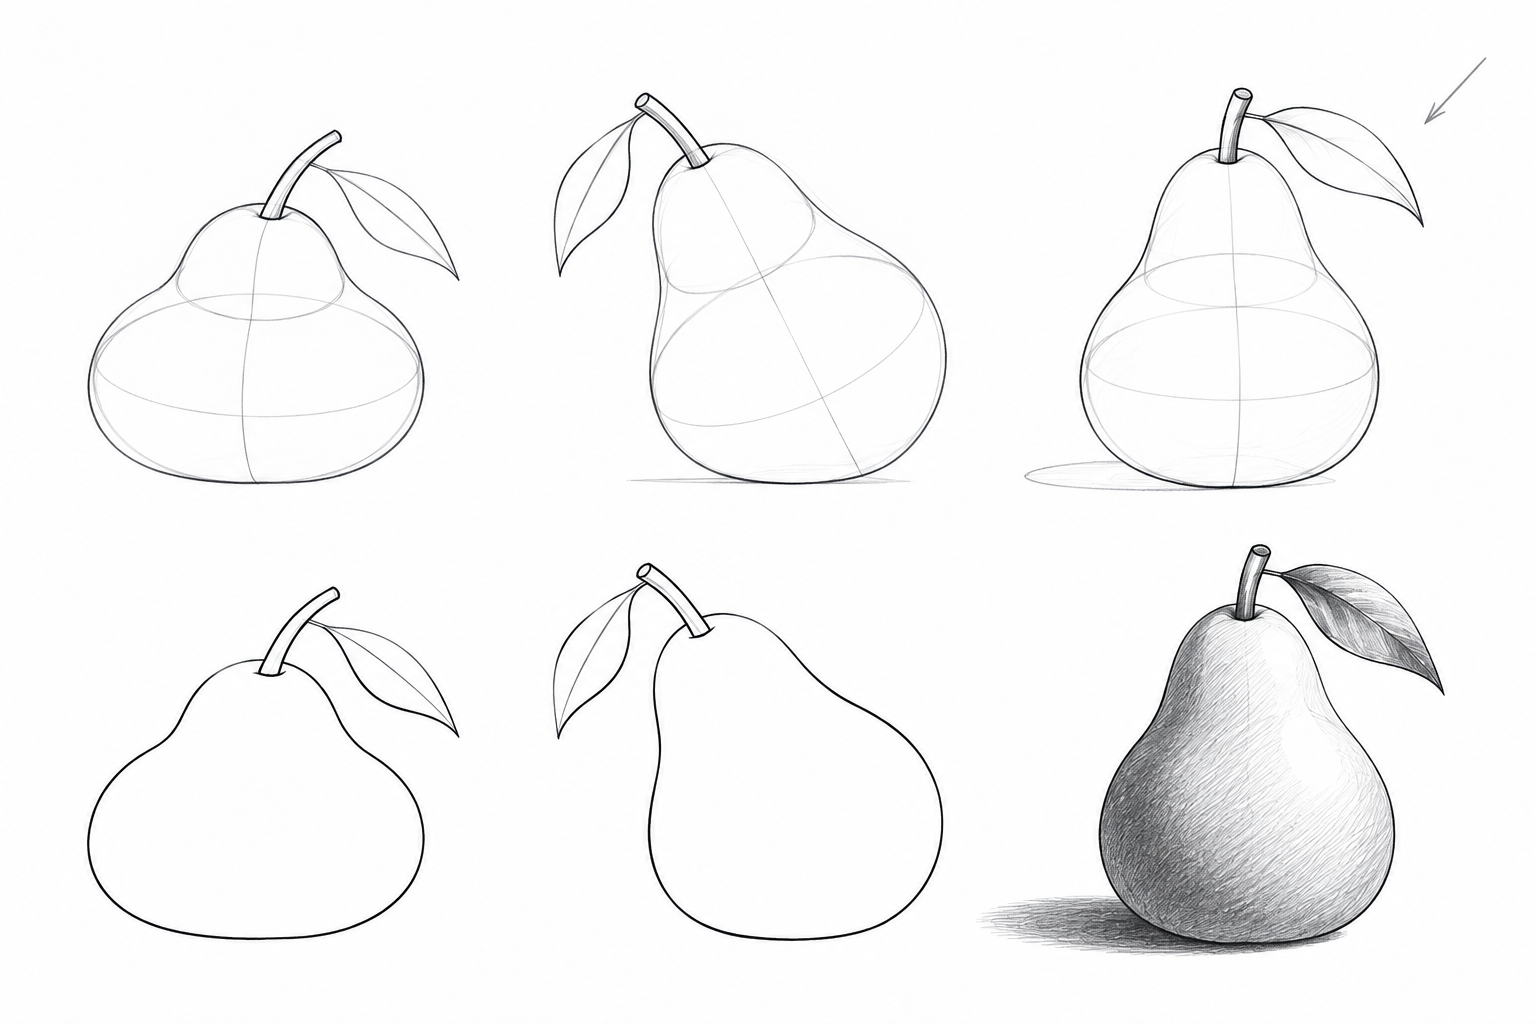
At the same width, lower the upper mass and join the shoulders again. Choose your own height-to-width ratio.
Why: The distance between the masses changes; shrinking the whole old contour would keep the old proportions. Check: Is the fruit noticeably shorter, with a narrower neck and guides removed? Repair: Shorten the upper mass and repair only one shoulder.
2. A pear leaning left
Tilt the axis left by about a quarter of a right angle. Place the masses along it; locate the lower-left belly’s ground contact. Attach the stalk and leaf to the new upper mass.
Why: Tilting changes the masses and contact point; details cannot stay in their old positions. Check: Do both masses follow the tilted axis, with ground contact and the stalk attached to the new top? Repair: Move only the upper mass or contact point before selecting the clean contour.
3. Light now comes from the upper right
Mark the new upper-right source first. Choose a white area on the right, midtone in the middle and own shadow on the left; extend the ground shadow left from the base. If you chose a line route, first do the lighting warm-up.
Why: Changing the light moves both shadows with the same construction; the former right shadow cannot stay. Check: Is the right side light, the left darker, and the ground shadow attached and extending left? Repair: Lift the former dark area on the right and move one light layer to the left.
Self-check
Name the change: proportions, tilt or light. Point to a connected contour and one erased temporary edge; for shading, identify white, midtone, own shadow and cast shadow. Question: why does the ground shadow change sides when the light comes from the right? Answer: the object blocks light on the support away from the source, so the shadow extends left. Own shadow also moves to the left surface. Uneven lines are fine; exact copying is unnecessary. No classroom trial has been conducted.
What to draw next
All drawing lessons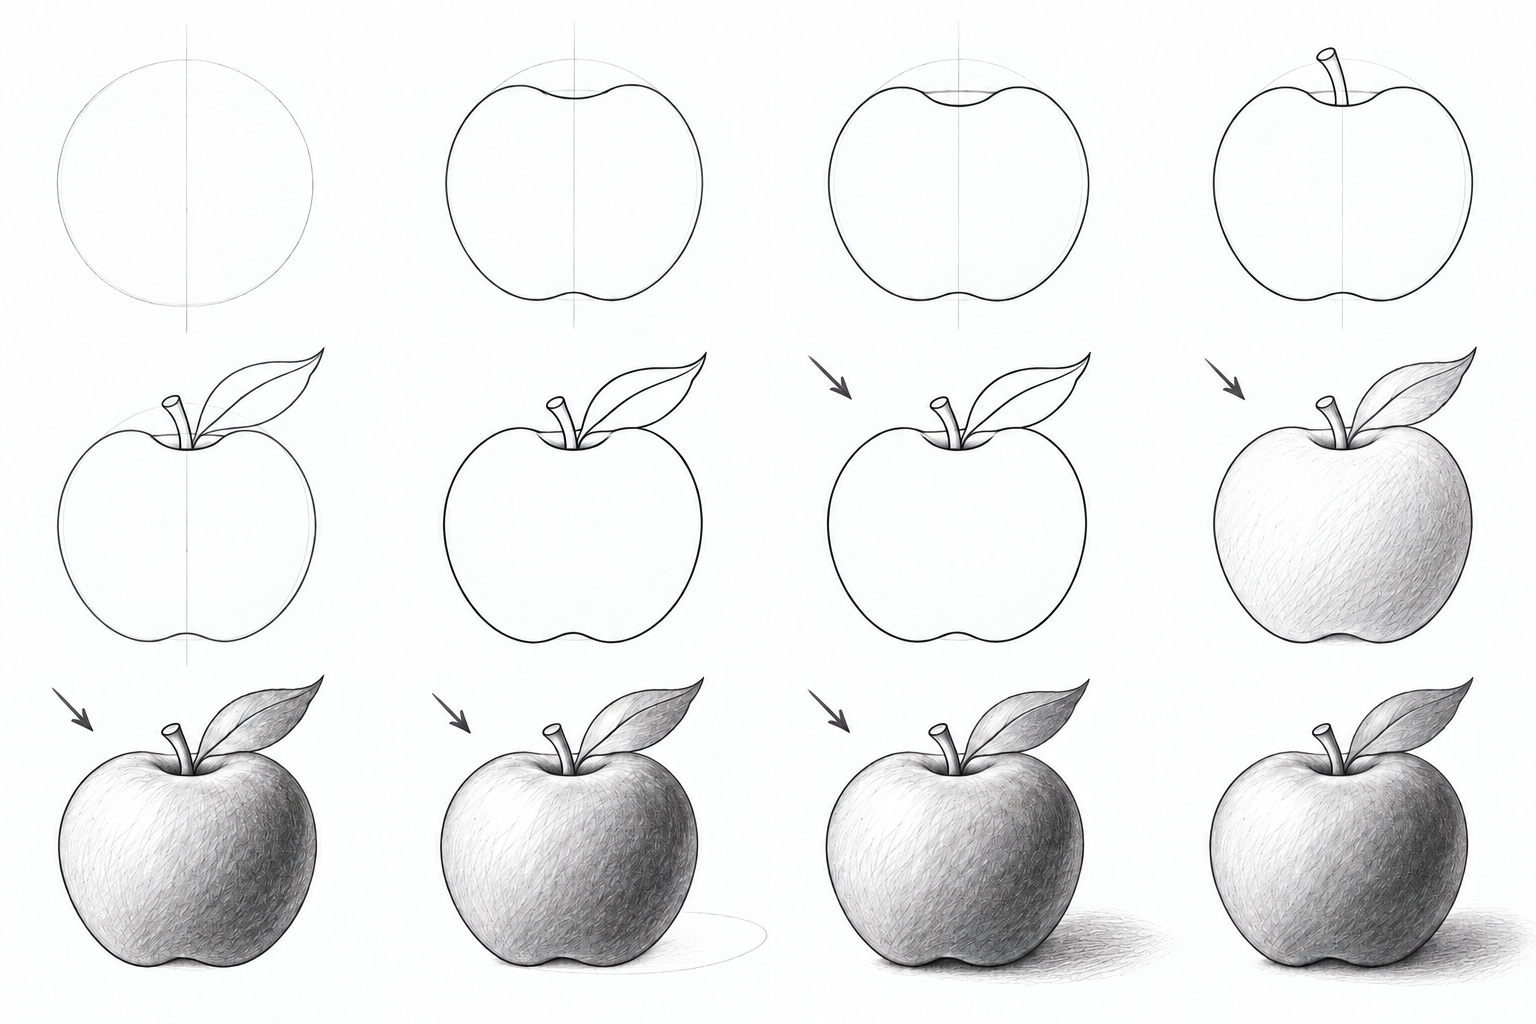 3 levels
How to draw an apple
Draw an apple at three levels: simple forms, a recessed top and bent leaf, then pencil light and shadow. Clear stages, small repairs and A4/Letter PDFs.
 3 levels
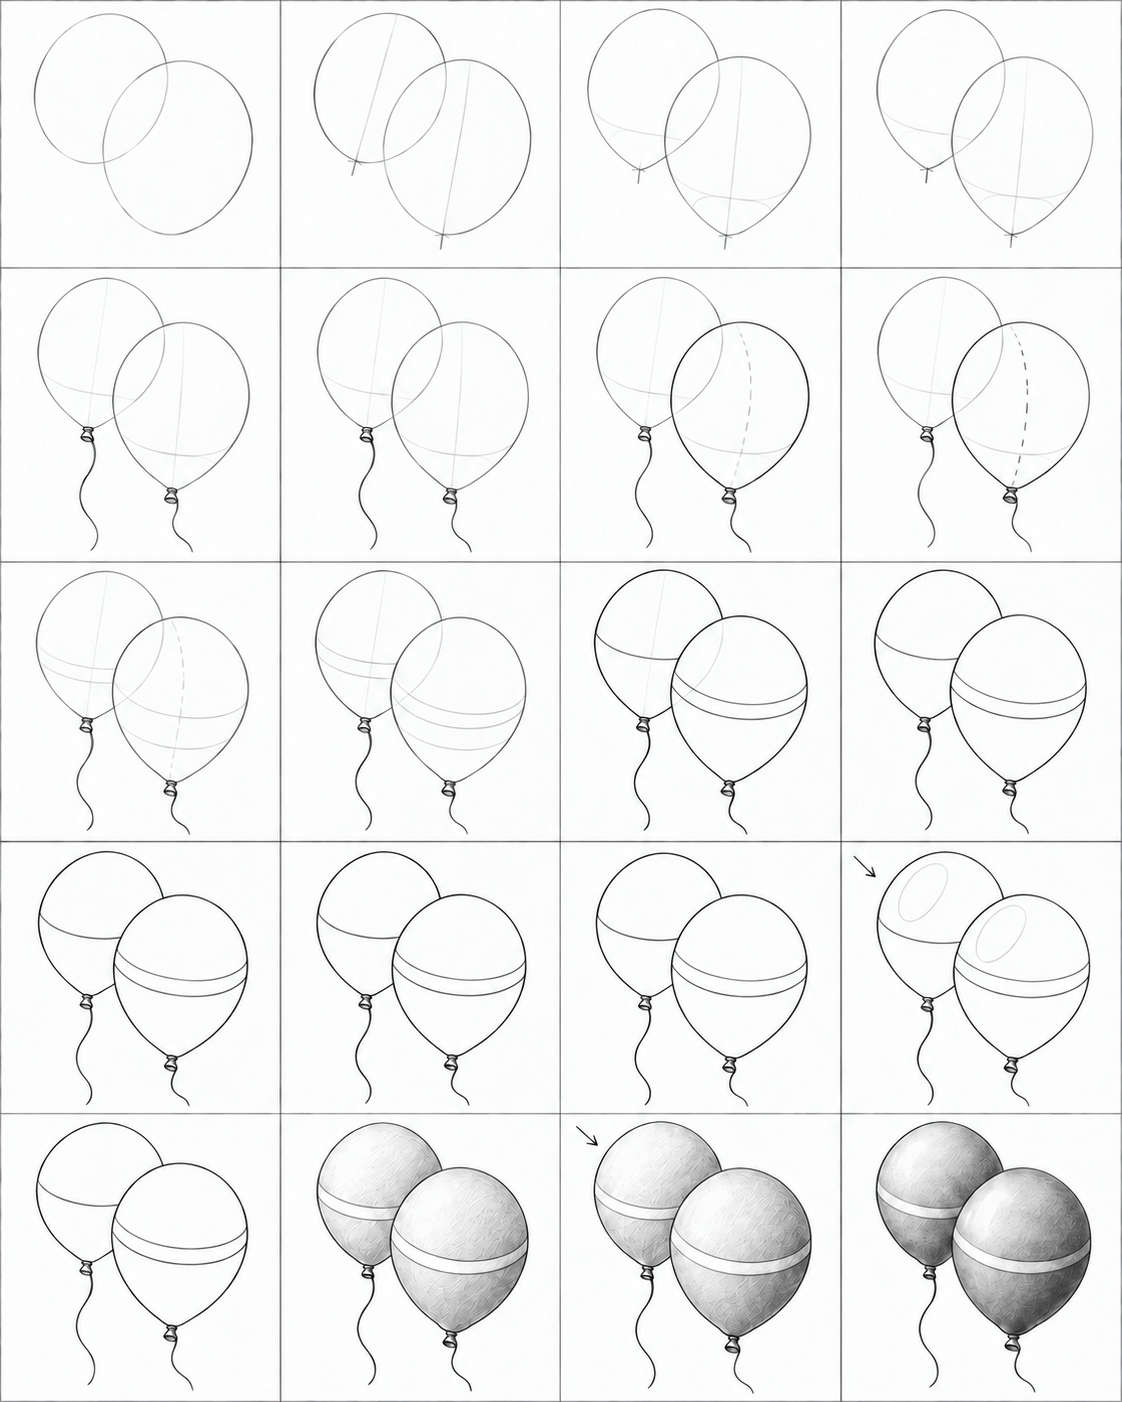
How to draw balloons
Three balloon drawing routes, from two simple ovals to tapered necks and pencil volume. Illustrated steps, checks, small repairs and practice PDFs.
 3 levels
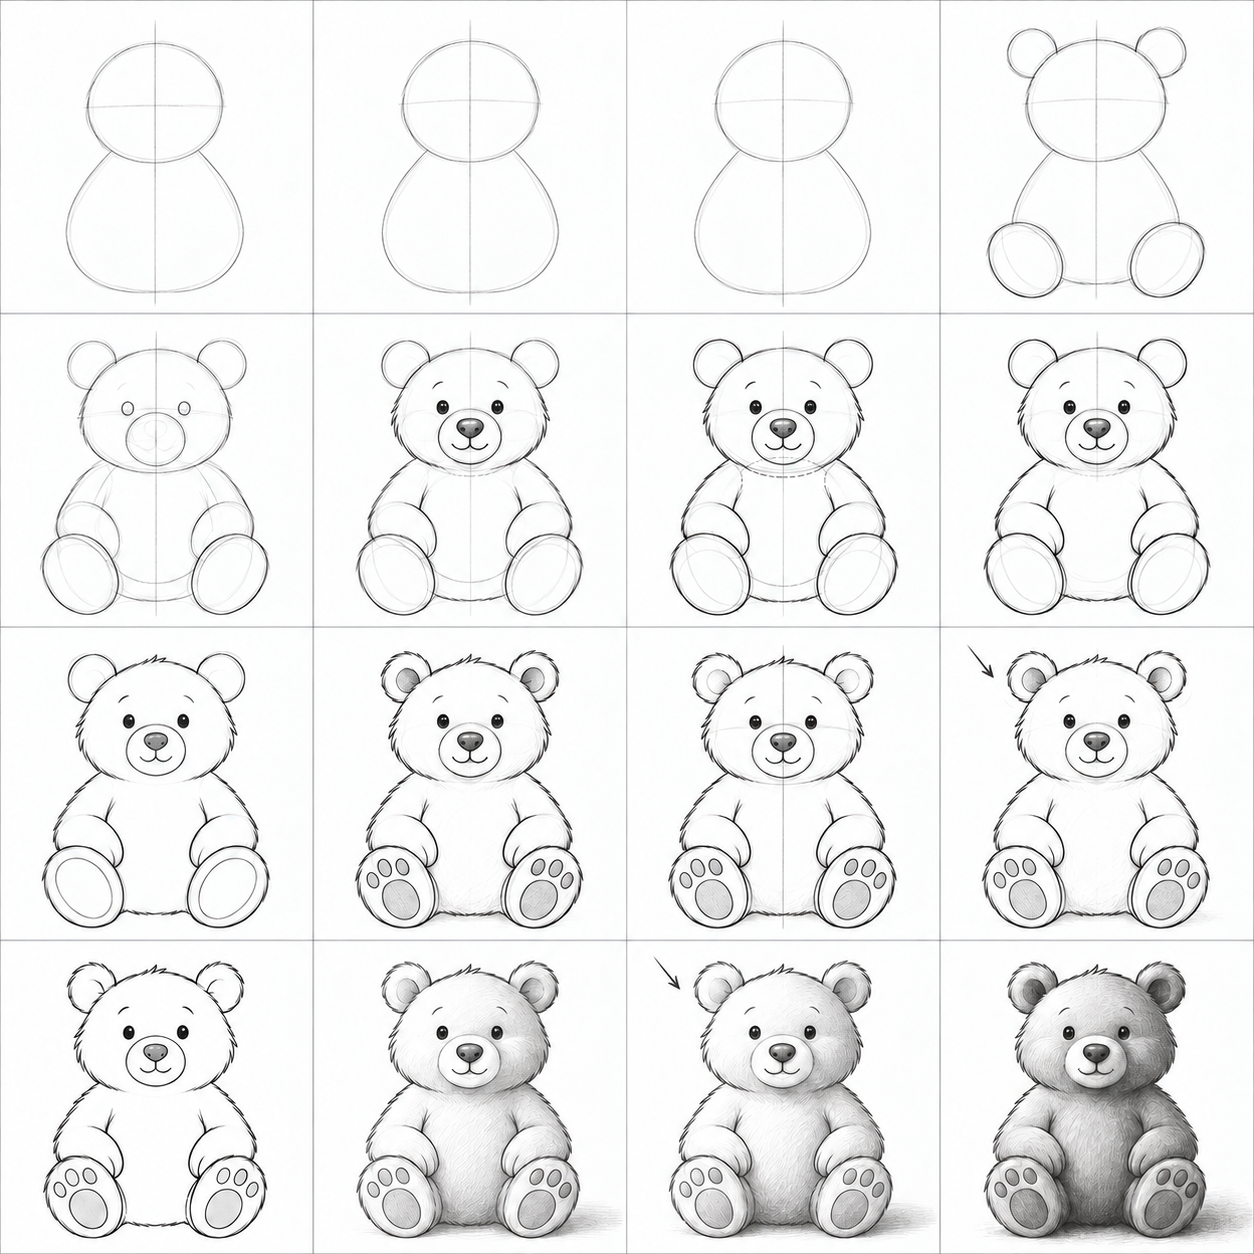
How to draw a bear in pencil
Draw a sitting bear from simple forms: paws, muzzle, overlaps and shading. Three levels, illustrated steps and A4 lesson and practice PDFs.